
repaired seat foam but it has failed over time, need replacement foam
 01-18-2010, 06:22 PM
#1
My drivers seat foam is ripped on both sides and i've repaired it as per another members instructions and it did work. Only problem is now I have a rip that formed beside the old one. I've gone through all the GM oem replacement websites that seemed legit on google with no luck. The backs of 4th gen drivers seats and pass seem to be discontinued. Does anyone know where I can get a new one? Or if not where can I get a look alike to the stock SS interior?
 01-18-2010, 06:27 PM
#2
TECH Junkie
iTrader: (2)
Join Date: May 2006
Location: somewhere that doesn't get snow
Posts: 3,452
Likes: 0
Received 3 Likes
on
3 Posts

I guess i got lucky that i redid my seats last year and i was able to get the upper drivers seat foam for my 95 T/A AQ9 seats. the part was 16739035 and was $37.xx shipped from gm parts direct but apparently its no longer available there.
01-19-2010, 03:11 PM
#5
How did you repair it?
My drivers seat foam is ripped on both sides and i've repaired it as per another members instructions and it did work. Only problem is now I have a rip that formed beside the old one. I've gone through all the GM oem replacement websites that seemed legit on google with no luck. The backs of 4th gen drivers seats and pass seem to be discontinued. Does anyone know where I can get a new one? Or if not where can I get a look alike to the stock SS interior?
01-21-2010, 07:11 PM
#8
this is the original thread with advice from another member, he did it slightly different than I did. The gorilla glue works great but it was my foam that failed around the gorilla glue  https://ls1tech.com/forums/appearanc...d-padding.html I may take the seat apart one more time to add a tad more foam to my 2nd fix and if I do i'll post some pics, no promises tho.
https://ls1tech.com/forums/appearanc...d-padding.html I may take the seat apart one more time to add a tad more foam to my 2nd fix and if I do i'll post some pics, no promises tho.
02-12-2010, 01:12 AM
#10
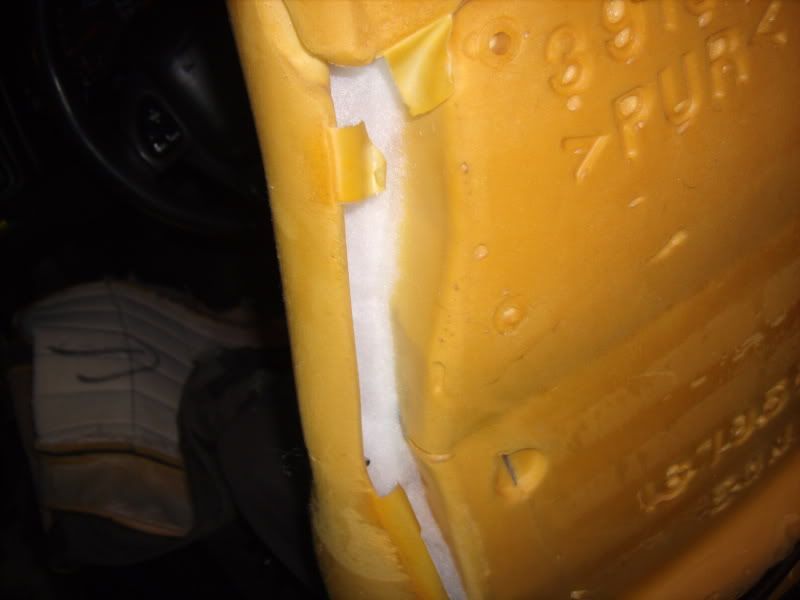
So here are some pics of my craft foam/Velcro/ gorilla glue combo. It worked temporarily, the craft foam is flame retardant 1 inch thick foam from any local craft store. I cut some stick on Velcro with the hook side facing away from the foam and stuck it to my oem seat foam. The craft foam will automatically adhere to the new foam since the foam is very much like the soft side of the Velcro that I didn't use. Gorilla glue is put in the cracks within the foam and left overnight to set. I added extra foam in the lumbar area which helped. The tricky part is just getting oem fabric to sit correctly since there is extra poof to the seat after putting the foam in.
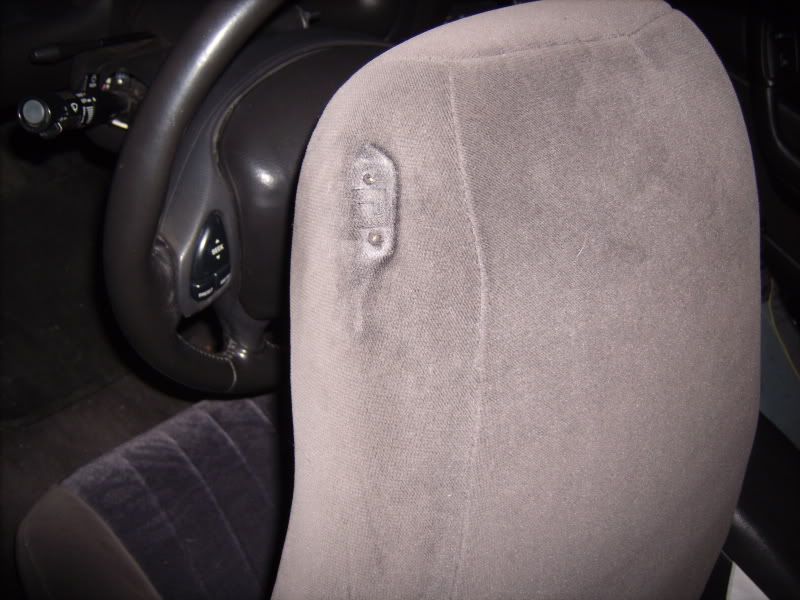
First remove your seat belt guide which is just 2 Philips head screws. you must also remove your flip switch that lets passengers in the rear. All you do is tug on it for a few seconds in an up and down motion and it pops out. No pics here of that.
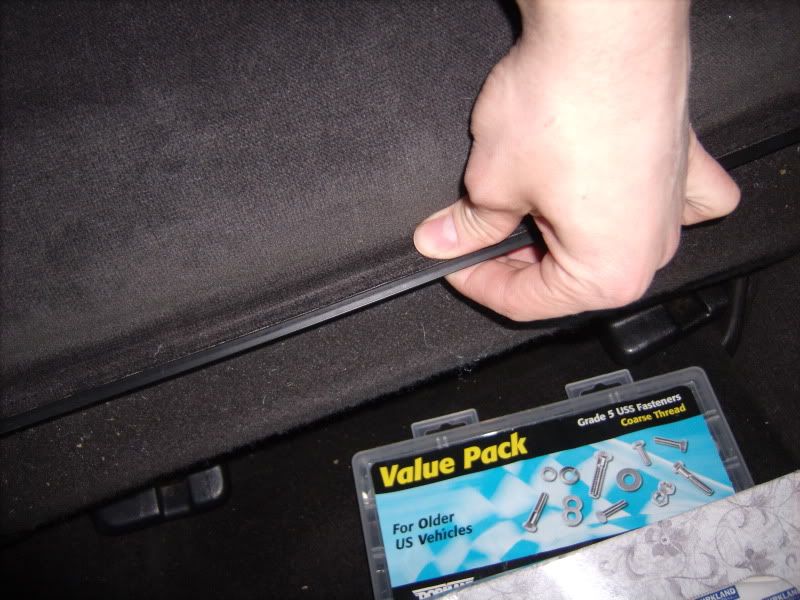
Fold your seat forward and reach underneath you will find a long plastic clip that must be bent to pop the center out of the channel it rests in.
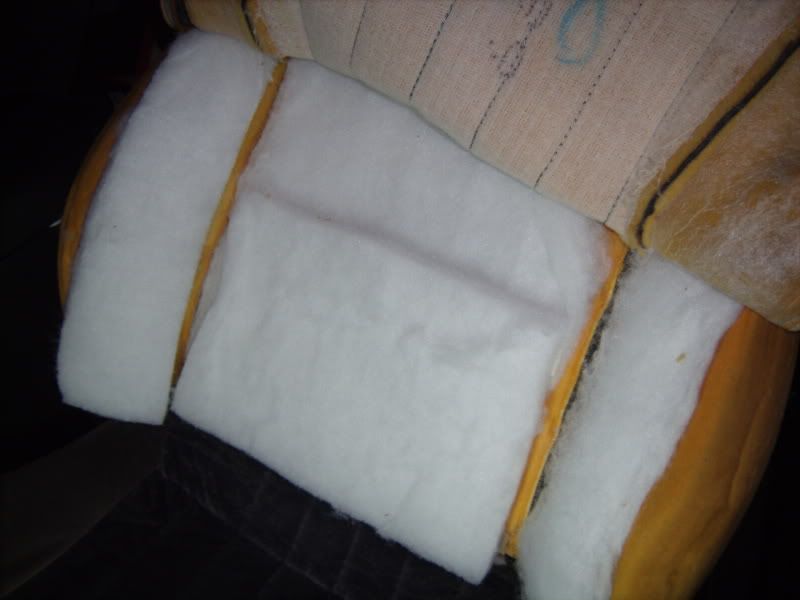
The fabric opens the seat up and inside you can see my extra foam in the lumbar area and side bolsters. Now begin pulling your fabric up gently since your fabric is also held onto the OEM foam with velcro as well.

Keep pulling till it's off.
The foam is taken off easily minus a large metal clip at the base of your lumbar support that is easily moved with your hand.
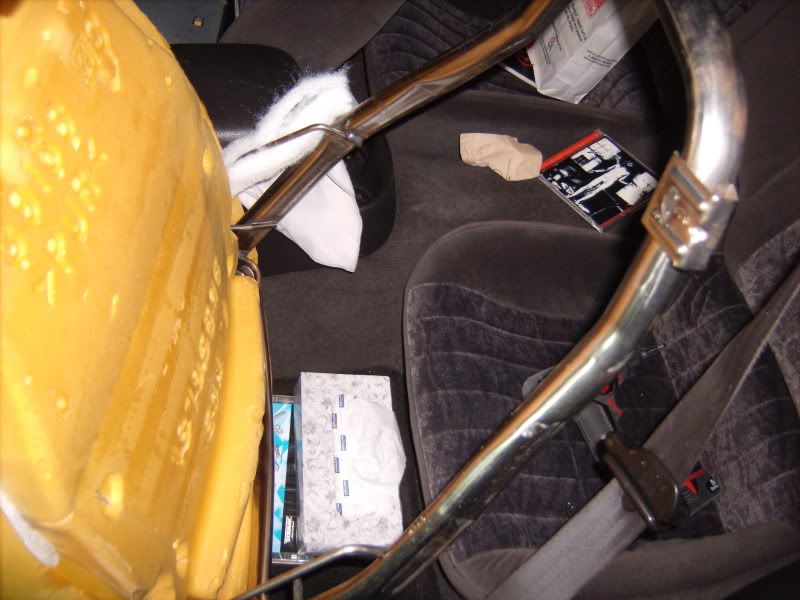
I put some more foam in the folds where the frame of the seat sits to prevent more punctures in the future.
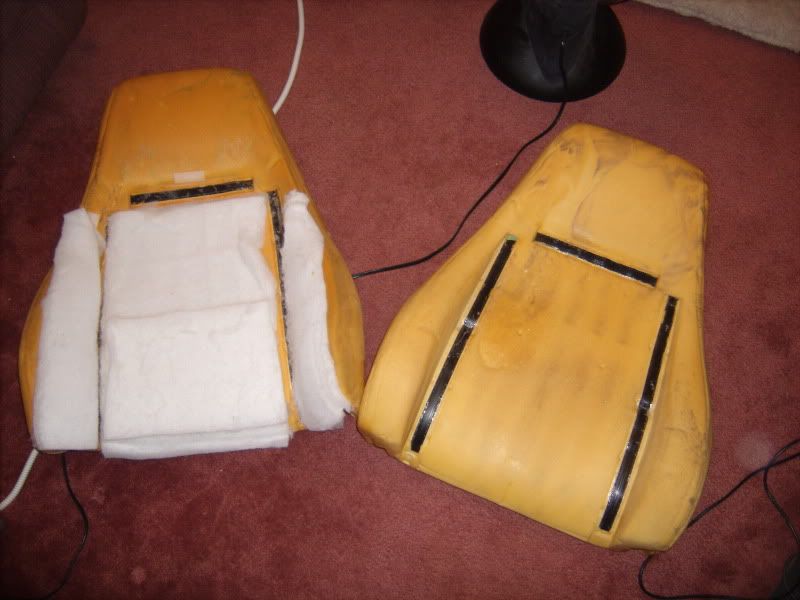
Side by side of the newish foam that I sent back to get another and the foam treated seat. The foam had been on the seat for months and had fallen out of place, thus why I was going to re-do it but ordered a new seat. The foam definitely helped me stay comfortable on long rides and wasn't too much of a PITA
Any questions just ask!
First remove your seat belt guide which is just 2 Philips head screws. you must also remove your flip switch that lets passengers in the rear. All you do is tug on it for a few seconds in an up and down motion
and it pops out. No pics here of that. Fold your seat forward and reach underneath you will find a long plastic clip that must be bent to pop the center out of the channel it rests in.
The fabric opens the seat up and inside you can see my extra foam in the lumbar area and side bolsters. Now begin pulling your fabric up gently since your fabric is also held onto the OEM foam with velcro as well.
Keep pulling till it's off.
The foam is taken off easily minus a large metal clip at the base of your lumbar support that is easily moved with your hand.
I put some more foam in the folds where the frame of the seat sits to prevent more punctures in the future.
Side by side of the newish foam that I sent back to get another and the foam treated seat. The foam had been on the seat for months and had fallen out of place, thus why I was going to re-do it but ordered a new seat. The foam definitely helped me stay comfortable on long rides and wasn't too much of a PITA
Any questions just ask!
07-08-2010, 08:53 PM
#12
look at the 2nd pic, that long plastic piece fits into a channel. You kind of fold the long piece out of the other, like male female style. There are no snaps or anything just that long piece. That piece fits into the 3rd pic piece.
07-09-2010, 03:50 PM
#14
Staging Lane
Join Date: Jan 2010
Location: northern nj
Posts: 72
Likes: 0
Received 0 Likes
on
0 Posts
My drivers seat was getting pretty worn with wire coming throughj.
Found a passenger seat in great shape , for 55 bucks going to switch foam and covers around.
my little weekend project , happy as a pig in sh*t.
Thanks for the offer though, Im sure someone needs those seats.
thanks for heads up
Found a passenger seat in great shape , for 55 bucks going to switch foam and covers around.
my little weekend project , happy as a pig in sh*t.
Thanks for the offer though, Im sure someone needs those seats.
thanks for heads up
