Engine swap and engine bay build.


 05-03-2010, 01:59 PM
#42

Thanks man, i sure do wish i had a garage to work in though, it would be so nice. but i'm only 18 so i deal with what i have to work with.
little late now, regardless, i'm not going the a/c route anymore with the box now torn out of the engine bay and blocked off.
window motors both work fine, so yeah.. haha
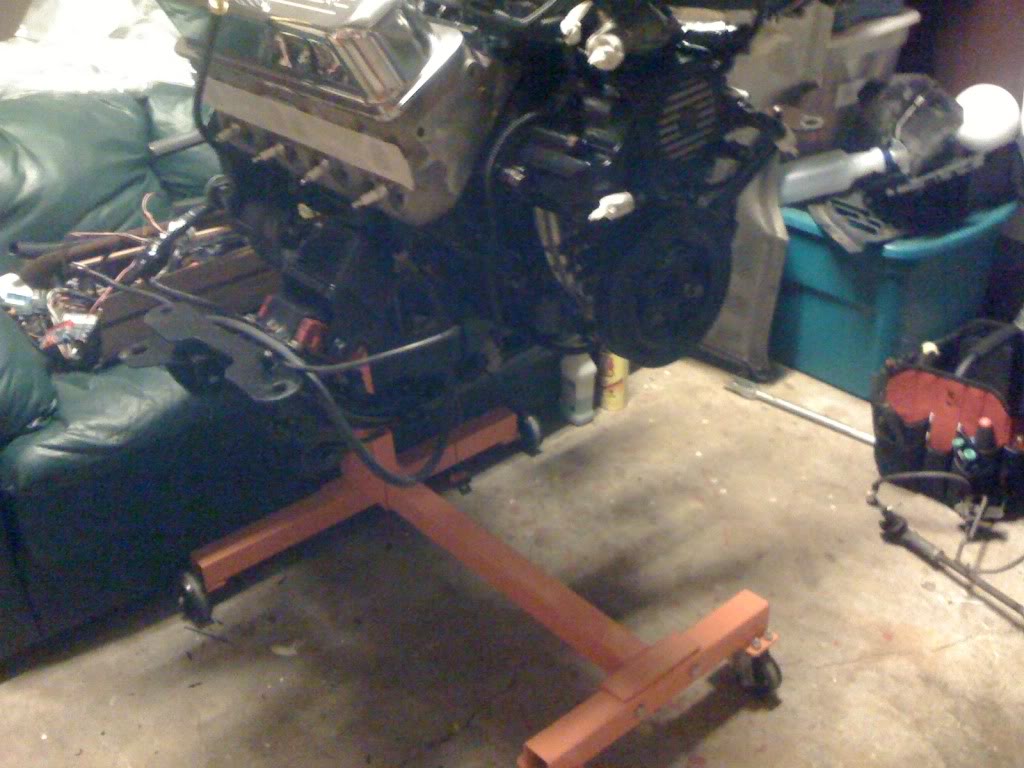
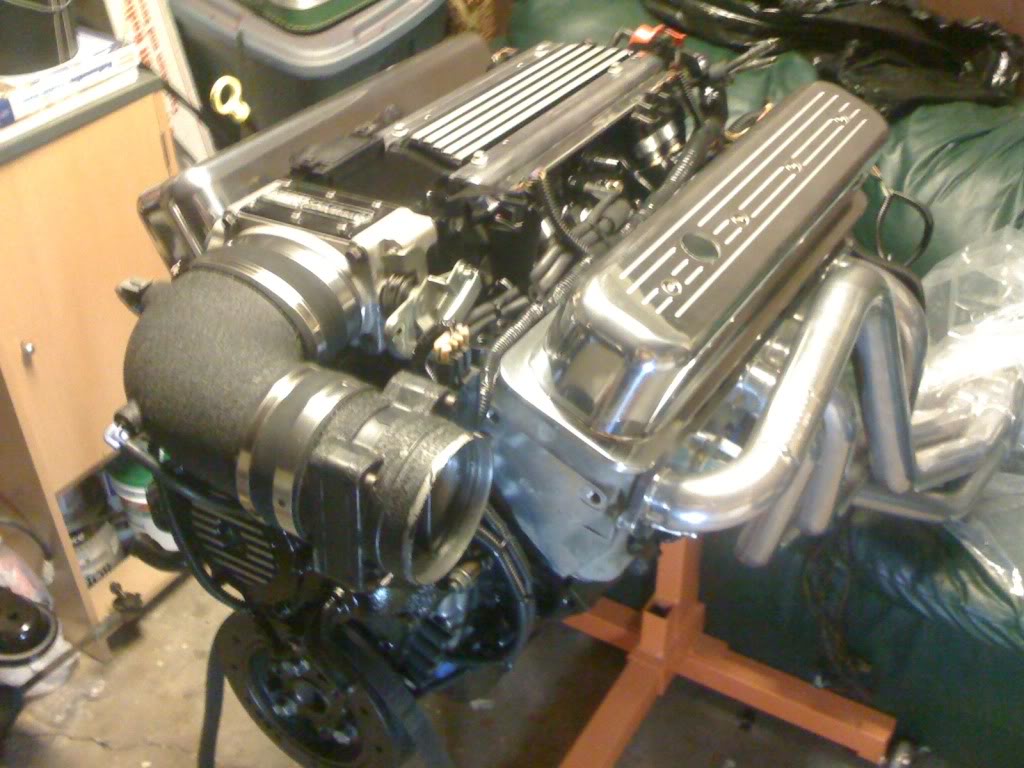
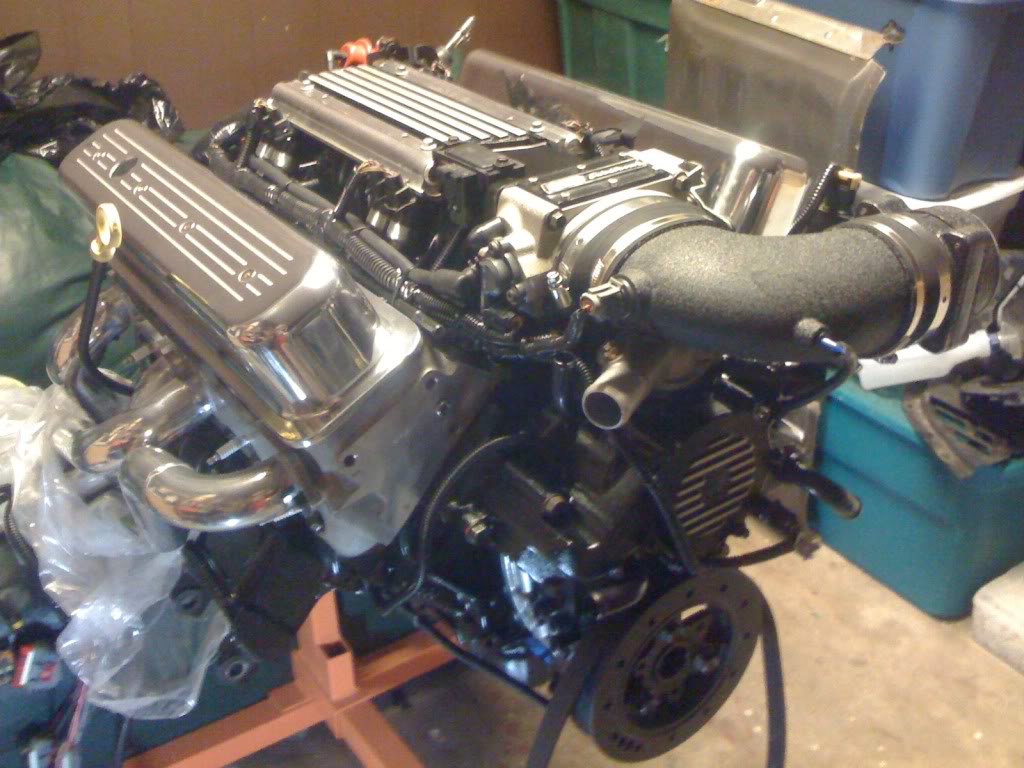
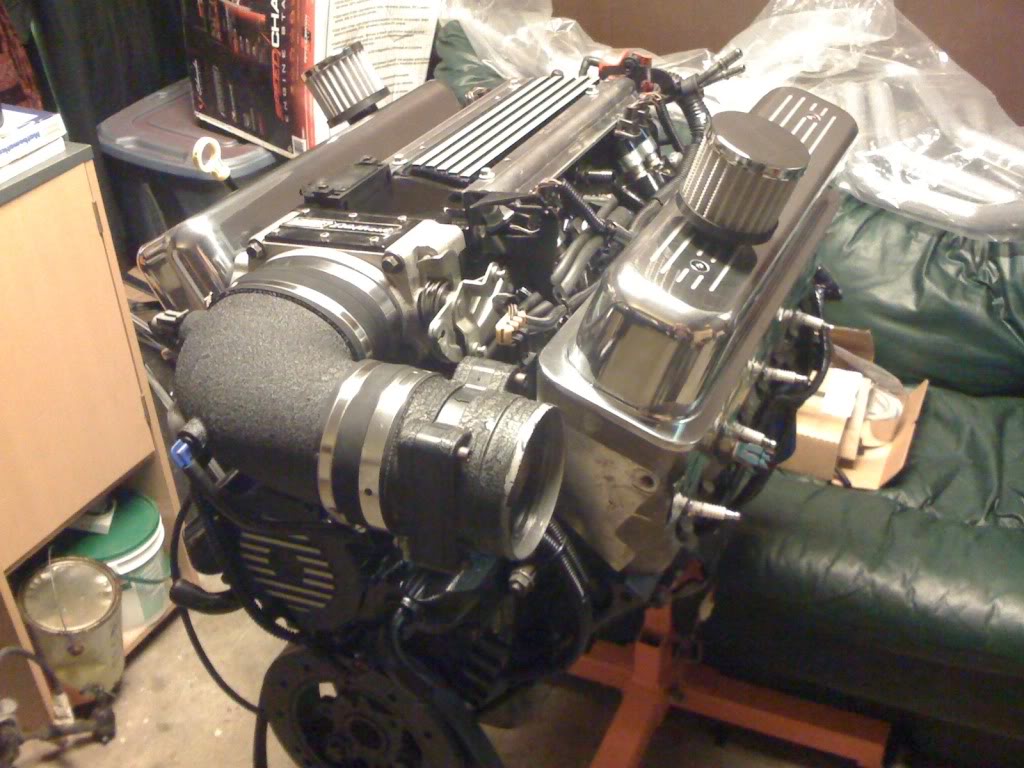
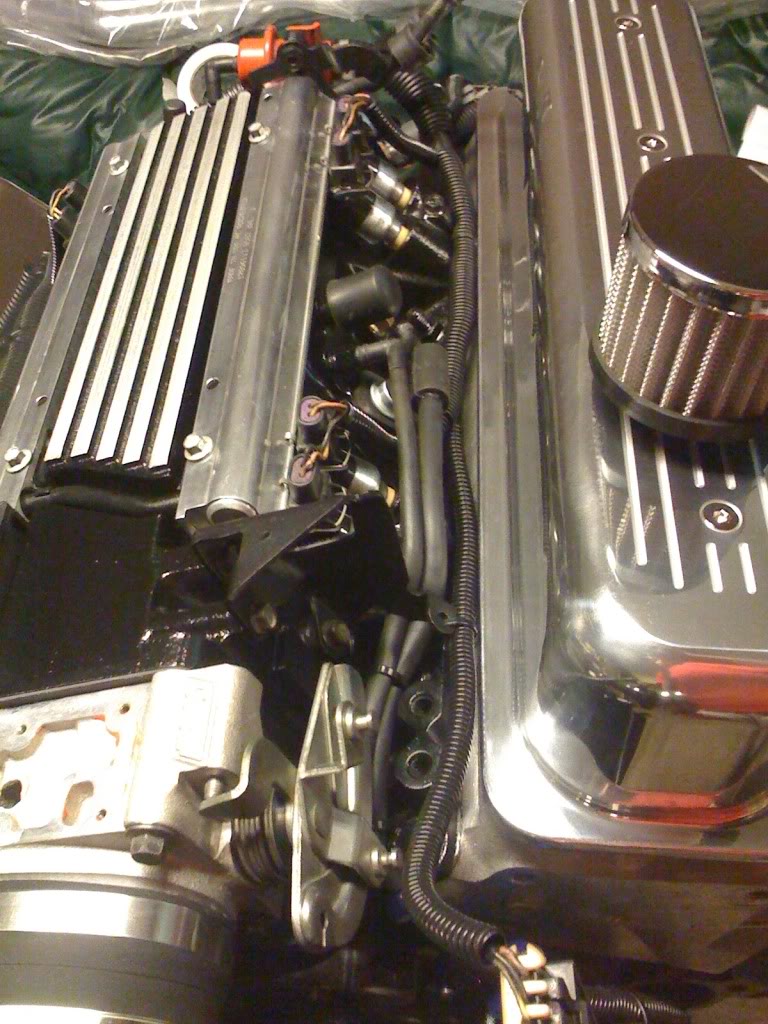
valve covers will be here later today, so look forward to seeing some pictures with those installed on the motor.. next is motor mounts and it's going onto the k-member to get it all buckled up on there with the speed inc alt and p/s relocation kit.
 .. I love Texas!!
valve covers will be here later today, so look forward to seeing some pictures with those installed on the motor.. next is motor mounts and it's going onto the k-member to get it all buckled up on there with the speed inc alt and p/s relocation kit.


 05-04-2010, 11:51 PM
#46
i have one question for you guys.. the valve covers have one hole in each cover, both have a screw in style baffle below the holes, but i'm wanting to run with just two valve cover breathers, can i fill with oil through one of the breather holes with the baffle installed? i really don't want to have to drill into the covers..
05-05-2010, 12:19 AM
#48
in other words, it was a hell of a lot easier than i thought it would be, and i did it alone. i'm 18 years old, 5' 11" and 125lbs, i'm not the strongest of the bunch. hhahaha!
05-05-2010, 12:48 AM
#49
did you leave the front tires on or did you put the engine and trans on a dolly and just wheel it out like that? my problem is i don't have enough room on the sides to jack up the car from the jack points so i think i'll have to jack the car up from the cross-member and then put four 6 ton jack-stands underneath the body mounts and lower the front suspension with the trans attached and then pull it out on the tires because i can't get a dolly where the jack will be in the front 
05-08-2010, 02:40 PM
#50
did you leave the front tires on or did you put the engine and trans on a dolly and just wheel it out like that? my problem is i don't have enough room on the sides to jack up the car from the jack points so i think i'll have to jack the car up from the cross-member and then put four 6 ton jack-stands underneath the body mounts and lower the front suspension with the trans attached and then pull it out on the tires because i can't get a dolly where the jack will be in the front
05-13-2010, 12:13 AM
#51
Banned
iTrader: (20)

Join Date: Apr 2009
Location: Inside Your Girlfriend
Posts: 1,120
Likes: 0
Received 0 Likes
on
0 Posts
This is real inspirational stuff Bro, good for you! I can only imagine the BIG **** eaten grin you will have plastered on your face when you start that bish up for the first time, lol. Way to go man; BIG props to you!
DM
DM
 05-17-2010, 09:20 AM
#54
TECH Fanatic
iTrader: (14)
Join Date: Mar 2007
Location: Phoenix/Tempe, AZ
Posts: 1,968
Likes: 0
Received 0 Likes
on
0 Posts

wow, its starting to look a lot like my 95 did...

for what a PITA it was (h/c w the engine in the car, header swap x2) that thing sure did clean up nice.
EDIT: none of my cars have gotten any engine bay wiring treatment; if i were you id DEFINITELY do all of the wire/cable hiding now, way less work, huge difference in appearance.
for what a PITA it was (h/c w the engine in the car, header swap x2) that thing sure did clean up nice.
EDIT: none of my cars have gotten any engine bay wiring treatment; if i were you id DEFINITELY do all of the wire/cable hiding now, way less work, huge difference in appearance.
05-17-2010, 03:38 PM
#55
yeah i know man, eventually it will happen.
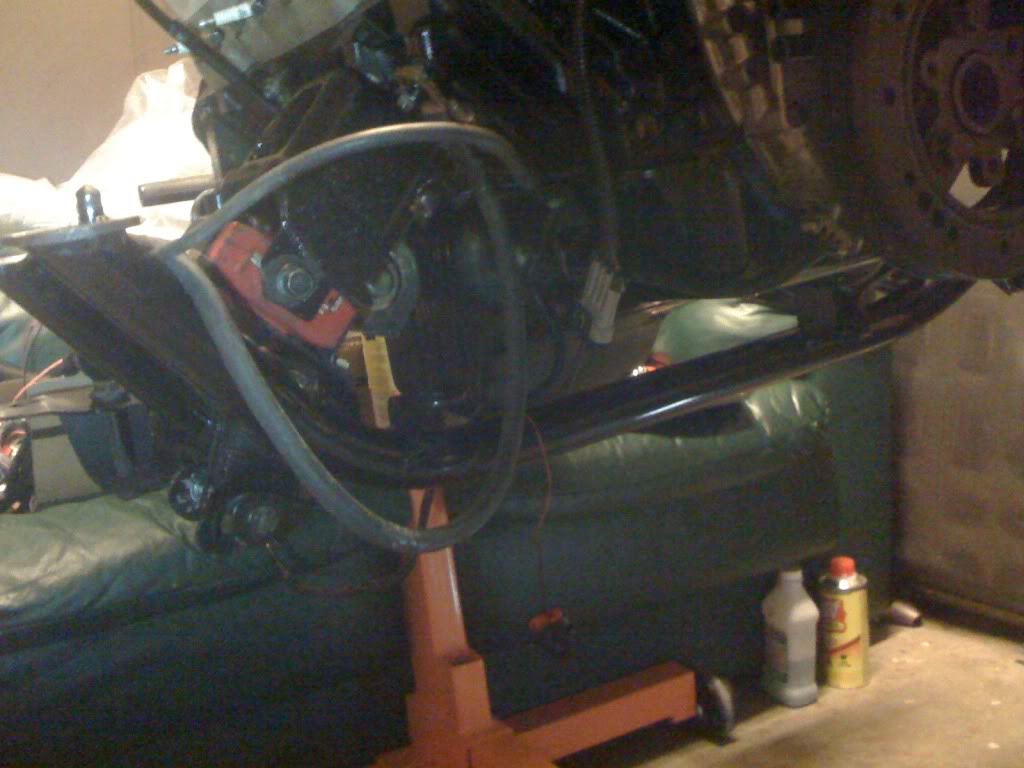
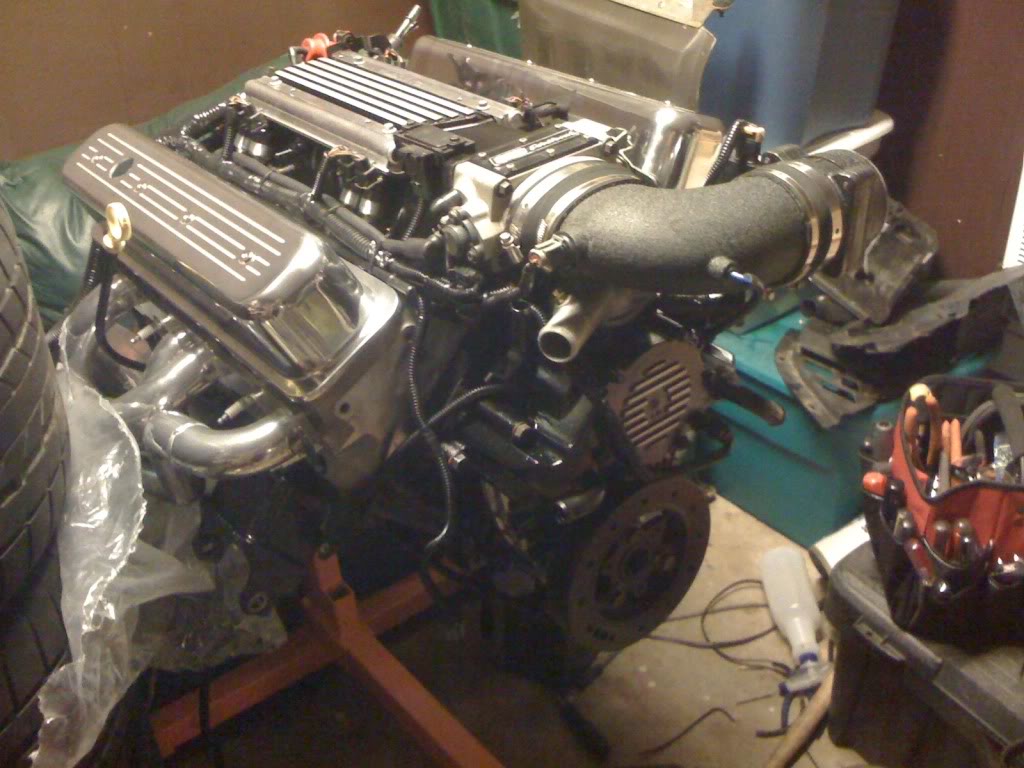
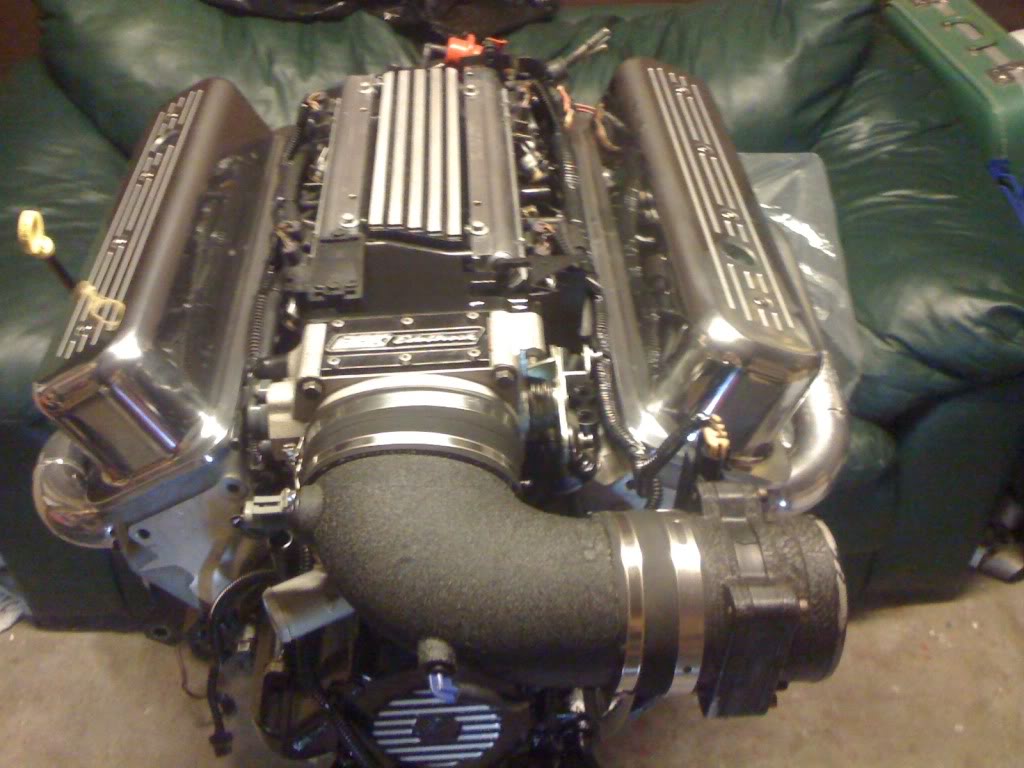
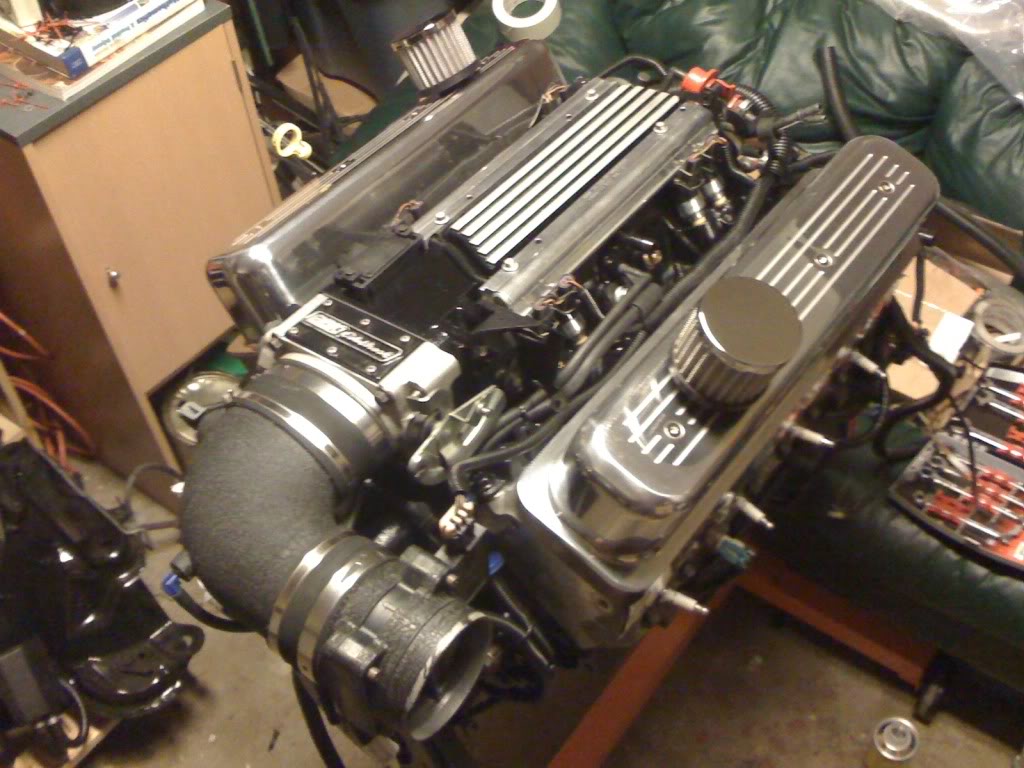
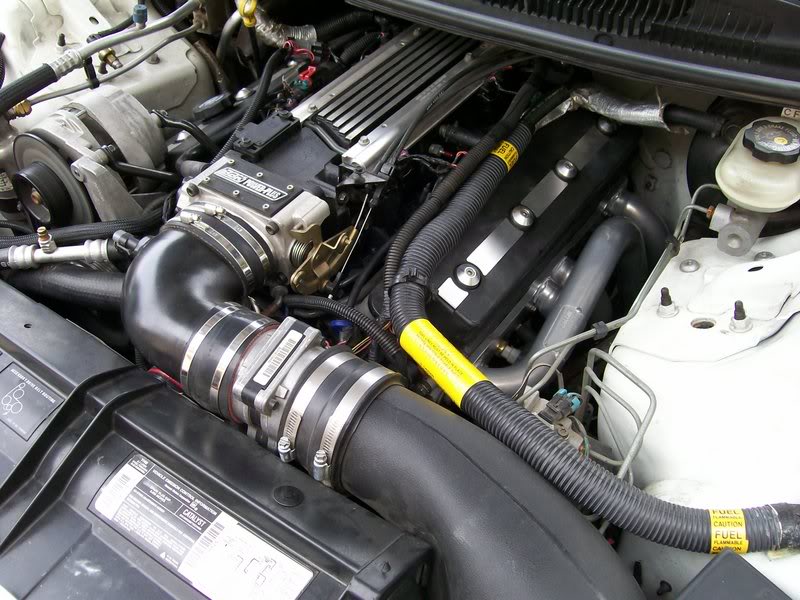
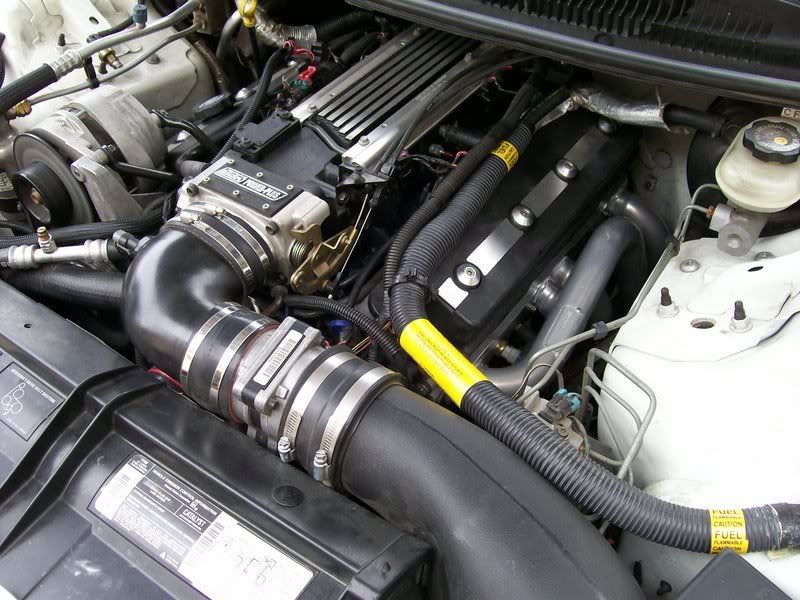
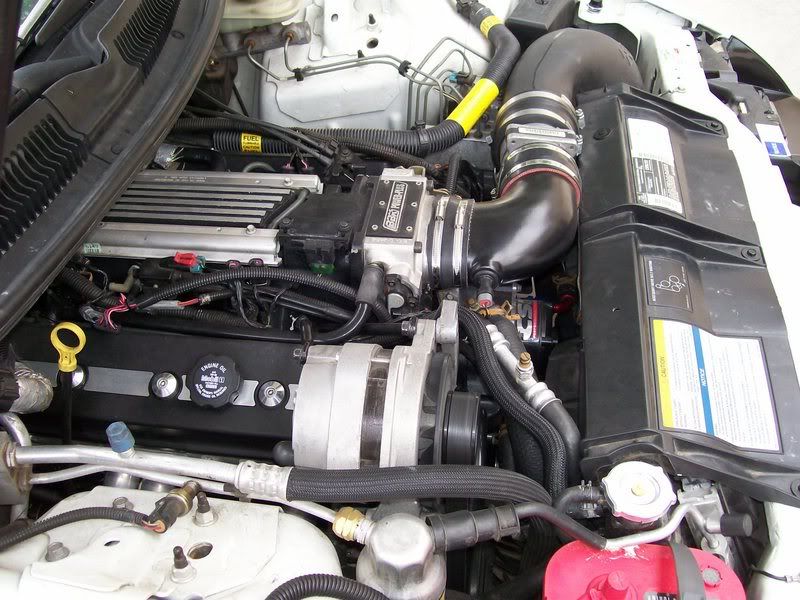
I've already done all the wire/cable management and hiding along with all the vac lines on the motor as well. going from this when it was almost bone stock:
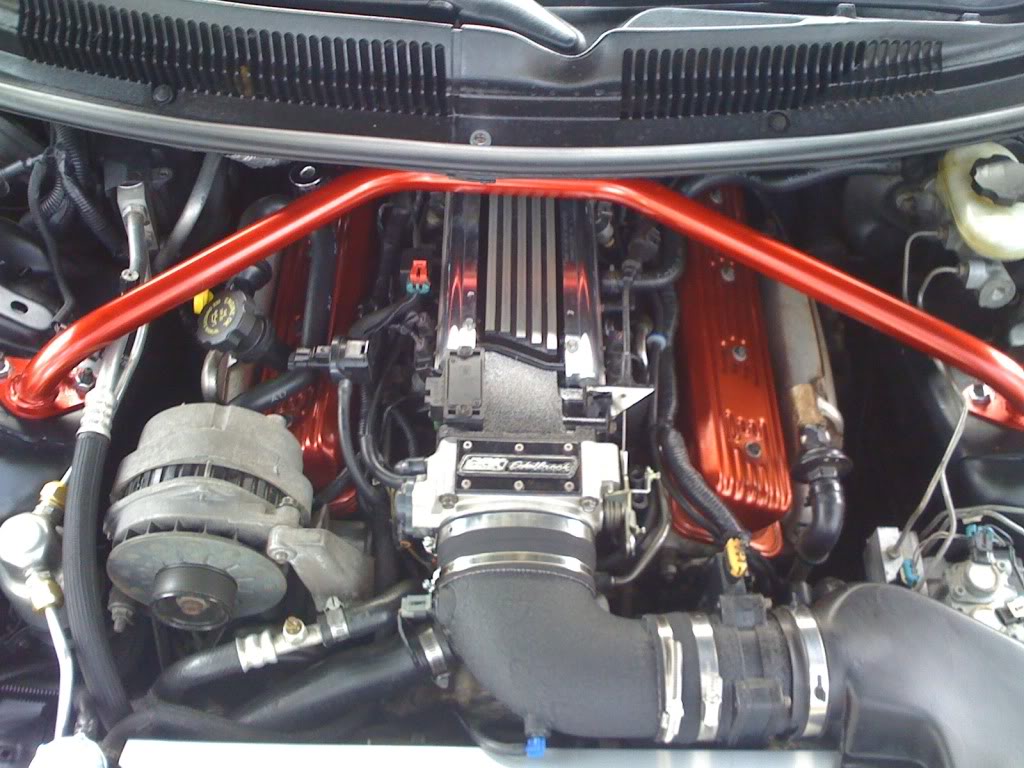
to this as of right now. it's tucked up pretty nice. :
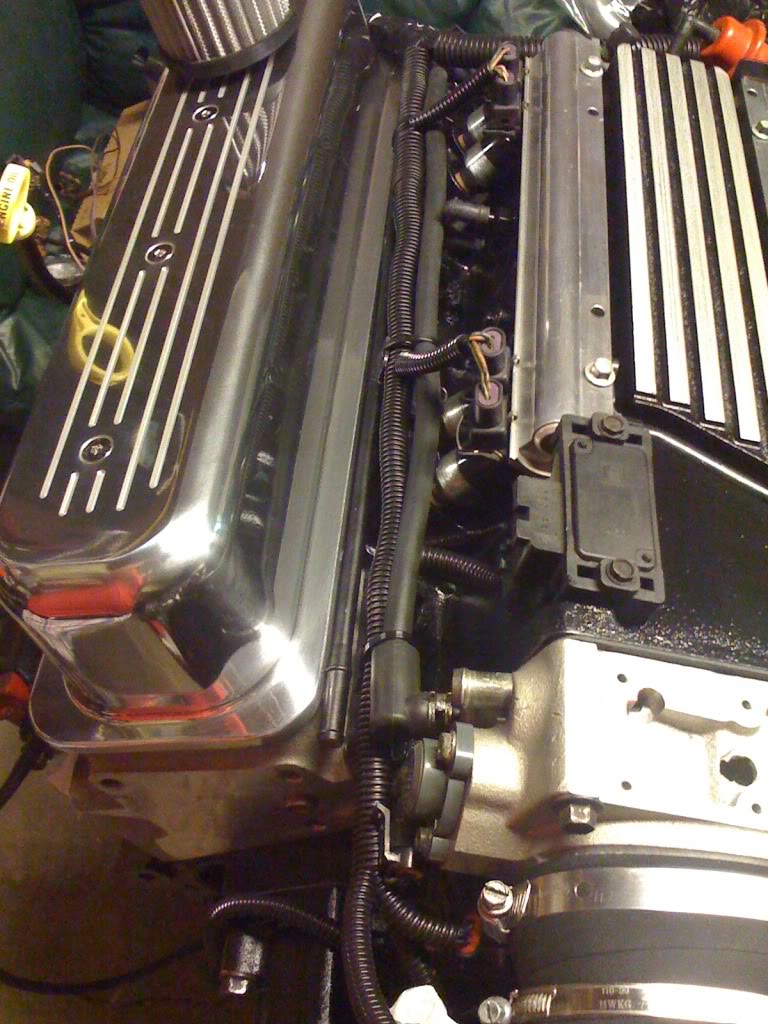
relocated the solenoids on the passenger side to the back of the intake, deleted egr, air, a/c, relocated coil pack and icm module inside the car, all new vacuum lines and that's all the wires and vac lines that will be on the motor except for plug wires. i'll also be running the speed inc alt/ps. relocation kit.
wow, its starting to look a lot like my 95 did...
for what a PITA it was (h/c w the engine in the car, header swap x2) that thing sure did clean up nice.
EDIT: none of my cars have gotten any engine bay wiring treatment; if i were you id DEFINITELY do all of the wire/cable hiding now, way less work, huge difference in appearance.
for what a PITA it was (h/c w the engine in the car, header swap x2) that thing sure did clean up nice.
EDIT: none of my cars have gotten any engine bay wiring treatment; if i were you id DEFINITELY do all of the wire/cable hiding now, way less work, huge difference in appearance.
to this as of right now. it's tucked up pretty nice. :
relocated the solenoids on the passenger side to the back of the intake, deleted egr, air, a/c, relocated coil pack and icm module inside the car, all new vacuum lines and that's all the wires and vac lines that will be on the motor except for plug wires. i'll also be running the speed inc alt/ps. relocation kit.
Last edited by scj; 05-17-2010 at 04:49 PM.