Appearance & Detailing Interior & Exterior Appearance Modifications

Engine swap and engine bay build.

Thread Tools
 
Search this Thread
 
Old 06-02-2010, 11:23 PM
  #81  
scj
TECH Addict
Thread Starter
iTrader: (89)
 
scj's Avatar
 
Join Date: Feb 2008
Location: Magnolia, Texas
Posts: 2,021
Likes: 0
Received 23 Likes on 16 Posts

Default

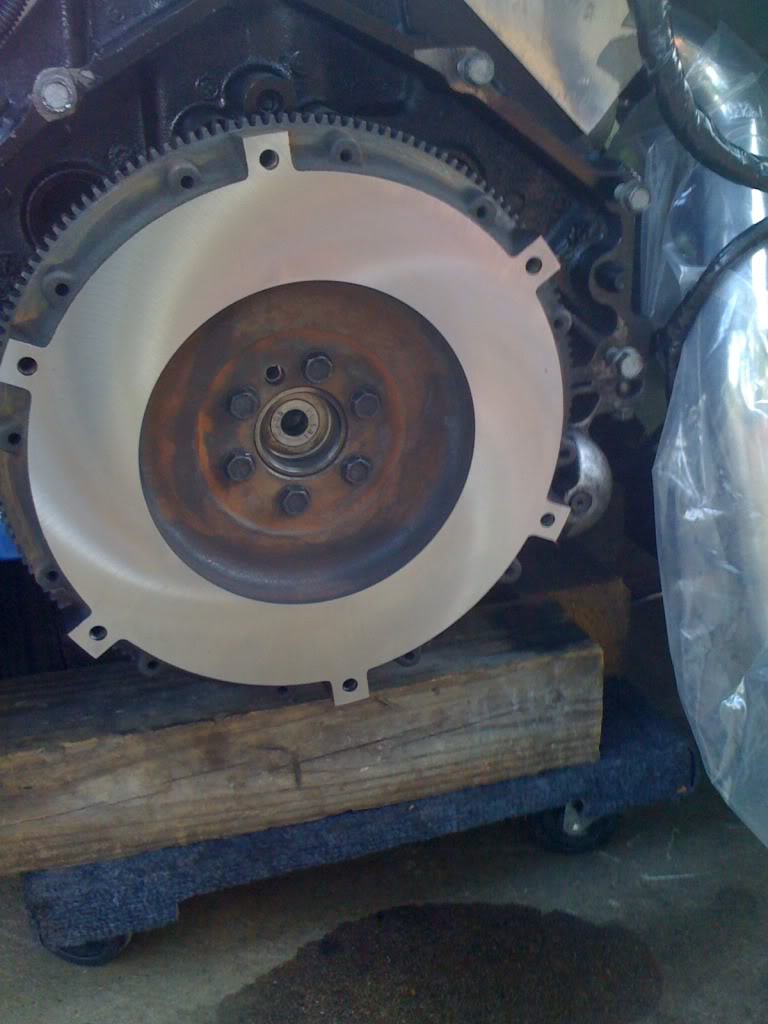
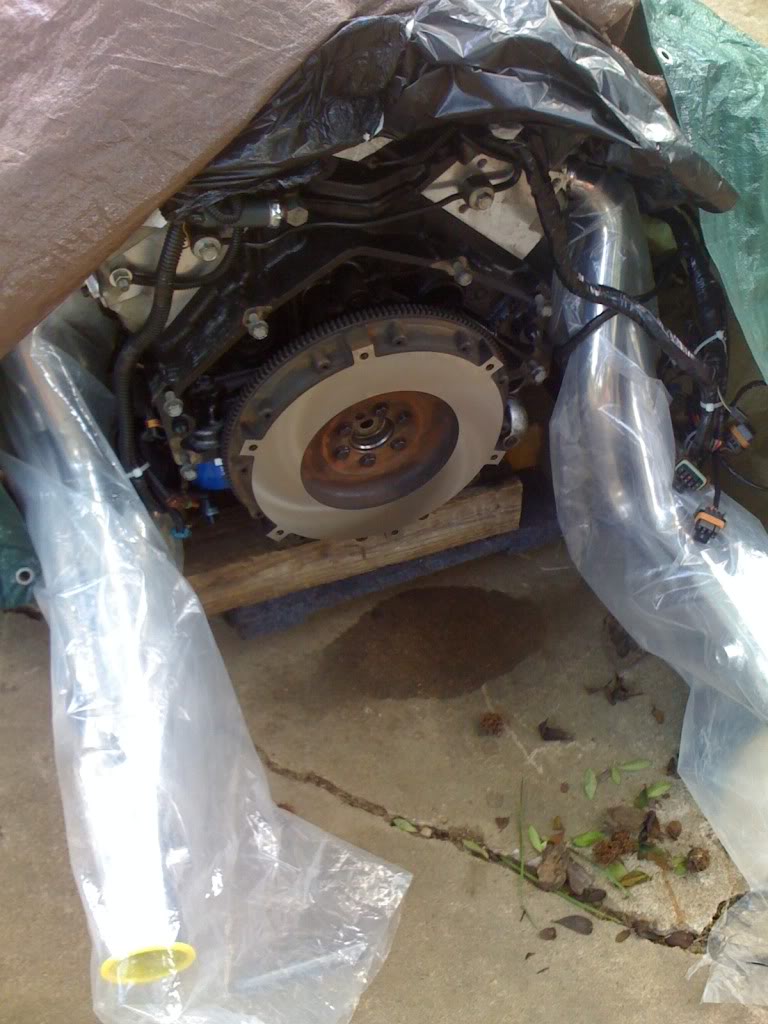
got my flywheel resurfaced today, and installed on the motor.
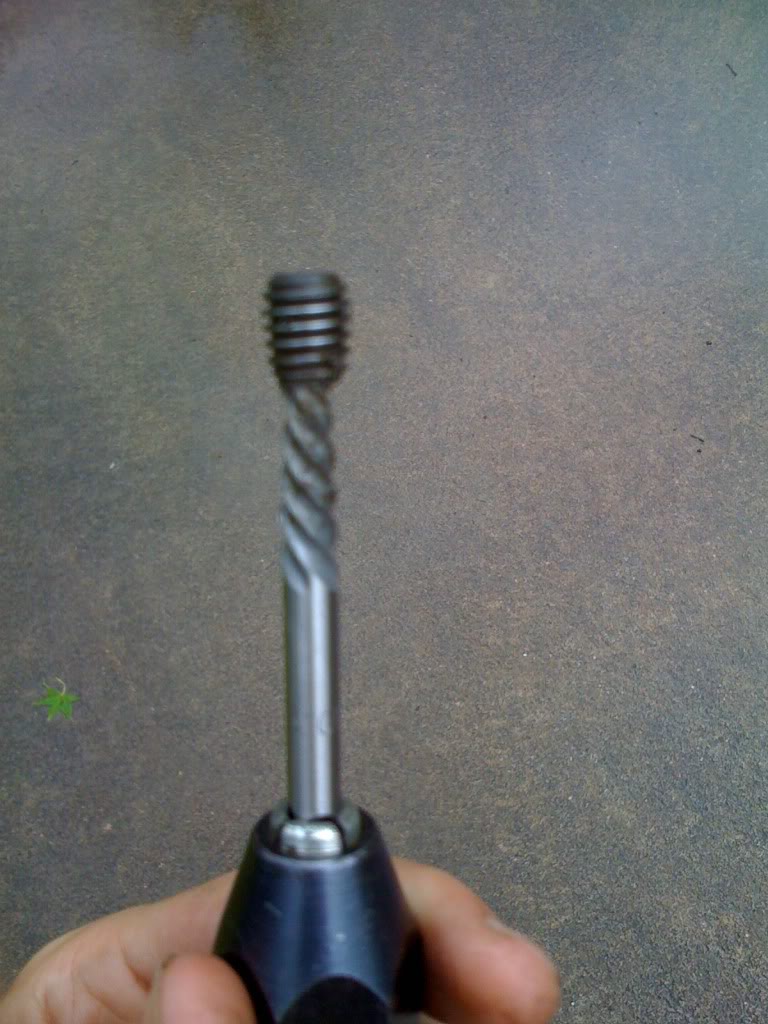
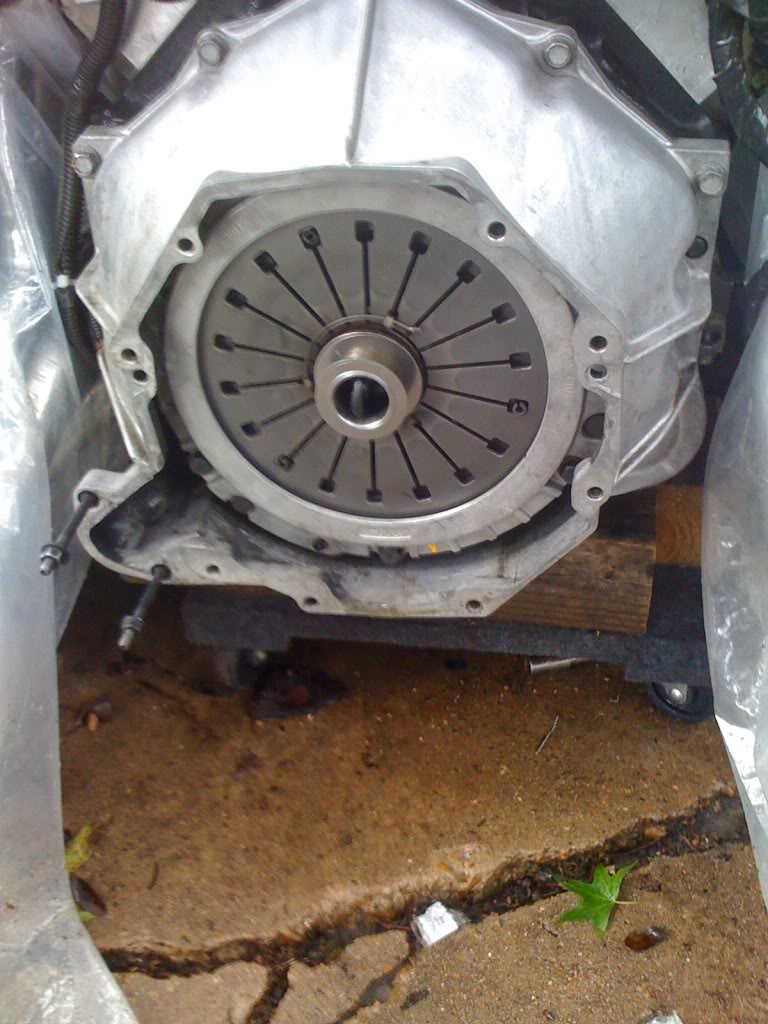
got my pilot bearing installed, and got the clutch all ready to put on, started putting it on, got the bolts snug and then started tightening one bolt to the specified "55lbs" on these bolts, and next thing i know it... POP! break a bolt off into the flywheel.. anyways, I'll be picking up a "ez out" tomorrow, and hopefully pulling that broken bolt out of the flywheel, getting new bolts, and reinstalling the clutch, then on to getting the tranny connected.. ughh, what a day.


Name:  7f1d4f95.jpg
Views: 34
Size:  82.8 KB
Name:  c0ee83b4.jpg
Views: 34
Size:  111.1 KB

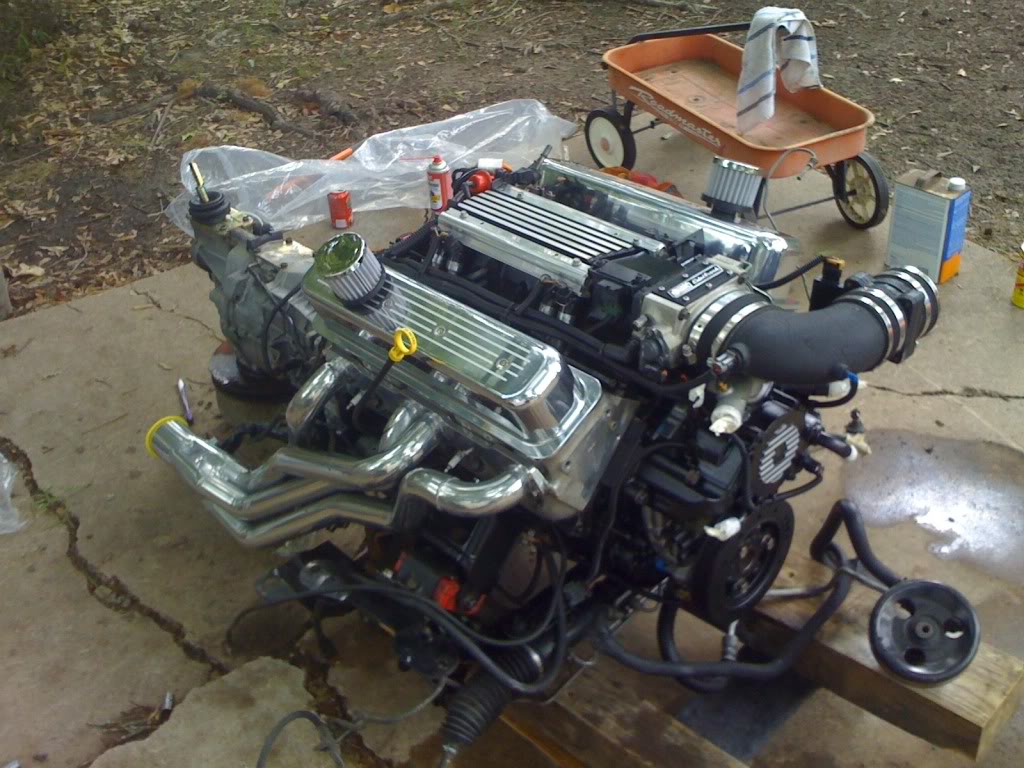
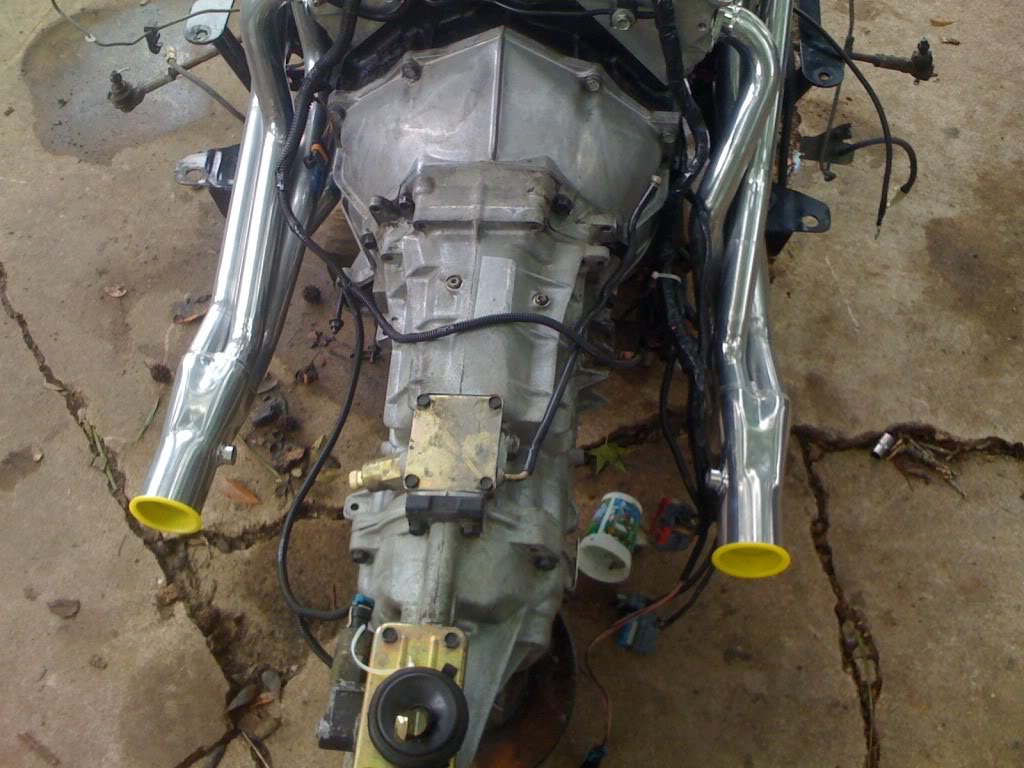
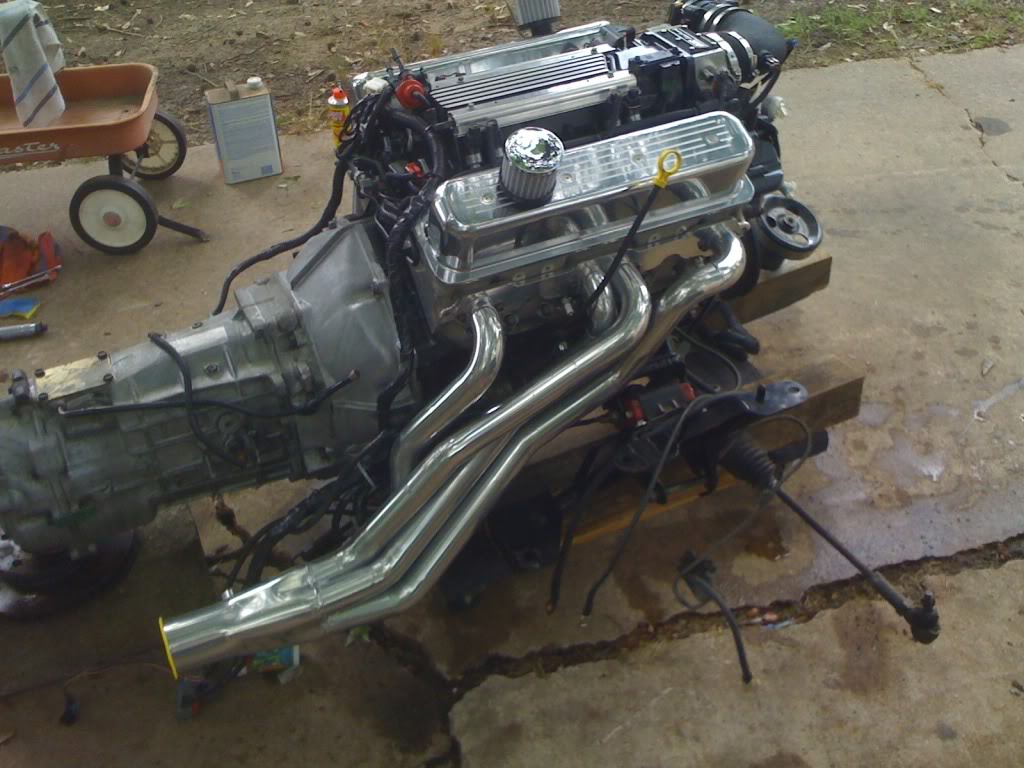
oh yeah, got my headers installed also.

pictures to come tomorrow with them installed against the new percys header gaskets.
Old 06-03-2010, 09:14 AM
  #82  
TECH Fanatic
iTrader: (15)
 
3800RS's Avatar
 
Join Date: Jan 2005
Location: Long Island, NY
Posts: 1,474
Likes: 0
Received 0 Likes on 0 Posts
Default

what did u paint that elbow and maf with ?
Old 06-03-2010, 09:24 AM
  #83  
TECH Enthusiast
 
vetteboy99's Avatar
 
Join Date: Jul 2008
Location: Memphis, tn
Posts: 669
Likes: 0
Received 0 Likes on 0 Posts
Default

I really don't understand what your trying to do? Are you trying to rebuild the motor (replace crank, pistons, rod, ETC.) or are you trying to throw mods on it?
Old 06-03-2010, 12:30 PM
  #84  
TECH Veteran
iTrader: (9)
 
King Nothing's Avatar
 
Join Date: Oct 2005
Location: Central Valley
Posts: 4,764
Likes: 0
Received 21 Likes on 19 Posts

Default

damn it's comin together!!

Originally Posted by vetteboy99
I really don't understand what your trying to do? Are you trying to rebuild the motor (replace crank, pistons, rod, ETC.) or are you trying to throw mods on it?
this
Originally Posted by scj
okay, so after a blown head gasket, and many more problems on a unknown mileage motor that i bought the car with installed I've decided to cut my losses and pull it out and redo everything my self. I'll be redoing the engine bay too clean it up a lot and make it looks nice and sexy. I'll be going with a mainly stock motor with free mods and a few little bolt ons being that the car is going to be a daily for a while, and i don't want to do anything ridiculous until i have another daily car, but this is just for now.
Old 06-03-2010, 02:27 PM
  #85  
scj
TECH Addict
Thread Starter
iTrader: (89)
 
scj's Avatar
 
Join Date: Feb 2008
Location: Magnolia, Texas
Posts: 2,021
Likes: 0
Received 23 Likes on 16 Posts

Default

Originally Posted by 3800RS
what did u paint that elbow and maf with ?
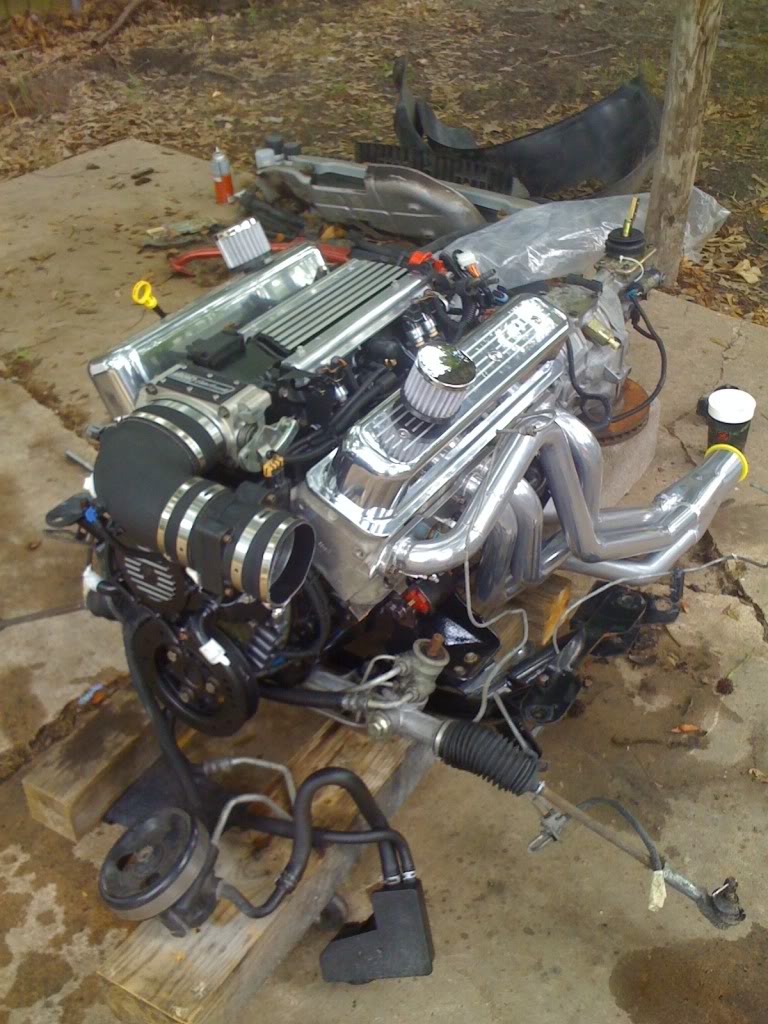
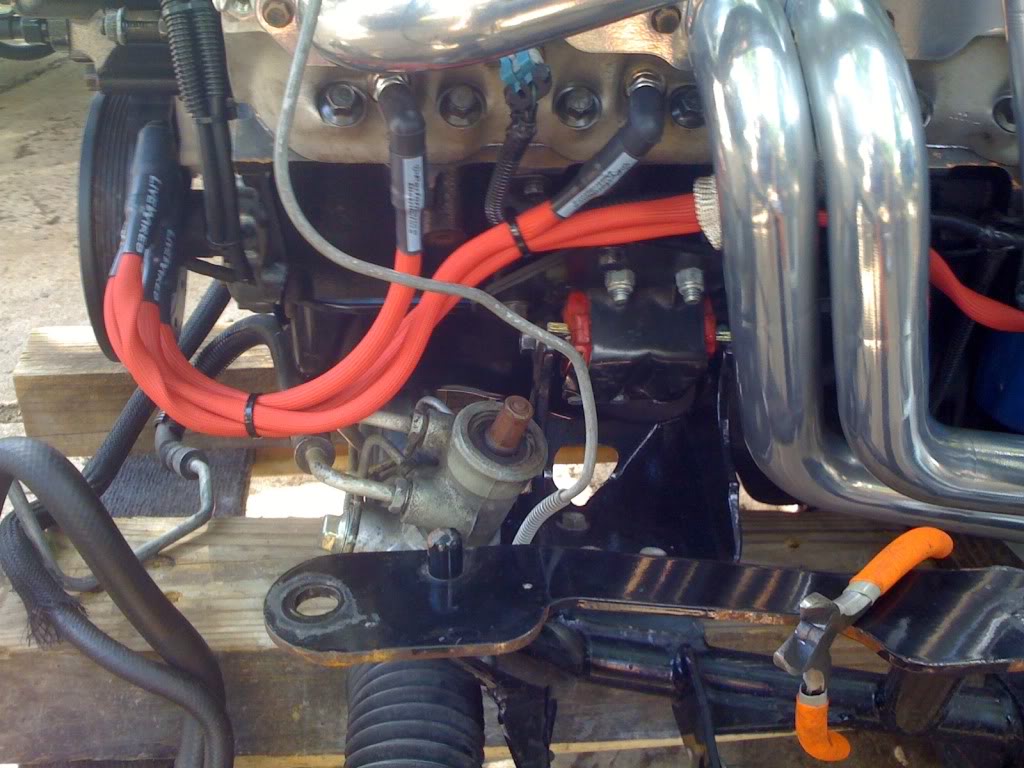
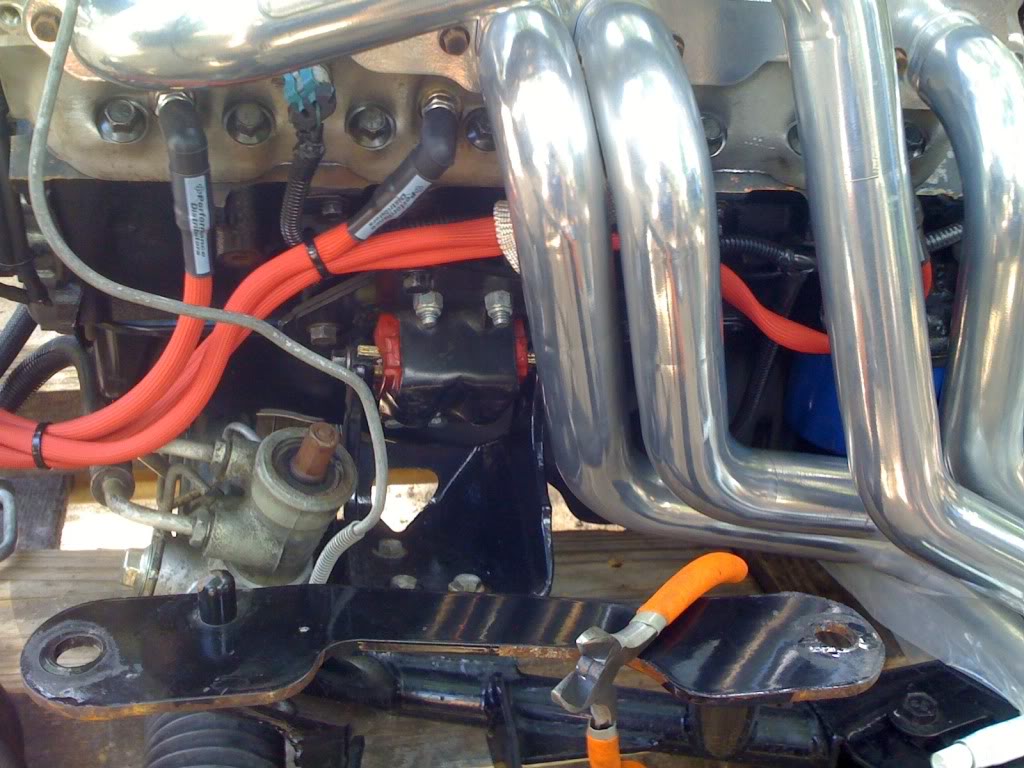
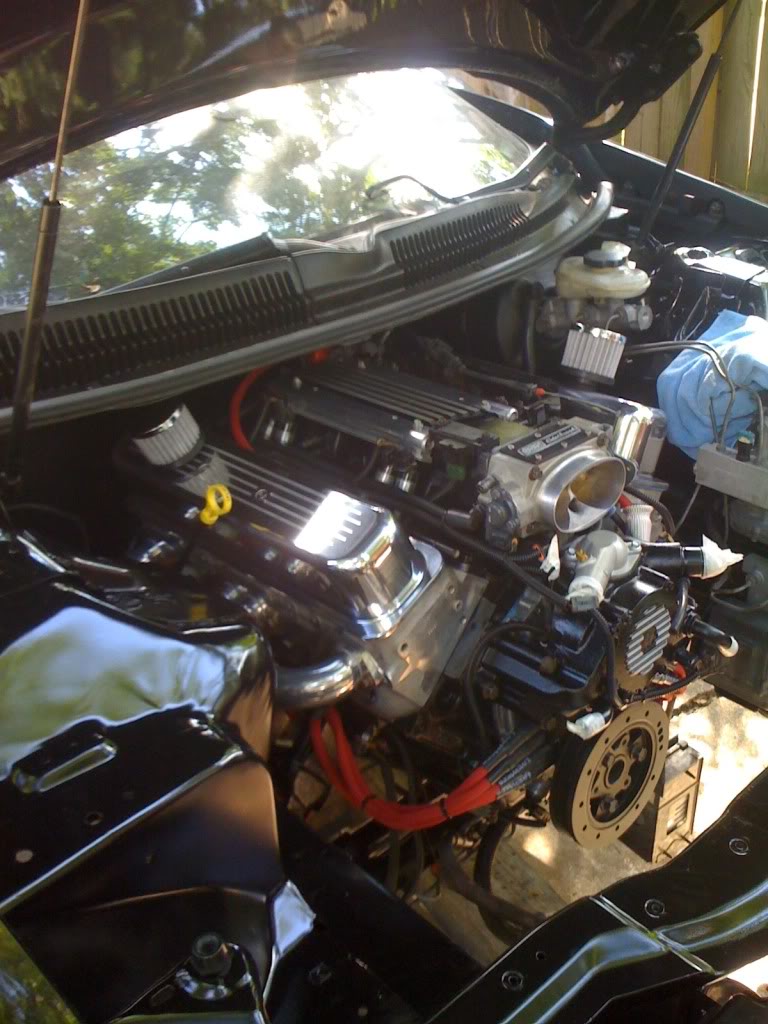
they are painted with vht crinkle finish paint.

Originally Posted by King Nothing
damn it's comin together!!


this
thanks man!
Originally Posted by vetteboy99
I really don't understand what your trying to do? Are you trying to rebuild the motor (replace crank, pistons, rod, ETC.) or are you trying to throw mods on it?
King nothing pretty much answered your question for you, read the thread man...


well, i used an ez out, and got the broken bolt out, purchased all new bolts, and installed the clutch assembly onto the flywheel, got all the bolts torqued aswell 55lbs.

Name:  6db3b8b8.jpg
Views: 32
Size:  115.2 KB
Name:  358381c7.jpg
Views: 48
Size:  126.0 KB

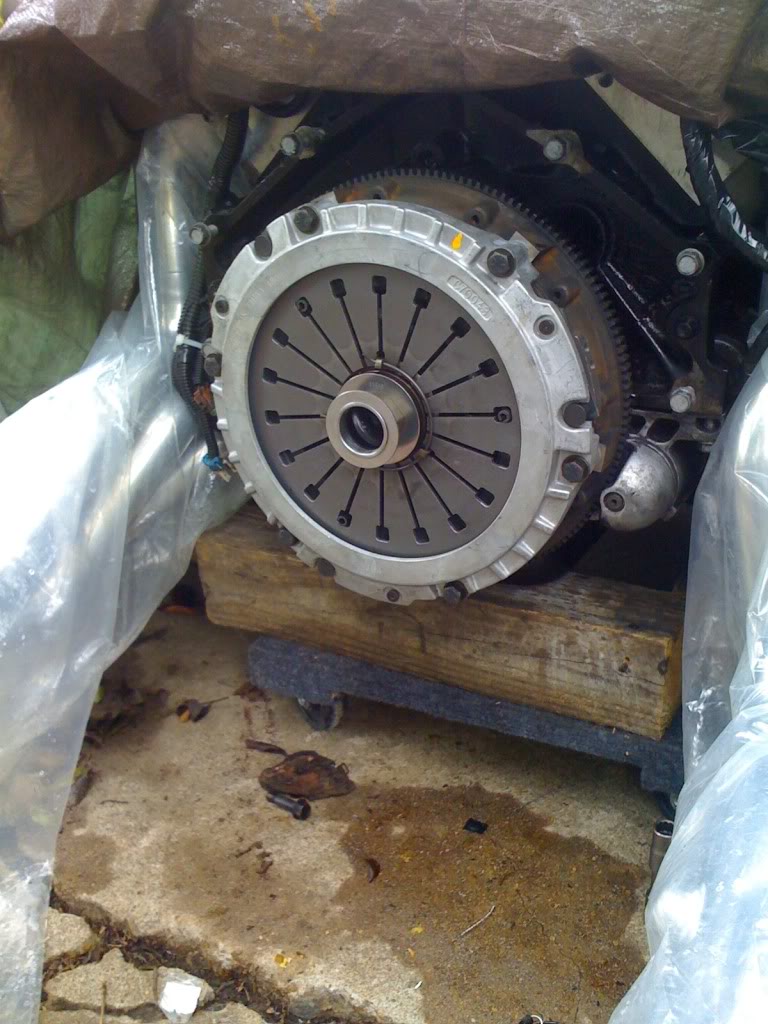
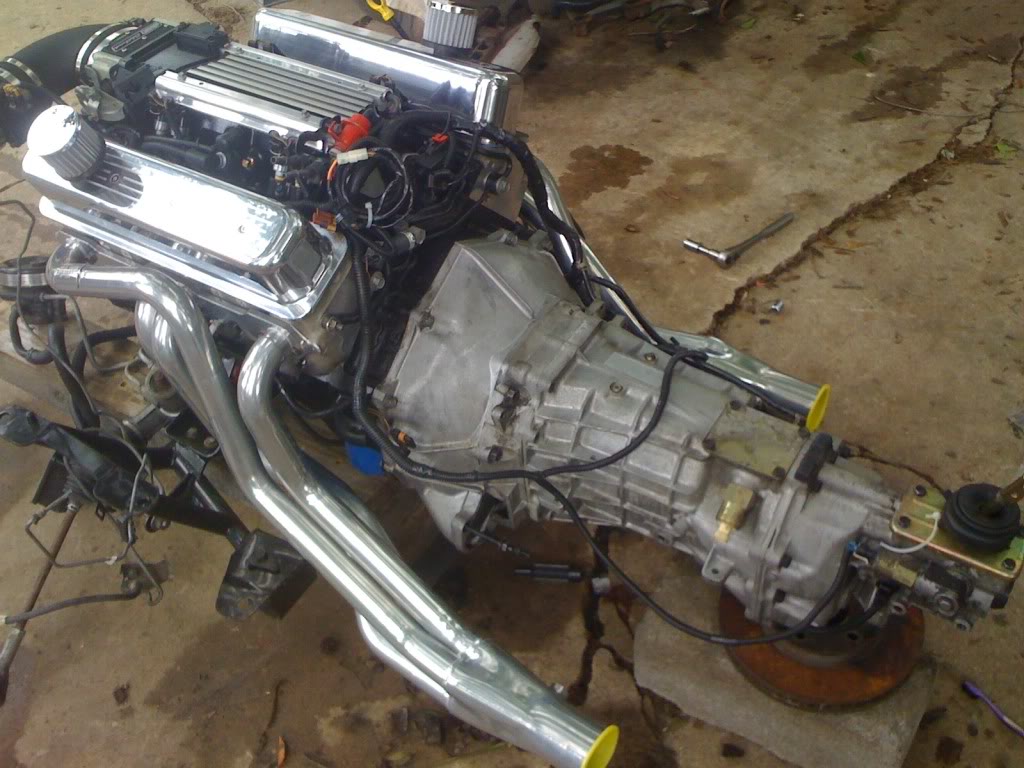
gotta clean up the bell housing, and that and the tranny will be going on shortly.
stay tuned guys.
Old 06-03-2010, 04:35 PM
  #86  
scj
TECH Addict
Thread Starter
iTrader: (89)
 
scj's Avatar
 
Join Date: Feb 2008
Location: Magnolia, Texas
Posts: 2,021
Likes: 0
Received 23 Likes on 16 Posts

Default

well i got the bell housing on..

Name:  4d1b6700.jpg
Views: 44
Size:  120.7 KB
Old 06-03-2010, 04:37 PM
  #87  
TECH Veteran
iTrader: (9)
 
King Nothing's Avatar
 
Join Date: Oct 2005
Location: Central Valley
Posts: 4,764
Likes: 0
Received 21 Likes on 19 Posts

Default

lookin good bud!
Old 06-03-2010, 05:26 PM
  #88  
scj
TECH Addict
Thread Starter
iTrader: (89)
 
scj's Avatar
 
Join Date: Feb 2008
Location: Magnolia, Texas
Posts: 2,021
Likes: 0
Received 23 Likes on 16 Posts

Default

Originally Posted by King Nothing
lookin good bud!

thanks again man, hopefully i can get the trans installed as well soon.
Old 06-04-2010, 02:53 PM
  #89  
scj
TECH Addict
Thread Starter
iTrader: (89)
 
scj's Avatar
 
Join Date: Feb 2008
Location: Magnolia, Texas
Posts: 2,021
Likes: 0
Received 23 Likes on 16 Posts

Default

okay, so i got the trans installed today.
snapped some pictures of the full motor and trans with the headers mounted up.

also, check out my transmission dolly... little red wagon.

Name:  70eb0873.jpg
Views: 40
Size:  143.8 KB
Name:  a0aa5f1a.jpg
Views: 40
Size:  146.0 KB
Name:  5891aeca.jpg
Views: 47
Size:  125.2 KB
Name:  1e9d27ce.jpg
Views: 37
Size:  123.4 KB
Name:  b98baf1c.jpg
Views: 53
Size:  118.3 KB
Old 06-04-2010, 04:21 PM
  #90  
TECH Veteran
iTrader: (9)
 
King Nothing's Avatar
 
Join Date: Oct 2005
Location: Central Valley
Posts: 4,764
Likes: 0
Received 21 Likes on 19 Posts

Default

looks good!
Old 06-10-2010, 08:12 PM
  #91  
scj
TECH Addict
Thread Starter
iTrader: (89)
 
scj's Avatar
 
Join Date: Feb 2008
Location: Magnolia, Texas
Posts: 2,021
Likes: 0
Received 23 Likes on 16 Posts

Default

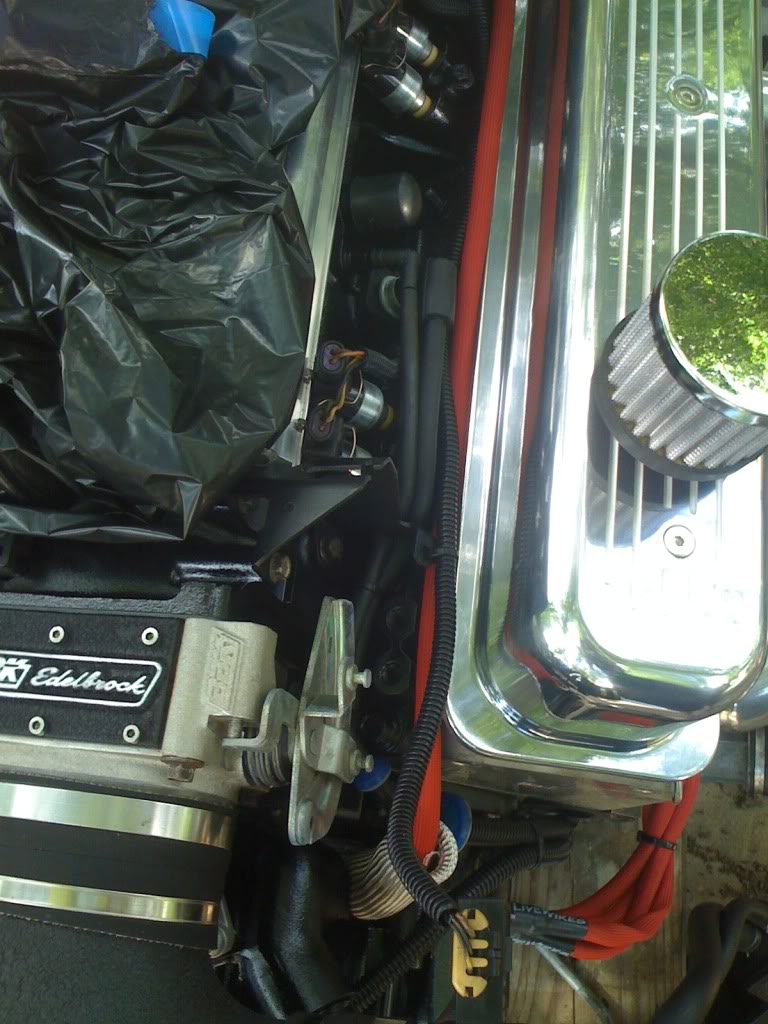
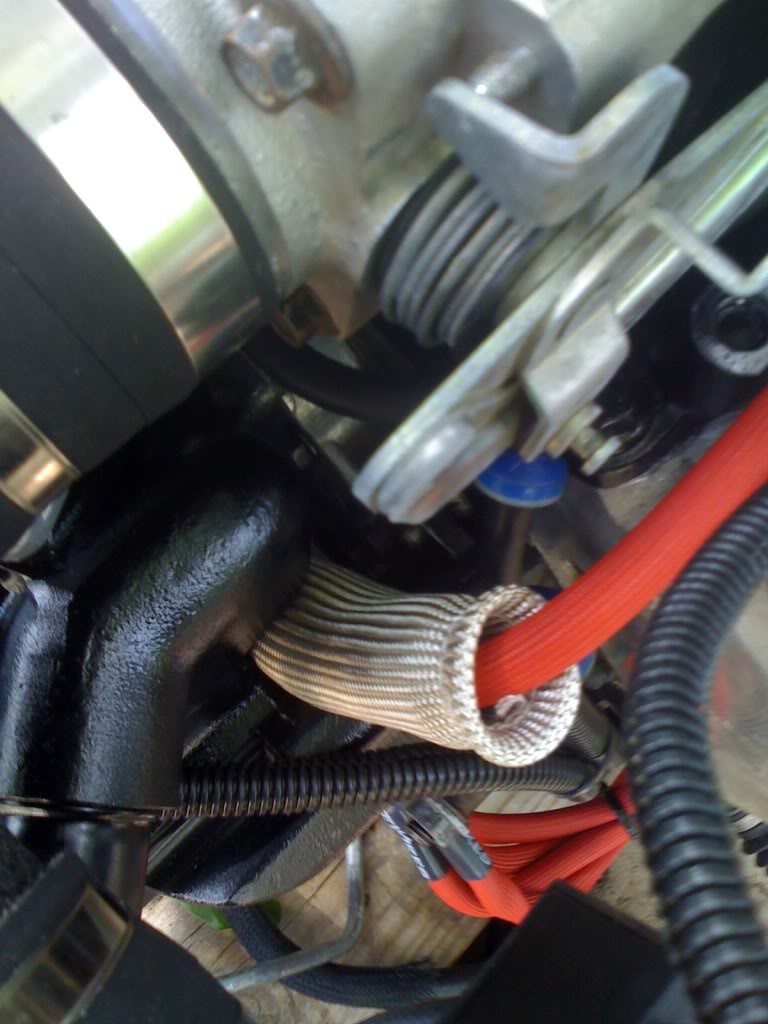
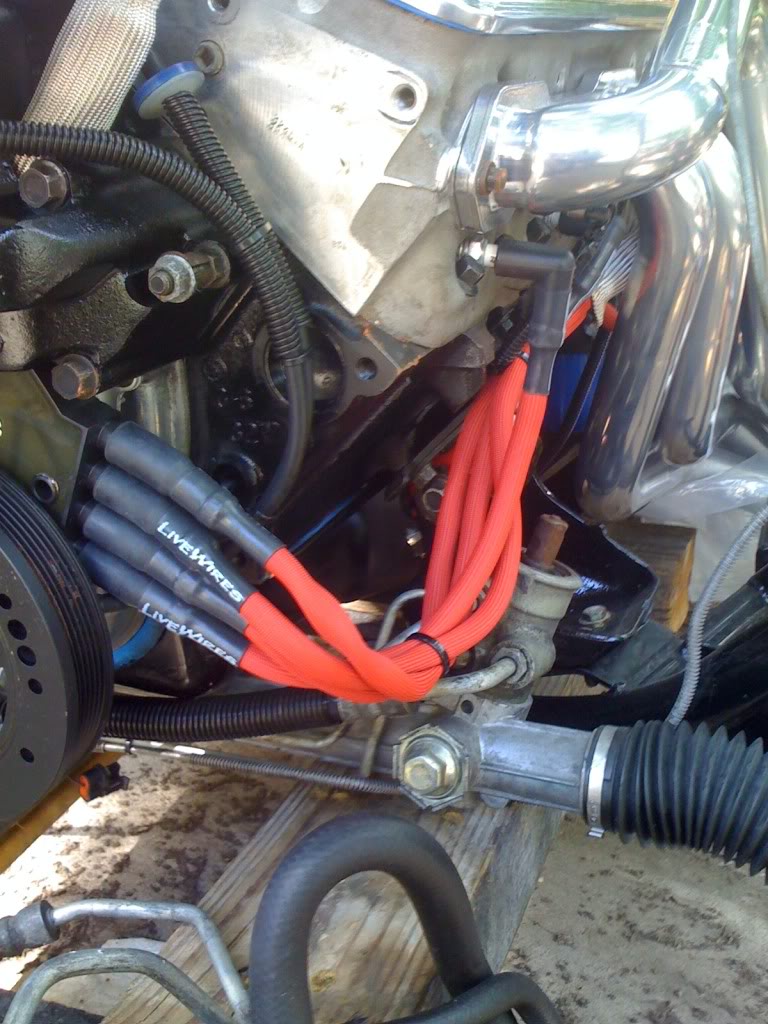
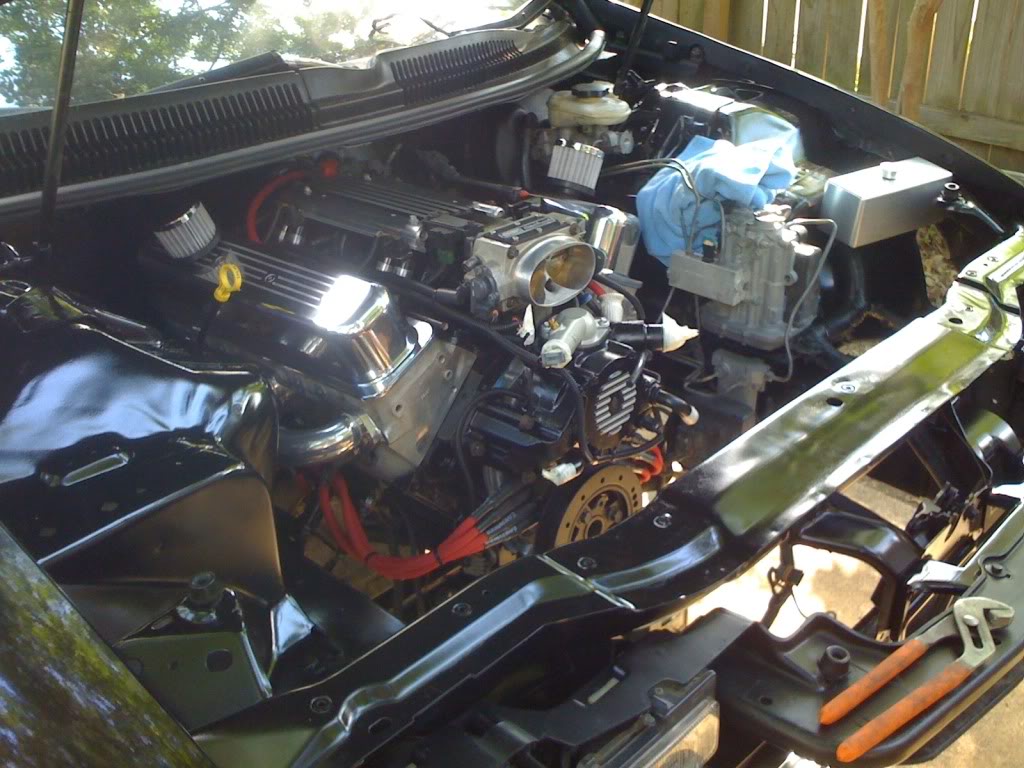
i got my o2's taken off of the old manifolds and installed on my lt's, i have my o2 extension harnesses ordered and on their way, along with my speed inc relocation bracket, moroso cai, and my Davis unified ignition plug wires ordered and on their way as well. interested to see these wires, they custom made my coil wire for my relocation of my coil, and all the wires are covered in heat sleeveing that is shrink sleeved onto the ends of the wire, not to mention they're 10mm.. should have these in, and installed within the next week. then the motor is going into the car. then all that's left is the front suspension which i will be placing an order for very soon. birthday today, and still have grad money. so i'm set to finish this build very soon! stay tuned guys.
Old 06-14-2010, 04:34 PM
  #92  
scj
TECH Addict
Thread Starter
iTrader: (89)
 
scj's Avatar
 
Join Date: Feb 2008
Location: Magnolia, Texas
Posts: 2,021
Likes: 0
Received 23 Likes on 16 Posts

Default

Name:  fdf7dd69.jpg
Views: 38
Size:  122.0 KB
Name:  dabf5ab0.jpg
Views: 72
Size:  128.6 KB
Name:  c41f6677.jpg
Views: 30
Size:  126.0 KB
Name:  22a4970a.jpg
Views: 32
Size:  88.0 KB
Name:  45afcb6c.jpg
Views: 46
Size:  136.5 KB

got my "livewires" plug wires from performance distributors in the mail, and installed. really nice products. i shouldn't have any arcing problems ever! lol..
still waiting on my relocation bracket, and 02 extensions.
Old 06-18-2010, 10:38 AM
  #93  
scj
TECH Addict
Thread Starter
iTrader: (89)
 
scj's Avatar
 
Join Date: Feb 2008
Location: Magnolia, Texas
Posts: 2,021
Likes: 0
Received 23 Likes on 16 Posts

Default

motor's in...

Name:  188d01ce.jpg
Views: 35
Size:  126.1 KB
Name:  44e04b3e.jpg
Views: 48
Size:  121.5 KB
Name:  0016d7ed.jpg
Views: 86
Size:  134.9 KB
Name:  96d0631d.jpg
Views: 35
Size:  119.6 KB
Old 06-18-2010, 02:25 PM
  #94  
TECH Resident
 
Blackhawk777's Avatar
 
Join Date: Feb 2006
Location: Omahaish. Nebraska.
Posts: 855
Likes: 0
Received 0 Likes on 0 Posts
Default

Very slick looking man! Makes me wanna go and tear mine apart and do the same.
Old 06-18-2010, 03:22 PM
  #95  
TECH Apprentice
iTrader: (9)
 
Reaper-Z's Avatar
 
Join Date: Jul 2009
Location: Toronto, Ont
Posts: 322
Received 27 Likes on 20 Posts

Default

Looks real nice dude!
Old 06-18-2010, 09:20 PM
  #96  
TECH Enthusiast
iTrader: (4)
 
BlueMagicSS's Avatar
 
Join Date: Dec 2008
Location: Bay Area, CA
Posts: 524
Received 1 Like on 1 Post

Default

Very nice. makes me excited to do some work to mine. Keep the pics comin
Old 06-18-2010, 09:51 PM
  #97  
TECH Apprentice
iTrader: (11)
 
Circa307's Avatar
 
Join Date: Mar 2009
Posts: 374
Likes: 0
Received 0 Likes on 0 Posts

Default

got to always respect the dive way builds. man that motor is pretty enough to make most of us LS1 guys jealous.
Old 06-19-2010, 12:13 AM
  #98  
scj
TECH Addict
Thread Starter
iTrader: (89)
 
scj's Avatar
 
Join Date: Feb 2008
Location: Magnolia, Texas
Posts: 2,021
Likes: 0
Received 23 Likes on 16 Posts

Default

Originally Posted by Blackhawk777
Very slick looking man! Makes me wanna go and tear mine apart and do the same.
thanks man, i've put a lot of work into it so far, and there is much more to go.
it's well worth it to me in the end though!
Originally Posted by Reaper-Z
Looks real nice dude!
Thanks man. i'm excited. i got all the wiring done on it yesterday, along with reconnecting the brake lines and extending some of the harness.
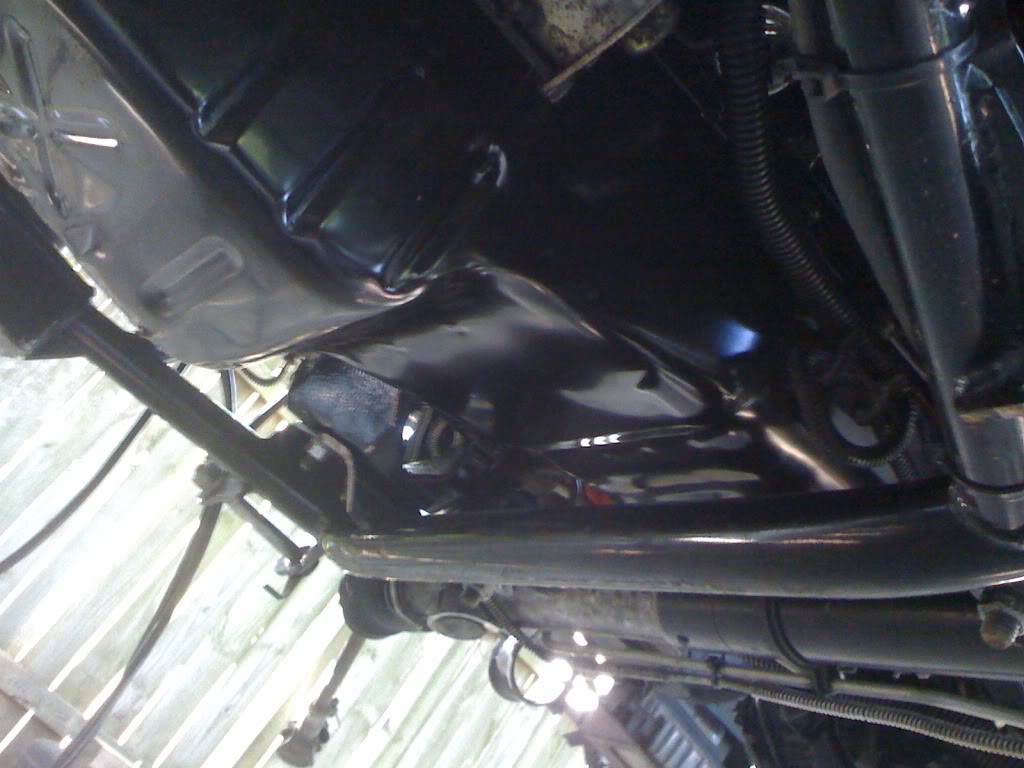
The Tubular K-member is a life saver, and is by far the best investment I've put into the build considering it makes working on the car 100 times easier from underneath. everything is accessible with ease compared to not being able to get to **** with the stock k member.
Originally Posted by BlueMagicSS
Very nice. makes me excited to do some work to mine. Keep the pics comin
don't worry, they'll be coming as i progress.
Originally Posted by Circa307
got to always respect the dive way builds. man that motor is pretty enough to make most of us LS1 guys jealous.
thanks man, it's a pain in the *** in the drive way, so the respect is well deserved and worked for.
Old 06-19-2010, 01:33 PM
  #99  
TECH Veteran
iTrader: (9)
 
King Nothing's Avatar
 
Join Date: Oct 2005
Location: Central Valley
Posts: 4,764
Likes: 0
Received 21 Likes on 19 Posts

Default

looks awesome sitting in the engine bay!!!!!!! much credit and props to you for doin this
Old 06-21-2010, 08:11 PM
  #100  
scj
TECH Addict
Thread Starter
iTrader: (89)
 
scj's Avatar
 
Join Date: Feb 2008
Location: Magnolia, Texas
Posts: 2,021
Likes: 0
Received 23 Likes on 16 Posts

Talking

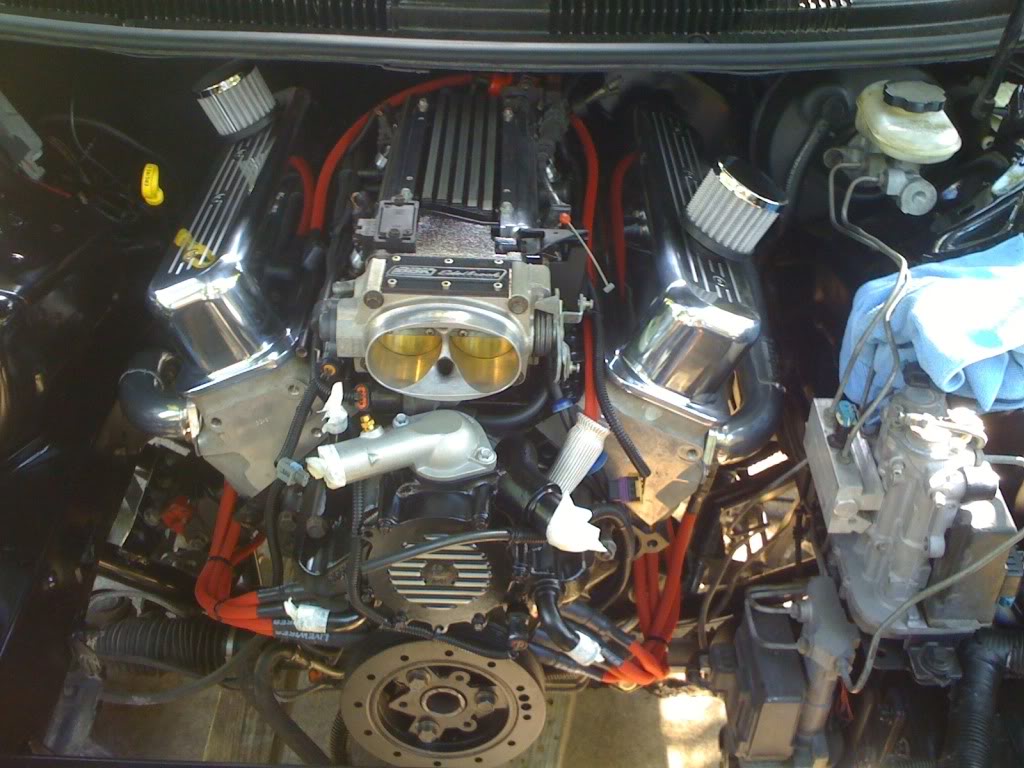
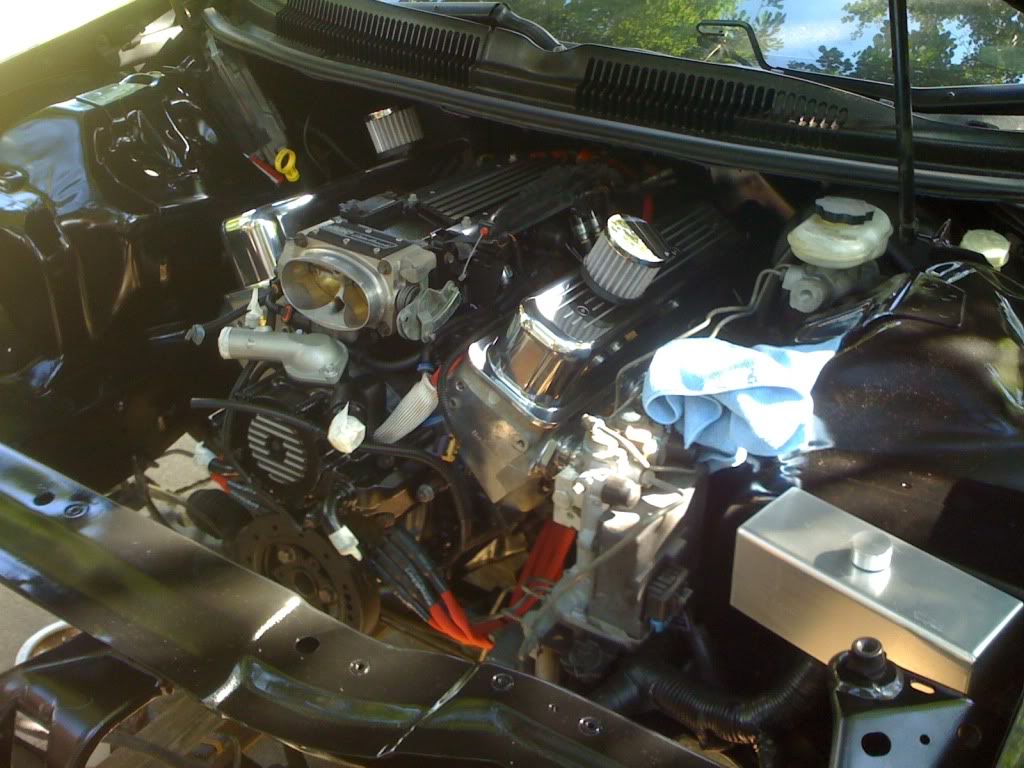
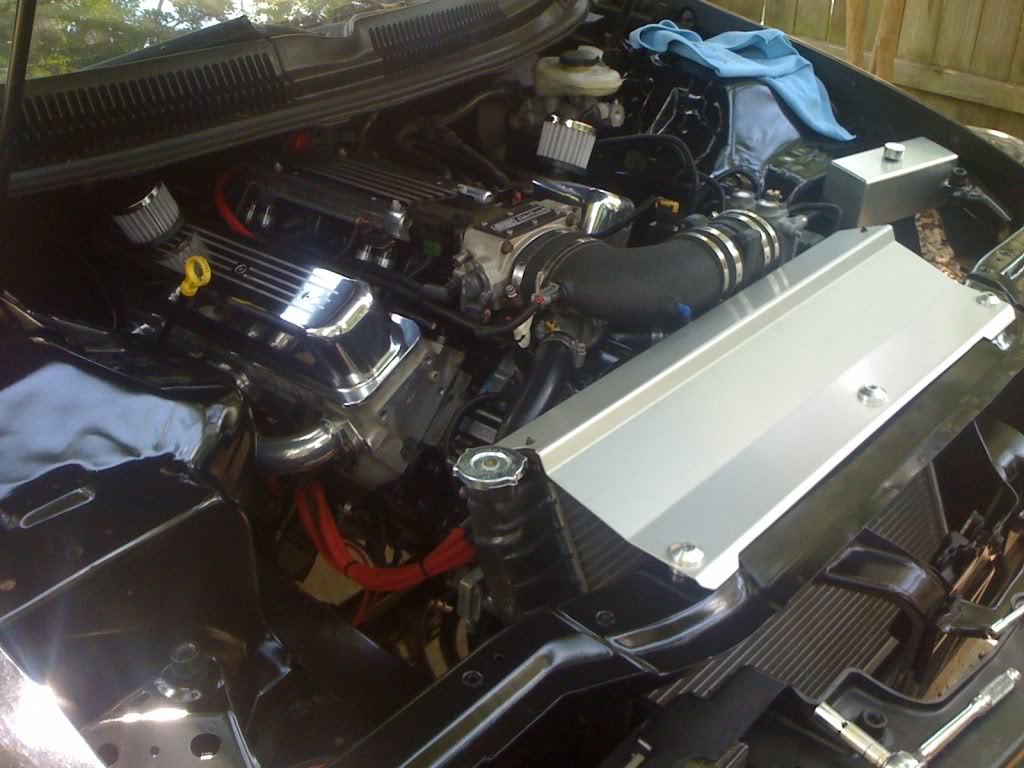
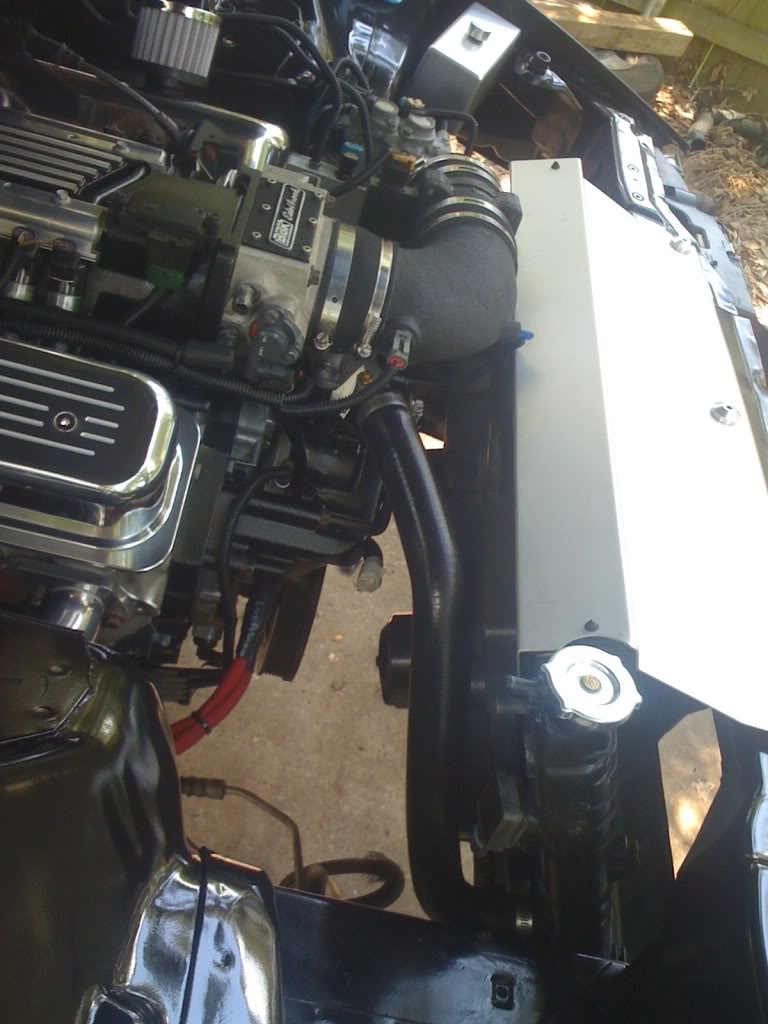
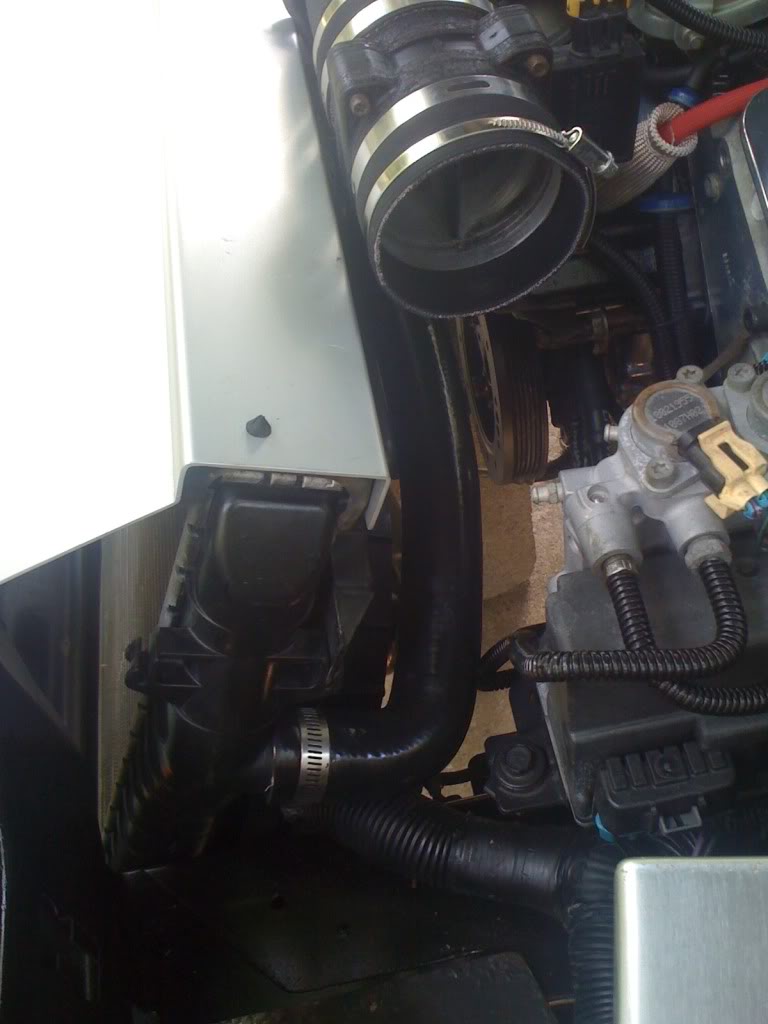
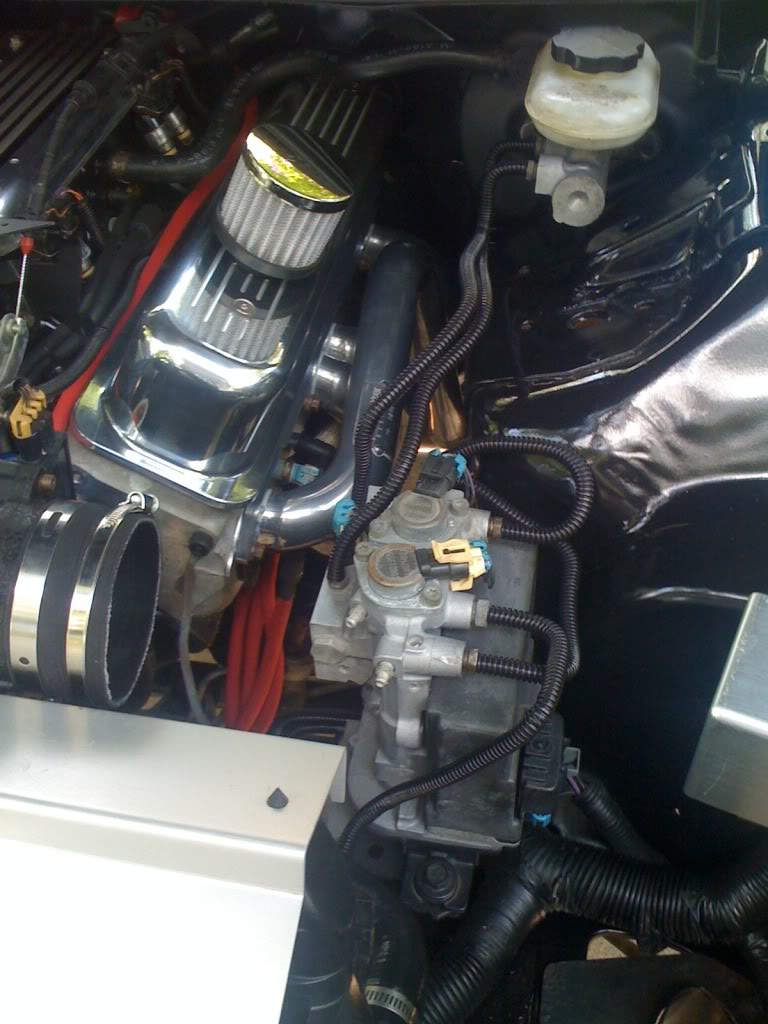
Today I got the radiator and fan assemblys all cleaned up, and installed along with the radiator shroud and both radiator hoses, some of thr intake. I loomed up the brake lines for alot cleaner of a look without the hassle of polishing them up. I also painted the cai I bought with wrinkle finish to match the rest of the intake. Slowly coming along.
Name:  8e8e59a6.jpg
Views: 36
Size:  107.1 KB
Name:  c690eccc.jpg
Views: 27
Size:  97.3 KB
Name:  c2e45032.jpg
Views: 32
Size:  68.4 KB
Name:  398ae0b3.jpg
Views: 35
Size:  103.1 KB
also my extended wire mod.
Name:  7207b864.jpg
Views: 38
Size:  81.6 KB
and the clearances with the tubular k-member.
Name:  1050e881.jpg
Views: 34
Size:  87.9 KB
enjoy.


Quick Reply: Engine swap and engine bay build.


All times are GMT -5. The time now is 05:33 PM.