My Camaro Rebuild part one, Whp Lsh Begins
 10-11-2010, 11:21 AM
#1
TECH Enthusiast
Thread Starter
iTrader: (3)
Join Date: May 2007
Location: CT/NY
Posts: 725
Likes: 0
Received 0 Likes
on
0 Posts

Hey guys, Ive been pretty busy for the last few months so ive been slackin on gettin these up, but i wanted to give you guys an update on the car i picked up exactly one year ago and what ive been doing to it. Here the original thread of when i got it The car is far from done. This IS NOT the Final color of the car, rather just something badass i could live with while doing the body work and suspension.
The car is definatly comming completely back apart for some sick color, i wanted blue at first, but they are too common, im tore between two really sick colors, but i cant reveal those untill its painted
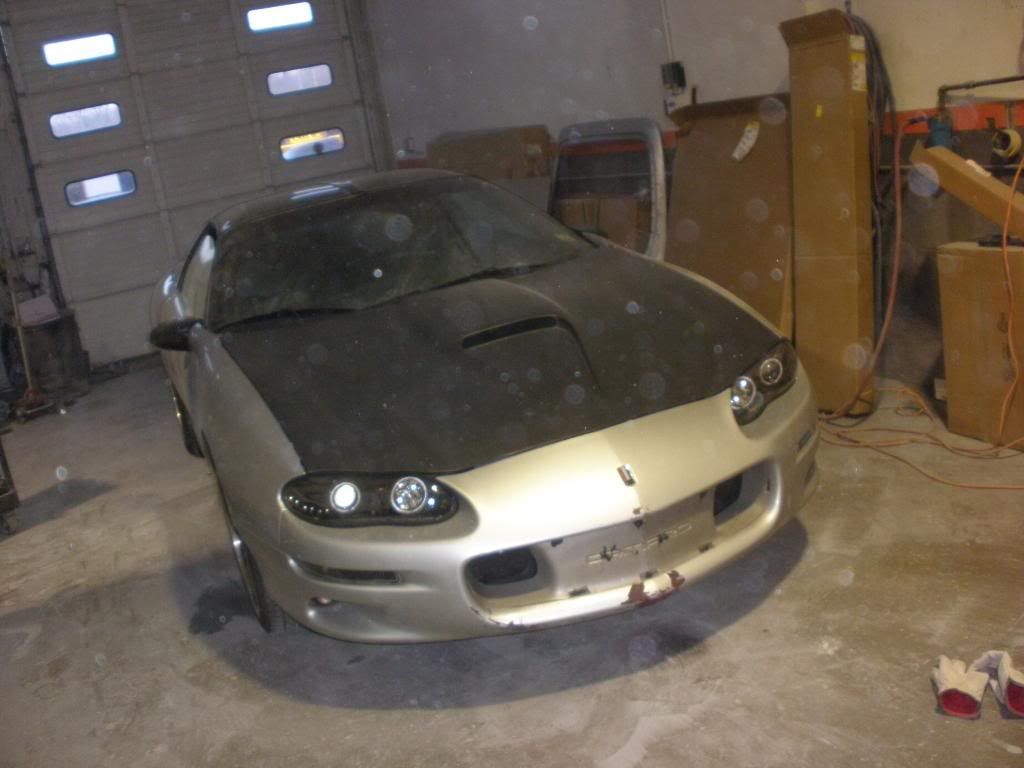
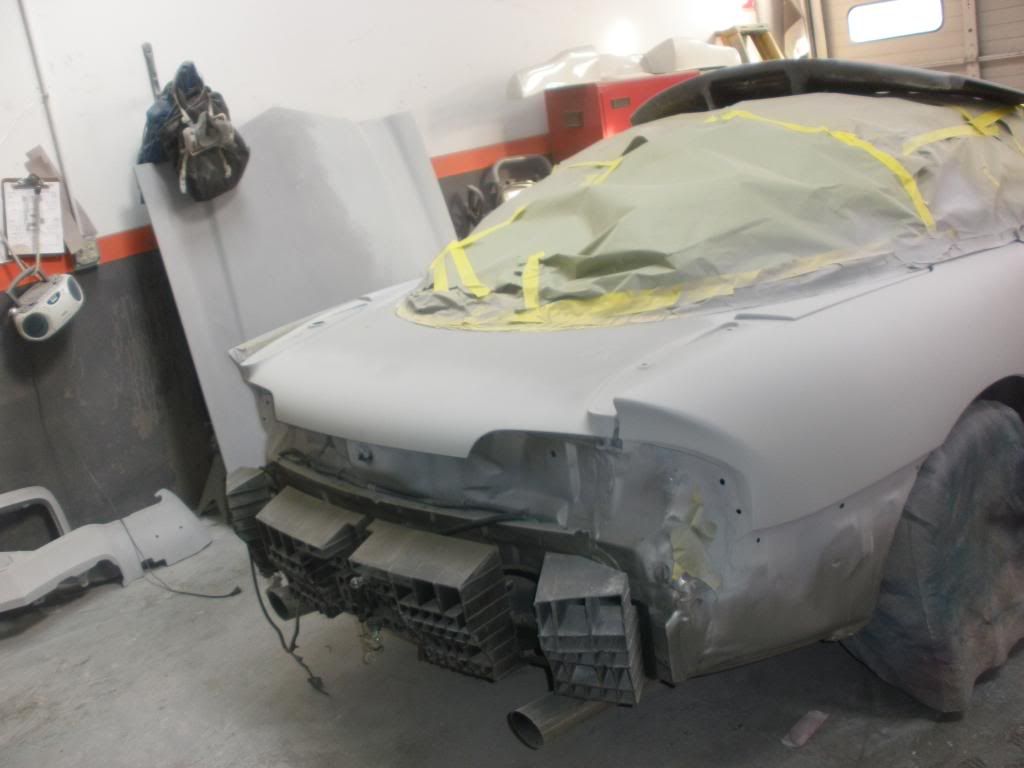
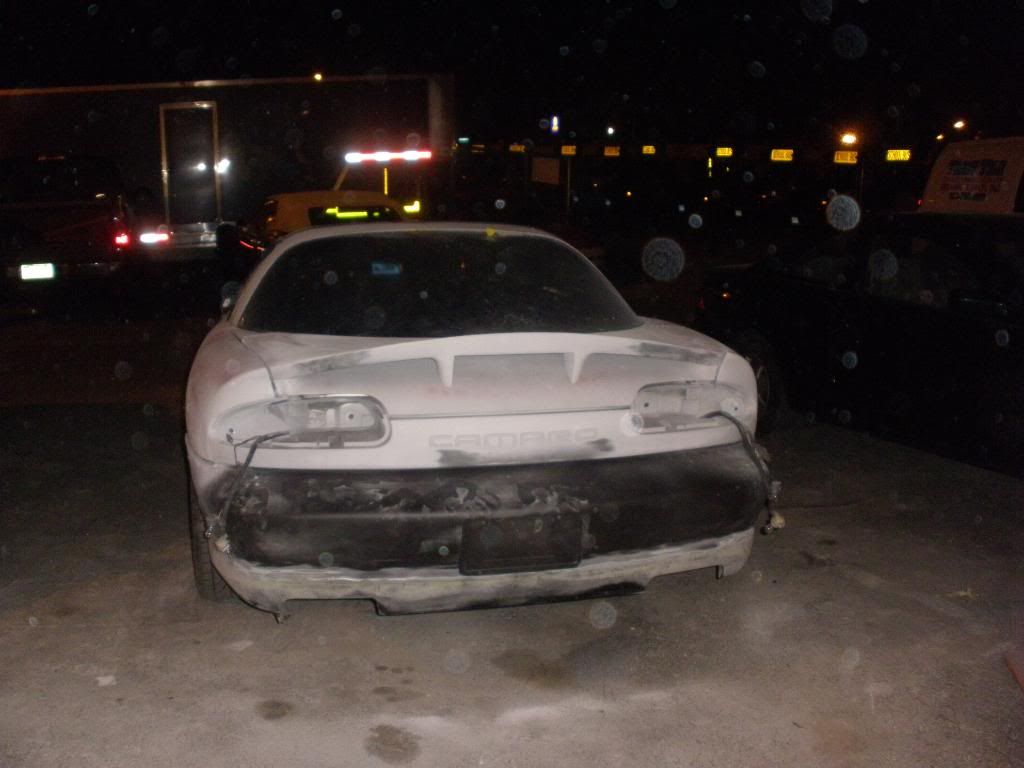
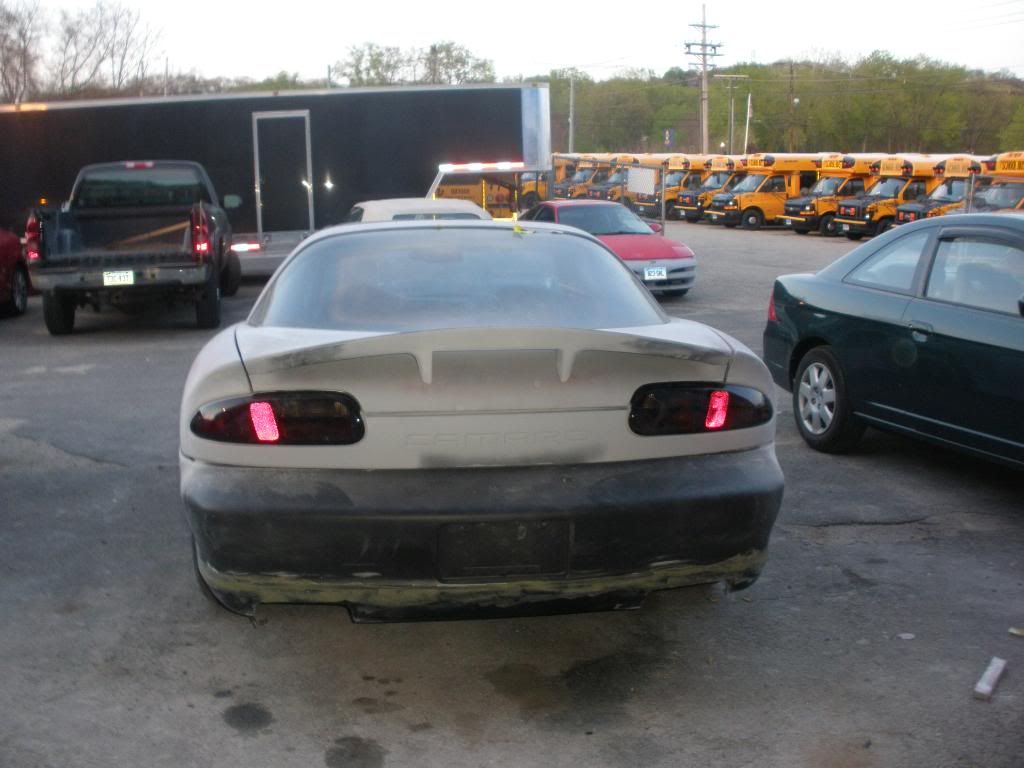
Here she is in the shop. Fugly
I Started at the back bumper and begain stripping it down. It had about 6 silver paint jobs on it, i like to strip everything first, and do custom work after i know what im working with.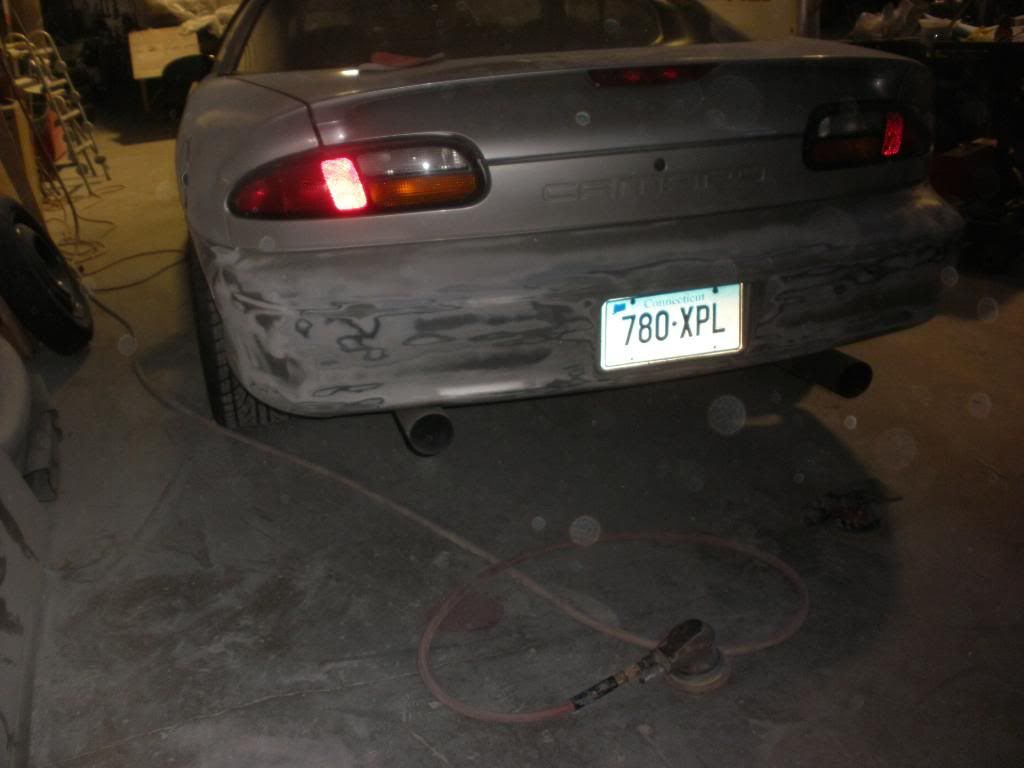

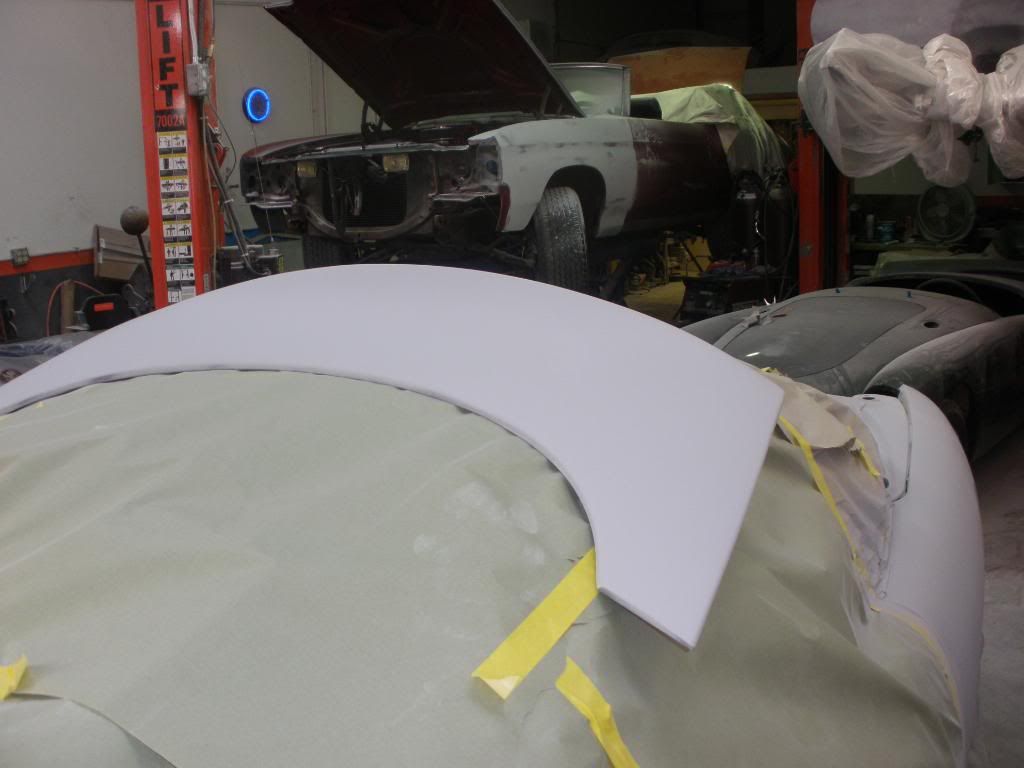
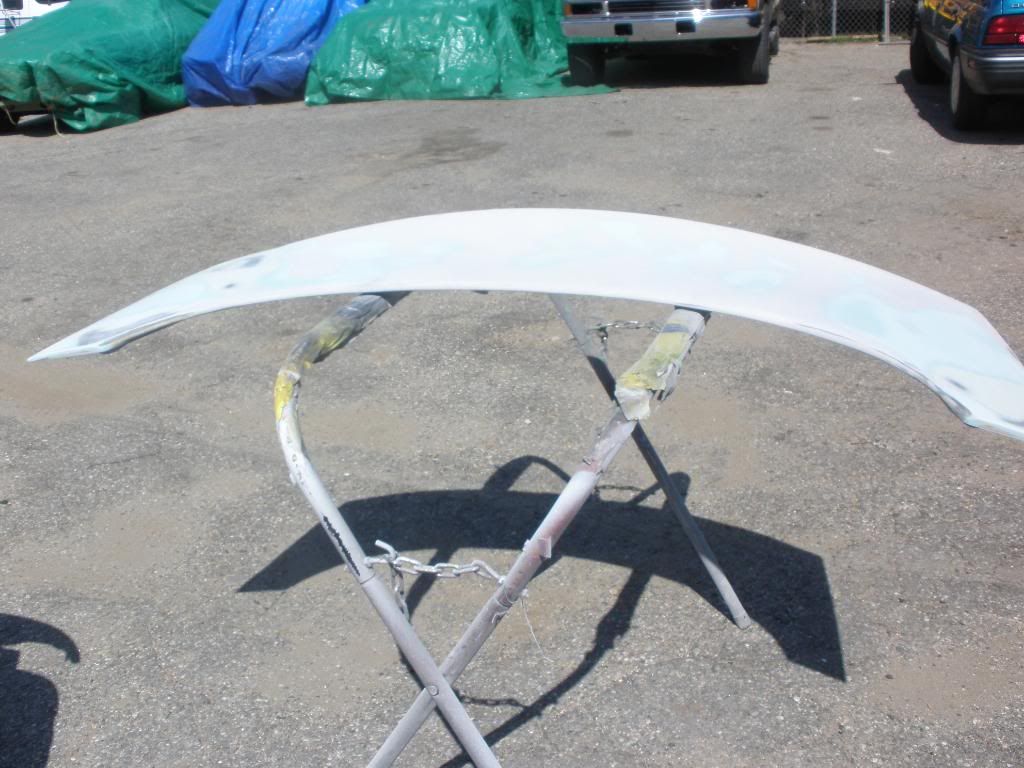
Then i picked up an SS spoiler from ebay, Now ive seen the threads that people say they fit great.. Well mine fit like and was really wavey, I would probably hate the stock fitment to, but anyway i fit it to my hatch and fixed all the waves and pinholes.
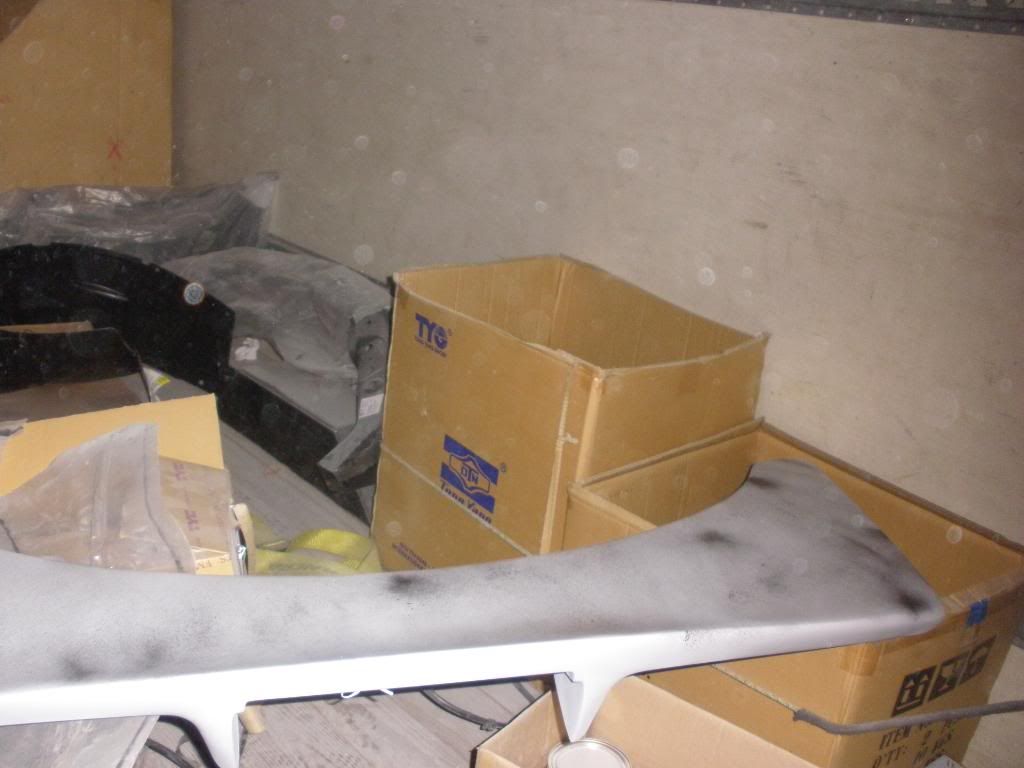
 Terrible fit, countours were all off, and the gaps were scary.
Fittin her to the body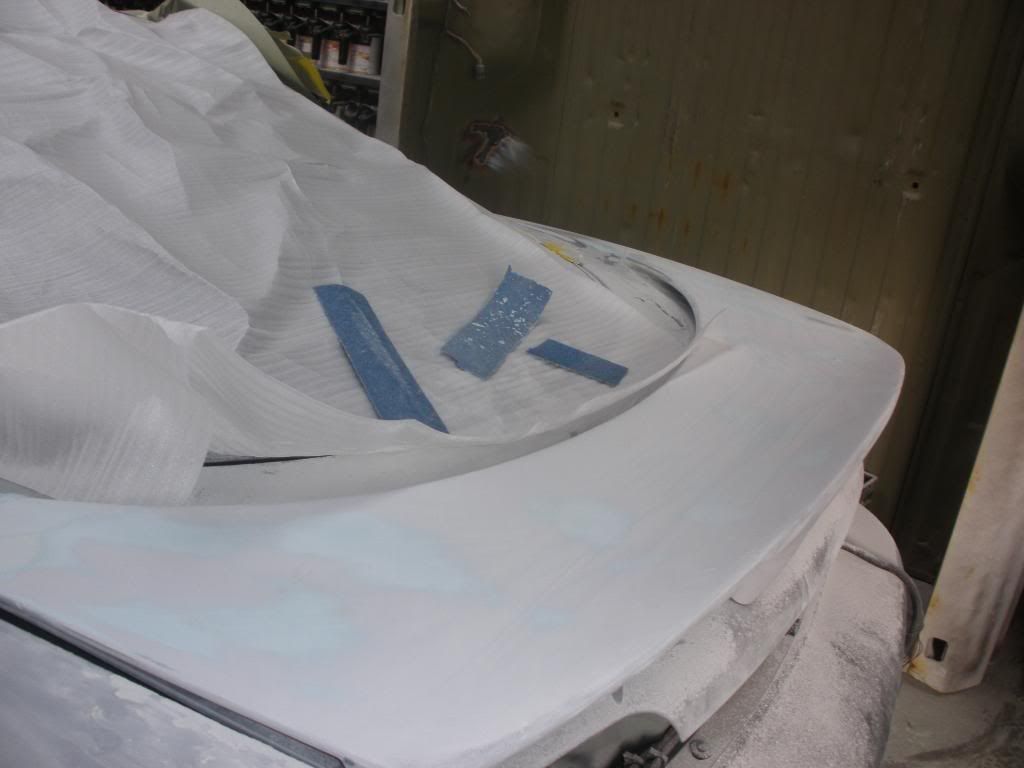

The car is definatly comming completely back apart for some sick color, i wanted blue at first, but they are too common, im tore between two really sick colors, but i cant reveal those untill its painted
Here she is in the shop. Fugly
I Started at the back bumper and begain stripping it down. It had about 6 silver paint jobs on it, i like to strip everything first, and do custom work after i know what im working with.
Then i picked up an SS spoiler from ebay, Now ive seen the threads that people say they fit great.. Well mine fit like
and was really wavey, I would probably hate the stock fitment to, but anyway i fit it to my hatch and fixed all the waves and pinholes. Terrible fit, countours were all off, and the gaps were scary. Fittin her to the body
 10-11-2010, 11:32 AM
#2
TECH Enthusiast
Thread Starter
iTrader: (3)
Join Date: May 2007
Location: CT/NY
Posts: 725
Likes: 0
Received 0 Likes
on
0 Posts
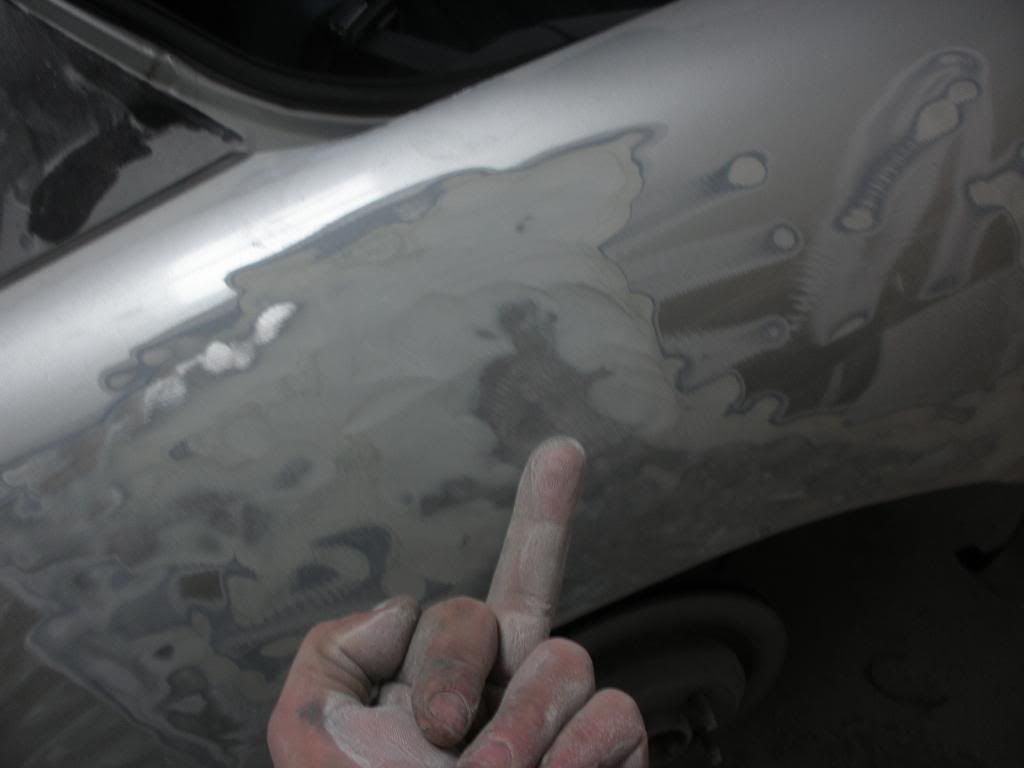
Then the real fun begain, Now i knew the car had been in some accidents, and i started to strip the quarters down to bare metal like every car i do, and... Tons of Bondo, terrible metal work, and screw holes from an old school slide hammer

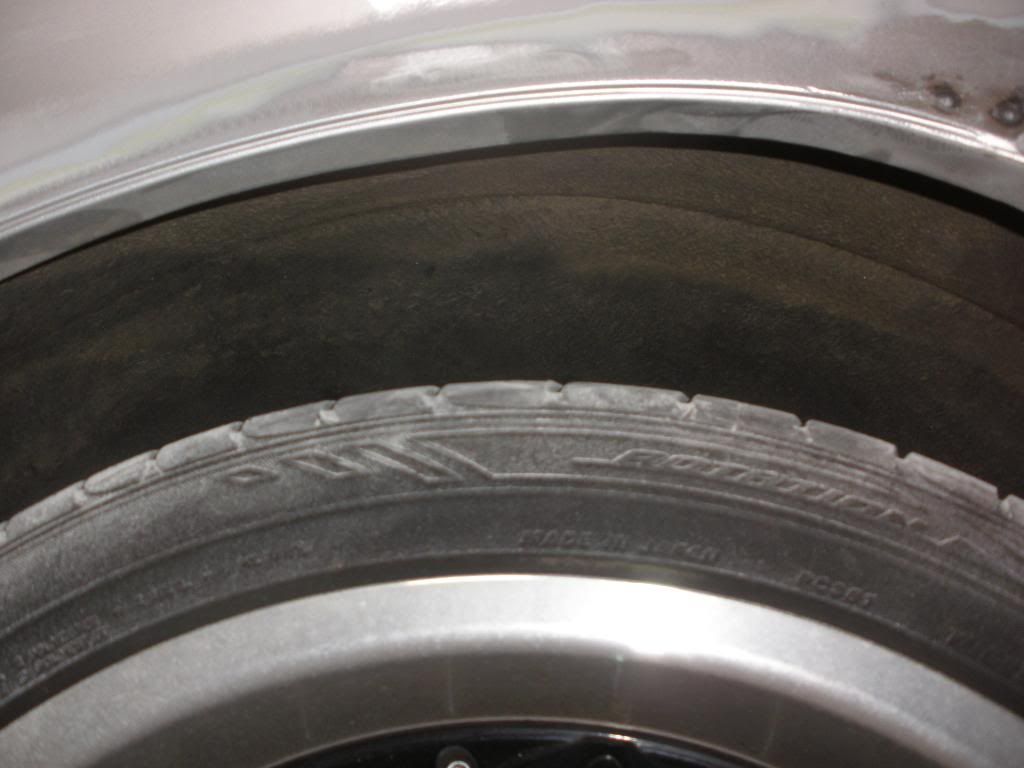 Gonna hammer and dolly this baby flat just like the T/a for max tire clearence
After a ton of hammer and dolly work, and lots of heat shrinkin and welding with the torch,
And some high build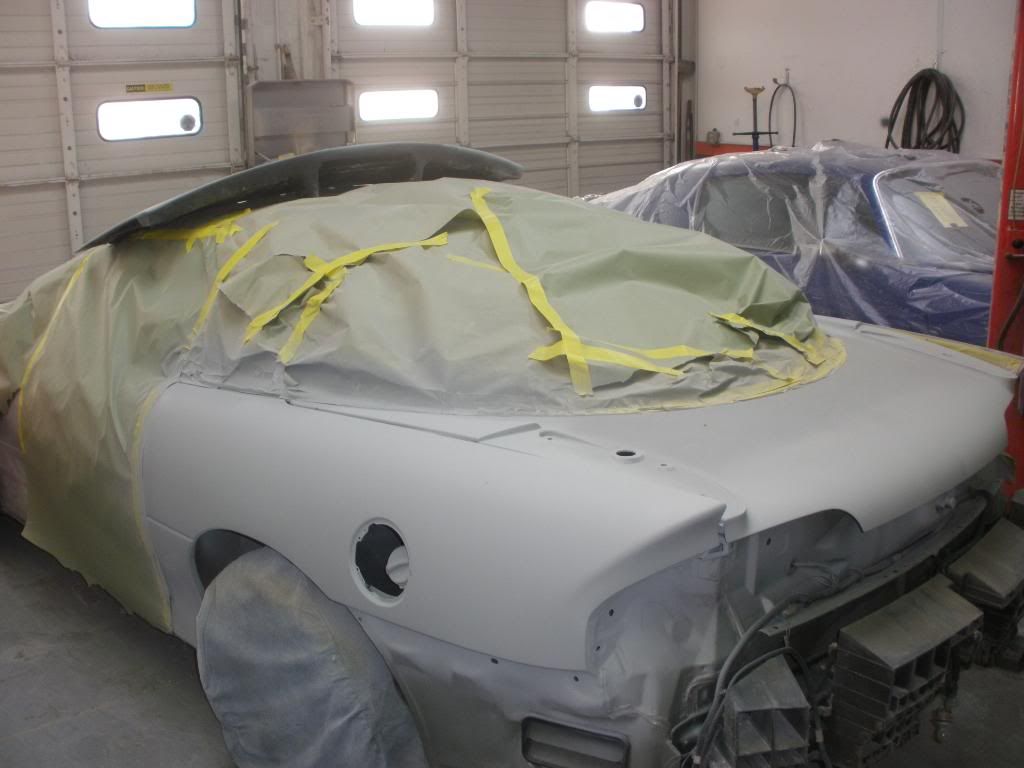
Gonna hammer and dolly this baby flat just like the T/a for max tire clearence After a ton of hammer and dolly work, and lots of heat shrinkin and welding with the torch,
And some high build
10-11-2010, 11:40 AM
#3
TECH Enthusiast
Thread Starter
iTrader: (3)
Join Date: May 2007
Location: CT/NY
Posts: 725
Likes: 0
Received 0 Likes
on
0 Posts
Little more high build for some nice blocking 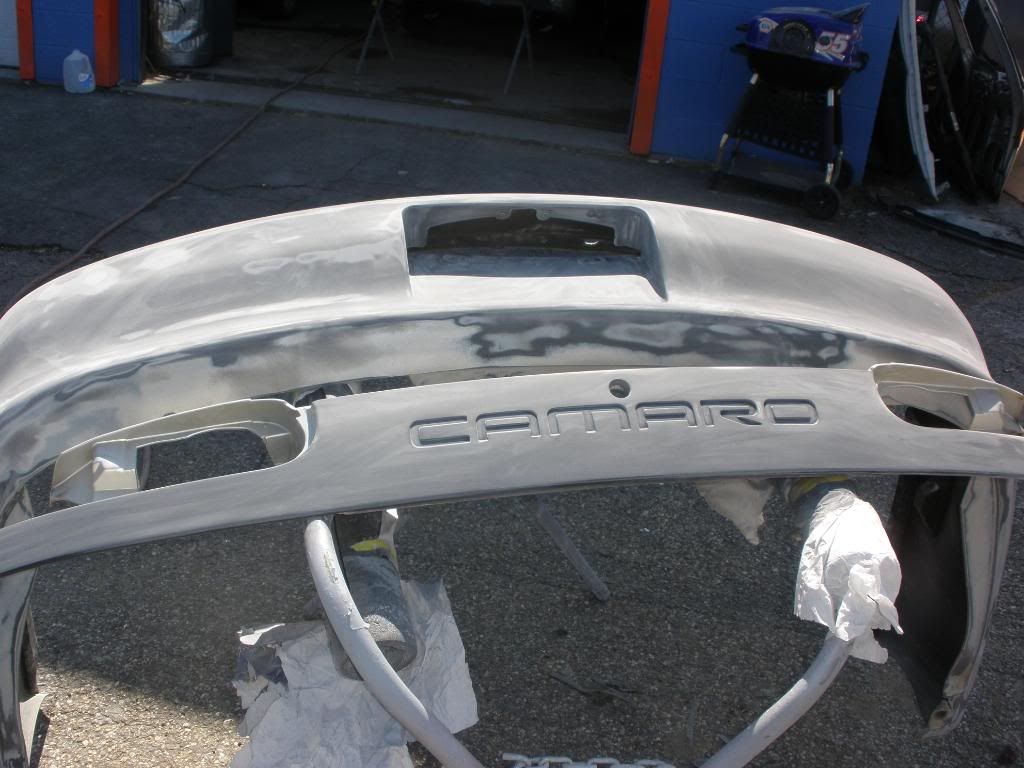
And of course for super straight paint jobs.. High build number 2
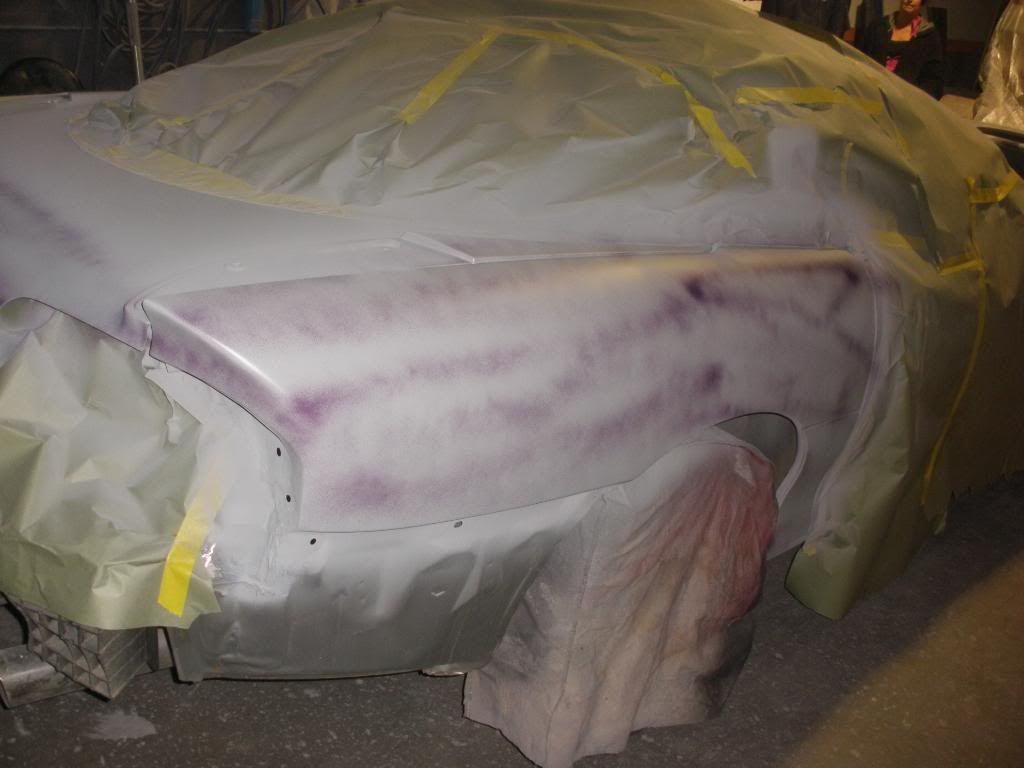

And then i moved up to the front bumper, Tons of paint
And of course for super straight paint jobs.. High build number 2
And then i moved up to the front bumper, Tons of paint
10-11-2010, 11:49 AM
#4
TECH Enthusiast
Thread Starter
iTrader: (3)
Join Date: May 2007
Location: CT/NY
Posts: 725
Likes: 0
Received 0 Likes
on
0 Posts
Then moved my way on to the fenders, the pass side had a newer GM fender on it, so it wasnt COVERED in paint like the rest of the car 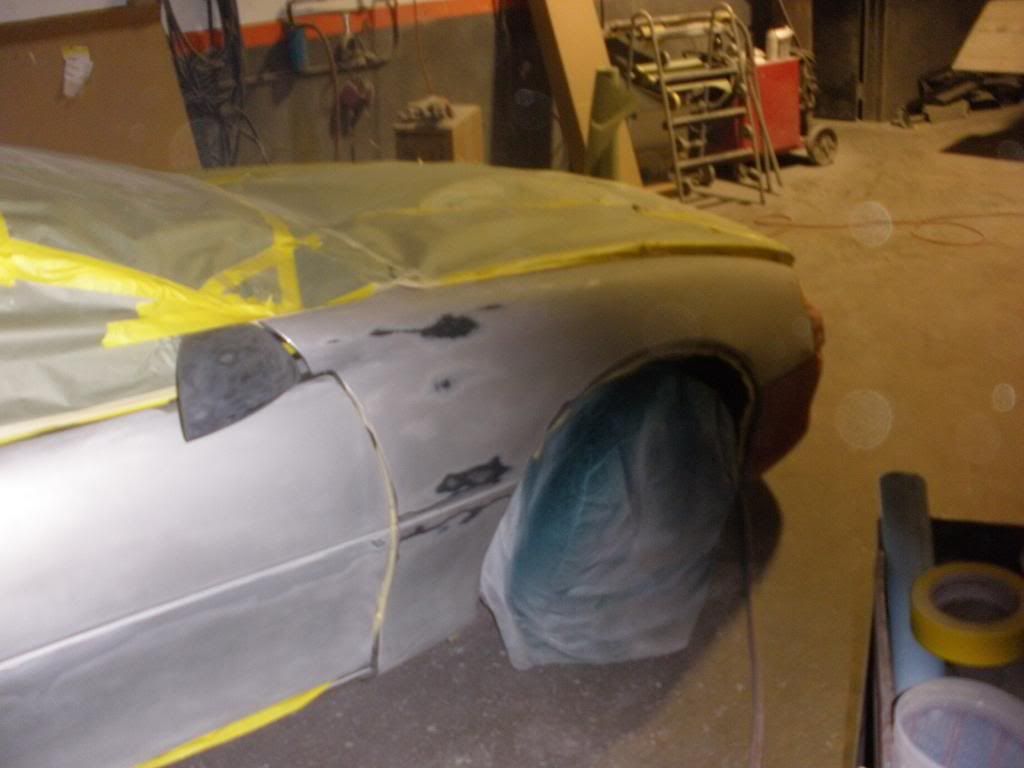
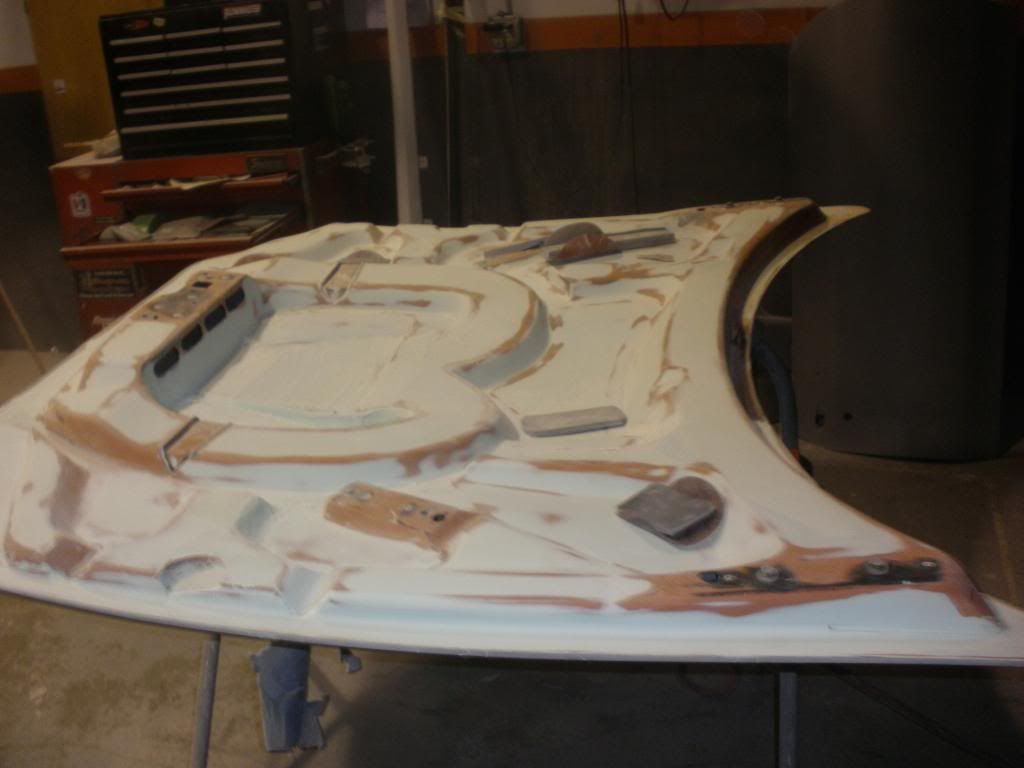
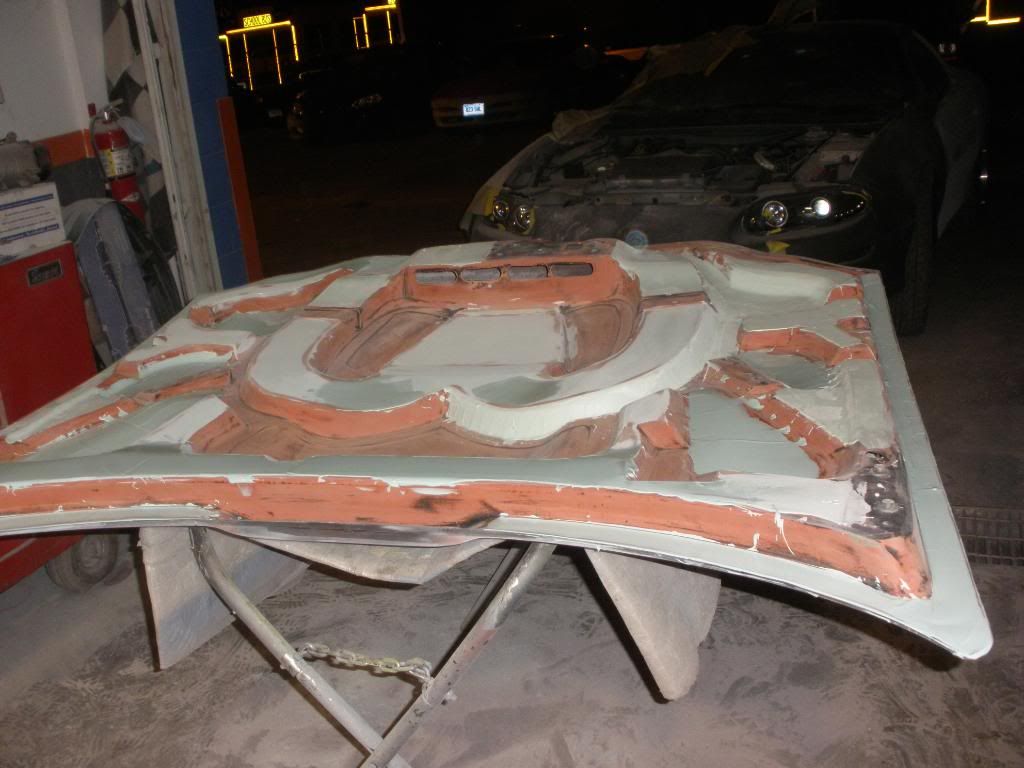
Then it was time for the hood. Im not sure of the make of the hood as there are no markings on it, but i assure you its the biggest piece of trash in the world, it fit like crap, it had more waves then the pacific, and more cracks then harlem. But i had it, so..

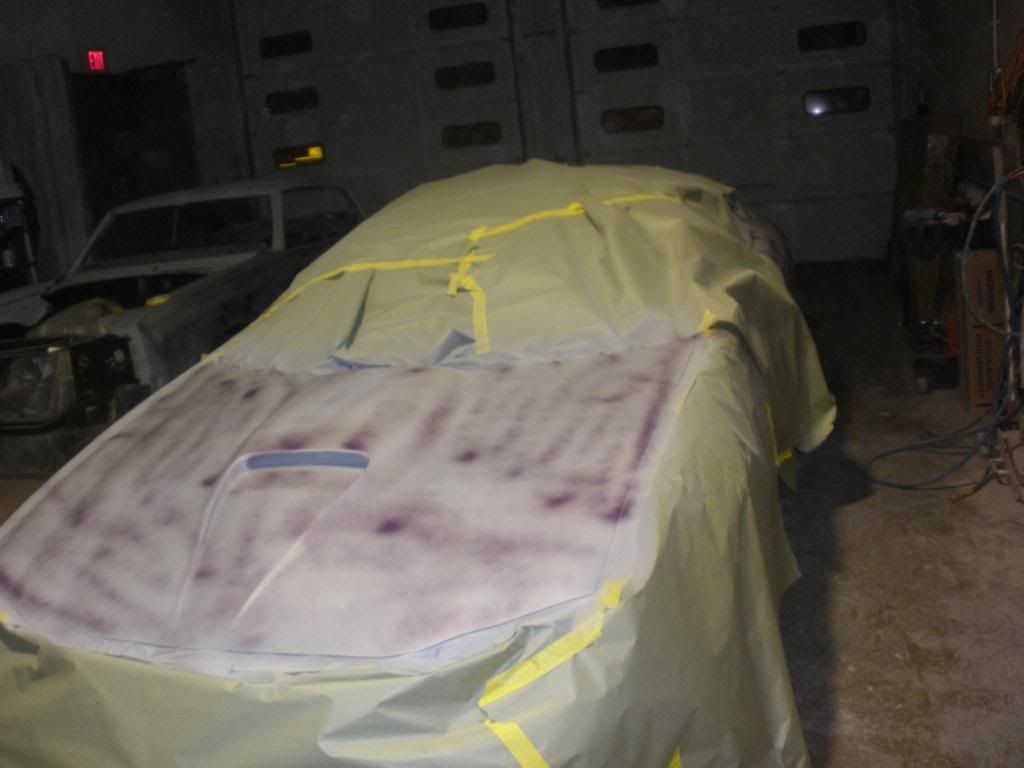
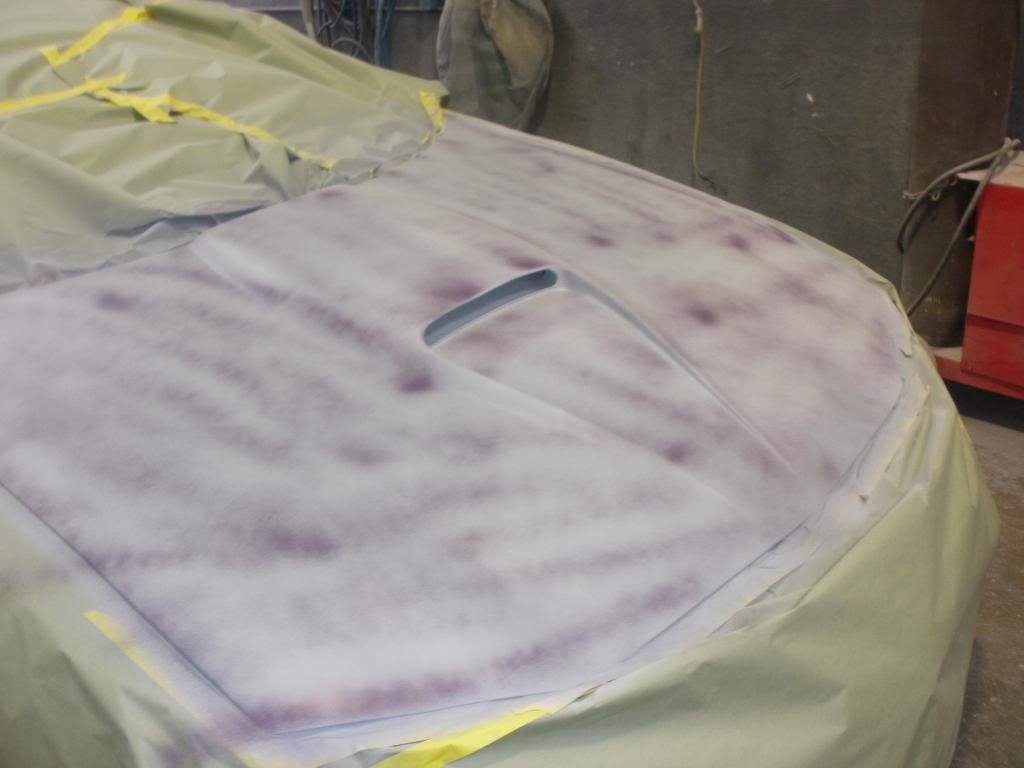
And block and highbuild again..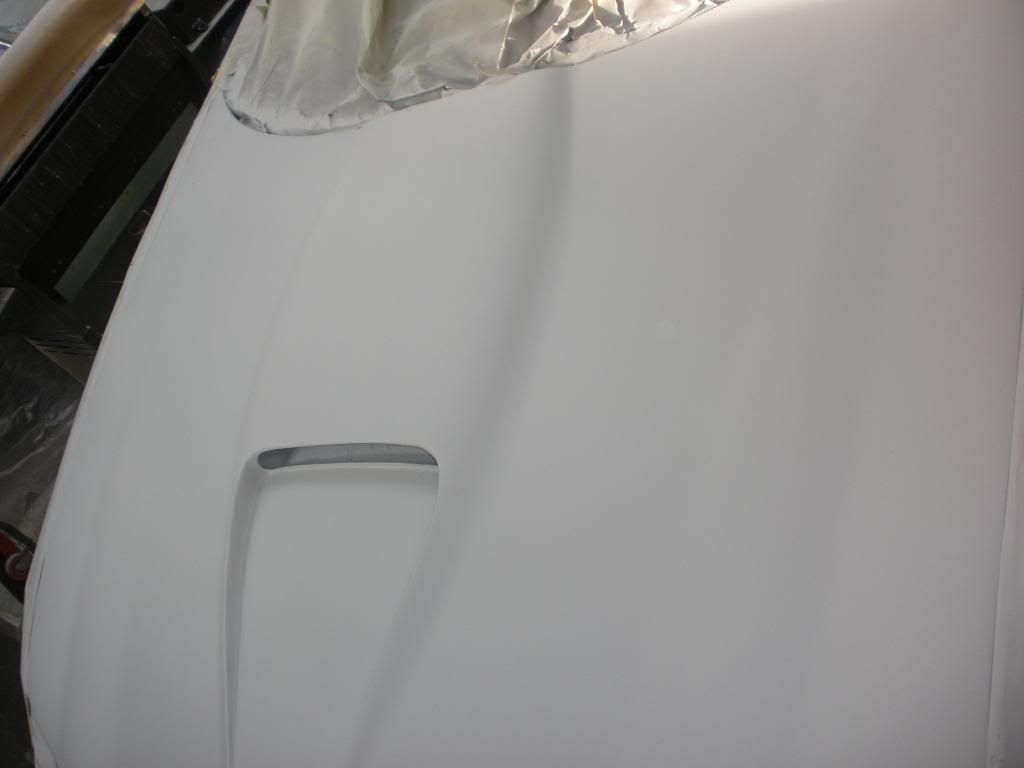
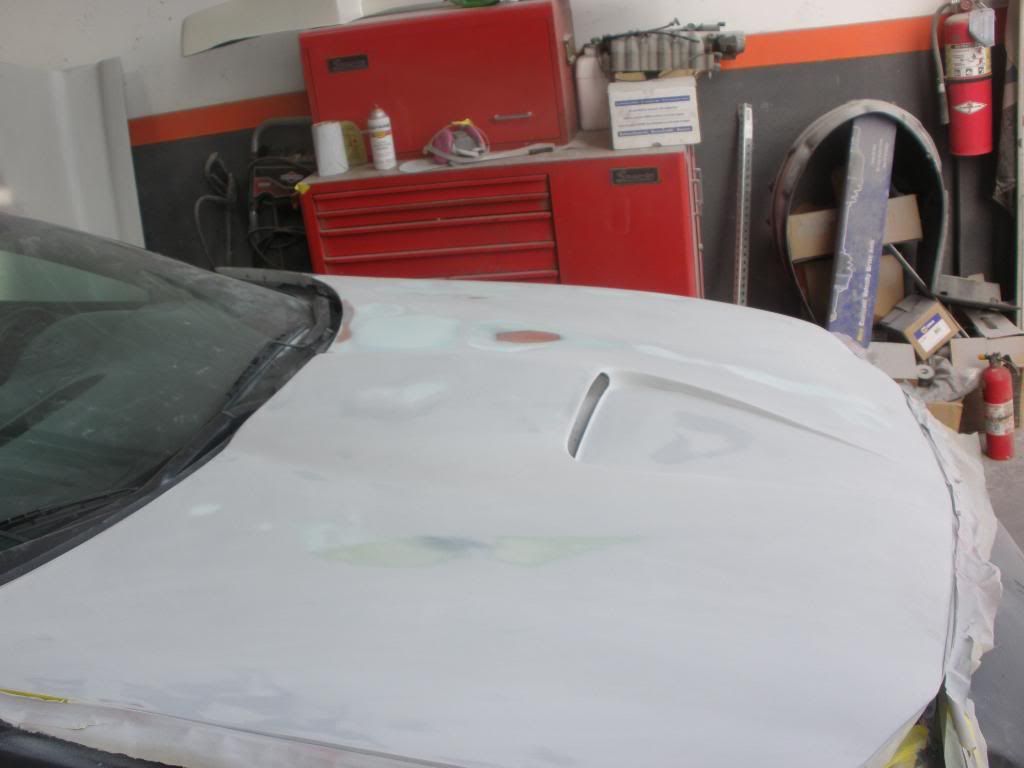
Then it was time for the hood. Im not sure of the make of the hood as there are no markings on it, but i assure you its the biggest piece of trash in the world, it fit like crap, it had more waves then the pacific, and more cracks then harlem. But i had it, so..
And block and highbuild again..
10-11-2010, 12:05 PM
#6
TECH Enthusiast
Thread Starter
iTrader: (3)
Join Date: May 2007
Location: CT/NY
Posts: 725
Likes: 0
Received 0 Likes
on
0 Posts
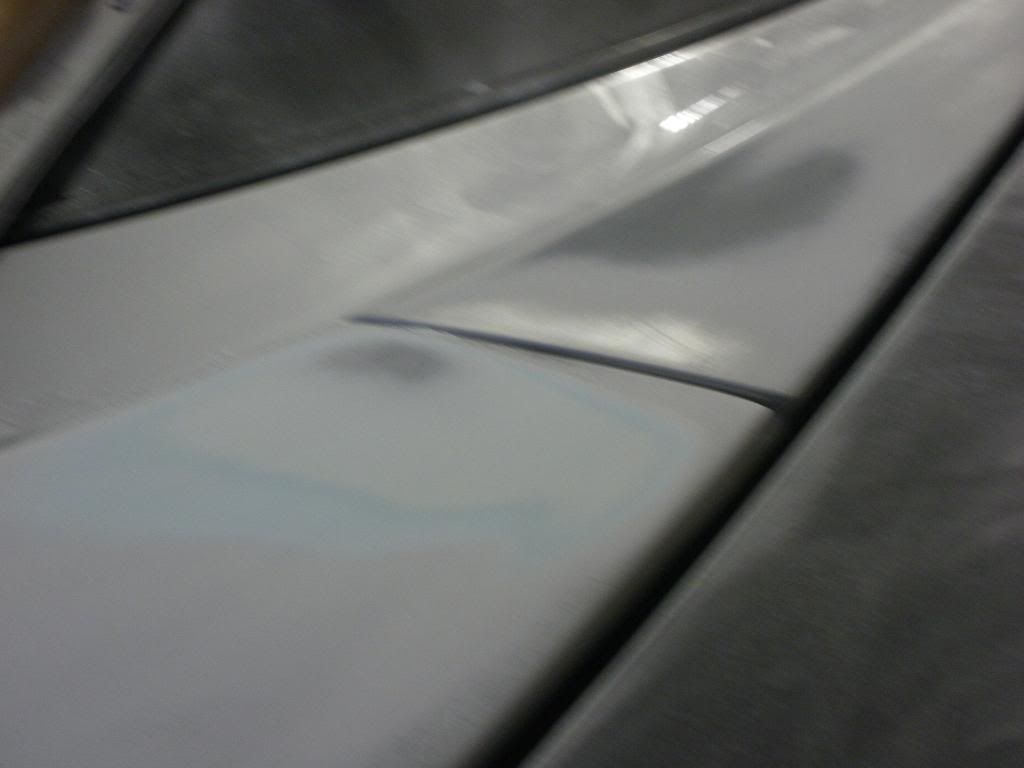
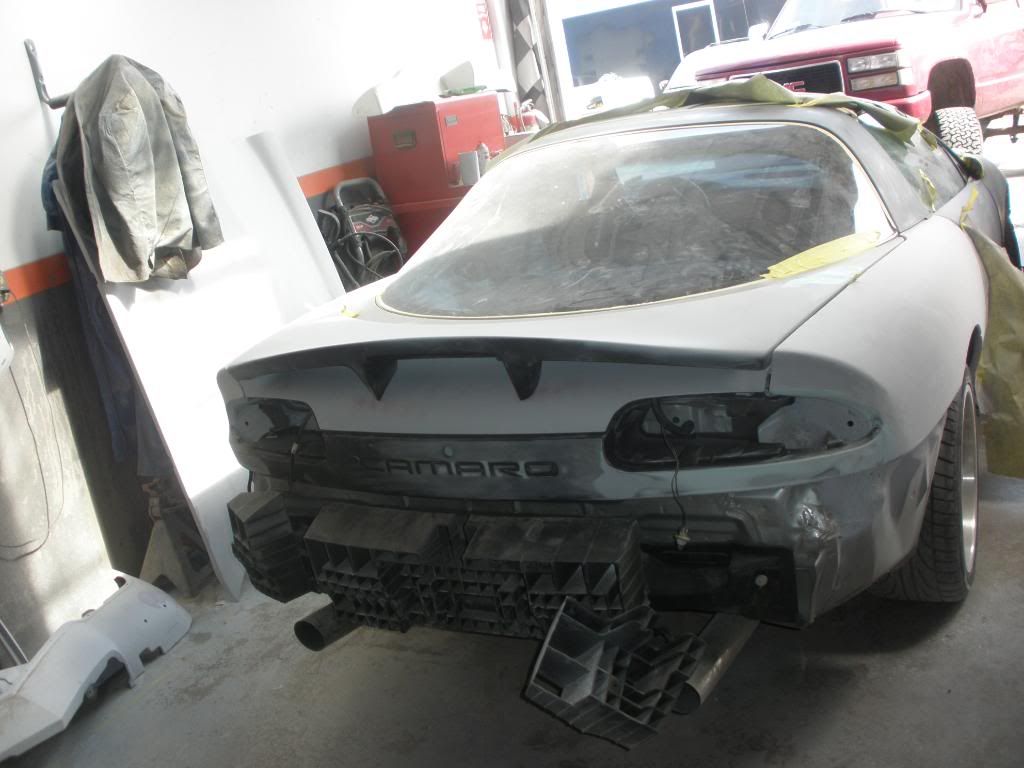
Ya gotta Fit everything if you want prefection, Even from the factory fit and finish sucks, spoiler goes on for the 100th time, and fitting the rear sail panel. 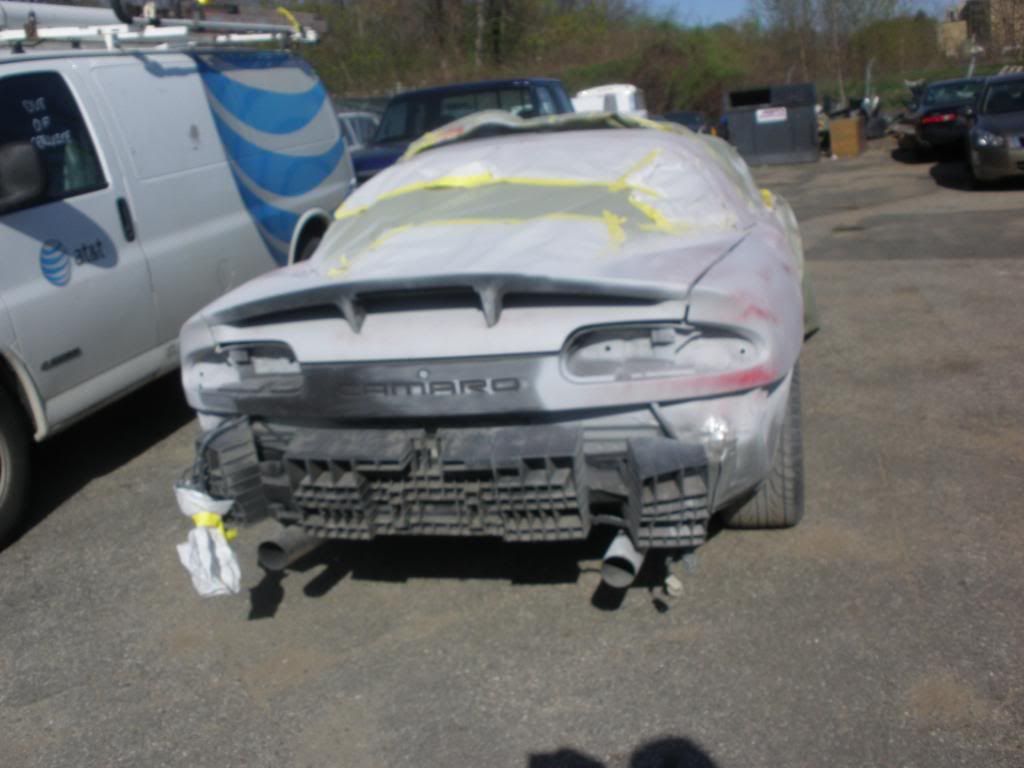
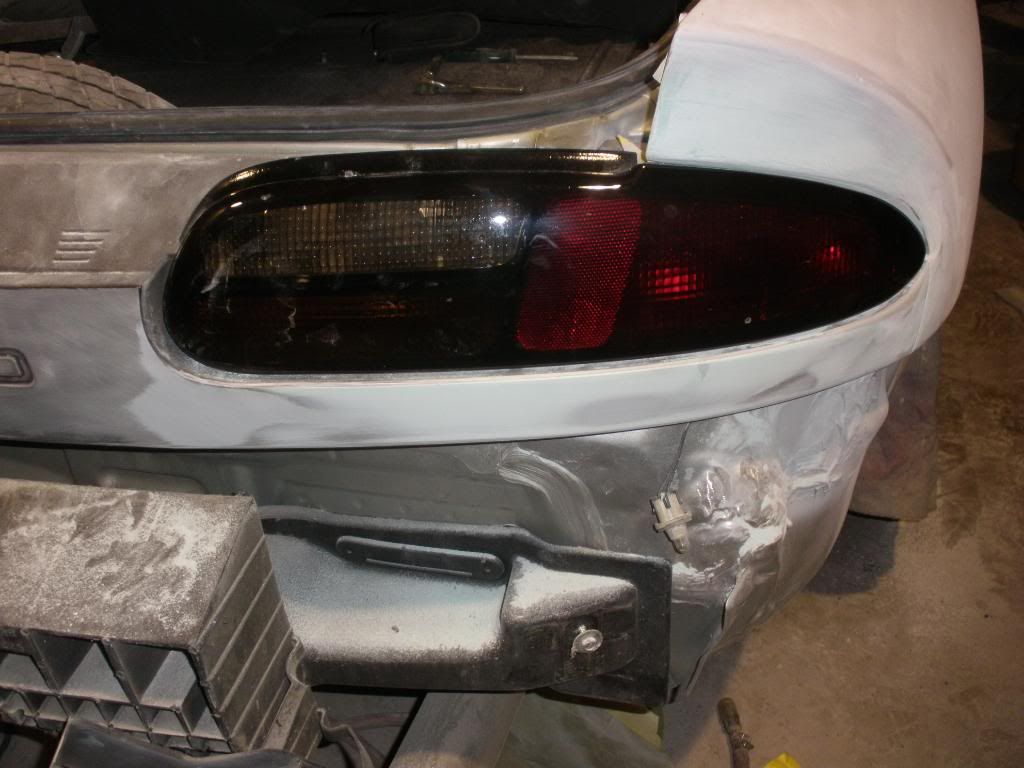
4th gens have Really sloppy taillight gaps, and my car just happened to have some holes from a moron using an old slide hammer to try to pull a dent, so i welded up the taillight gaps closer then factory, very stuble change but park it next to another 4th gen and its clear as day

Blacked out my lights, and now tons of fitting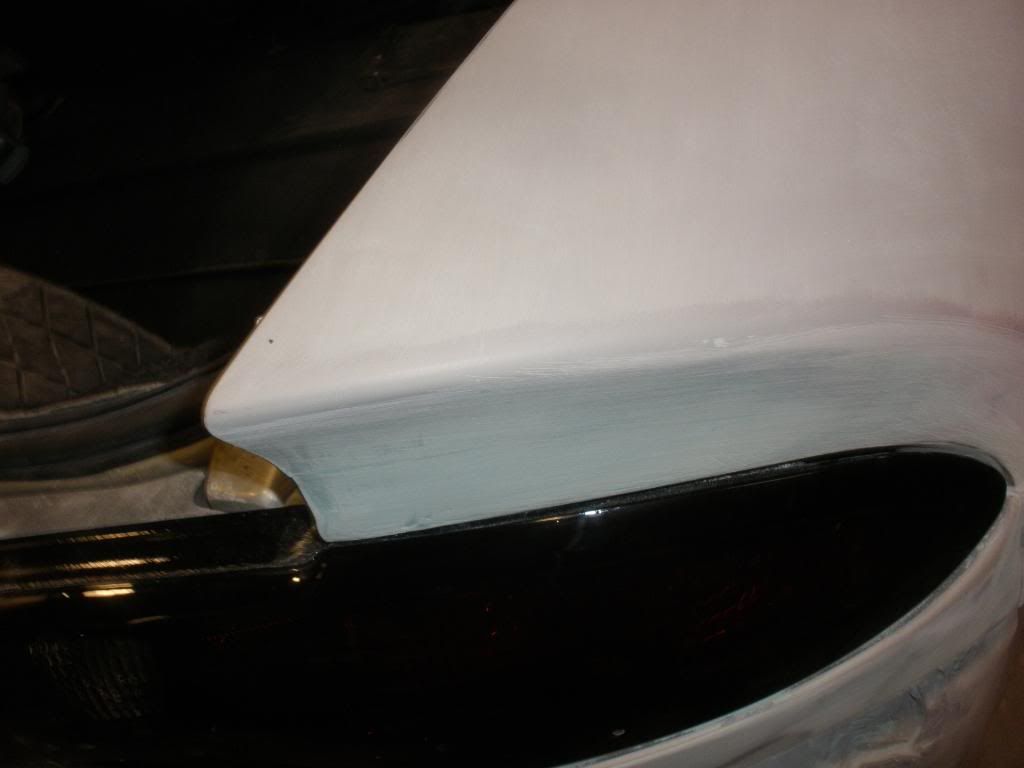
4th gens have Really sloppy taillight gaps, and my car just happened to have some holes from a moron using an old slide hammer to try to pull a dent, so i welded up the taillight gaps closer then factory, very stuble change but park it next to another 4th gen and its clear as day
Blacked out my lights, and now tons of fitting
10-11-2010, 12:11 PM
#7
TECH Enthusiast
Thread Starter
iTrader: (3)
Join Date: May 2007
Location: CT/NY
Posts: 725
Likes: 0
Received 0 Likes
on
0 Posts
Once the back was good it was time to say bye to that lock 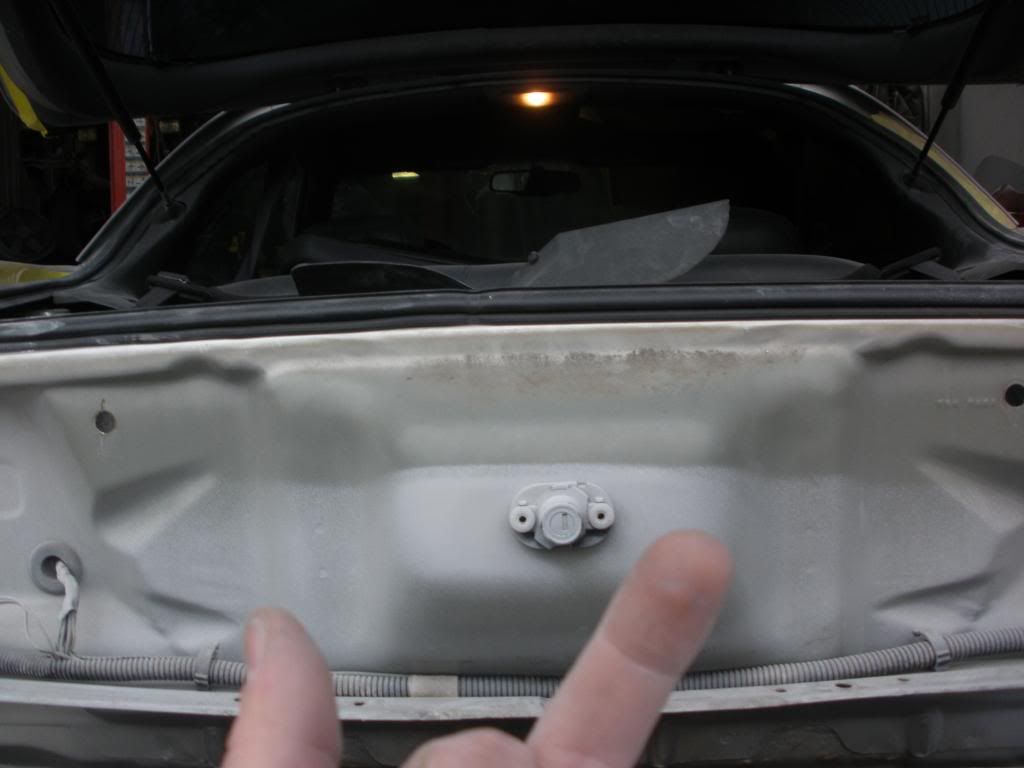
Welded up the old lock hole, and glassed up the old hole in sail panel
I Also shaved the 3rd brake light on the spoiler, ill try to find the pics of that
6LE hooked me up with a rear Valance, and it just had to be molded
Welded up the old lock hole, and glassed up the old hole in sail panel
I Also shaved the 3rd brake light on the spoiler, ill try to find the pics of that
6LE hooked me up with a rear Valance, and it just had to be molded
Trending Topics
10-11-2010, 12:16 PM
#8
TECH Enthusiast
Thread Starter
iTrader: (3)
Join Date: May 2007
Location: CT/NY
Posts: 725
Likes: 0
Received 0 Likes
on
0 Posts
After i had the back pretty much set, i decided to pull the front apart and see what kind of mess i had up front.. Well thats what it was, a Mess. The front outer frame rail was replaced at one point by some serious hacks, They TRIED to weld it in, but None of the welds got any good penetration 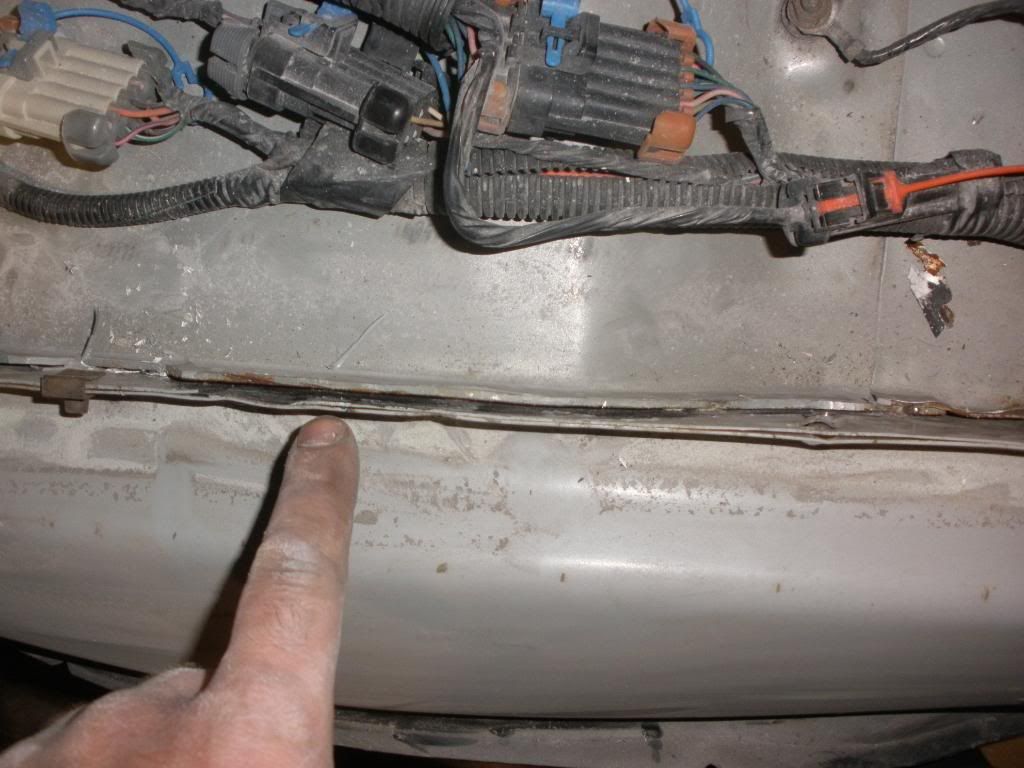
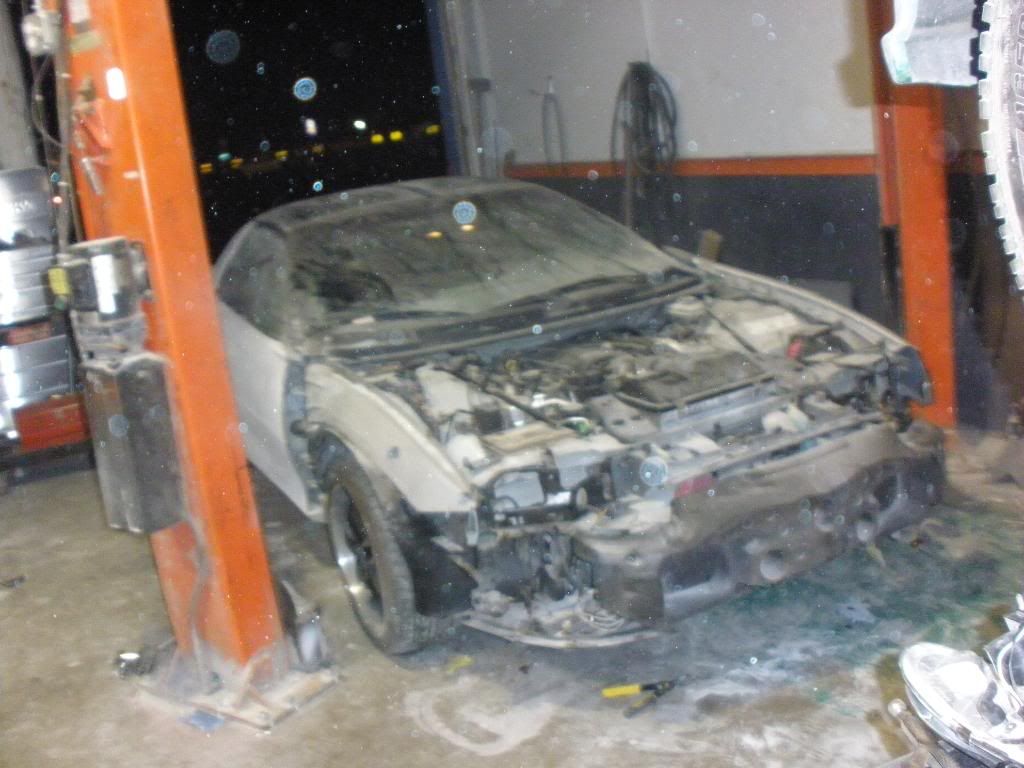

That was all drilled out, welded, and then i even seam welded all of the heavy contact ponts to really stiffen up the frame.
That was all drilled out, welded, and then i even seam welded all of the heavy contact ponts to really stiffen up the frame.
10-11-2010, 12:24 PM
#9
TECH Enthusiast
Thread Starter
iTrader: (3)
Join Date: May 2007
Location: CT/NY
Posts: 725
Likes: 0
Received 0 Likes
on
0 Posts
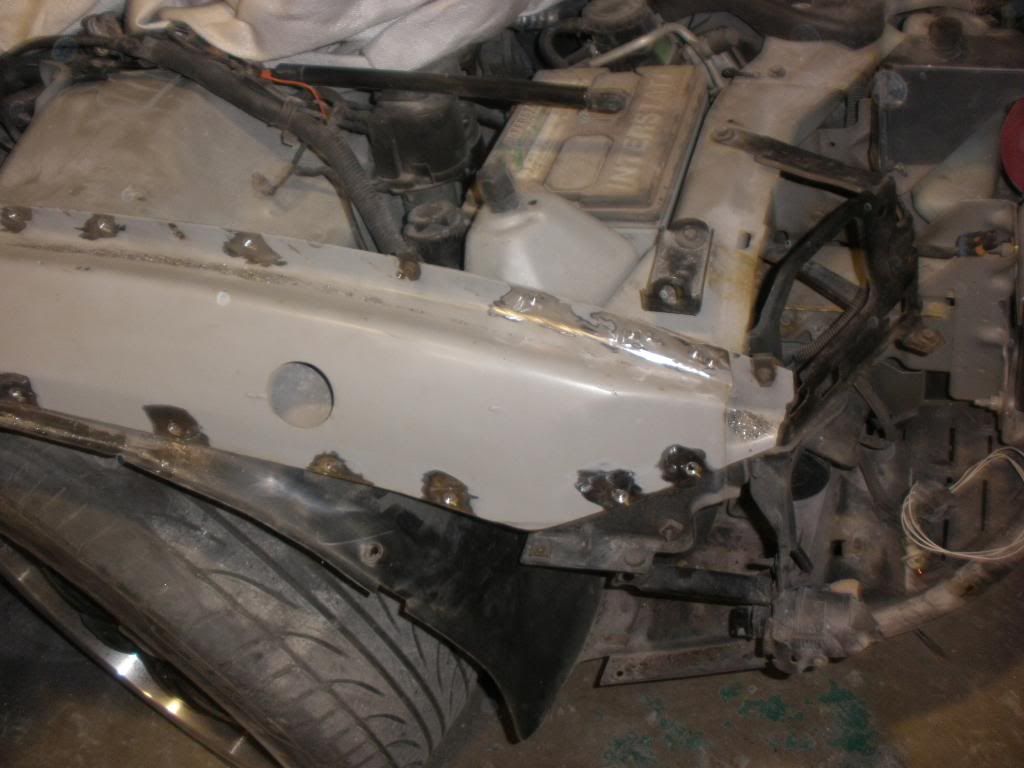
Cant have a sick paint job with a crappy underhood, so this was all smoothed out 
i Also got rid of my stock bat box/ over flow, and welded up the hole under that, then i got a small overflow from jegs, and relocated it out of sight.
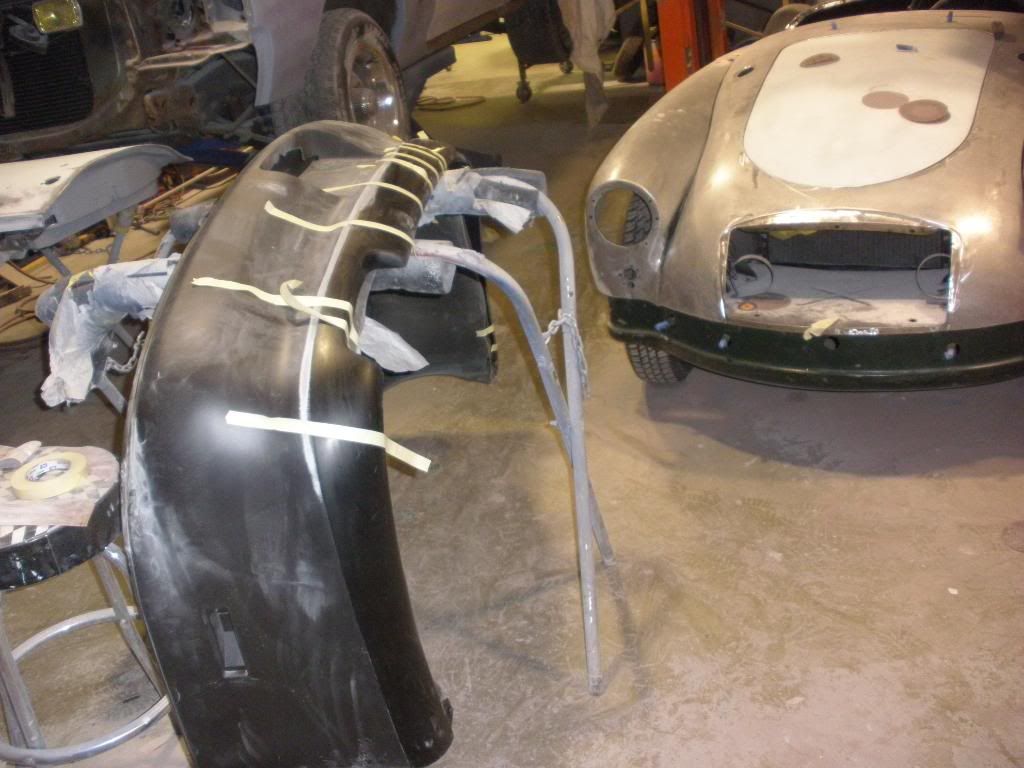
I couldnt have the back bumper and no side skirts, and i really hate all the aftermarket ones, so i got a set of trans am skirts and modified them to fit on my car. They had to be modified alot to get an OEM fit that i need, but in the end they fit like a glove Heres mine next to a stocker, they might look close, belive me alot of work goes into getting them to fit like oem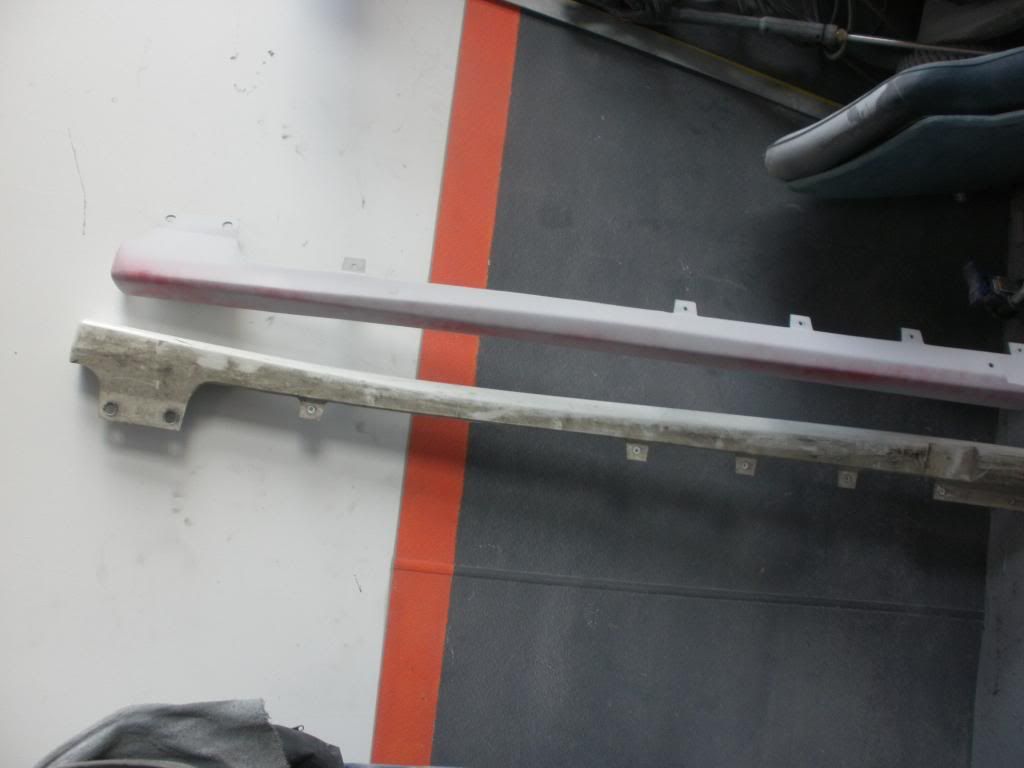
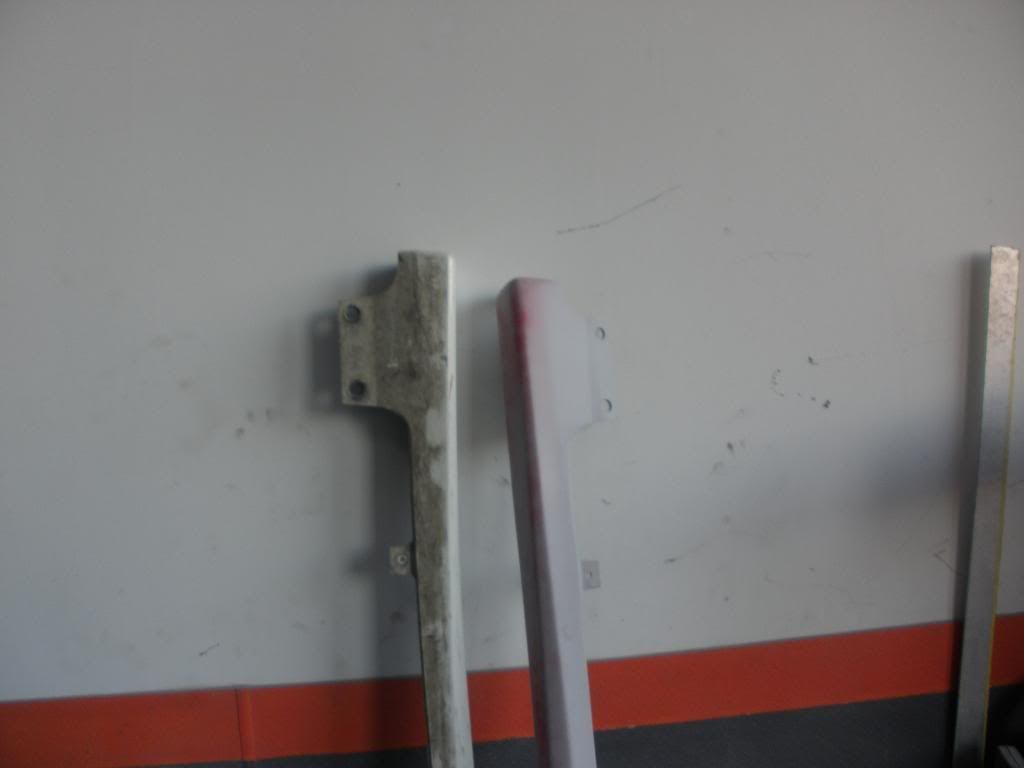
Gota mod the fender to make it look perfect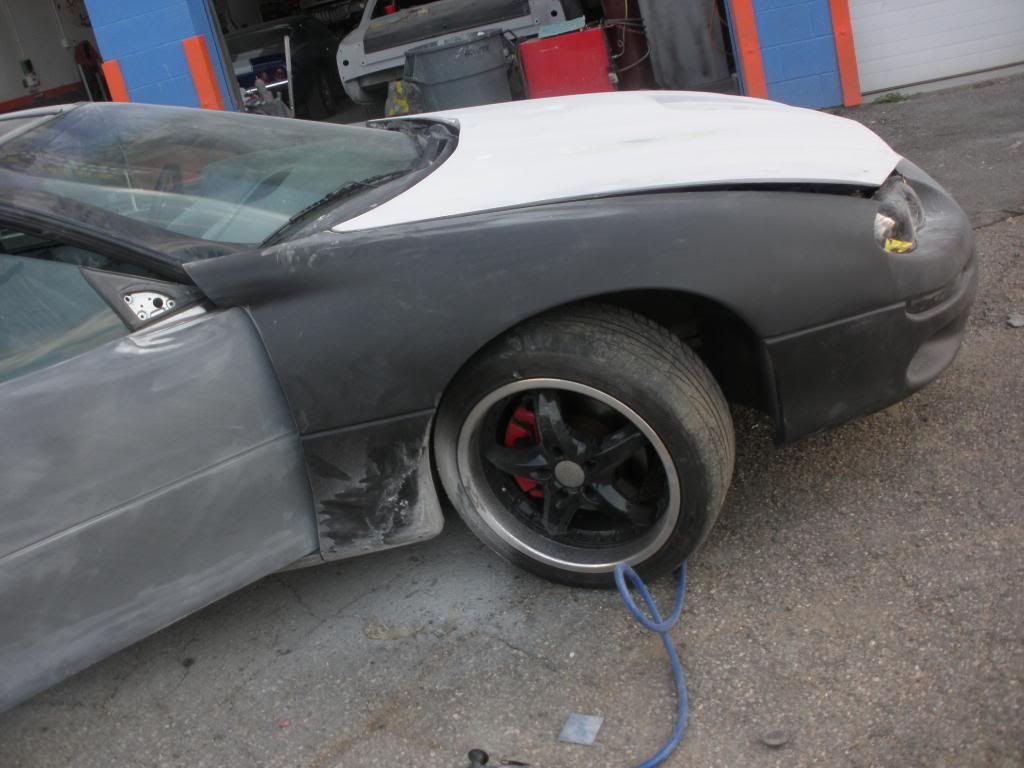
i Also got rid of my stock bat box/ over flow, and welded up the hole under that, then i got a small overflow from jegs, and relocated it out of sight.
I couldnt have the back bumper and no side skirts, and i really hate all the aftermarket ones, so i got a set of trans am skirts and modified them to fit on my car. They had to be modified alot to get an OEM fit that i need, but in the end they fit like a glove Heres mine next to a stocker, they might look close, belive me alot of work goes into getting them to fit like oem
Gota mod the fender to make it look perfect
10-11-2010, 12:32 PM
#10
TECH Enthusiast
Thread Starter
iTrader: (3)
Join Date: May 2007
Location: CT/NY
Posts: 725
Likes: 0
Received 0 Likes
on
0 Posts
The driver side of the car was no better, with a dented and kinked outer frame rail, i was lucky enough to get a new one from GM and i changed it out and seam welded the driver side, i broke my camera so i dont think i have any pics of this but ill check. After all that hard work i bolted her back together and thew on the trans ams old wheels as they can no longer fit with its narrowed 9in.
I also re did the whole undercarraige and suspension, of course all painted and detailed, And i have a few custom interior pieces, should have my new cam by thursday and ill be making new threads for those. I also have tons of parts wating for this thing, Another set of recaros, Big brakes, and a fresh motor.
Here she is freshly bolted back together. Dont mind the primer on the rocker, i also shaved the little seam from the rocker to quarter. This is with the old suspension and lights.


At work with bosses camaros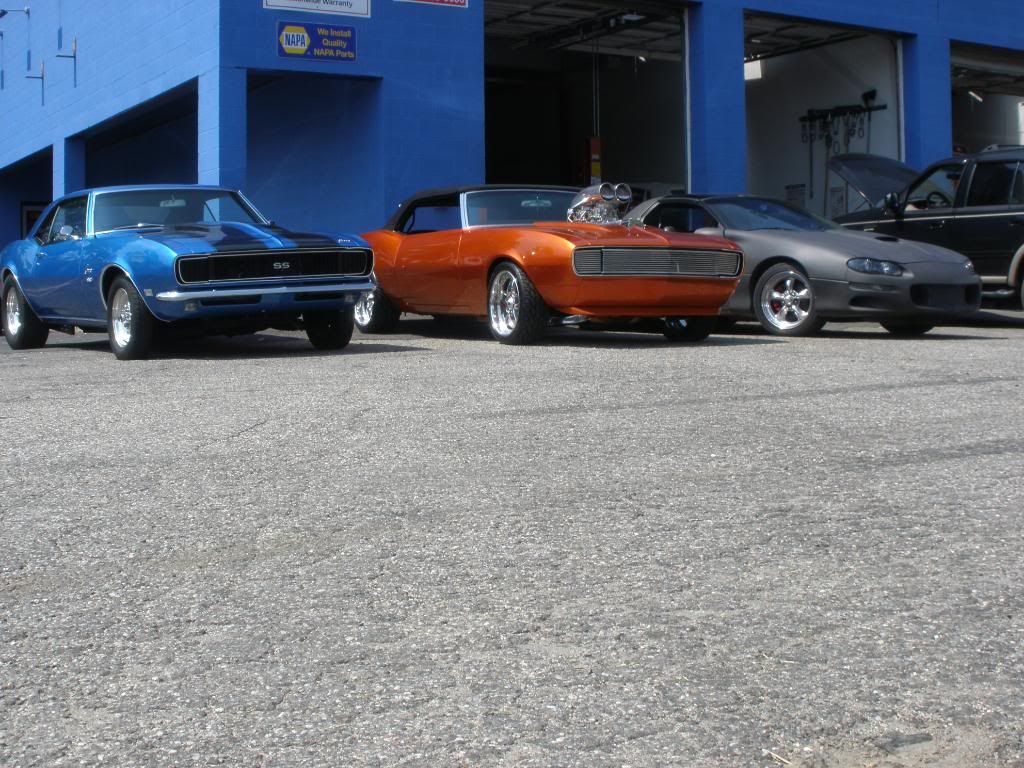
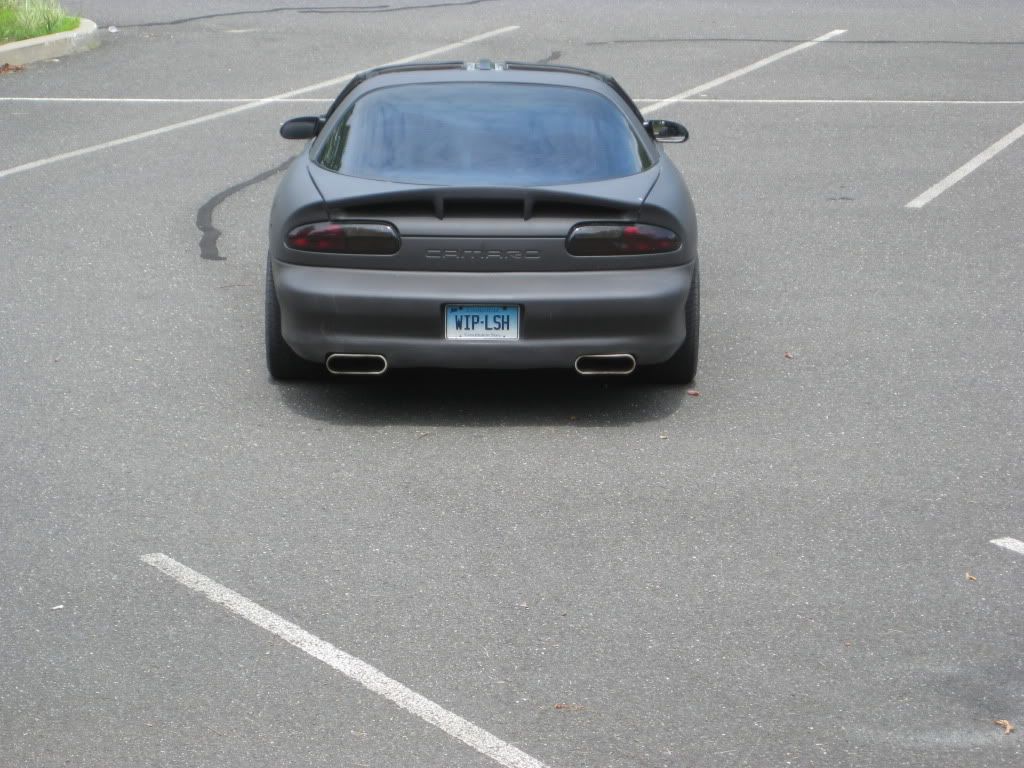
More recent pic with my modifed stock lights/ Audi xenon, and suspension and 6LE grill

I also re did the whole undercarraige and suspension, of course all painted and detailed, And i have a few custom interior pieces, should have my new cam by thursday and ill be making new threads for those. I also have tons of parts wating for this thing, Another set of recaros, Big brakes, and a fresh motor.
Here she is freshly bolted back together. Dont mind the primer on the rocker, i also shaved the little seam from the rocker to quarter. This is with the old suspension and lights.
At work with bosses camaros
More recent pic with my modifed stock lights/ Audi xenon, and suspension and 6LE grill


 10-11-2010, 01:44 PM
#16
TECH Enthusiast
Thread Starter
iTrader: (3)
Join Date: May 2007
Location: CT/NY
Posts: 725
Likes: 0
Received 0 Likes
on
0 Posts
It definatly wouldnt be cheap, the rear bumper still needs blocking and what not, but i also got rid of the side markers, and modified the way the bumper mounts, the front bumper im making is gona be a close replica to the sonoco and thats gonna take some time too