٩(●̮̮̃•̃)۶ How to Carbon Fiber wrap berger panel with Pics. ٩(●̮̮̃•̃)۶
 08-02-2011, 12:03 PM
#1


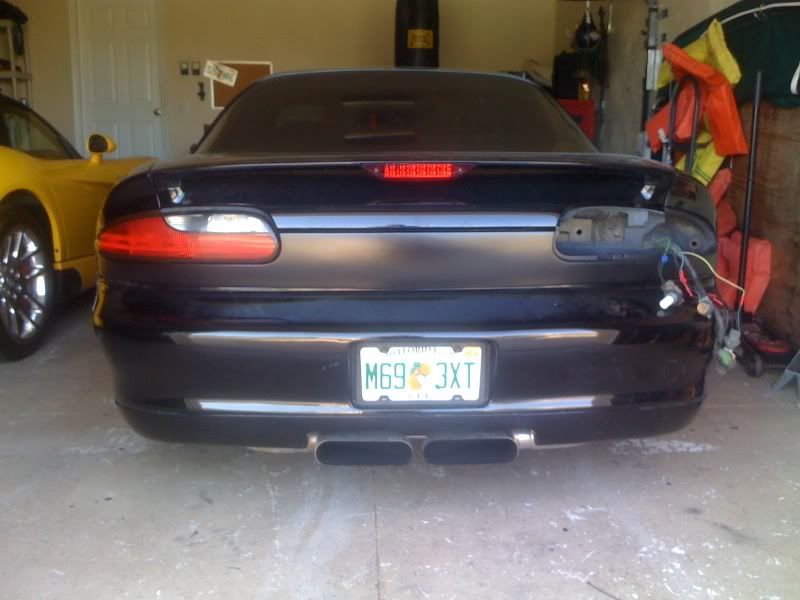
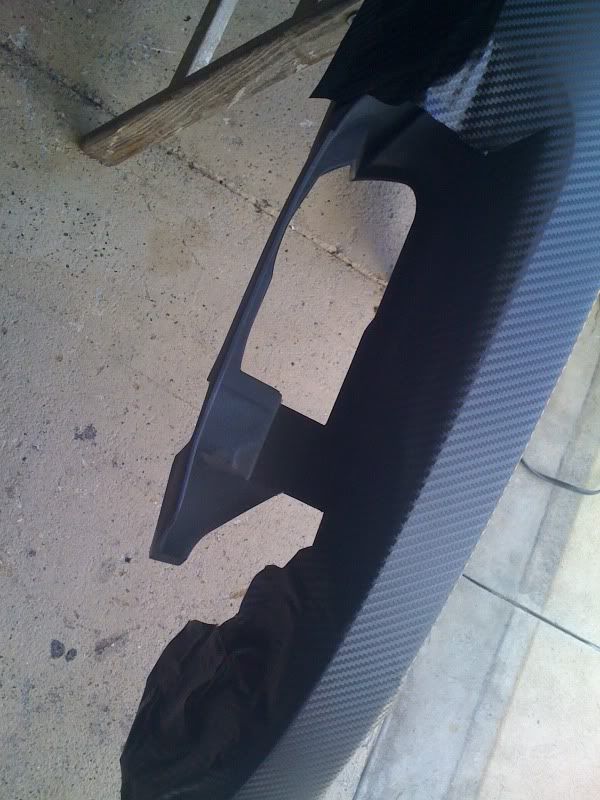
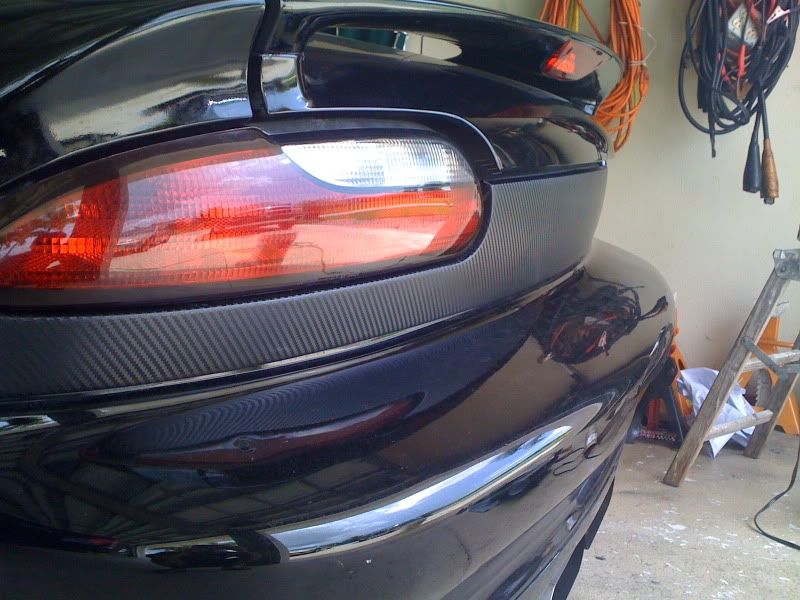
Yes my panel was shaved before, did the letters and key hole. Also the hatch isn't closed so the gap is big as you see.
Before
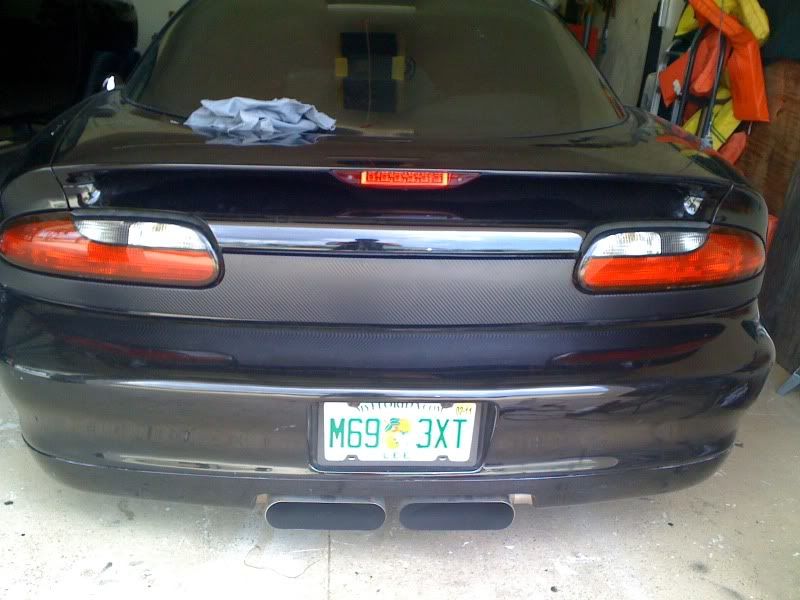
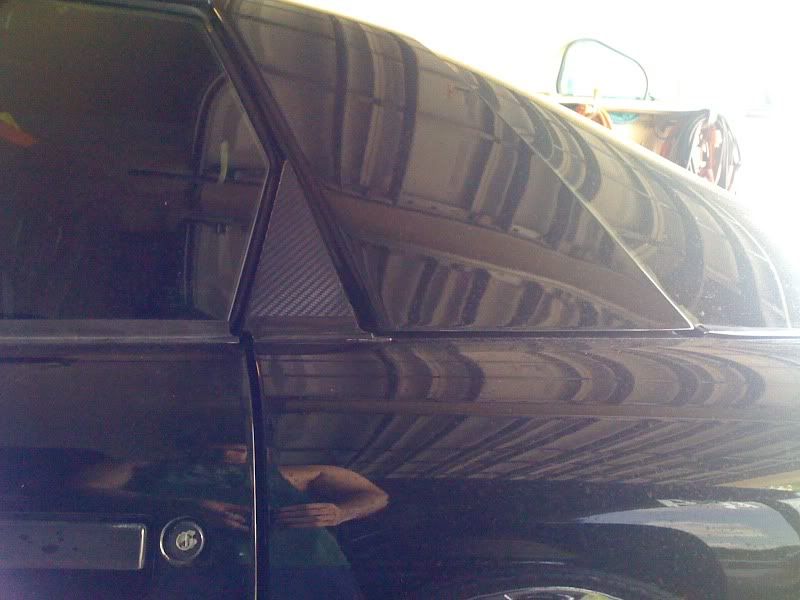
After
Steps
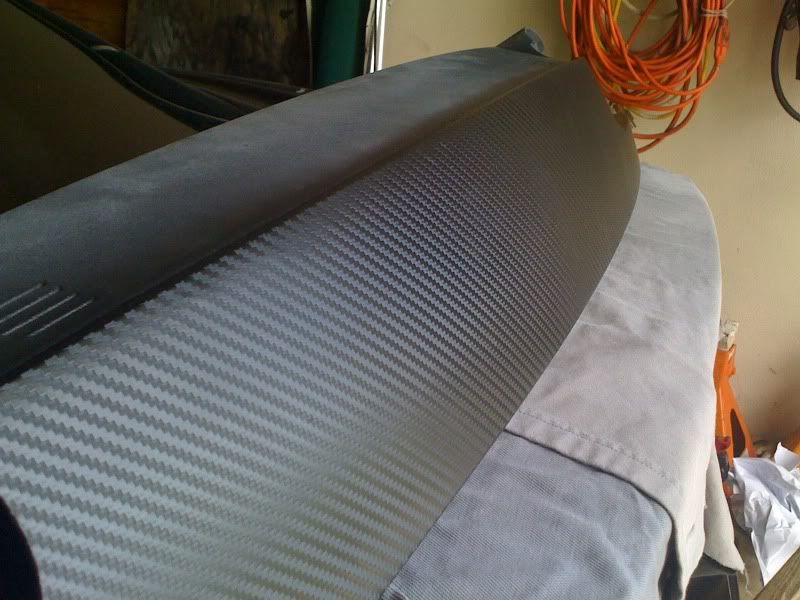
Spray both the sticky side of the vinyl and the surface with a diluted soap and water mixture, then lay the vinyl on top and position.
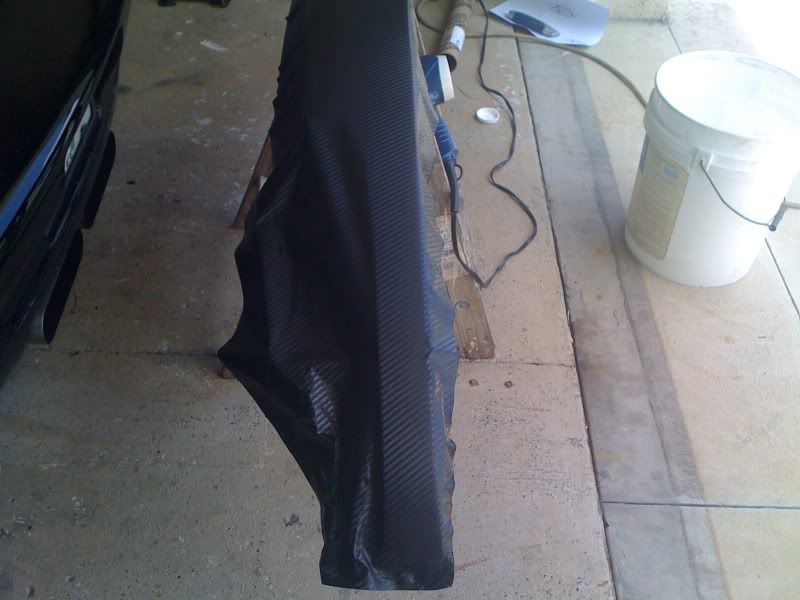
Start to push the water out from under near using a squuege or something similar

Trim excess material

Use heat gun or hair dyer to heat the entire wrap and wrap the edges and get rid of any bubles that may be trapped.
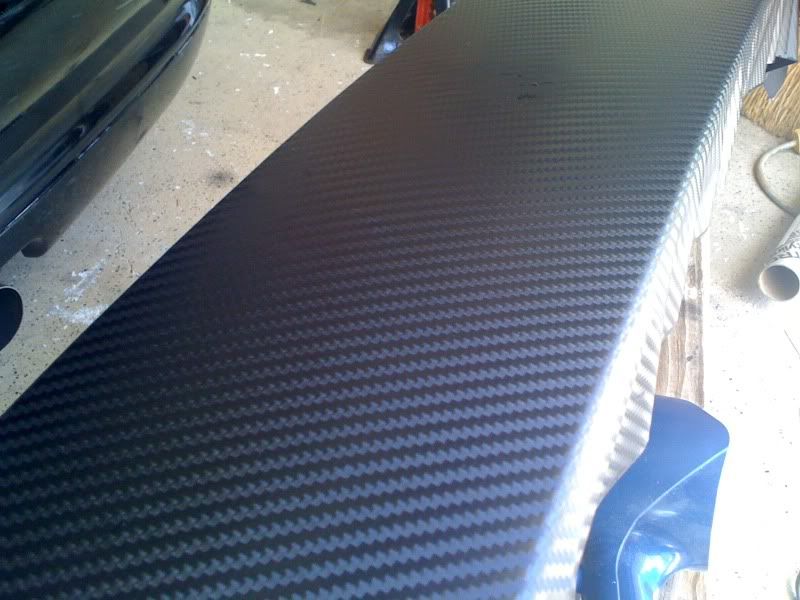
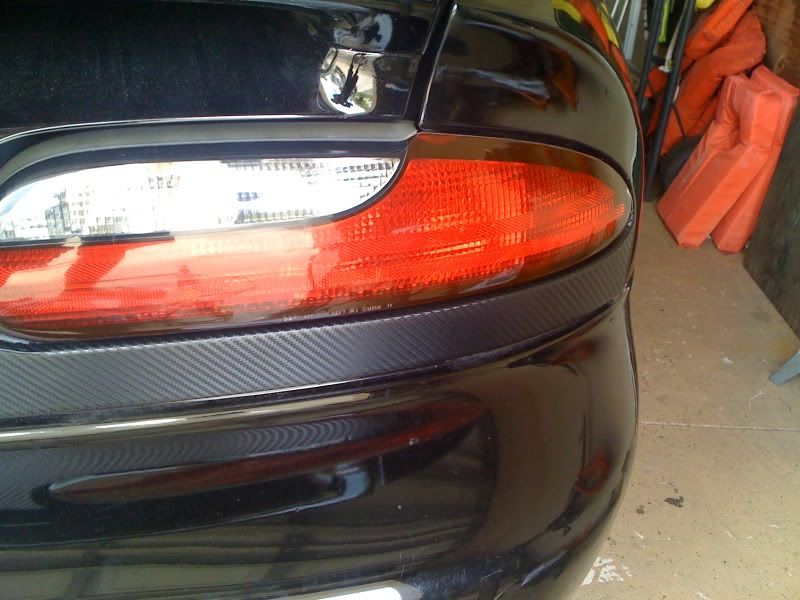
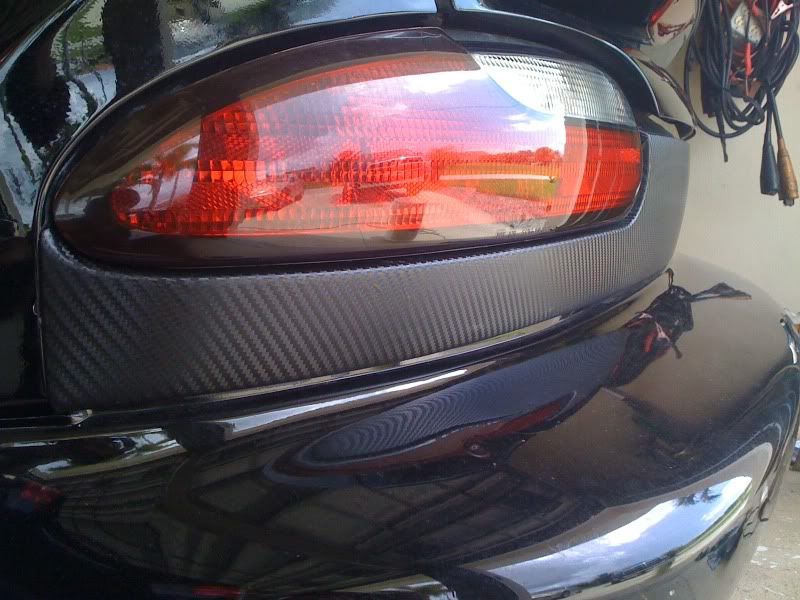
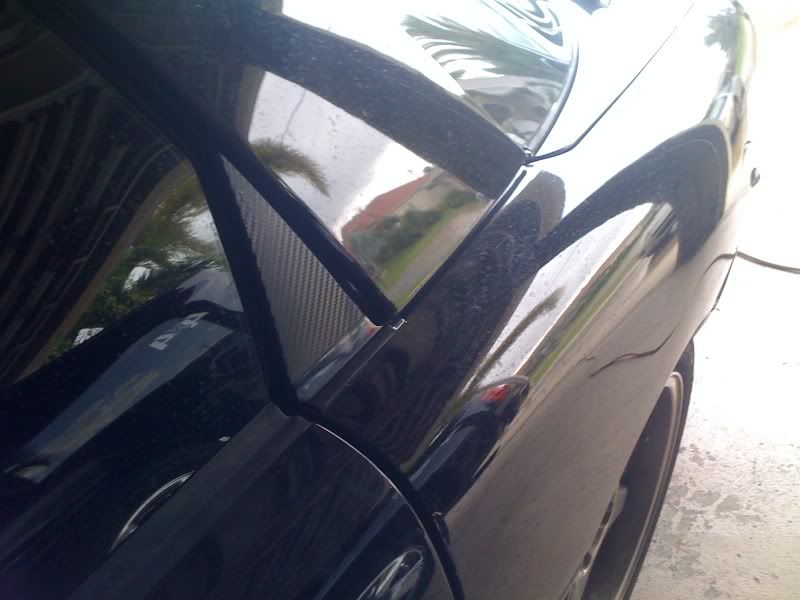
Final product
Also did the emblem and triangle things
Before
After
Steps
Spray both the sticky side of the vinyl and the surface with a diluted soap and water mixture, then lay the vinyl on top and position.
Start to push the water out from under near using a squuege or something similar
Trim excess material
Use heat gun or hair dyer to heat the entire wrap and wrap the edges and get rid of any bubles that may be trapped.
Final product
Also did the emblem and triangle things
Last edited by whytryz28; 08-02-2011 at 12:19 PM.
 08-02-2011, 12:12 PM
#4
Also this is the "dry" look.


