
Side molding removed


Thread Starter
Teching In
Joined: Nov 2011
Posts: 12
Likes: 0
From: Panama City, Fl
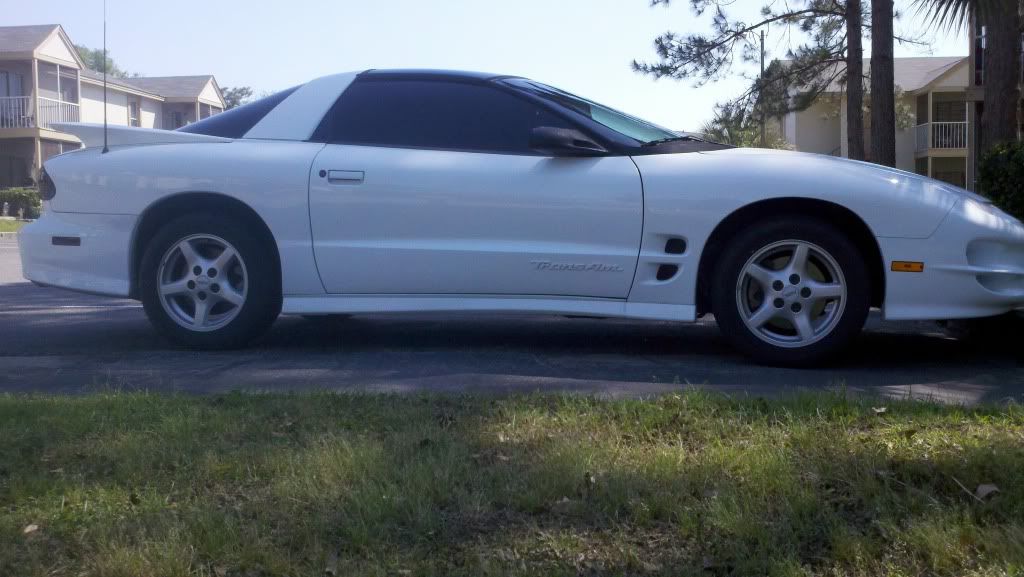
I decided to remove the side molding on the T/A today, think it looks much better now.
Sorry pictures are giant, and the car needs a bath.
Before:
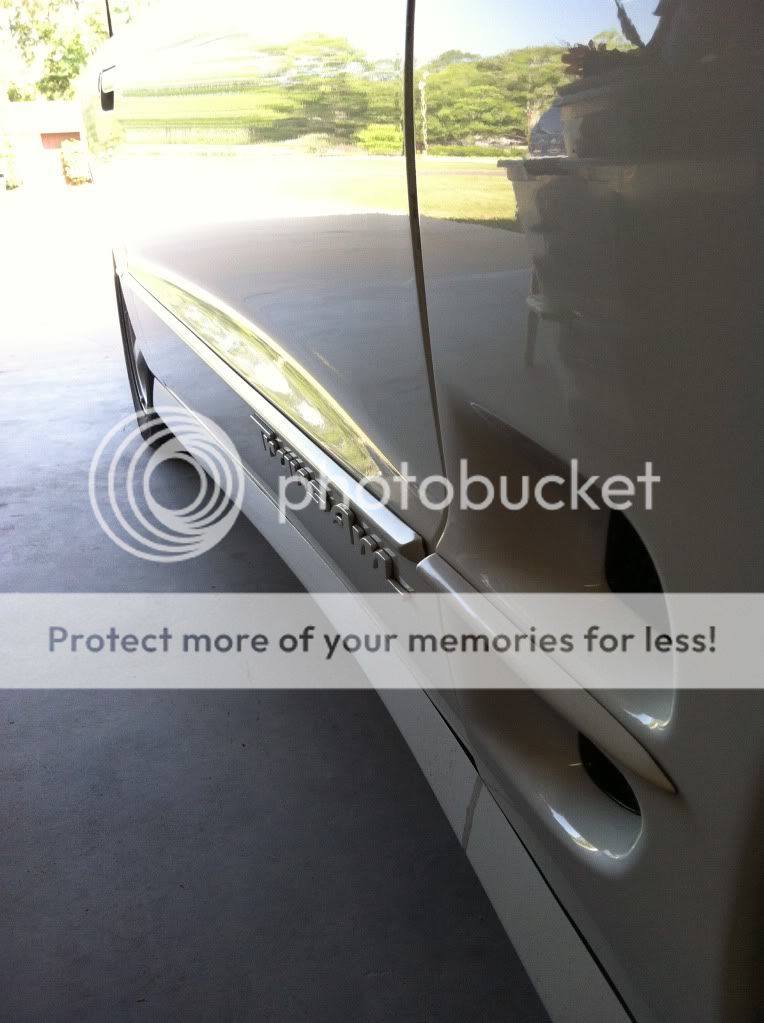
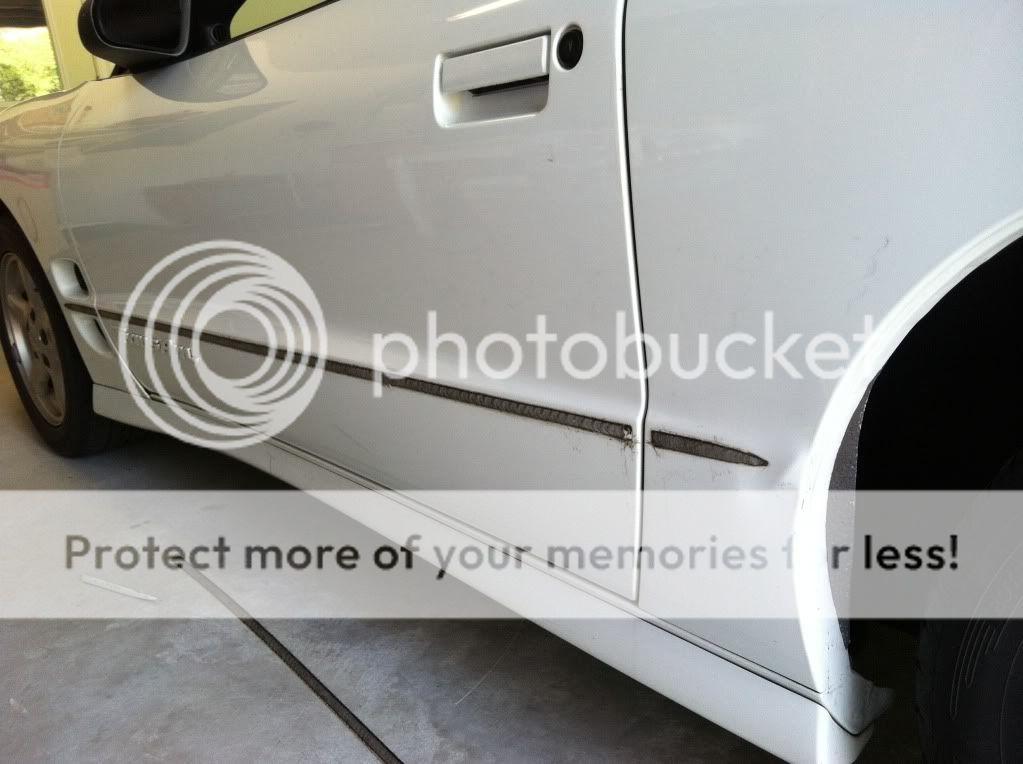
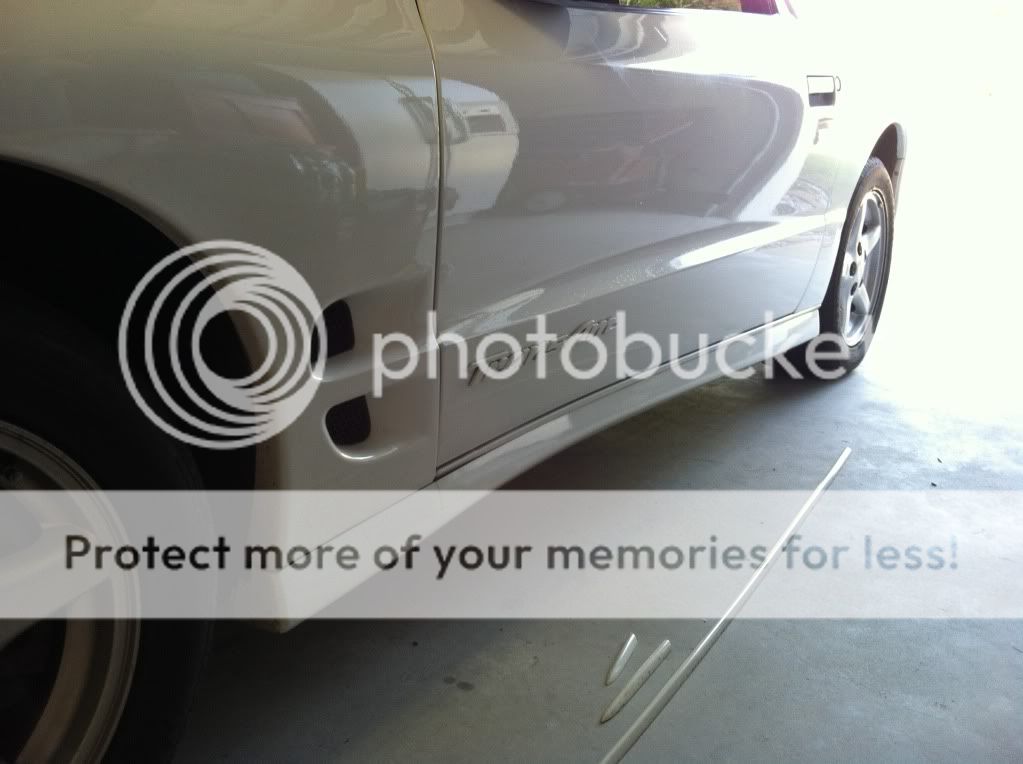
What lay hidden beneath:
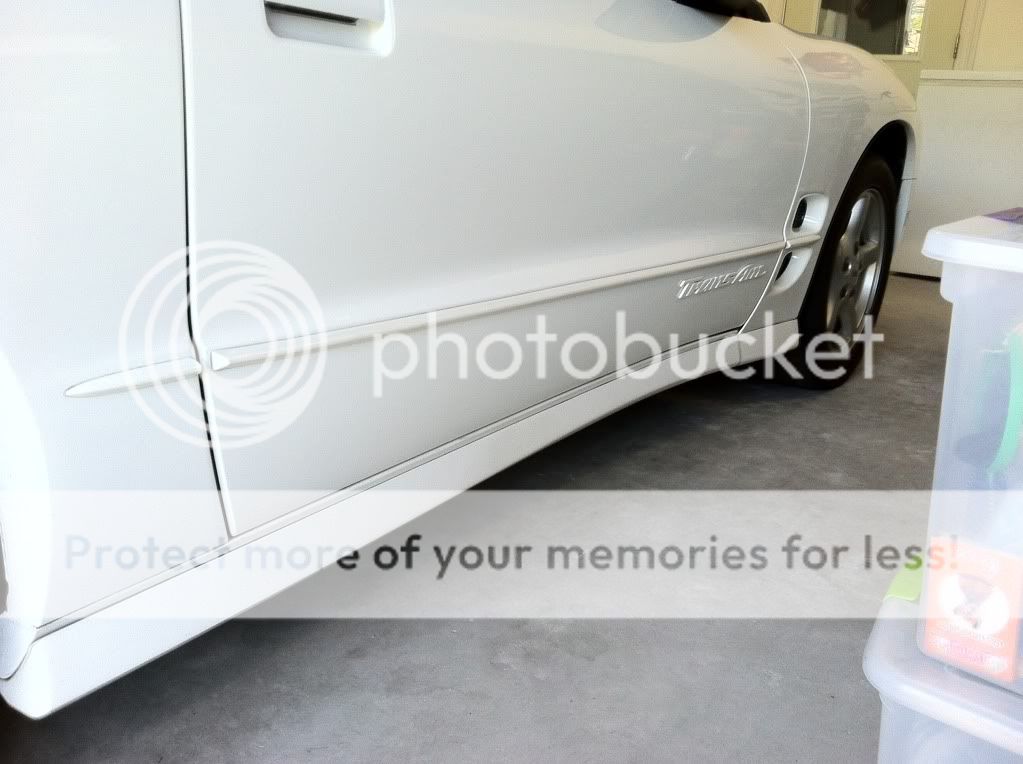
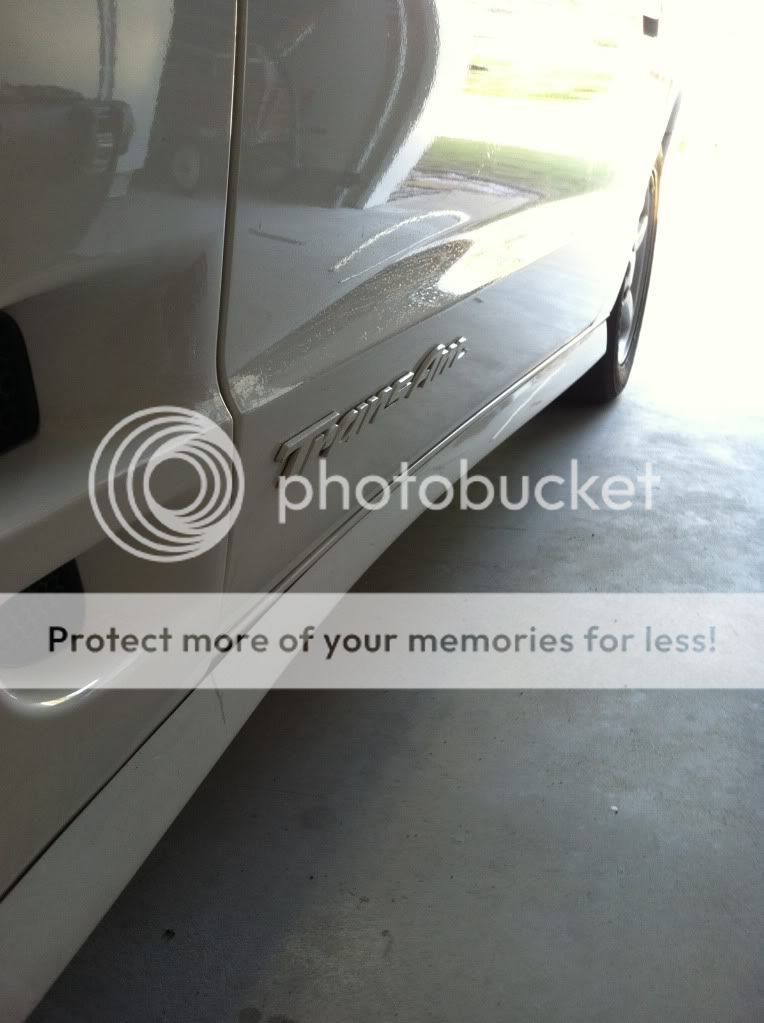
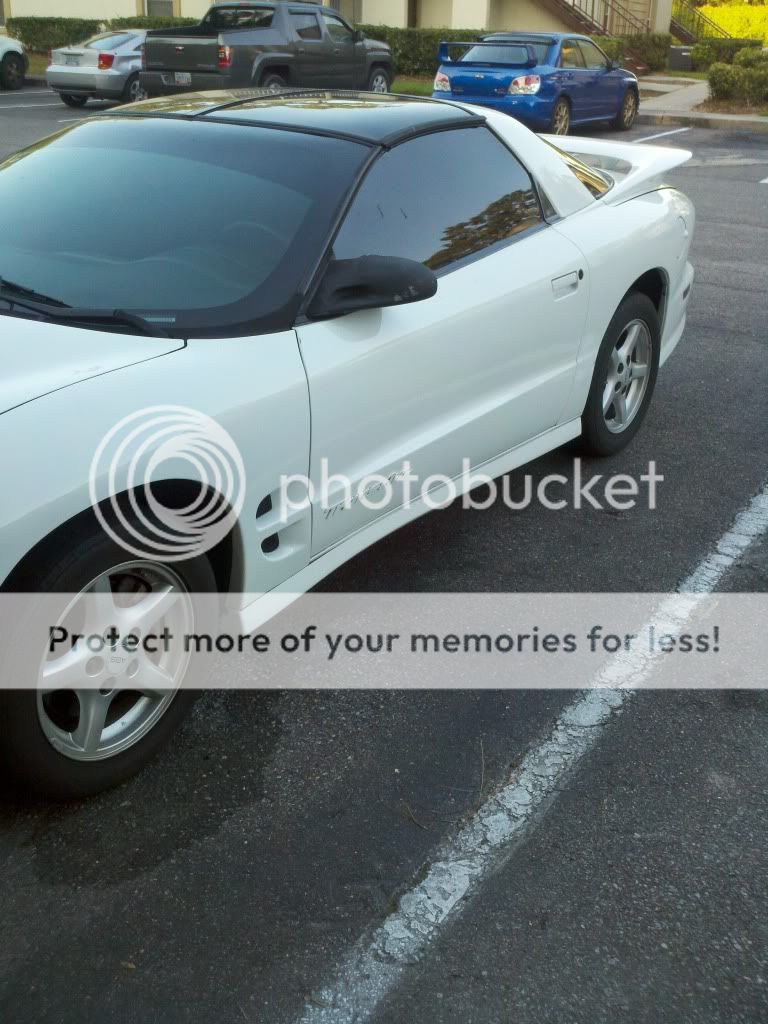
After:
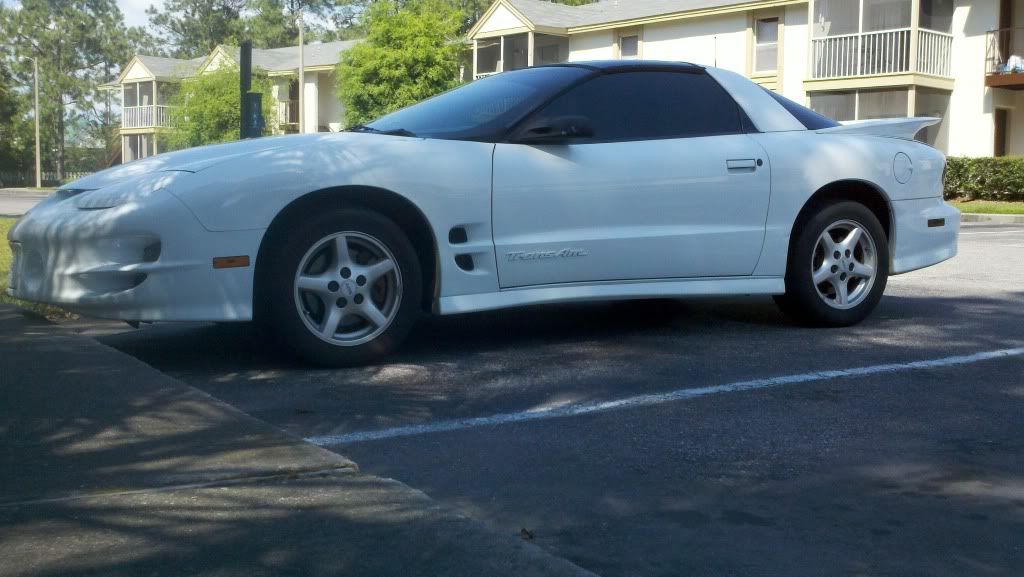
Comparison from further away:

Sorry pictures are giant, and the car needs a bath.
Before:
What lay hidden beneath:
After:
Comparison from further away:


Teching In

Joined: Dec 2011
Posts: 39
Likes: 0
From: Kansas City, MO
Now just round out the piece between the heat extractors. Only ugly part in my opinion.
Could we get a wider view picture without the molding (like your forest pic)? I may want to do this when I repaint my car.
Could we get a wider view picture without the molding (like your forest pic)? I may want to do this when I repaint my car.


I want to do this, but am afraid the paint under the molding will not look the same as the rest of the car. I know some of car has been repainted, but I'm not sure if they took the molding off when they did the repaint.
Looks much better though.
Looks much better though.
Trending Topics

Just did mine but on my passenger side the moldings had a different (black) tape so I think I will have to use some 3M adhesive remover on it. The white factory tape comes off very easy.
Paint was perfect under it too.
Paint was perfect under it too.
Thread Starter
Teching In
Joined: Nov 2011
Posts: 12
Likes: 0
From: Panama City, Fl
Thanks!
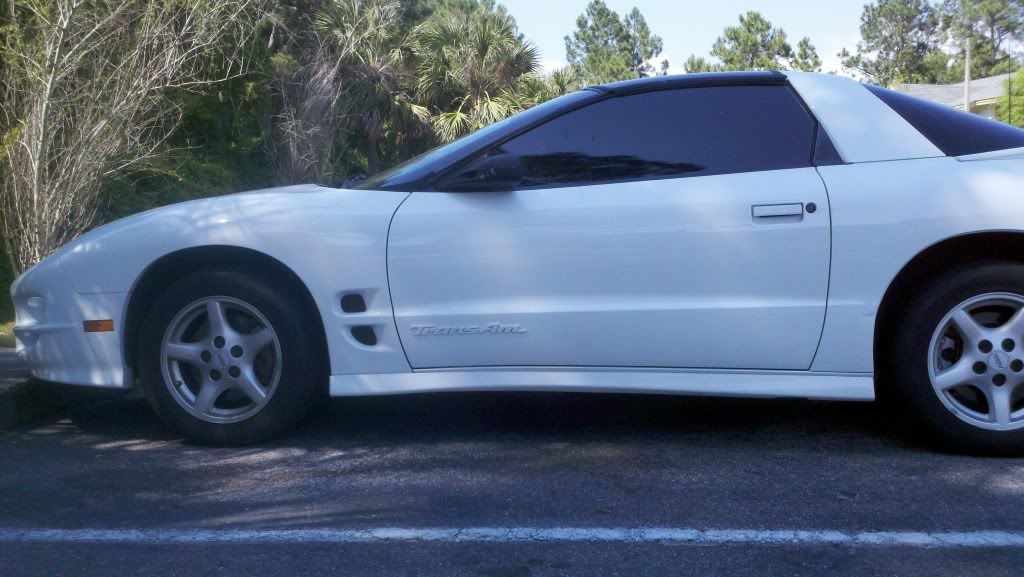
Do you have any pictures or how to's on rounding it out? I'll upload some wider angle pics in a few hours.
I dont really know of a way to check under there before you start sawing at the adhesive. If you know where it was painted, maybe they know if they tend to remove molding or not?
Yeah, I'd love some different wheels, but $$$.
My adhesive looked different than the tutorial video I saw, but this stuff wasnt too bad to get off, only a few blisters from it lol.
My adhesive looked different than the tutorial video I saw, but this stuff wasnt too bad to get off, only a few blisters from it lol.

Teching In
Joined: Dec 2011
Posts: 39
Likes: 0
From: Kansas City, MO
 Didn't think how much it'd interfere with the body line by sanding it down. Just odd seeing it without the side molding
Thread Starter
Teching In
Joined: Nov 2011
Posts: 12
Likes: 0
From: Panama City, Fl
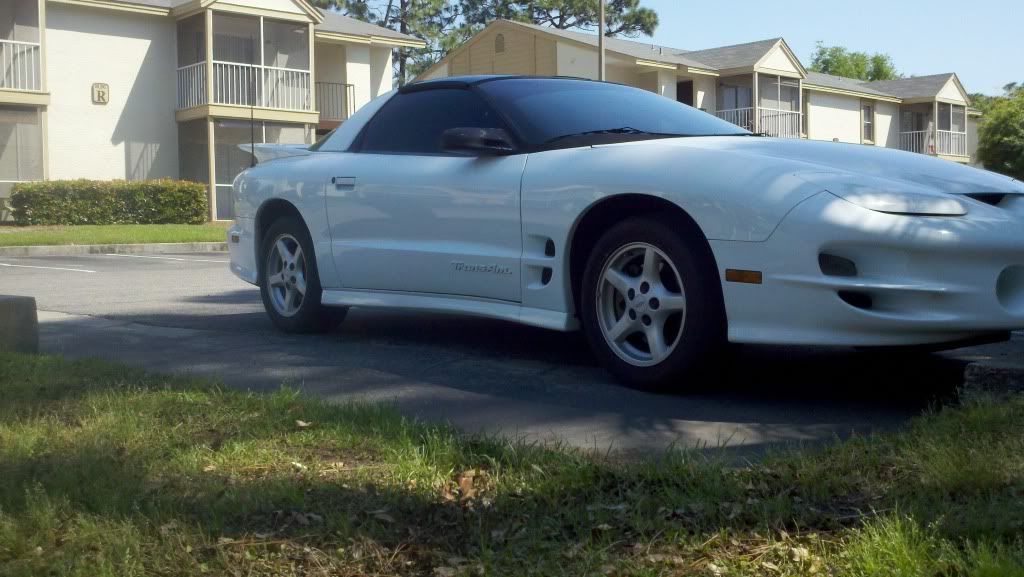
Heres a few others, maybe it gives you a better idea of how it looks.
I have been meaning to do this to my TA for a while now, and seeing your thread gave me the boot to go do it lol. I removed my moldings a few hours ago. The adhesive residue came off fairly easy, but there is still an outline of where they were. I tried clay baring it, which helped, but did not remove the "outlines" completely. Any suggestions? Would buffing the areas help?
Thread Starter
Teching In
Joined: Nov 2011
Posts: 12
Likes: 0
From: Panama City, Fl
I have been meaning to do this to my TA for a while now, and seeing your thread gave me the boot to go do it lol. I removed my moldings a few hours ago. The adhesive residue came off fairly easy, but there is still an outline of where they were. I tried clay baring it, which helped, but did not remove the "outlines" completely. Any suggestions? Would buffing the areas help?
Last edited by lagspikeftw; Apr 9, 2012 at 07:35 PM. Reason: added quote

I have been meaning to do this to my TA for a while now, and seeing your thread gave me the boot to go do it lol. I removed my moldings a few hours ago. The adhesive residue came off fairly easy, but there is still an outline of where they were. I tried clay baring it, which helped, but did not remove the "outlines" completely. Any suggestions? Would buffing the areas help?

Staging Lane
Joined: Dec 2011
Posts: 71
Likes: 0
From: middletown de
anyone done this on a black car thats had an outside life and had bad results? im worried for the paint under it looking alot more fresh. im also taking the trans am emblems of my door becuase they bought white letters in which i hate it, i love the simple stock look. they also had put white overlays on the bird on the tail light filler peice and white over the Pontiac on the head lights..ugghhh!! i hate it lol so im making changes asap and bought new black logos for less then half the price of what i been seeing them for and they are brand new so im stoked!
any have pics of black trans ams with the molding off?
any have pics of black trans ams with the molding off?