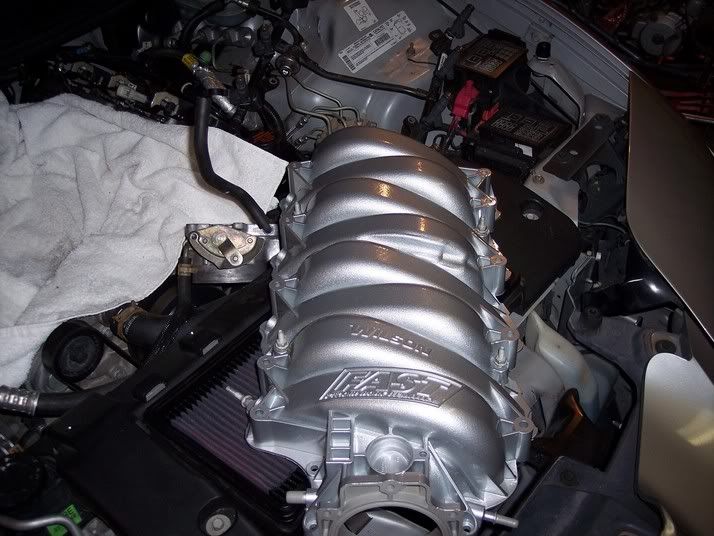
painted fast intake pics
 12-30-2005, 05:41 AM
#41
TECH Apprentice
iTrader: (2)
Join Date: Oct 2004
Location: Hungary
Posts: 298
Likes: 0
Received 0 Likes
on
0 Posts
Originally Posted by LawmanSS
Check out my post above (#32)...I listed the grits I used.
As for the cracks, etc...I just folded the paper into little pieces and hand sanded as far into the cracks, etc. as I could...or that you could see. I didn't waste alot of time on areas that aren't visible or that are shielded by the giant F-body cowl...
As for the cracks, etc...I just folded the paper into little pieces and hand sanded as far into the cracks, etc. as I could...or that you could see. I didn't waste alot of time on areas that aren't visible or that are shielded by the giant F-body cowl...
Thanks man!!!! So you used a dremel for the most of the sanding?
 12-30-2005, 11:03 AM
#42
Originally Posted by SmokeShow99SS
Thanks man!!!! So you used a dremel for the most of the sanding?
12-30-2005, 11:29 AM
#43
TECH Fanatic
iTrader: (20)
Join Date: May 2004
Location: Gilbert, AZ
Posts: 1,365
Likes: 0
Received 0 Likes
on
0 Posts

Originally Posted by LawmanSS
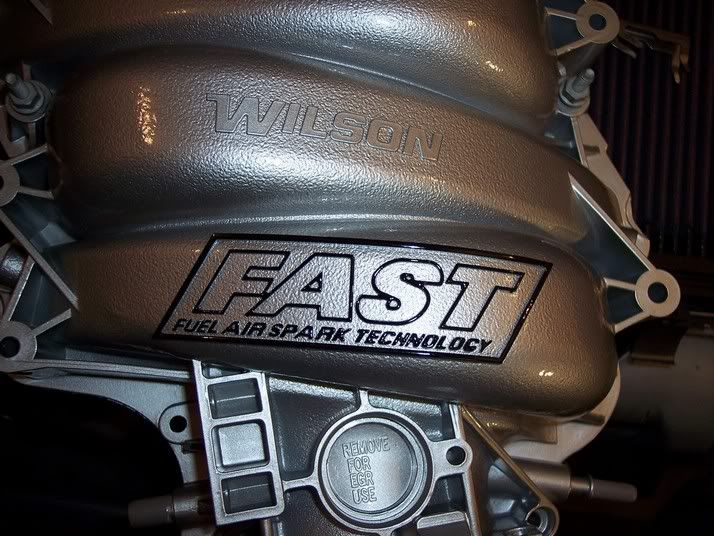
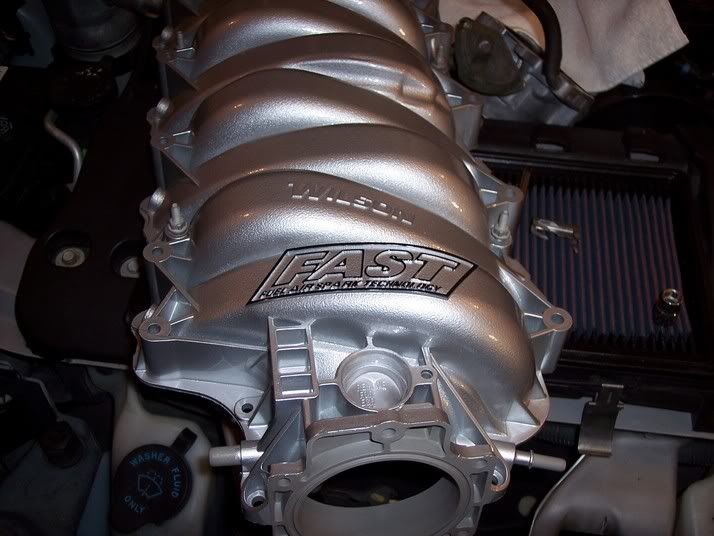
No problem. I only used the dremel for removing the FAST lettering...and you have to be VERY careful not to go too deep with the dremel because it will quickly grind below the surface level leaving a divot that will need filled. I used it to remove the bulk of the letters and then finished removing them by hand...then I sanded the rest of the intake by hand. It takes a little while, but it's worth it in the end (IMO)...
 haha!!! j/k I will take a stab at it, what's $700 to ruin anyways right?
  12-31-2005, 10:27 AM
#46
TECH Fanatic
iTrader: (20)
Join Date: May 2004
Location: Gilbert, AZ
Posts: 1,365
Likes: 0
Received 0 Likes
on
0 Posts
Originally Posted by LawmanSS
Without risk, you can't fully appreciate the rewards... 
I have faith in you...if I can do it without screwing up, then anyone can...
I have faith in you...if I can do it without screwing up, then anyone can...
 01-19-2006, 04:10 AM
#47