


 You'll find plenty of info.


Trans Cooler Install (Pics Inside)
Thread Starter
TECH Apprentice
iTrader: (7)
Joined: Nov 2005
Posts: 318
Likes: 0
From: Clearwater, FL
I finished up my trans cooler install a week ago and drove it this week to make sure everything was working properly. I was going to mount the cooler Dope style but I decided to try a way I have yet to see anyone do. The main reason for not mounting it dope style was because I wanted to have some kind of fan action in case I get stuck in traffic. It took me sometime but I like things to look factory or almost that and I figure this is about as good as it gets. I did not want to use the nylon zip ties because of the possibity of damaging the radiator and condensor. I really only had to drill four holes and trim some small portions of the plastic shroud that is behind the windshield washer container. I spent alot of time fitting and measuring but I am happy with the finished product. Here are the pics.
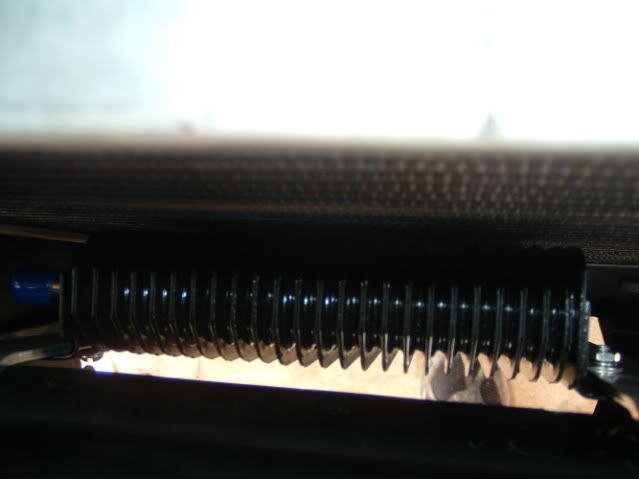
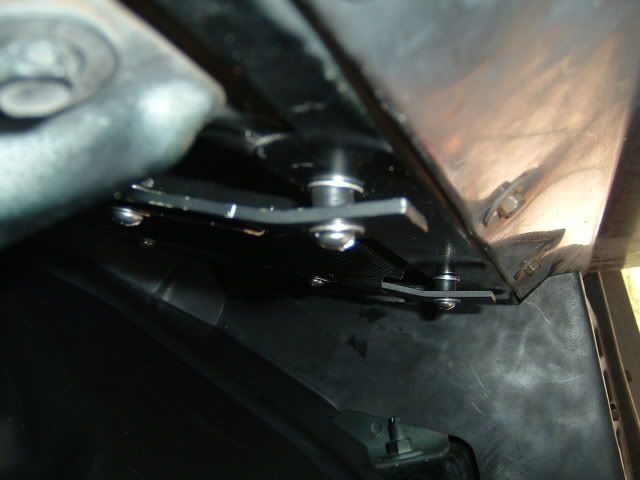
This was the first trial I had to remove the plastic shrouds and use a dremel to drill the holes. Spacing off the radiator was perfect. I did end up spacing the bottom mounts in the end for clearance.
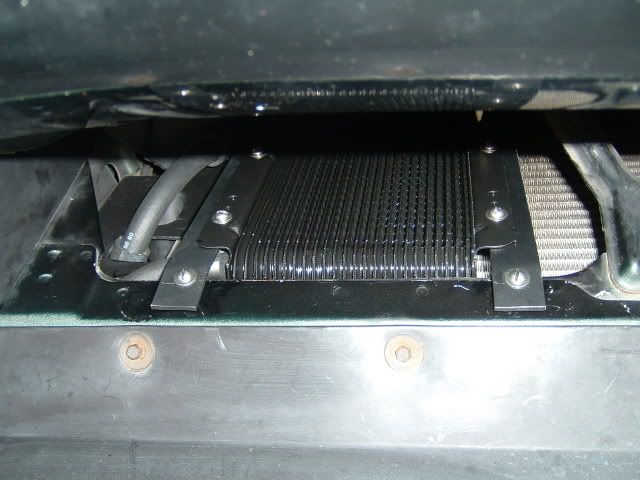
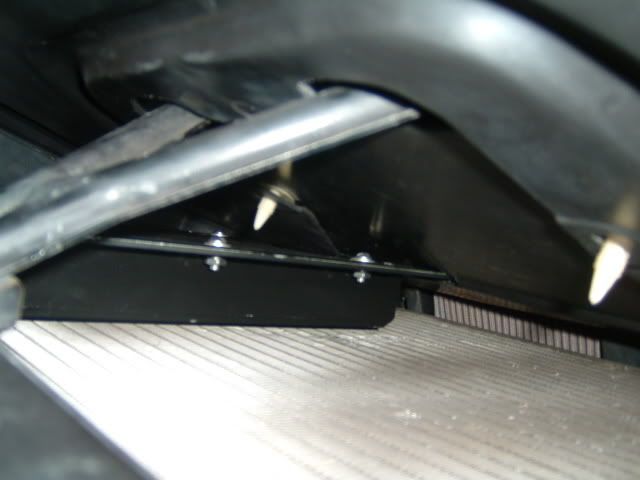
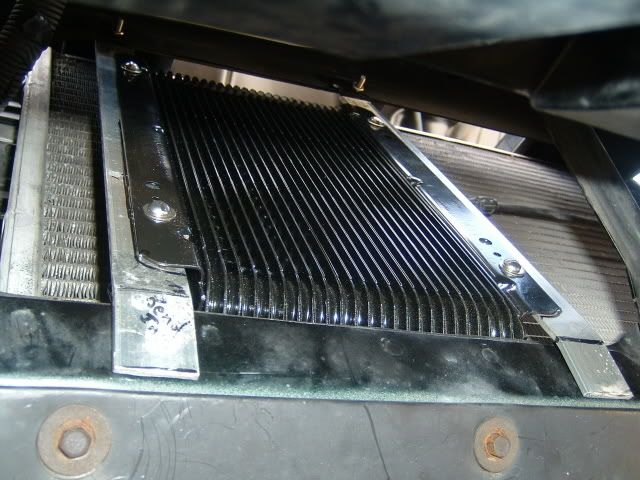
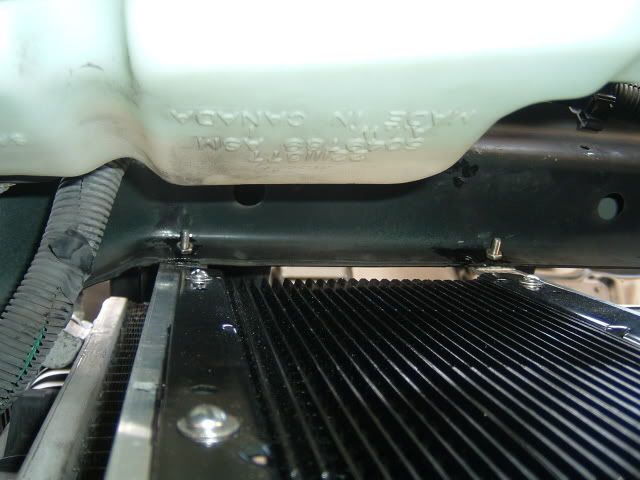
These are the final install pics. Things turned out nice. I do not see any change in the engine temps so far and now I am ready for my SS3600.
This was the first trial I had to remove the plastic shrouds and use a dremel to drill the holes. Spacing off the radiator was perfect. I did end up spacing the bottom mounts in the end for clearance.
These are the final install pics. Things turned out nice. I do not see any change in the engine temps so far and now I am ready for my SS3600.
Thread Starter
TECH Apprentice
iTrader: (7)
Joined: Nov 2005
Posts: 318
Likes: 0
From: Clearwater, FL
Dope style is hard to decribe without a pic. Basically you mount the cooler to the air dam and cut some plastic out that connects the bumper to the underside plastic. I forgot to mention I used 1/8 x 1 aluminum stock I picked up from home depot and grabbed some micellaneous stainless hardware to keep everything from rusting. I had also grabbed some 1/8 x 3/4 aluminum stip but thought the 1 inch stuff would not be as flimsy. After reading some posts on here I decided to not use to hose that came in the B&M kit and got some Goodyear hose from Auto Zone. You could really tell the difference in the quality.

On The Tree
Joined: Jul 2004
Posts: 105
Likes: 0
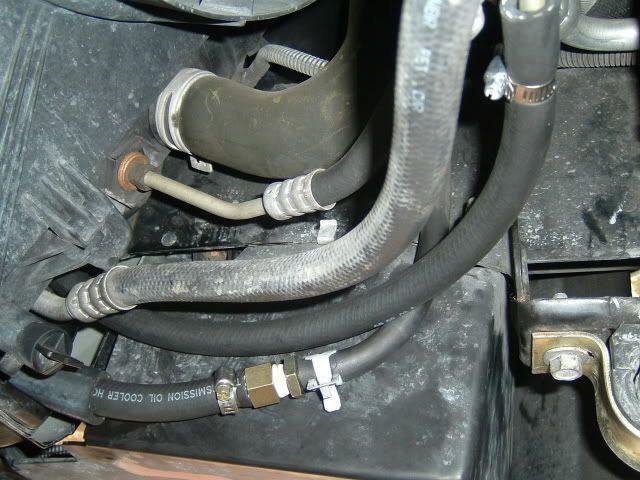
I mounted mine almost exactly like yours. Except I re-used the two bolts you see at the bottom of the oil cooler in that second picture. I had to bend the mounting brackets if I remember right but, worked out great IMO.
Trending Topics
Hey I am all new to this, and I was wondering, How much work does this actually intale. Is it like a weekend project or an hour or two? What are the benifits for getting one, and were is the best place to get one at?
Lane
Lane
LS1 Tech Stories
The Best V8 Stories One Small Block at Time

Topdon ONE vs. Artidiag 800 BT2: Which is the Diagnostic Tablet For You?
Pouria Savadkouei
Gas Monkey Built a 6-Wheel Ferrari Testarossa With a Corvette LT4 Engine
Verdad Gallardo
7 Most Reliable High-Performance Engines GM Has Ever Built
Verdad Gallardo
Amazing '71 Camaro Restomod Is Modern Muscle Car Under the Skin
Verdad Gallardo
6 Common C5 Corvette Failures and What's Involved In Repairing Them
Pouria Savadkouei
Retro Modern Bandit Pontiac Trans AM Comes With Burt Reynolds' Autograph
Verdad Gallardo
Top 10 Greatest Cadillac V Series Performance Models Ever, Ranked
Pouria Savadkouei
Top 10 Most Powerful Chevy Trucks Ever Made!

Hennessey's New Supercharged Silverado ZR2 Has 700 HP
Verdad Gallardo


Joined: Nov 2001
Posts: 34,659
Likes: 2,582
From: Schiller Park, ILL Member: #317
Originally Posted by THE CHOP SHOP
After reading some posts on here I decided to not use to hose that came in the B&M kit and got some Goodyear hose from Auto Zone. You could really tell the difference in the quality.
The B&M hose sucks. The walls of the hose are too thin to really clamp down on without bottoming out the clamps. After running B&M coolers for many years using their supplied hose and always having leaks to deal with, I finally wised up and got some Goodyear hose. I've never had another leak on any car since, for years. The Goodyear hose is a 100% improvement in quality over the crap B&M provides.
I use a similar mounting method as yours. But I just mount the cooler directly to that metal frame that you have the brackets mounting to, using similar stainless hardware. Then I drill two oversized holes in the air deflector to run the cooler lines through. That way the bend angle in the hose is very wide making it as easy as possibile for fluid to pass. And the holes are large enough that the lines don't get tugged on when the deflector occasionally scrapes the ground.

