Let the madness begin (blower build w/pics)
 02-03-2013, 05:55 PM
#41
TECH Resident
Thread Starter
iTrader: (1)

Join Date: Sep 2010
Location: Winnipeg, mb
Posts: 789
Likes: 0
Received 0 Likes
on
0 Posts
Yeah, no insulator between the sensor and the housing. I think it was telling me the temperature of the manifold rather than the air temp.
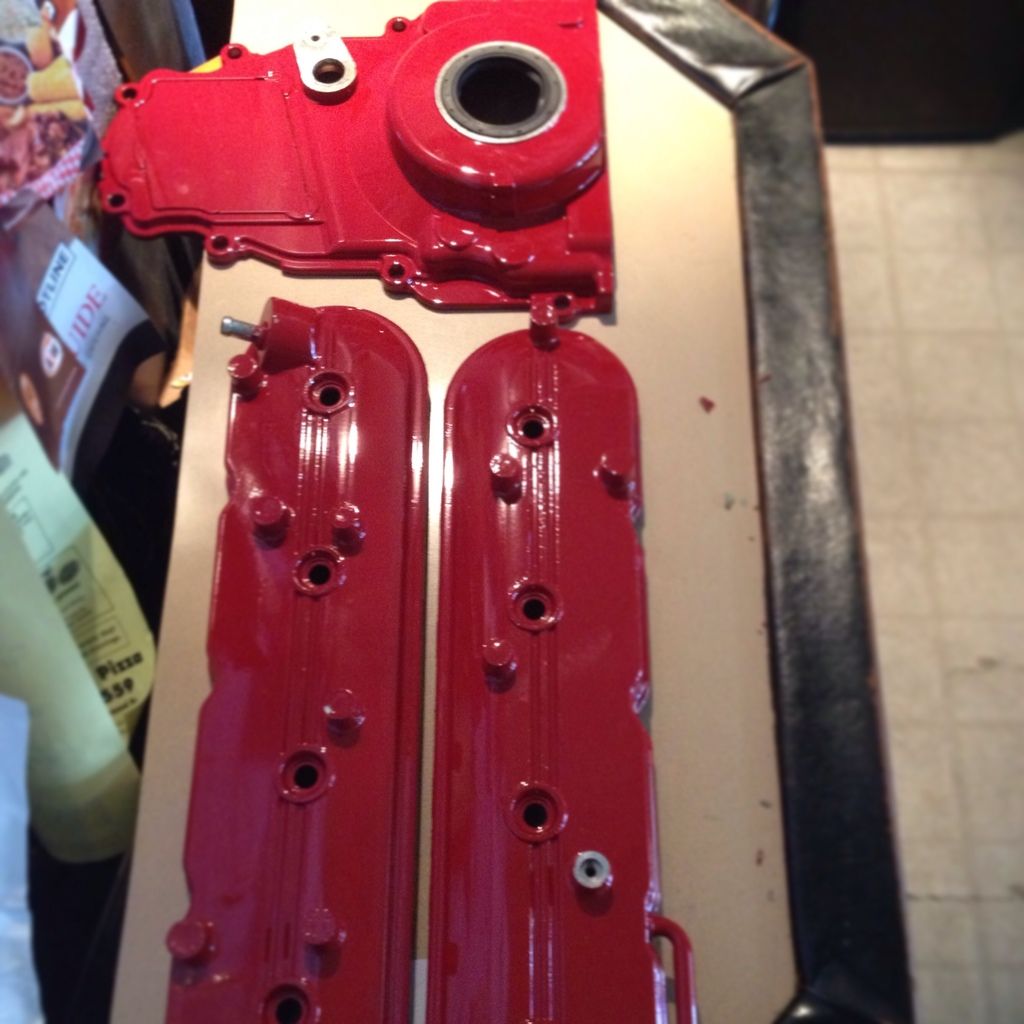
Here's a pic of the paint done
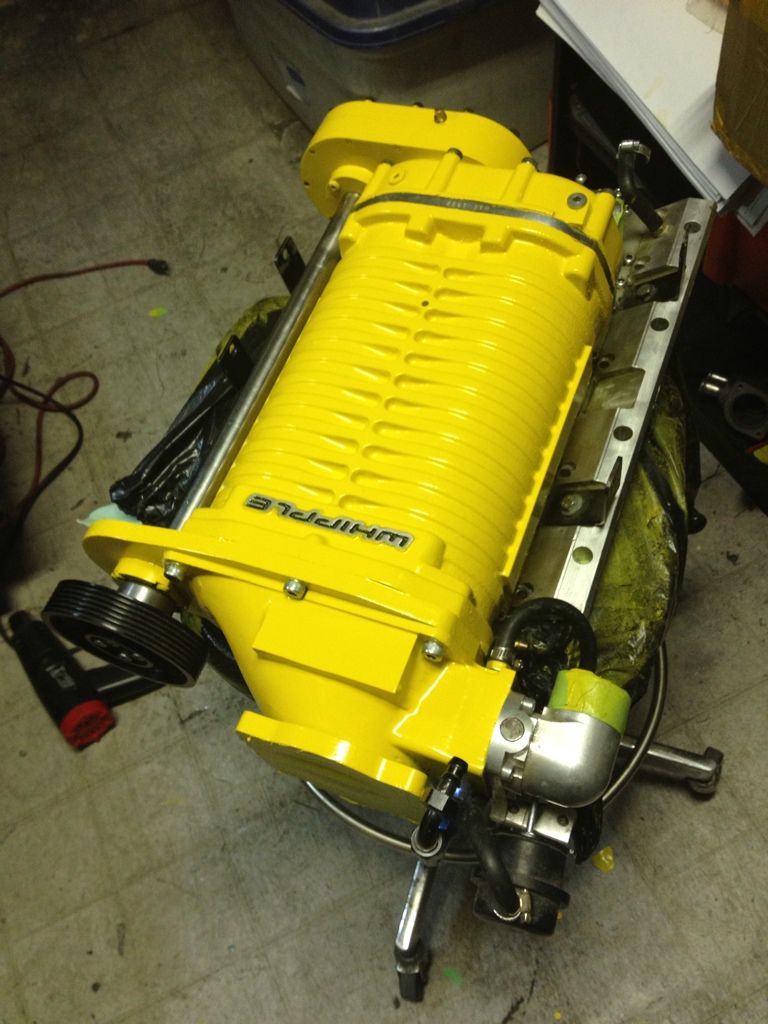
Here's a pic of the paint done

 03-27-2013, 07:11 PM
#43
TECH Resident
Thread Starter
iTrader: (1)
Join Date: Sep 2010
Location: Winnipeg, mb
Posts: 789
Likes: 0
Received 0 Likes
on
0 Posts
Was getting my rims repowder coated so decided to drop off my valve and timing covers for some paint
Oh ya here's the rims too
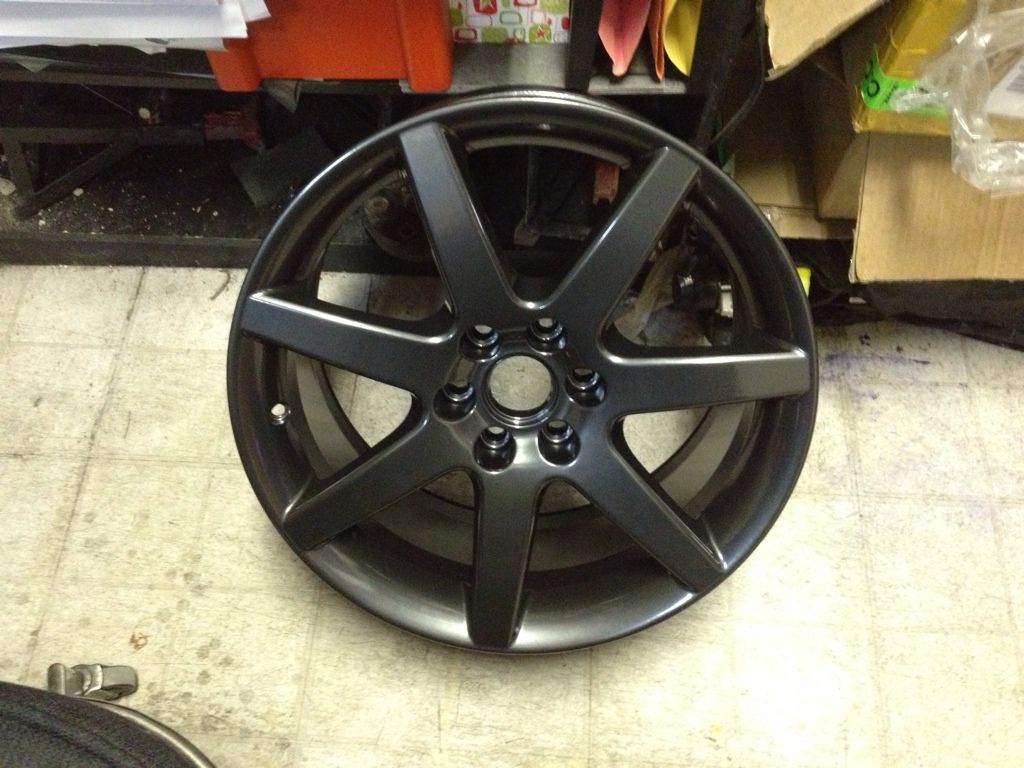
Before on the right, after on the left
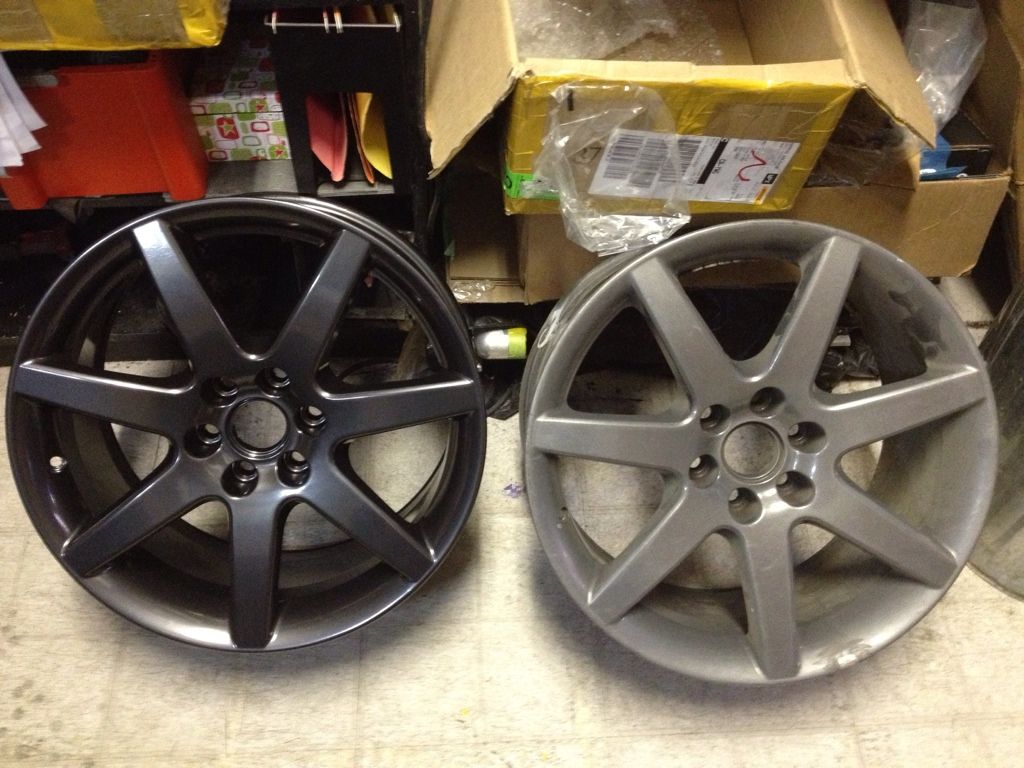
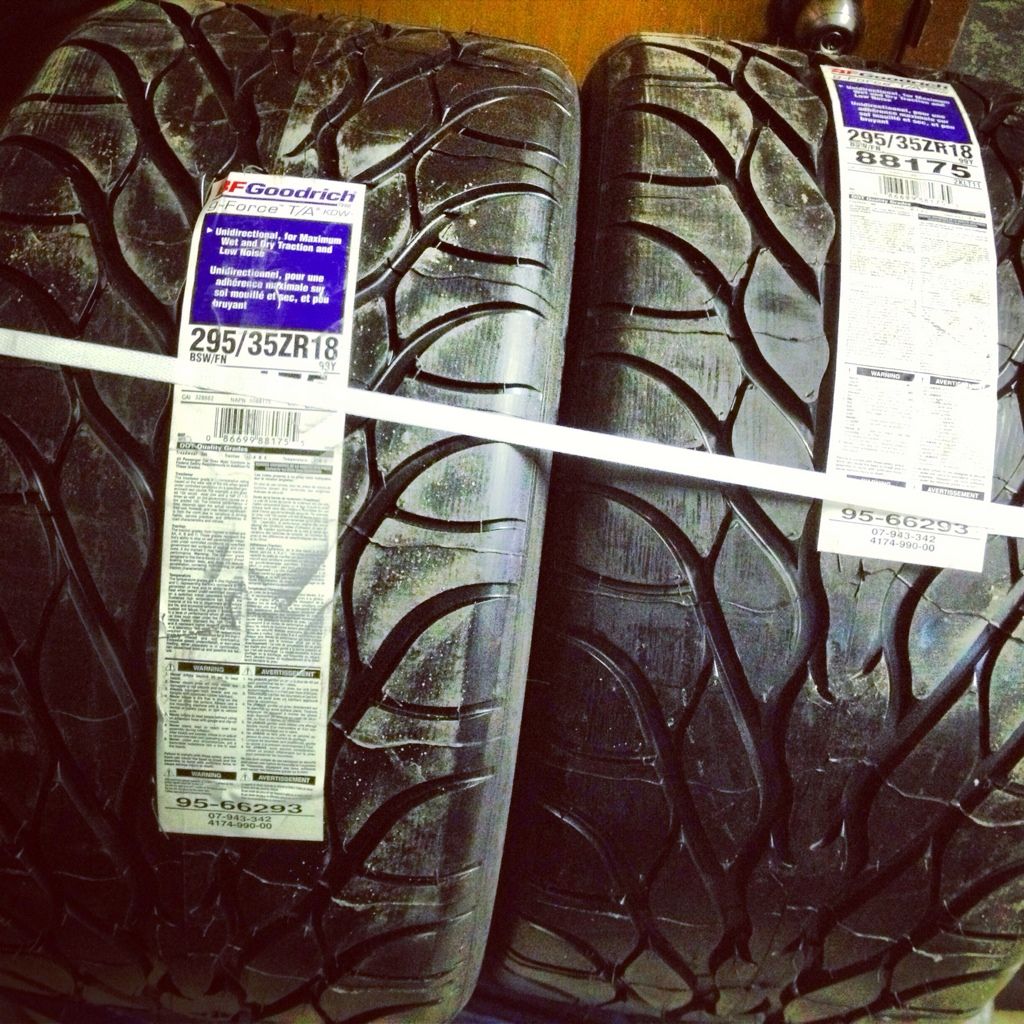
Needed new rear tires too.
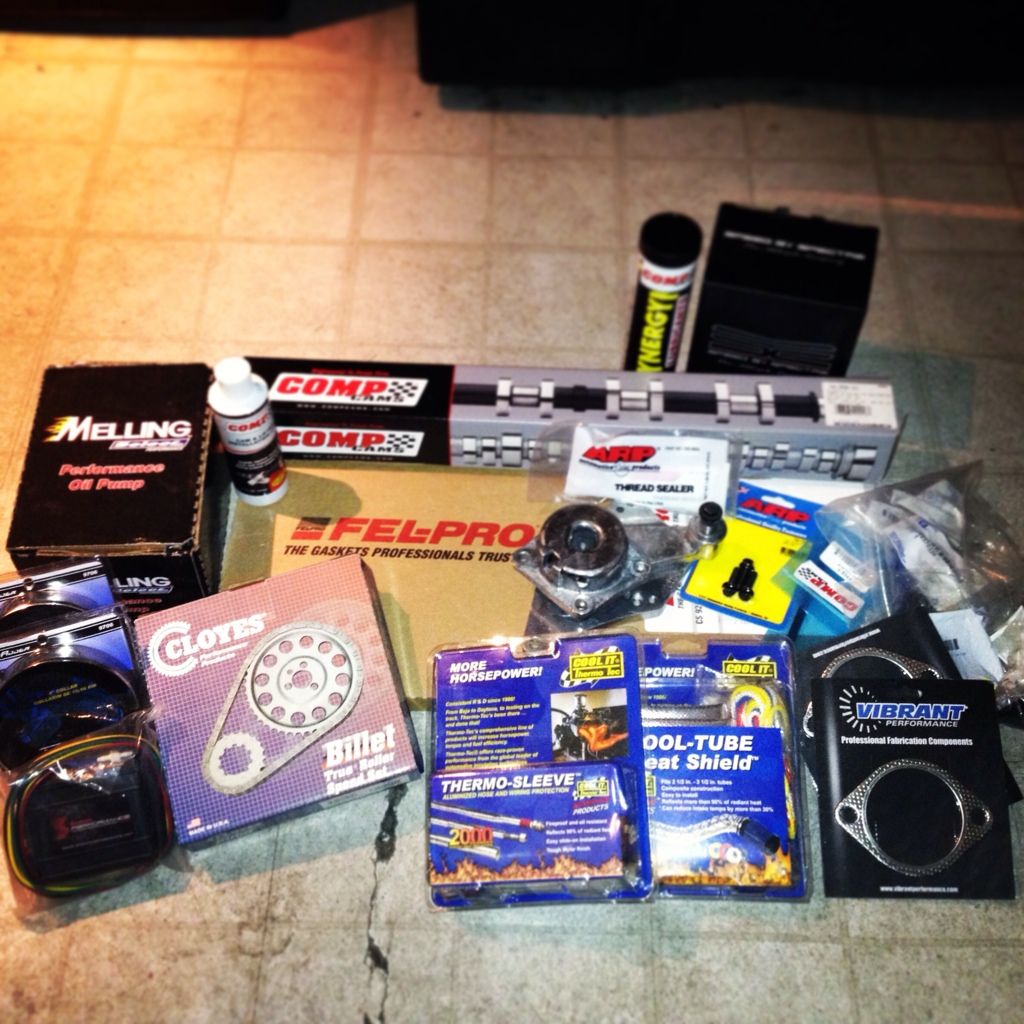
In related news my block will be back from the machine shop next week.
Oh ya here's the rims too
Before on the right, after on the left
Needed new rear tires too.
In related news my block will be back from the machine shop next week.

 04-02-2013, 09:05 AM
#48
So how far down did you have to drop the cradle to get old bushings out and the new in? I ordered a set of them last week, just curious. It seems strait forward, but any tips?
Awesome build too by the way, been watching this thread, nice detailed pics...very cool.
Awesome build too by the way, been watching this thread, nice detailed pics...very cool.
04-02-2013, 11:16 AM
#49
TECH Resident
Thread Starter
iTrader: (1)
Join Date: Sep 2010
Location: Winnipeg, mb
Posts: 789
Likes: 0
Received 0 Likes
on
0 Posts
It's the 3 gallon tank from Alcohol injection systems. The tank was the reason I chose their meth system.
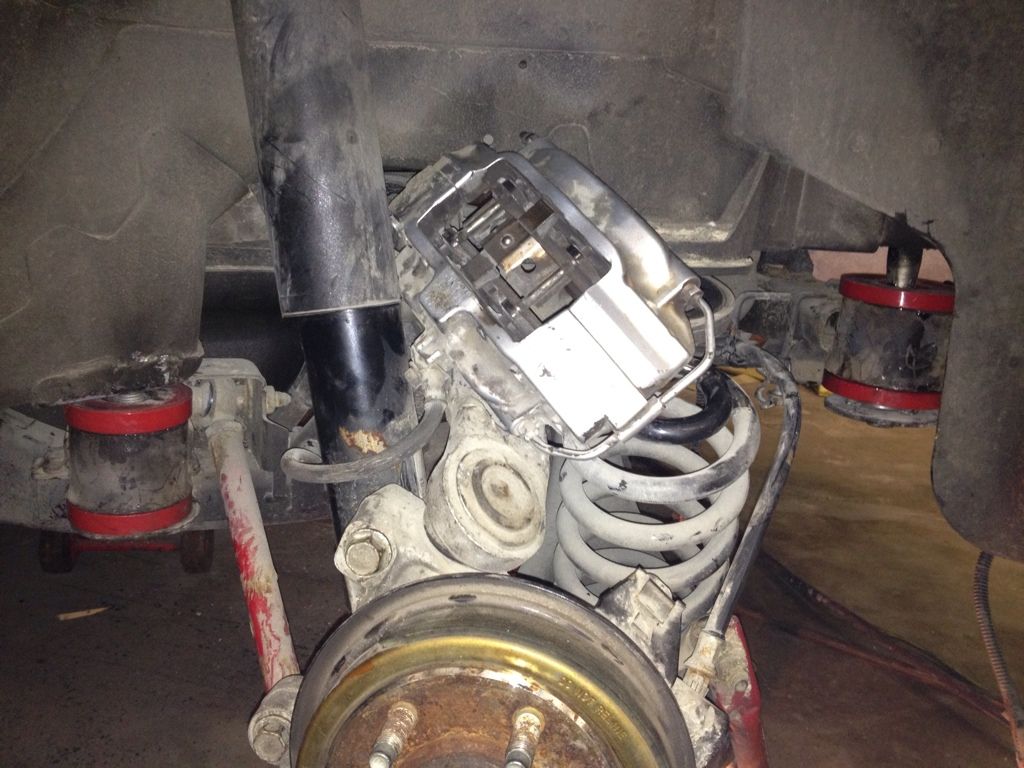
Some people have been dropping the whole sub frame, I chose not to.
I just removed the craddle bolts from one side and lossened off the other.
You have to get the car pretty far off the ground for using a corded sawzall from below, the fronts I used an air saw.
First I used a big *** drill bit and reamed out the rubber between the inner and outter collar, untill the center would come out with some prying.
Torching the outside of the craddle helped. I had two torches(and two people) for heating the outside of the craddle. Heat it long enough and all the rubber will peel out. Carefull on the front mounts because the fuel tank is near by. Also move the wheel speed sensor wires out of the way for the rears.
Then cut a slit in the outter collar with the sawzall, then it should tap out pretty easy, on one stuborn one we just added more heat and it fell right out.
All I can say is it sucks, and glad I don't have to do it again.
and safety goggles are your friend.
 04-11-2013, 12:06 AM
#53
I'm interested in his IATs and dyno sheet with that Whipple, but in terms of the build in general, I suspect he's going to have problems controlling that power due to the fact that the suspension on that CTS-V is still stock. This is one case where I think a little more heed could have been paid to handling mods.
 04-11-2013, 12:13 AM
#54
Any car is gonna have trouble using the instant torque of a big twin screw. I usually dont like them on high hp builds because of that but im sure a few suspension mods wont be far behind considering the money hes dropped on all those parts. Just a set of good coilovers on all 4 will do wonders.
BTW it does look like he already has BMR trailing arms.
BTW it does look like he already has BMR trailing arms.
 04-11-2013, 11:28 PM
#56
TECH Resident
Thread Starter
iTrader: (1)
Join Date: Sep 2010
Location: Winnipeg, mb
Posts: 789
Likes: 0
Received 0 Likes
on
0 Posts
The only thing stock in the suspension is the shocks and a couple bushings.
Bmr toe rods, map trailing arms with spherical fronts and aluminium bronze rears., eibach springs w/cut rears therefore stiffer, eibach sway bars, power grid endlinks. May need adjustable shocks, but I'll deal with that as it comes.
Bmr toe rods, map trailing arms with spherical fronts and aluminium bronze rears., eibach springs w/cut rears therefore stiffer, eibach sway bars, power grid endlinks. May need adjustable shocks, but I'll deal with that as it comes.
Last edited by tommycompton; 04-11-2013 at 11:54 PM.


