LS1 '69 Camaro Swap
 01-16-2011, 10:21 PM
#21
On The Tree
iTrader: (3)

Join Date: Jul 2006
Location: San Antonio, Tx
Posts: 152
Likes: 0
Received 0 Likes
on
0 Posts

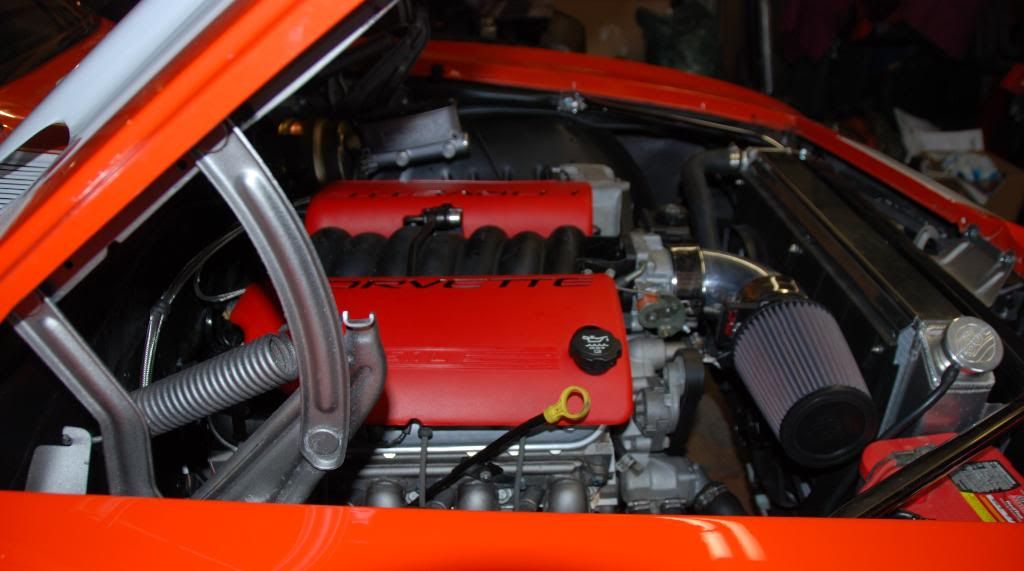
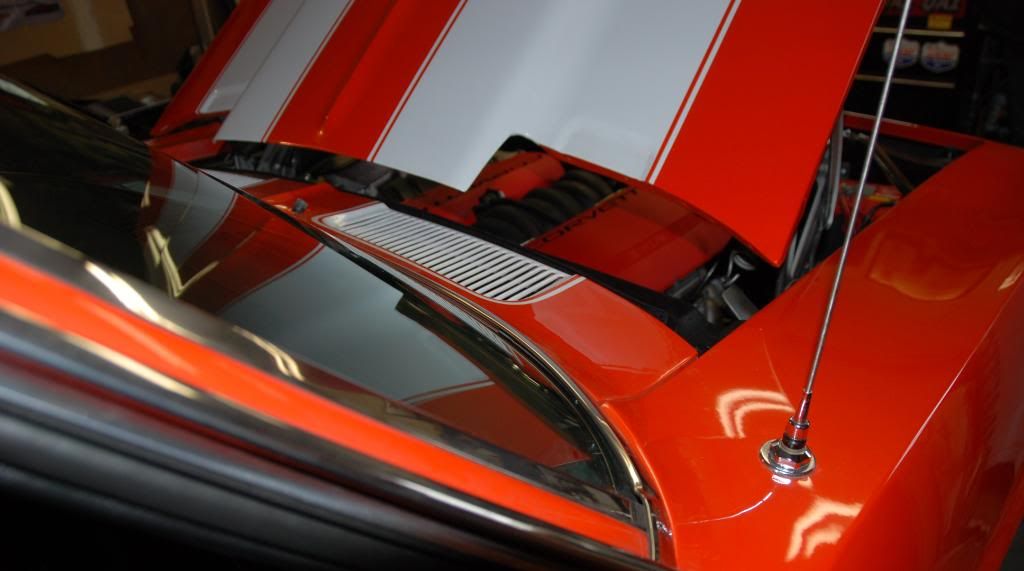
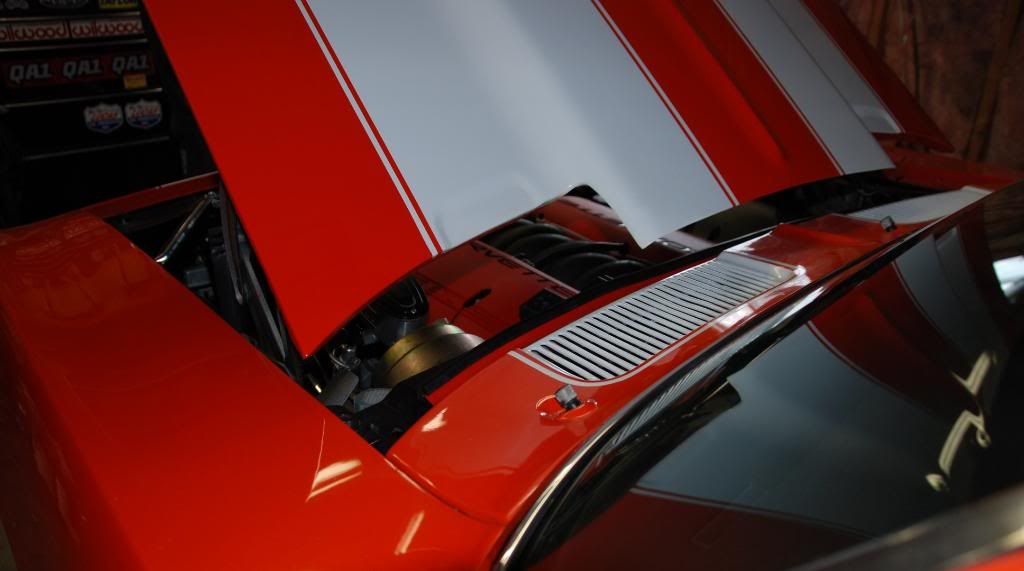
wow, i take for granted all the room i have setting my engine back. 4th picture https://ls1tech.com/forums/chevrolet...aro-build.html
 01-22-2011, 10:24 PM
#22
Staging Lane
Thread Starter

Join Date: Mar 2008
Posts: 52
Likes: 0
Received 0 Likes
on
0 Posts
wow, i take for granted all the room i have setting my engine back. 4th picture https://ls1tech.com/forums/chevrolet...aro-build.html
 01-22-2011, 10:33 PM
#23
Staging Lane
Thread Starter
Join Date: Mar 2008
Posts: 52
Likes: 0
Received 0 Likes
on
0 Posts
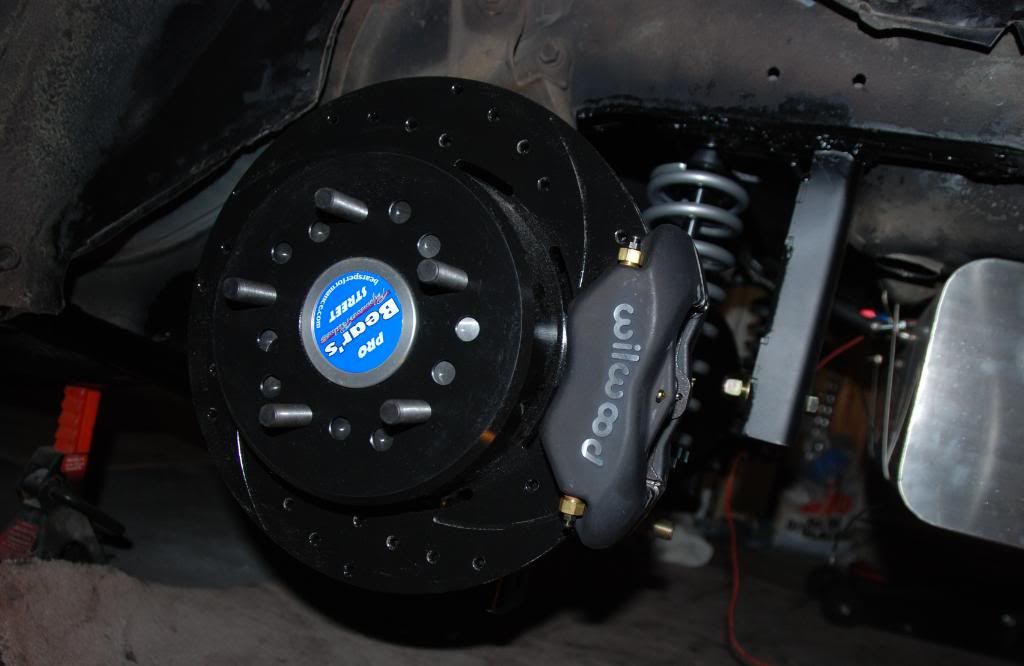
Got something in the mail the other day. weighed a ton.
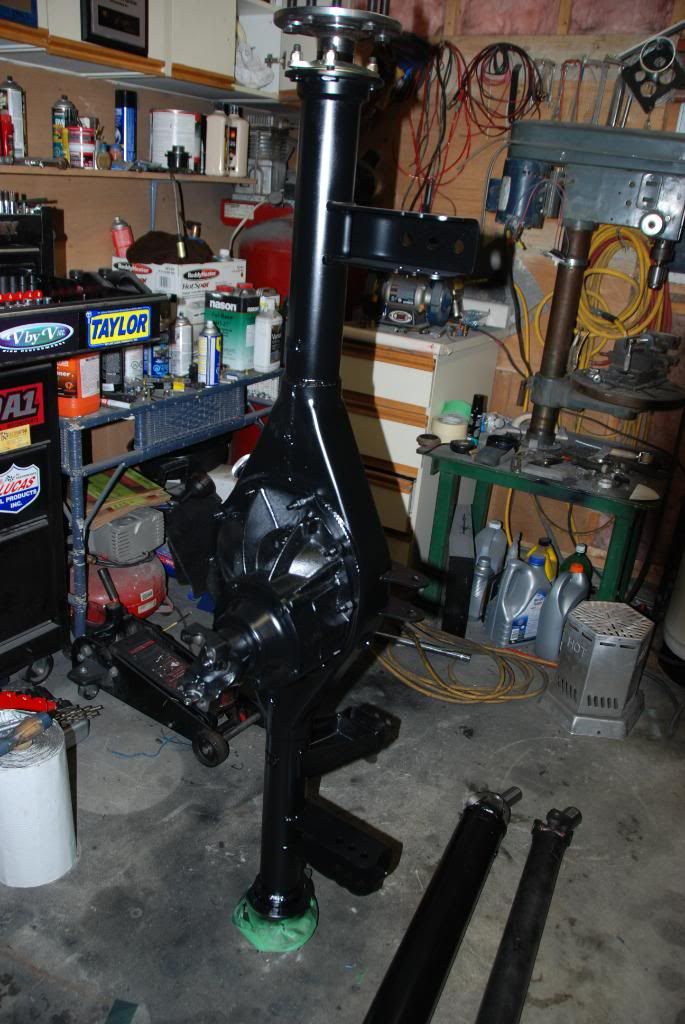
installed with the nascar driveshaft and torque arm in position
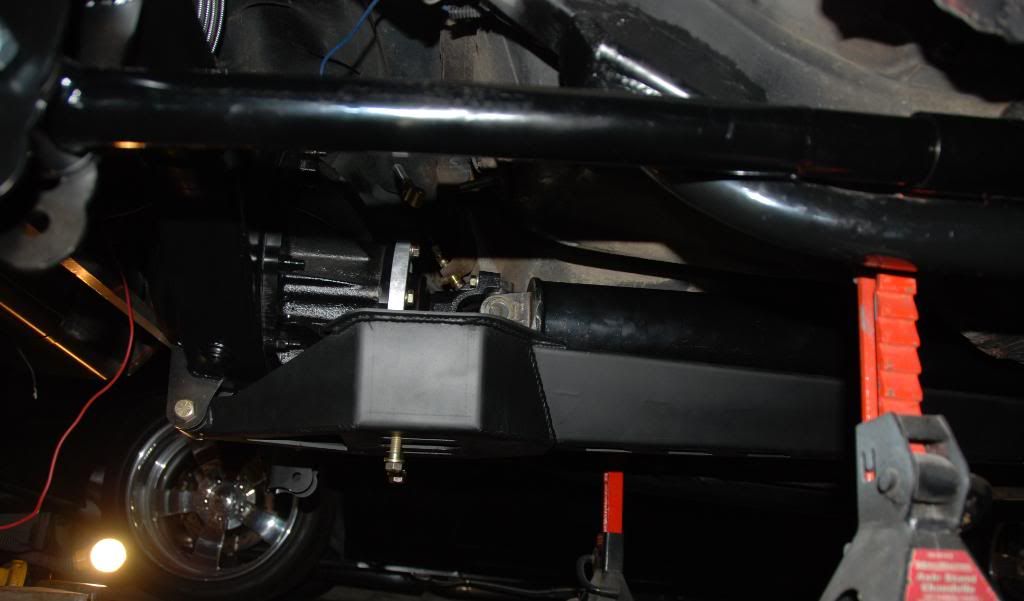
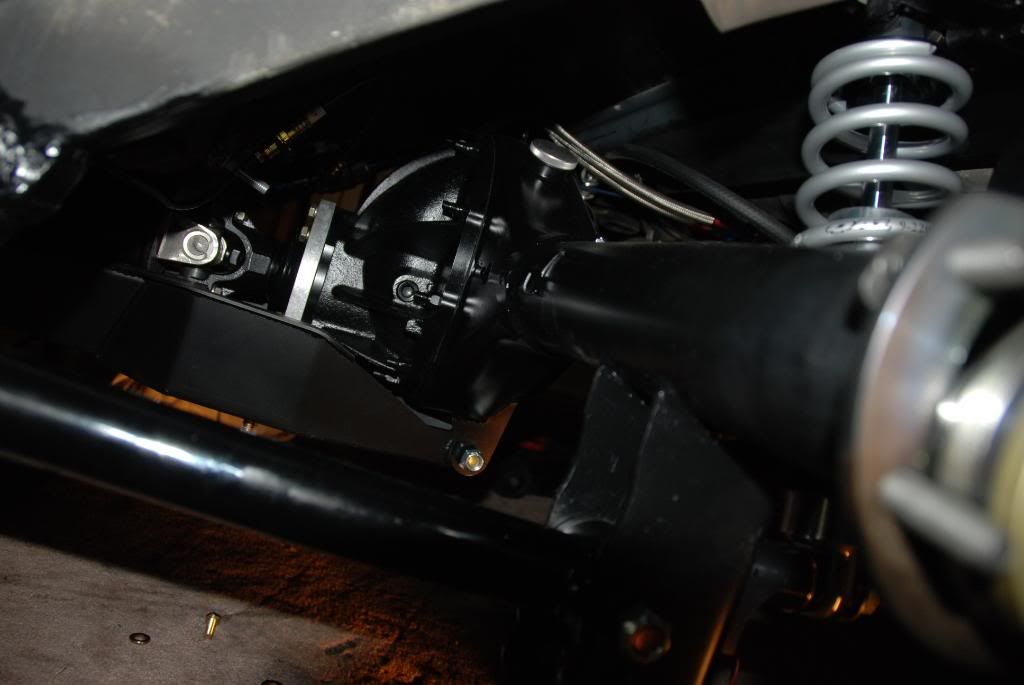
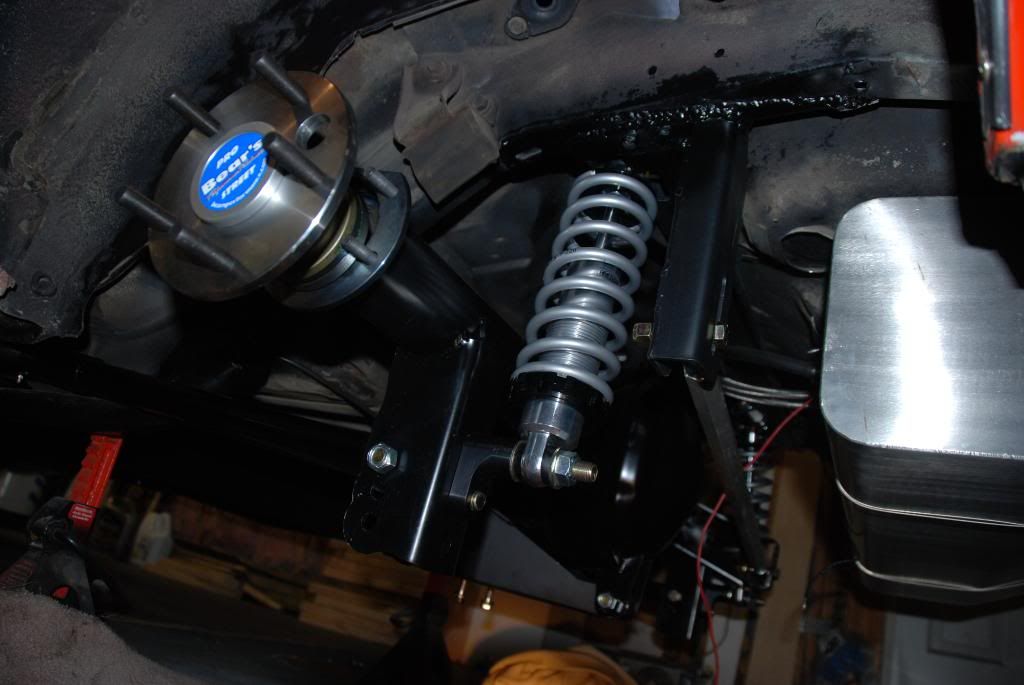
went with 4 piston in the back an 6 piston in the front
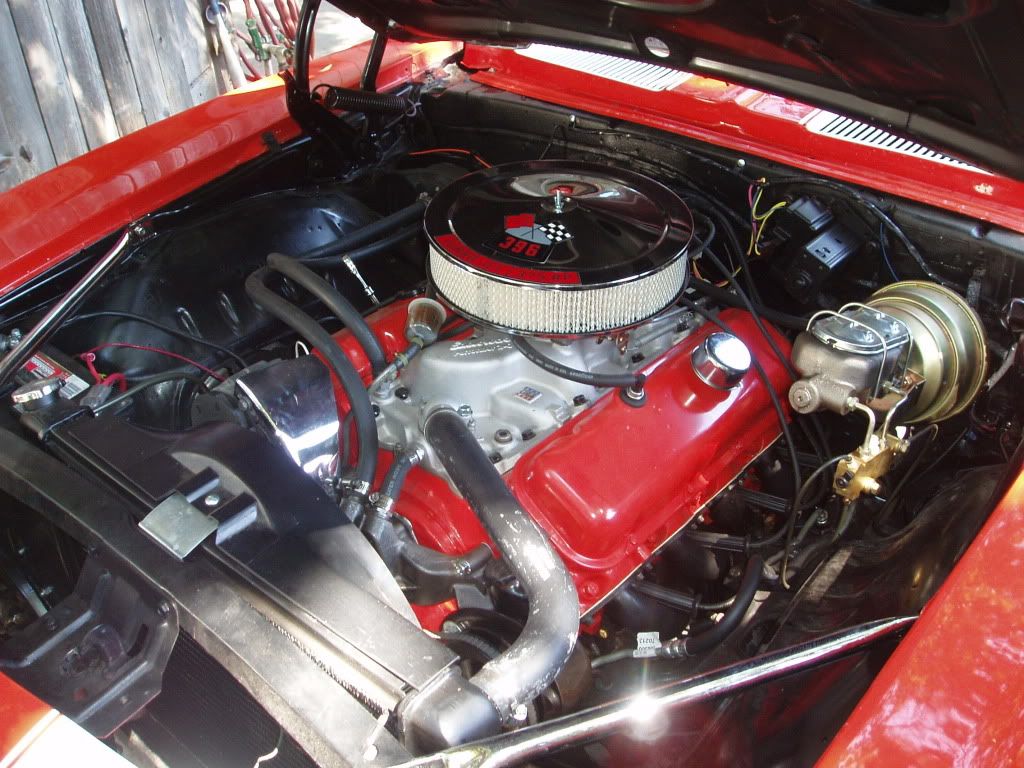
pic of old faithfull
pic of the new
installed with the nascar driveshaft and torque arm in position
went with 4 piston in the back an 6 piston in the front
pic of old faithfull
pic of the new
Last edited by i1aroc; 01-22-2011 at 10:45 PM.
01-26-2011, 04:19 PM
#24

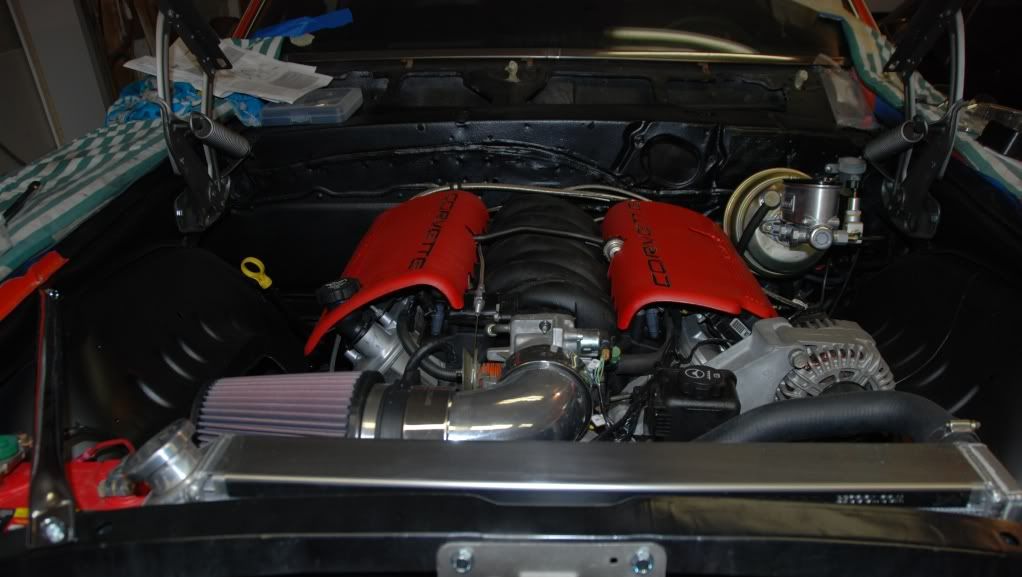
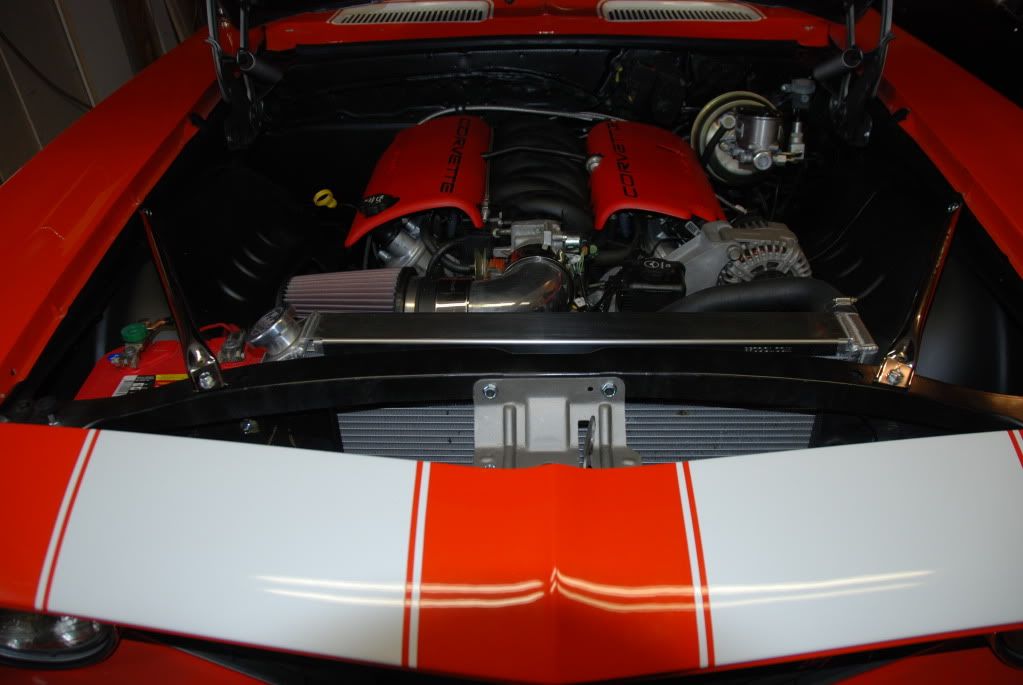
I see your making fast progress. Looks great! I have a couple of questions for you if you dont mind. Where did you get the elbow coming off of the throttle body? Who made it? I reread your thread and see where you put in a 4L60E but you have a reservoir on the firewall that looks like it goes to a clutch master. Is that from the old setup? The Wilwood master for the brakes, are you using the stock proportioning valve in conjuction with the adjustable one?
Sorry for all of the questions I am in the middle of finishing everything up so I can set the engine in for a final time I hope.
Sorry for all of the questions I am in the middle of finishing everything up so I can set the engine in for a final time I hope.
01-26-2011, 07:15 PM
#25
Teching In
iTrader: (5)
Join Date: Dec 2010
Location: prestonsburg,ky
Posts: 48
Likes: 0
Received 0 Likes
on
0 Posts
was your motor mount plate in factory or 1 inch back postion..doing the same with ls6,6 speed.car is painted and almost ready for engine and trans..may post some pics later
01-26-2011, 07:41 PM
#26
Staging Lane
Thread Starter
Join Date: Mar 2008
Posts: 52
Likes: 0
Received 0 Likes
on
0 Posts
I see your making fast progress. Looks great! I have a couple of questions for you if you dont mind. Where did you get the elbow coming off of the throttle body? Who made it? I reread your thread and see where you put in a 4L60E but you have a reservoir on the firewall that looks like it goes to a clutch master. Is that from the old setup? The Wilwood master for the brakes, are you using the stock proportioning valve in conjuction with the adjustable one?
Sorry for all of the questions I am in the middle of finishing everything up so I can set the engine in for a final time I hope.
Sorry for all of the questions I am in the middle of finishing everything up so I can set the engine in for a final time I hope.
Ask away, no worries. I originally wanted to go with a 4l60e, but came across a package deal with a T56 six speed so I jumped on it. The elbow off the throttle body came with the engine package, sorry I couldn't be more helpfull on that one. Adjustable Wilwood only being used.
Good stuff on your build, keep up the great work.
01-26-2011, 07:47 PM
#27
Staging Lane
Thread Starter
Join Date: Mar 2008
Posts: 52
Likes: 0
Received 0 Likes
on
0 Posts
Motor mount plates are in the factory position. I probably would have liked to go 1 inch back, however, it is pretty tight back there as it is, so I shouldn't complain I guess. The elbow I purchased up front from PI had to be cut just so I could clear the fans.
Last edited by i1aroc; 01-27-2011 at 08:52 PM.
 02-03-2011, 04:36 PM
#33
Staging Lane
Join Date: Nov 2003
Location: El Dorado Hills, CA
Posts: 78
Likes: 0
Received 0 Likes
on
0 Posts
you driving it yet? I'm really interested in the suspension as well as your thoughts on overall install of both motor and rear torque arm....
I'm just starting to figure out my LS setup in my 68....
I'm just starting to figure out my LS setup in my 68....
02-03-2011, 09:54 PM
#34
Staging Lane
Thread Starter
Join Date: Mar 2008
Posts: 52
Likes: 0
Received 0 Likes
on
0 Posts

 02-05-2011, 08:38 PM
#37
Staging Lane
Thread Starter
Join Date: Mar 2008
Posts: 52
Likes: 0
Received 0 Likes
on
0 Posts
I was originally looking to buy a lemans blue first gen, but this hugger one came up and the sale went very smooth. Took some getting used to, but pretty happy with the color, thanks for the compliment.
Last edited by i1aroc; 02-12-2011 at 03:32 AM.
02-13-2011, 04:02 PM
#38
Staging Lane
Thread Starter
Join Date: Mar 2008
Posts: 52
Likes: 0
Received 0 Likes
on
0 Posts
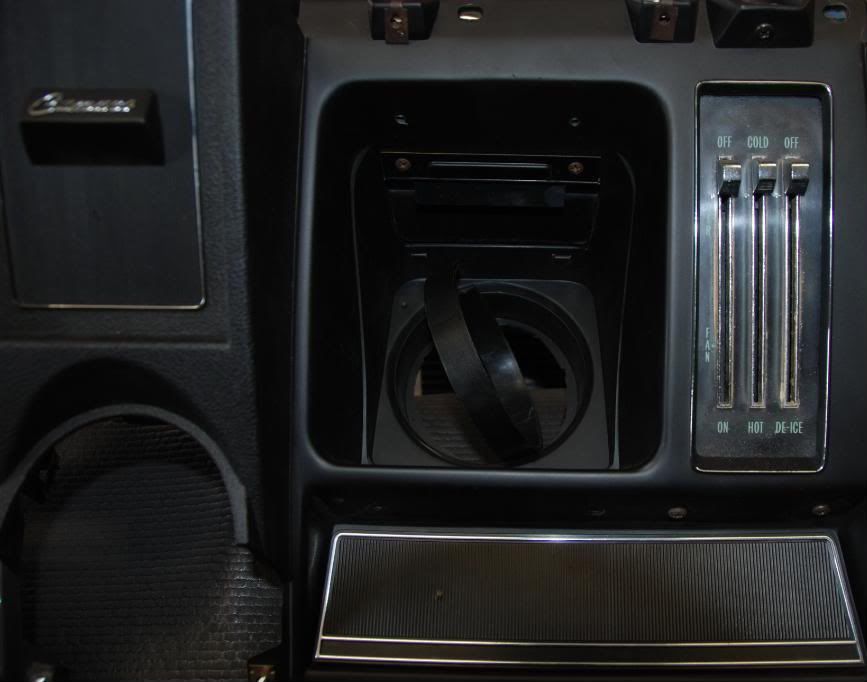
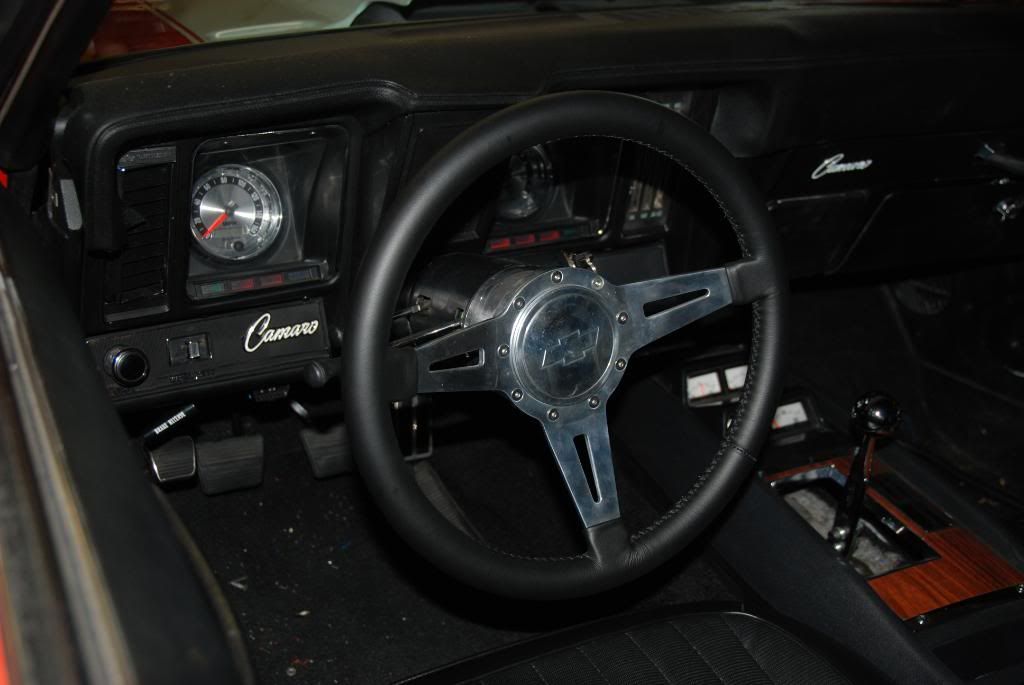
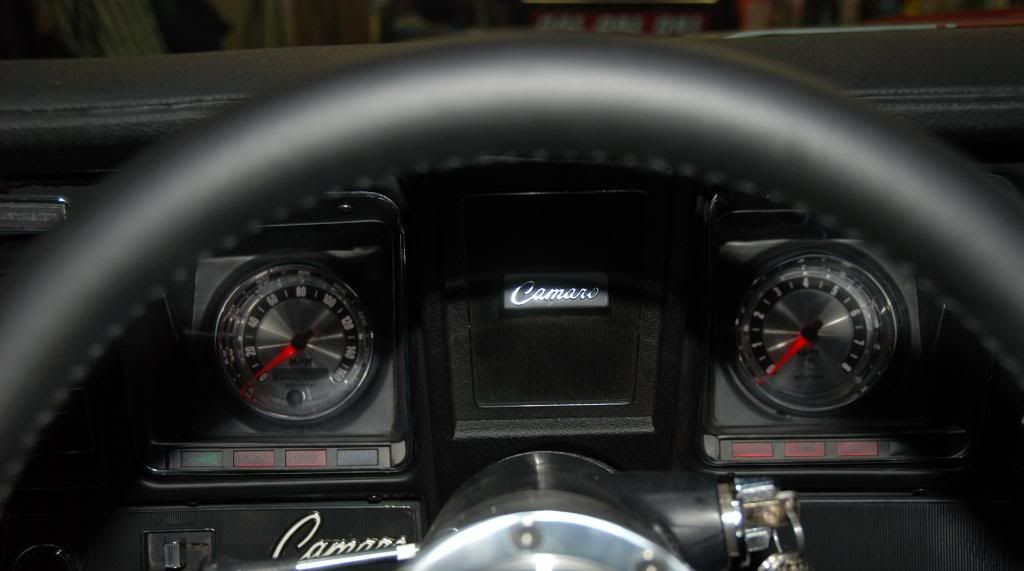
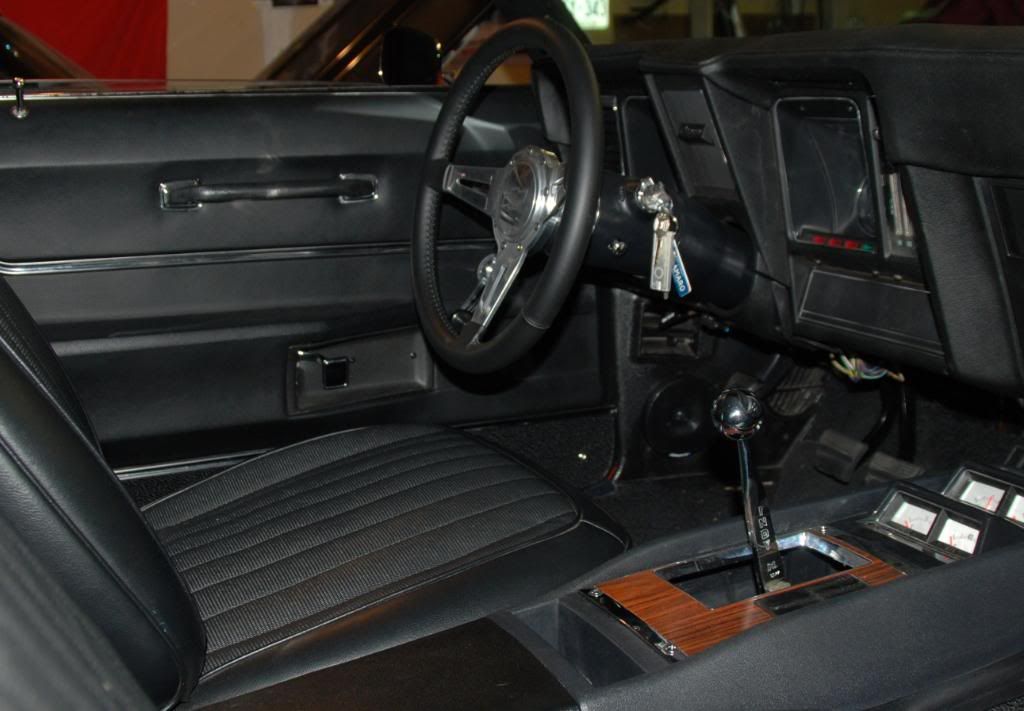
Coming together now, gauges are in. American muscle units used and match the lecarra steering wheel nicely. kind of glow like a 2010 camaro with less intensity which is fine by me. please don't mind the mess. nice to see that six speed shifter in there. just waiting on the billet rims and nittos to arrive. fired up the camaro and it held perfect idle first time. not sure what exhaust to go with yet.

02-13-2011, 06:34 PM
#40
Staging Lane
Thread Starter
Join Date: Mar 2008
Posts: 52
Likes: 0
Received 0 Likes
on
0 Posts

Auto Meter announced the introduction of their new American Muscle series gauges. The latest in designer street performance instruments, American Muscle instruments feature advanced hybrid dial technology combining Auto Meter’s signature white Hi-Def LED illumination and glowing red pointers for maximum readability with spun aluminum dials featuring embossed details for classic good looks. Finished with Chrome Super Bezels, American Muscle instruments are available in compact 2 1/16” size for fuel level, water temp, oil press, and battery voltage measurements, with 3 3/8” 160mph Electronic Programmable Speedometer, and 8,000 RPM Tachometer. Five gauge kit box includes speedo, fuel level, oil press, water temp, and volt gauges with required sending units for installation on most domestic muscle, street rod, custom, and truck applications.