My '02 Z28 Build Thread
 02-24-2013, 10:02 PM
#1

Just about finishing my Camaro, so I figured its time I got around to a build thread. It started by picking up a '02 Z28 m6 with 150k that my dad and I were going to part out. Long story short, we decided it was too nice to rip apart, so I bought it off of him as a step up from my v6 '99 firebird. So this is how it begins.....
My '99 W68 Firebird, nice first car, but its time to move on to bigger and better things

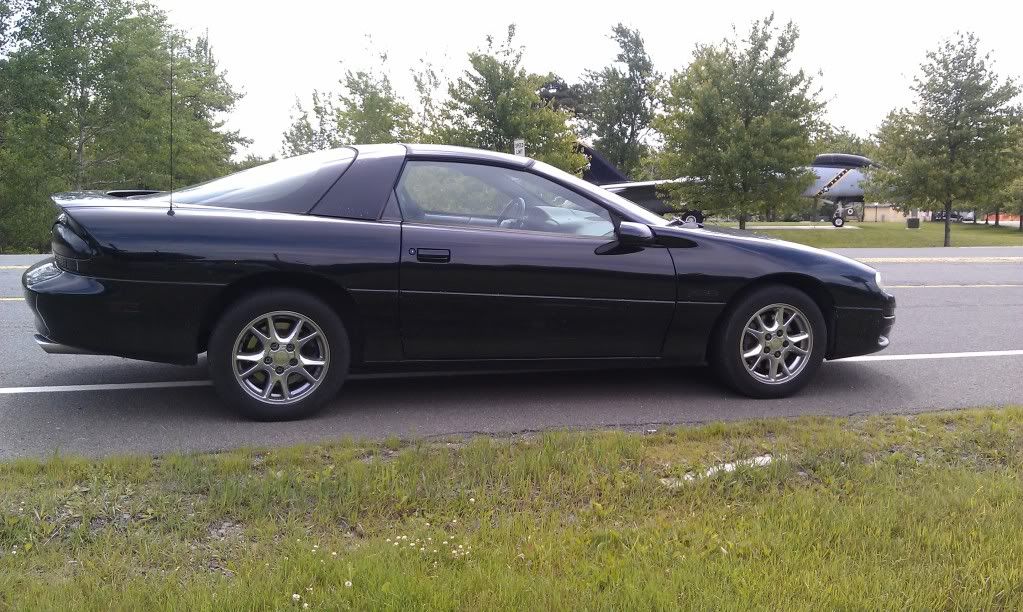
The Z28 as it looked the day we bought it, bone stock except for a flowmaster exhaust.
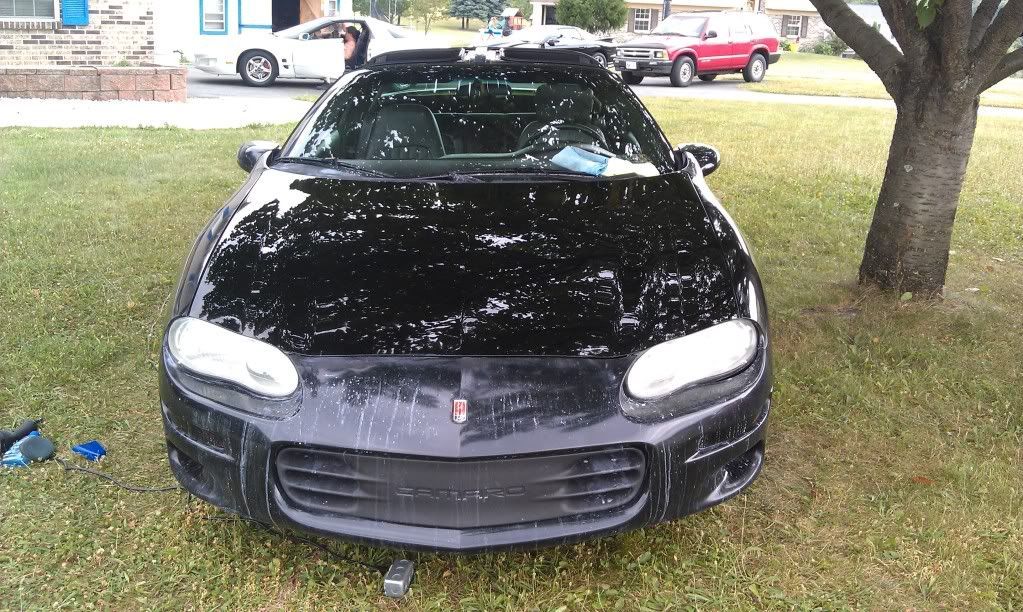
After a little wetsand and buff, the paint wasn't in bad condition at all
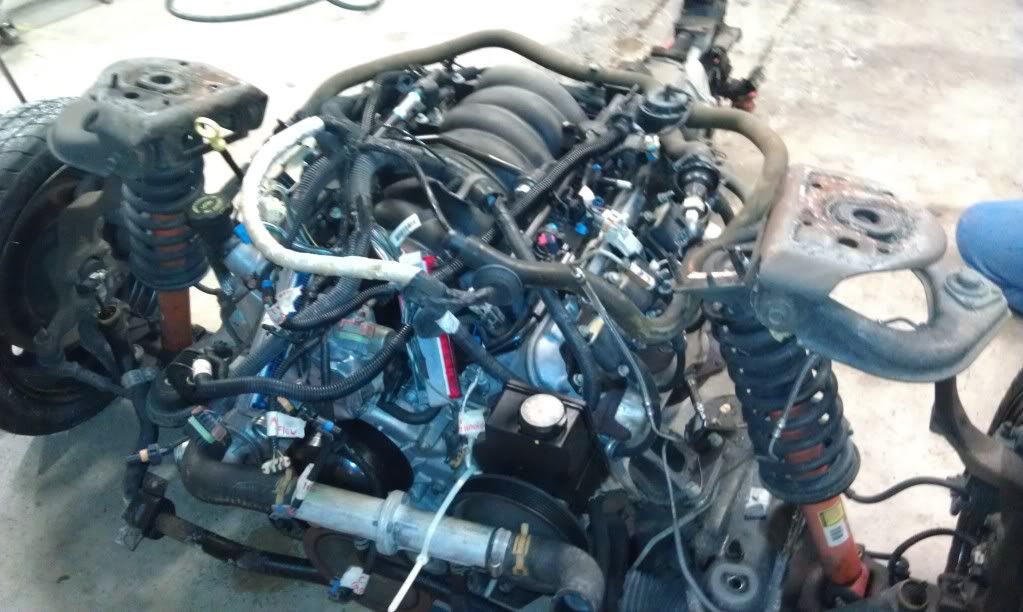
Now, being it had a 150k, i found a motor out of a donor car with 70k and decided to swap em'. And then, I got a major case of the "while you're in there bug" haha
Motor out of my car
[IMG]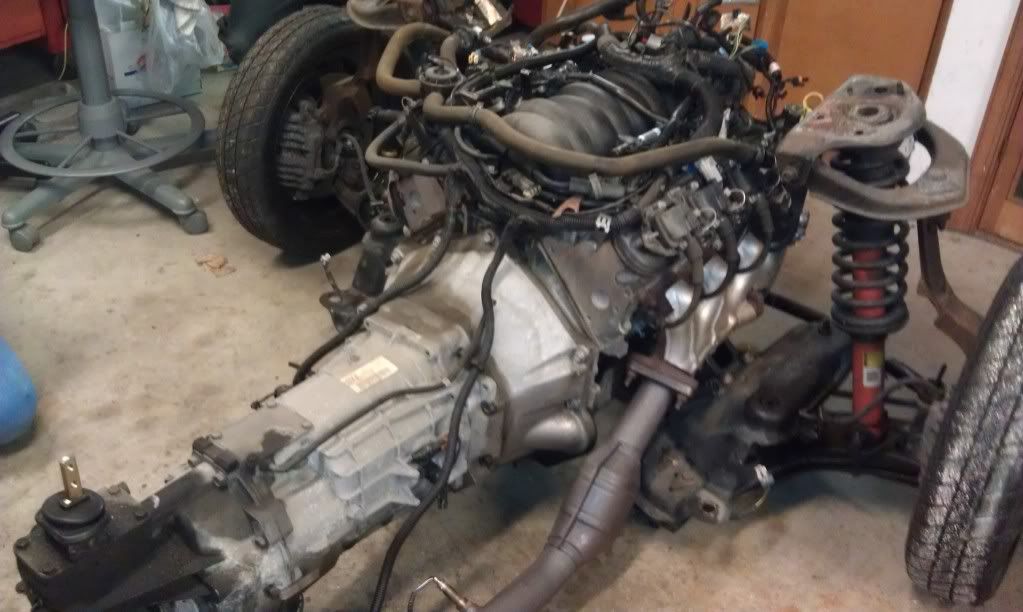
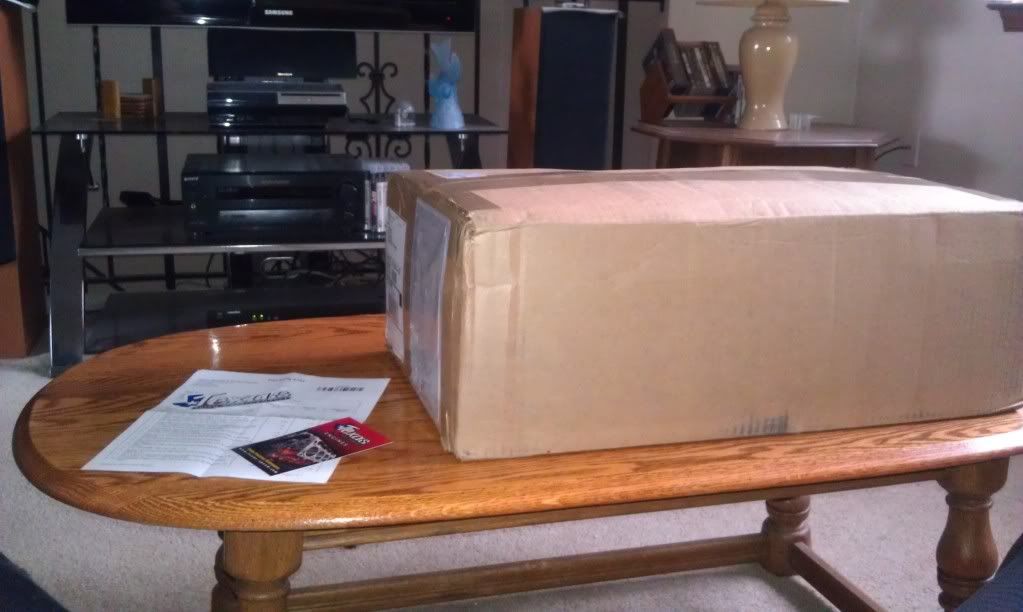
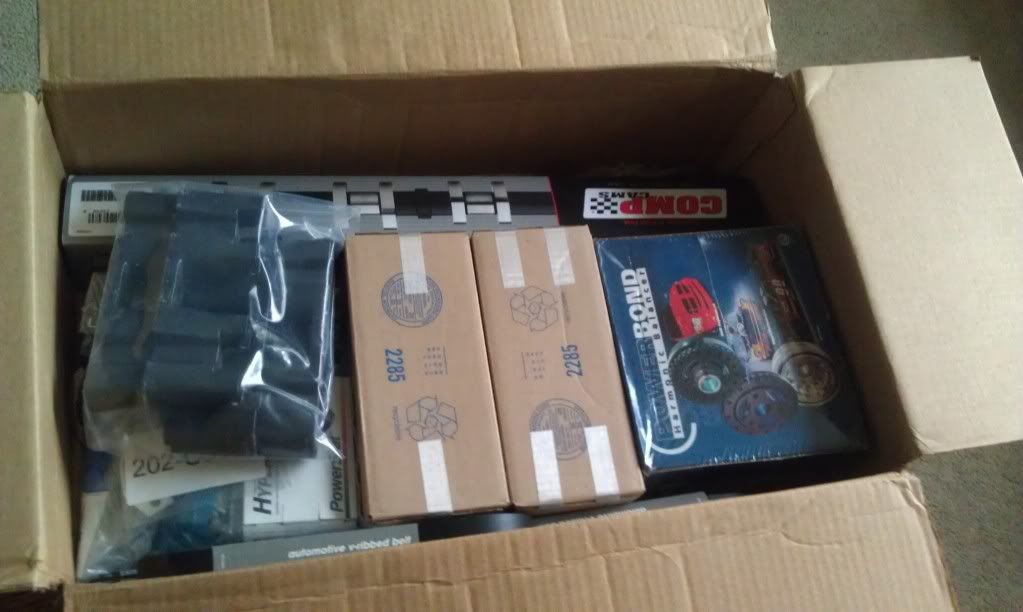
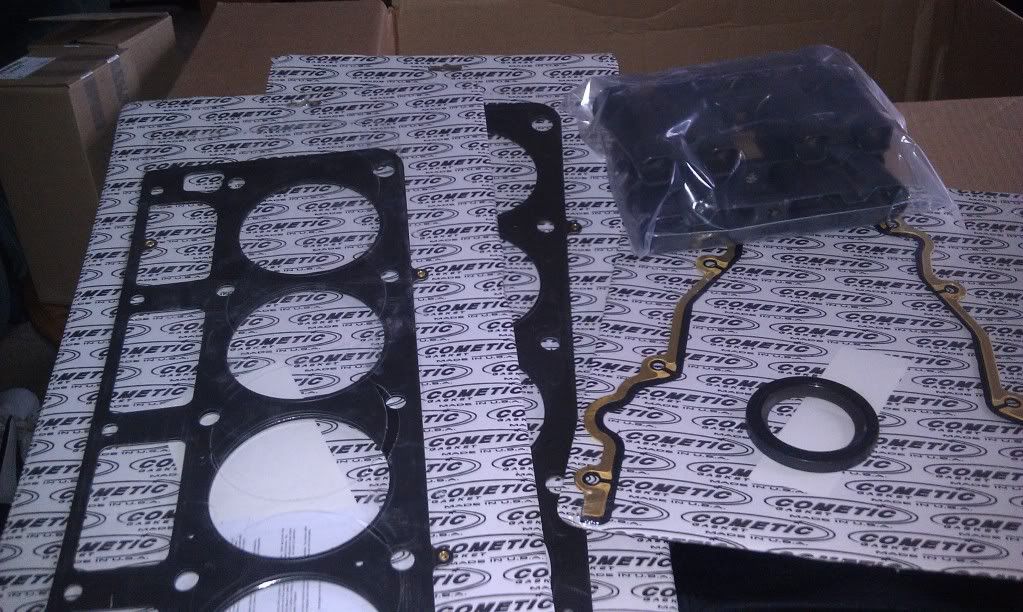
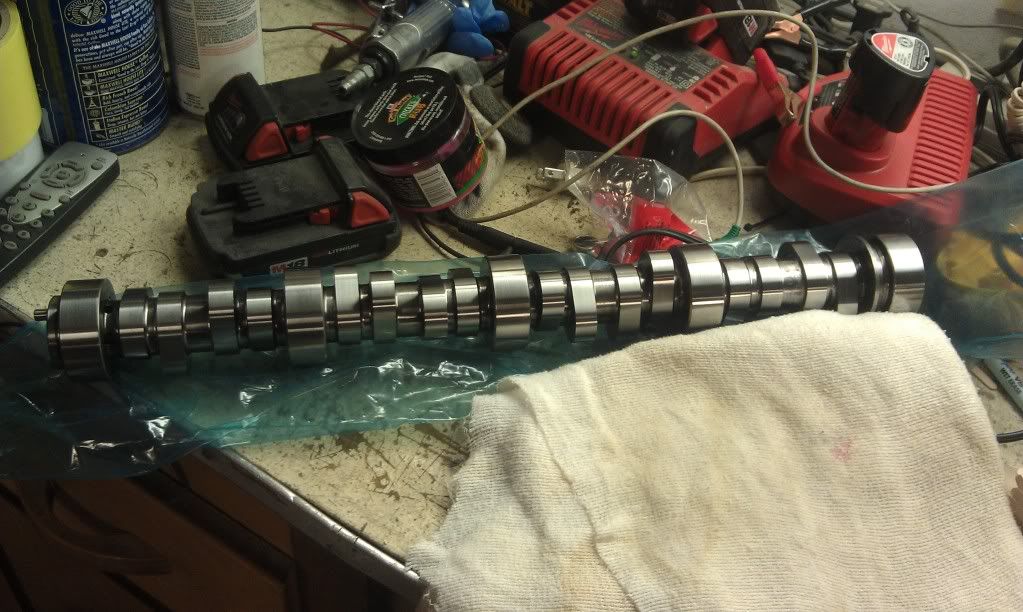
Since I had the motor out, I thought it would be the best time to do the cam that I've always wanted. And, I got lucky and a family friend was selling a set of ported 243 heads with comp cams .650 springs, titanium retainers, locks, seats and manley stainless 2.02 intake 1.58 exhaust valves that I picked up for a good price. So, I placed the rest of my order at Texas Speed. It included the Torquer V3 (231/234 .643 .598 111 lsa) cam, .040 Cosmetic MLS head gaskets, Comp "R" Lifters, TSP 7.4 pushrods, LS2 timing chain and lifter trays, Powerbond 25% UD Pulley, oil pan gasket and header locking studs
A good chunk of my savings account!

One of the happiest days of my life!
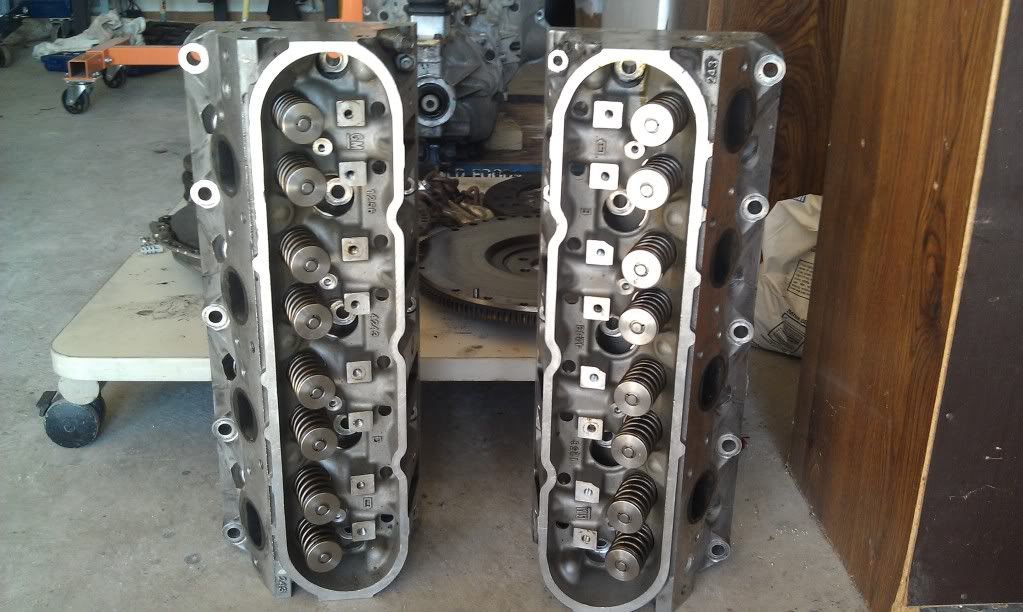
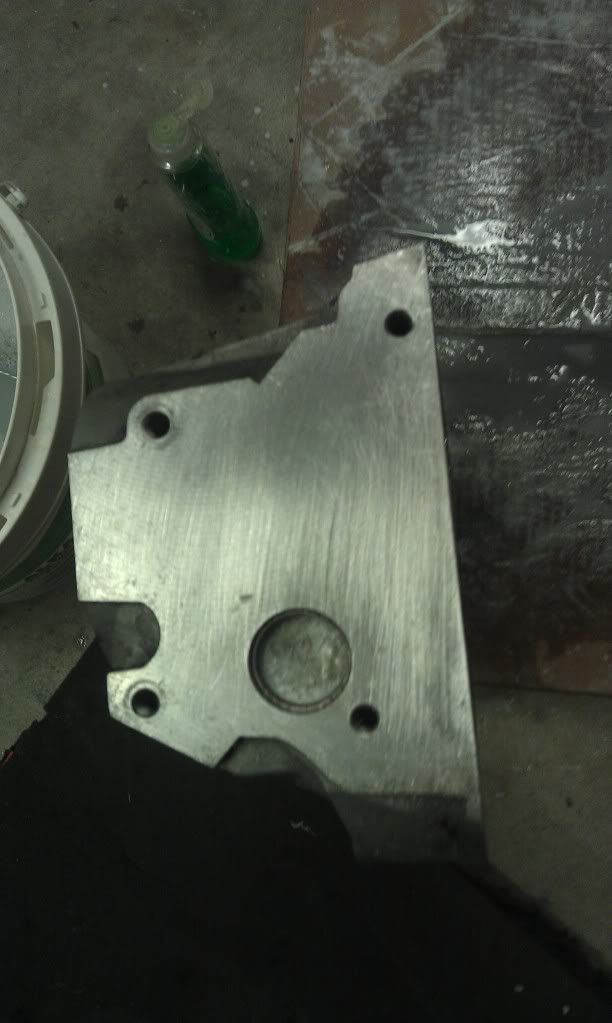
A Picture of the 243 heads
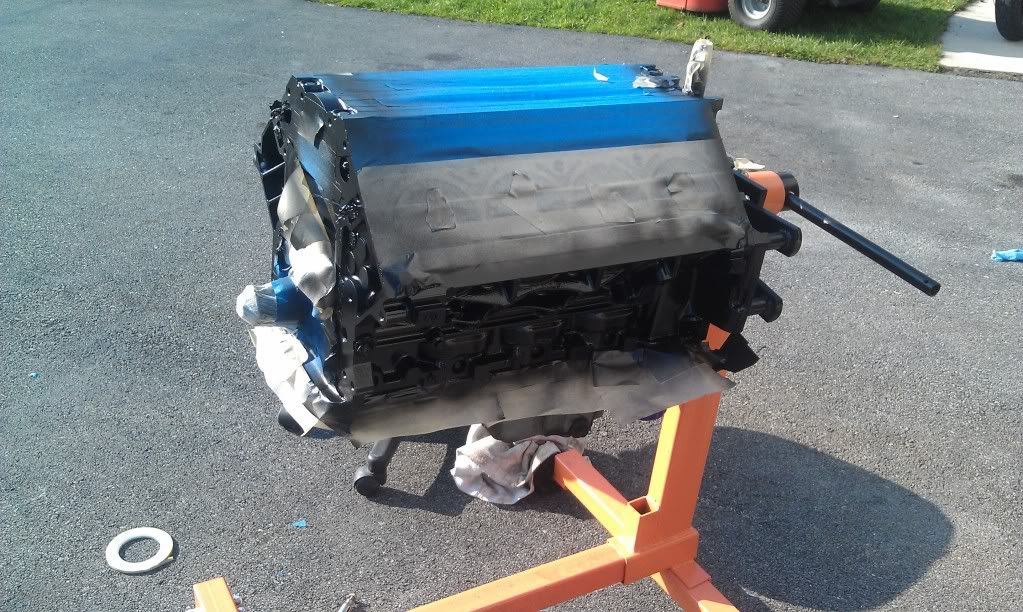
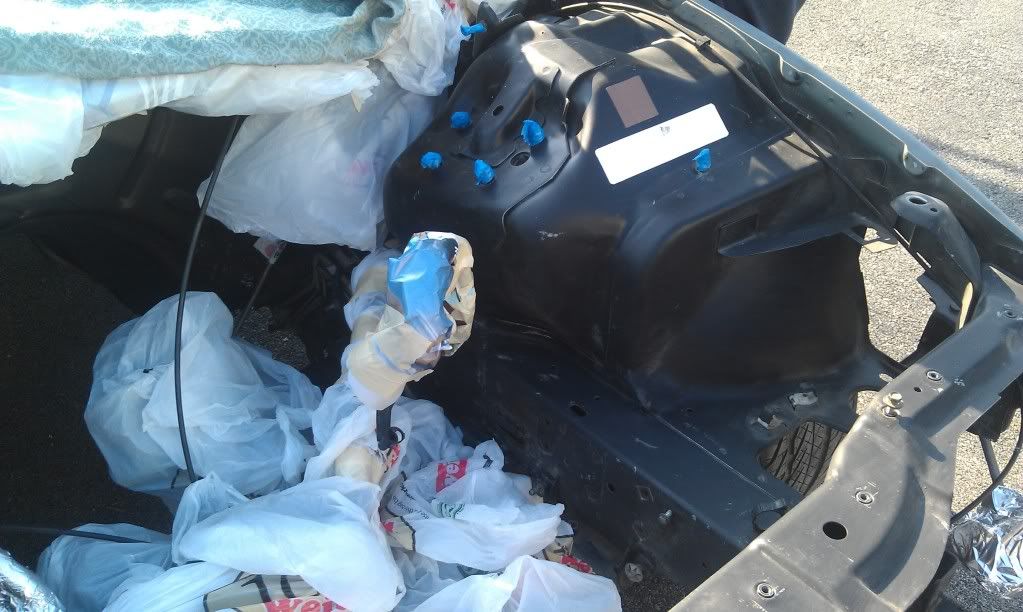
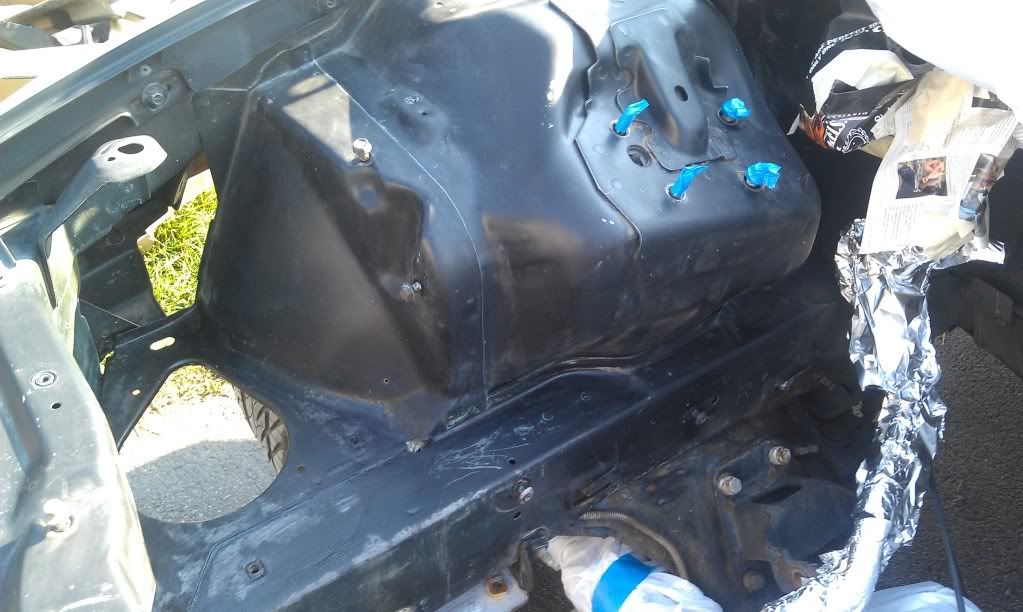
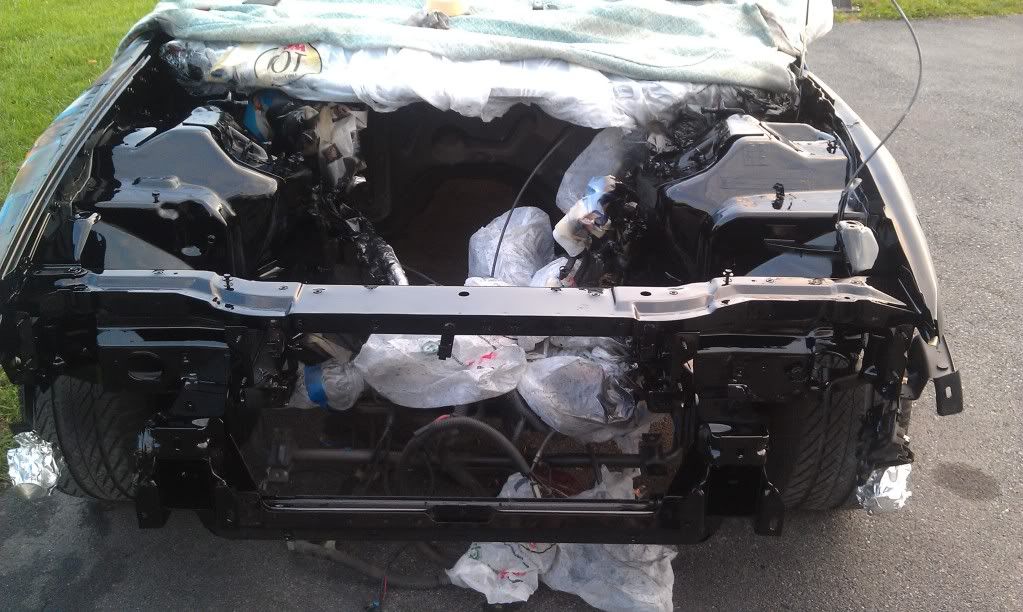
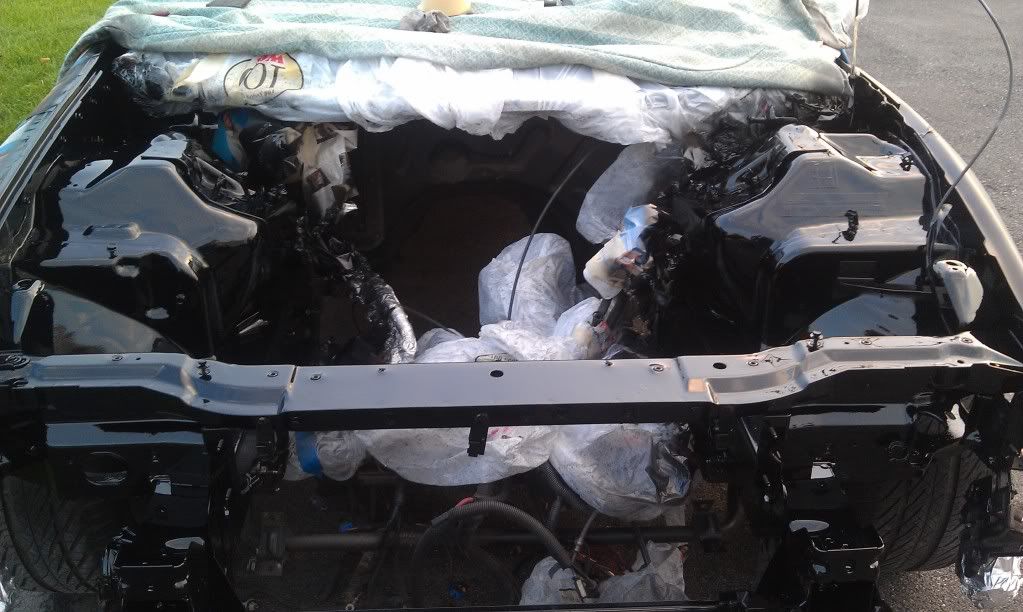
I began the disassembly of the motor. Since I had the everything out, I decided to paint the block and engine bay.
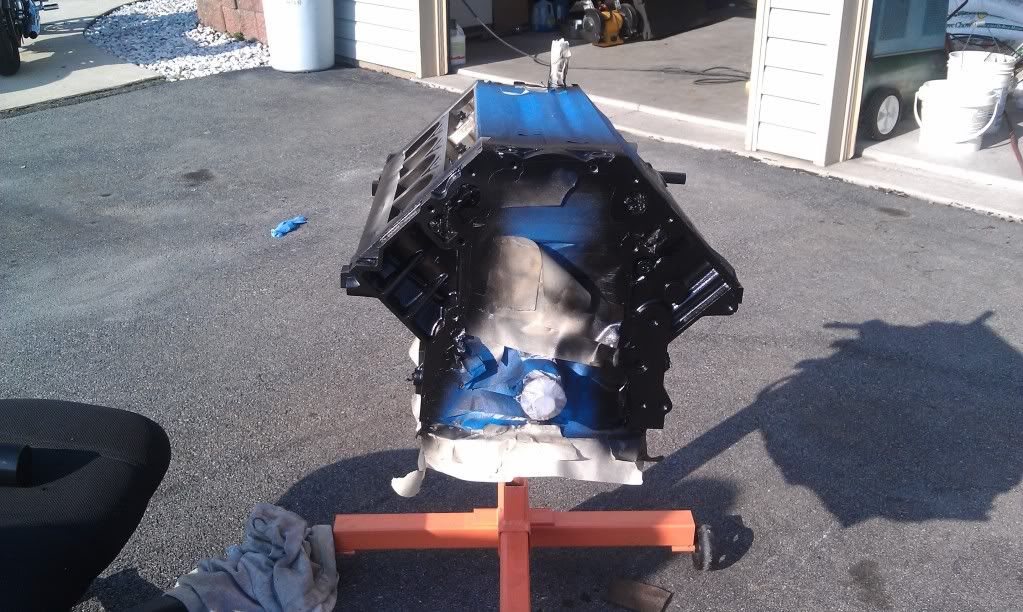
I repaired the rust and sanded down the engine bay

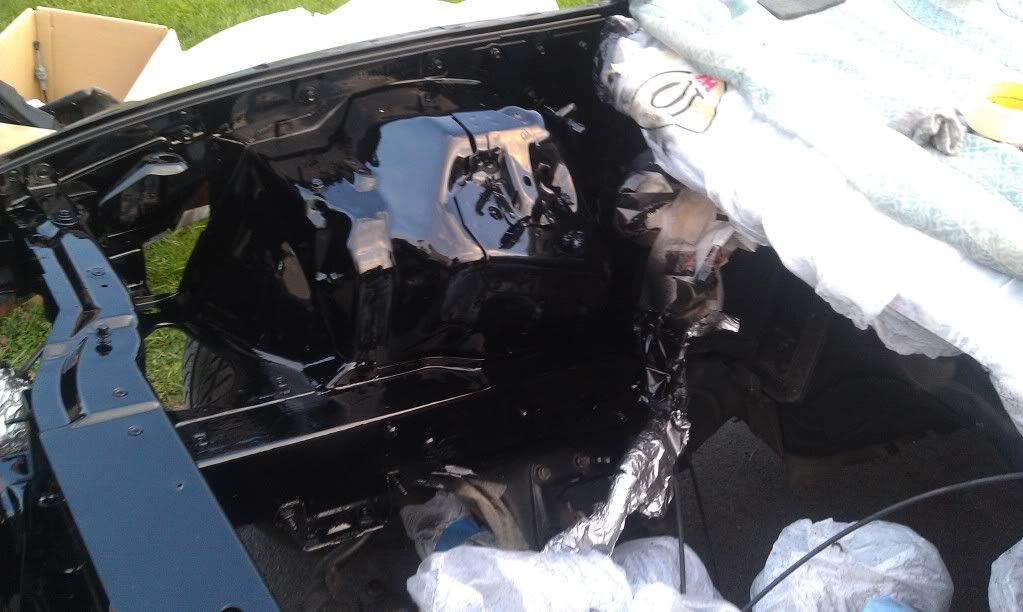
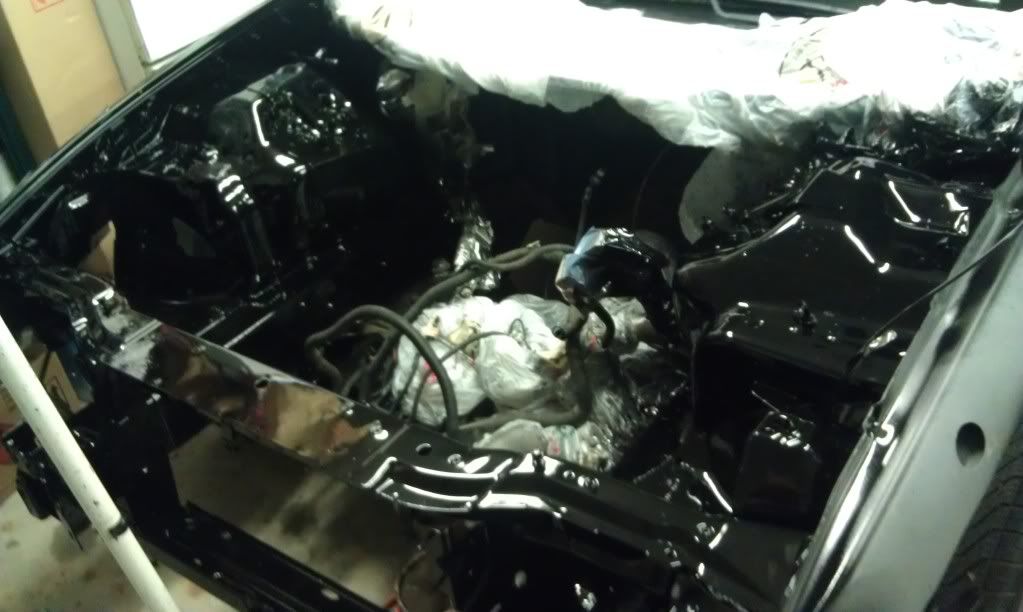
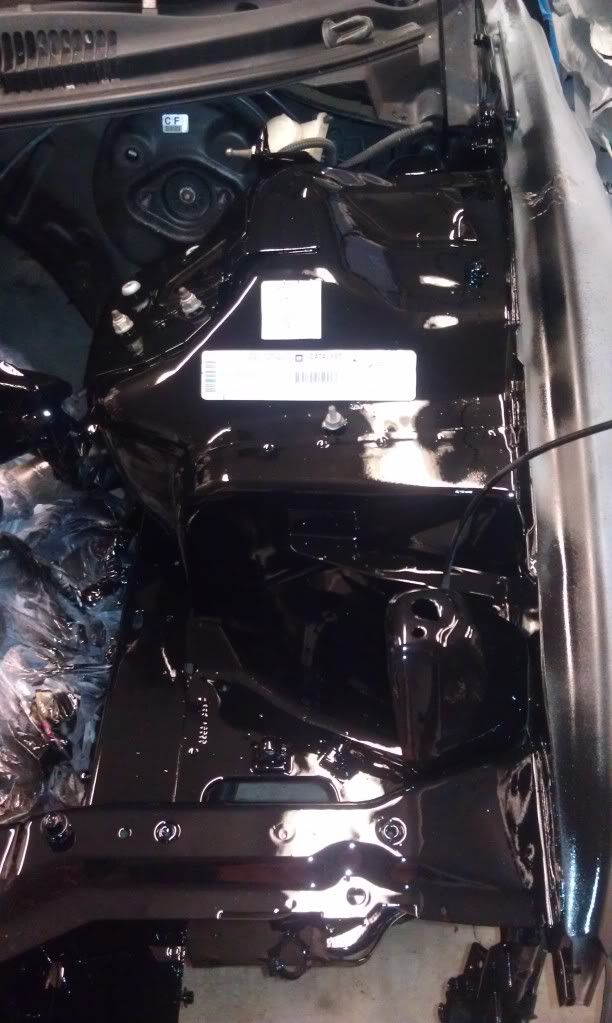
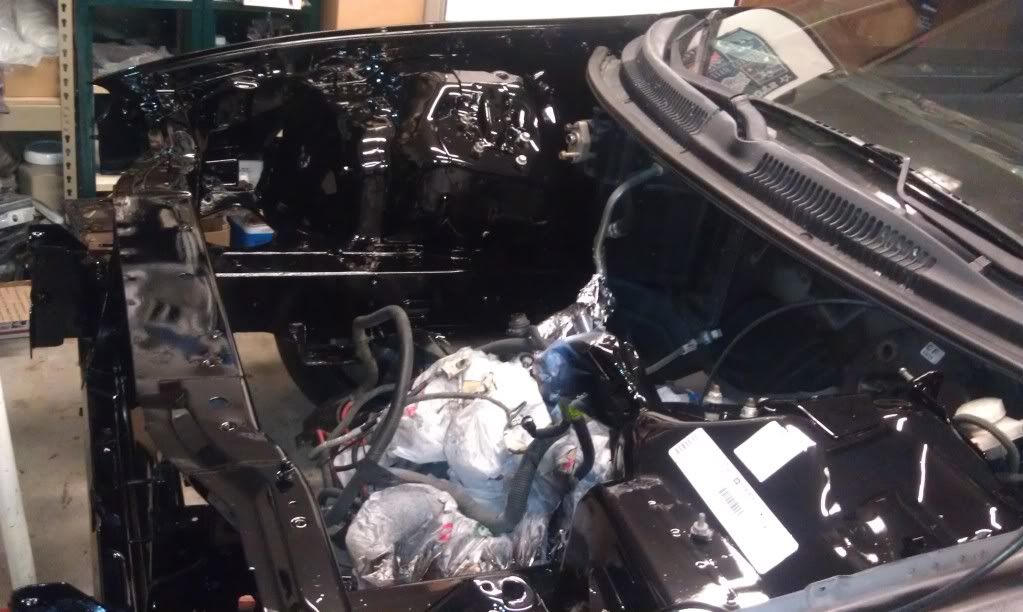
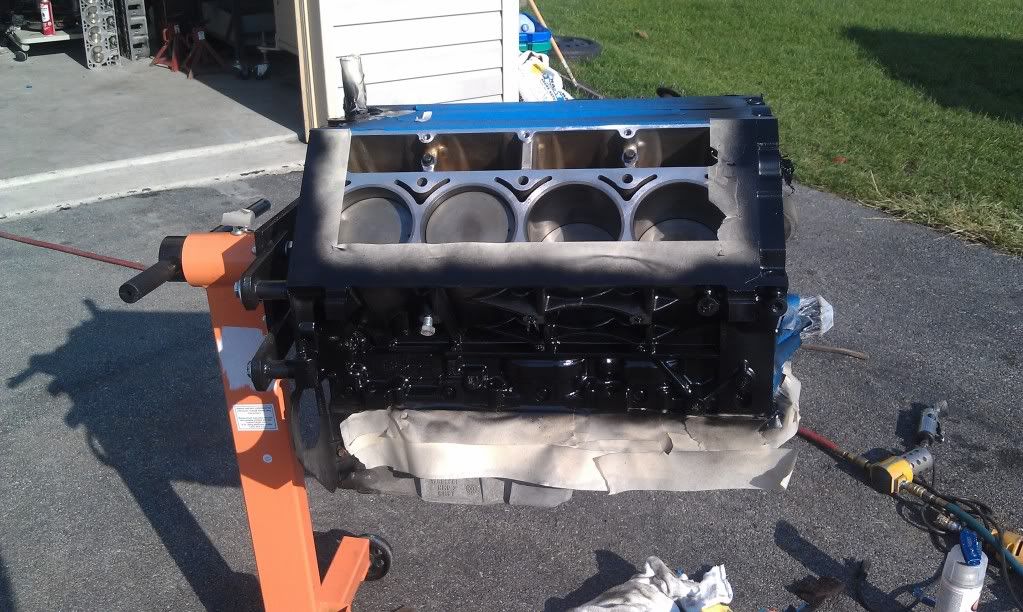
Not too bad for shooting in the driveway with a harbor freight gun lol
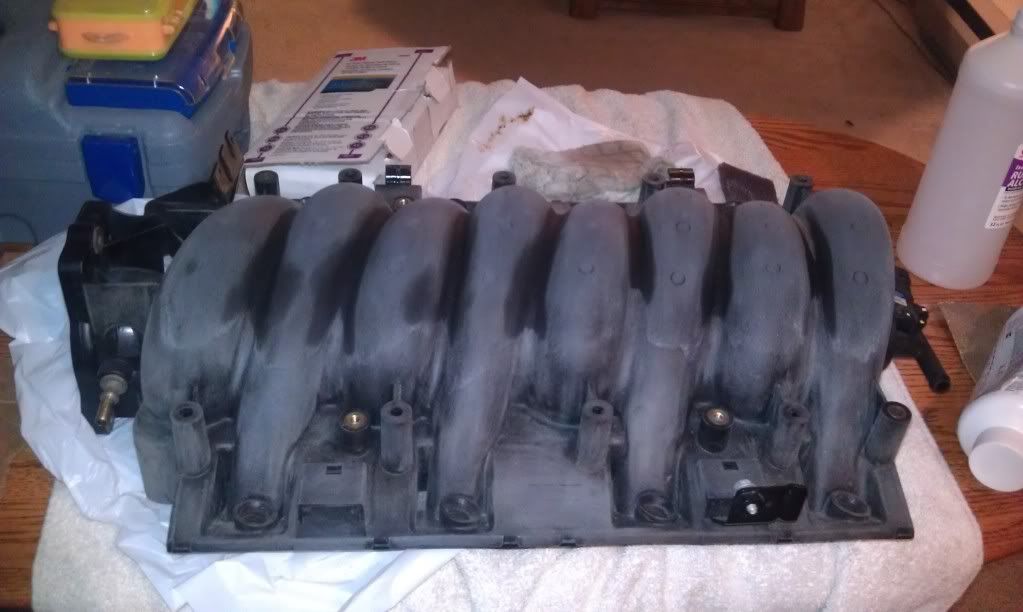
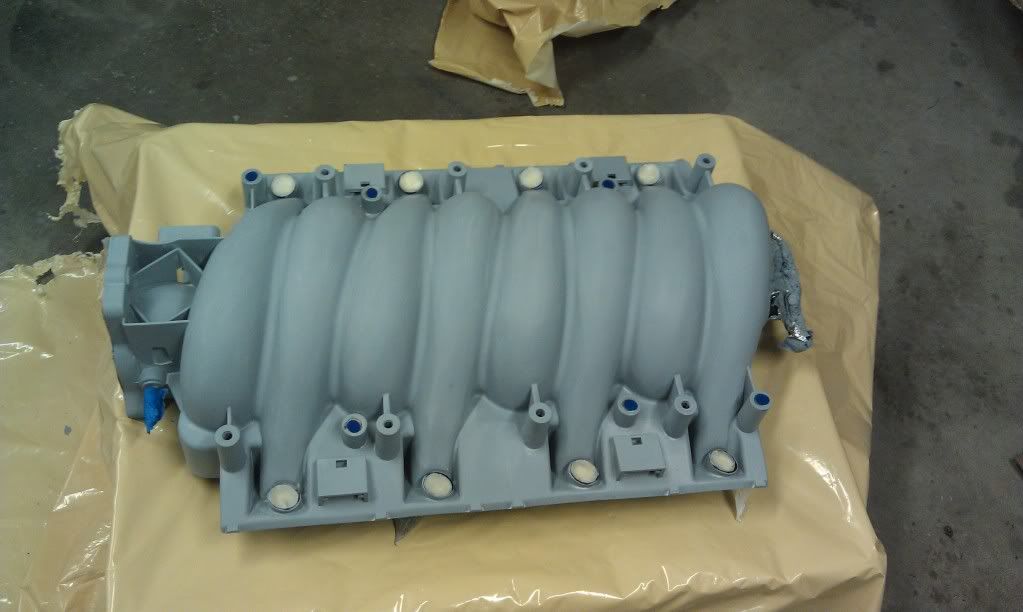
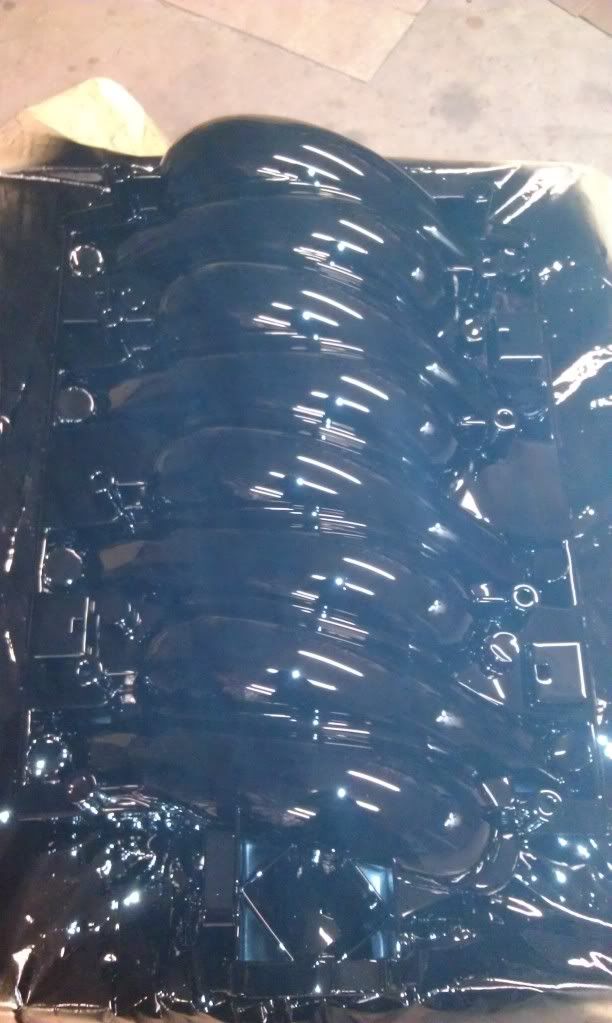
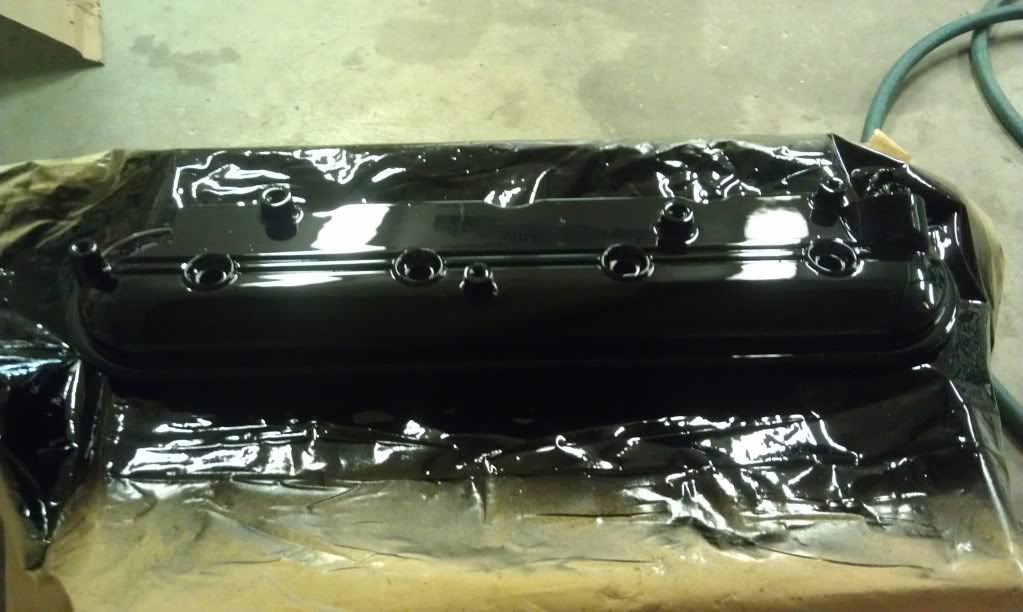
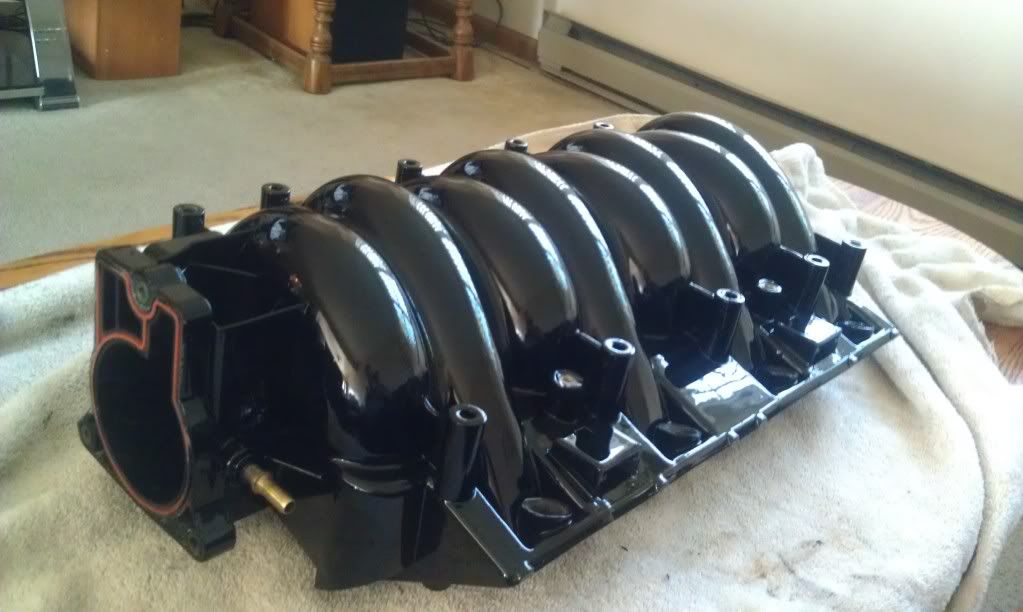
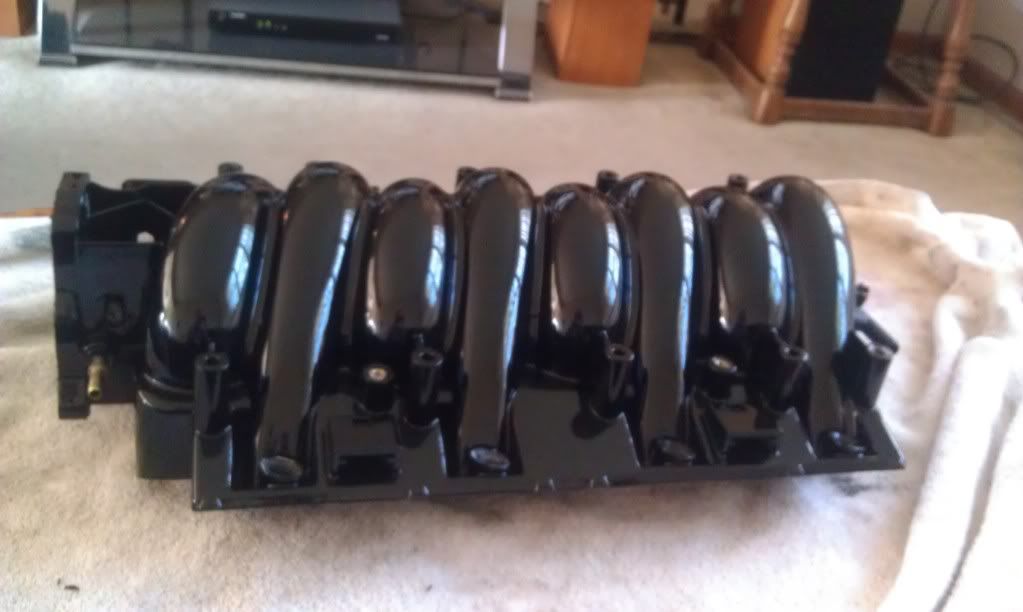
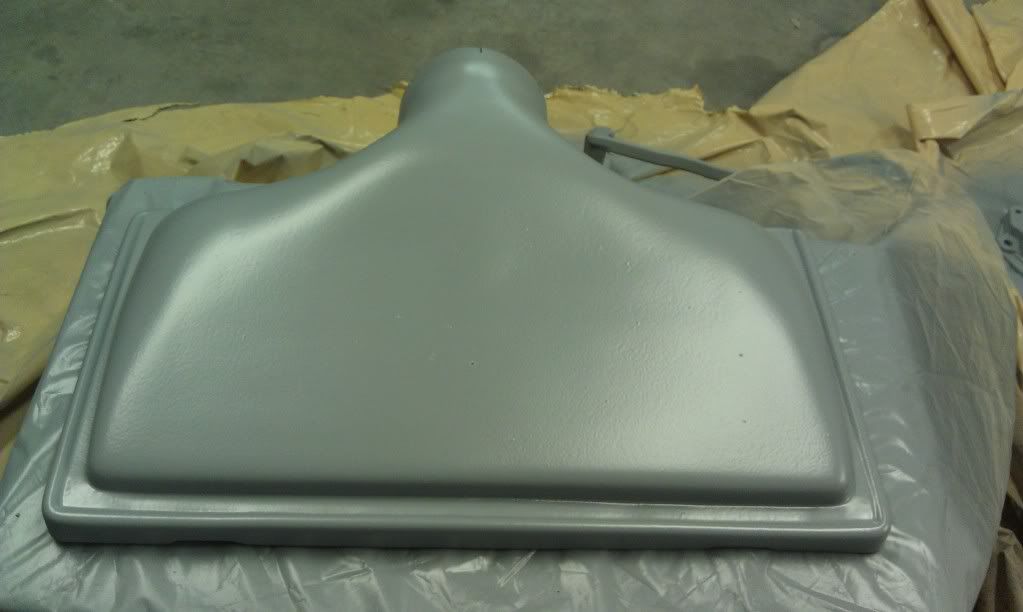
My next endeavor was to paint my ls6 intake and valve covers.
Started by sanding the entire manifold with 220, then filling with a 2 part 3m plastic repair. The sanding the manifold with 320 and scuffing with SEM Soap and a red scotchbrite. Valve covers we just degreased and scuffed with 320
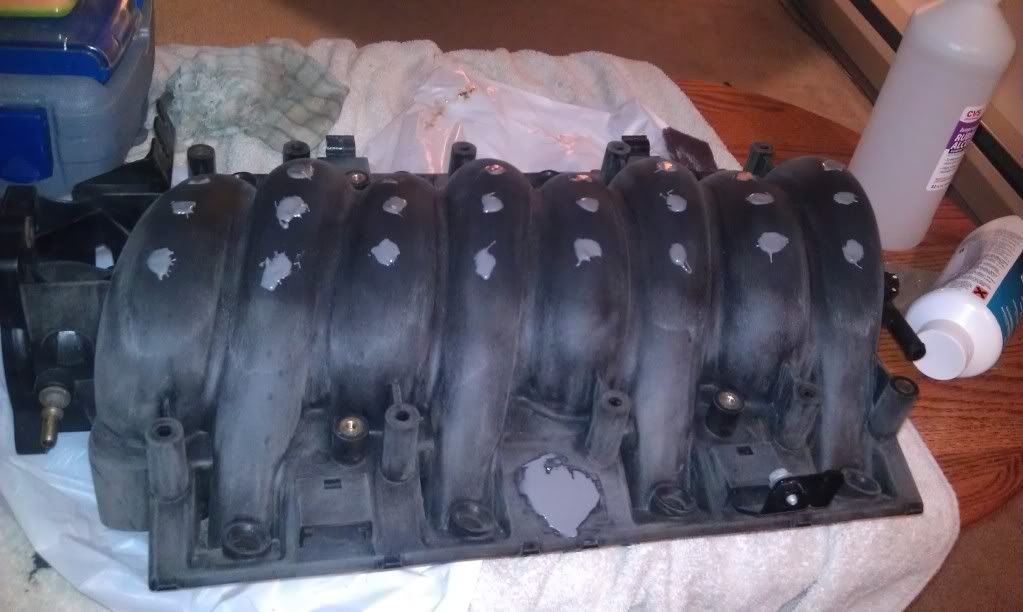
Primed with Dupont 2k primer
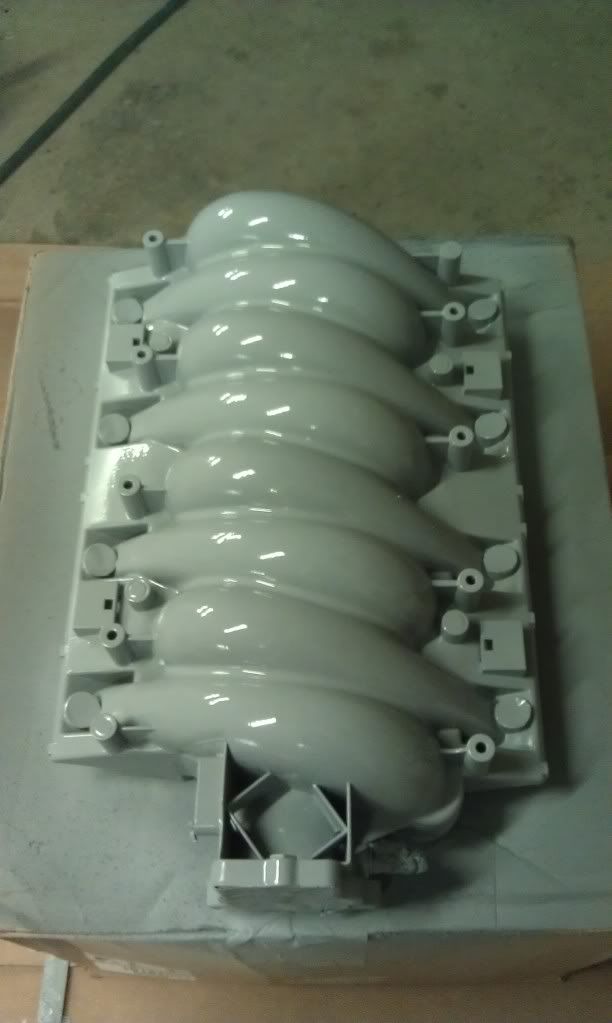
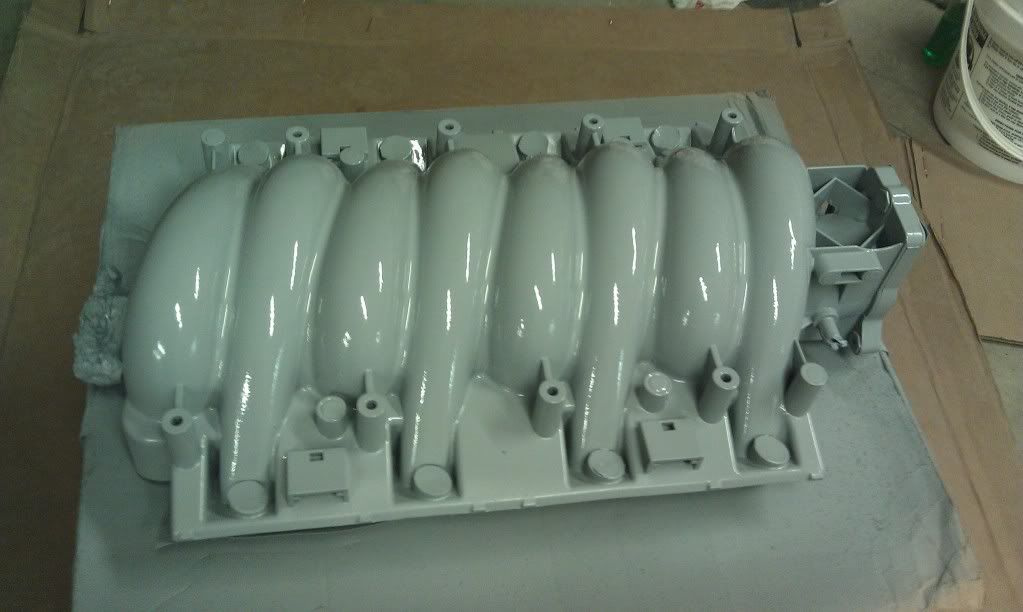
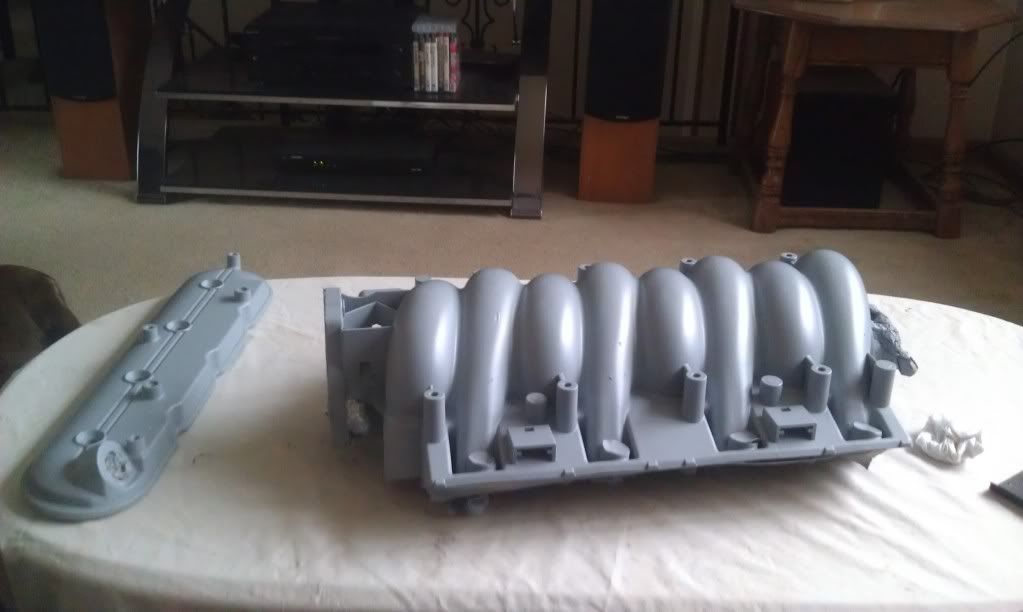
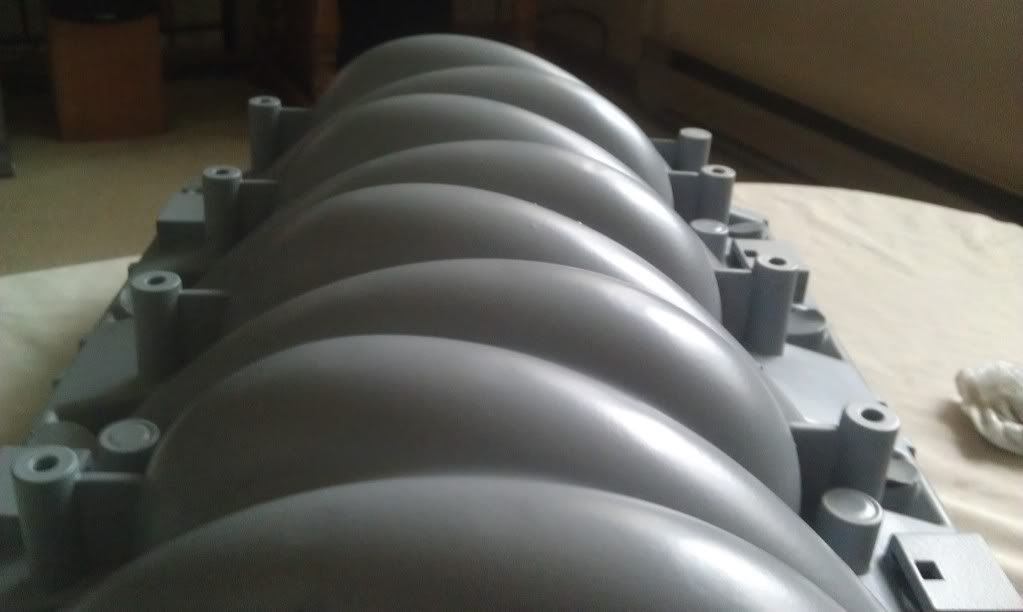
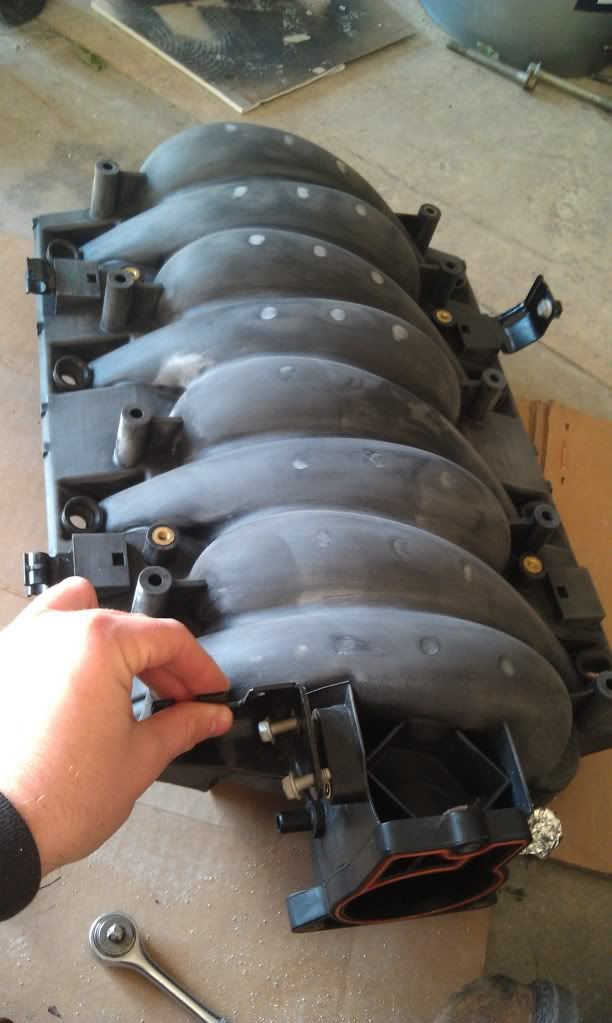
Sanded everything smooth with 600 then to 800 for dupont base/clear.
Homeade Booth haha

3 coats of Base Black
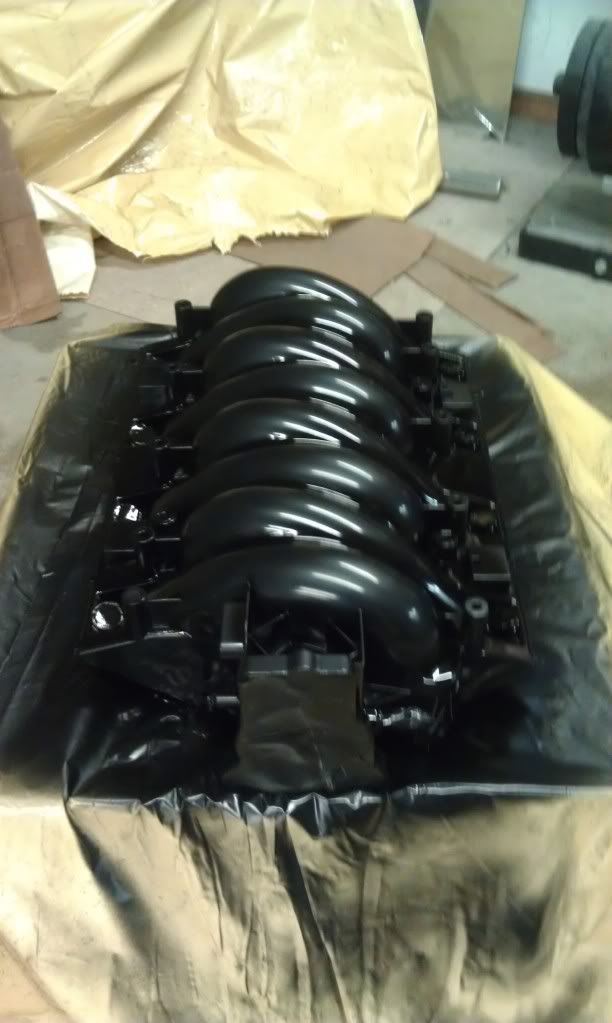
4 Coats of clear
My '99 W68 Firebird, nice first car, but its time to move on to bigger and better things
The Z28 as it looked the day we bought it, bone stock except for a flowmaster exhaust.
After a little wetsand and buff, the paint wasn't in bad condition at all
Now, being it had a 150k, i found a motor out of a donor car with 70k and decided to swap em'. And then, I got a major case of the "while you're in there bug" haha
Motor out of my car
[IMG]
Since I had the motor out, I thought it would be the best time to do the cam that I've always wanted. And, I got lucky and a family friend was selling a set of ported 243 heads with comp cams .650 springs, titanium retainers, locks, seats and manley stainless 2.02 intake 1.58 exhaust valves that I picked up for a good price. So, I placed the rest of my order at Texas Speed. It included the Torquer V3 (231/234 .643 .598 111 lsa) cam, .040 Cosmetic MLS head gaskets, Comp "R" Lifters, TSP 7.4 pushrods, LS2 timing chain and lifter trays, Powerbond 25% UD Pulley, oil pan gasket and header locking studs
A good chunk of my savings account!
One of the happiest days of my life!
A Picture of the 243 heads
I began the disassembly of the motor. Since I had the everything out, I decided to paint the block and engine bay.
I repaired the rust and sanded down the engine bay
Not too bad for shooting in the driveway with a harbor freight gun lol
My next endeavor was to paint my ls6 intake and valve covers.
Started by sanding the entire manifold with 220, then filling with a 2 part 3m plastic repair. The sanding the manifold with 320 and scuffing with SEM Soap and a red scotchbrite. Valve covers we just degreased and scuffed with 320
Primed with Dupont 2k primer
Sanded everything smooth with 600 then to 800 for dupont base/clear.
Homeade Booth haha
3 coats of Base Black
4 Coats of clear
Last edited by Austin95; 02-24-2013 at 10:29 PM.
 02-24-2013, 10:25 PM
#2

Nice work man!!! Keep it up! Start saving for some forced induction, that bug bite gets worse, it turns into while I was in there I should have so take it back out and do it!  keep us posted!
keep us posted!
02-24-2013, 10:32 PM
#3
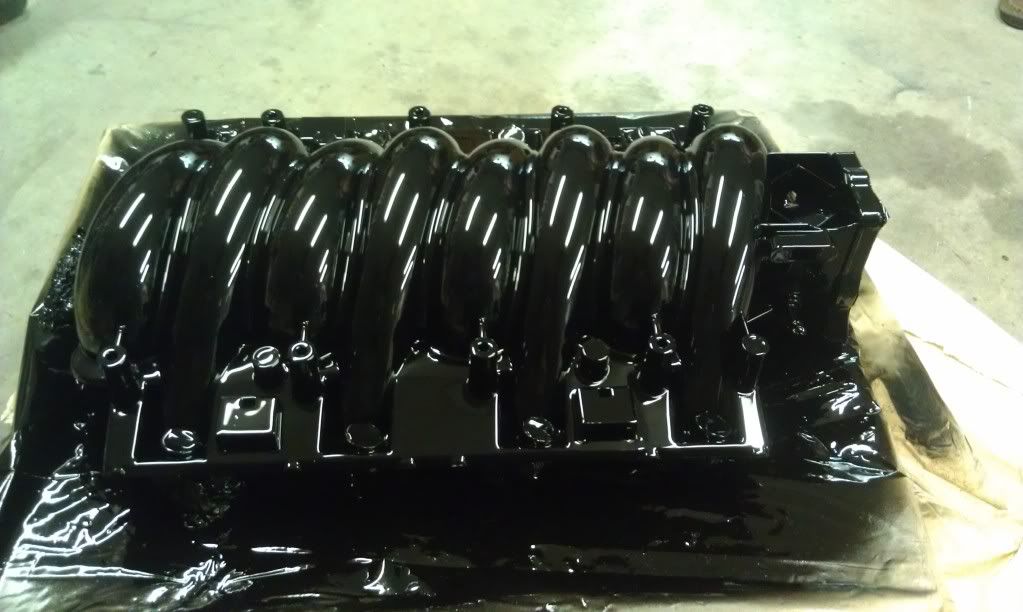
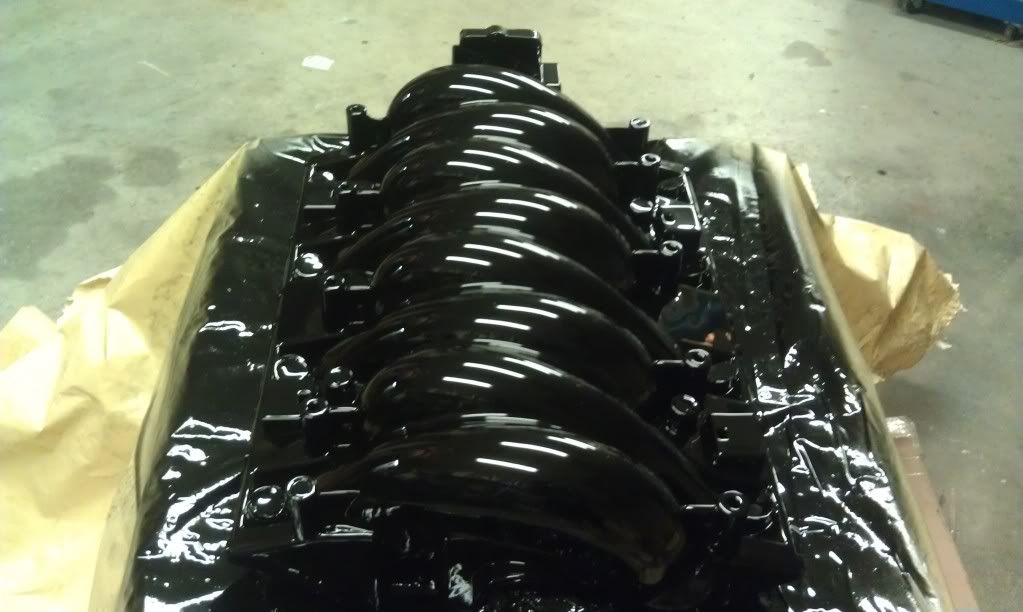
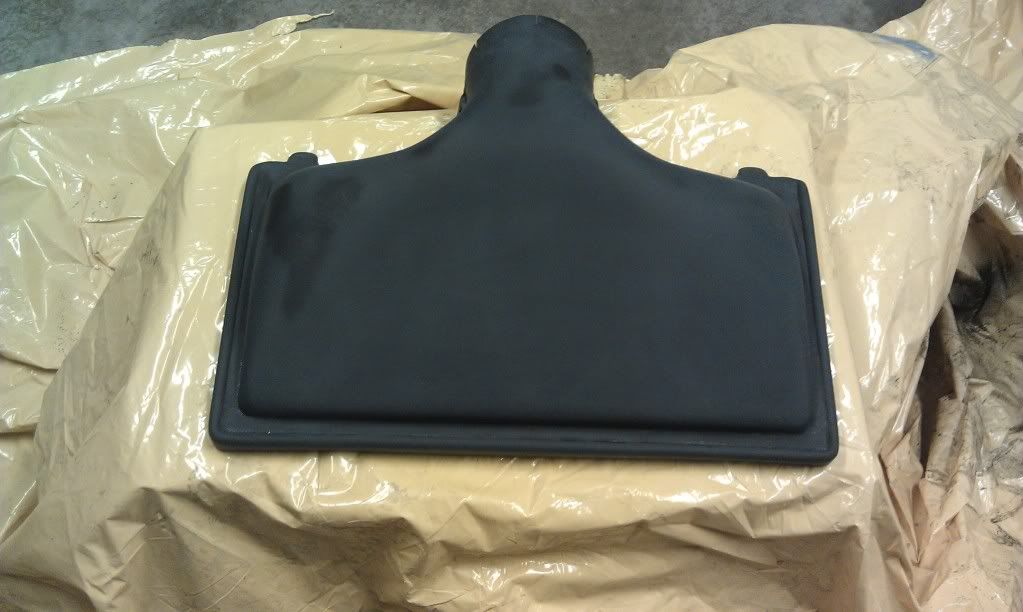
Everything turned out so well, there was no need to wetsand
I took the same approach with the SLP lid
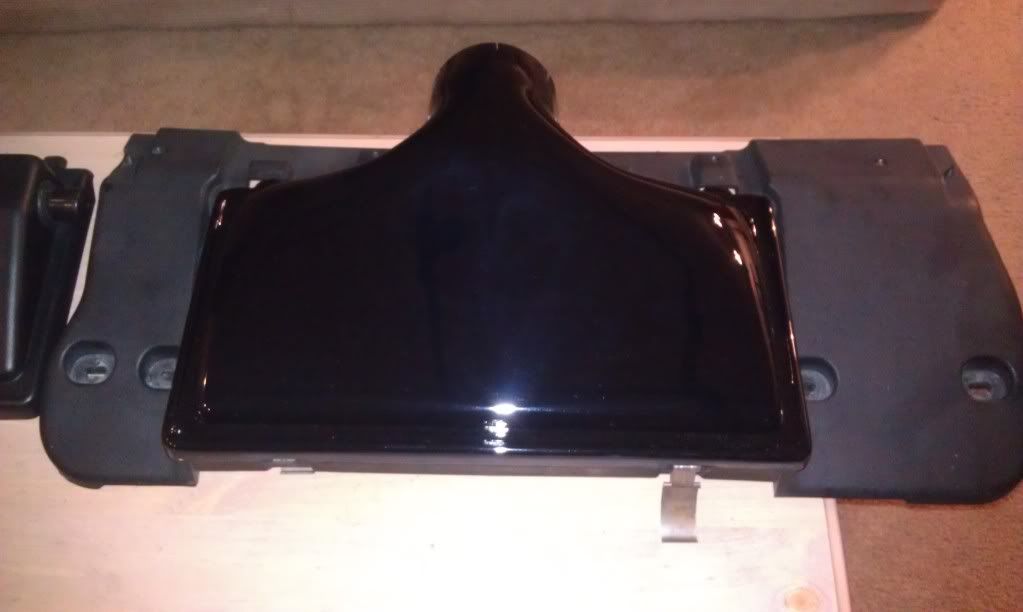
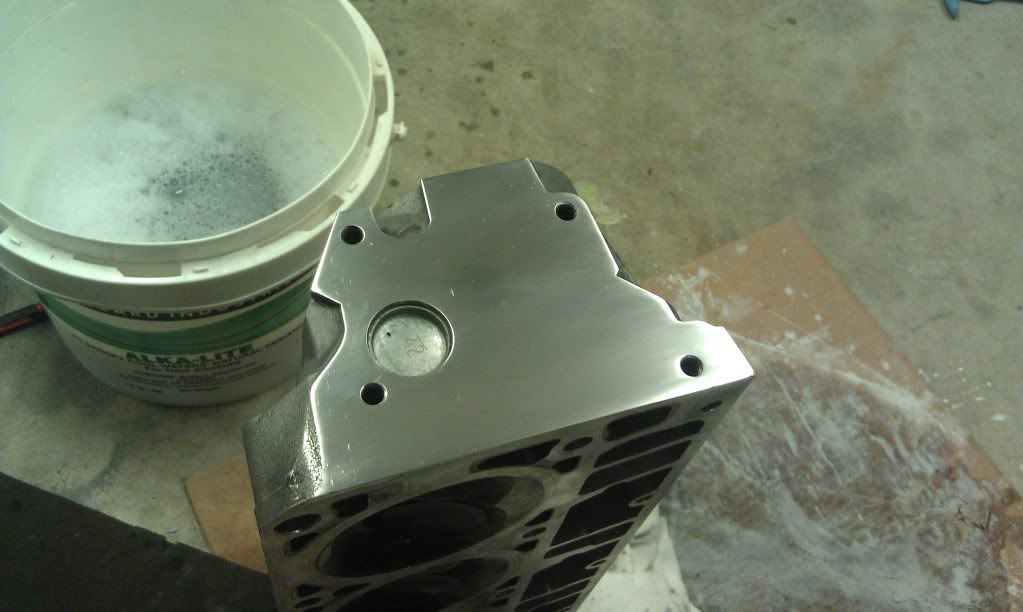
I also decided to polish the ends of the heads for some more asthetic appeal
A Little preview

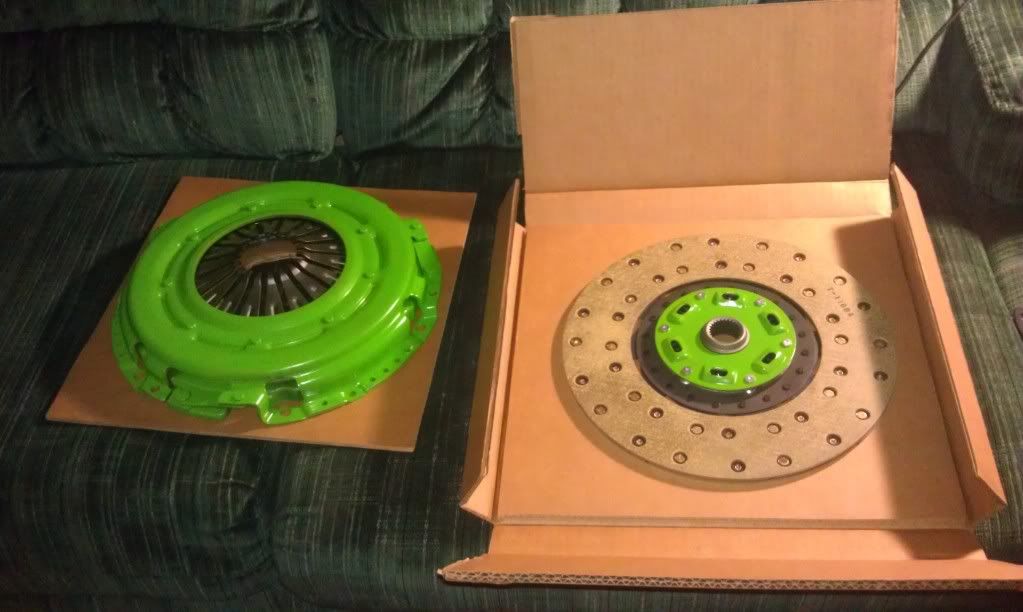
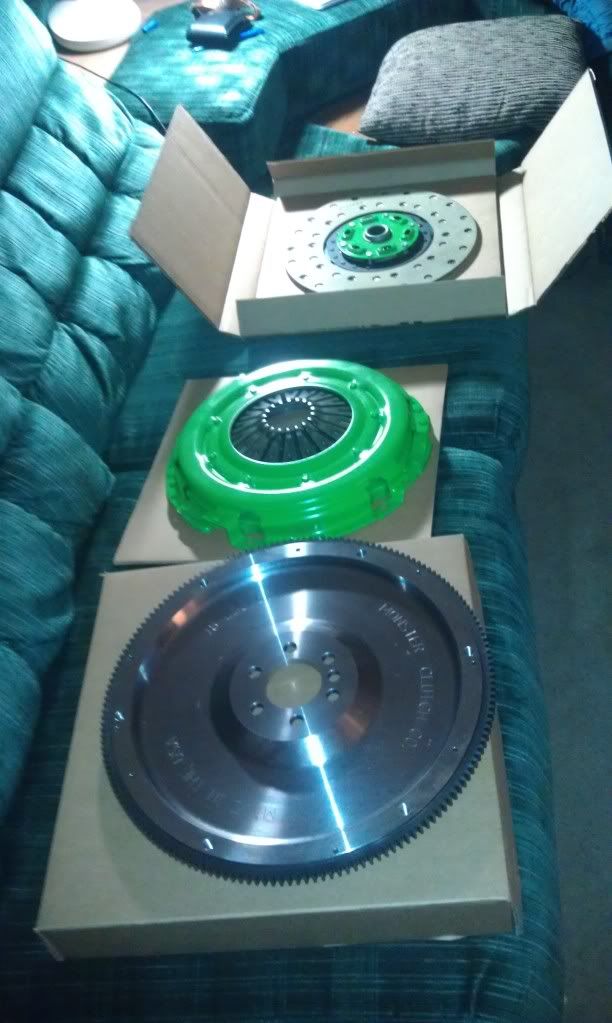
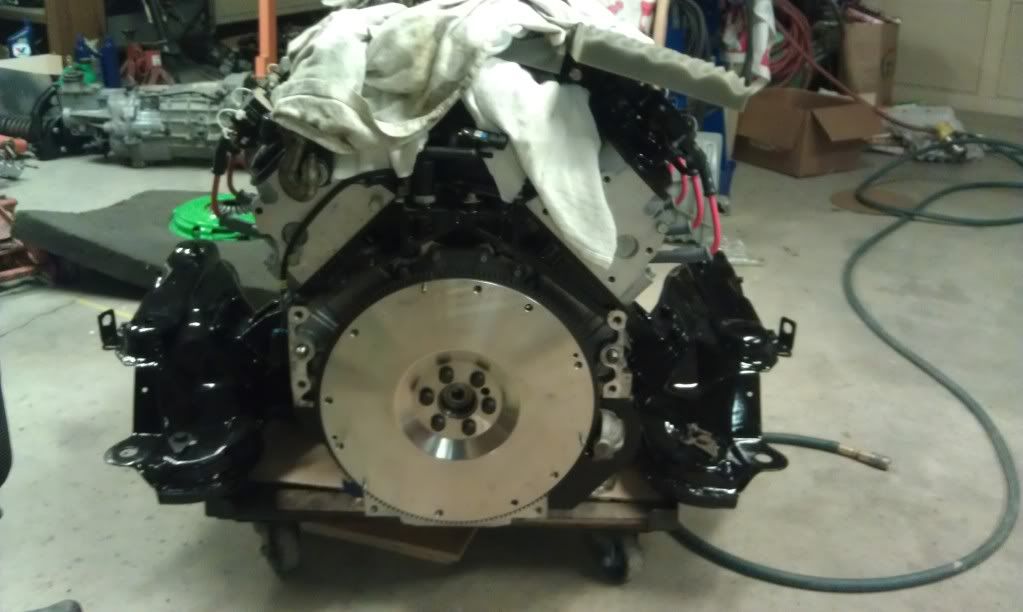
Since I was going to have all of this newfound power, I couldn't put a stock clutch back in!! I took advantage of monster's holiday sale and got the stage 2 clutch and a 18lb billet steel flywheel. Its like Christmas everytime a box of parts shows up at your house when you get home!!!
Next, Since I had all of these shiny new parts, I couldn't put these old rusty ones back on!
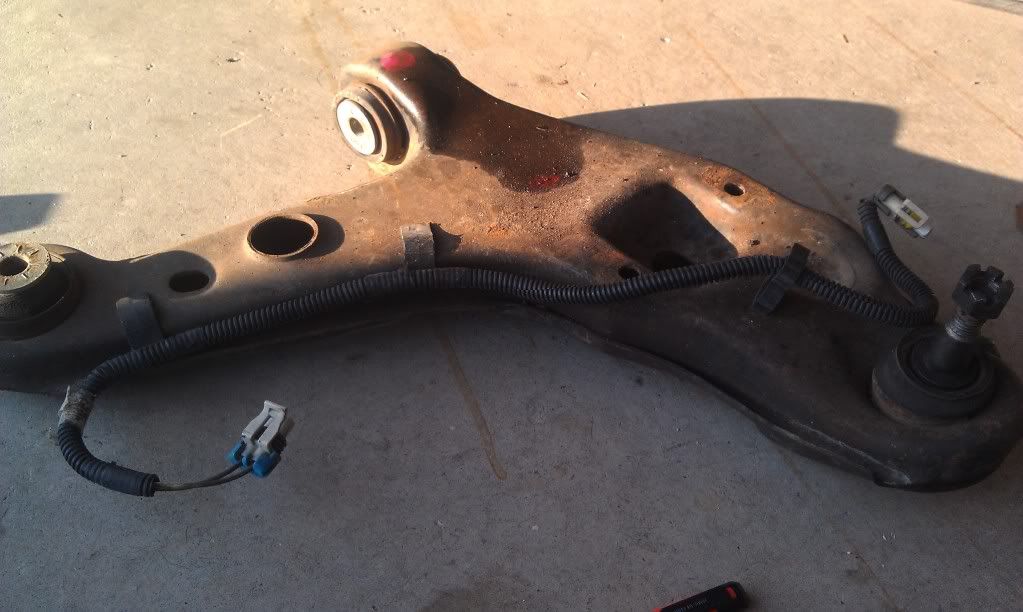
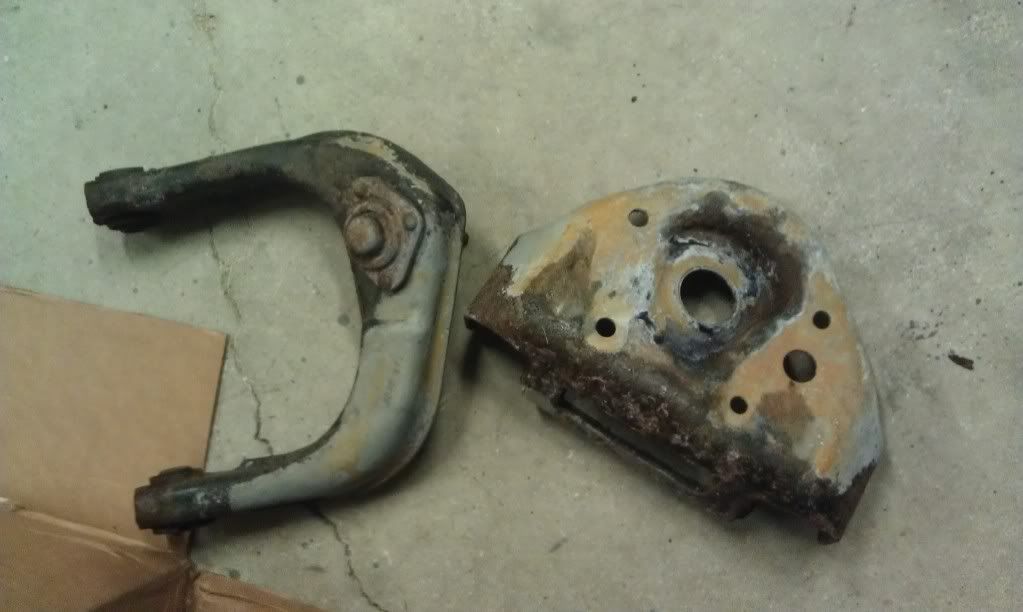
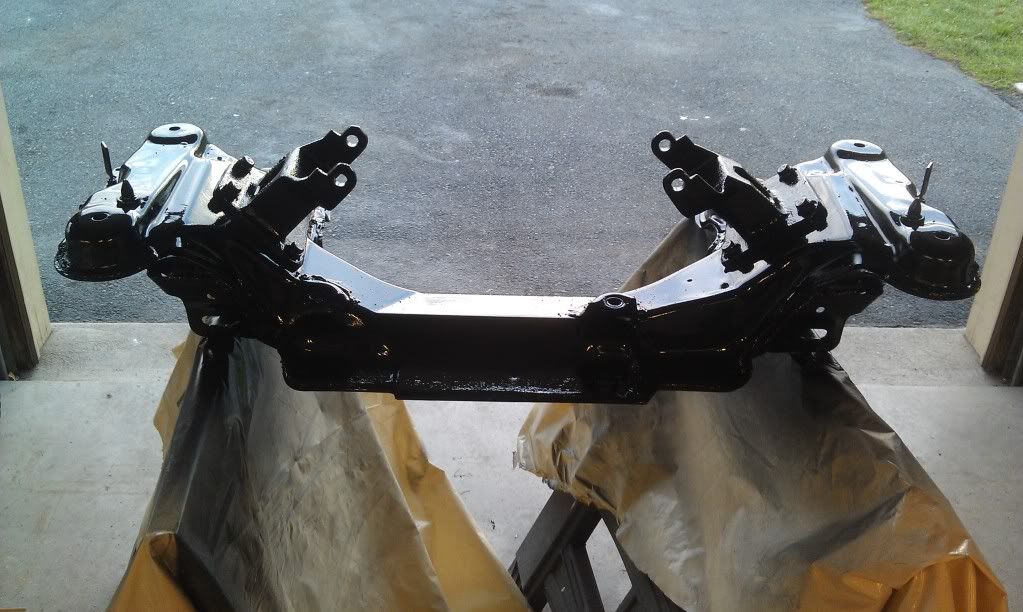
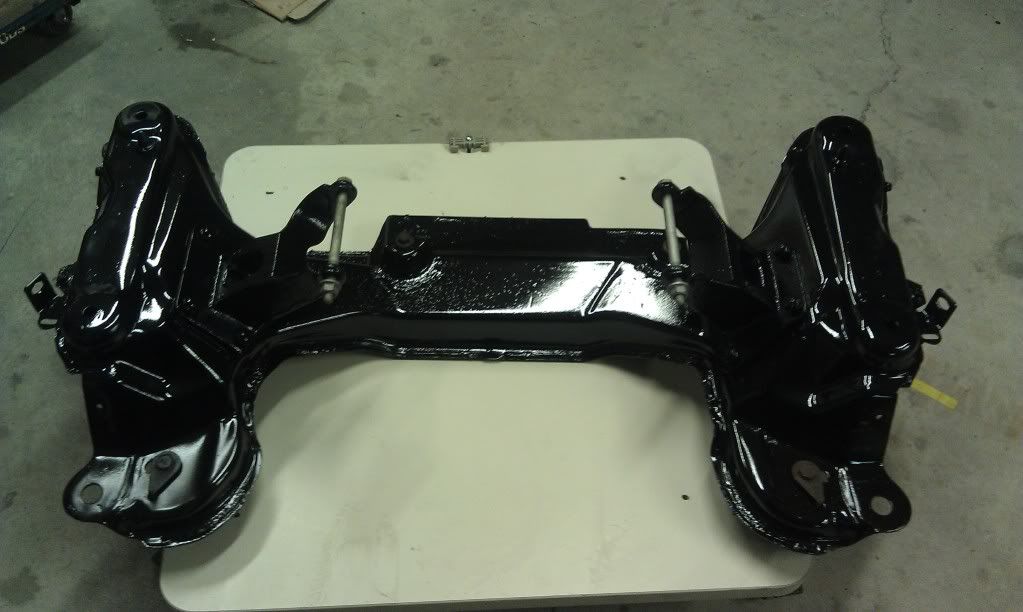
I started going to town sandblasting, which was hell doing outside in January in PA lol. But it was well worth it. I laid down por 15 which turned out great. Also, I got new lower control arm bushings, moog upper, lower ball joints and tie rod ends.
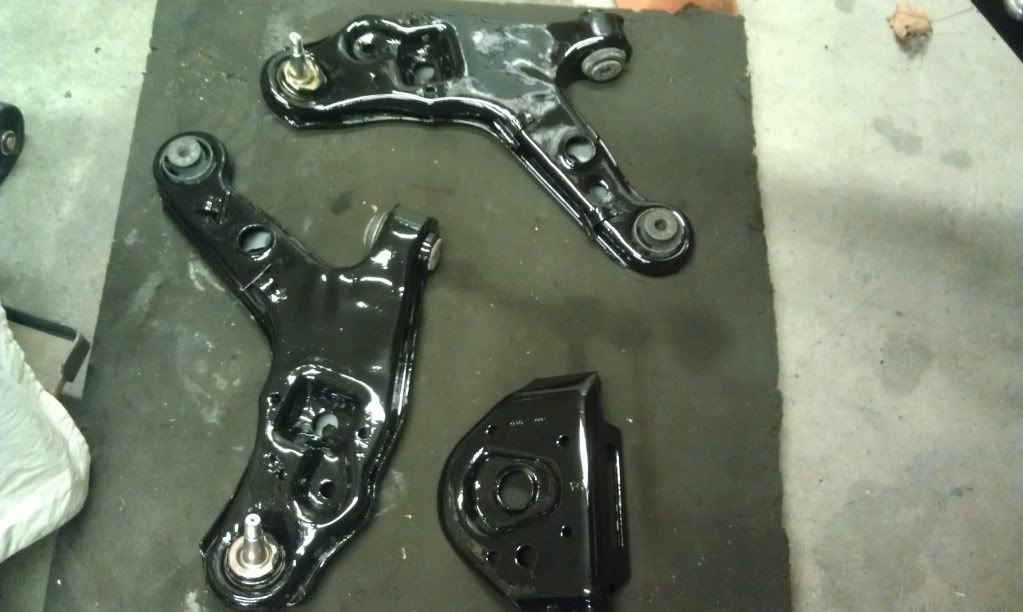
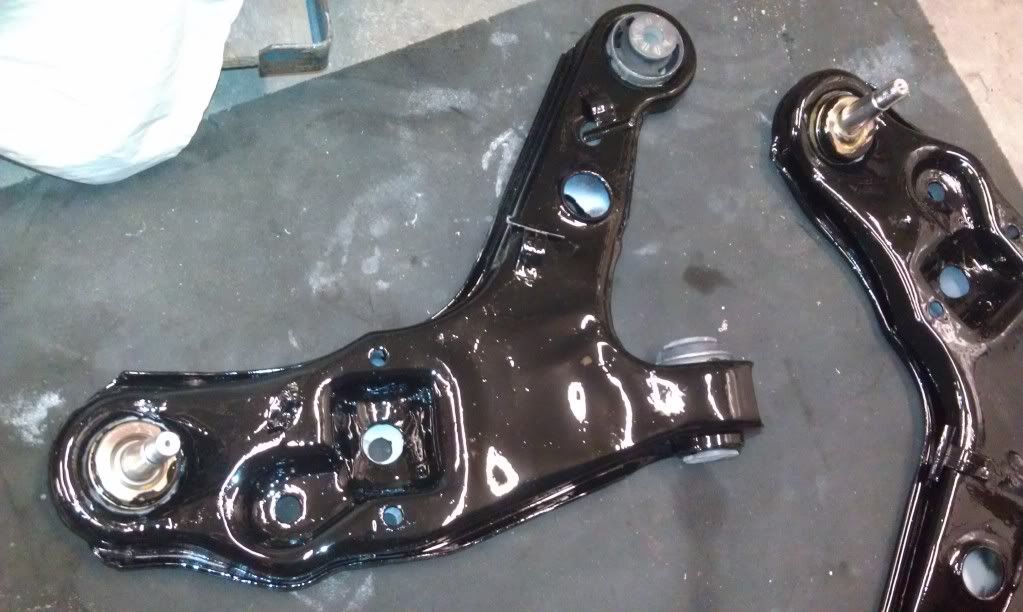
I Painted the k member gloss black since I didn't feel like sandblasting it. No big deal as it will be replaced by tubular at some point, but it chips alot easier than the por 15.

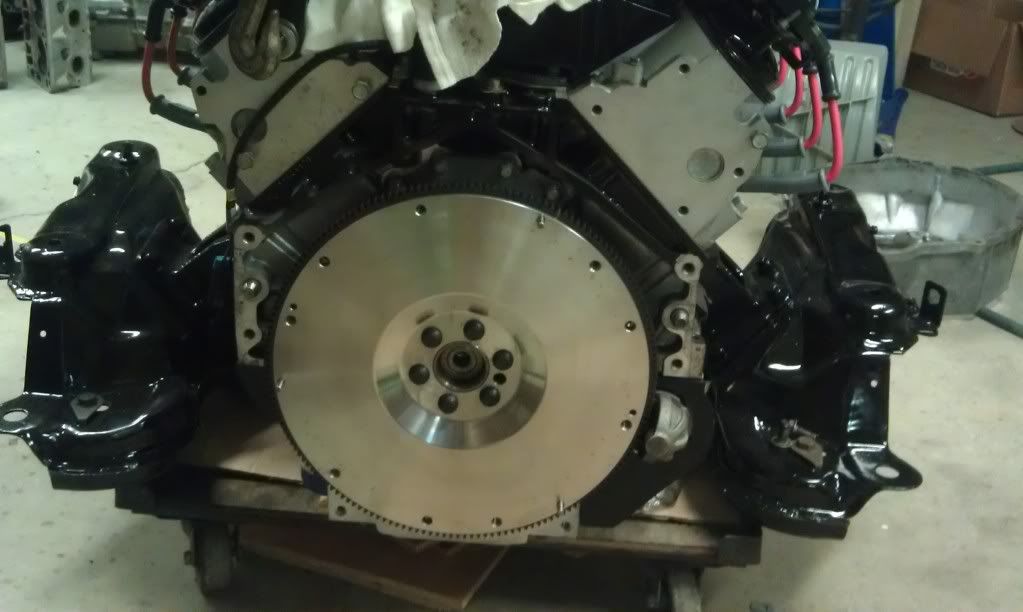
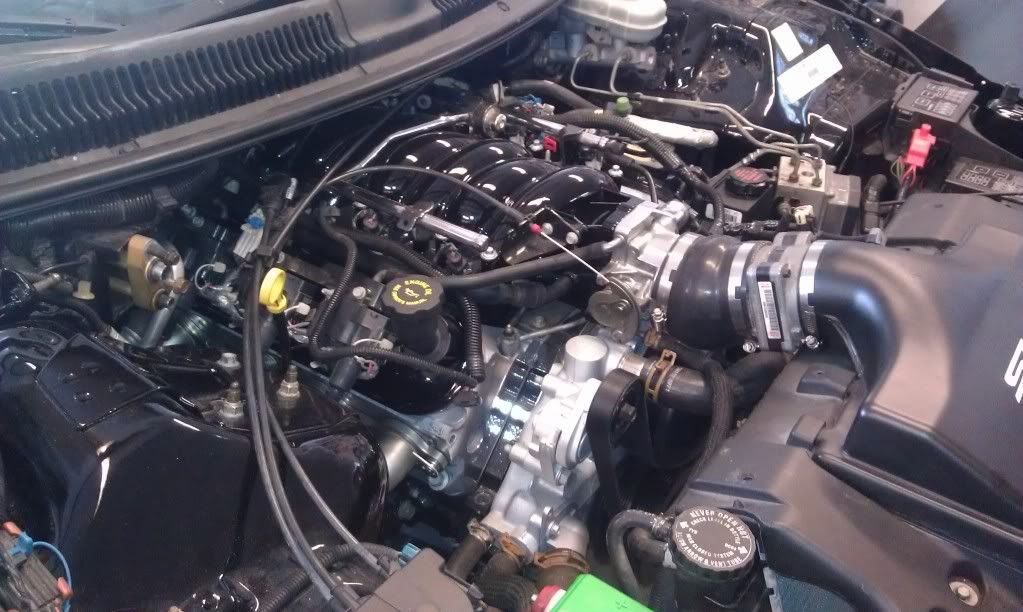
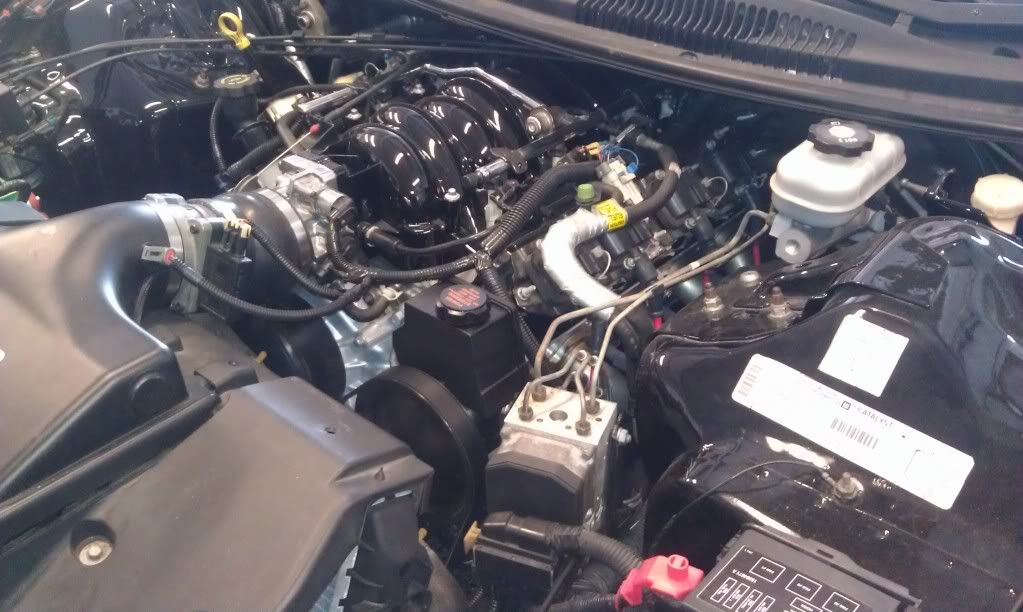
Now, back to the good stuff the engine building!!!
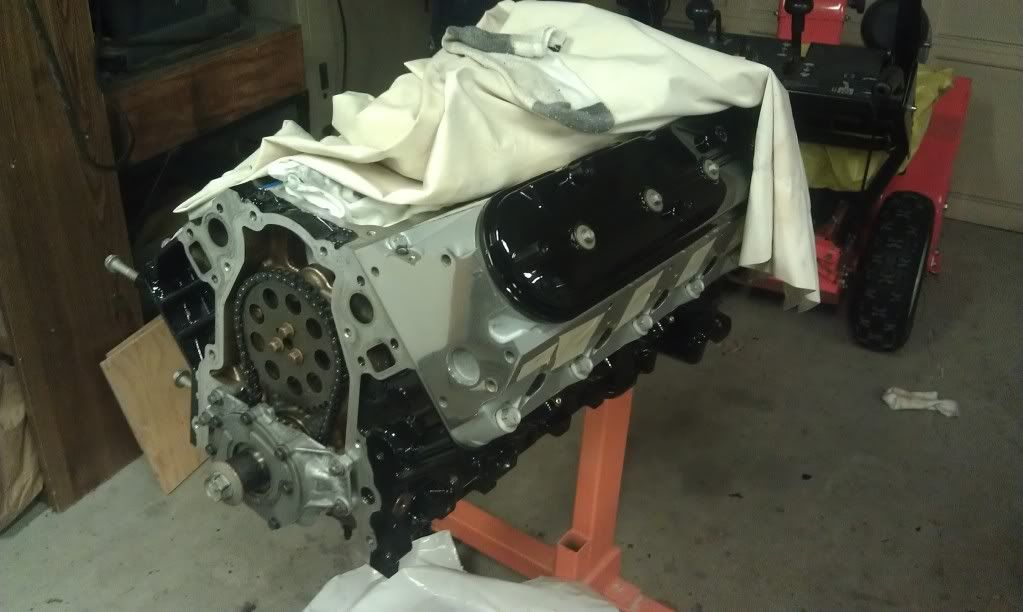
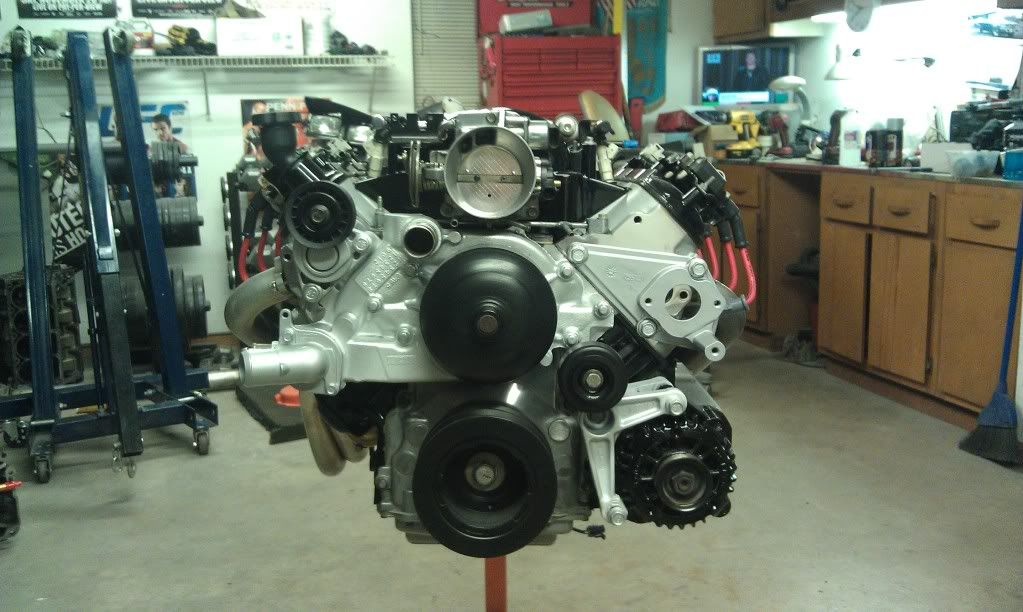
Torquer V3 ready to go in
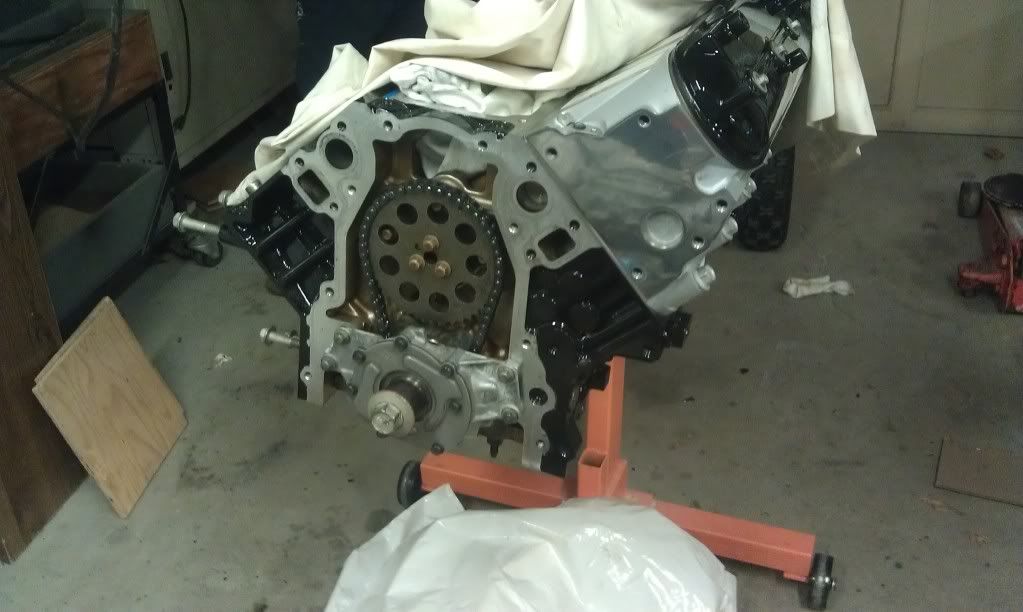
LS6 oil Pump and timing chain on
I took the same approach with the SLP lid
I also decided to polish the ends of the heads for some more asthetic appeal
A Little preview
Since I was going to have all of this newfound power, I couldn't put a stock clutch back in!! I took advantage of monster's holiday sale and got the stage 2 clutch and a 18lb billet steel flywheel. Its like Christmas everytime a box of parts shows up at your house when you get home!!!
Next, Since I had all of these shiny new parts, I couldn't put these old rusty ones back on!
I started going to town sandblasting, which was hell doing outside in January in PA lol. But it was well worth it. I laid down por 15 which turned out great. Also, I got new lower control arm bushings, moog upper, lower ball joints and tie rod ends.
I Painted the k member gloss black since I didn't feel like sandblasting it. No big deal as it will be replaced by tubular at some point, but it chips alot easier than the por 15.
Now, back to the good stuff the engine building!!!
Torquer V3 ready to go in
LS6 oil Pump and timing chain on
Last edited by Austin95; 02-24-2013 at 10:55 PM.
02-24-2013, 11:00 PM
#7
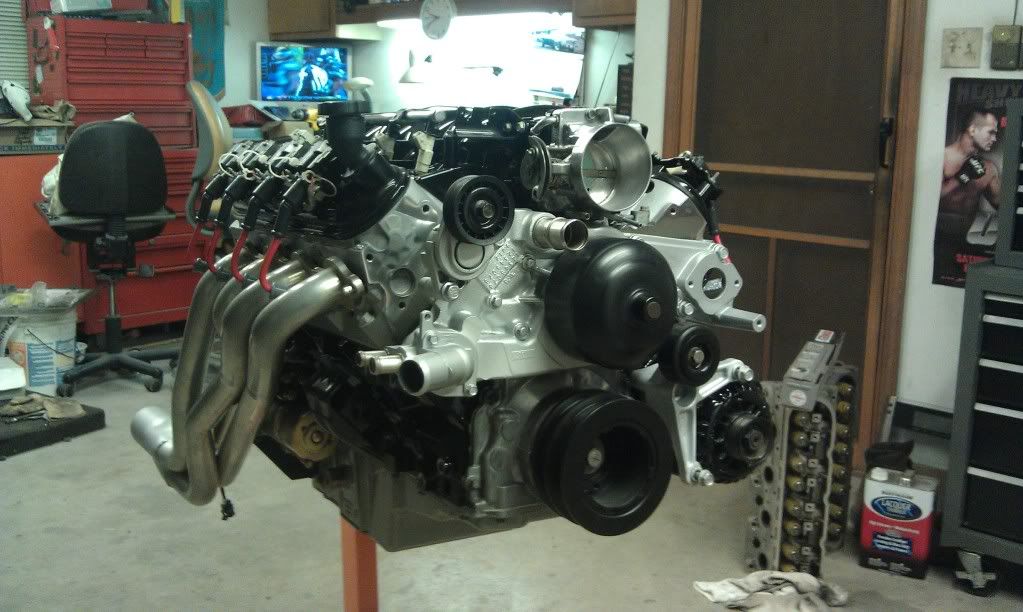
Cleaned all the carbon off pistons and wiped down head surface and bores. You can still see the crosshatching on the cylinder walls, so it appears to be in good shape.
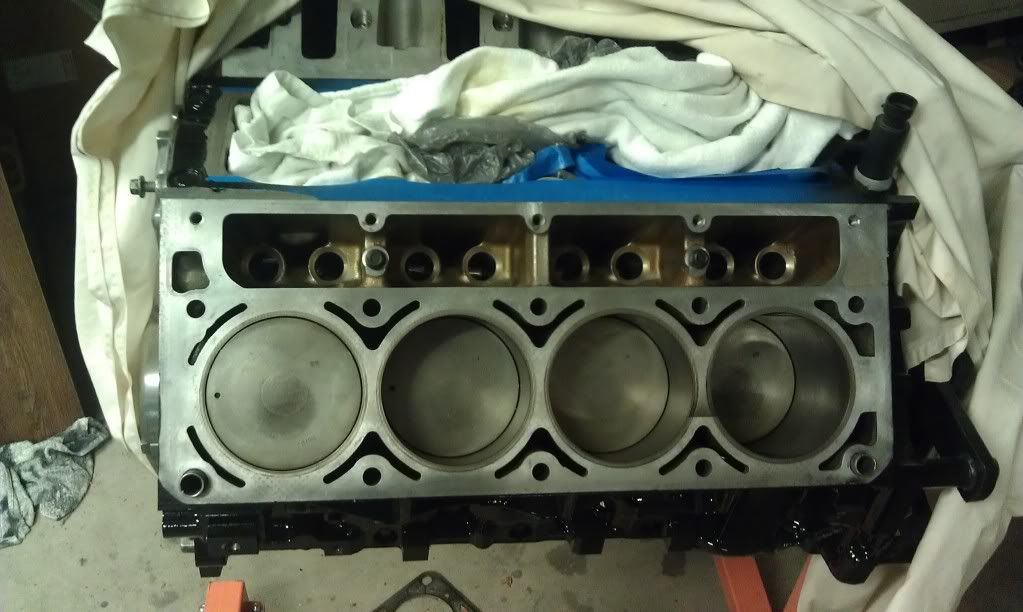
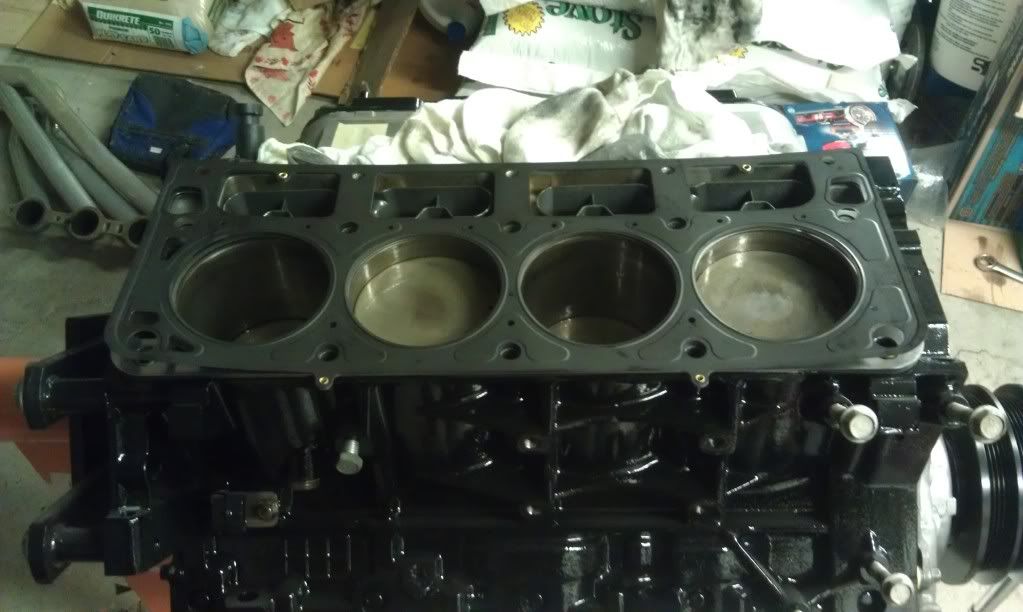
Cosmetic .040 MLS head gasket down
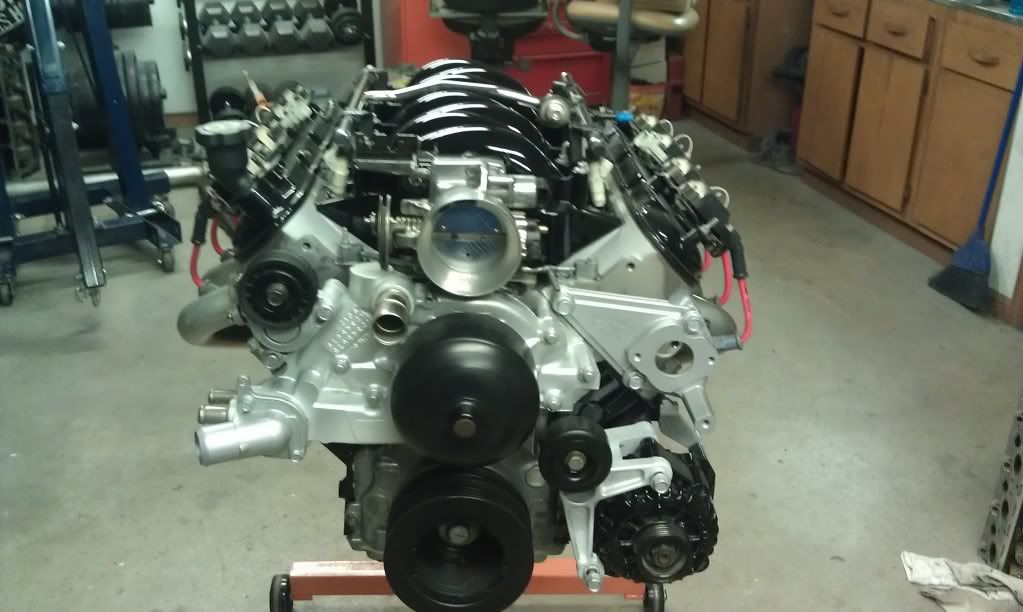
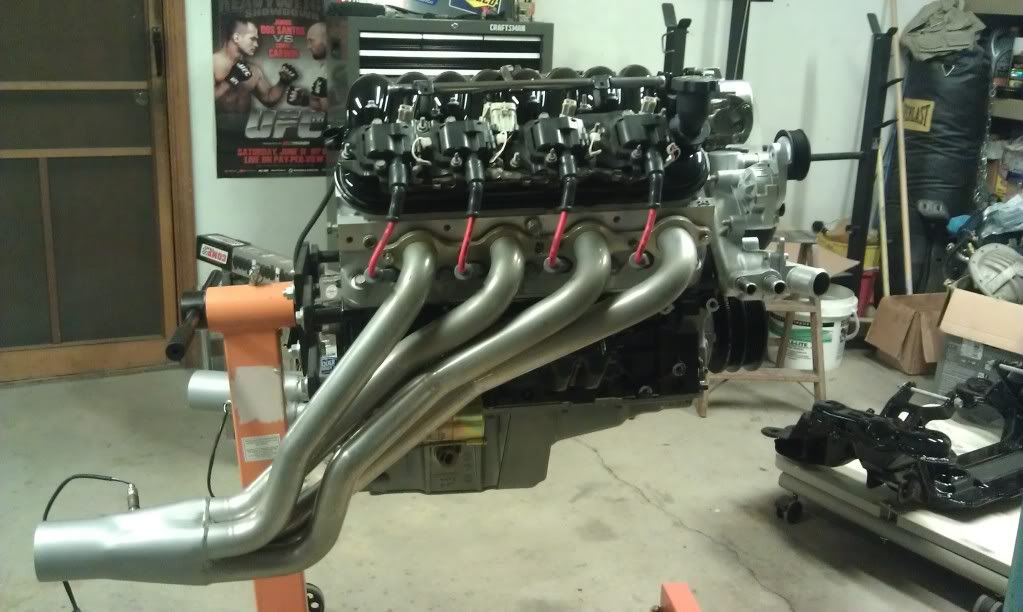
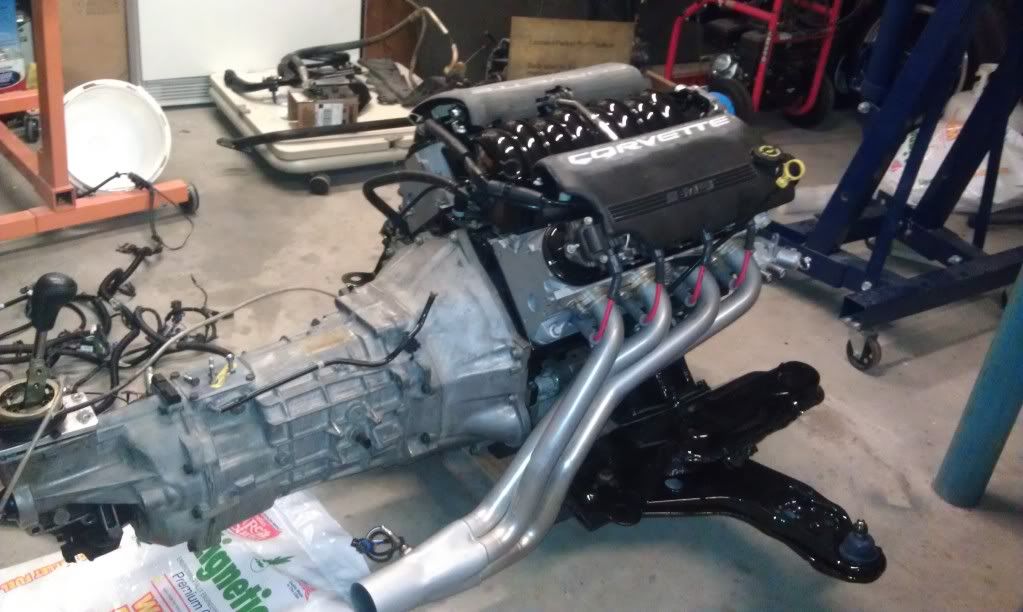
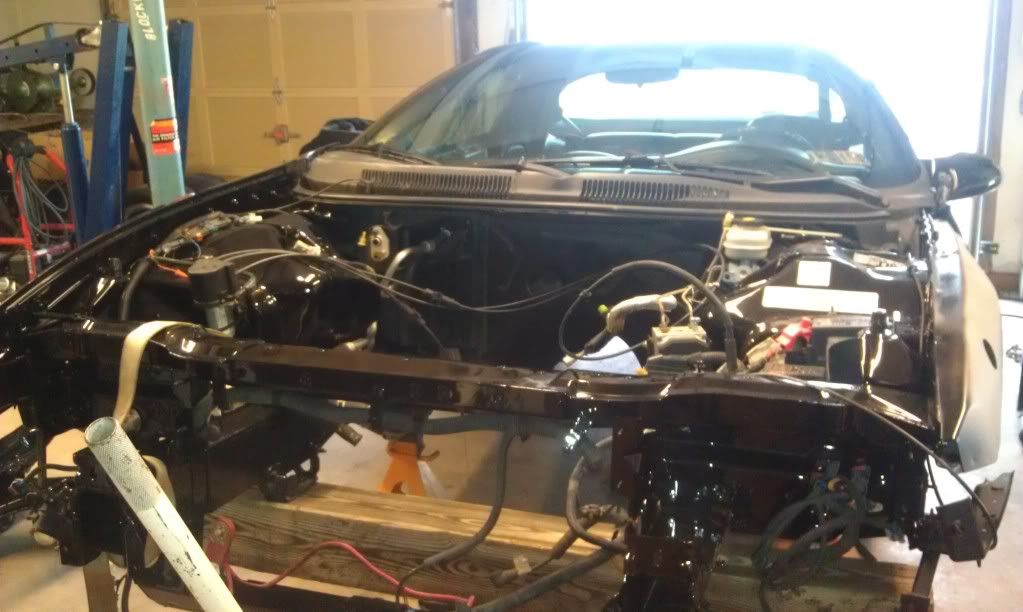
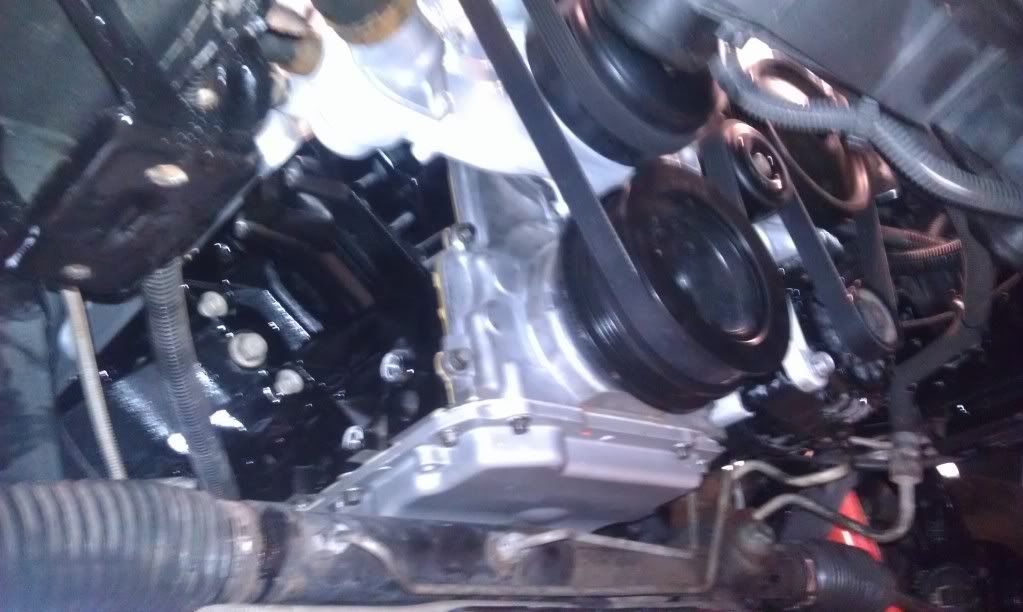
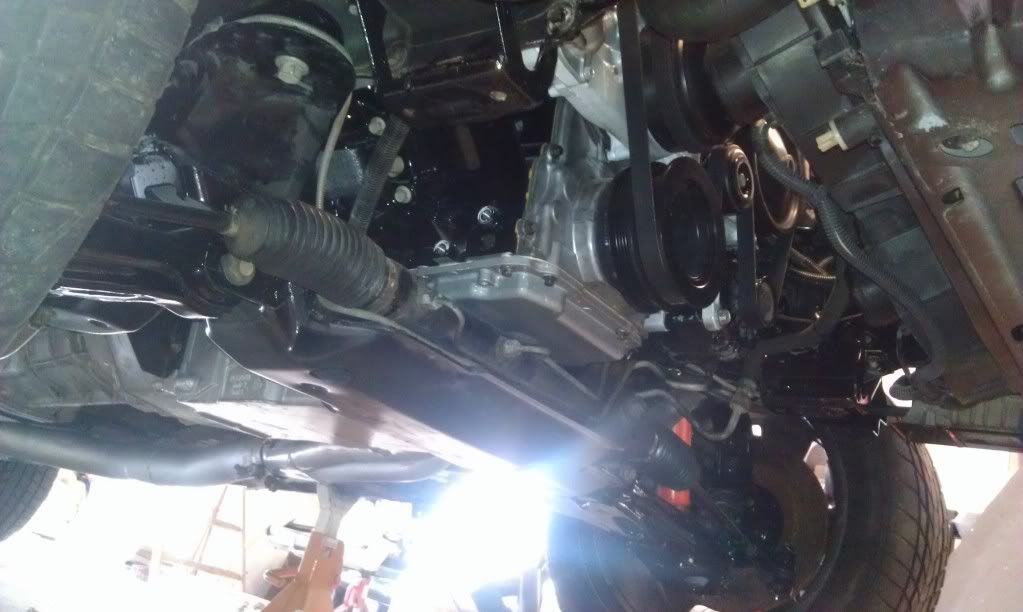
I repainted all the brackets for the accessories and polished the fuel rails and a bunch of other small asthetic things. All put together, 1 3/4 Pacesetter headers bolted on and ready to drop in
Nice shiny k member begging for a motor

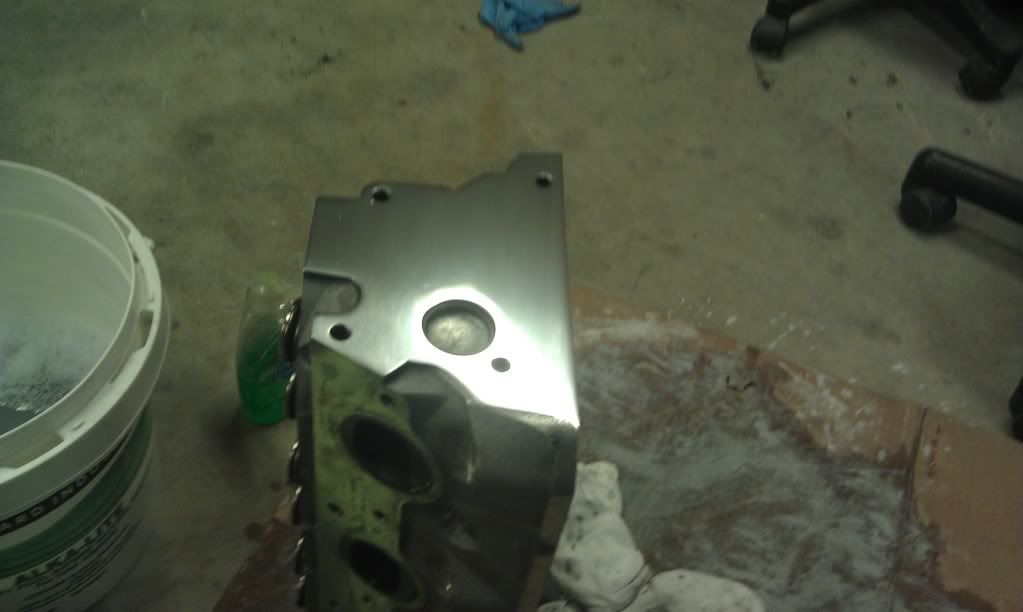
Motor in and flywheel bolted on with new ARP Hardware
Monster Stage 2 Clutch On!!
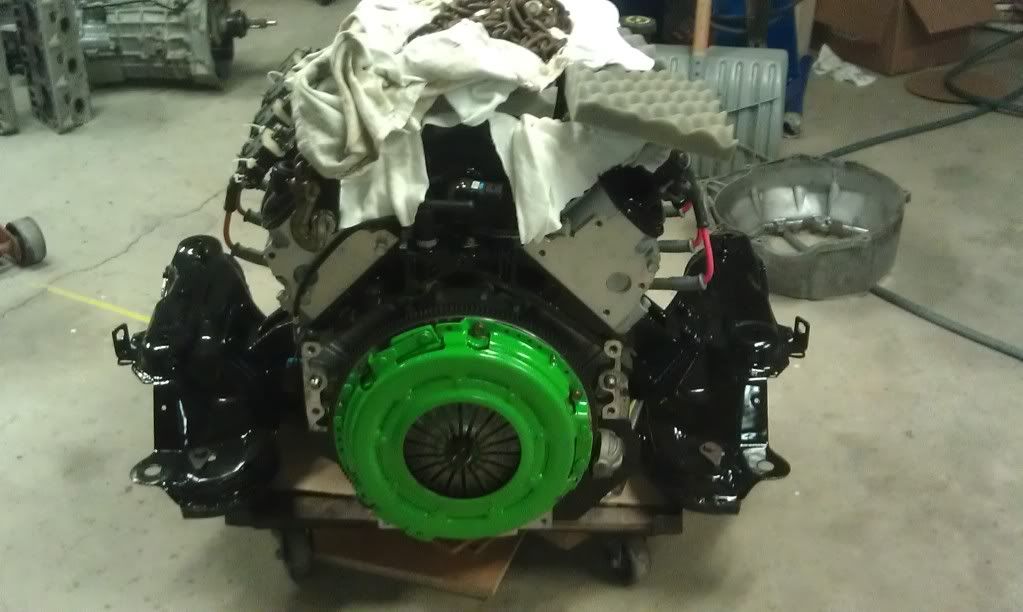
T56 Bolted Up
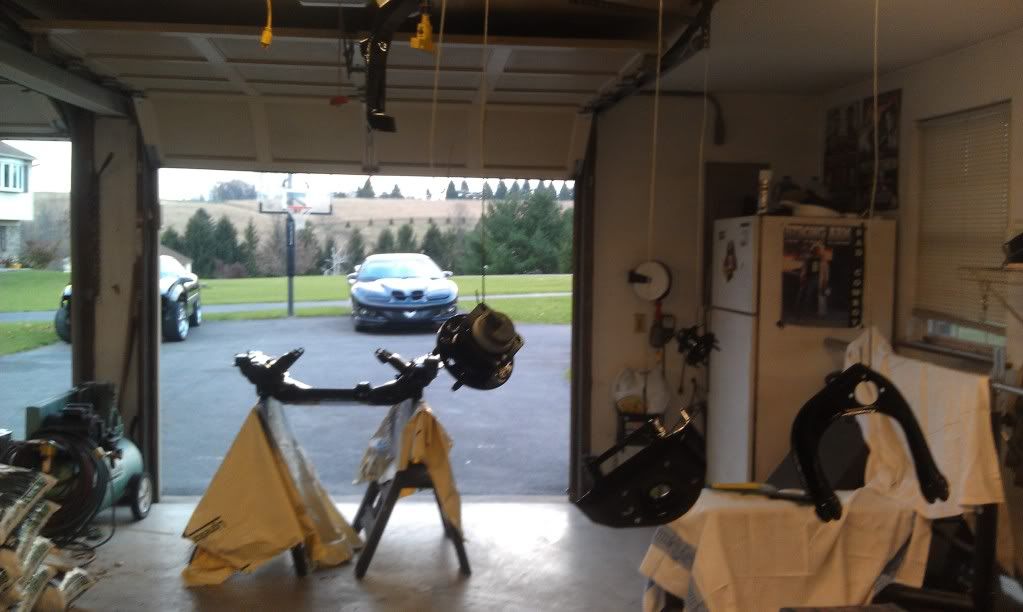
Camaro Finally brought in to get the motor in!!!
Last edited by Austin95; 02-24-2013 at 11:12 PM.
Trending Topics
02-25-2013, 08:36 PM
#9
this is my son Austin's first build. he lives for F-body's and horsepower! he does all the work by himself and learns on the fly.planned,order parts and built the motor by himself (looking for 500+ hp). I'm very proud of my son! did I say he's only seventeen.
love Dad
love Dad
Last edited by JOHNNY59; 02-25-2013 at 08:51 PM.
02-25-2013, 09:17 PM
#10
10 Second Club
iTrader: (4)

Join Date: Dec 2012
Location: Winchester, VA
Posts: 350
Likes: 0
Received 0 Likes
on
0 Posts
Forget the pictures of the car. I want to see one of the proud smile on papa's face.
Excellent work. You have taken the attention to detail mindset to heart and it shows. Keep up the good work and really absorb all the information you can from getting your hands dirty. Seeing a thread like this makes me wish my kids were old enough and hopefully interested enough to take on a project like this, they still have quite a few years though.
Excellent work. You have taken the attention to detail mindset to heart and it shows. Keep up the good work and really absorb all the information you can from getting your hands dirty. Seeing a thread like this makes me wish my kids were old enough and hopefully interested enough to take on a project like this, they still have quite a few years though.
02-26-2013, 08:57 PM
#11
Thanks! Hahaha, I am already starting to save! I have another LS1 block laying around, and I want to go all forged and learn to build my own motor in the process. Haven't decided between turbo or procharged yet, but that's a long way away.
02-26-2013, 09:09 PM
#12
Thanks man!
Thank you, its alot of work, but completly worth it!
Forget the pictures of the car. I want to see one of the proud smile on papa's face.
Excellent work. You have taken the attention to detail mindset to heart and it shows. Keep up the good work and really absorb all the information you can from getting your hands dirty. Seeing a thread like this makes me wish my kids were old enough and hopefully interested enough to take on a project like this, they still have quite a few years though.
Excellent work. You have taken the attention to detail mindset to heart and it shows. Keep up the good work and really absorb all the information you can from getting your hands dirty. Seeing a thread like this makes me wish my kids were old enough and hopefully interested enough to take on a project like this, they still have quite a few years though.
02-26-2013, 09:31 PM
#13
Well guys, here's the best pictures:
She's In!
And it's not any good without a video, excuse me chuckling like a girl @44 seconds, but it was one of the happiest moments of my life, so much satisfaction in doing all of it yourself and hearing it start for the first time.....Heads up, its open headers and LOUD!
She's In!
And it's not any good without a video, excuse me chuckling like a girl @44 seconds, but it was one of the happiest moments of my life, so much satisfaction in doing all of it yourself and hearing it start for the first time.....Heads up, its open headers and LOUD!

