My '02 Z28 Build Thread


 03-14-2013, 05:49 PM
#23
Thanks man, It of course sounds better in person than on a cell phone speaker.
Thanks man!
Thanks man, Im glad I did it gloss too, but I wish I would have done the wire mod to clean it up a bit more. Its on 111 lsa.
Thanks man! Hopefully this summer, but I'm scared to run it with the 10 bolt and breaking something since it'll be my DD for the most part. But,its something I've got to definetley do
Thanks dude
Thank you. Absolutley, I couldn't have done it without all of his help. Plus he let me tie up the garage while his car sat outside all winter  And I'm glad we got to spend time together while working on it!
Thanks Pete! The Speed bleeder I bought off of you was a big help and I can't wait to paint my SS Spoiler and get it on as well!
Thanks man!
Thanks dude
And I'm glad we got to spend time together while working on it!Thanks Pete! The Speed bleeder I bought off of you was a big help and I can't wait to paint my SS Spoiler and get it on as well!
03-14-2013, 06:06 PM
#24
Been working alot lately while still going to High school, so things have been slow. My goal is to have it done for the OCMD cruise in May. Here's some more progress:
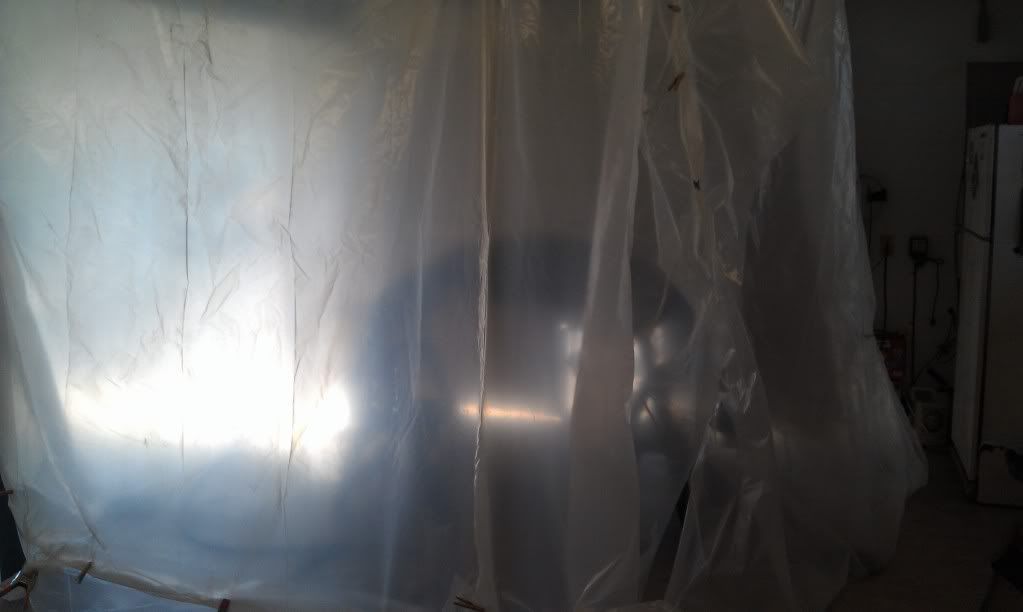
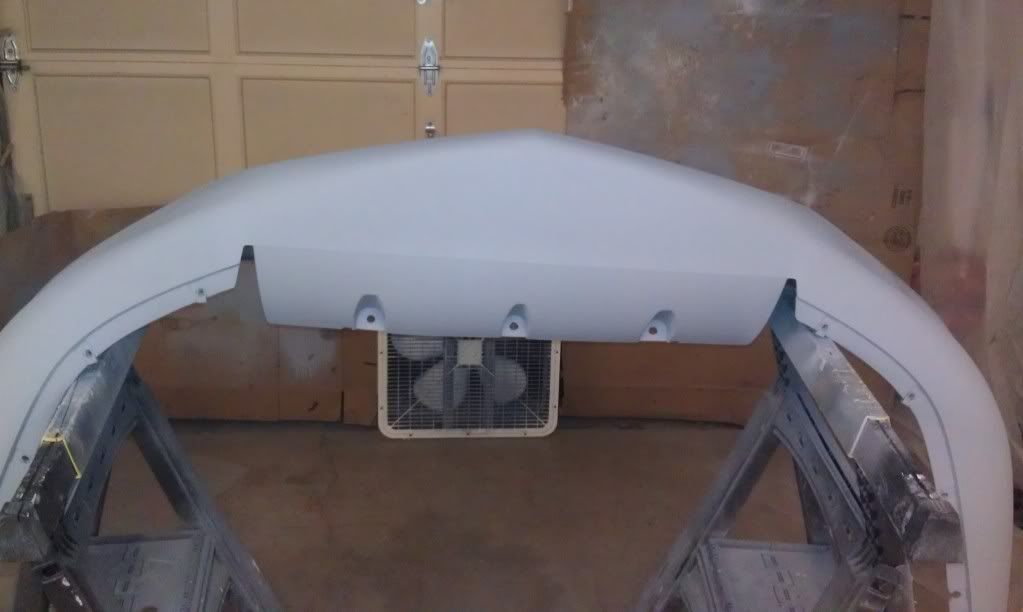
Homeade Paint Booth
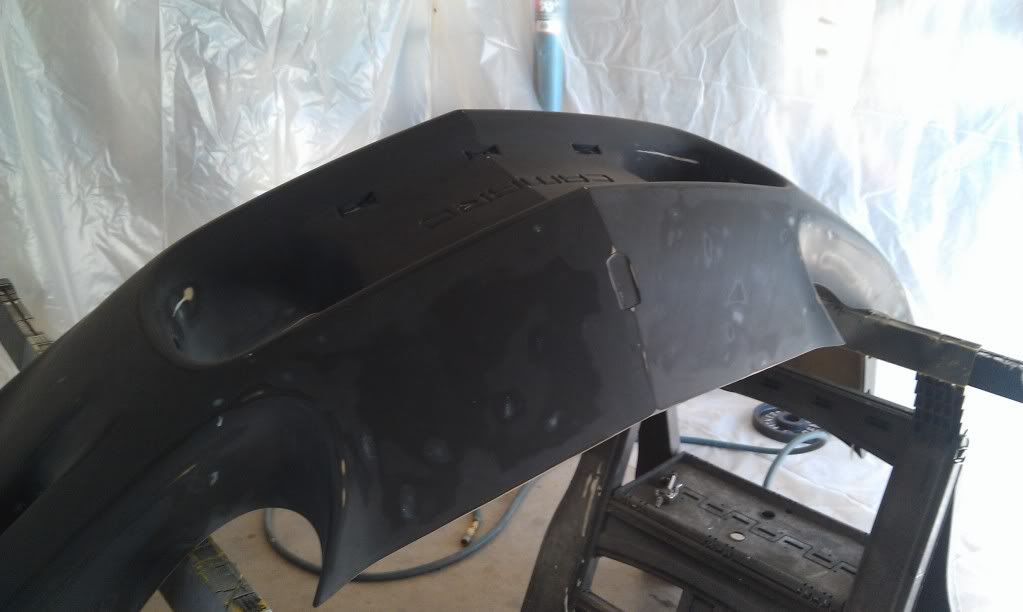
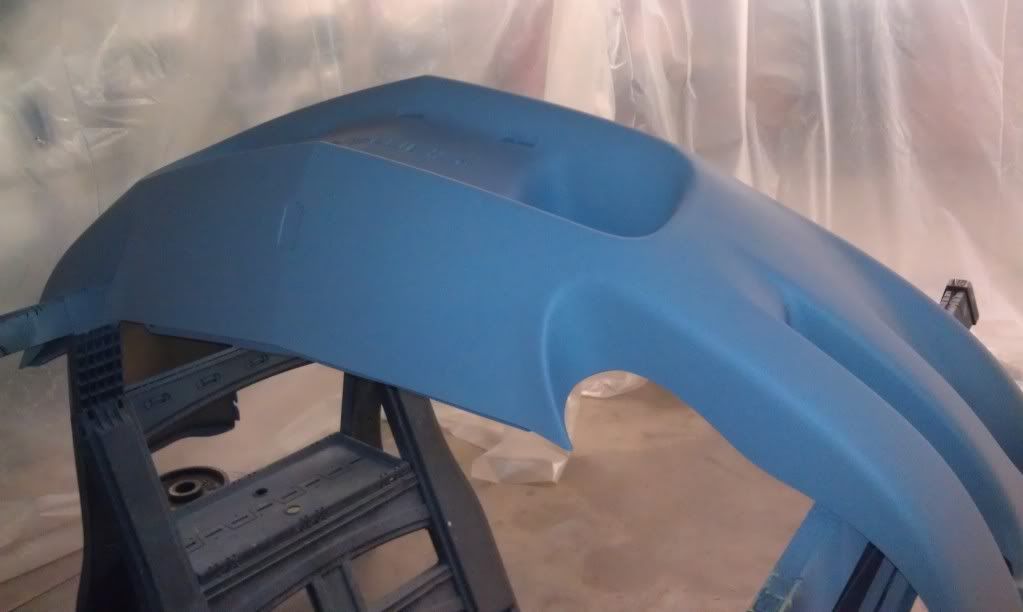
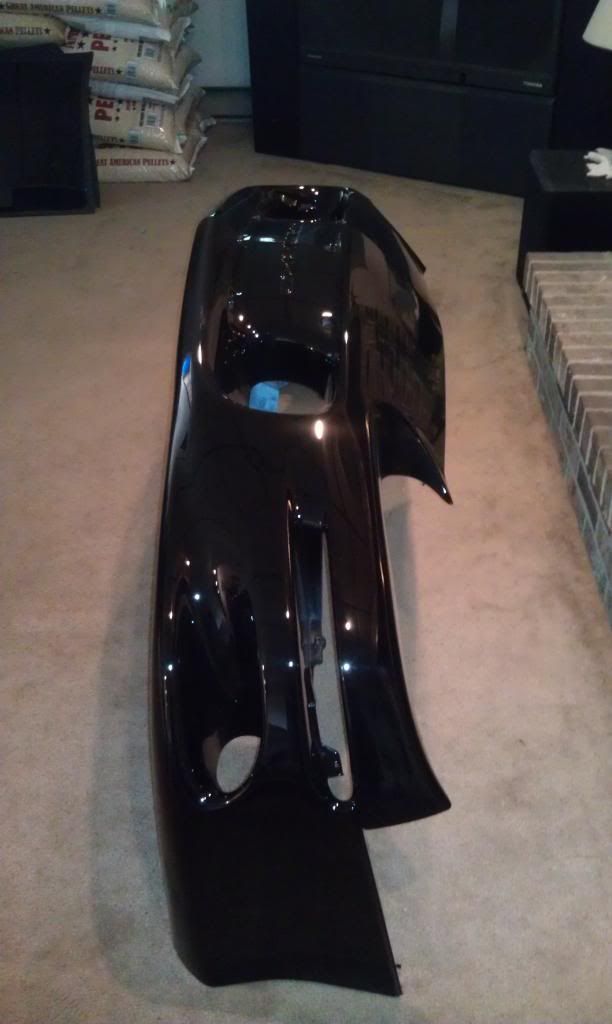
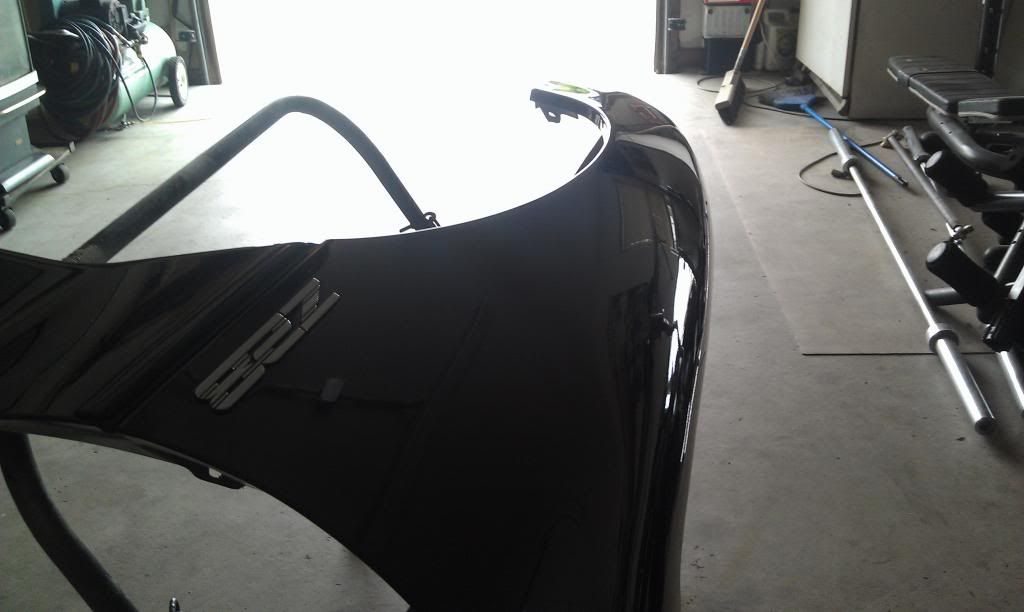
Front Bumper sanded with 320 and ready for 2k Primer
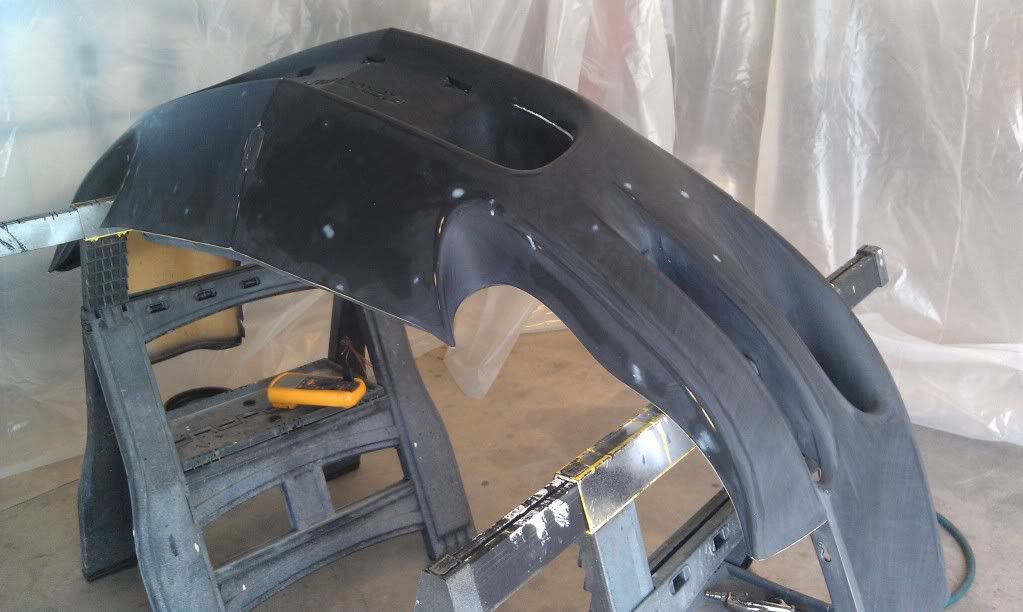
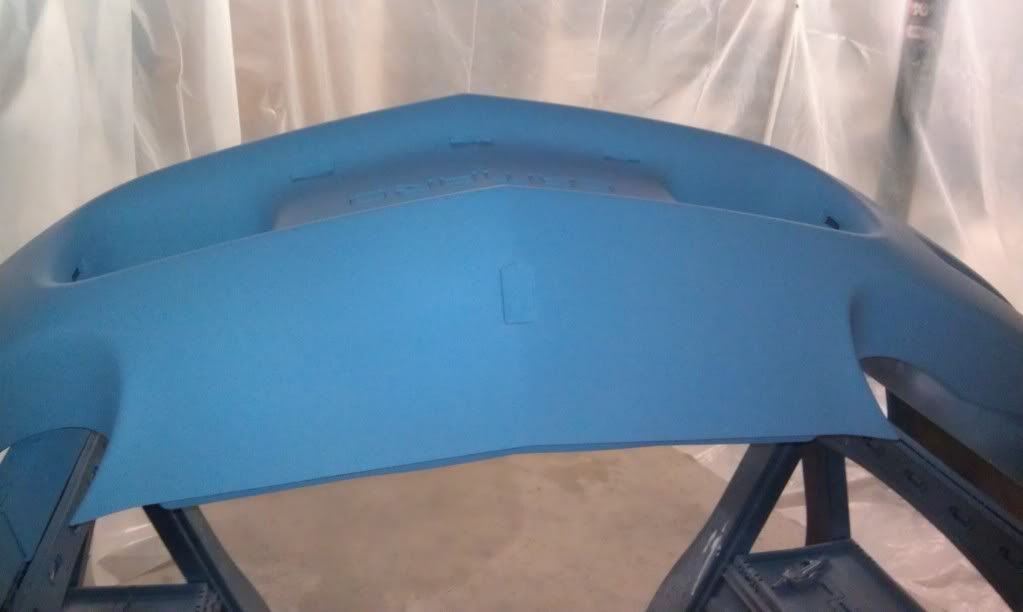
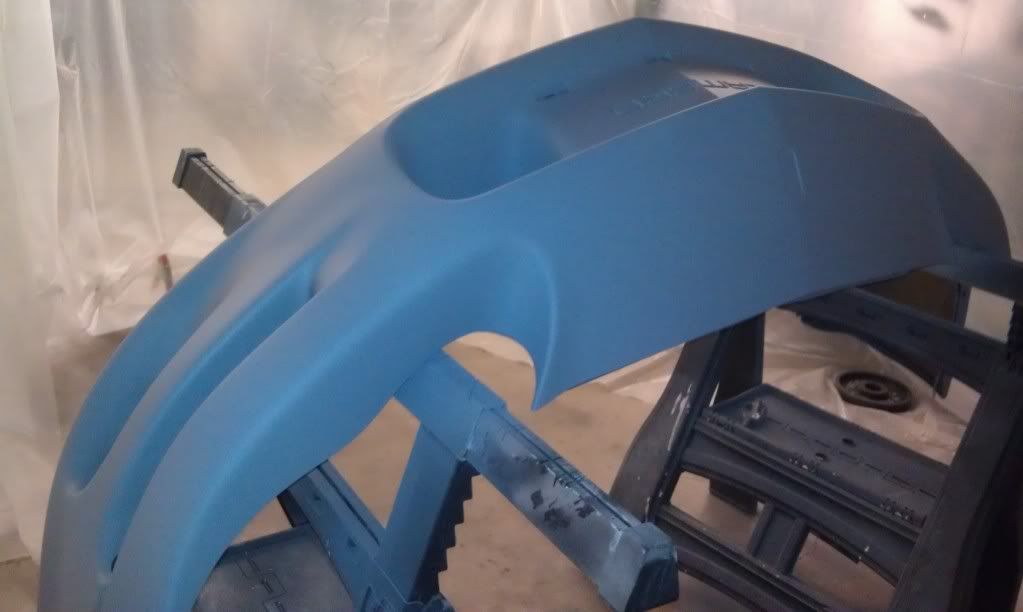
Primer Down:
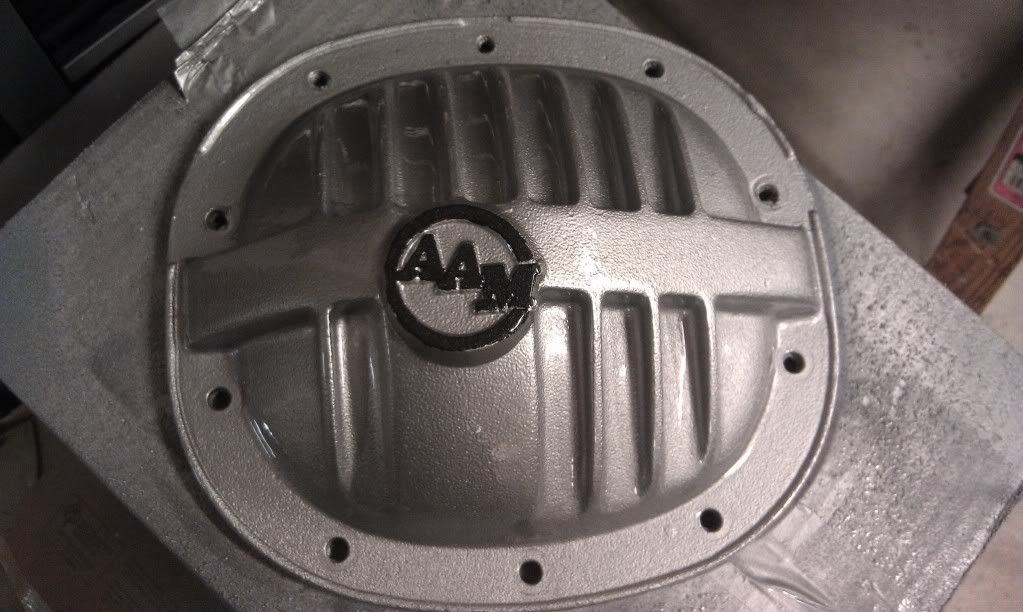
Painted and cleared my 10 bolt girdle
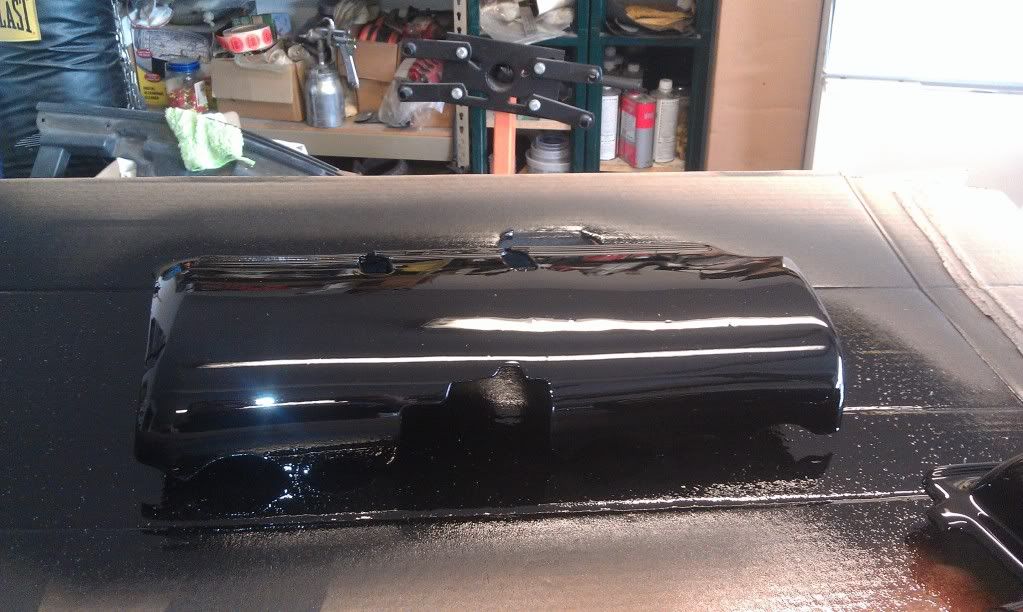
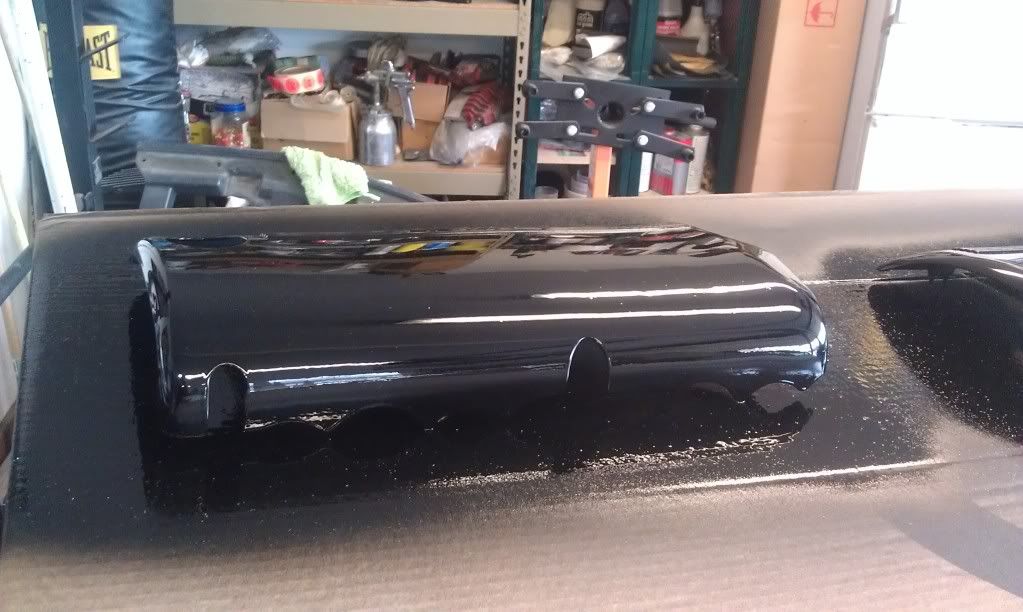
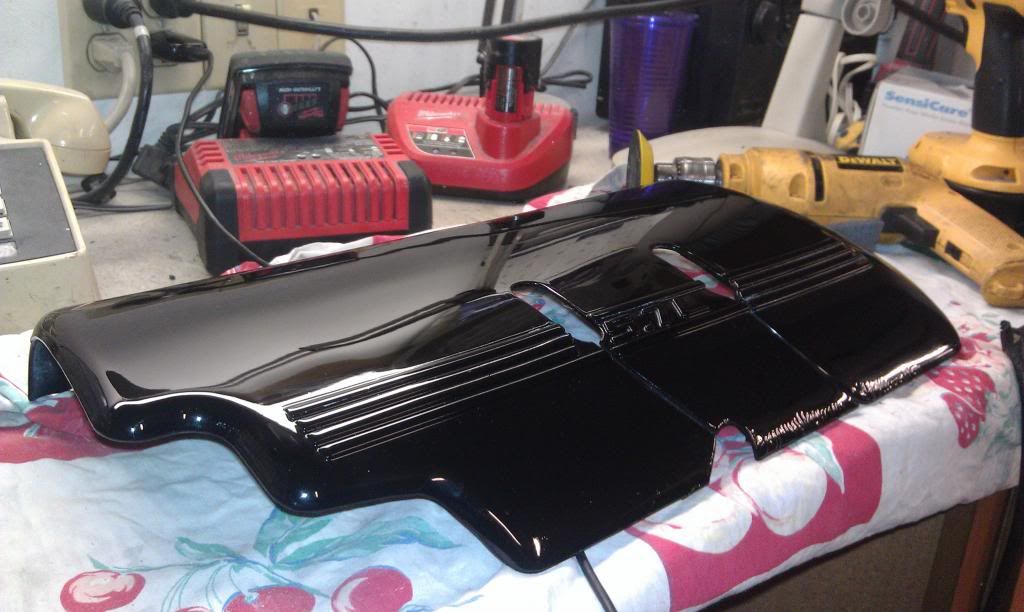
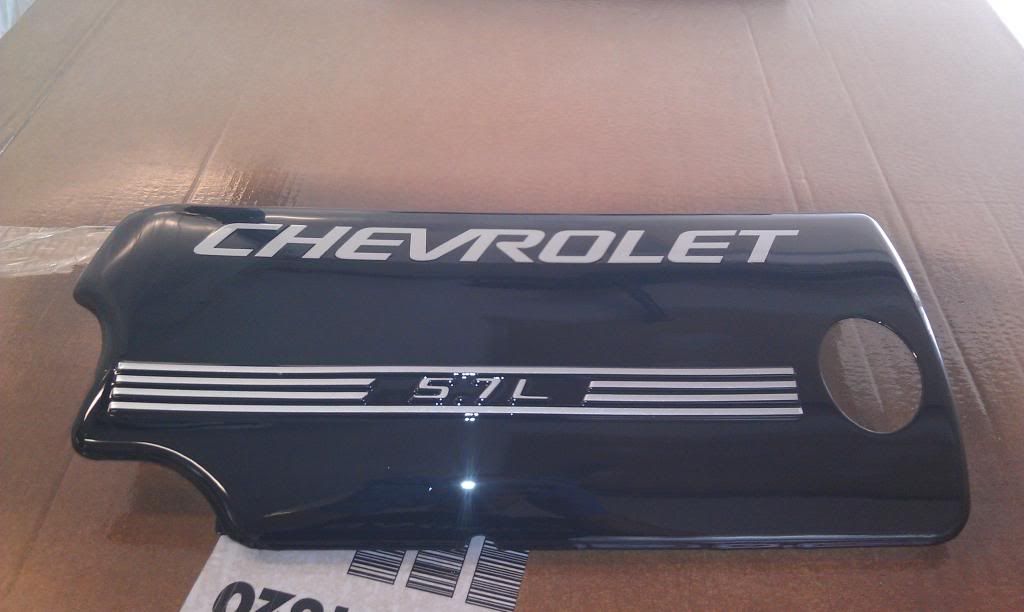
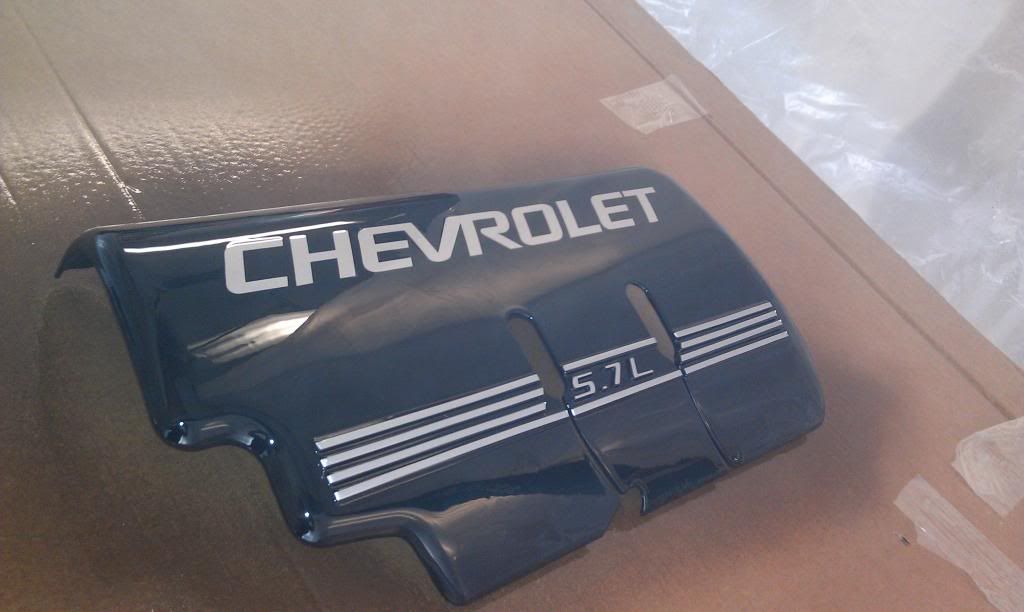
Finally primered, sanded, based and cleared my modified vette covers
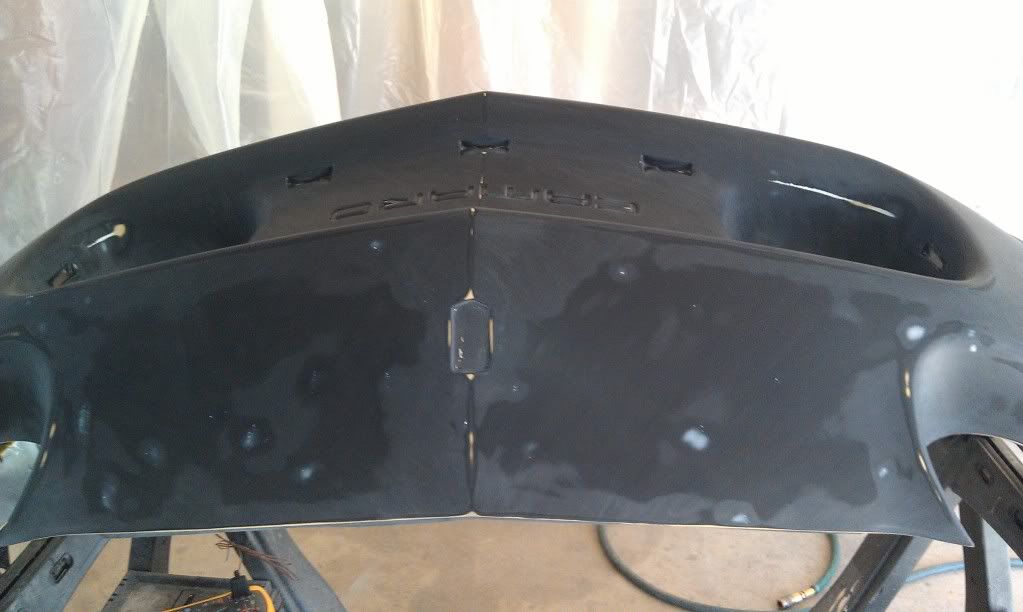
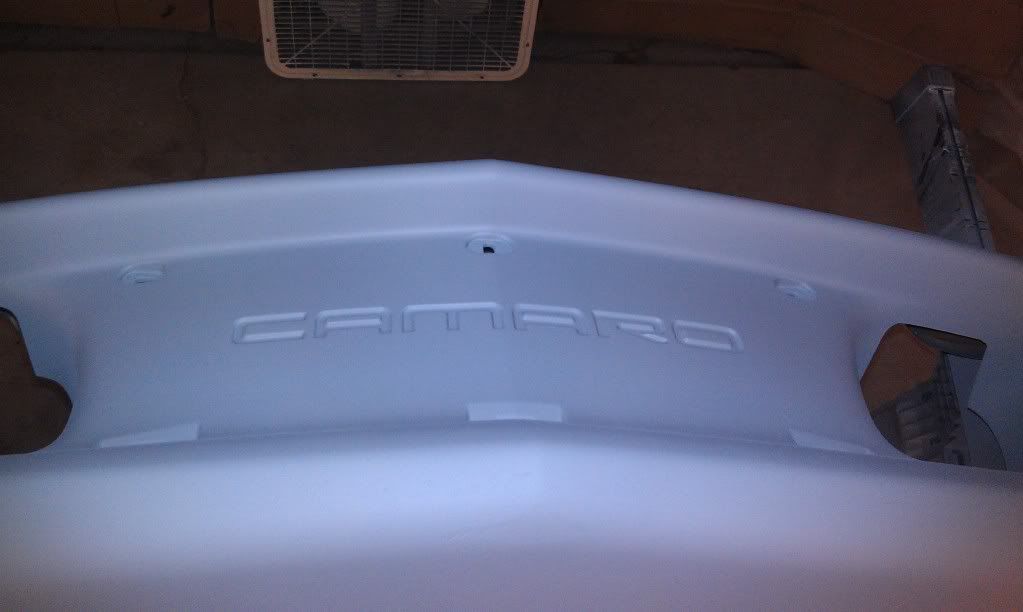
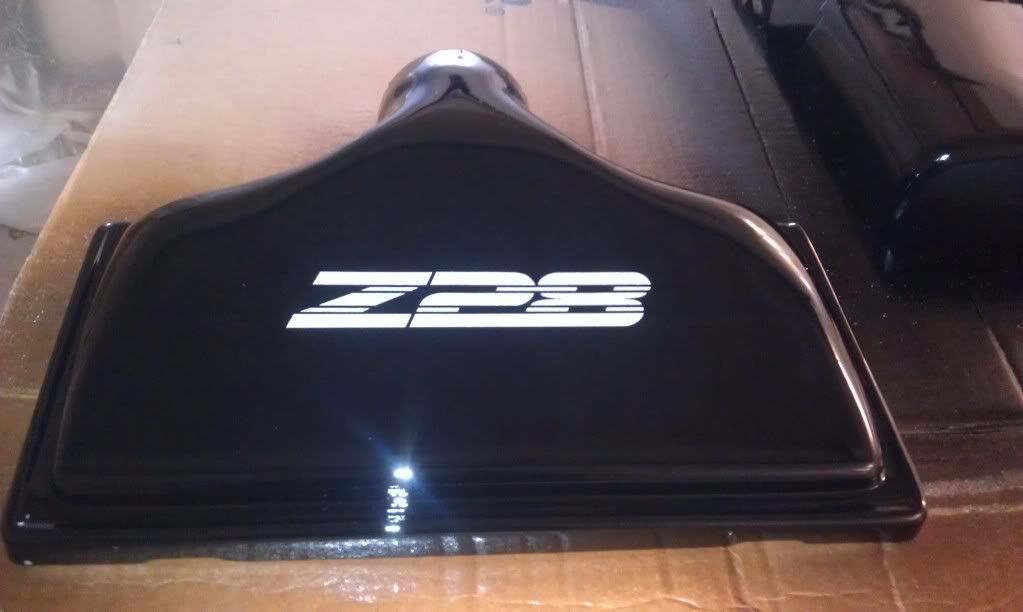
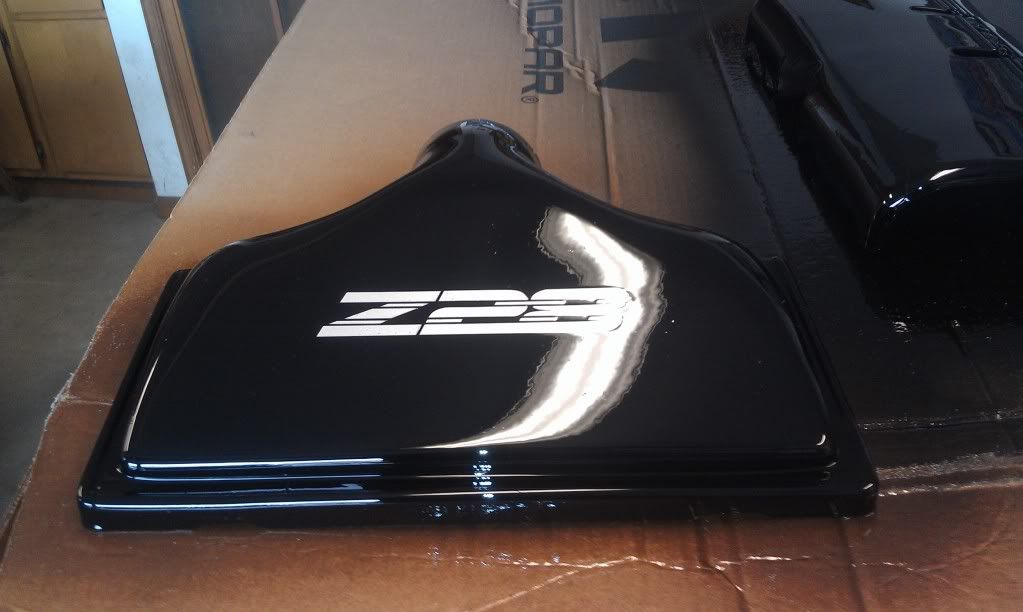
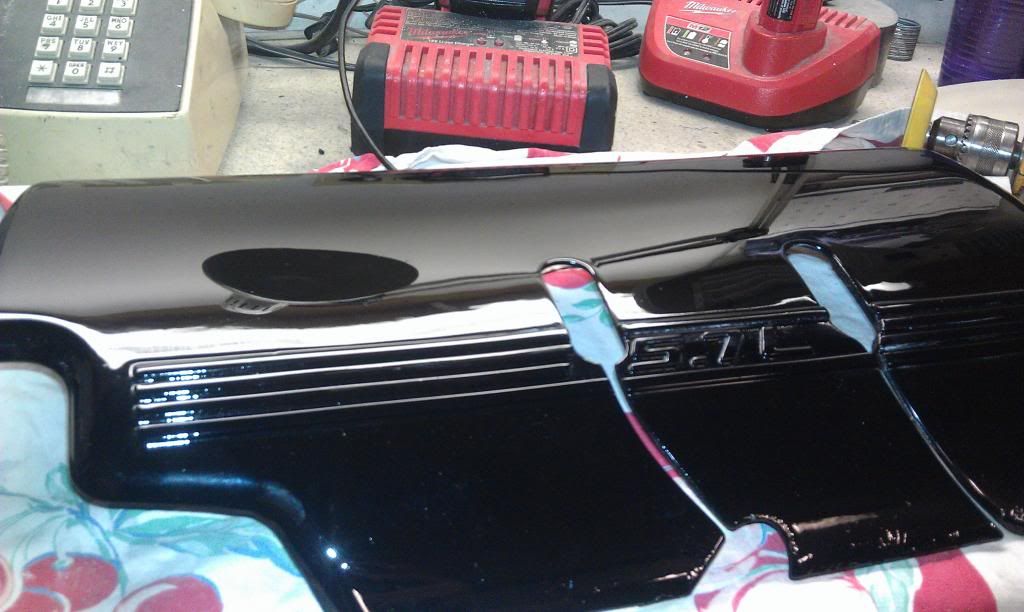
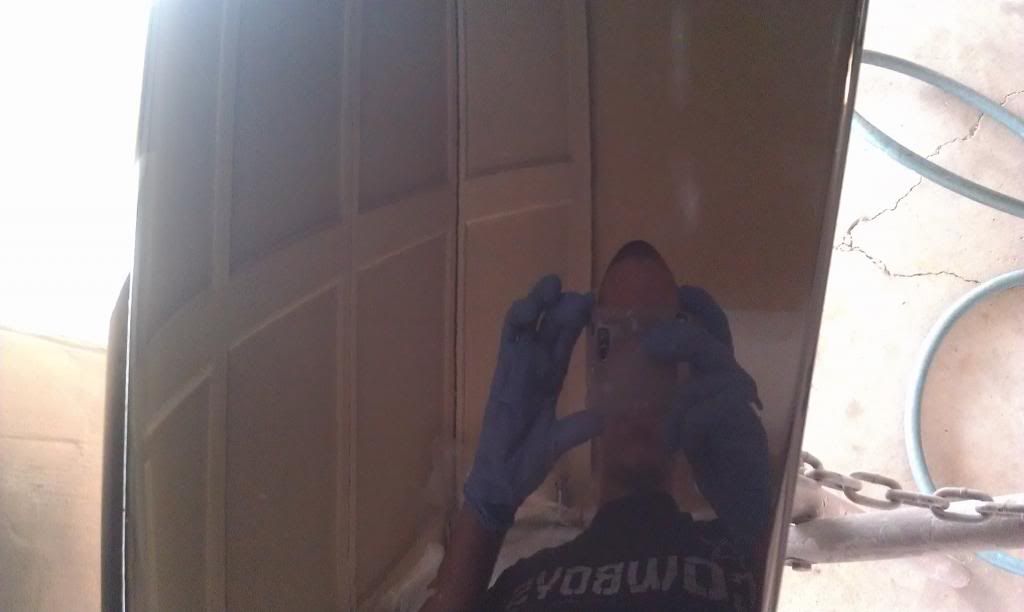
Put down decal on lid and re-cleared
Homeade Paint Booth
Front Bumper sanded with 320 and ready for 2k Primer
Primer Down:
Painted and cleared my 10 bolt girdle
Finally primered, sanded, based and cleared my modified vette covers
Put down decal on lid and re-cleared
03-16-2013, 09:16 AM
#25
TECH Fanatic

Hell of a job for a 17 year old kid! I wish I had half the automotive knowledge you have.
 03-17-2013, 08:58 PM
#29
Thanks man. I made the paint booth in a really rigged way haha. I just got a roll of plastic and cut pieces to fit the garage. I stappled them to the wall and held the corners together with clamps. The "filtration system" is just letting the garage door cracked with a box fan in it to blow out when I'm painting haha. I usually wet down the floor first and just had a space heater blow in the booth during coats to keep it warm since its only in the 30's outside yet here. It works pretty well, but I just put down an extra coat or two of clear to wetsand if any junk gets in the paint. It's sure as hell nothing professional, but it works pretty well and is the best I can do lol.
 04-09-2013, 09:21 PM
#32
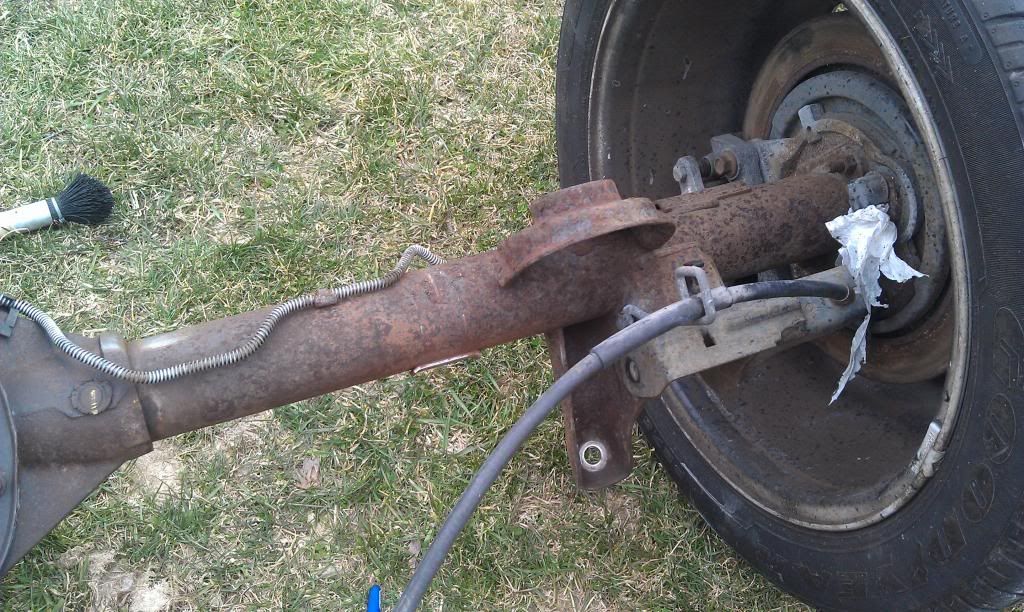
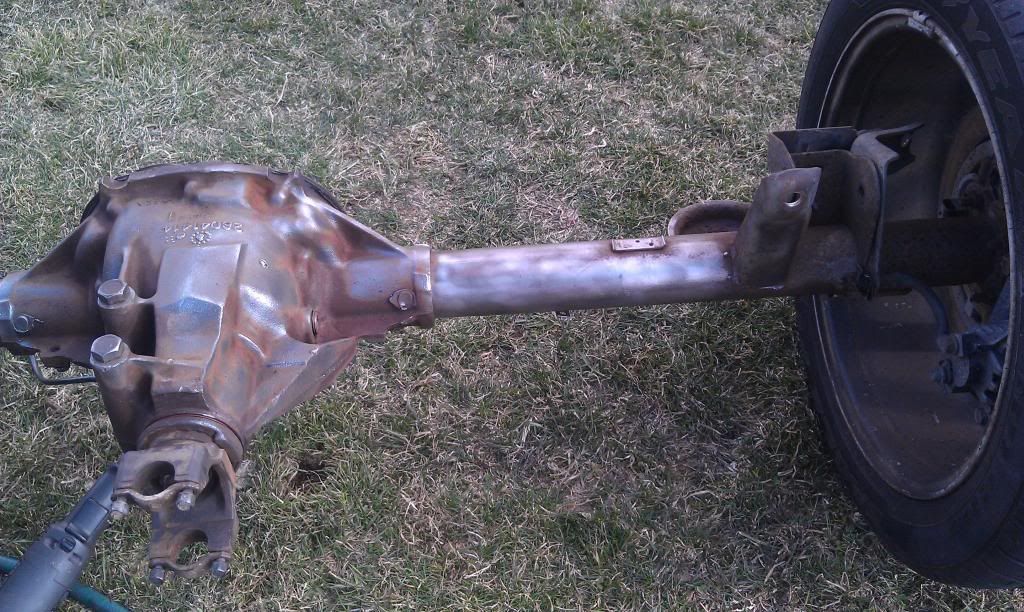
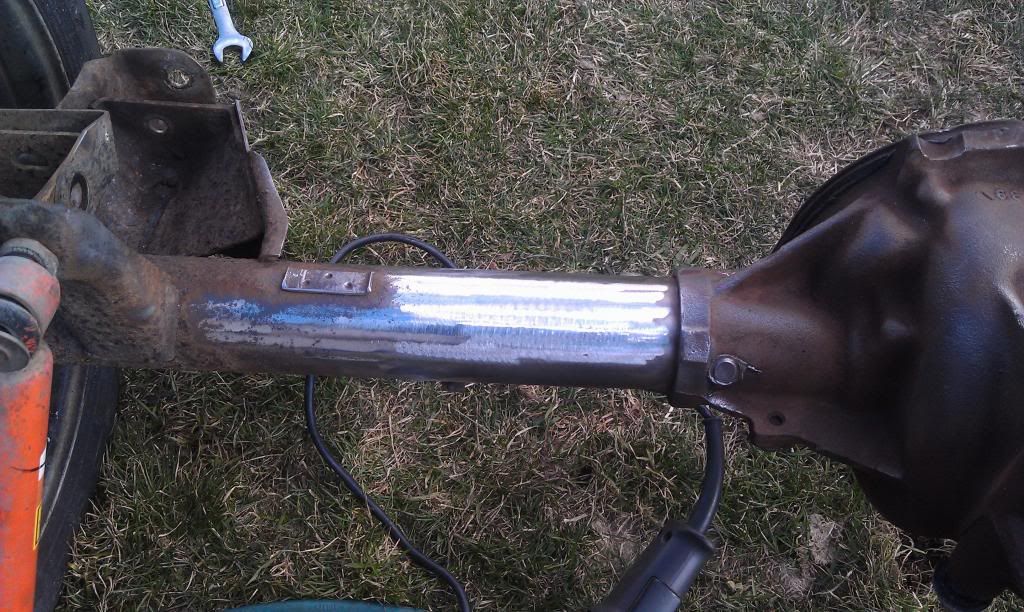
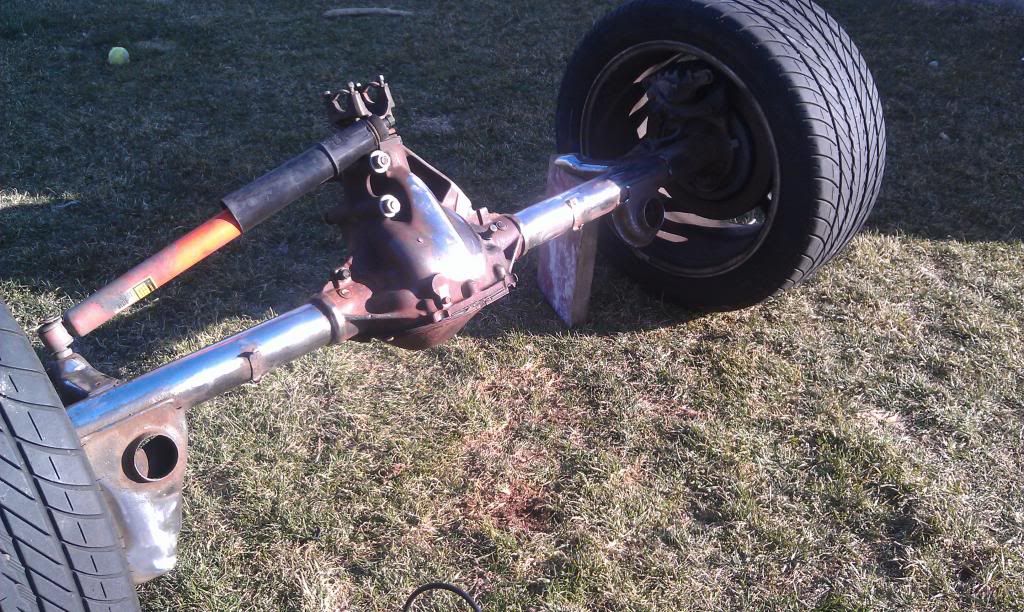
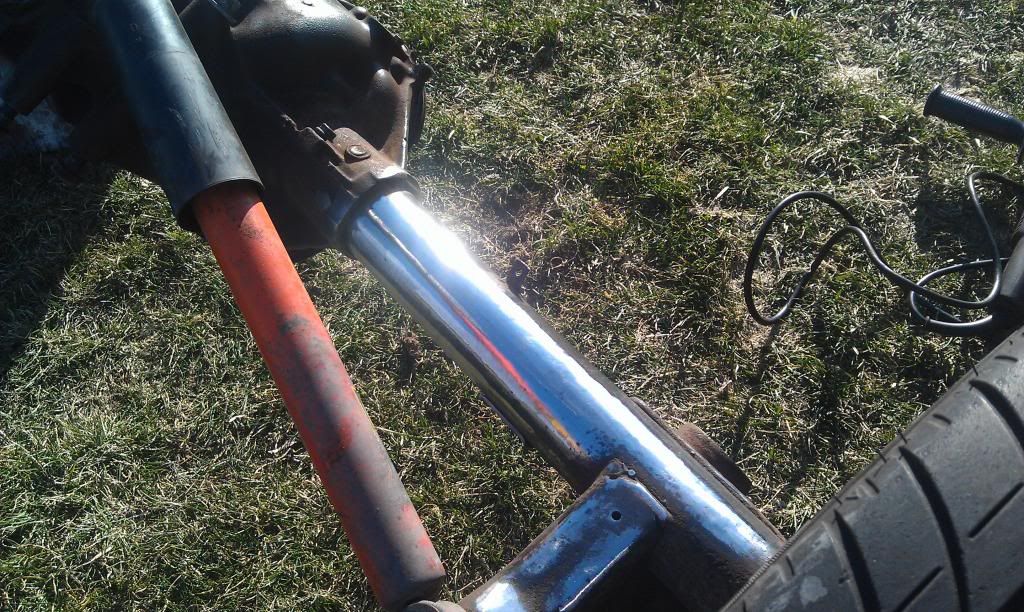
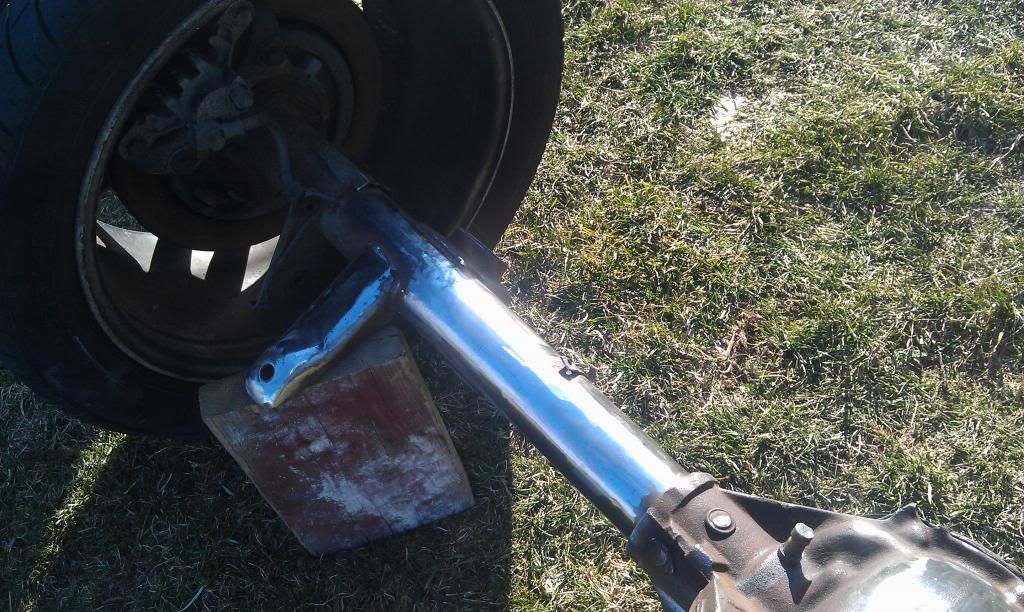
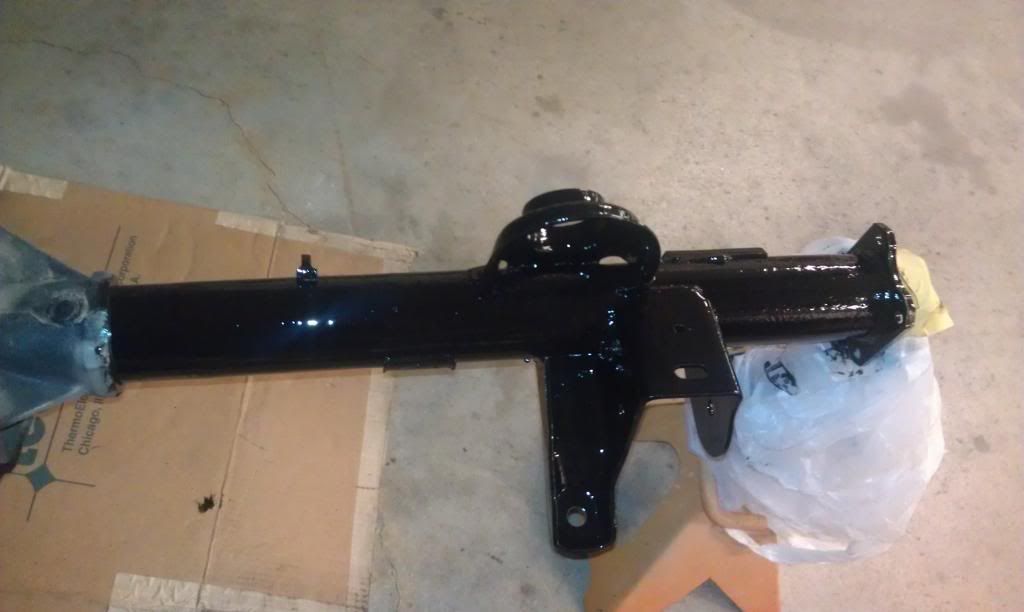
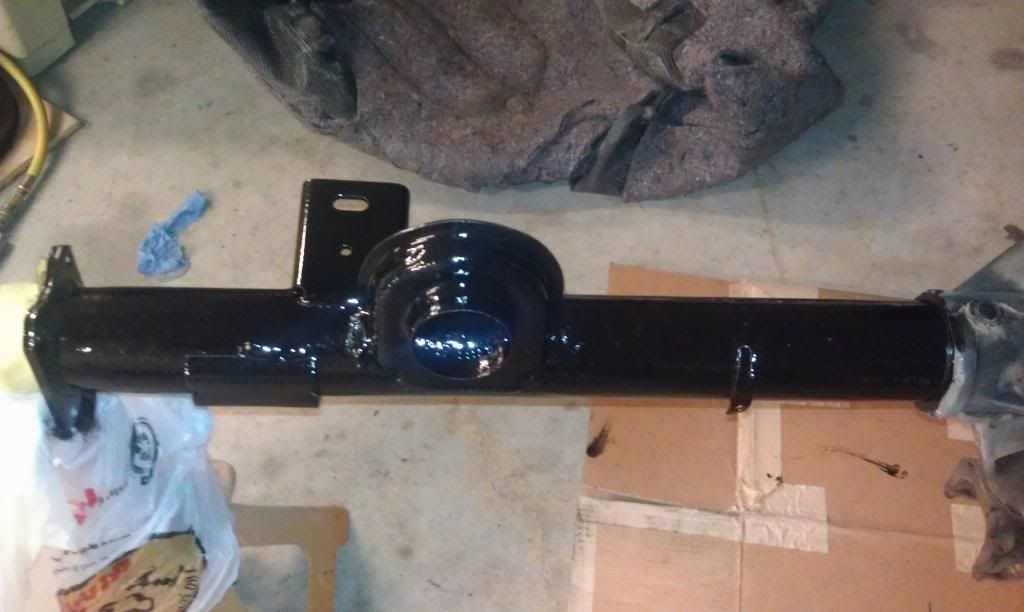
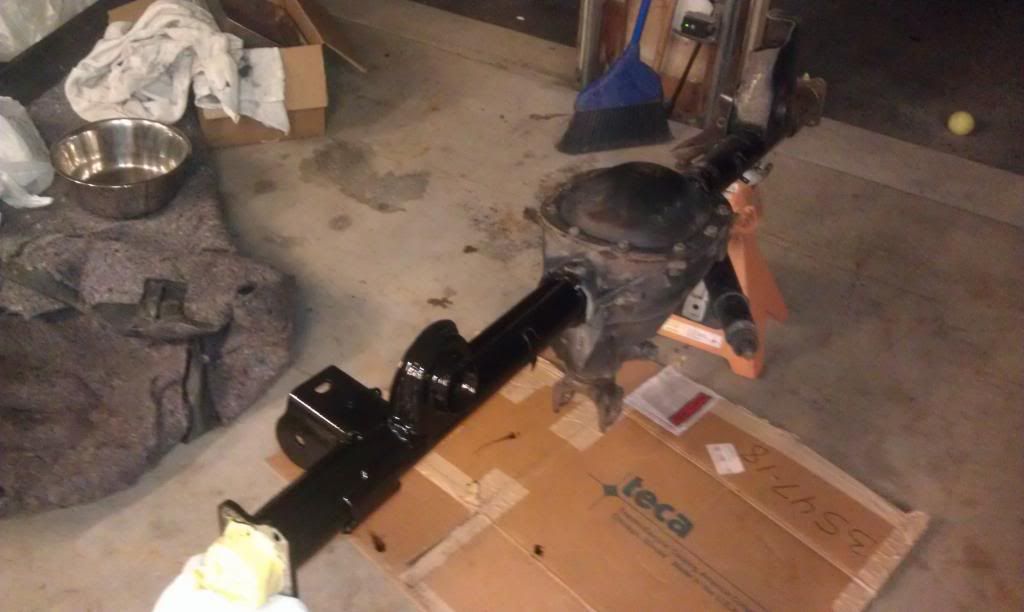
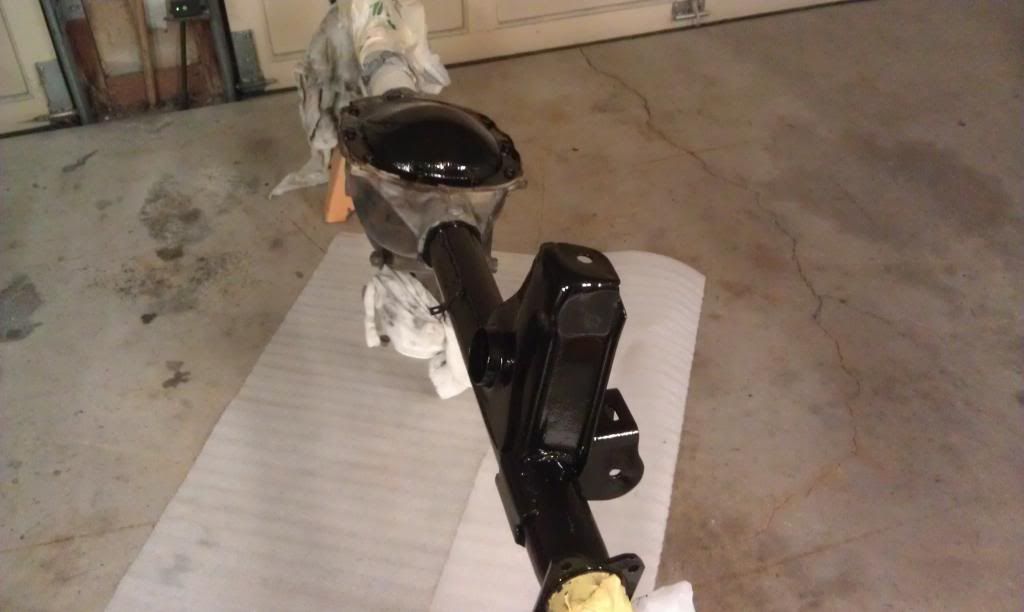
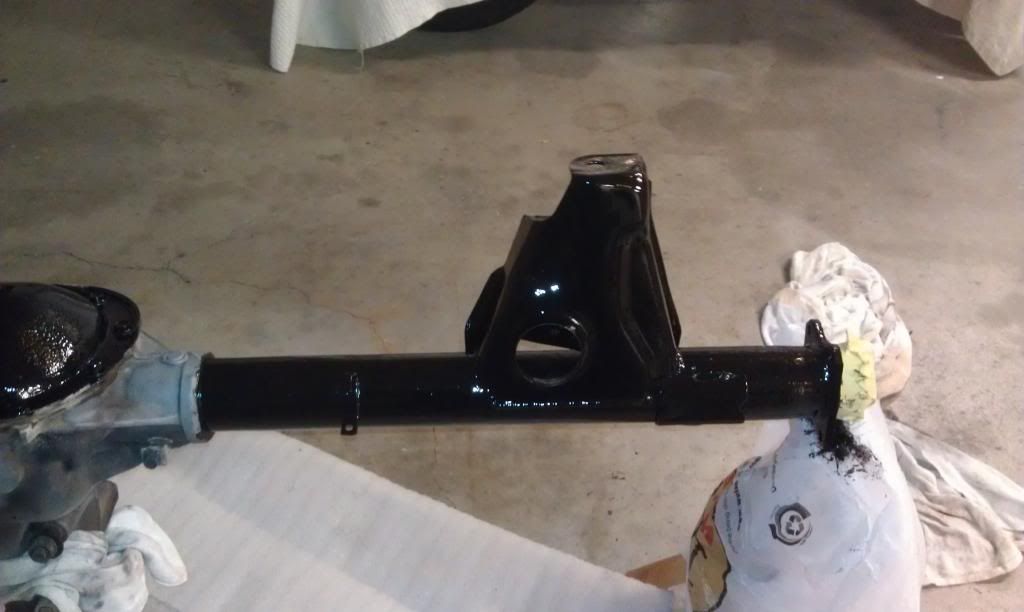
Haven't updated in a bit, but I've been steadily working on it! I started my rear swap, going to a 10 bolt with 4.10's.
The rear

Outside was in rough shape, but not for long! I first degreased it a couple times and then power washed.
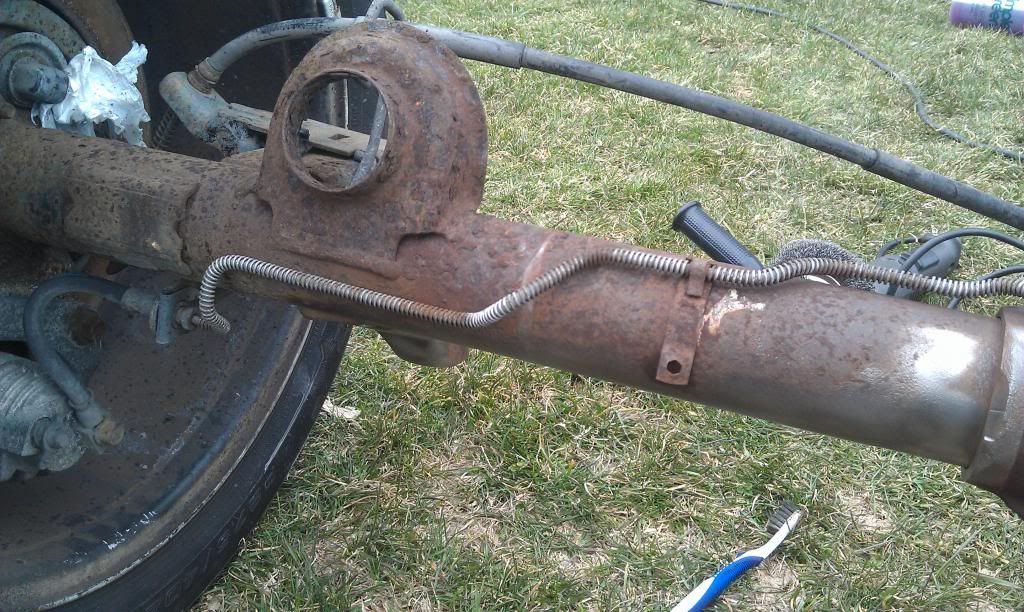
Started to go to town with a wire cup brush to knock all of the loose scales off
Then, moved to a flapper wheel to smooth out all the pits and get a nice flat surface
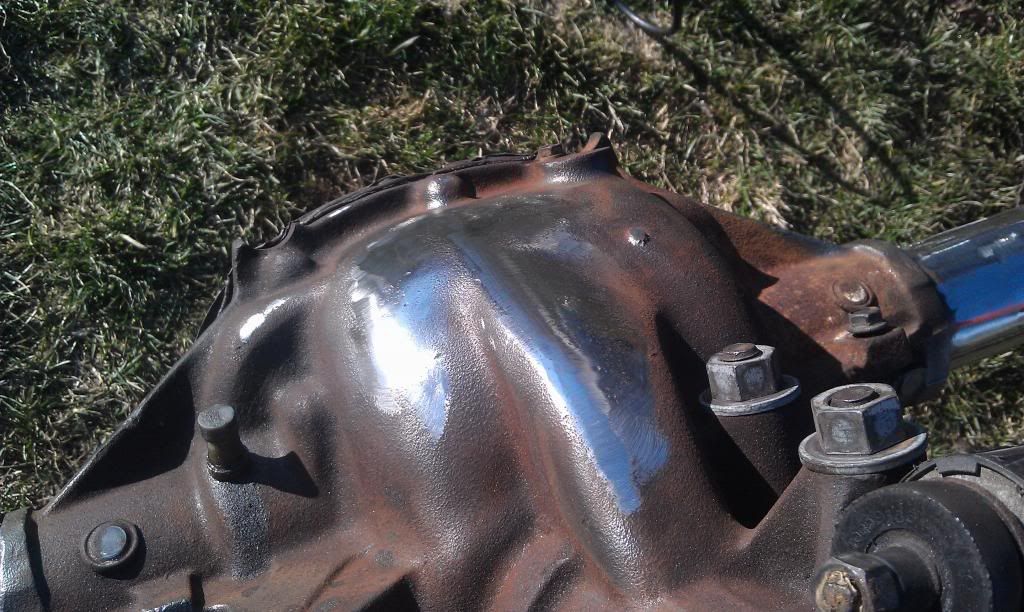
Next, I started sandblasting the rear to get rid of any remaining rust and leave a texture for por 15
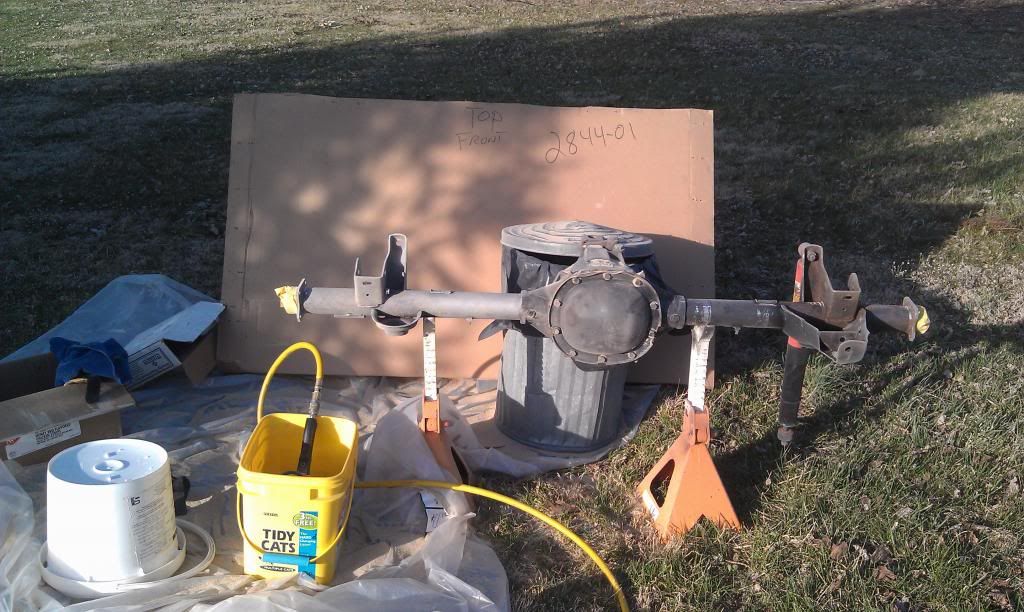
Started laying down the Por 15 in sections since I couldn't sandblast the whole thing at one time

Pretty big difference to me!
The rear
Outside was in rough shape, but not for long! I first degreased it a couple times and then power washed.
Started to go to town with a wire cup brush to knock all of the loose scales off
Then, moved to a flapper wheel to smooth out all the pits and get a nice flat surface
Next, I started sandblasting the rear to get rid of any remaining rust and leave a texture for por 15
Started laying down the Por 15 in sections since I couldn't sandblast the whole thing at one time
Pretty big difference to me!
04-09-2013, 09:37 PM
#33
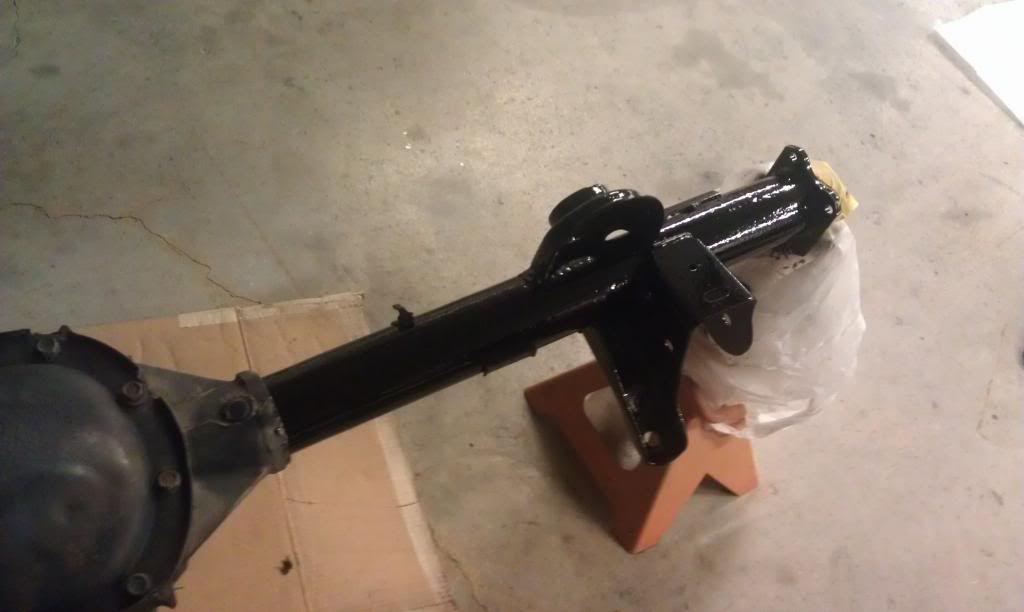
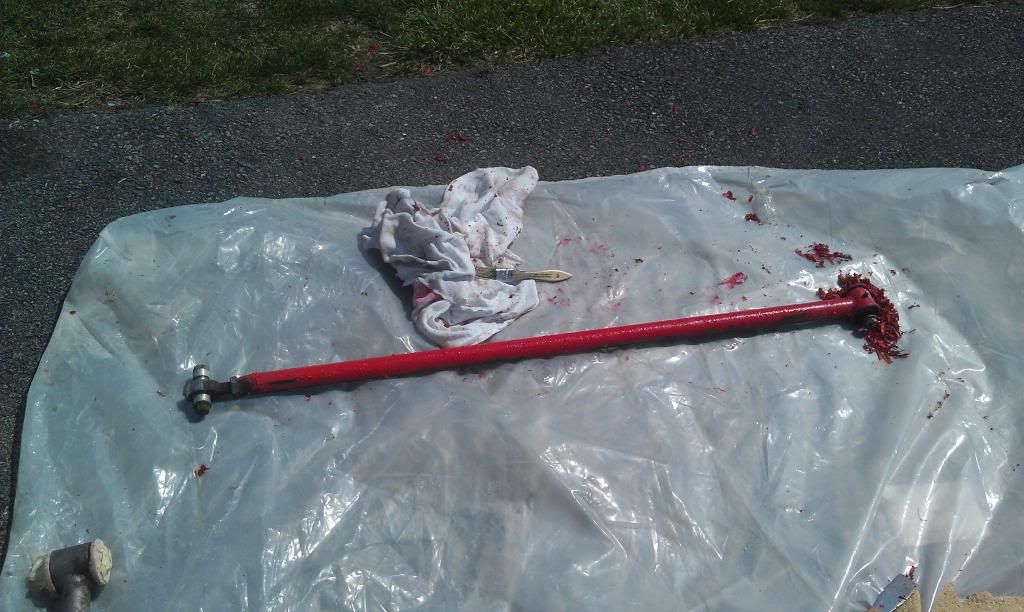
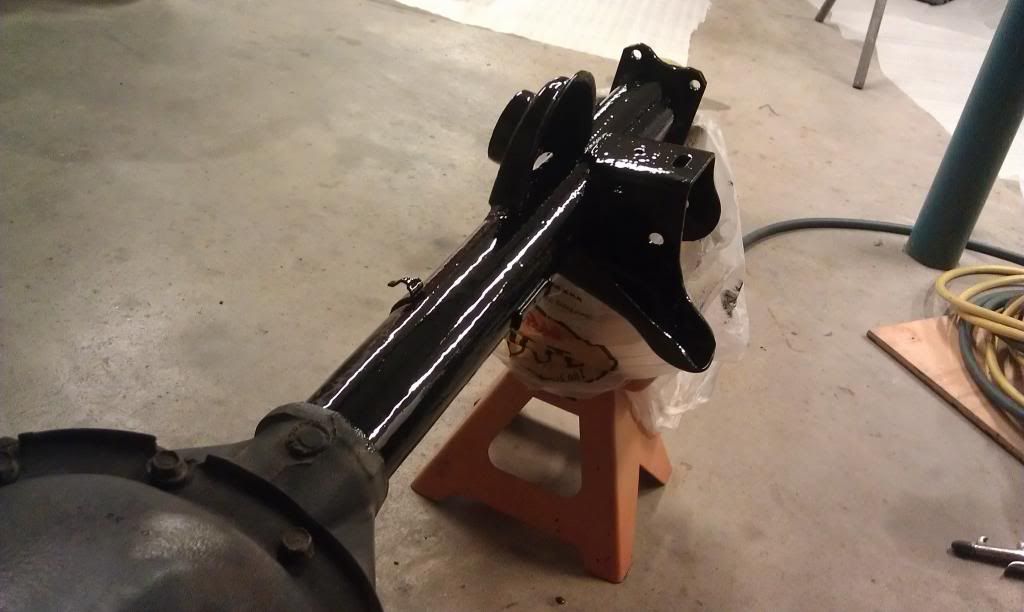
Next, I got Spohn adjustable trailing arms and panhard bar, but the powdercoat was chipping and rusting, so I also decided to take care of them. And I couldn't have red with the black and silver theme 
Aircraft stripper worked like a charm, I also realized that you need to get it off of your skin immediately!
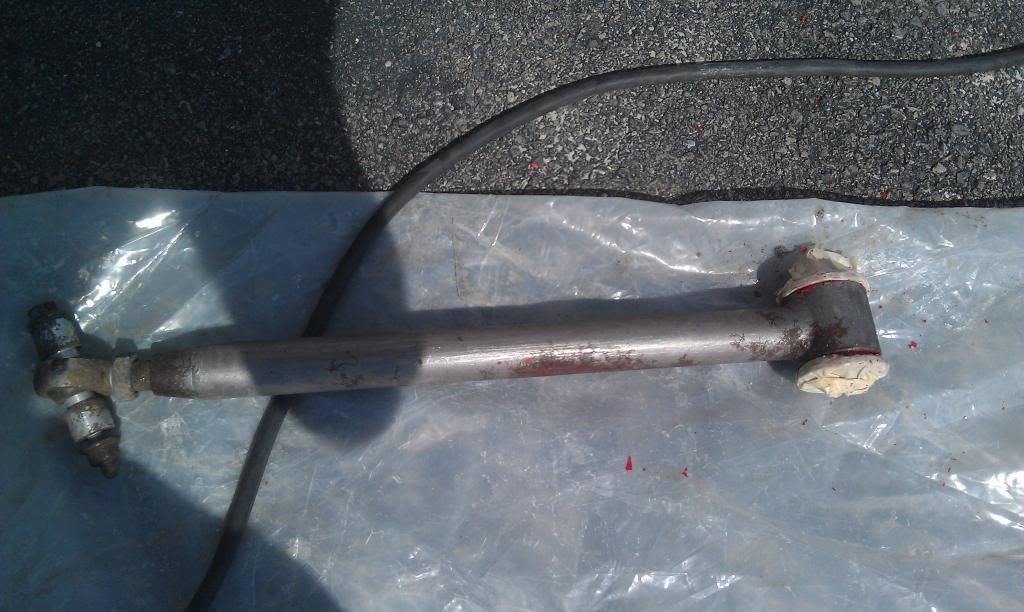
Sandblasted
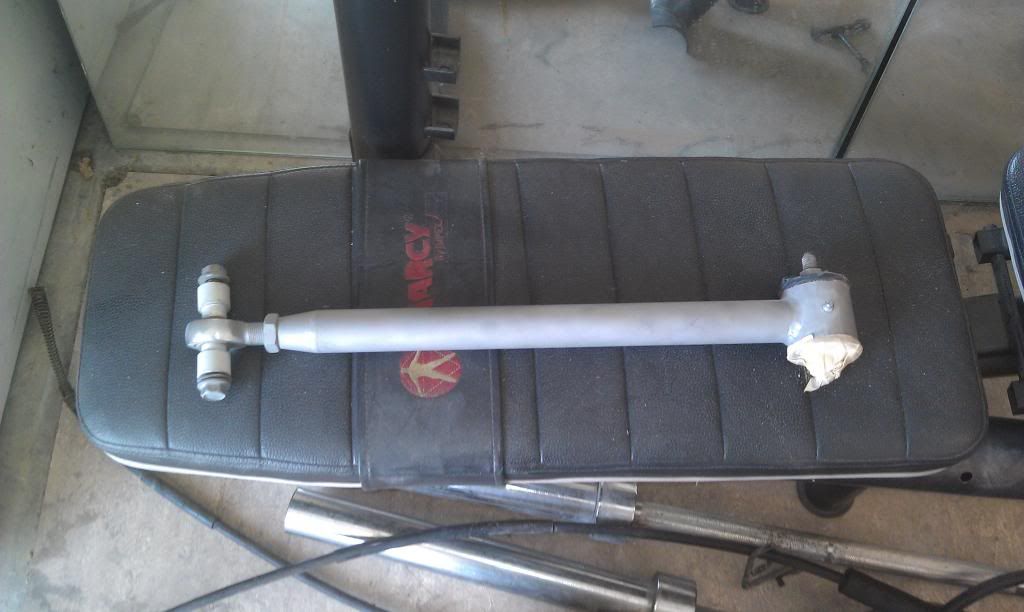
Por'ed
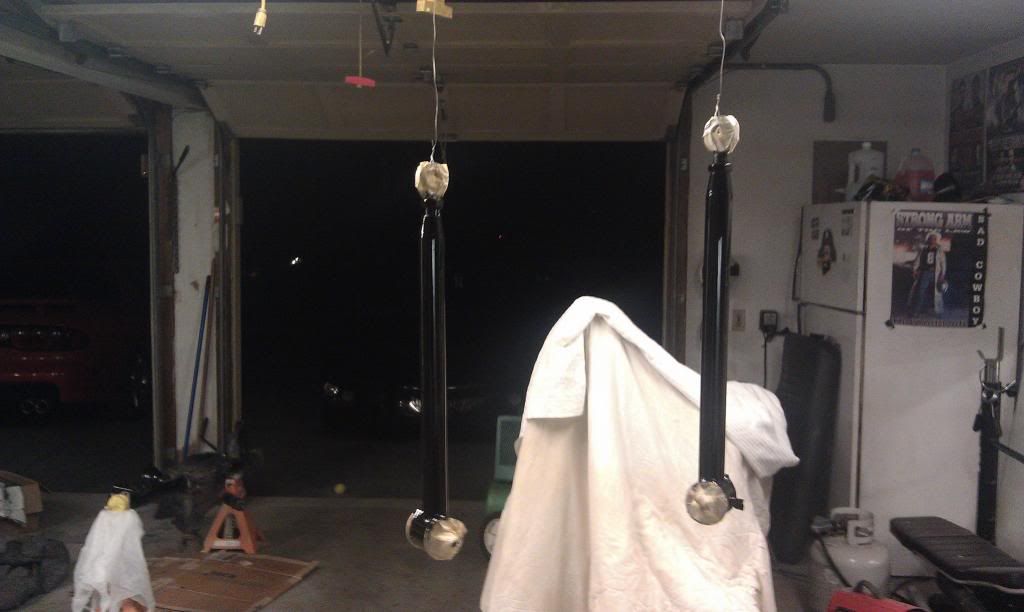
Did the upper panhard bar? if that's what its called. Sandblasted and por'ed
Got my front bumper back from the painter
More work on the coil covers. Cut and buffed, then scuffed up for decals and more clear.
So, I just need to finish up some body work and paint the driver fender, passenger door and SS wing, then the front end is ready to go back together, and continue to work on the rear to complete the swap
Aircraft stripper worked like a charm, I also realized that you need to get it off of your skin immediately!
Sandblasted
Por'ed
Did the upper panhard bar? if that's what its called. Sandblasted and por'ed
Got my front bumper back from the painter
More work on the coil covers. Cut and buffed, then scuffed up for decals and more clear.
So, I just need to finish up some body work and paint the driver fender, passenger door and SS wing, then the front end is ready to go back together, and continue to work on the rear to complete the swap

 05-09-2013, 10:49 AM
#37
Here's some recent progress I've made.
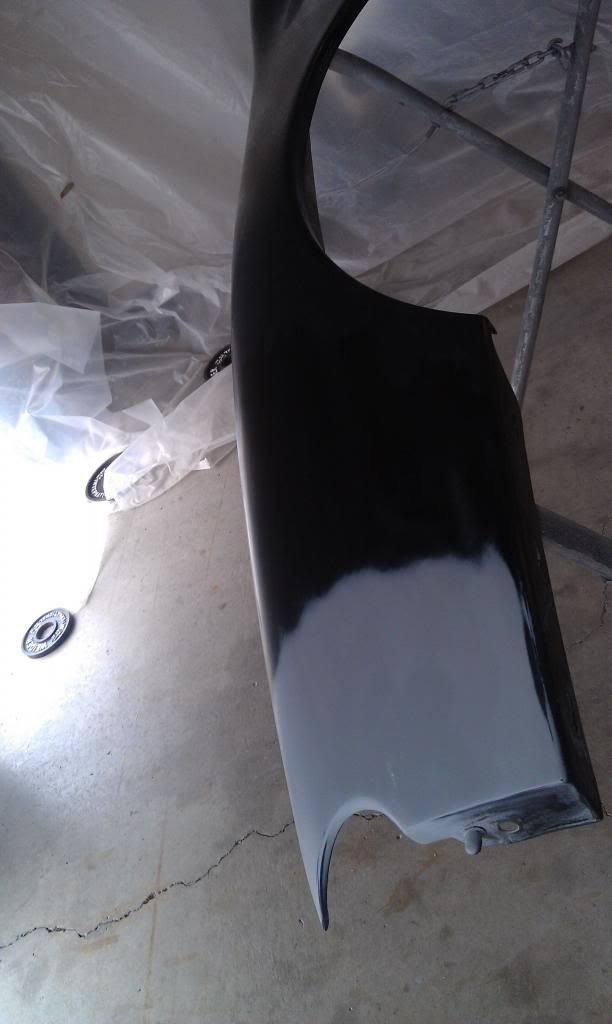
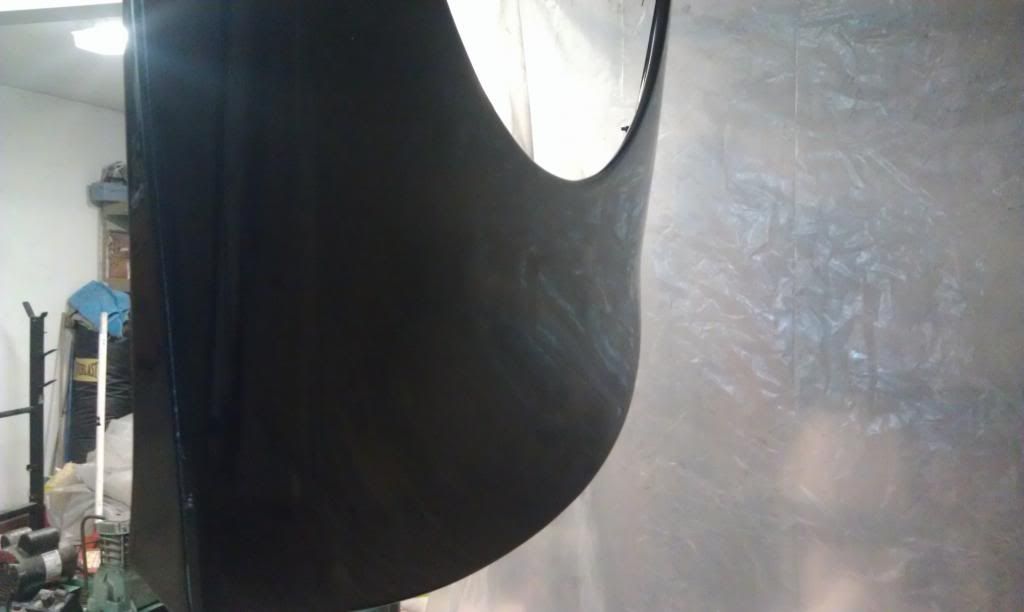
Fixed a crack in my driver's side fender. Sanded down in the back and put 3m plastic repair over adhesion premoter. Ground a "v" in the front for the 3m repair to sit and did the same process.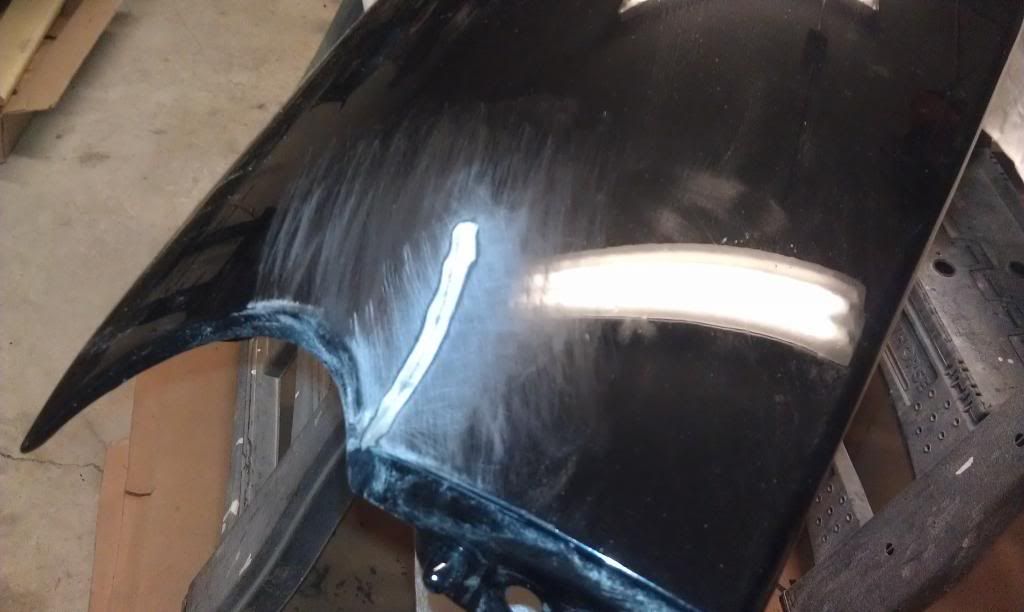
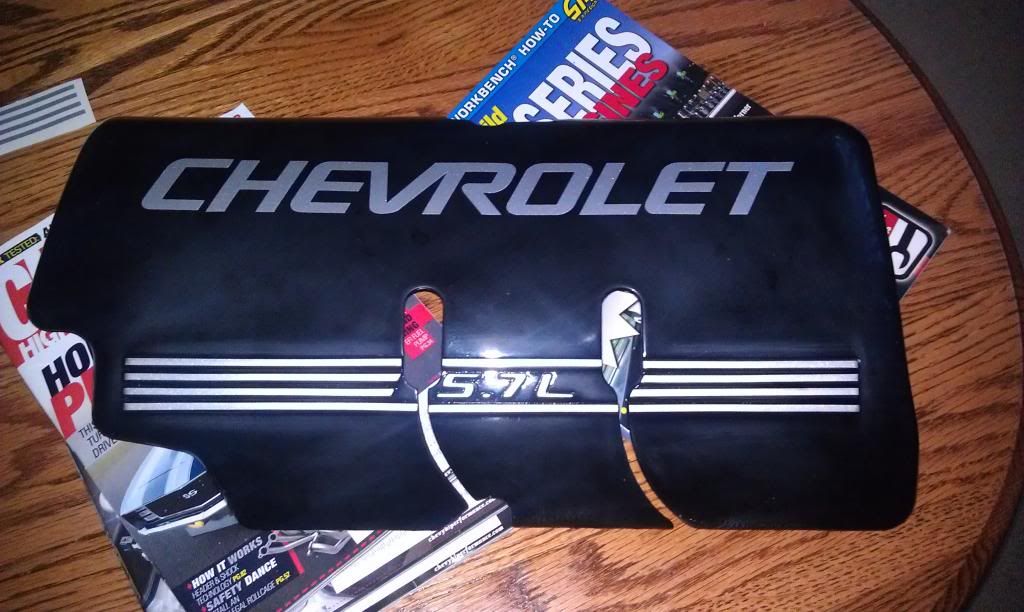
Scuffed up my modified corvette covers to put down my Chevrolet covers and clear over them.
Sandblasted the other side of my rear and laid down POR 15. Also did it to my adjustable spohn panhard bar.
Next, I laid down 2k DuPont primer to my fender to sand everything smooth around the crack.

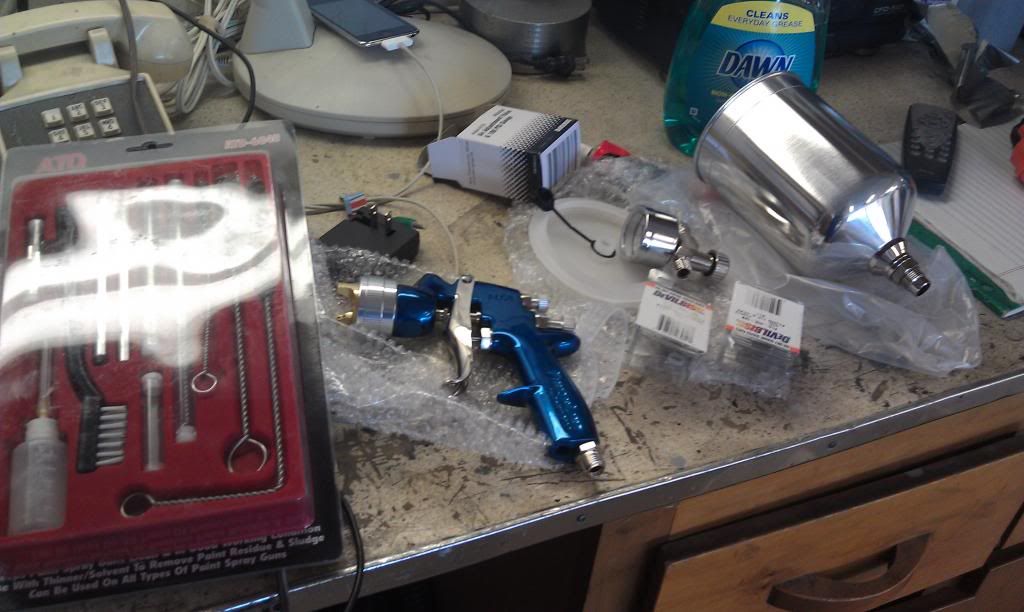
Sanded the entire fender with 600 and gave my first shot at panel blending. I think it got really nice. Got to use my new Devilibiss FLG4 gun that my dad bought me as a high school graduation gift!

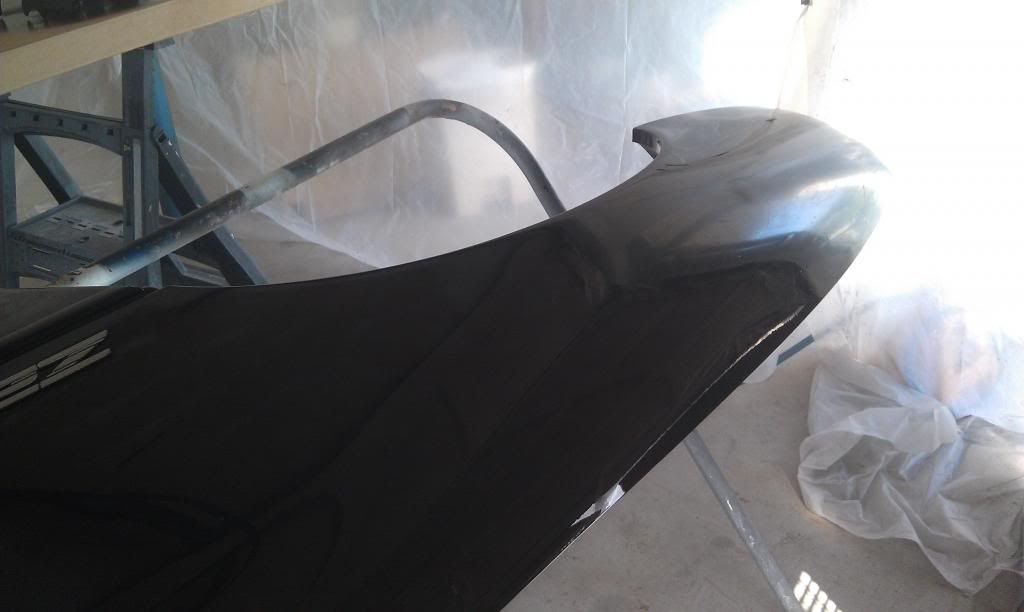
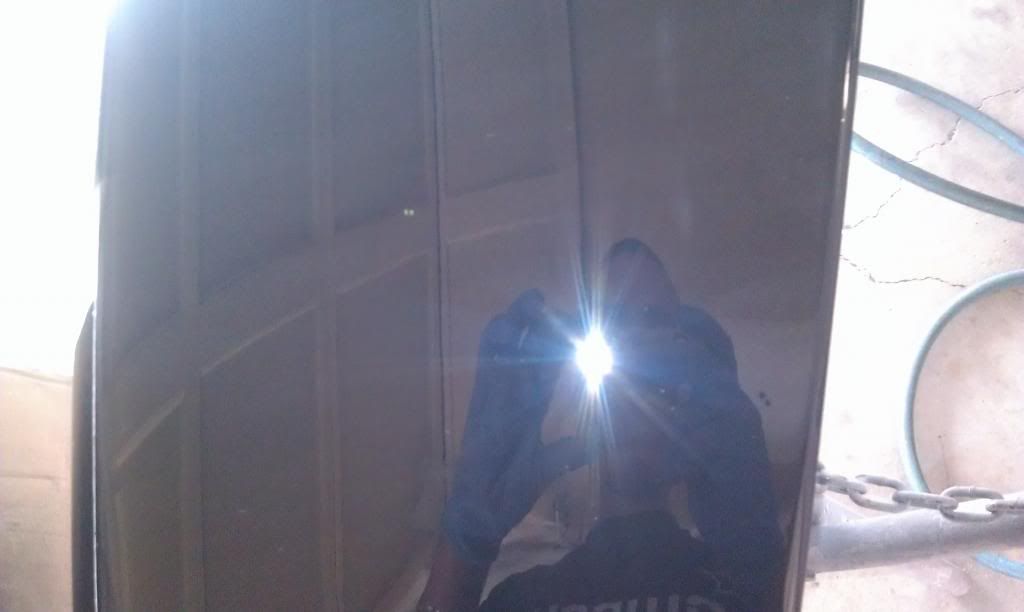
Nason black and 4 coats of clear laid down

FRC decals cleared over
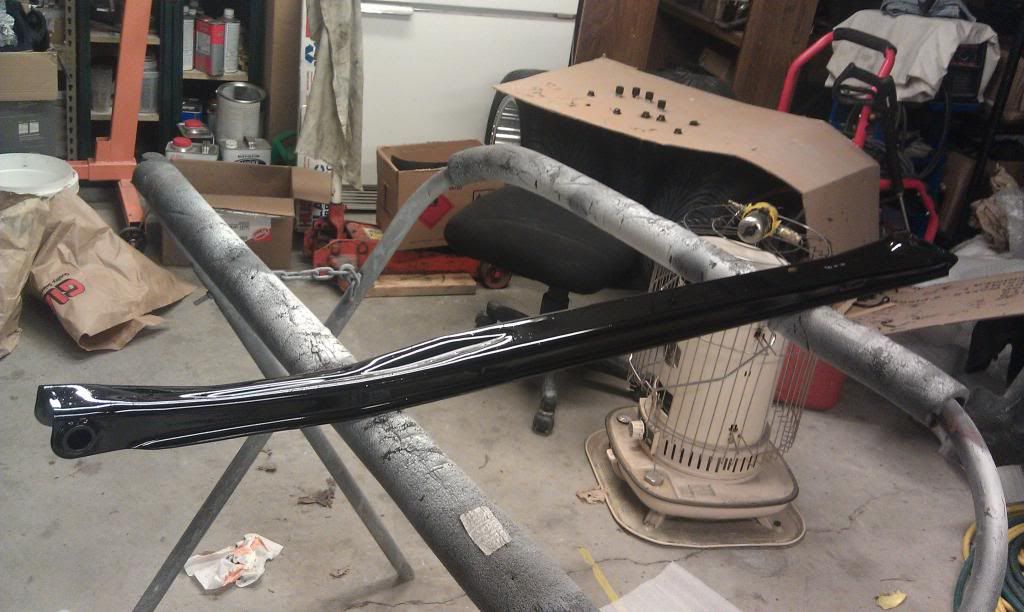
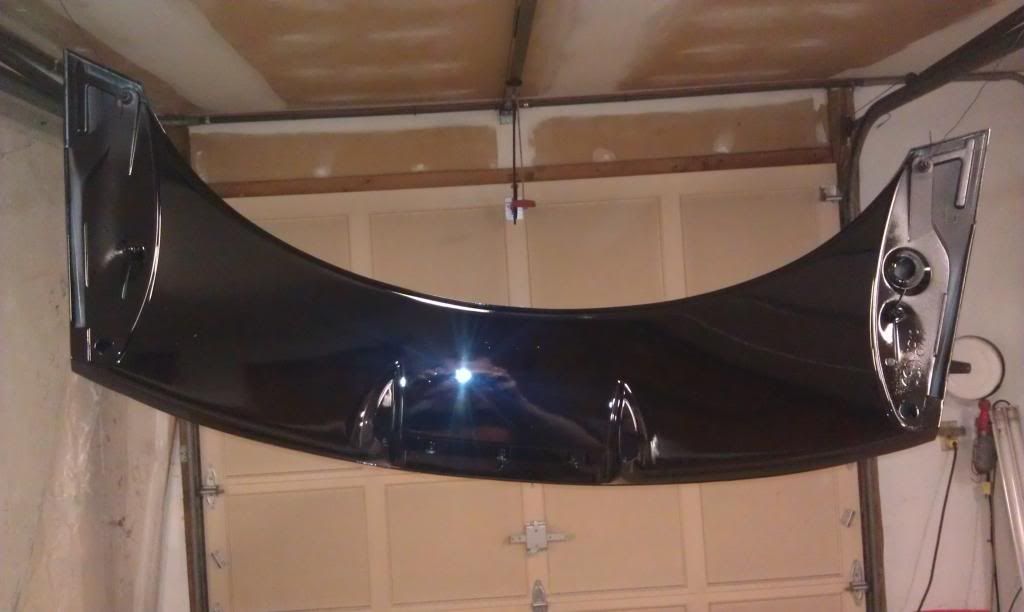
Sanded down my SS wing with 600 grit and laid down the base and clear
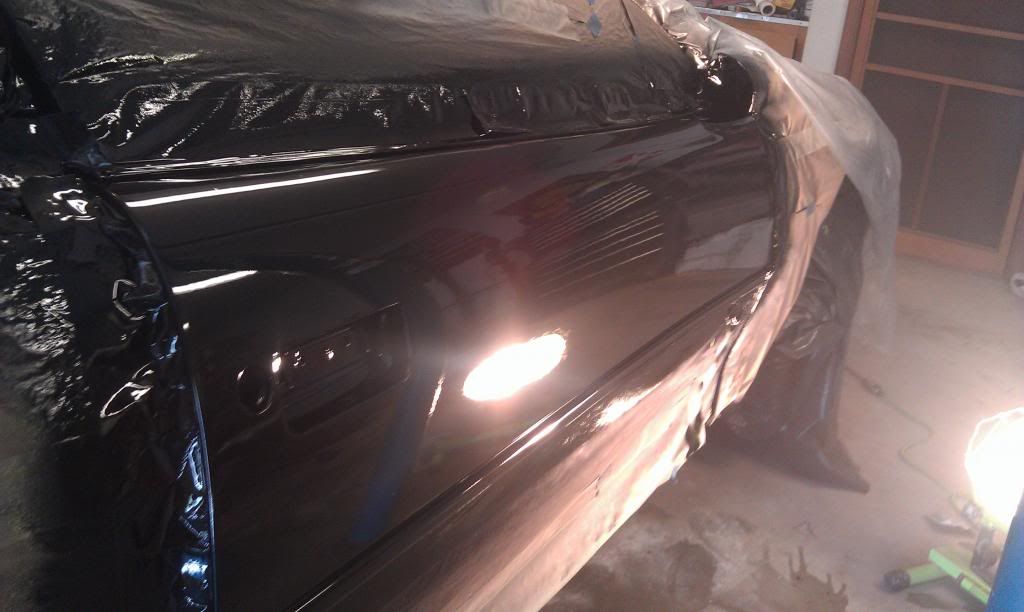
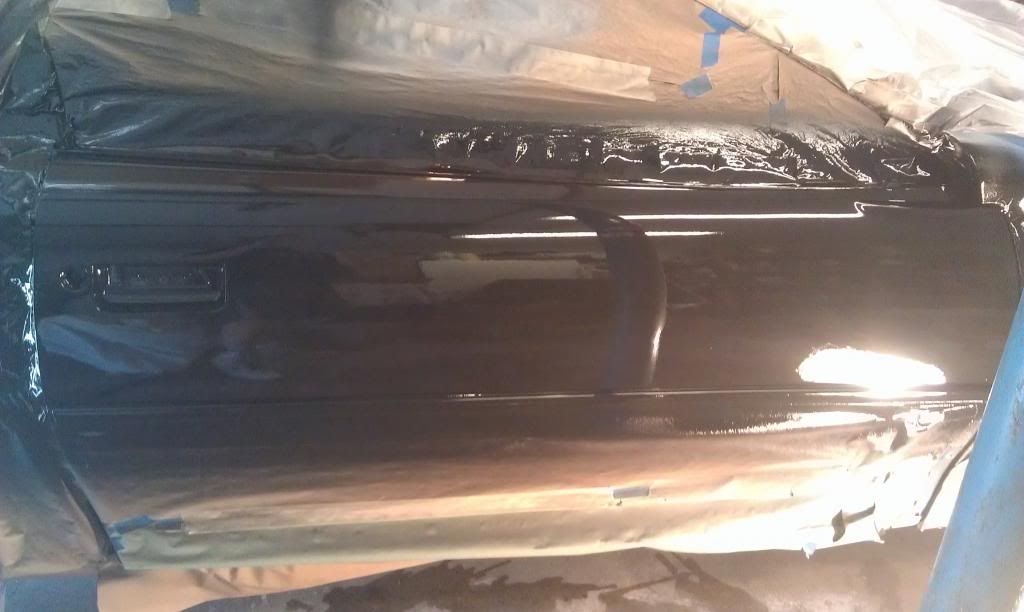
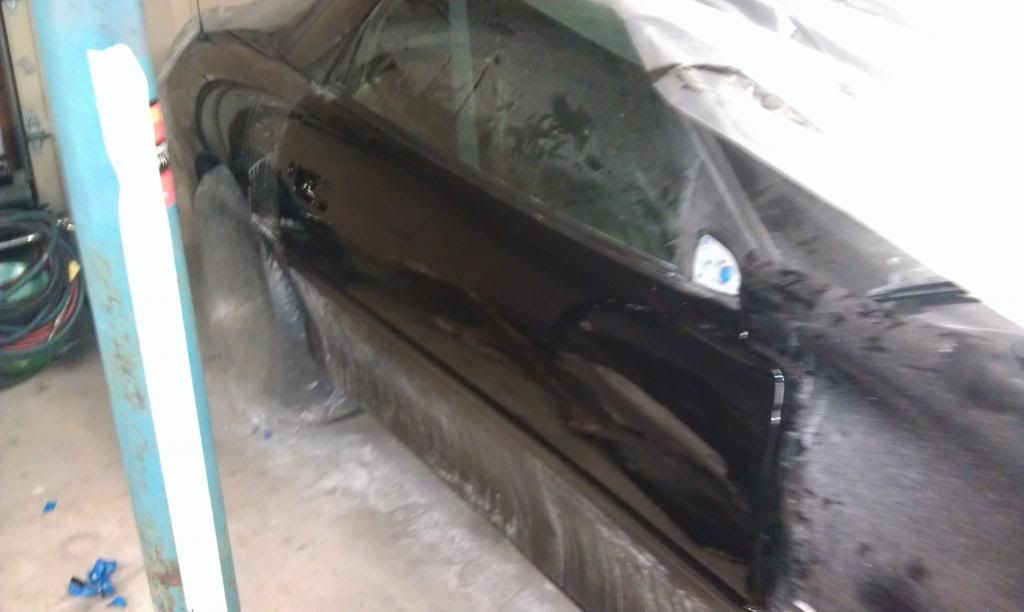
Had to redo the door due to fix some of the flaking and color mismatch. Sanded the entire door with 400, spot primed the low spots and sanded everything smooth with 600 for the base and clear.
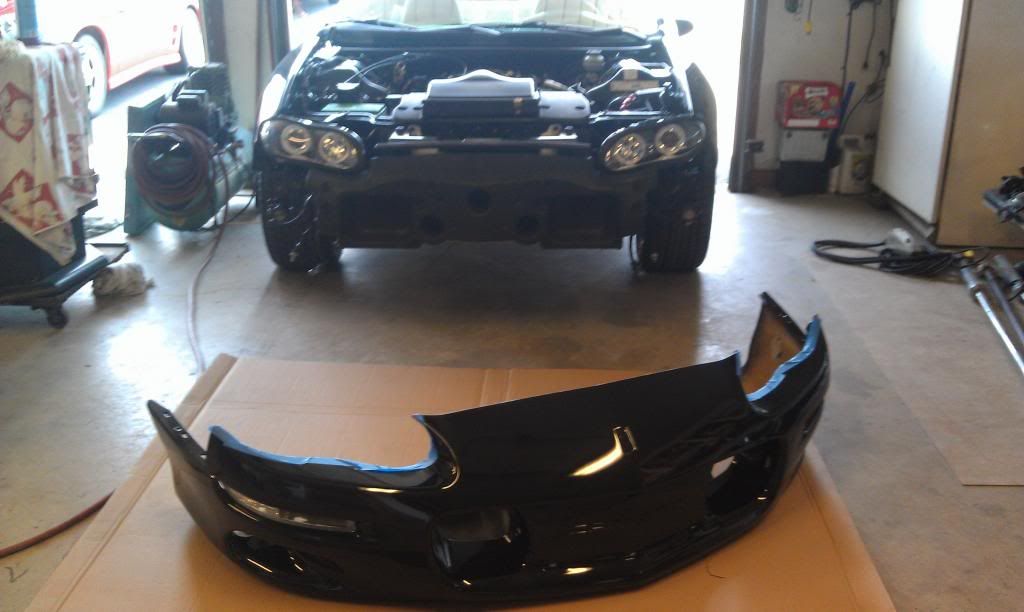
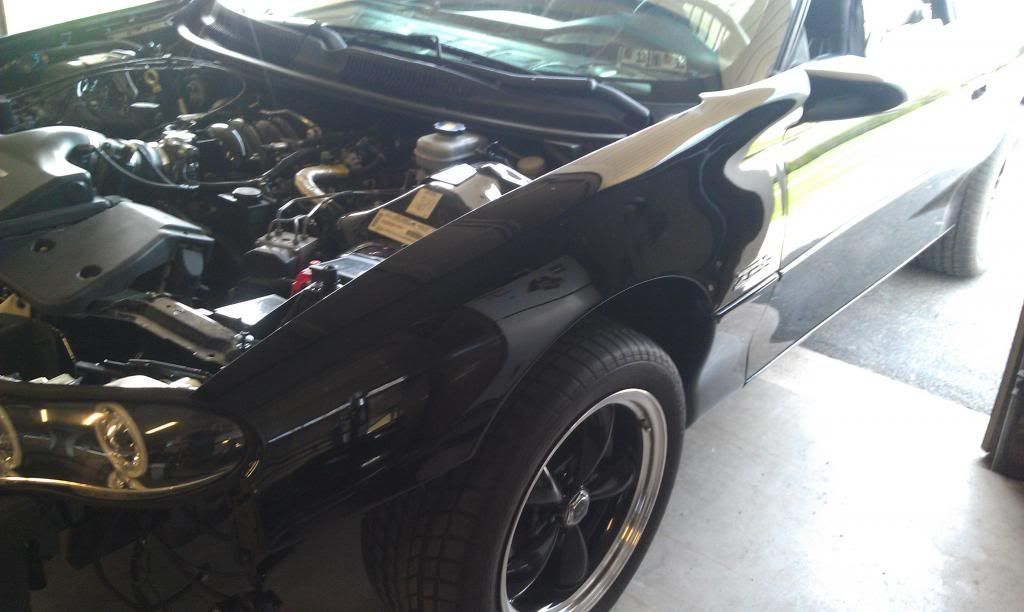
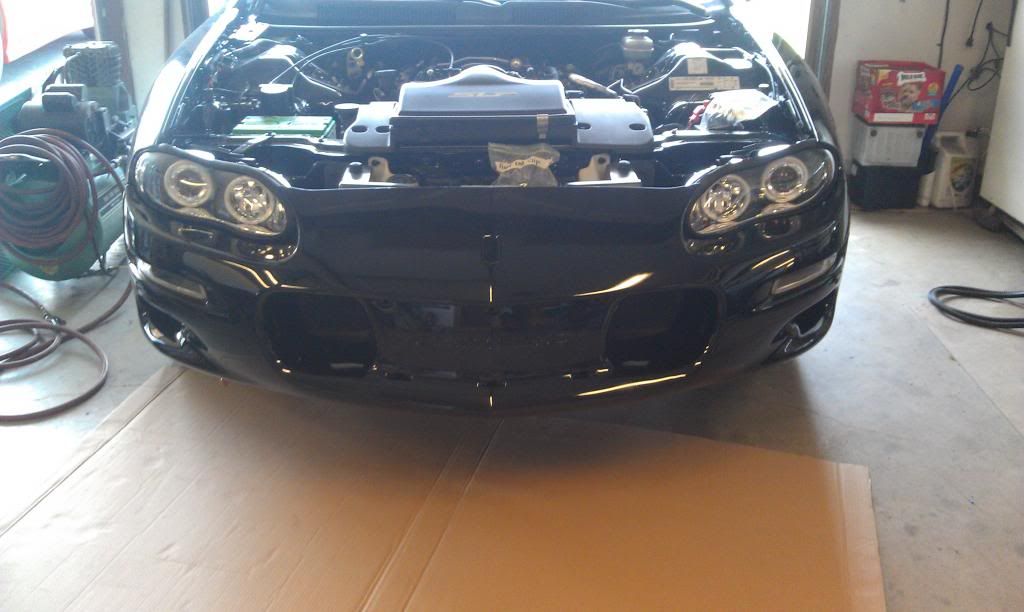
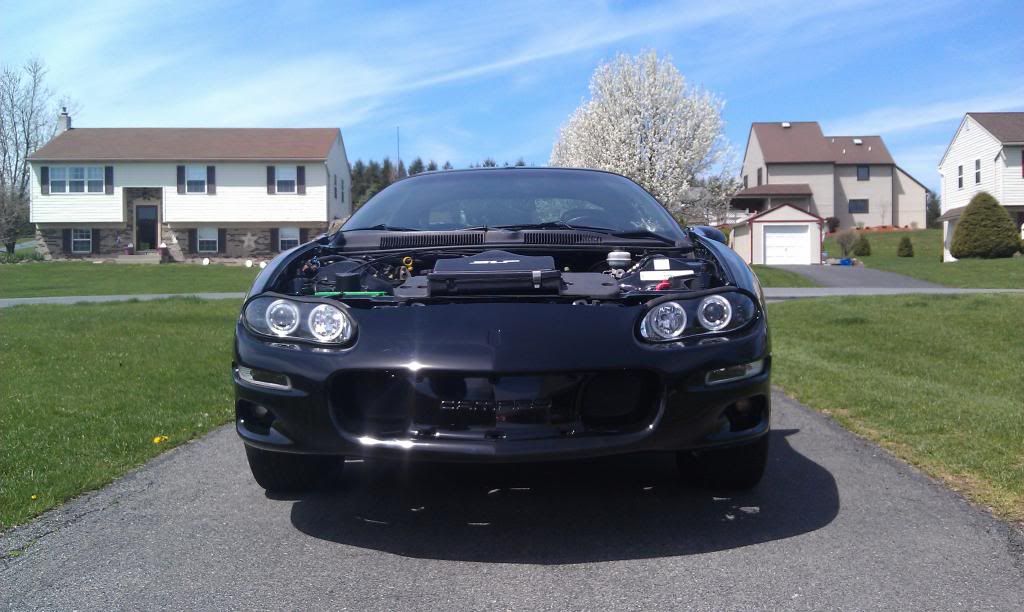
Finally put the driver fender and front bumper cover on!
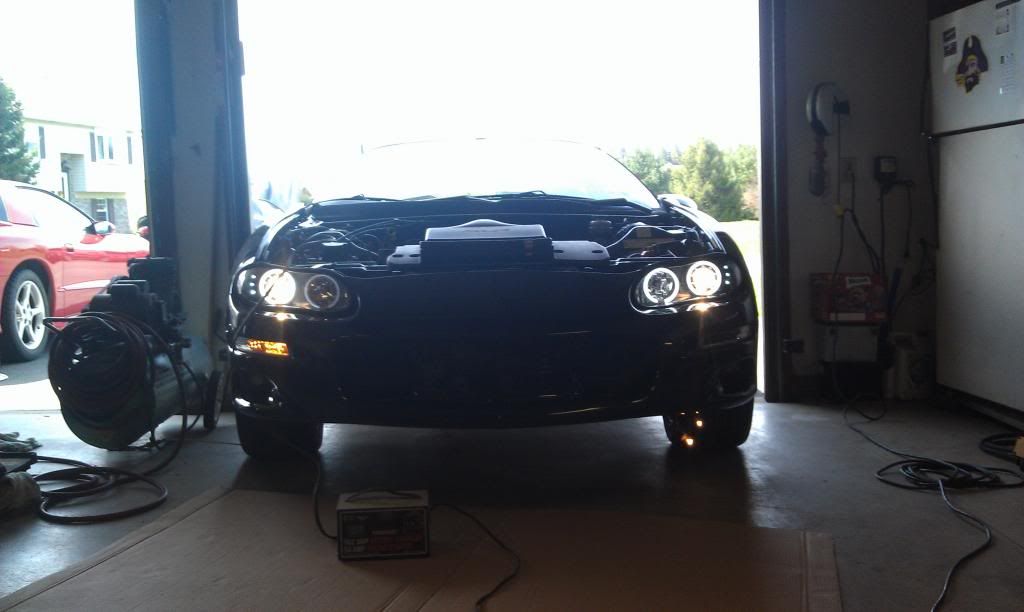
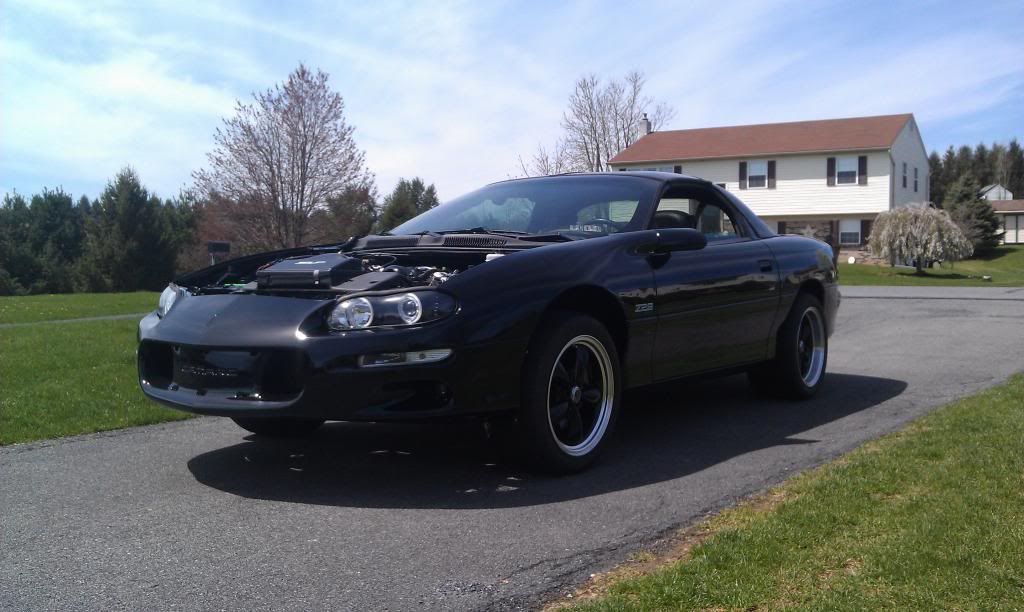
Coming together nicely. Next is the 4.10 swap and a dyno tune at Race Proven Motorsports after 500 miles on the clutch and flywheel. By the way does anyone have a way of installing a billet grille into the front bumper cover without drilling holes in my freshly painted cover?
Fixed a crack in my driver's side fender. Sanded down in the back and put 3m plastic repair over adhesion premoter. Ground a "v" in the front for the 3m repair to sit and did the same process.

Scuffed up my modified corvette covers to put down my Chevrolet covers and clear over them.

Sandblasted the other side of my rear and laid down POR 15. Also did it to my adjustable spohn panhard bar.


Next, I laid down 2k DuPont primer to my fender to sand everything smooth around the crack.

Sanded the entire fender with 600 and gave my first shot at panel blending. I think it got really nice. Got to use my new Devilibiss FLG4 gun that my dad bought me as a high school graduation gift!


Nason black and 4 coats of clear laid down


FRC decals cleared over


Sanded down my SS wing with 600 grit and laid down the base and clear


Had to redo the door due to fix some of the flaking and color mismatch. Sanded the entire door with 400, spot primed the low spots and sanded everything smooth with 600 for the base and clear.


Finally put the driver fender and front bumper cover on!


Coming together nicely. Next is the 4.10 swap and a dyno tune at Race Proven Motorsports after 500 miles on the clutch and flywheel. By the way does anyone have a way of installing a billet grille into the front bumper cover without drilling holes in my freshly painted cover?
Last edited by Austin95; 05-09-2013 at 11:15 AM.
