


1937 Ford LS2 Install

Thread Starter
TECH Fanatic


Joined: Jul 2008
Posts: 1,570
Likes: 173
Taking the car to the Upholstry shop tomorrow.....I held off on finishing the dash until I knew that we were going to get the GTO Dash Module to be functional.......Since that happened, I can now finish up the install......Here are some pic's.....I originally roughed in a basic frame for the module......
Starting point.........
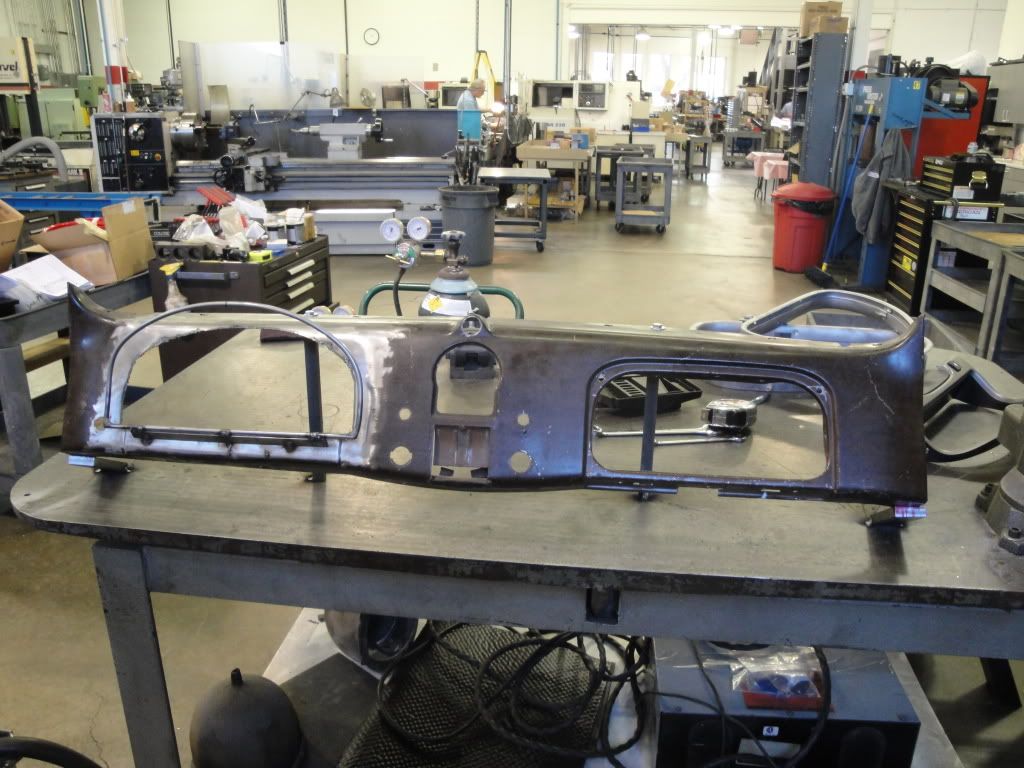
Bent up another Bezel to form a outer frame so the module will be recessed in the final assy.......
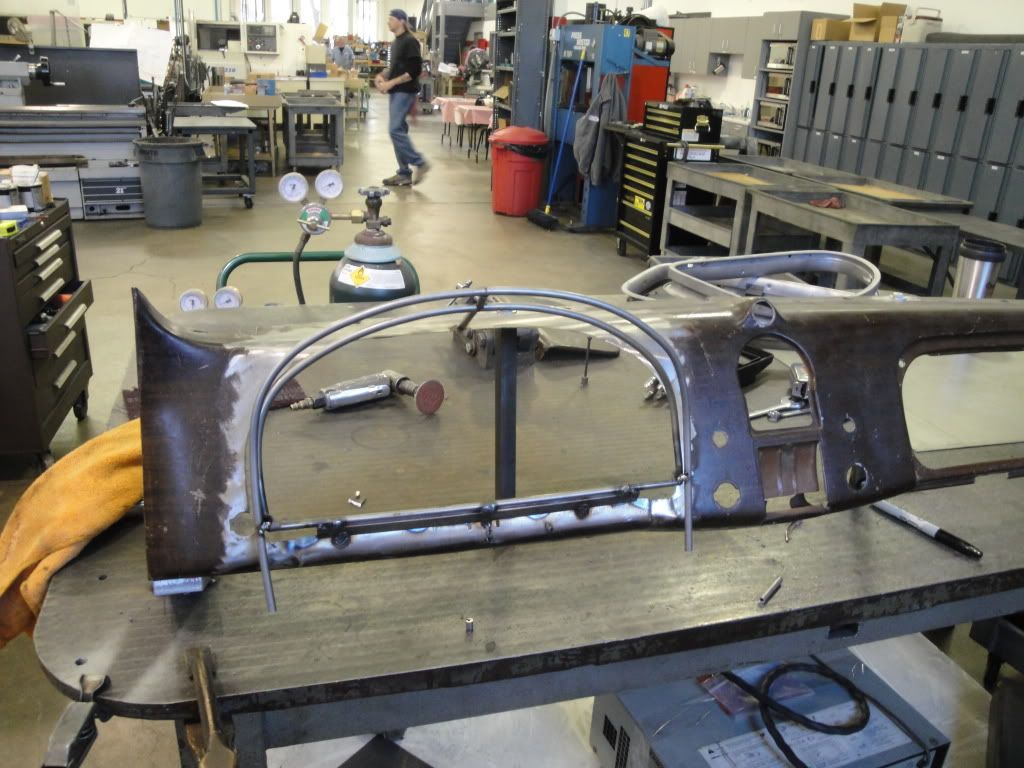
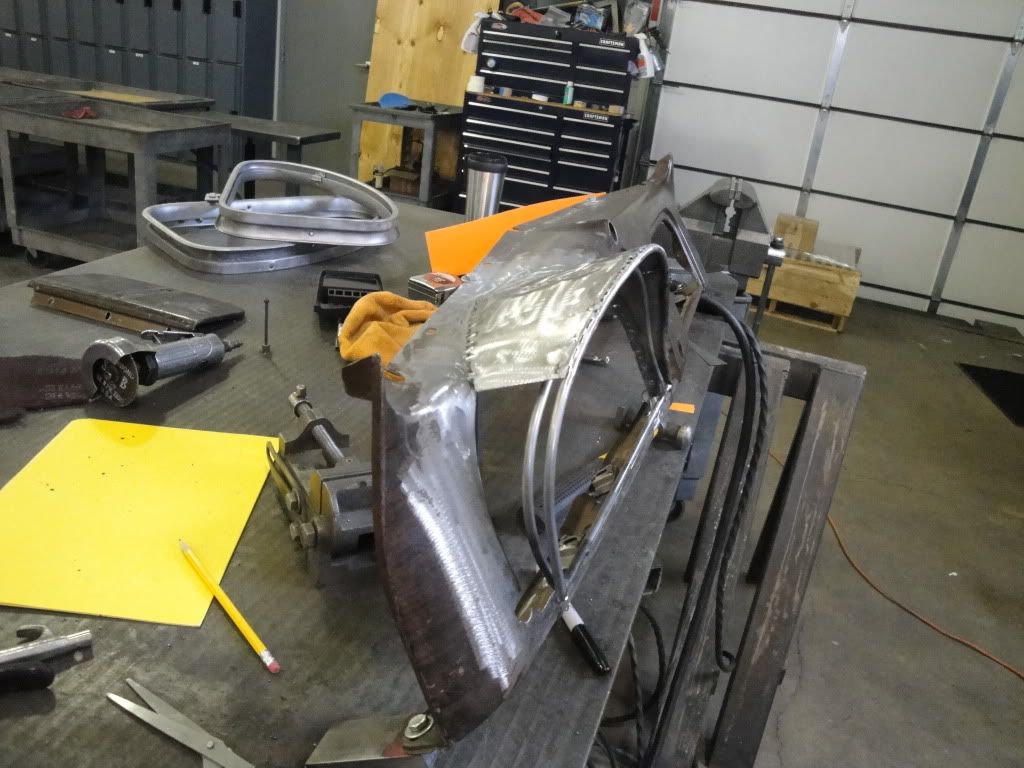
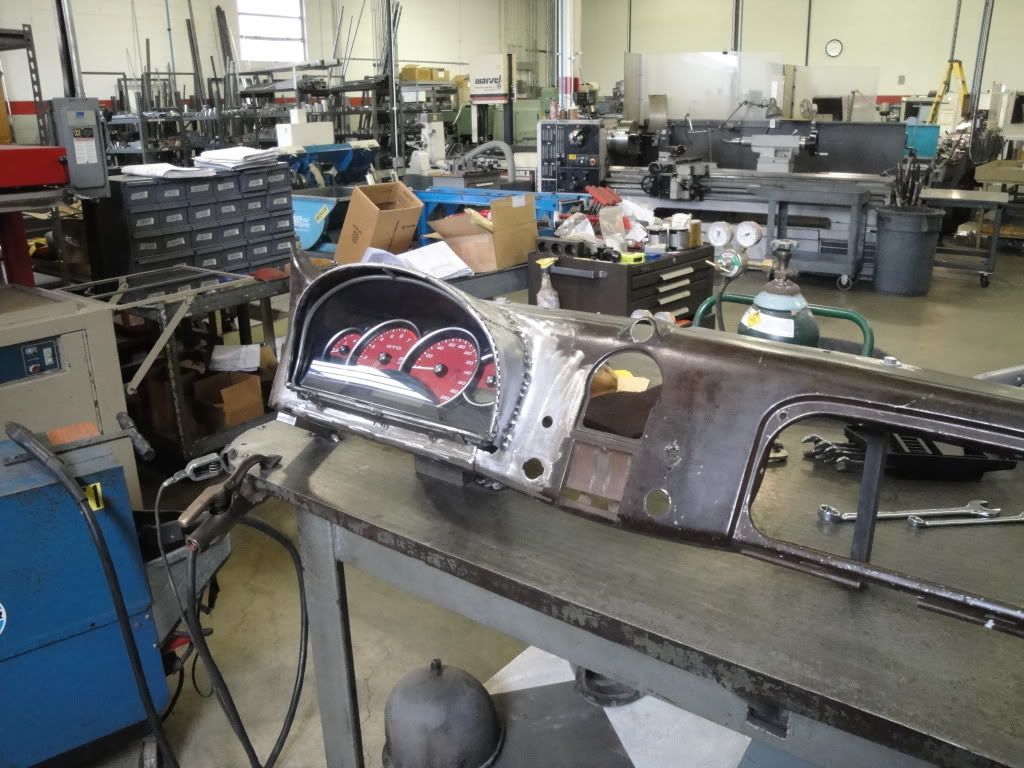
Partially Finished
Ken
Starting point.........
Bent up another Bezel to form a outer frame so the module will be recessed in the final assy.......
Partially Finished
Ken
Thread Starter
TECH Fanatic
Joined: Jul 2008
Posts: 1,570
Likes: 173
Just dropped off the car at the Upholstery shop so I'm not going to get to do anything on the Dash today.......I had my camera with me today, but I was so excited about getting the car in, I forgot to take any pic's....But, it's only a 1/2 hour away so I'll be posting progress pic's as Dave progresses........Looking to get it back on May 15th, that will give me a week to bolt the sheetmetal on so I can (if the Planets are in alignment) take it to the Automotion show in the Wisconsin Dells......
Thread Starter
TECH Fanatic
Joined: Jul 2008
Posts: 1,570
Likes: 173
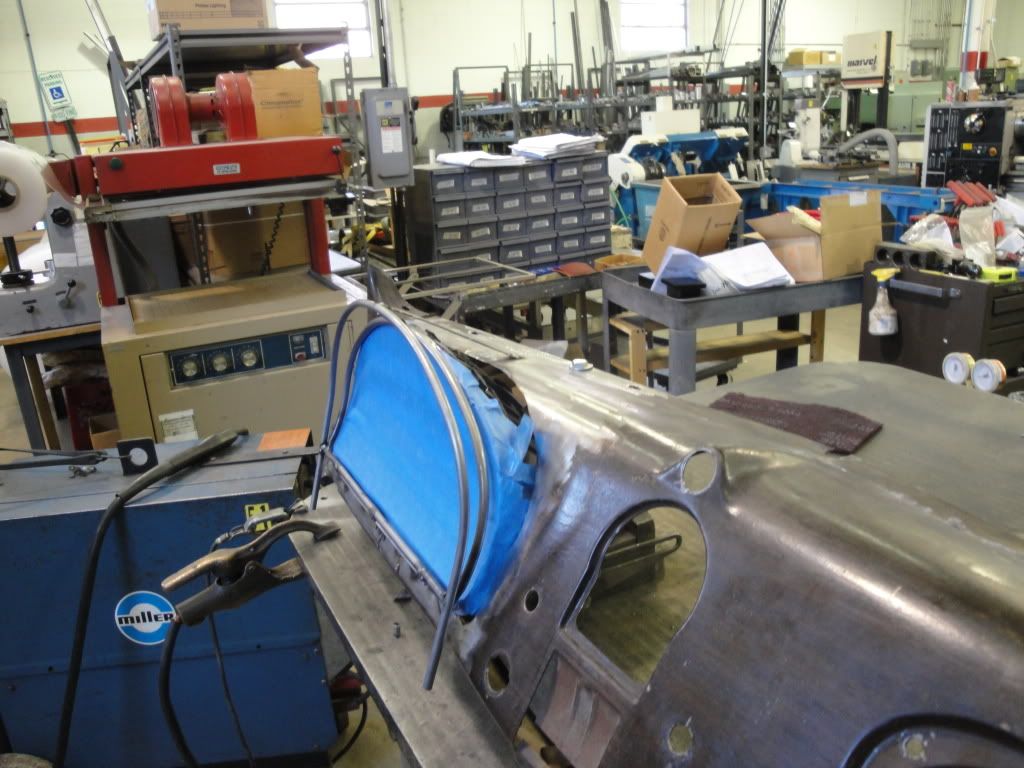
While the car is in for upholstry, I got the dash roughed in ready to go back to the body shop for finishing and painting........got all the garnish mouldings ready also....
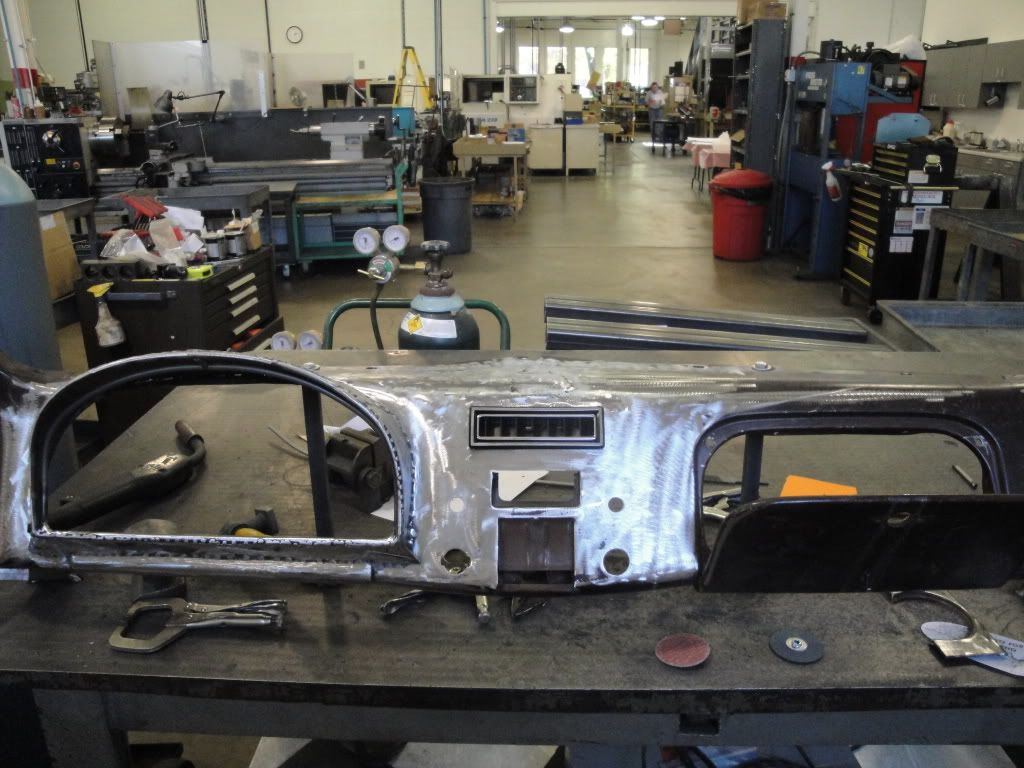

After a bunch of head scratching, I decided to only build the center A/C vent into the dash.......I was going to build two more (one on each end of the Dash) into the dash, but there was so much of a profile change in those area's that it wouldn't have looked right......so I make some Aluminum bezel plates and mount them just below the dash at each end..........
The blank area in below the center vent will get a CNC'd decorative emblem made to fill in that area........couldn't mount anything in that area that had any depth to it as the A/C unit is right behind that area and there just isn't any room..........
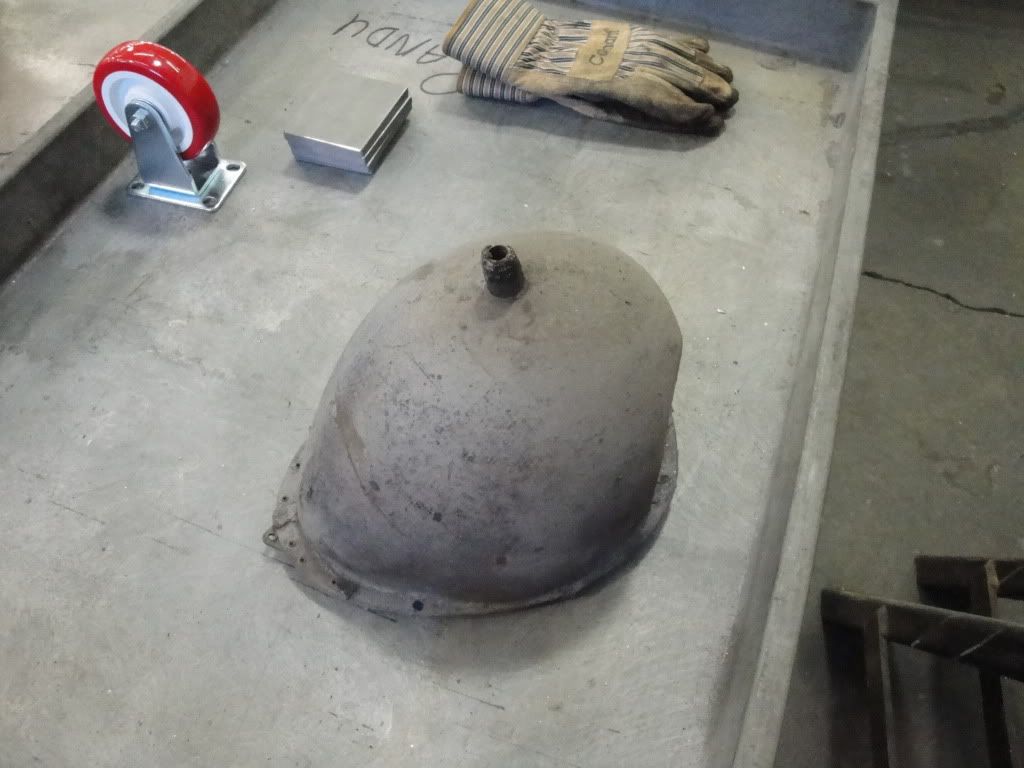
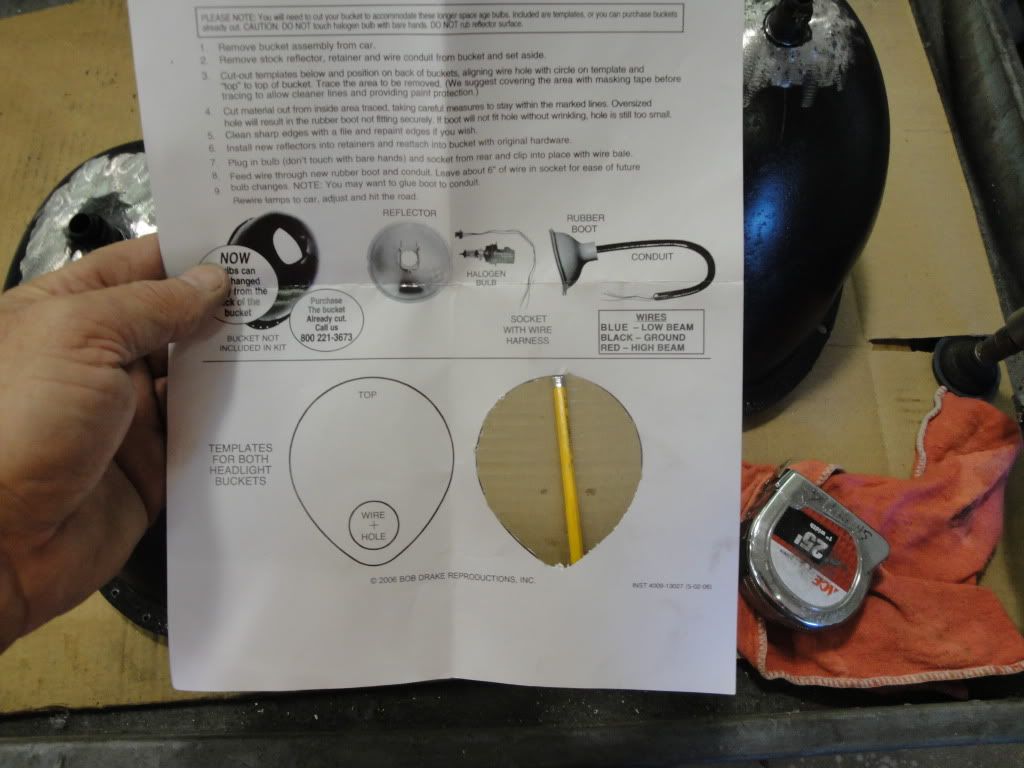
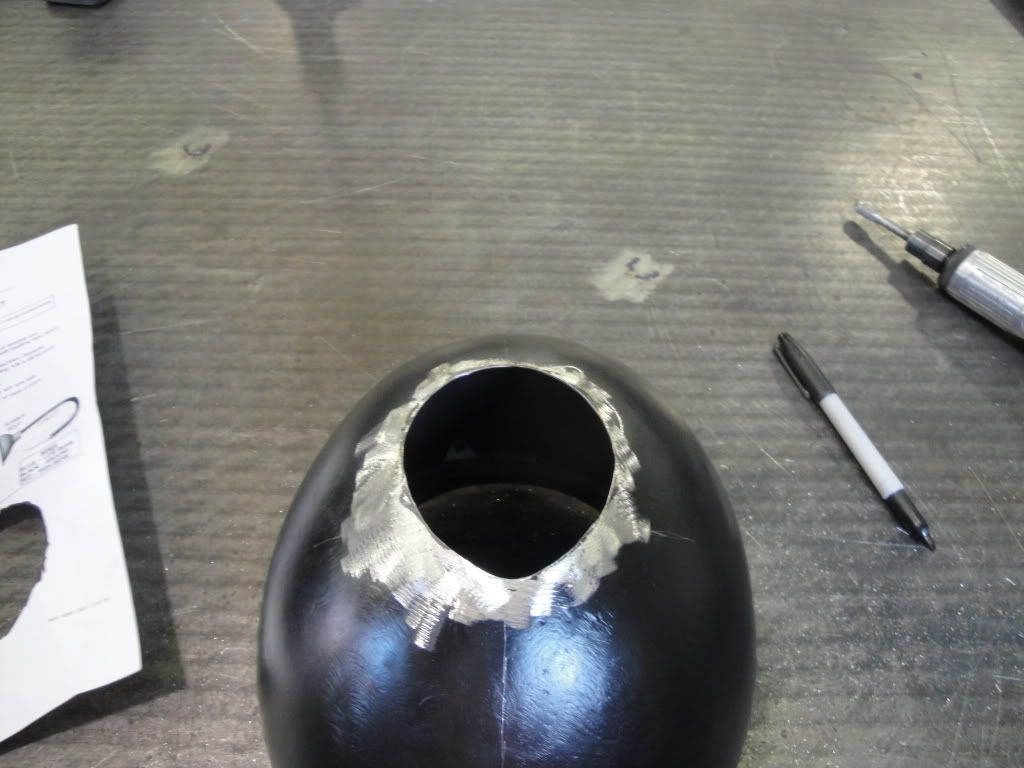
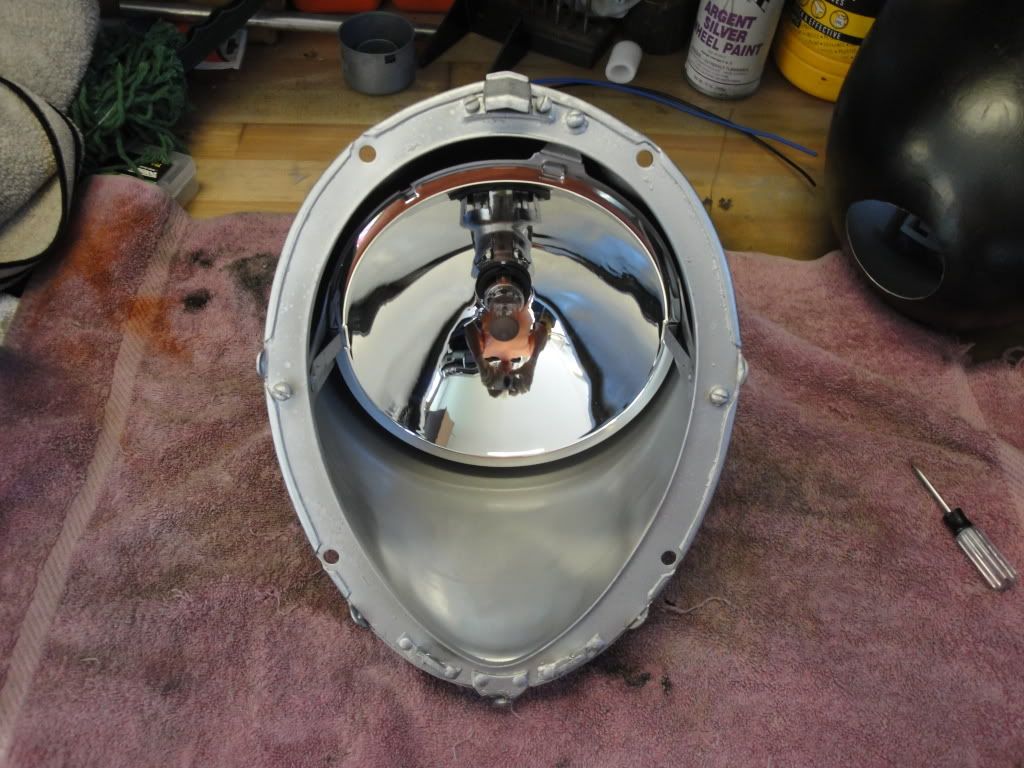
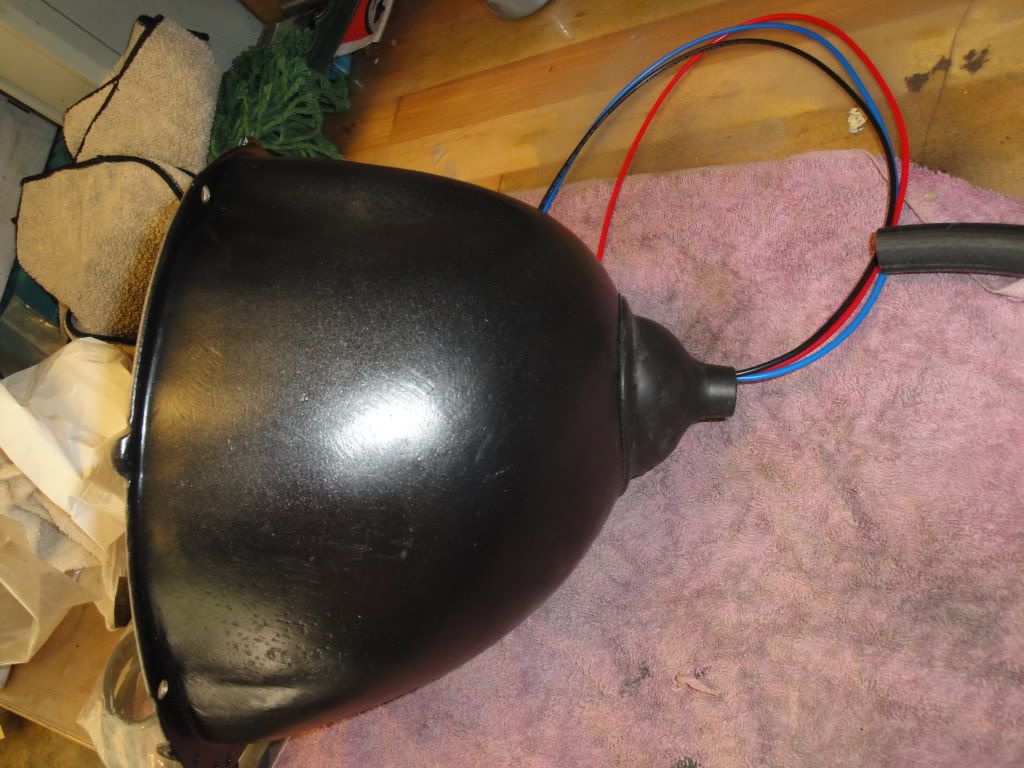
I also got the headlight buckets stripped, modified for the Halogen light kit, painted and assembled, they are just waiting for the car to come home for installation...

Ken
After a bunch of head scratching, I decided to only build the center A/C vent into the dash.......I was going to build two more (one on each end of the Dash) into the dash, but there was so much of a profile change in those area's that it wouldn't have looked right......so I make some Aluminum bezel plates and mount them just below the dash at each end..........
The blank area in below the center vent will get a CNC'd decorative emblem made to fill in that area........couldn't mount anything in that area that had any depth to it as the A/C unit is right behind that area and there just isn't any room..........
I also got the headlight buckets stripped, modified for the Halogen light kit, painted and assembled, they are just waiting for the car to come home for installation...
Ken
Last edited by kwhizz; May 5, 2010 at 07:01 PM.
Thread Starter
TECH Fanatic
Joined: Jul 2008
Posts: 1,570
Likes: 173
One of the big problems I had left to deal with was the rear quarter window seals......when I took the car apart 10 years ago, I threw the seals out figuring that I would just buy new ones........Lesson Learned.....(never throw anything out until you have a replacement as good or better than your old part).....Well....when it came time and I was ordering all the parts for the car I found out that these seals were not being reproduced and weren't available anywhere........The quarter windows on this particular model are of the "Swing Out" style and are unique to the Club Coupe......standard Ford coupes had a fixed window in that position.......(Club Coupe has a rear seat and the standard does not)......So.....What to do.....
This seal attaches to the garnish moulding and seals the window as its pivots and also has a outer lip that seals the window opening to the opening in the body.........After looking thru catalogs I seen that the 46-48 Ford coupe had the same type of window......Humm!!......I decided to take a $100 gamble and buy a set hoping they would be close to the profile I needed......when they showed up I noticed that they were much larger but the cross section profile looked like it was close and I thought I would be able to modify them somehow....Well!!.........Today was the day......Here are some pic's of the process...........
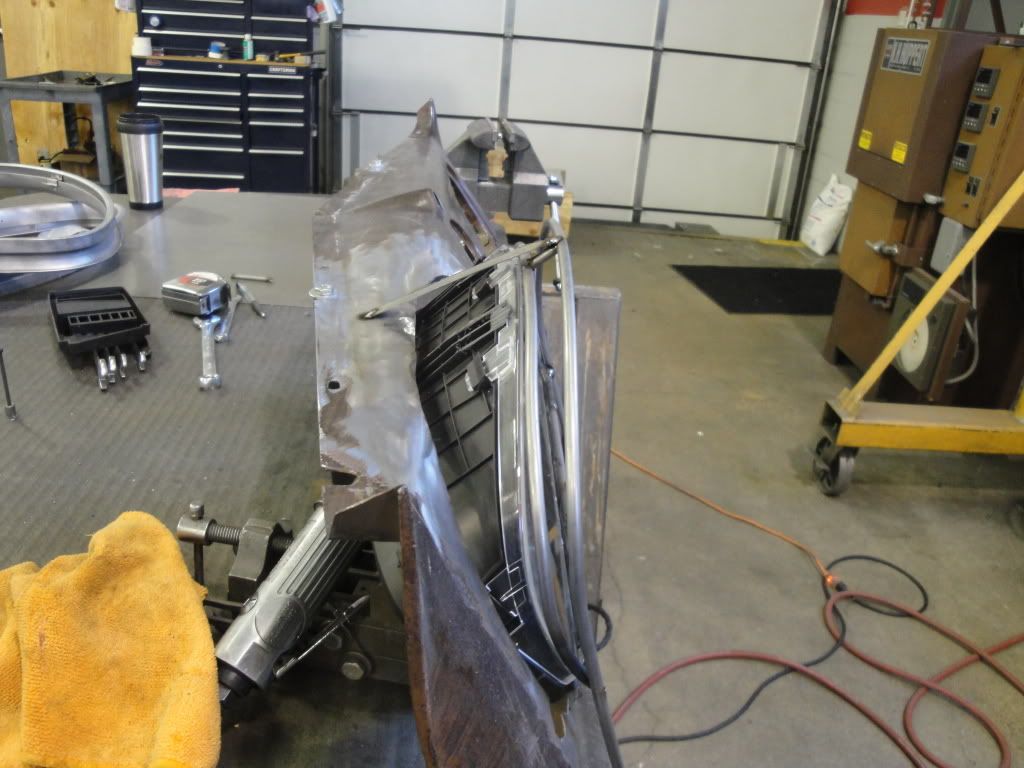
Starting point.....Garnish moulding and window assy........Missing the seal between the window frame and the moulding.........

As you can see the seal is larger than the moulding

After sectioning the seal I test fit it into the channel and it fit and sealed perfectly (the lip on the seal in this pic should be on the other side)

I started with the Pivot holes and started working around after cutting some sections out

The shape followed the radius pretty good without any puckering

I got it figured out to fit with only two seams or joints....But....trying to cut soft rubber and get a perfectly square end were the two parts came together was not that easy..........I didn't want any leaks or to be able to see the jointed area

So..........Being a "Spoiled Brat" again............I made up a block that had the same shape as the seal channel and slid the seal into the block which I had mounted on a surface grinder and ground the end perfectly square


Then I cut the upper piece to fit the upper pivot hole and fit and ground the ends and made this piece to be slightly longer than need be to provide a little compression (about a 1/32") at the joint.......Bingo.....a finished seal.....I love it when a plan comes together.........


Another thing crossed off the list...........Now I can get all the garnish mouldings painted for installation when the car comes back from the upholstry shop.........
Ken
This seal attaches to the garnish moulding and seals the window as its pivots and also has a outer lip that seals the window opening to the opening in the body.........After looking thru catalogs I seen that the 46-48 Ford coupe had the same type of window......Humm!!......I decided to take a $100 gamble and buy a set hoping they would be close to the profile I needed......when they showed up I noticed that they were much larger but the cross section profile looked like it was close and I thought I would be able to modify them somehow....Well!!.........Today was the day......Here are some pic's of the process...........
Starting point.....Garnish moulding and window assy........Missing the seal between the window frame and the moulding.........
As you can see the seal is larger than the moulding
After sectioning the seal I test fit it into the channel and it fit and sealed perfectly (the lip on the seal in this pic should be on the other side)
I started with the Pivot holes and started working around after cutting some sections out
The shape followed the radius pretty good without any puckering
I got it figured out to fit with only two seams or joints....But....trying to cut soft rubber and get a perfectly square end were the two parts came together was not that easy..........I didn't want any leaks or to be able to see the jointed area
So..........Being a "Spoiled Brat" again............I made up a block that had the same shape as the seal channel and slid the seal into the block which I had mounted on a surface grinder and ground the end perfectly square
Then I cut the upper piece to fit the upper pivot hole and fit and ground the ends and made this piece to be slightly longer than need be to provide a little compression (about a 1/32") at the joint.......Bingo.....a finished seal.....I love it when a plan comes together.........
Another thing crossed off the list...........Now I can get all the garnish mouldings painted for installation when the car comes back from the upholstry shop.........
Ken
LS1 Tech Stories
The Best V8 Stories One Small Block at Time

Gas Monkey Built a 6-Wheel Ferrari Testarossa With a Corvette LT4 Engine
Verdad Gallardo
7 Most Reliable High-Performance Engines GM Has Ever Built
Verdad Gallardo
Amazing '71 Camaro Restomod Is Modern Muscle Car Under the Skin
Verdad Gallardo
6 Common C5 Corvette Failures and What's Involved In Repairing Them
Pouria Savadkouei
Retro Modern Bandit Pontiac Trans AM Comes With Burt Reynolds' Autograph
Verdad Gallardo
Top 10 Greatest Cadillac V Series Performance Models Ever, Ranked
Pouria Savadkouei
Top 10 Most Powerful Chevy Trucks Ever Made!

Hennessey's New Supercharged Silverado ZR2 Has 700 HP
Verdad Gallardo
Coachbuilt N2A Anteros Is an LS2-Powered C6 Corvette In Italian Clothes
Verdad Gallardo


I would be sitting here looking at bloody fingertips and a used razor blade... 
Excellent work as always! Have you ever thought about 3M trim adhesive? I have used it in similar situations to hold weatherstripping in place.
Excellent work as always! Have you ever thought about 3M trim adhesive? I have used it in similar situations to hold weatherstripping in place.
Thread Starter
TECH Fanatic
Joined: Jul 2008
Posts: 1,570
Likes: 173
I got the rest of the window trim stripped and ready for Paint....The plan is to drop off all the Interior parts for paint on Monday and get them back on thursday........As I was sitting in the house this morning, I felt the Dashboard calling me from the garage......So....I went out and got it roughed in for the Body guy to finish......Going to the Upholstry shop today so I'll post some pic's later.......


Ken
Ken


Thread Starter
TECH Fanatic
Joined: Jul 2008
Posts: 1,570
Likes: 173
Bruce.........The Nova was the cleanest spot in the garage to take the pic....LOL
As far as the Upholstry is concerned......It seems that as of this time, the Upholstry shop could be a major problem......I was told the car would be done in two weeks.......and after an initial couple of hours of work to make it look like something was being done........The car is just sitting with nothing done to it...........I had contacted and set up the appointment 3 months ago and made it clear to the owner that if the car couldn't be done in a three week window that he should be honest and let me know and I would go elsewhere........I still have my fingers crossed that everything will work out.....But!!............
Ken