
1967 GTO LQ4 (L92/LS3) swap
 02-05-2014, 06:22 AM
#121
Launching!
Thread Starter

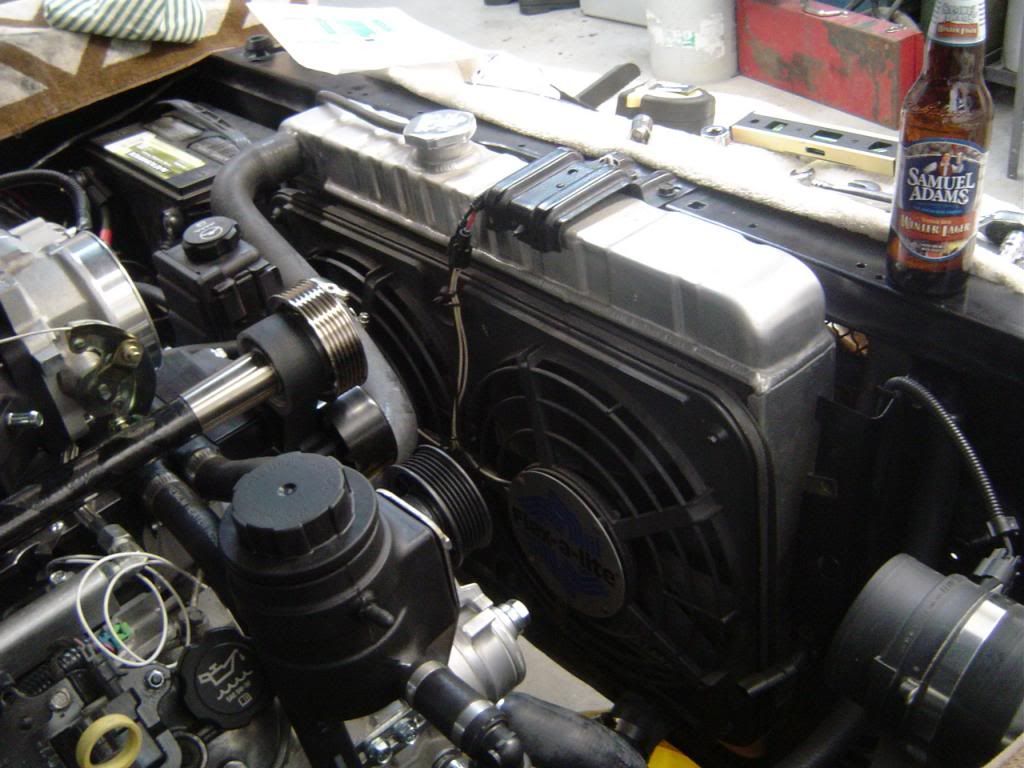
This was the only real panic attack while lowering it on. I didn't think this was going to work, but it does.....barely. I got lucky.
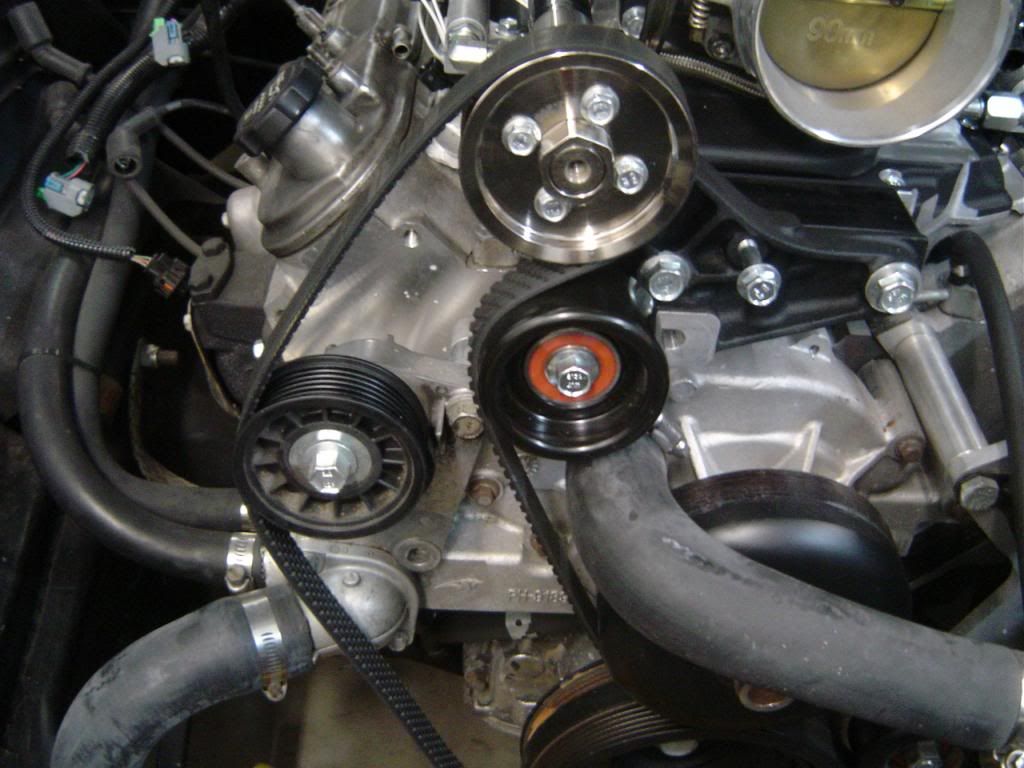
Plenty of room!
Tight!
Plenty of pulley clearance.

Plenty of room!

Tight!

Plenty of pulley clearance.

 02-05-2014, 06:26 AM
#122
Launching!
Thread Starter
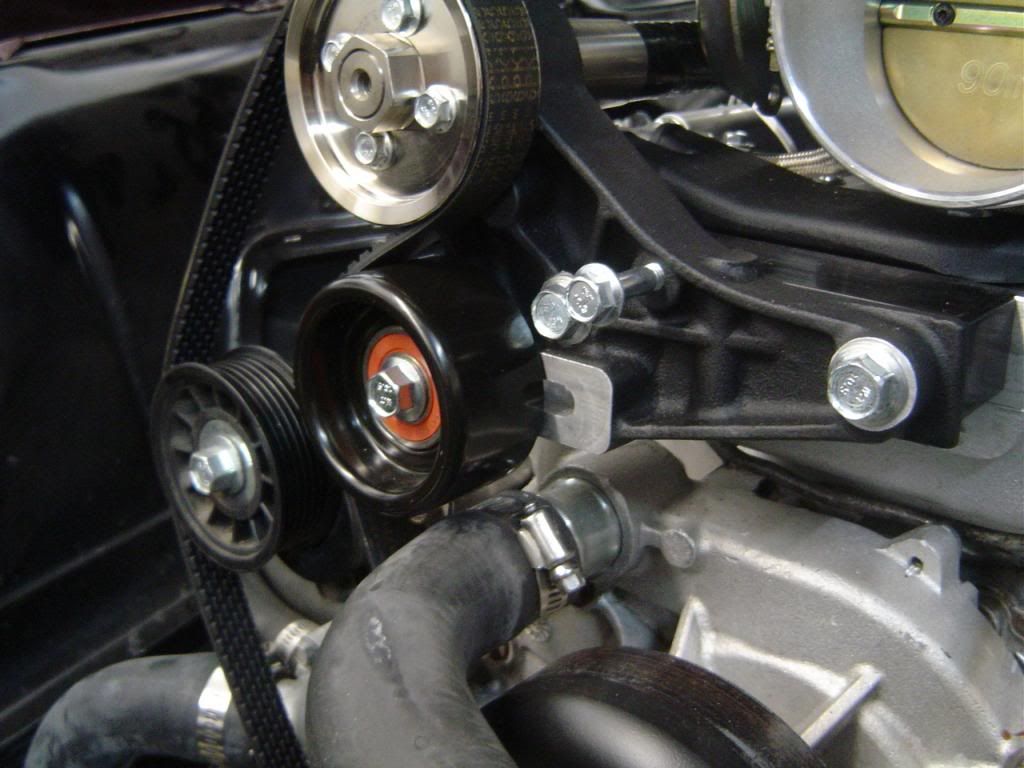
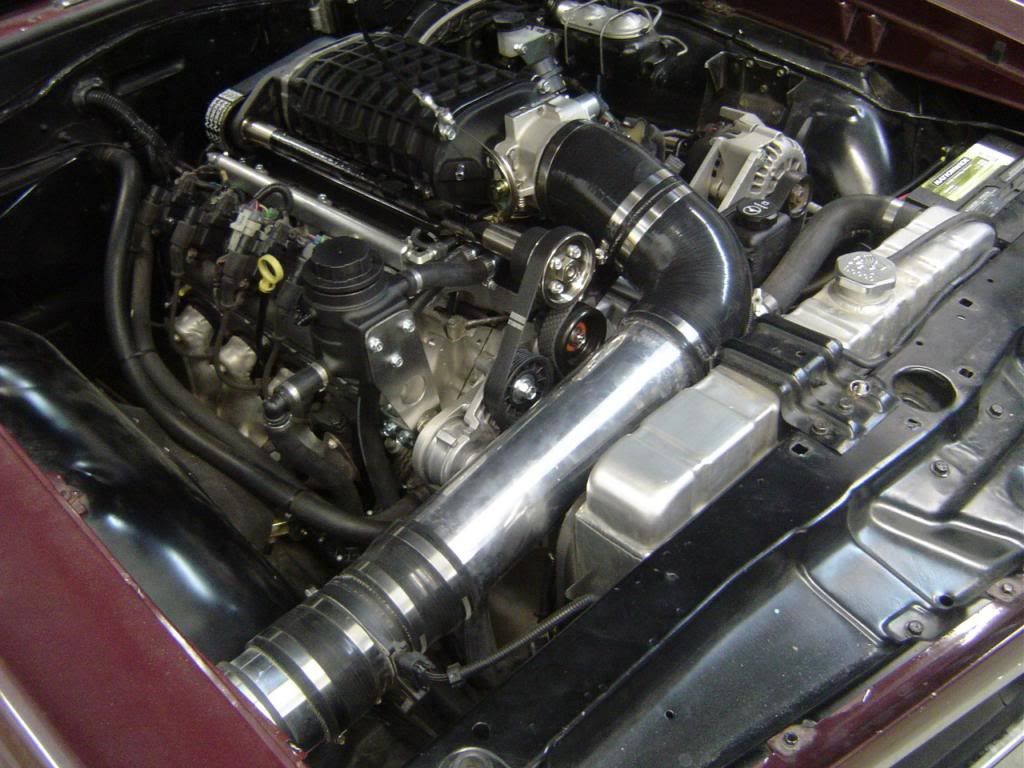
Things left to do:
Coolant pump, reservoir, wiring, plumbing.
Throttle cable bracket.
IAT wiring.
Belt tensioner.
Belt length.
Intake tubing....simple mod to my existing tubing will do it. Just gotta add an extension off the TB to get out past the drive pulley.
Coolant pump, reservoir, wiring, plumbing.
Throttle cable bracket.
IAT wiring.
Belt tensioner.
Belt length.
Intake tubing....simple mod to my existing tubing will do it. Just gotta add an extension off the TB to get out past the drive pulley.
02-06-2014, 06:11 AM
#123
TECH Fanatic
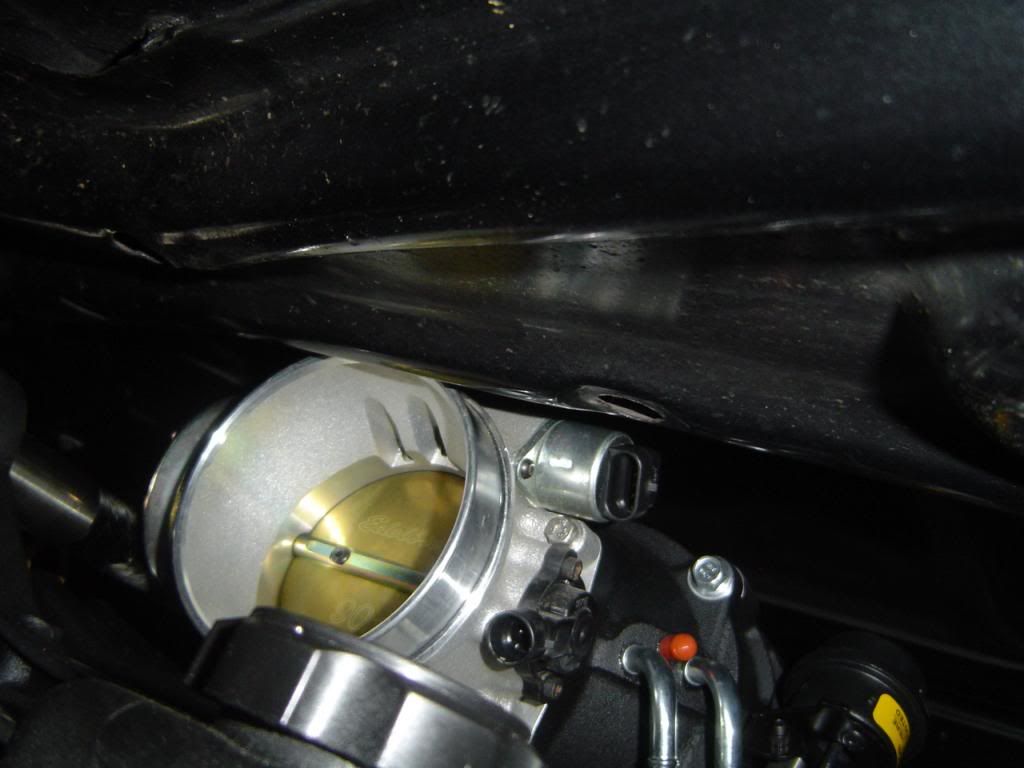
Do you have any room to drop the engine any deeper into the chassis? I experimented a bunch to find a combination that would clear the steering and gain hood clearance. It still looks like you may need to notch the brace in front of the TBI. You might get lucky with a soft piece of thin silicone hose. The connectors I am using are too rigid to make a dimple that close to the mount flange without deflecting the hood.
02-06-2014, 07:07 AM
#124
Launching!
Thread Starter
Do you have any room to drop the engine any deeper into the chassis? I experimented a bunch to find a combination that would clear the steering and gain hood clearance. It still looks like you may need to notch the brace in front of the TBI. You might get lucky with a soft piece of thin silicone hose. The connectors I am using are too rigid to make a dimple that close to the mount flange without deflecting the hood.
I'll check my tunnel clearance tonight and see if I can raise the trans at all, but I don't think I have much room. But if I don't want to cut the hood, I think that's my best option even if I have to modify the trans tunnel.
02-08-2014, 05:04 PM
#125
Teching In
Join Date: Jun 2005
Posts: 42
Likes: 0
Received 0 Likes
on
0 Posts

Just chop and mod the hood brace a little we could always put that peice back in later if you want to go back to stock. Just cut then reinforce then ace hardware satin black. Cut cut cut cut do it! :-)
02-09-2014, 07:25 AM
#128
Launching!
Thread Starter
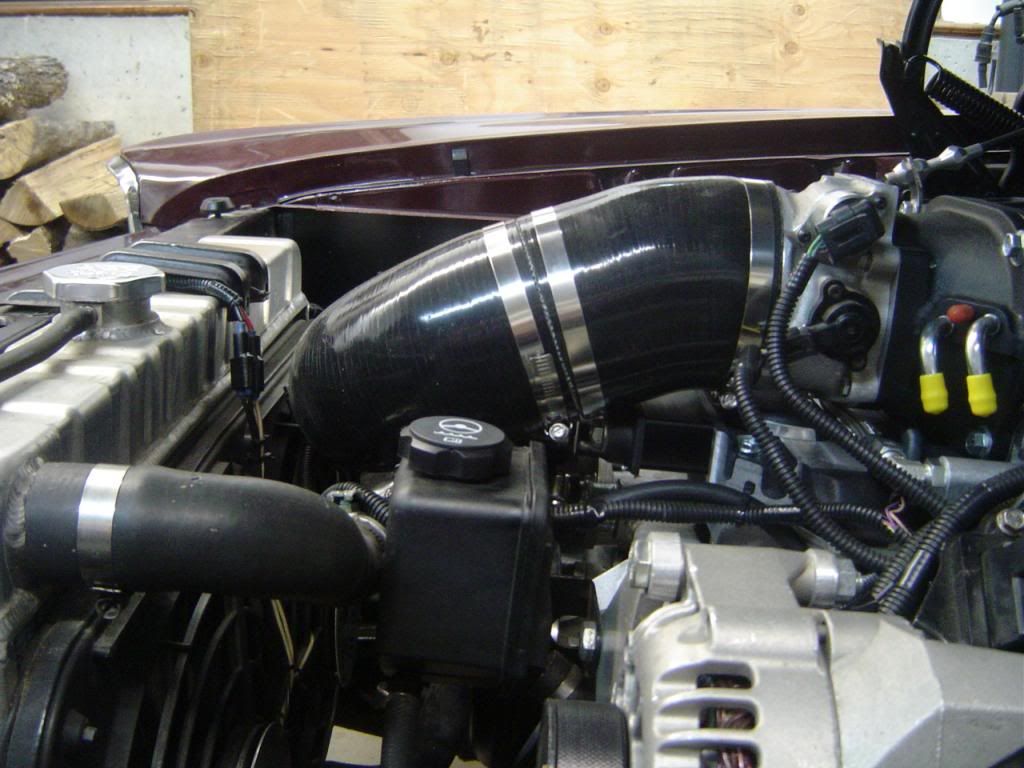
Haha, thanks Josh! I just ordered a 30 degree 4.5" silicone coupler to come off the TB. I think that might take care of it. But if I have to, I've accepted the fact that I will cut the bracing.
 02-11-2014, 07:11 AM
#130
Launching!
Thread Starter
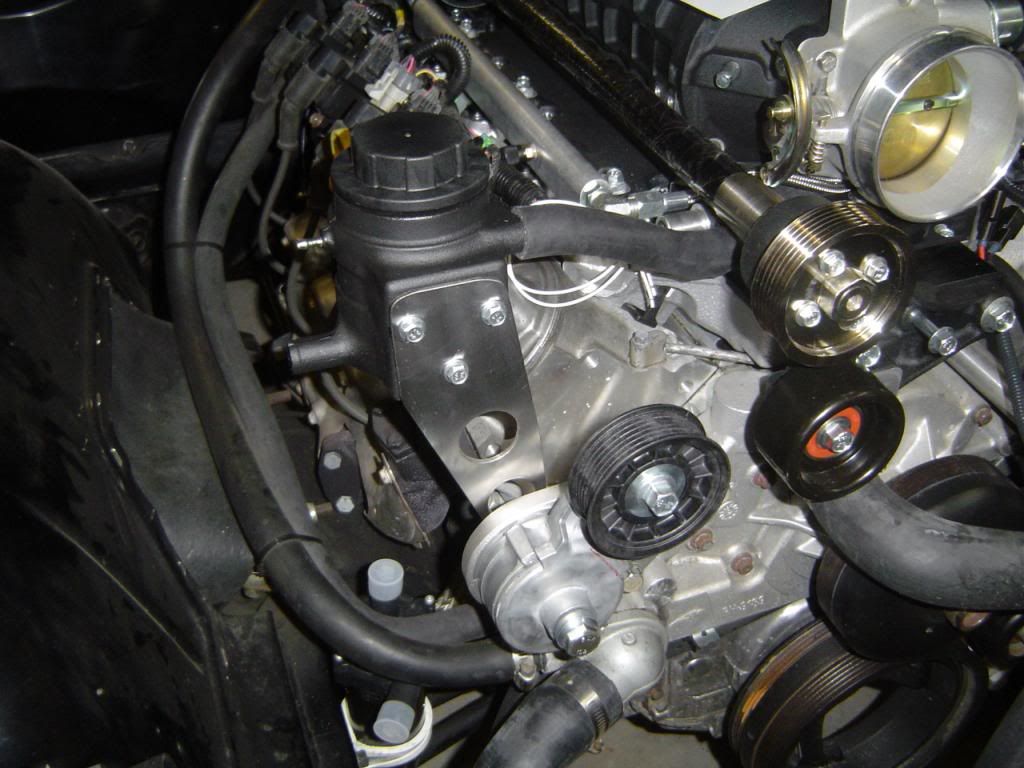
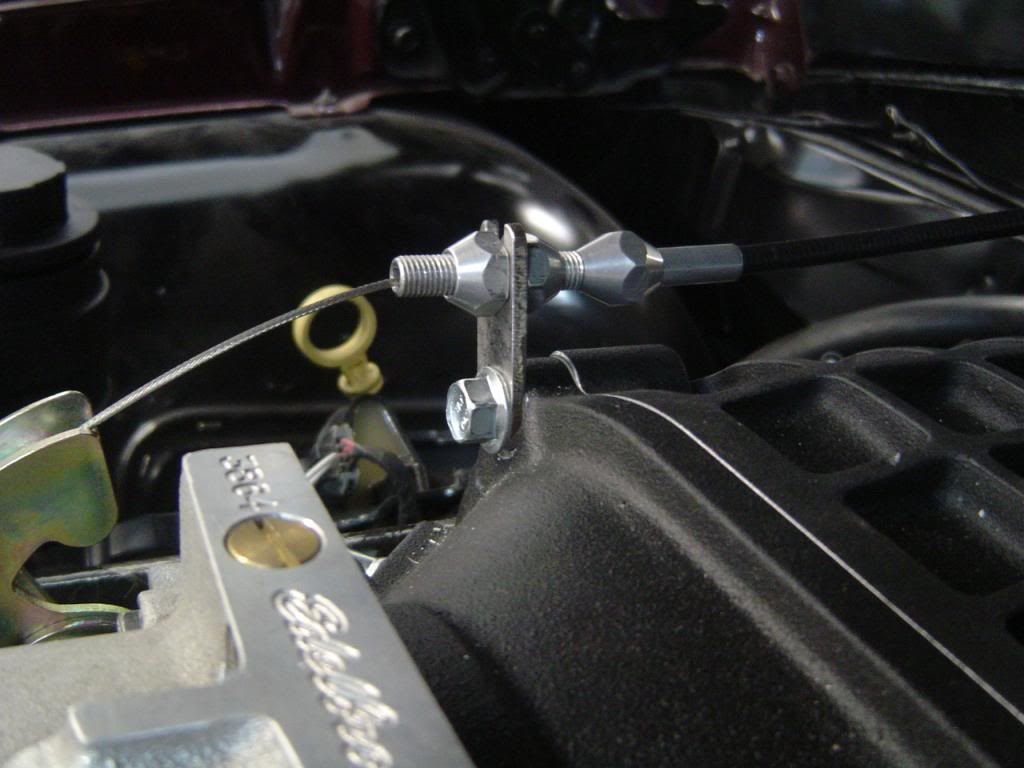
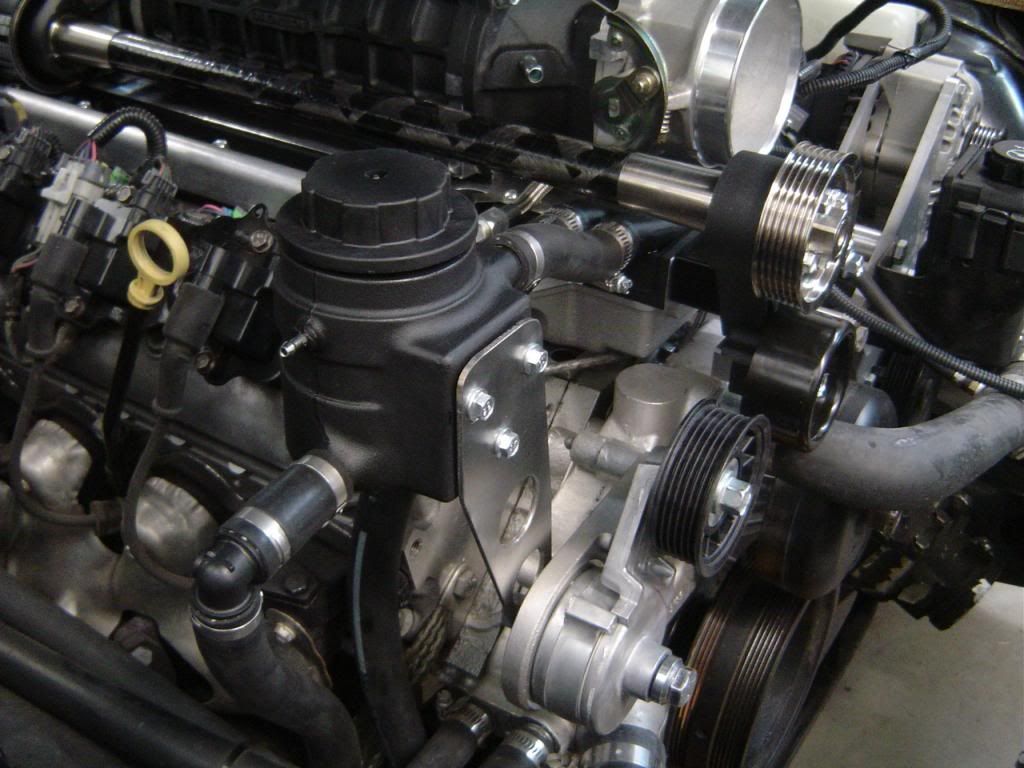
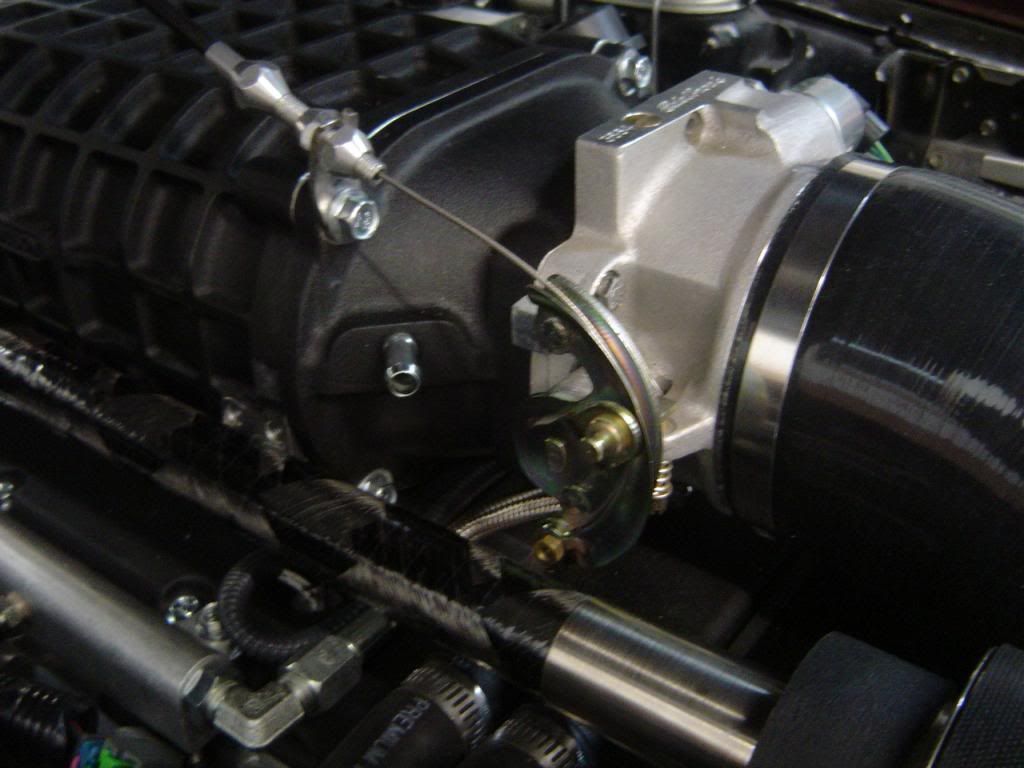
Made some brackets last night for the coolant reservoir and the throttle cable. I'm pretty happy with the coolant reservoir bracket. I don't like that the reservoir is front-and-center, but it needs to be the highest point, and putting it right inline with the intercooler inlet/outlet made the plumbing clean and simple.
Not much left.....just need to finish plumbing the intercooler/heat exchanger loop, do the intake tubing, and a few other odds and ends. The last 4.5" intake elbow I need and serpentine belt will be here tomorrow and/or thursday. Oh, and I need to update my PCV plumbing. I ordered a RevExtreme catch can for that. My LS3 intake was LOADED with oil from using the crappy stock LS1 PCV setup.
Coolant reservoir bracket
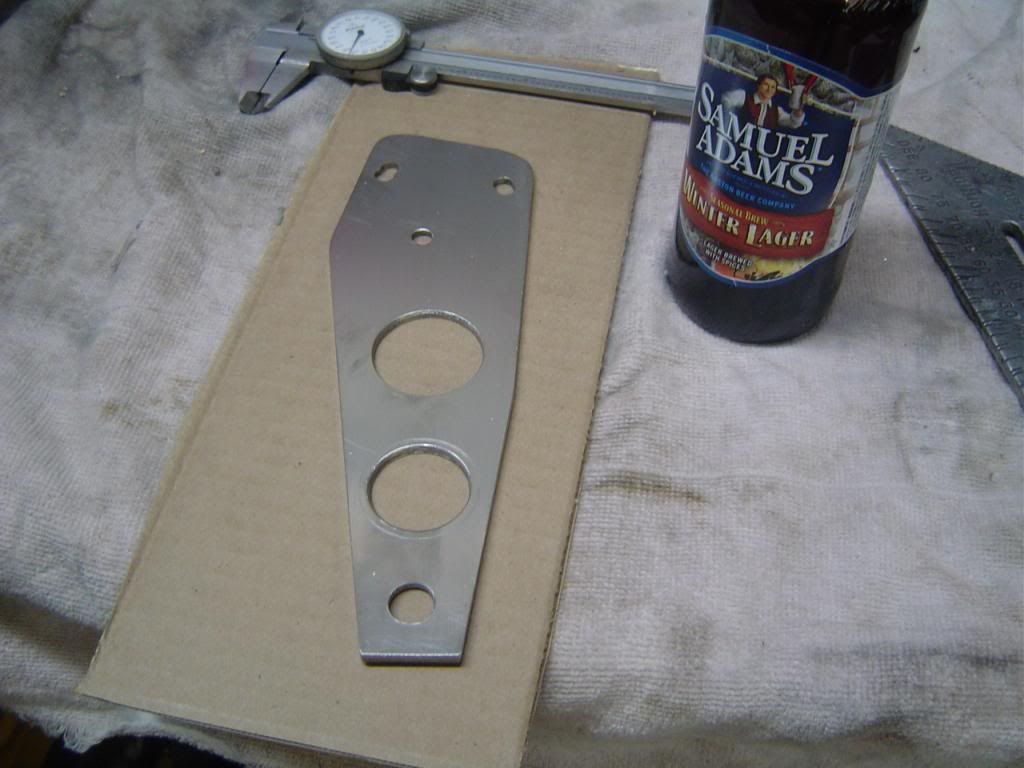
Just need to bend this bracket forward a little so the cable exits the housing in the center and doesn't wear a groove.
Not much left.....just need to finish plumbing the intercooler/heat exchanger loop, do the intake tubing, and a few other odds and ends. The last 4.5" intake elbow I need and serpentine belt will be here tomorrow and/or thursday. Oh, and I need to update my PCV plumbing. I ordered a RevExtreme catch can for that. My LS3 intake was LOADED with oil from using the crappy stock LS1 PCV setup.
Coolant reservoir bracket


Just need to bend this bracket forward a little so the cable exits the housing in the center and doesn't wear a groove.

Last edited by 67 goat; 02-11-2014 at 12:10 PM.
02-11-2014, 07:16 AM
#131
Launching!
Thread Starter
Should I paint those brackets black? I mean, I love the "color" of stainless (who doesn't?!), but black would probably look better in the engine bay.
Thoughts?
Thoughts?


 02-12-2014, 06:23 AM
#134
Launching!
Thread Starter
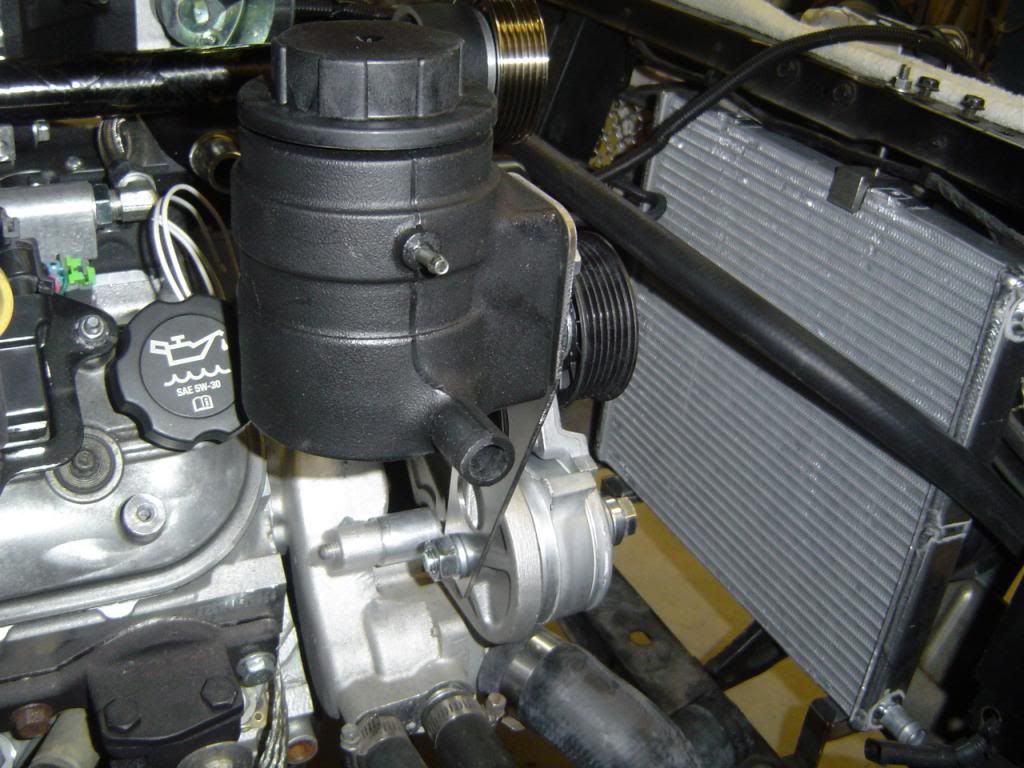
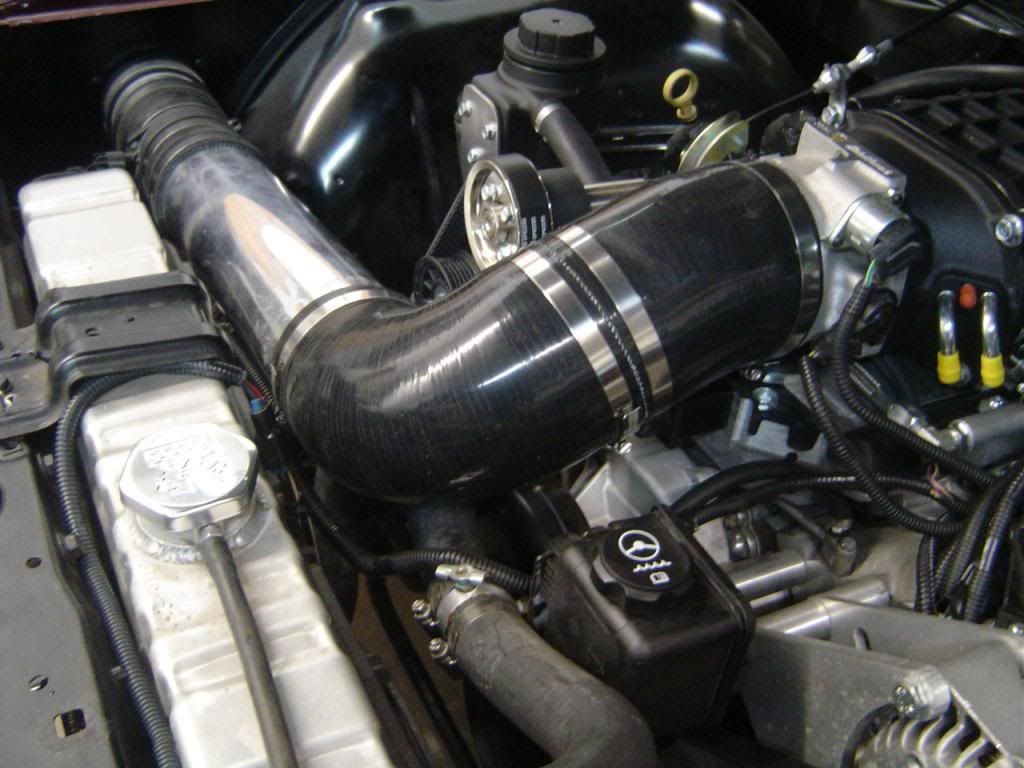
Finished the plumbing. Anyone know what that small nipple on the coolant reservoir is supposed to be used for? I just plugged it for now.
Coolant pump.
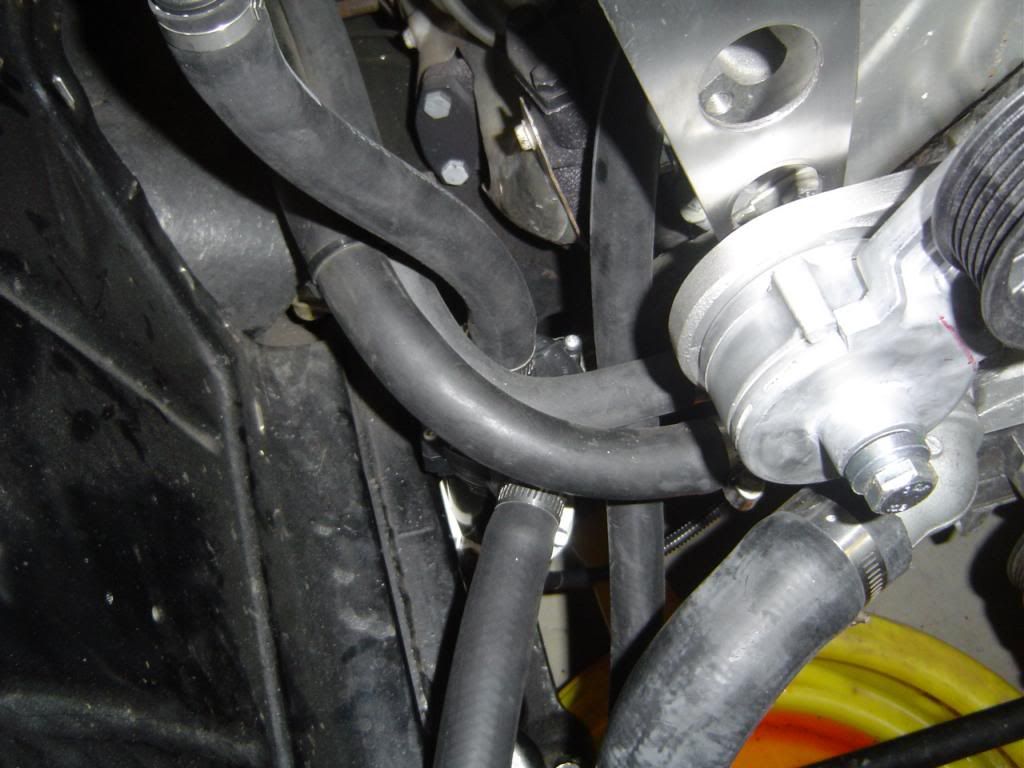
Lower hose thru the frame worked out nicely.
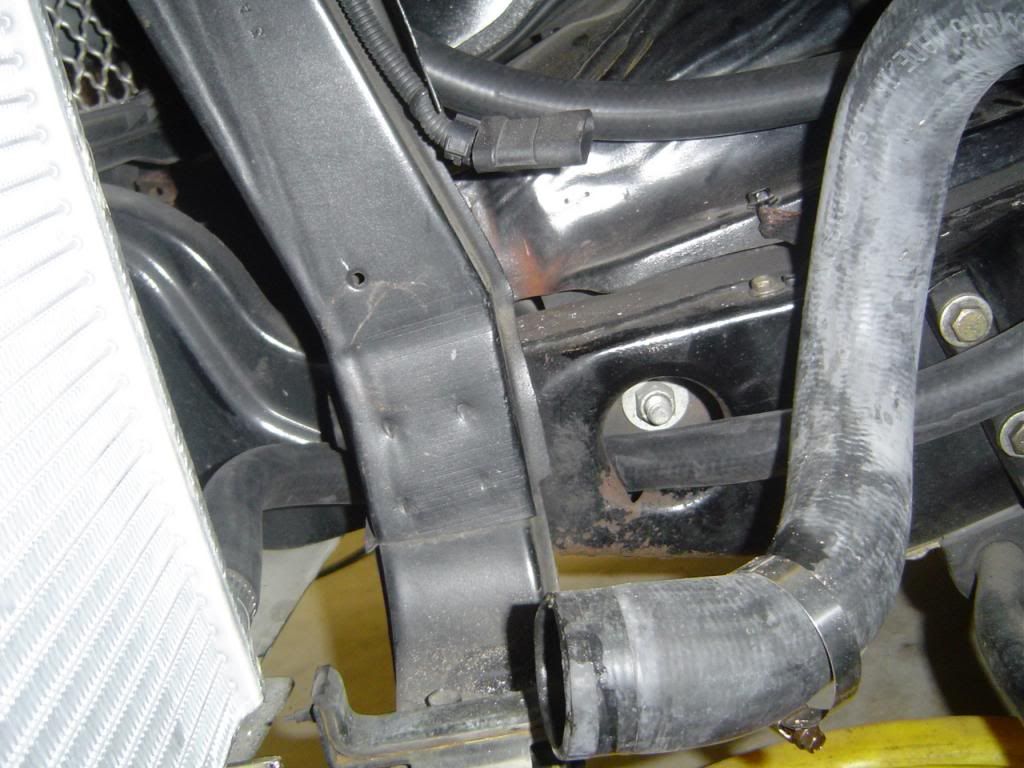
Radiator back in.

Coolant pump.

Lower hose thru the frame worked out nicely.

Radiator back in.

 02-13-2014, 06:04 AM
#136
TECH Fanatic
I am pretty sure it is a vent for the charger coolant. You will be surprised at how hot it will get. That is why the Mustang and Camaro guys go with a much larger tank.
02-13-2014, 06:46 AM
#137
Launching!
Thread Starter
I thought that, but unfortunately none of the instructions I have (3 different ones) say anything about it. Plus where would you vent it too? If vented to atmosphere, you'd have to put a snorkel on it so it wouldn't leak, but that just seems silly. I can't find anything on the web about it. I'll have to call or email Magnuson about it.
02-13-2014, 07:29 AM
#138
Launching!
Thread Starter
I'm concerned about the excessive steam out the exhaust. I did have the garage door open and it was pretty freakin' cold last night. Normal? I do have one small port open on the manifold.....the boost port below the rotors. It's probably a 1/8 - 3/16" hole.
And it lobes pretty hard a few times on startup, then settles out and idles smooth. Did it pretty much the same for 3 startups.
And it lobes pretty hard a few times on startup, then settles out and idles smooth. Did it pretty much the same for 3 startups.
02-14-2014, 06:39 AM
#140
Launching!
Thread Starter
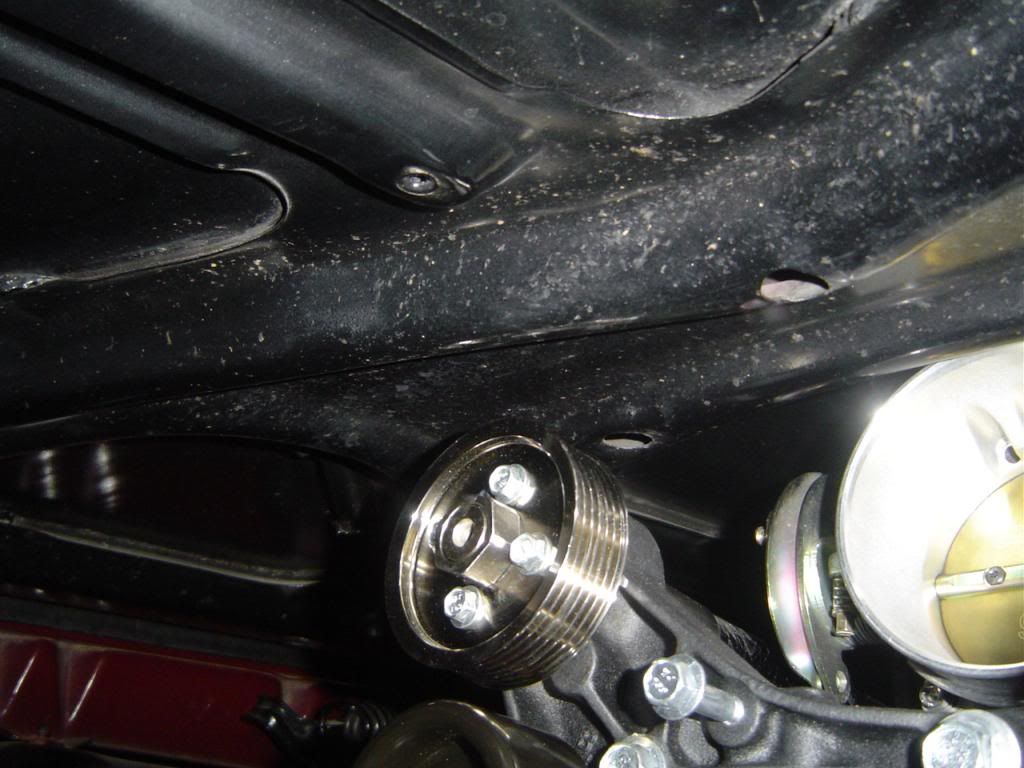
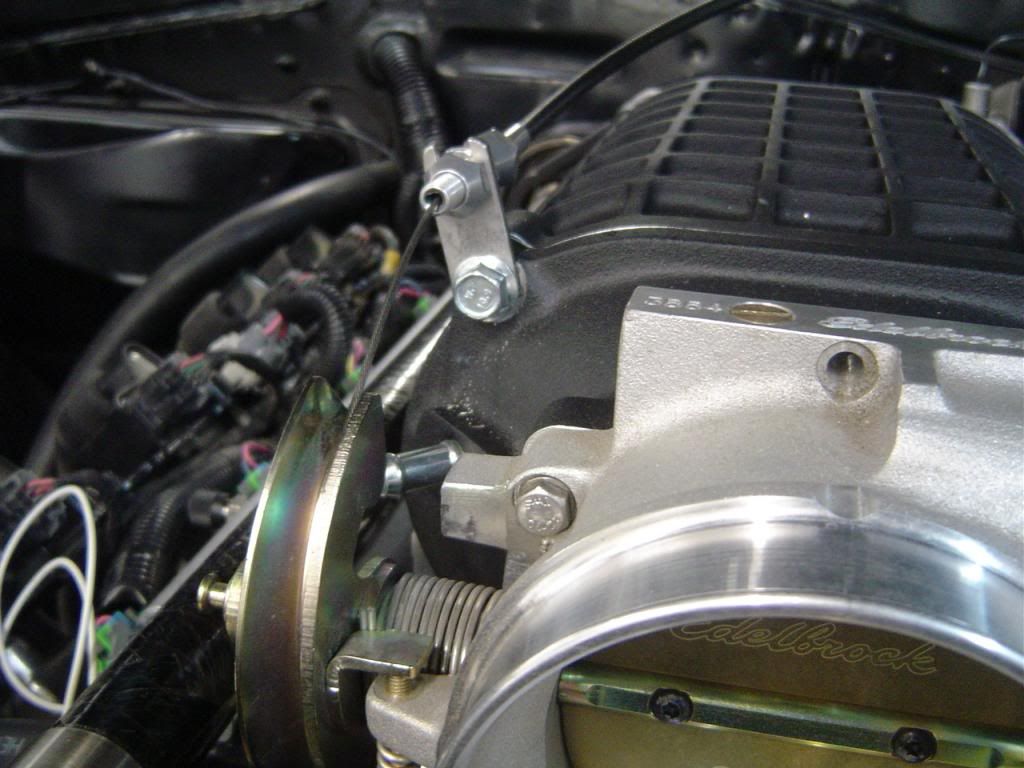
Intake tubing complete. Hood closes, but it hits. It was really late, so I didn't see what needs to be cut, but I'll cut the smallest amount of hood bracing possible.
I also played with starting, idling and off idle last night. I plugged the boost port, but it was still very, very surgy. It smooths out, but as soon as you touch the throttle it almost stalls again and then surges for a few seconds until it levels out again. In the last picture, that round thing on the angle with the yellow sticker is connected to a vacuum port in the rear of the manifold........that thing is working hard to smooth out the surging, and it does eventually. It's pulling that rod in and out until idle is smooth. Not sure what it is or what it's doing though. And if I open one of the vent tubes in the front, it raises the idle, smooths it out and pulls a TON of vacuum. I had my PCV valve connected to one of them.....all the others plugged, then just plugged the PCV one.....didn't make a difference. It seems like a vacuum leak issue, but hard to tell. My next step is to spray some WD-40 near the intake/head interface. Maybe the supercharger isn't seated on the heads all the way and leaking air into the intake ports. It looks seated, but maybe something isn't sitting right.
Any chance it's in the tune? I can't imagine at idle the current tune wouldn't allow it to idle smooth and be perfect off idle.
This is where I had my PCV temporarily hooked up while troubleshooting the surging.
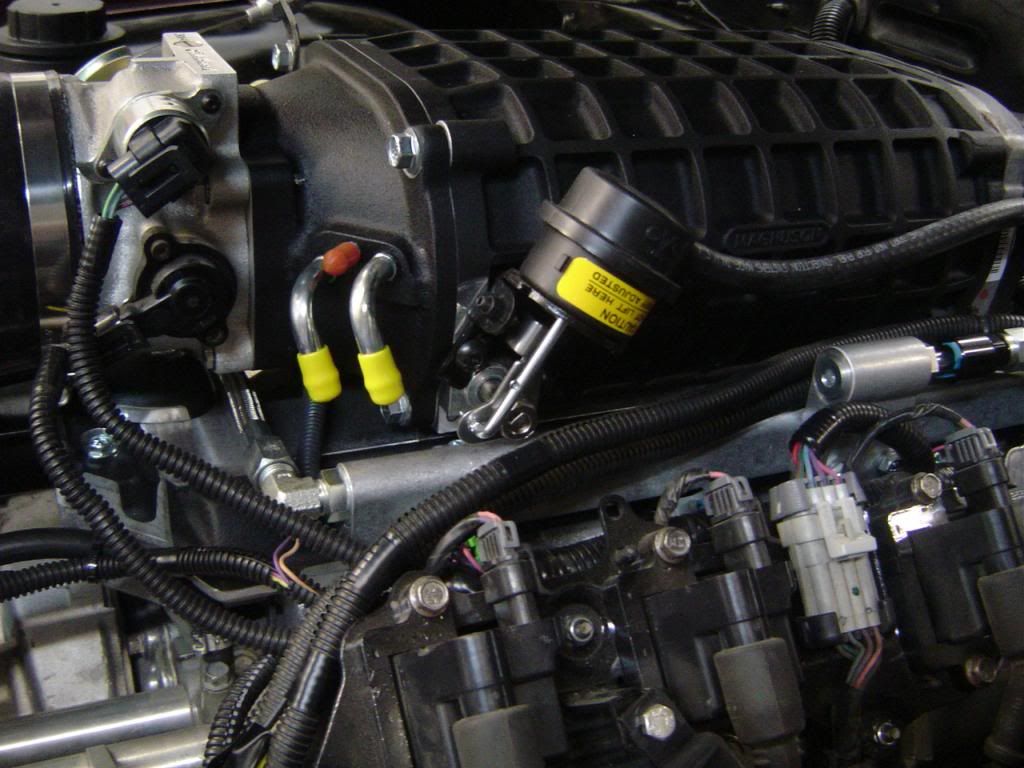
I also played with starting, idling and off idle last night. I plugged the boost port, but it was still very, very surgy. It smooths out, but as soon as you touch the throttle it almost stalls again and then surges for a few seconds until it levels out again. In the last picture, that round thing on the angle with the yellow sticker is connected to a vacuum port in the rear of the manifold........that thing is working hard to smooth out the surging, and it does eventually. It's pulling that rod in and out until idle is smooth. Not sure what it is or what it's doing though. And if I open one of the vent tubes in the front, it raises the idle, smooths it out and pulls a TON of vacuum. I had my PCV valve connected to one of them.....all the others plugged, then just plugged the PCV one.....didn't make a difference. It seems like a vacuum leak issue, but hard to tell. My next step is to spray some WD-40 near the intake/head interface. Maybe the supercharger isn't seated on the heads all the way and leaking air into the intake ports. It looks seated, but maybe something isn't sitting right.
Any chance it's in the tune? I can't imagine at idle the current tune wouldn't allow it to idle smooth and be perfect off idle.


This is where I had my PCV temporarily hooked up while troubleshooting the surging.

