

71 Chevelle+LY6+T56,


 04-26-2012 | 09:54 PM
#103
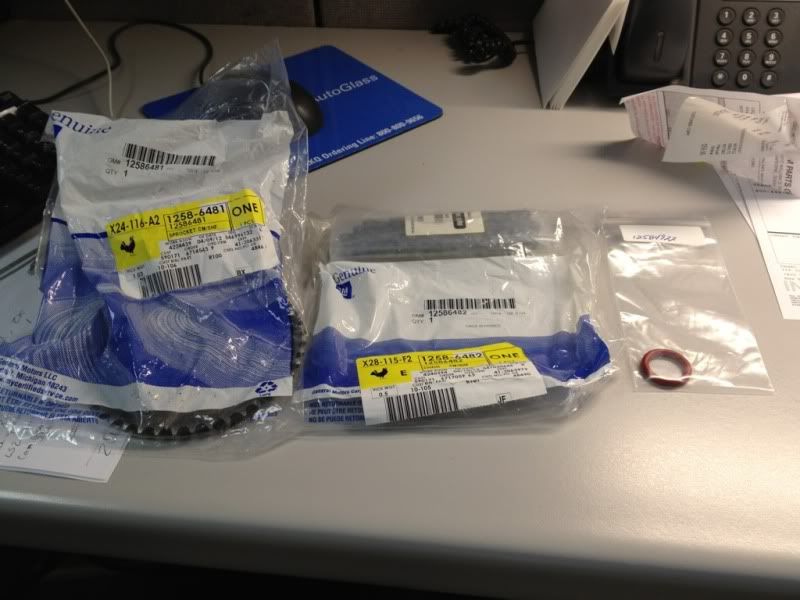
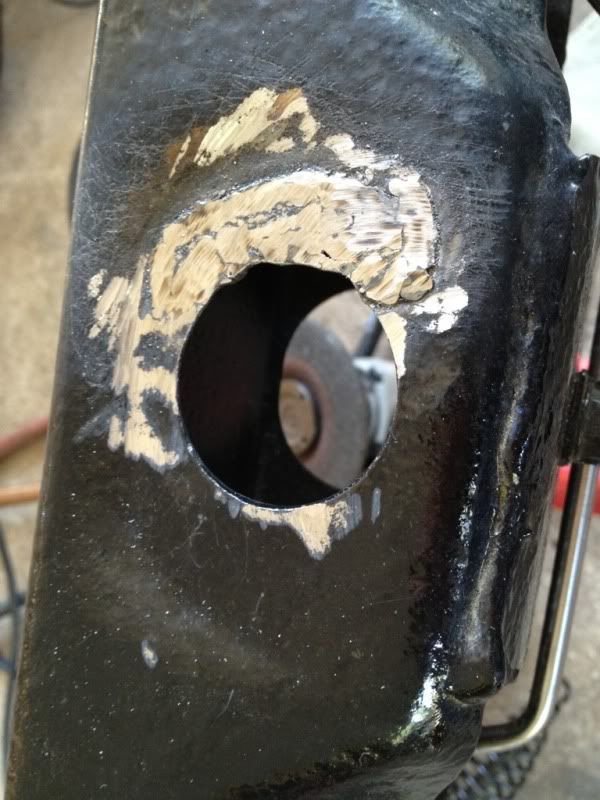
Thank classic Chevy for their afternoon parts run, new cam gear, LS2 timing chain, and an oil pickup o-ring
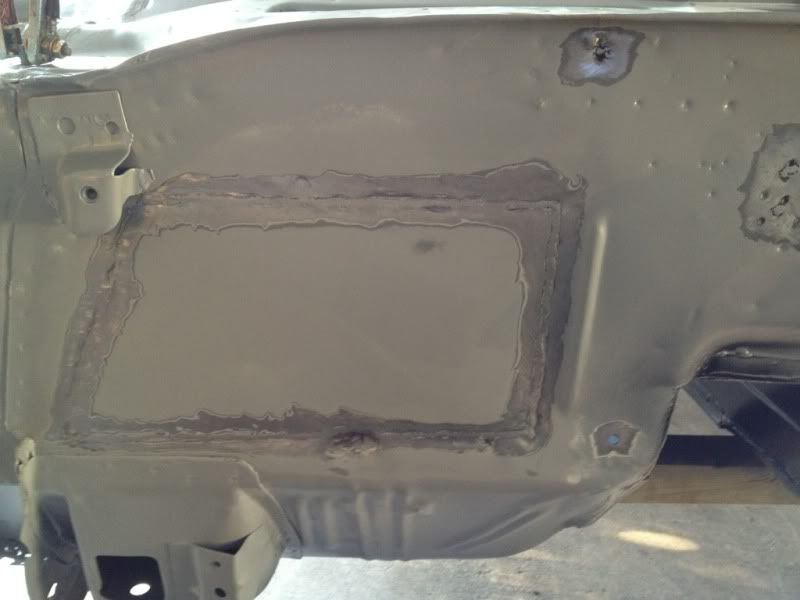
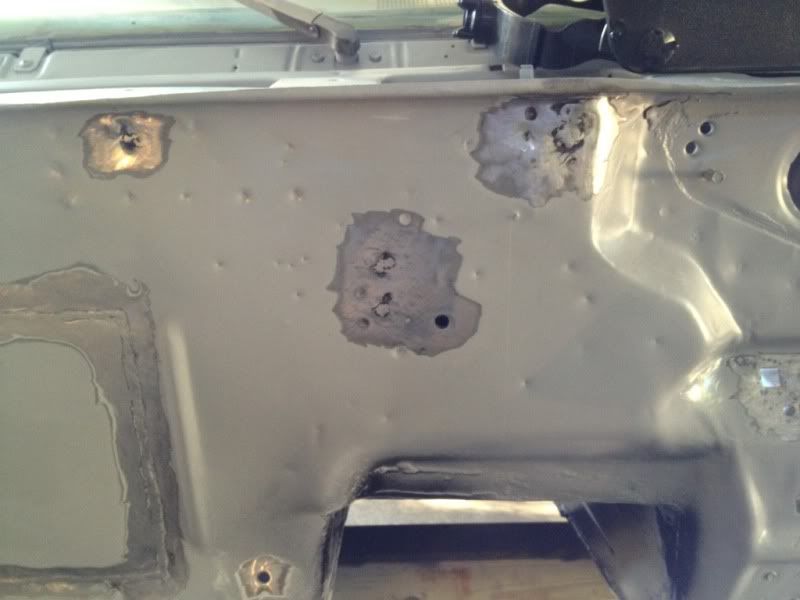
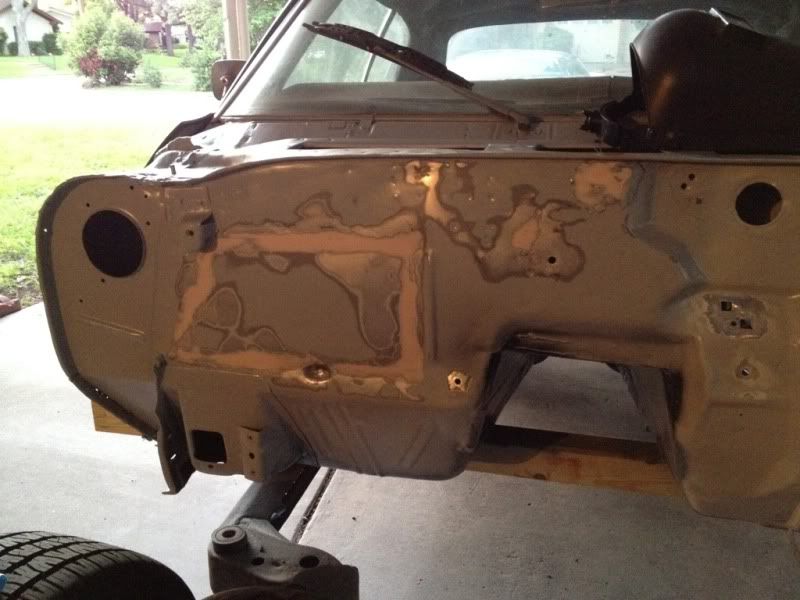
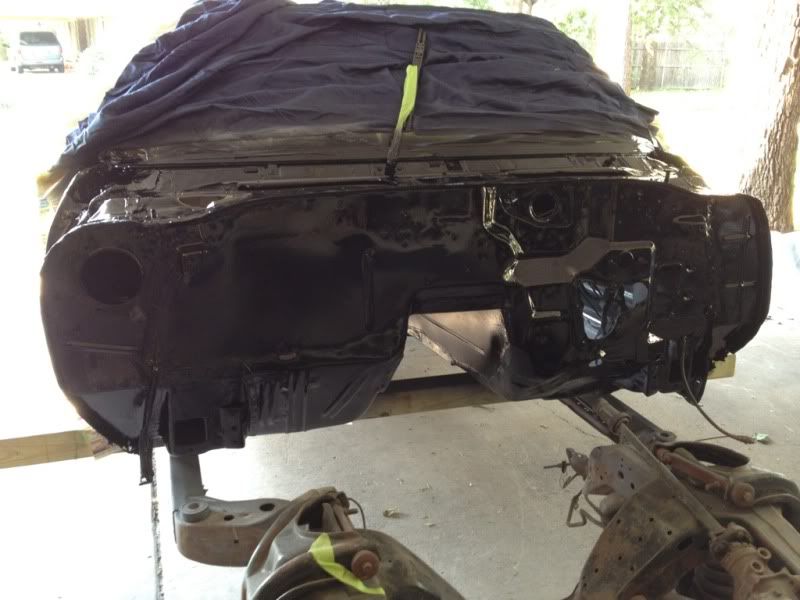
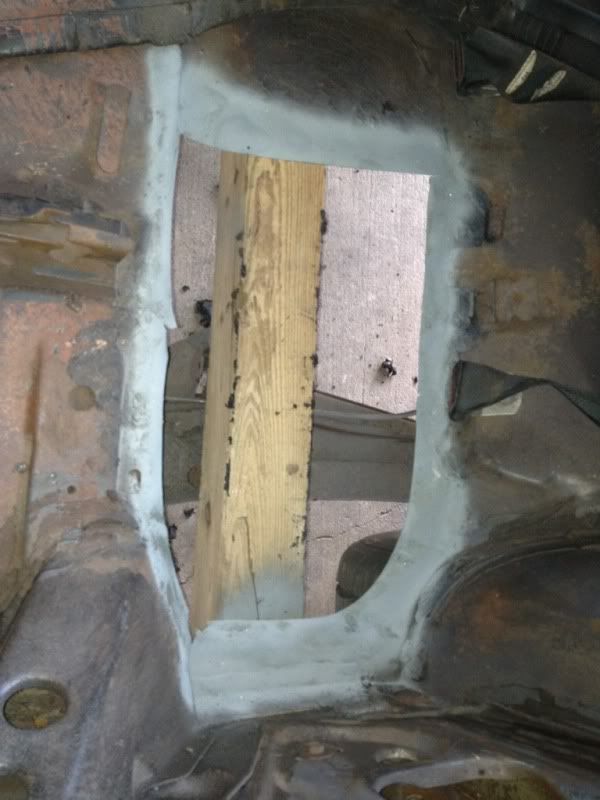
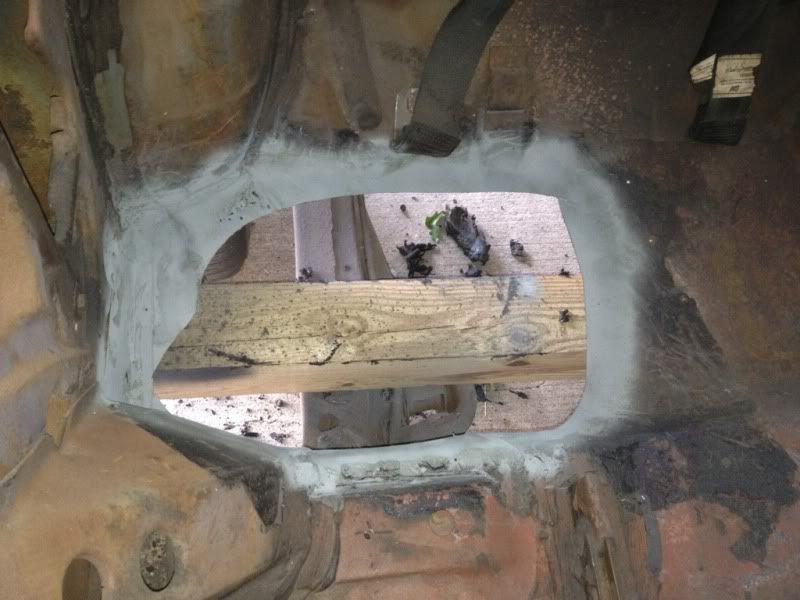
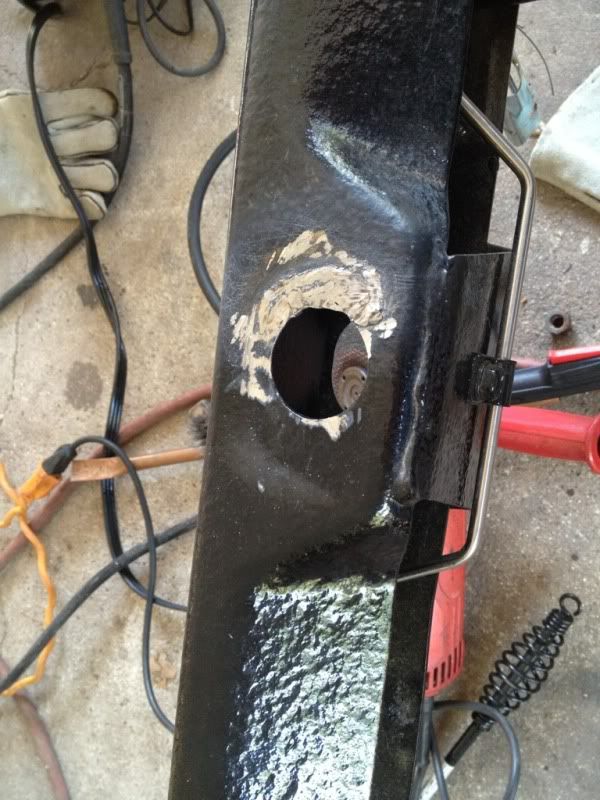
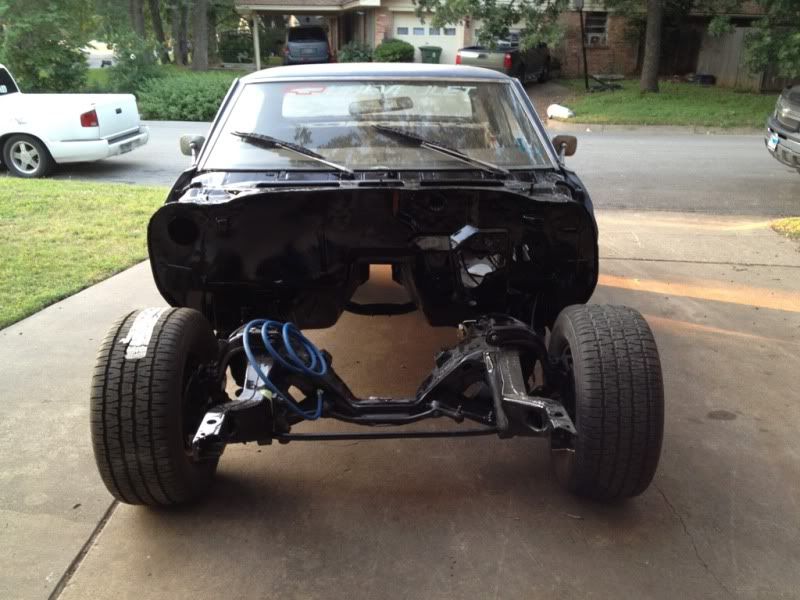
Finally done welding holes, she'll be back in primer this weekend... Hopefully in paint!
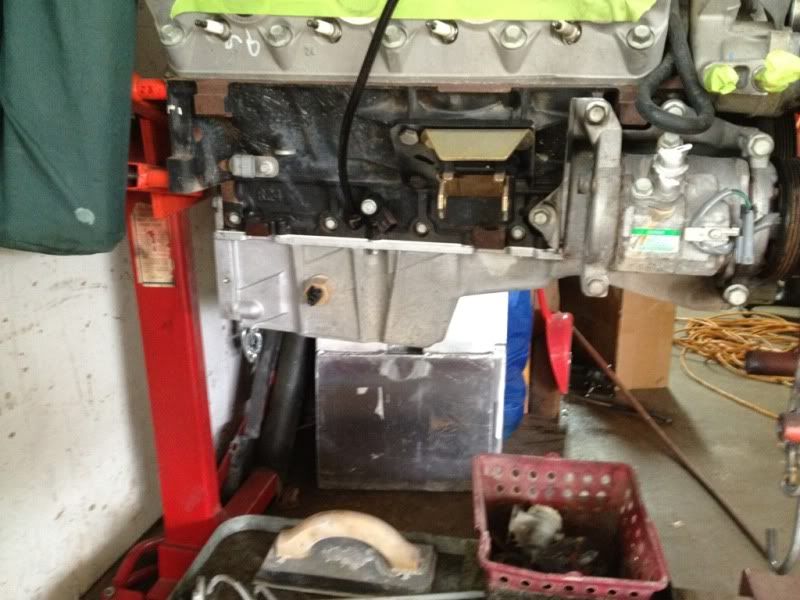
Installed a fleshly cleaned windage tray, pick up, and pan from an F body
Finally done welding holes, she'll be back in primer this weekend... Hopefully in paint!
Installed a fleshly cleaned windage tray, pick up, and pan from an F body
 05-01-2012 | 09:32 PM
#106
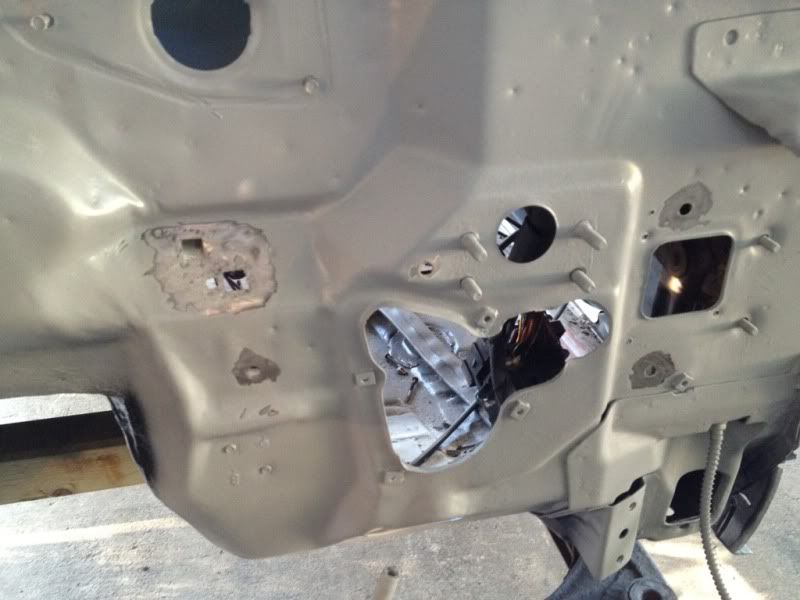
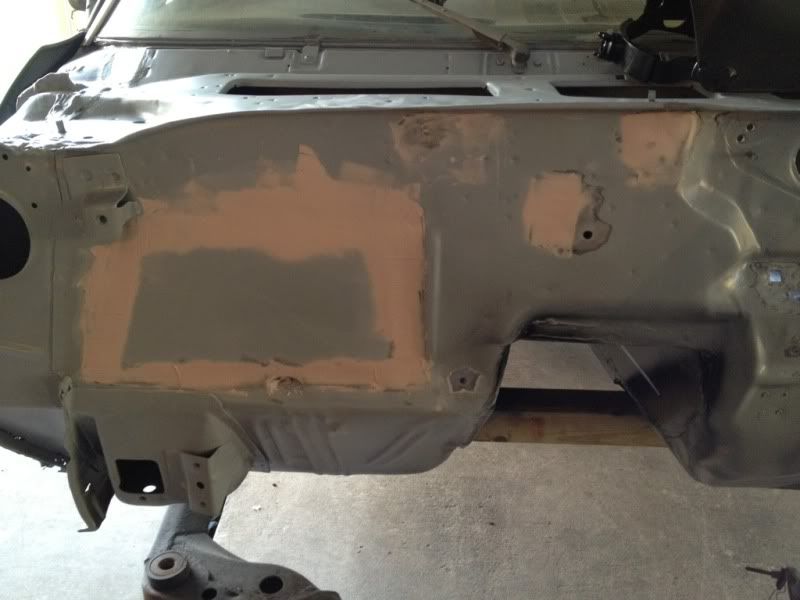
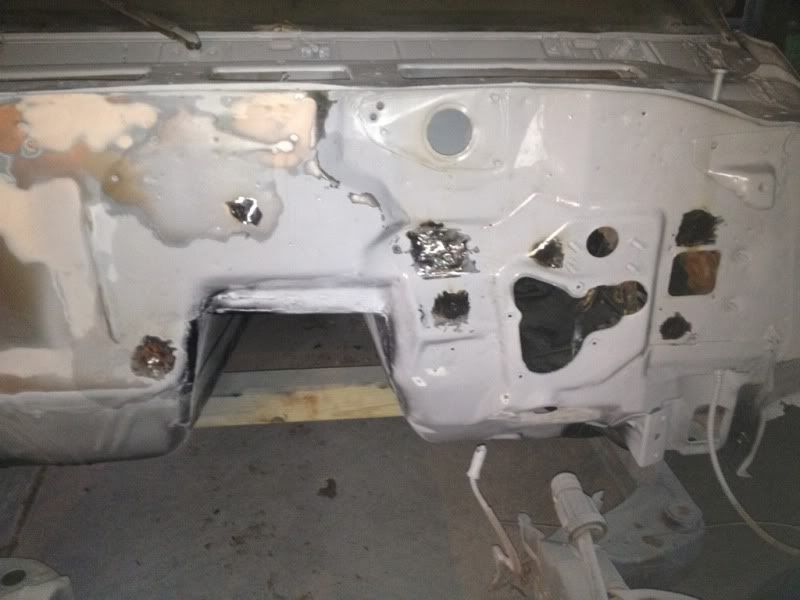
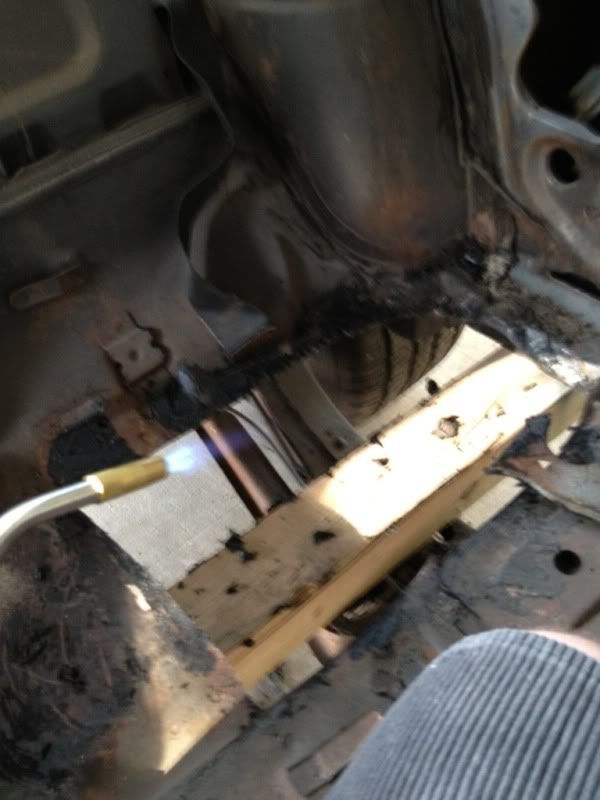
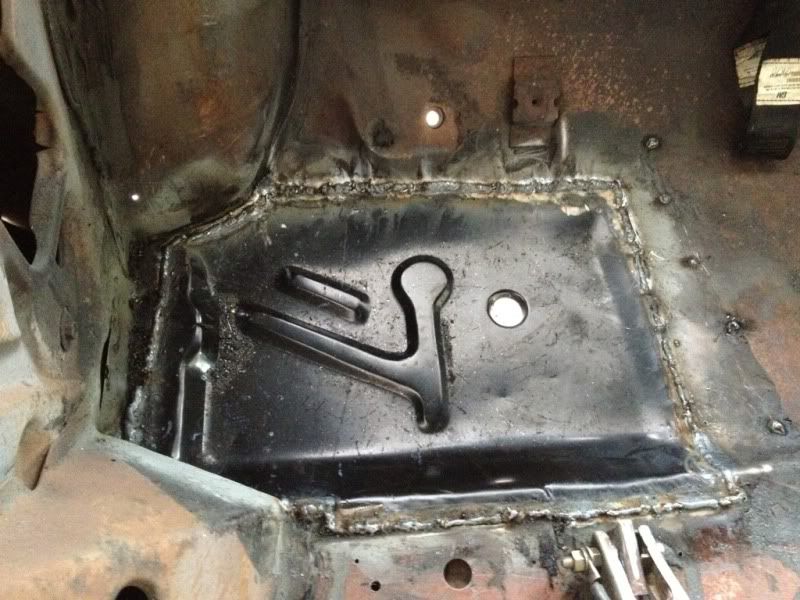
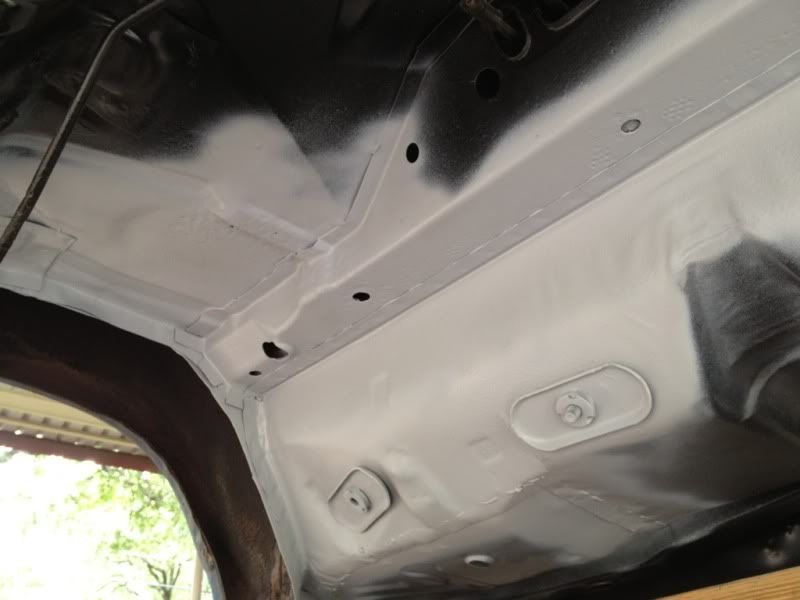
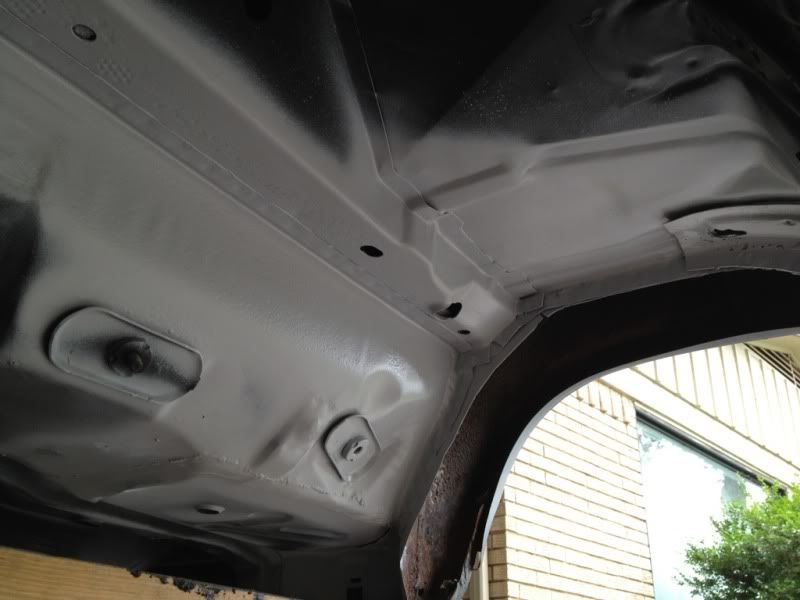
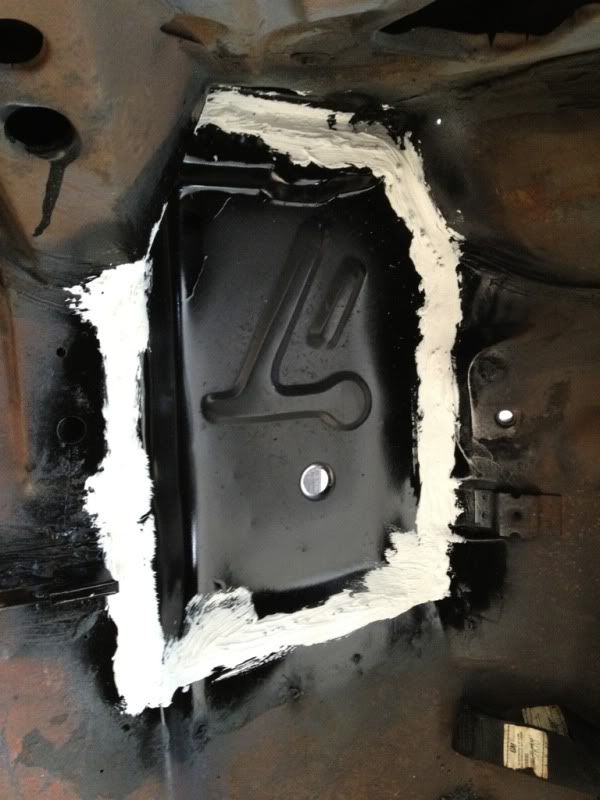
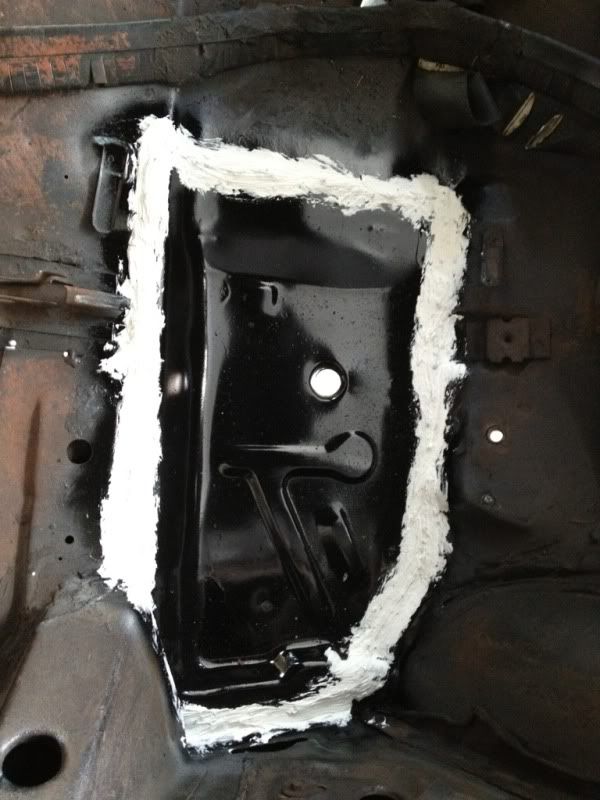
Had to use the torch to warm and scrape the roofing tar the previous owner put on the floor
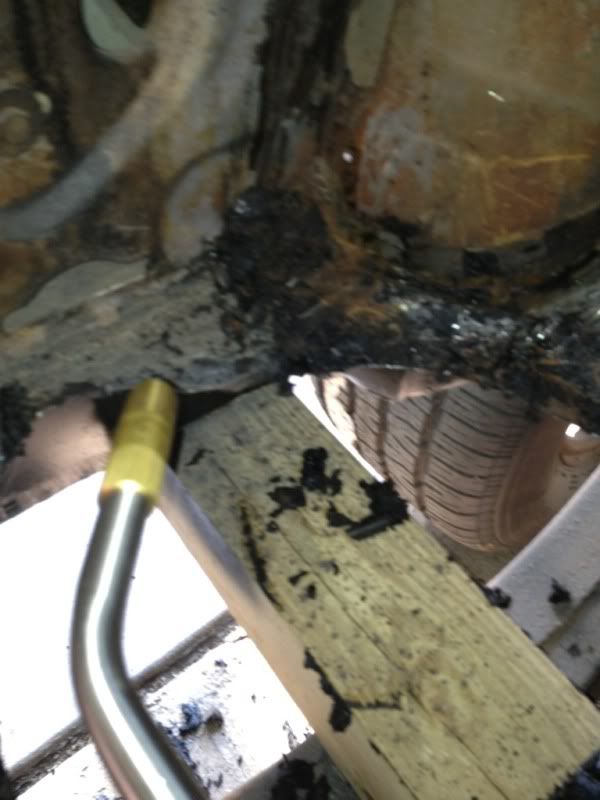

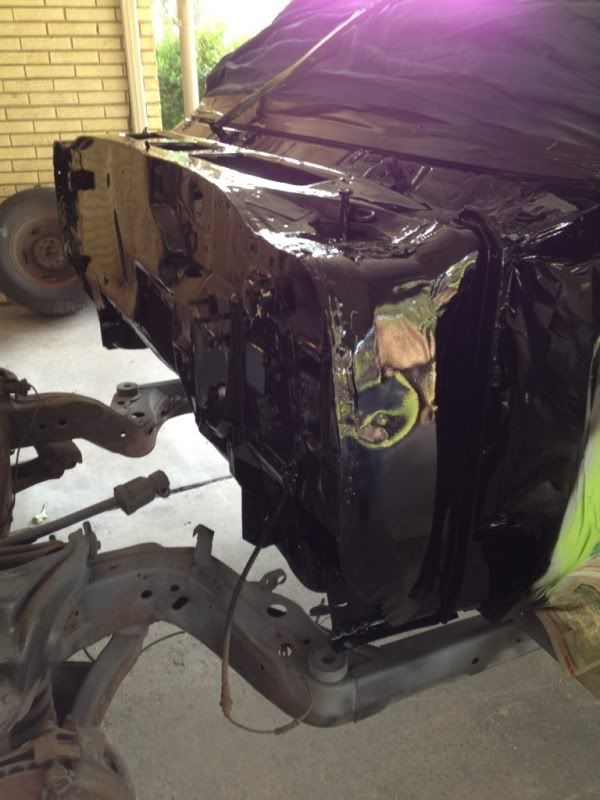
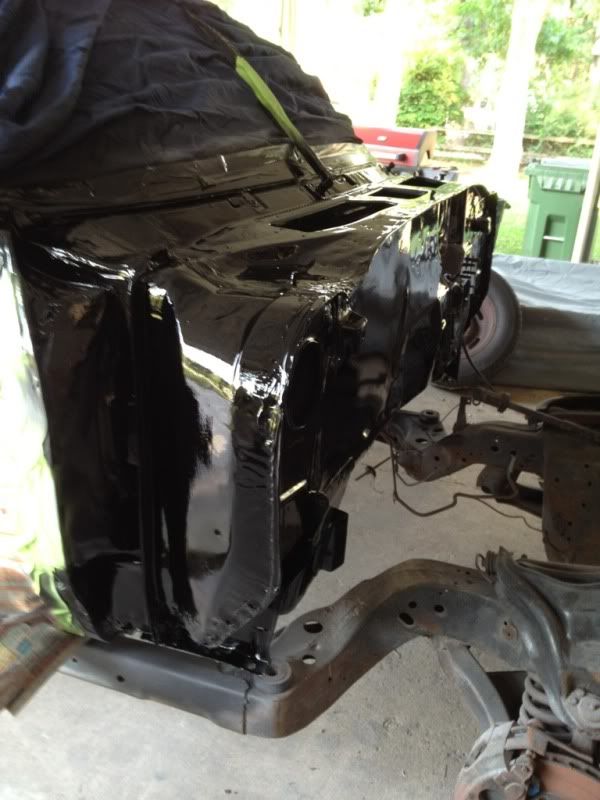
Came out pretty nice, I used a wire wheel to get the edges clean and shot some zinc weld thru primer
Came out pretty nice, I used a wire wheel to get the edges clean and shot some zinc weld thru primer


 05-27-2012 | 10:11 PM
#116
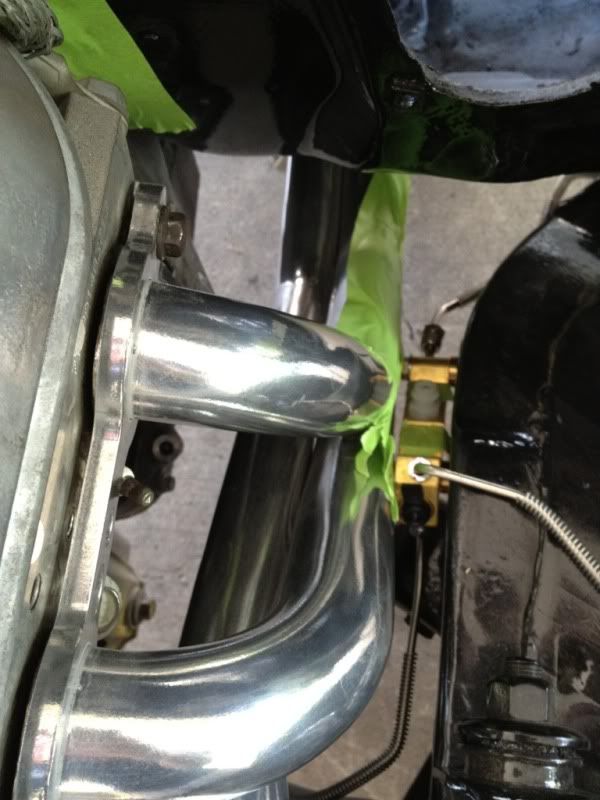
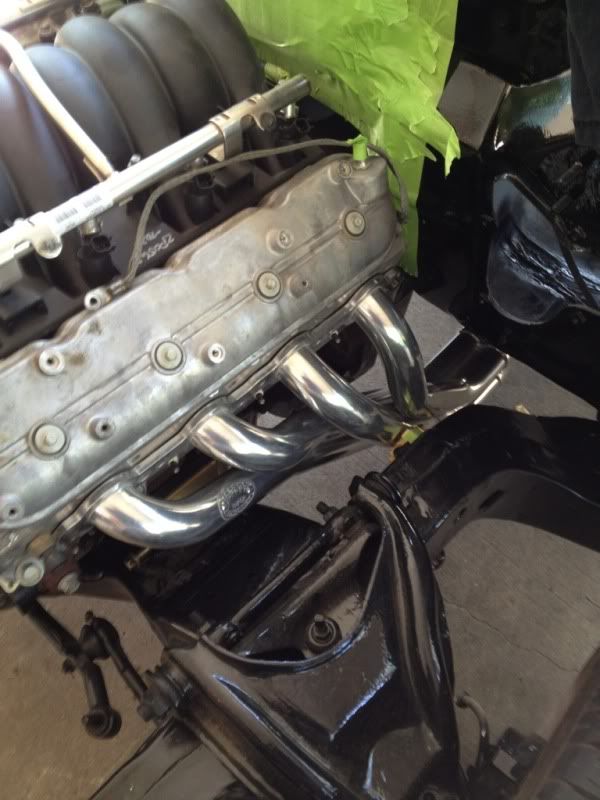
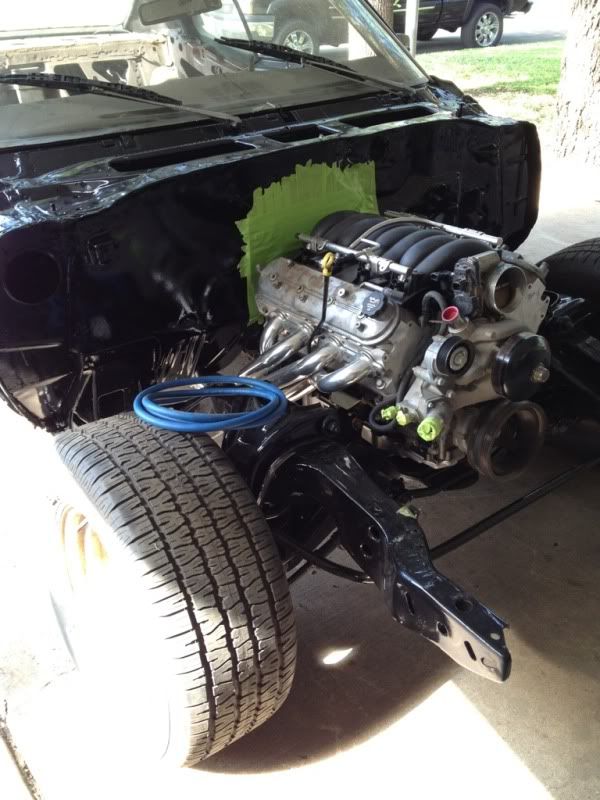
Hopefully this is the last test fit before painting the engine. Had a tight fit with the driver header and the prop valve, nothing a file and hammer can't fix. Just a little more fitting and going to test fit my harness tomorrow.

05-28-2012 | 08:44 AM
#117

Staging Lane
Joined: Dec 2007
Posts: 85
Likes: 0
Headers look great! What do they look like underneath? Also, you may want to consider relocating your proportioning valve away from the header. Heat is not good for your braking system.
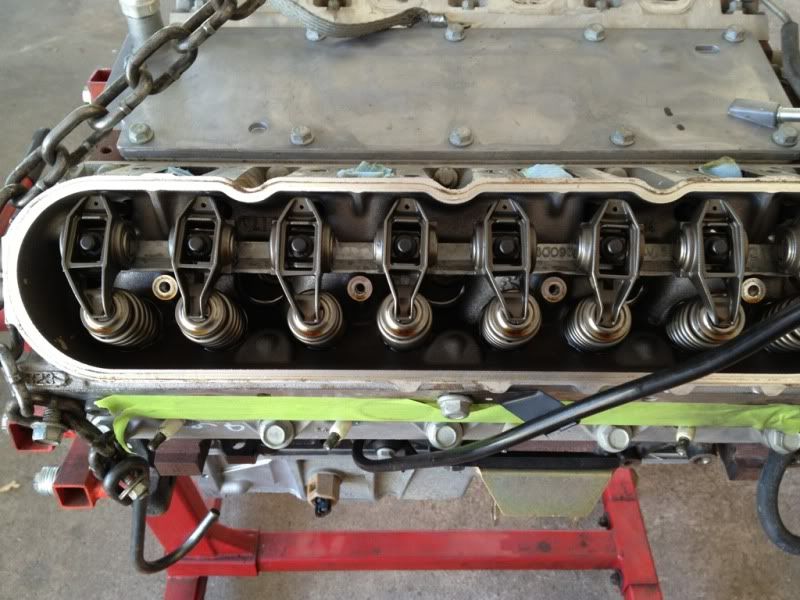
Heads look clean! Keep up the progress!
Heads look clean! Keep up the progress!
05-28-2012 | 05:11 PM
#118
The passenger header collector will have to be cut and pointed down.
After some modifying/denting one tube on the headers I have 1/8 clearance at the tightest spot.
I was planning to put the valve on top of the frame away from the heat, but my stainless lines are prebent, and this was the easiest way to keep moving forward.
After some modifying/denting one tube on the headers I have 1/8 clearance at the tightest spot.
I was planning to put the valve on top of the frame away from the heat, but my stainless lines are prebent, and this was the easiest way to keep moving forward.
05-28-2012 | 07:12 PM
#119
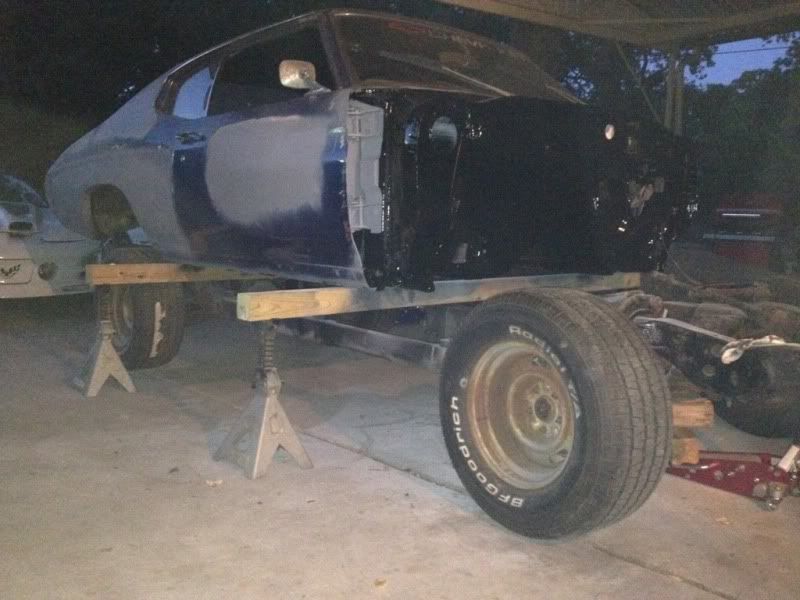
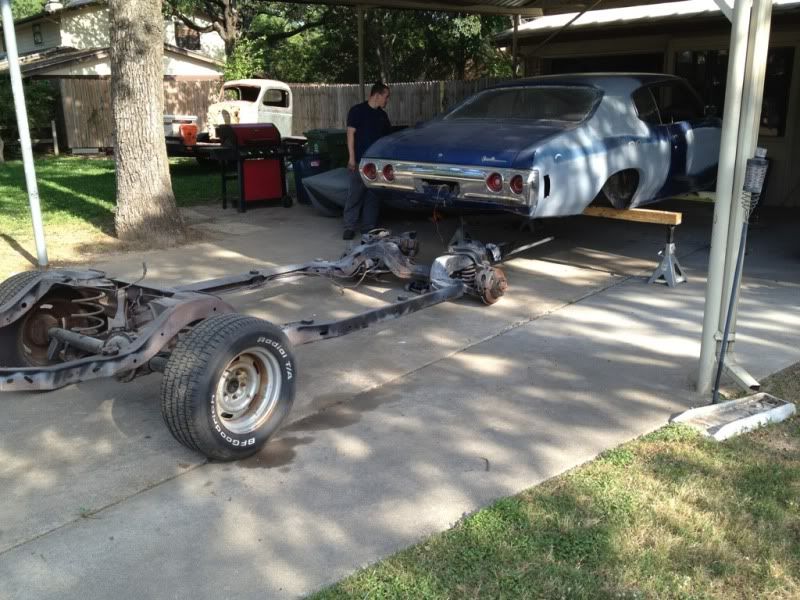
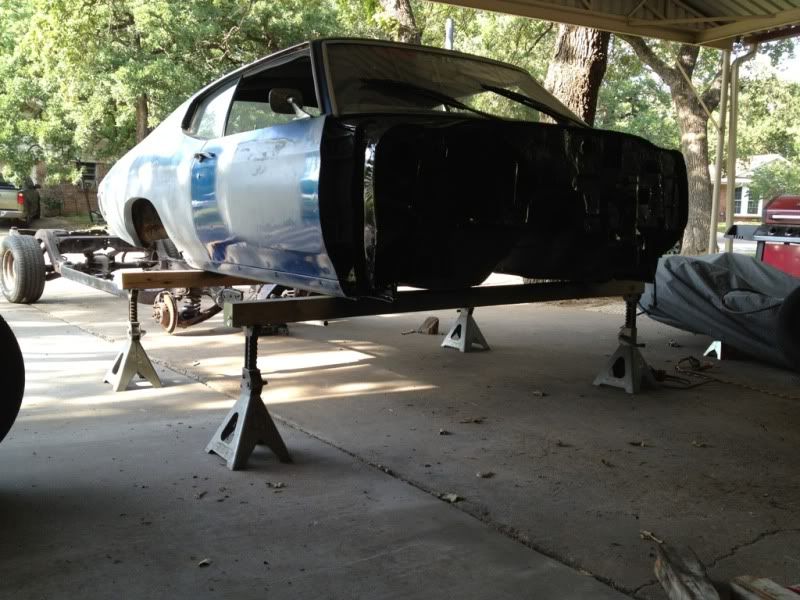
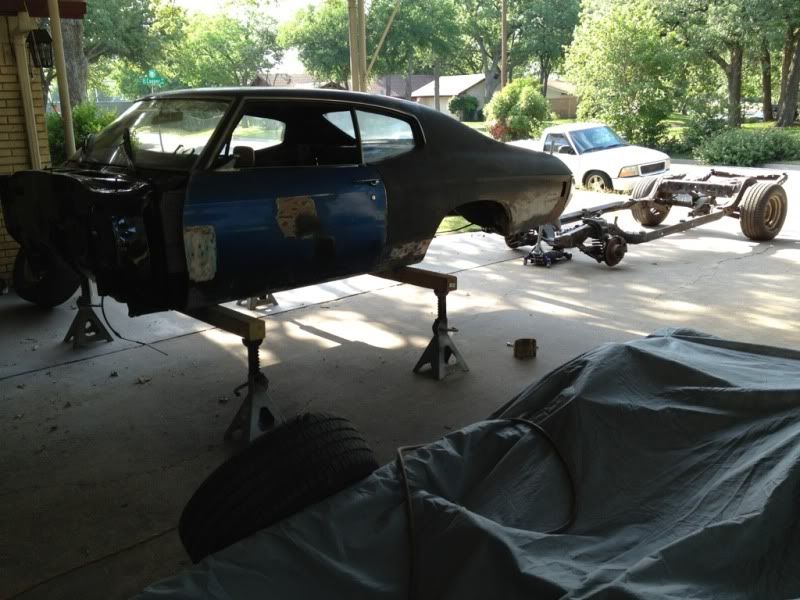
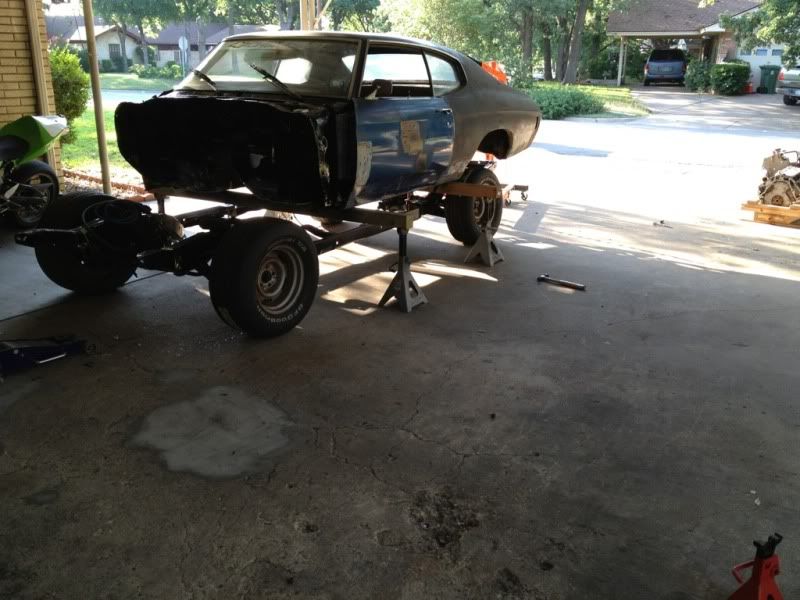
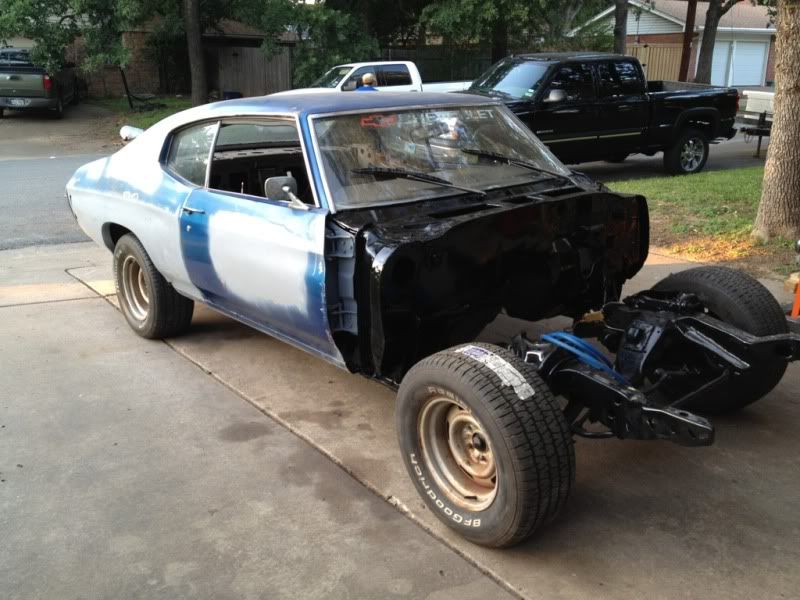
Good progress on the body work. I remember when my body was on boards and blocks.. ah the memories.. LOL When I did it, it was a one man job, that was fun !
See if you can move the P-valve up on top of the frame from where it is, get it away from the heat of the headers. You should be able to bend the tubing a bit if they will reach. That way you won't have to hammer the header.
BC
See if you can move the P-valve up on top of the frame from where it is, get it away from the heat of the headers. You should be able to bend the tubing a bit if they will reach. That way you won't have to hammer the header.
BC
05-28-2012 | 07:32 PM
#120
I've been doing most of this myself aswell. I have the occasional helper, but I will say I'm better prepared for the next one!
I already took a hammer to the header so unless I have an issue later I plan to leave it where it is. Lots of big block guys have been running like this for years.
I already took a hammer to the header so unless I have an issue later I plan to leave it where it is. Lots of big block guys have been running like this for years.