
71 Chevelle+LY6+T56,

 08-20-2012, 09:12 PM
#145
TECH Enthusiast
Thread Starter
iTrader: (4)

Join Date: Dec 2005
Posts: 502
Likes: 0
Received 0 Likes
on
0 Posts

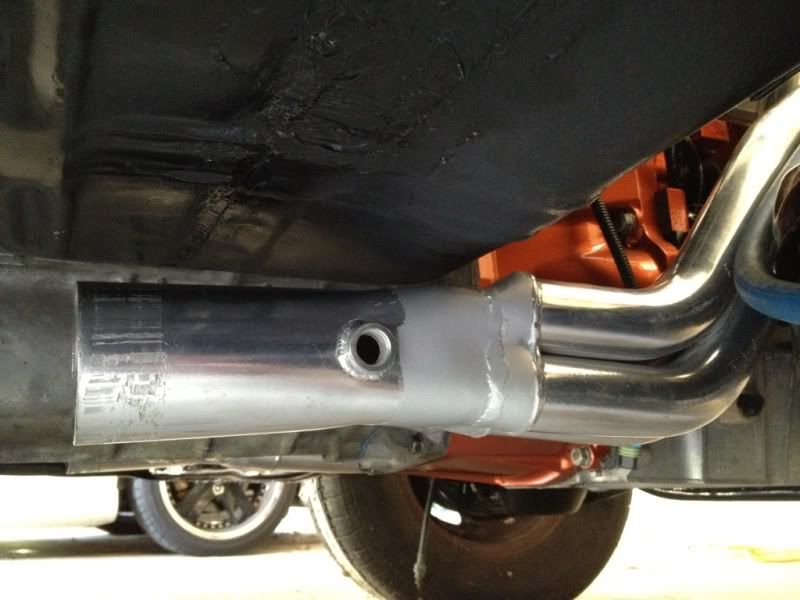
Well it's not what I wanted to do to a high dollar set of hooker headers but I had to modify them around the body on the passenger side and angle both collectors down just a little to get a better angle toward the cross member, pics...
Passenger side

Driver side angle, not absolutely needed but helpful
Passenger side
Driver side angle, not absolutely needed but helpful
08-26-2012, 10:13 PM
#146
TECH Enthusiast
Thread Starter
iTrader: (4)
Join Date: Dec 2005
Posts: 502
Likes: 0
Received 0 Likes
on
0 Posts
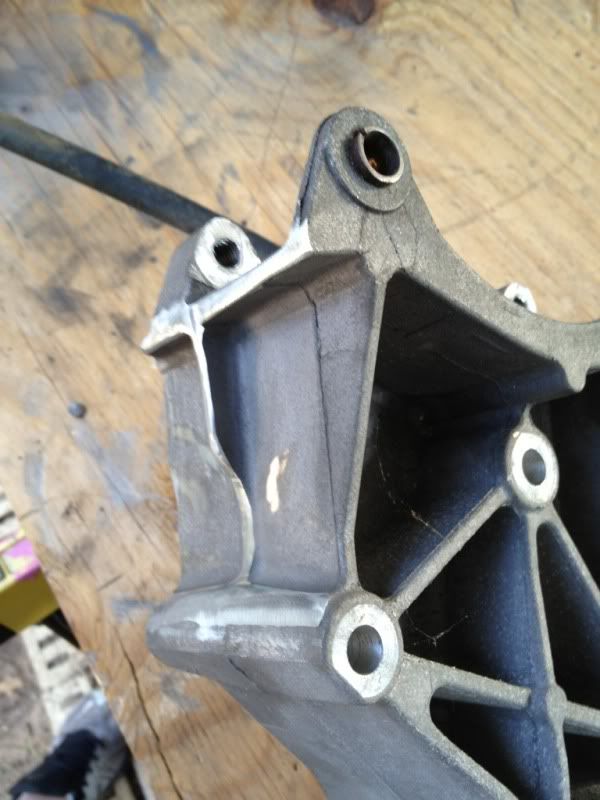
Modified my alternator bracket to fit the intake
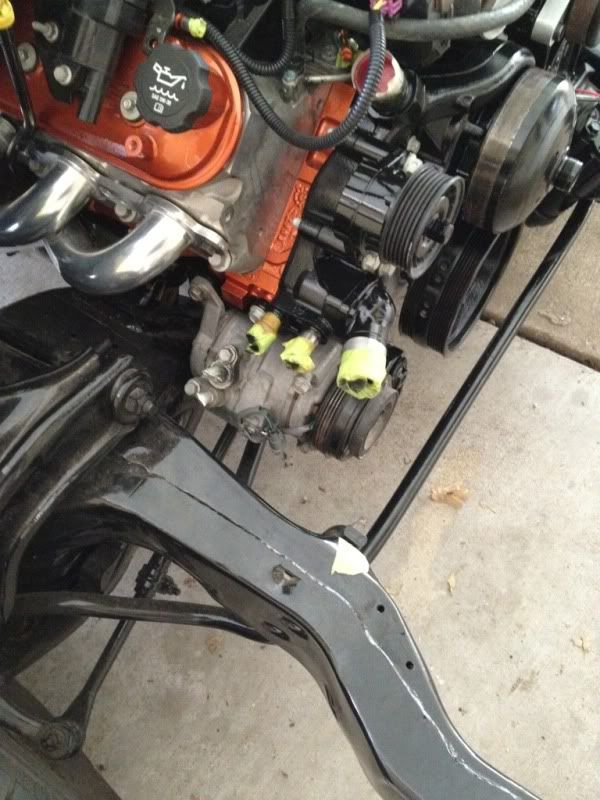
Water pump, idler relocation bracket, and AC compressor installed
I think I'm going to paint the compressor aswell.
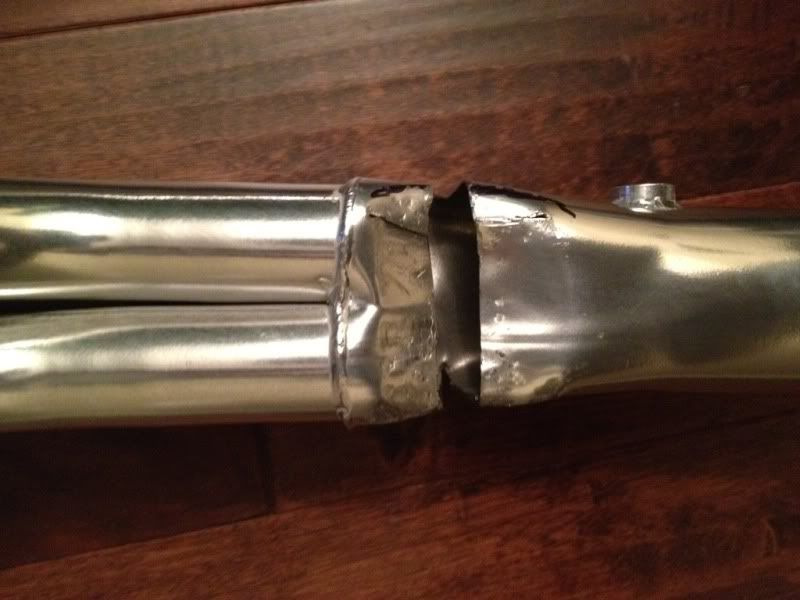
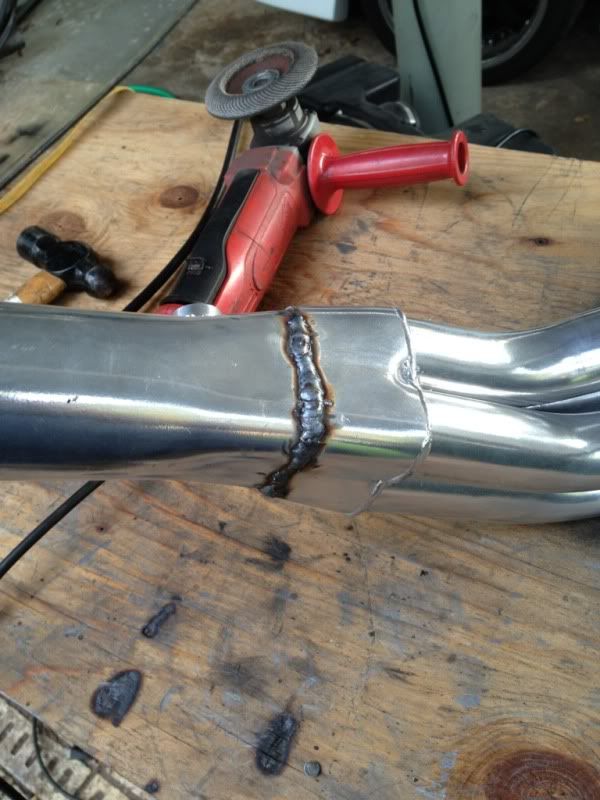
Welded my headers after getting the collectors pointed down a bit.
Water pump, idler relocation bracket, and AC compressor installed
I think I'm going to paint the compressor aswell.
Welded my headers after getting the collectors pointed down a bit.


 09-01-2012, 08:54 PM
#151
TECH Enthusiast
Thread Starter
iTrader: (4)
Join Date: Dec 2005
Posts: 502
Likes: 0
Received 0 Likes
on
0 Posts
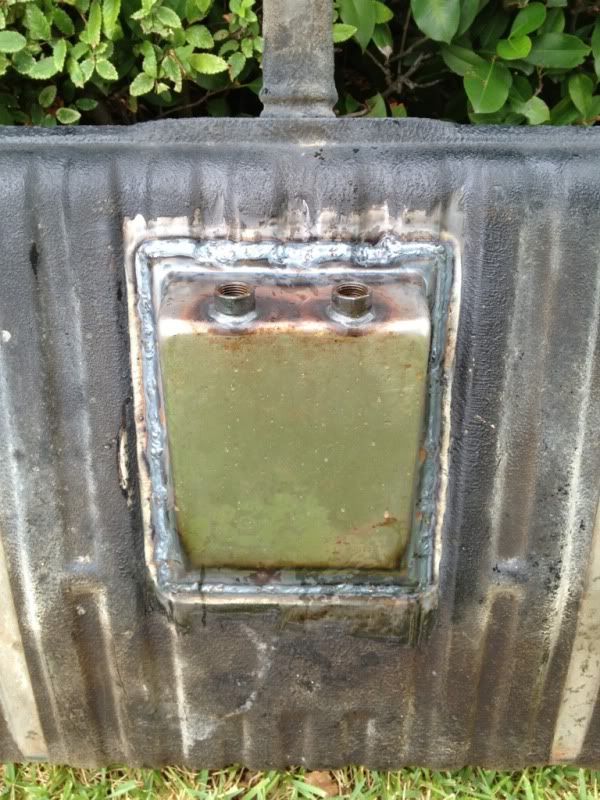
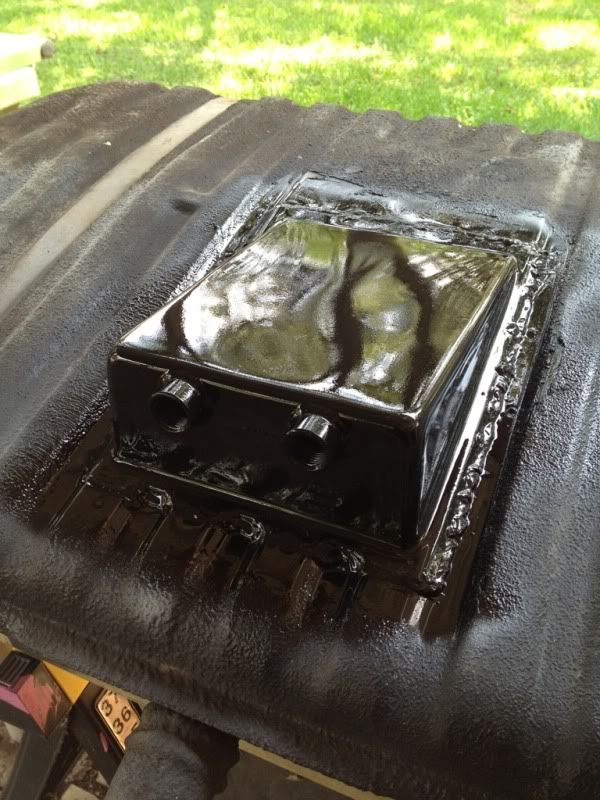
I made som progress and decided to move my prop valve away from the headers
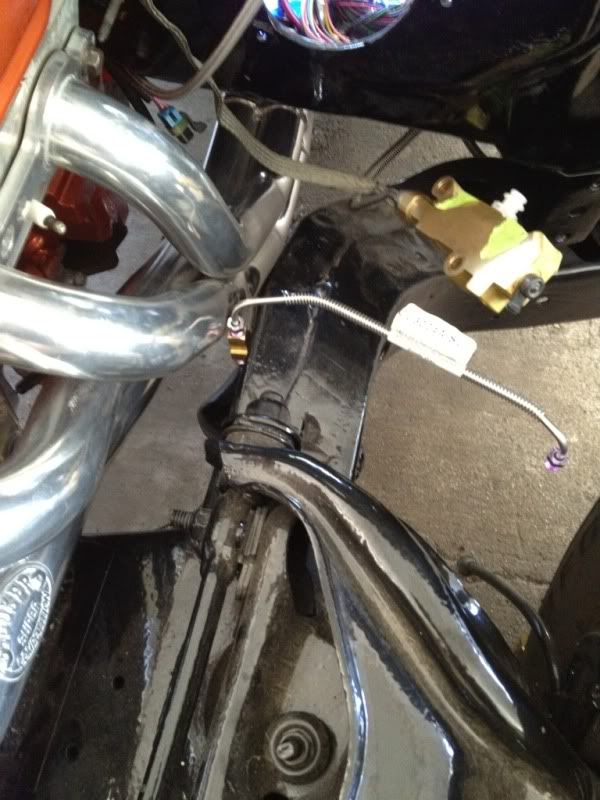
Hooking up the power steering, still need to buy a high pressure line.
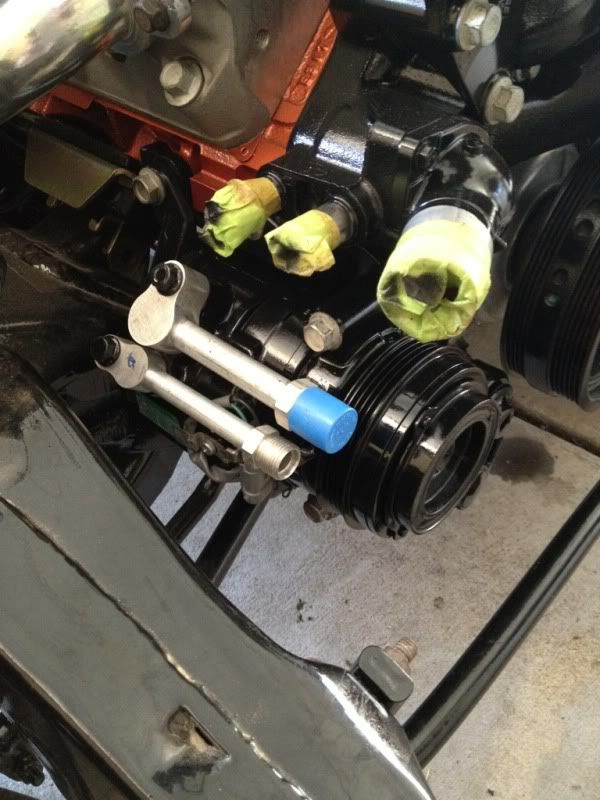
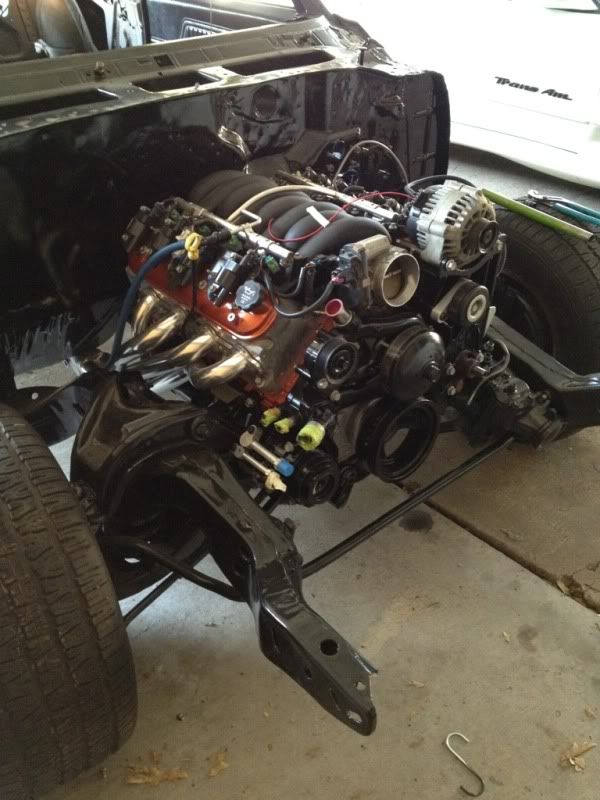
Painted and installed my a/c compressor, installed my adapters from docs blocks.com
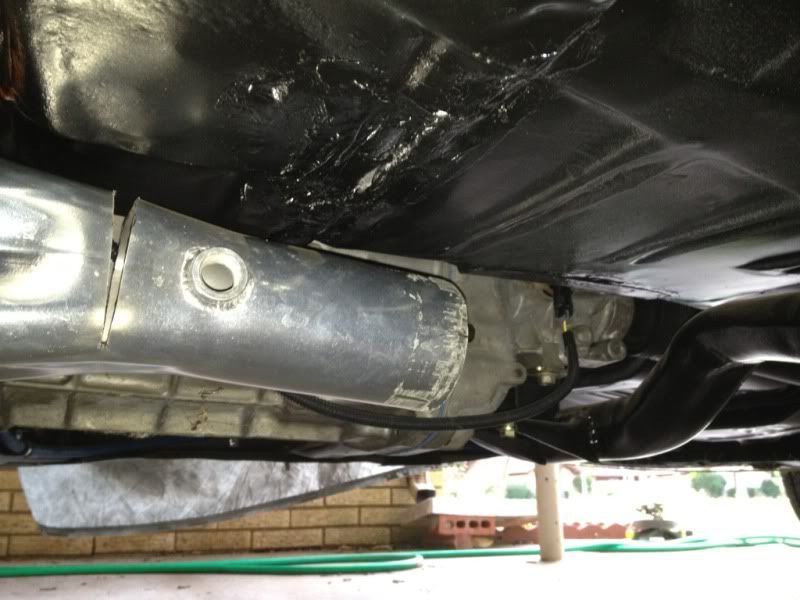
Driver side header modified and installed. Didn't need this mod but the angle is much better to clear the crossmember with less bent tubing.
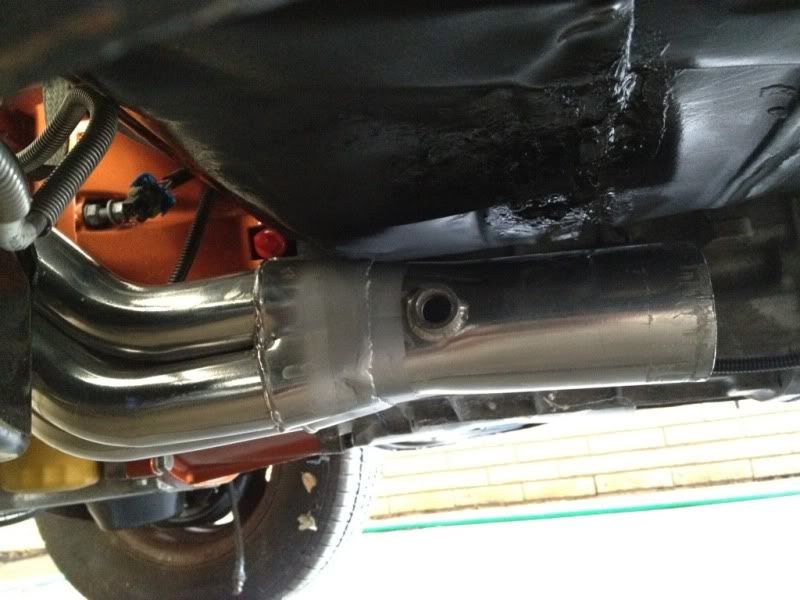
Passenger side header installed, this side took a bit more persuading to fit, but came out great.
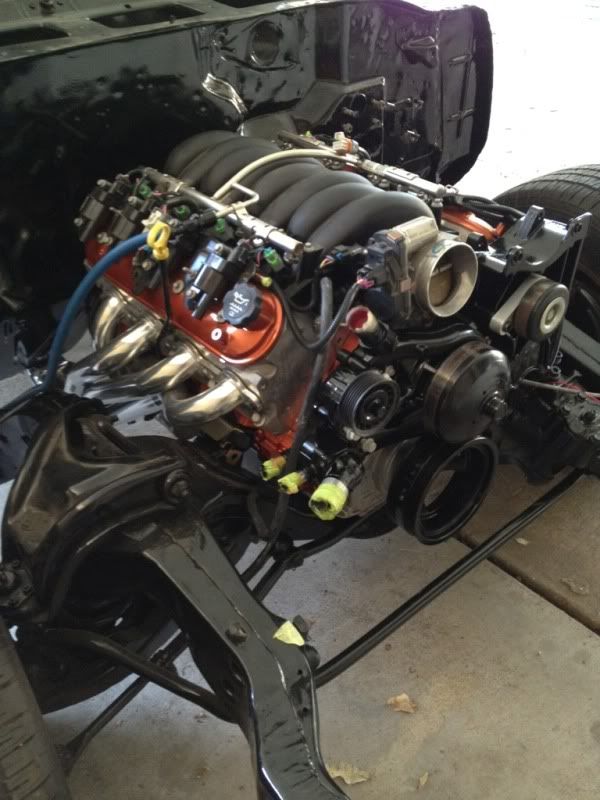
And here it sits as of this afternoon... I had hoped to test fire the motor this weekend but I don't think I'll have enough time, I plan to break out the motorcycle and stretch its legs on Sunday. Hope everyone enjoys their three day weekend!!
Hooking up the power steering, still need to buy a high pressure line.
Painted and installed my a/c compressor, installed my adapters from docs blocks.com
Driver side header modified and installed. Didn't need this mod but the angle is much better to clear the crossmember with less bent tubing.
Passenger side header installed, this side took a bit more persuading to fit, but came out great.
And here it sits as of this afternoon... I had hoped to test fire the motor this weekend but I don't think I'll have enough time, I plan to break out the motorcycle and stretch its legs on Sunday. Hope everyone enjoys their three day weekend!!
09-01-2012, 09:13 PM
#152

"Hooking up the power steering, still need to buy a high pressure line"
Keep us posted on how you solve the problem. I am right behind you with the same situation with my Buick Skylark.
Keep us posted on how you solve the problem. I am right behind you with the same situation with my Buick Skylark.
 09-02-2012, 11:49 AM
#156
09-02-2012, 12:21 PM
#157
TECH Enthusiast
Thread Starter
iTrader: (4)
Join Date: Dec 2005
Posts: 502
Likes: 0
Received 0 Likes
on
0 Posts
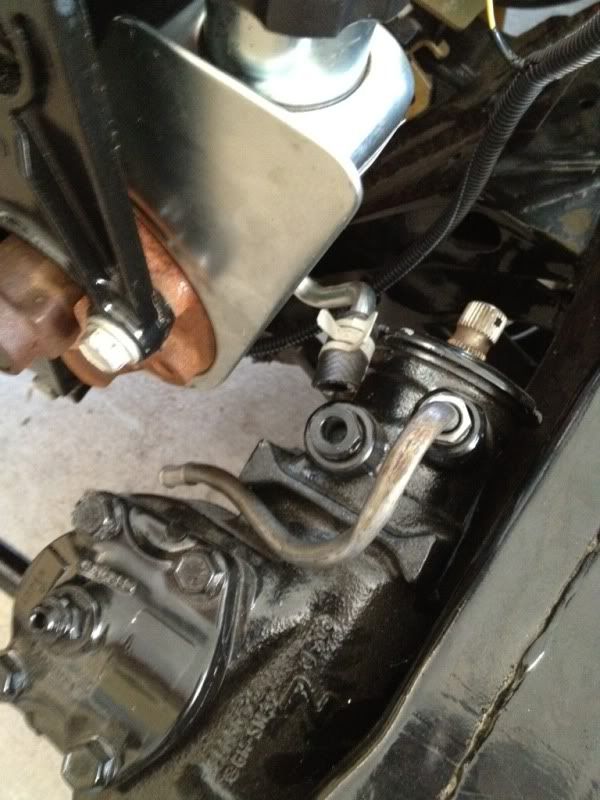
Swapped the "plunger" fitting from the old pump to the newer LS pump, its a bolt on piece. Then used press in adapters in the jeep pump, there are pics in this thread but I don't remember what page.
After doing both of these steps you can use all factory Chevelle/a- body parts, my goal was to keep things as stock as possible incase of a break down on a road trip.
After doing both of these steps you can use all factory Chevelle/a- body parts, my goal was to keep things as stock as possible incase of a break down on a road trip.
09-09-2012, 12:56 AM
#159
TECH Enthusiast
Thread Starter
iTrader: (4)
Join Date: Dec 2005
Posts: 502
Likes: 0
Received 0 Likes
on
0 Posts
Power steering hoses are finished, now to locate a smaller pulley...

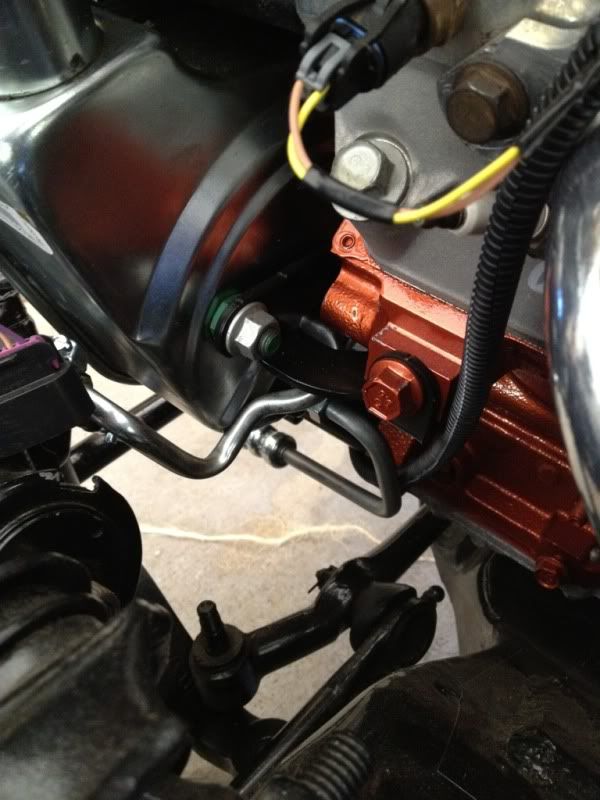
I used a stock Chevelle high pressure hose. And stock low pressure tubing, the fittings I installed in the jeep steering box worked out great!
I used a stock Chevelle high pressure hose. And stock low pressure tubing, the fittings I installed in the jeep steering box worked out great!