When you click on links to various merchants on this site and make a purchase, this can result in this site earning a commission. Affiliate programs and affiliations include, but are not limited to, the eBay Partner Network.
let me know what the size is on the sender! i have some efi quick disconnects in -6 i can sell yah.
3/8 -6 fittings i have in black (russel 644123)
Yeah I'll check in the next few days. The tank and sender are stored up in my rafters above the body so it'll take some rearranging and climbing to get it down. I need to get up there anyways because I didn't think to leave my trans crossmember down where I could get to it and now I need it
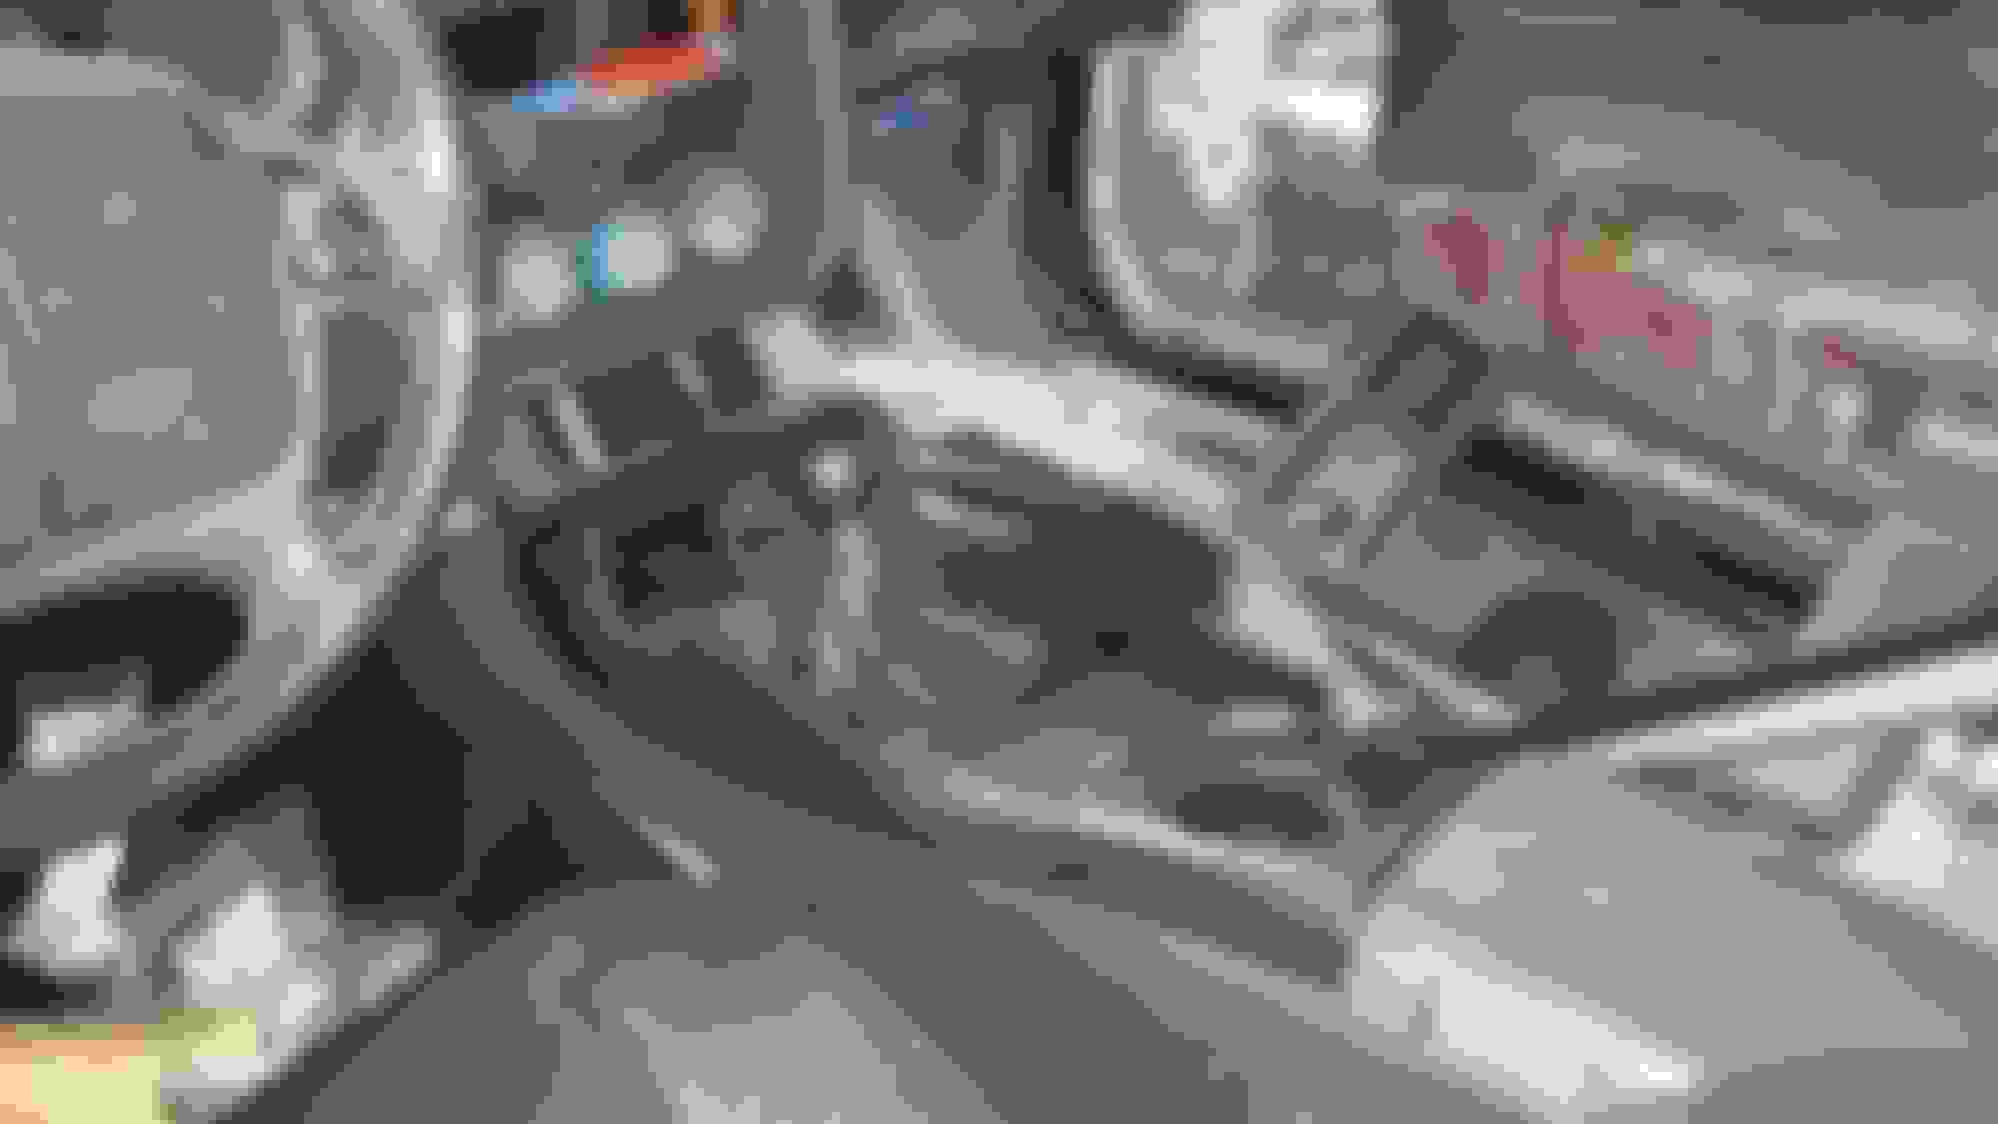
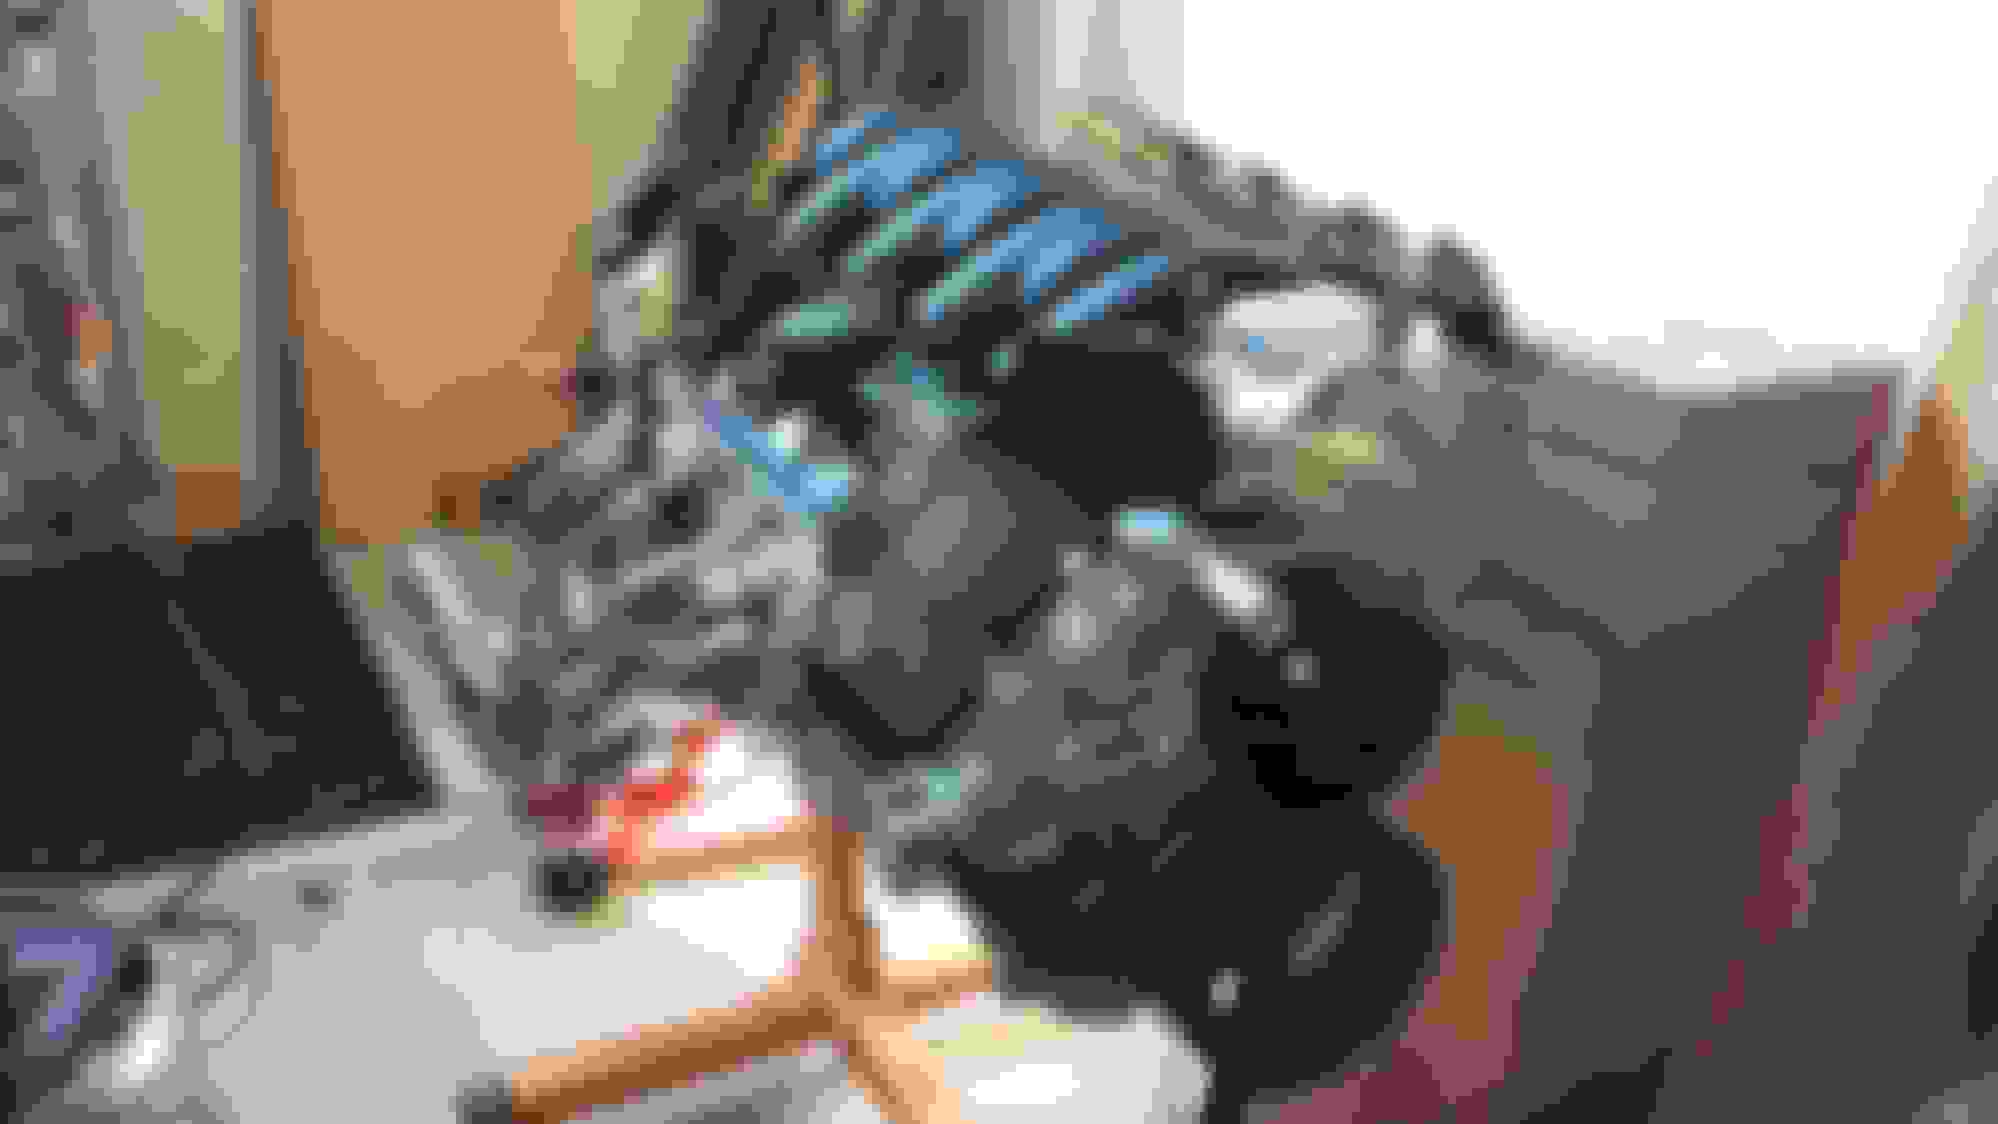
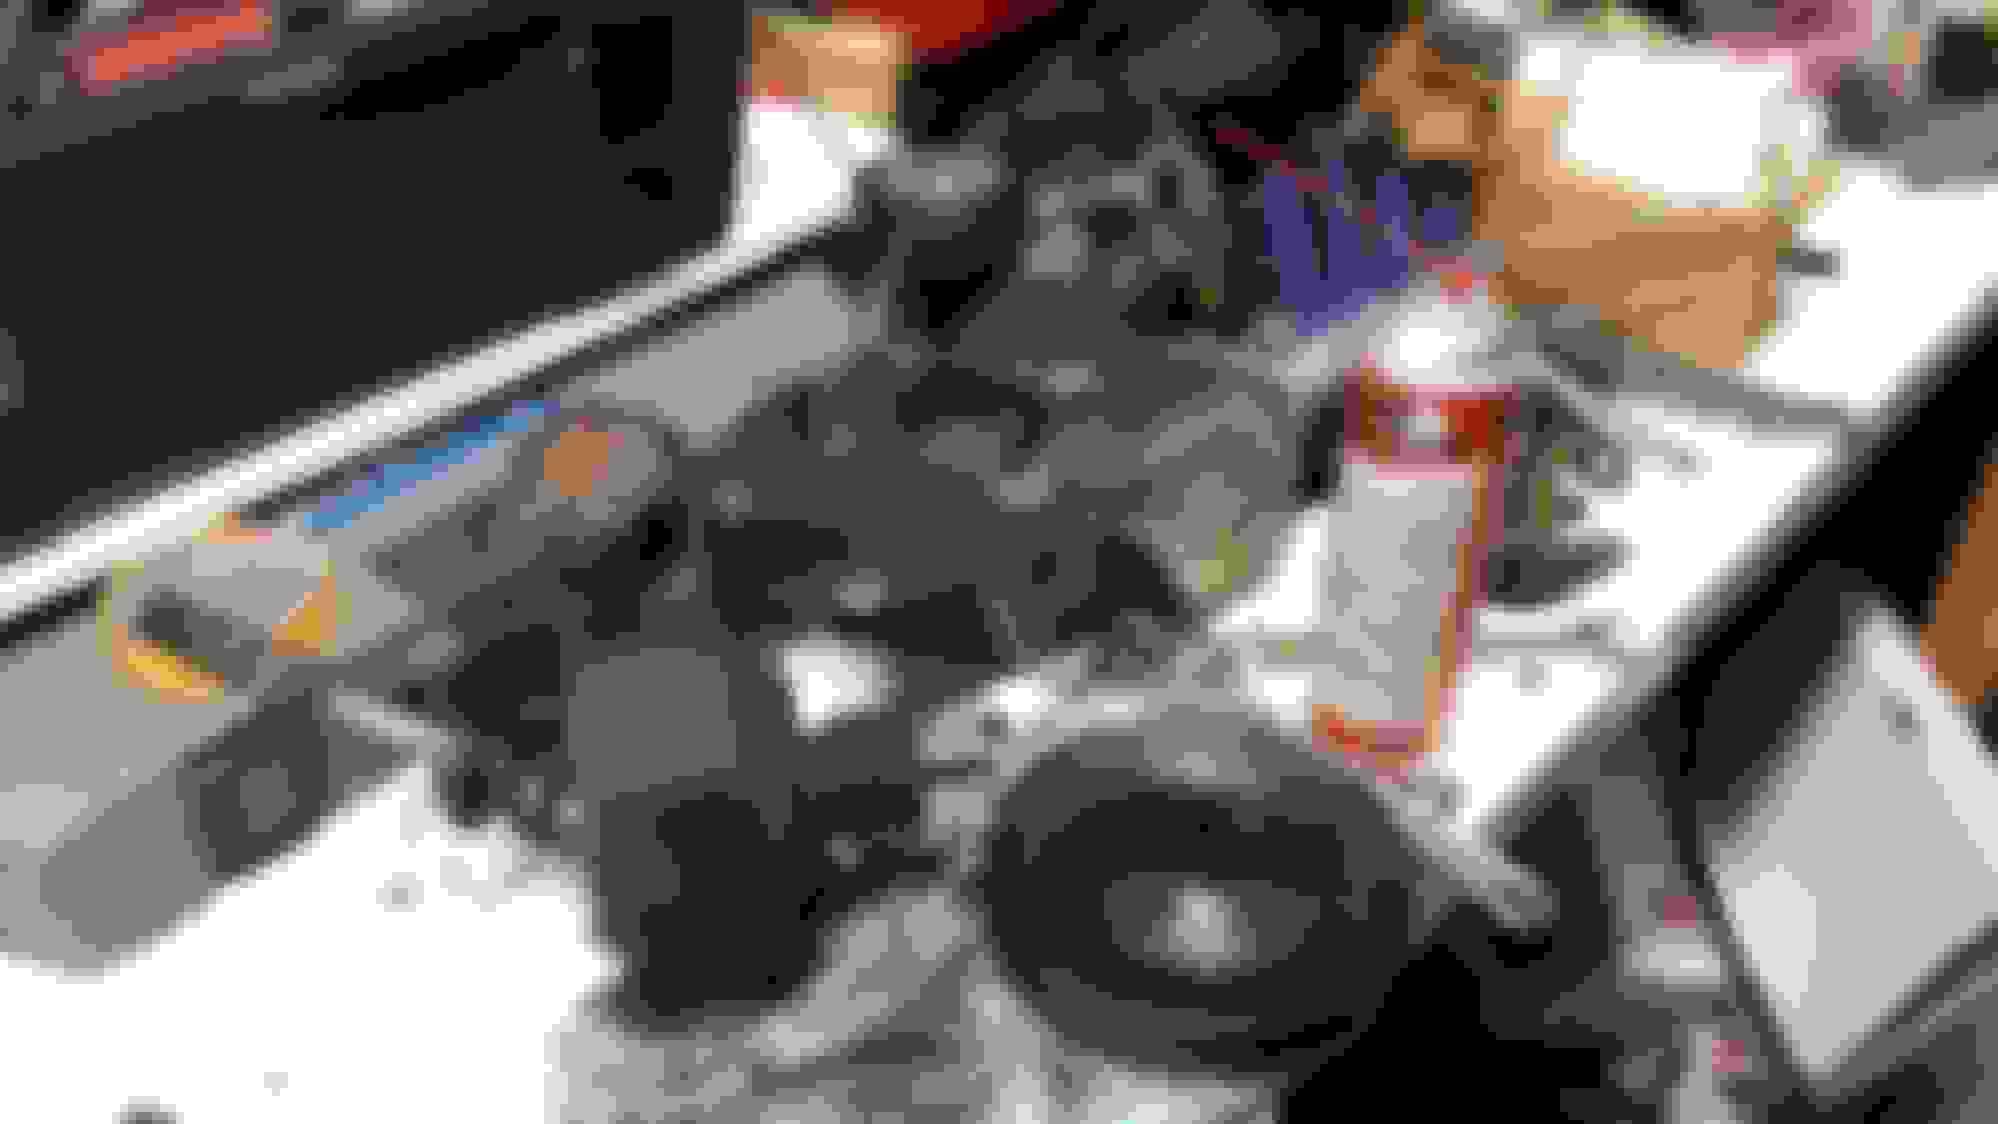
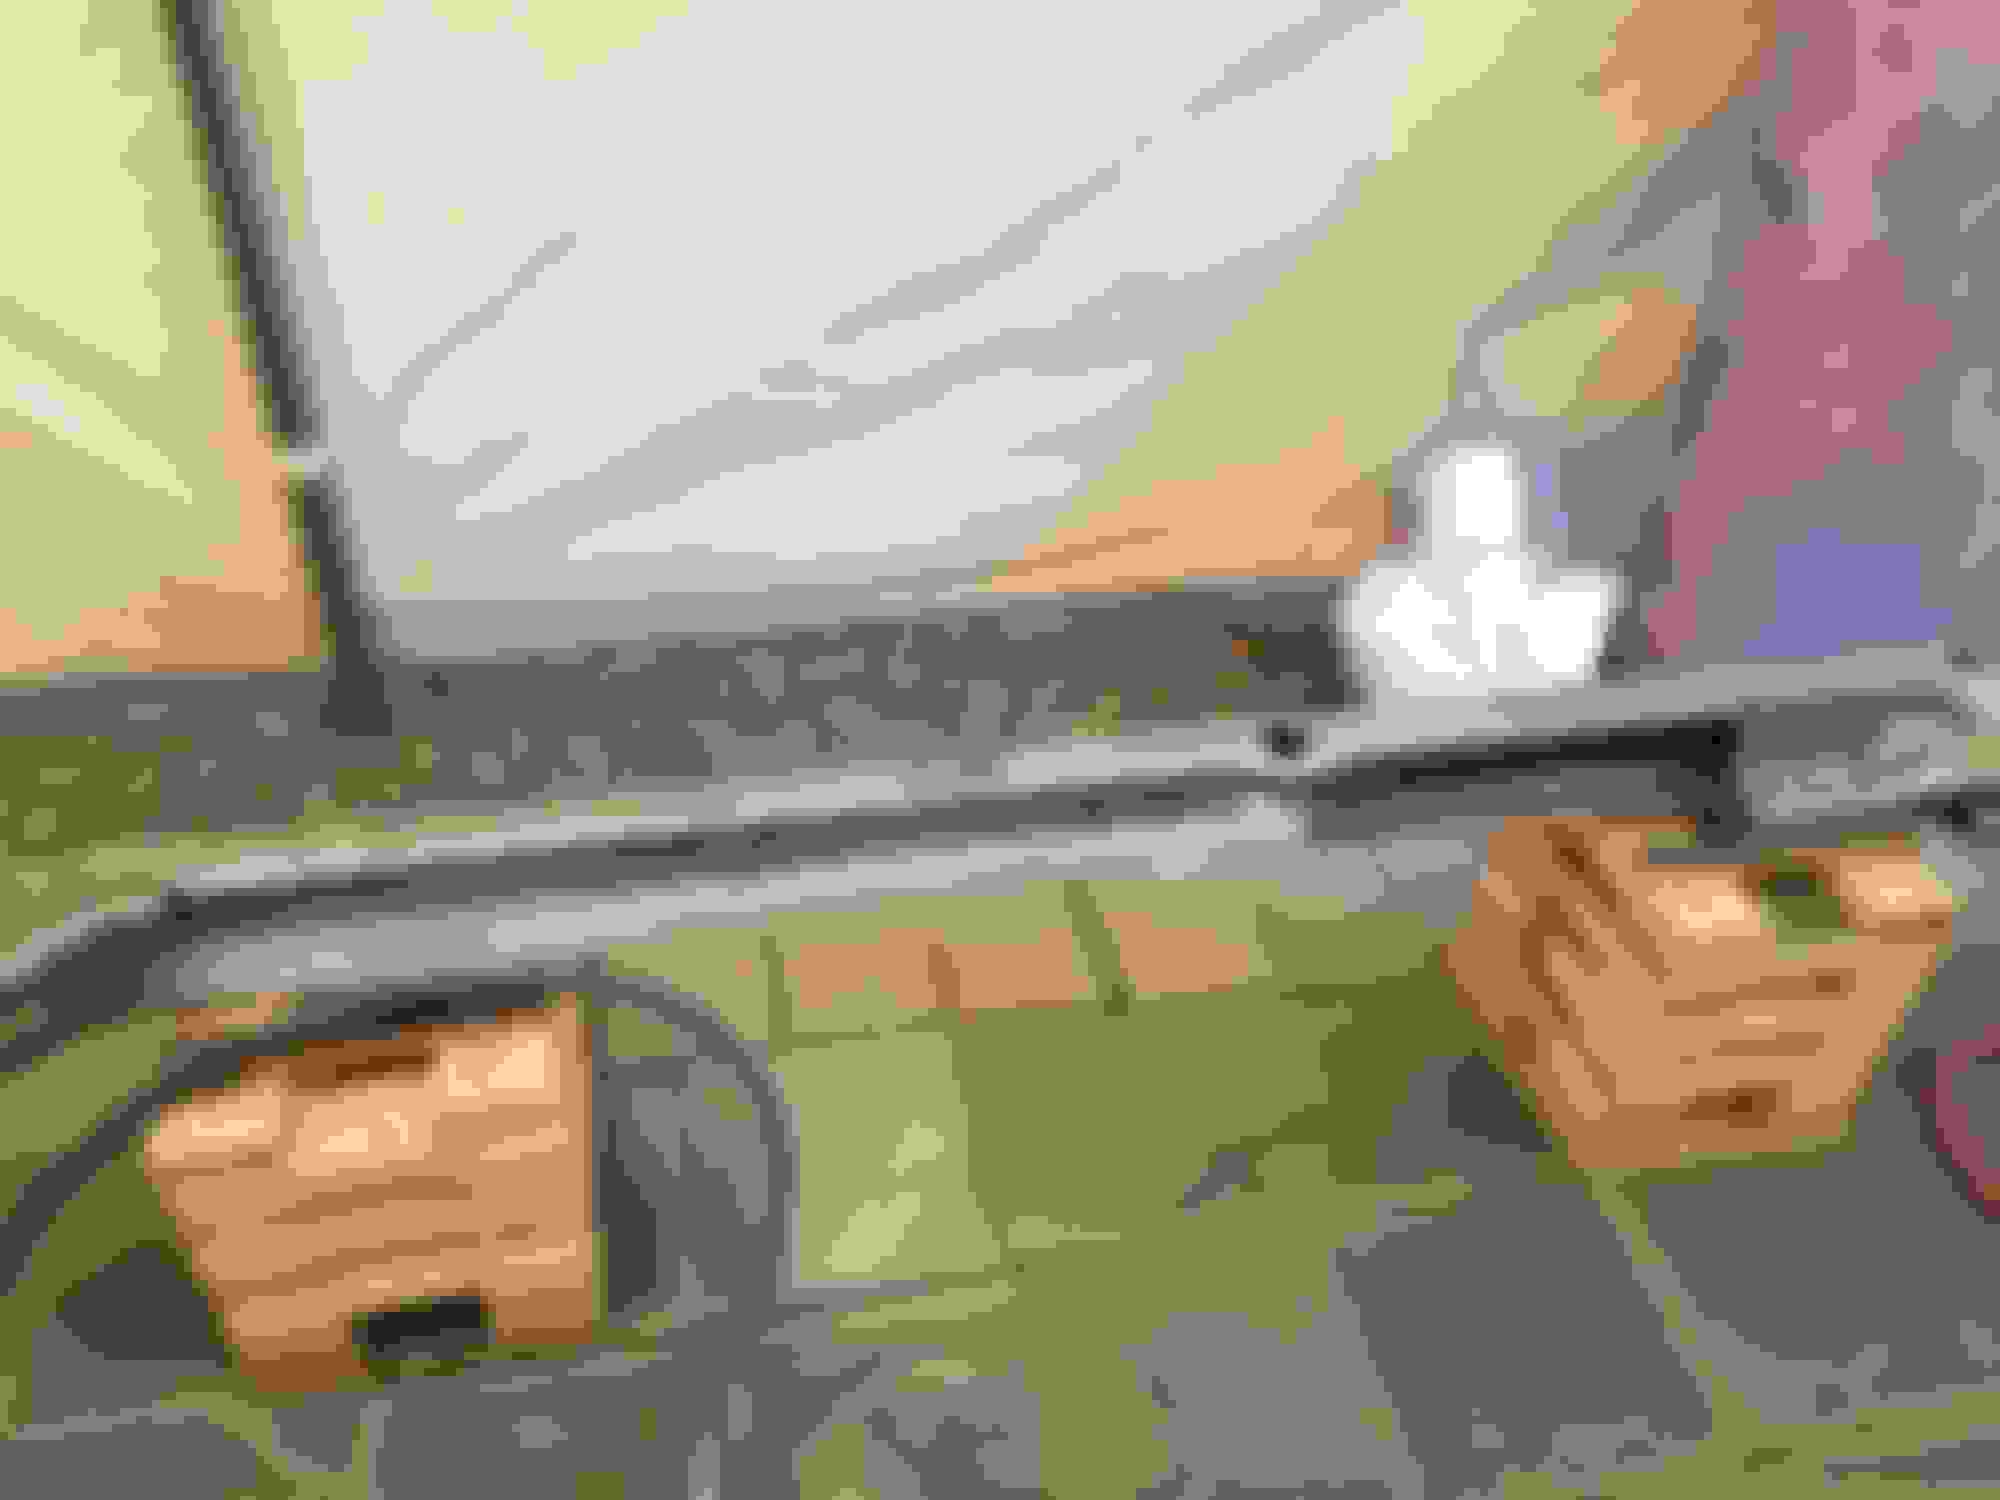
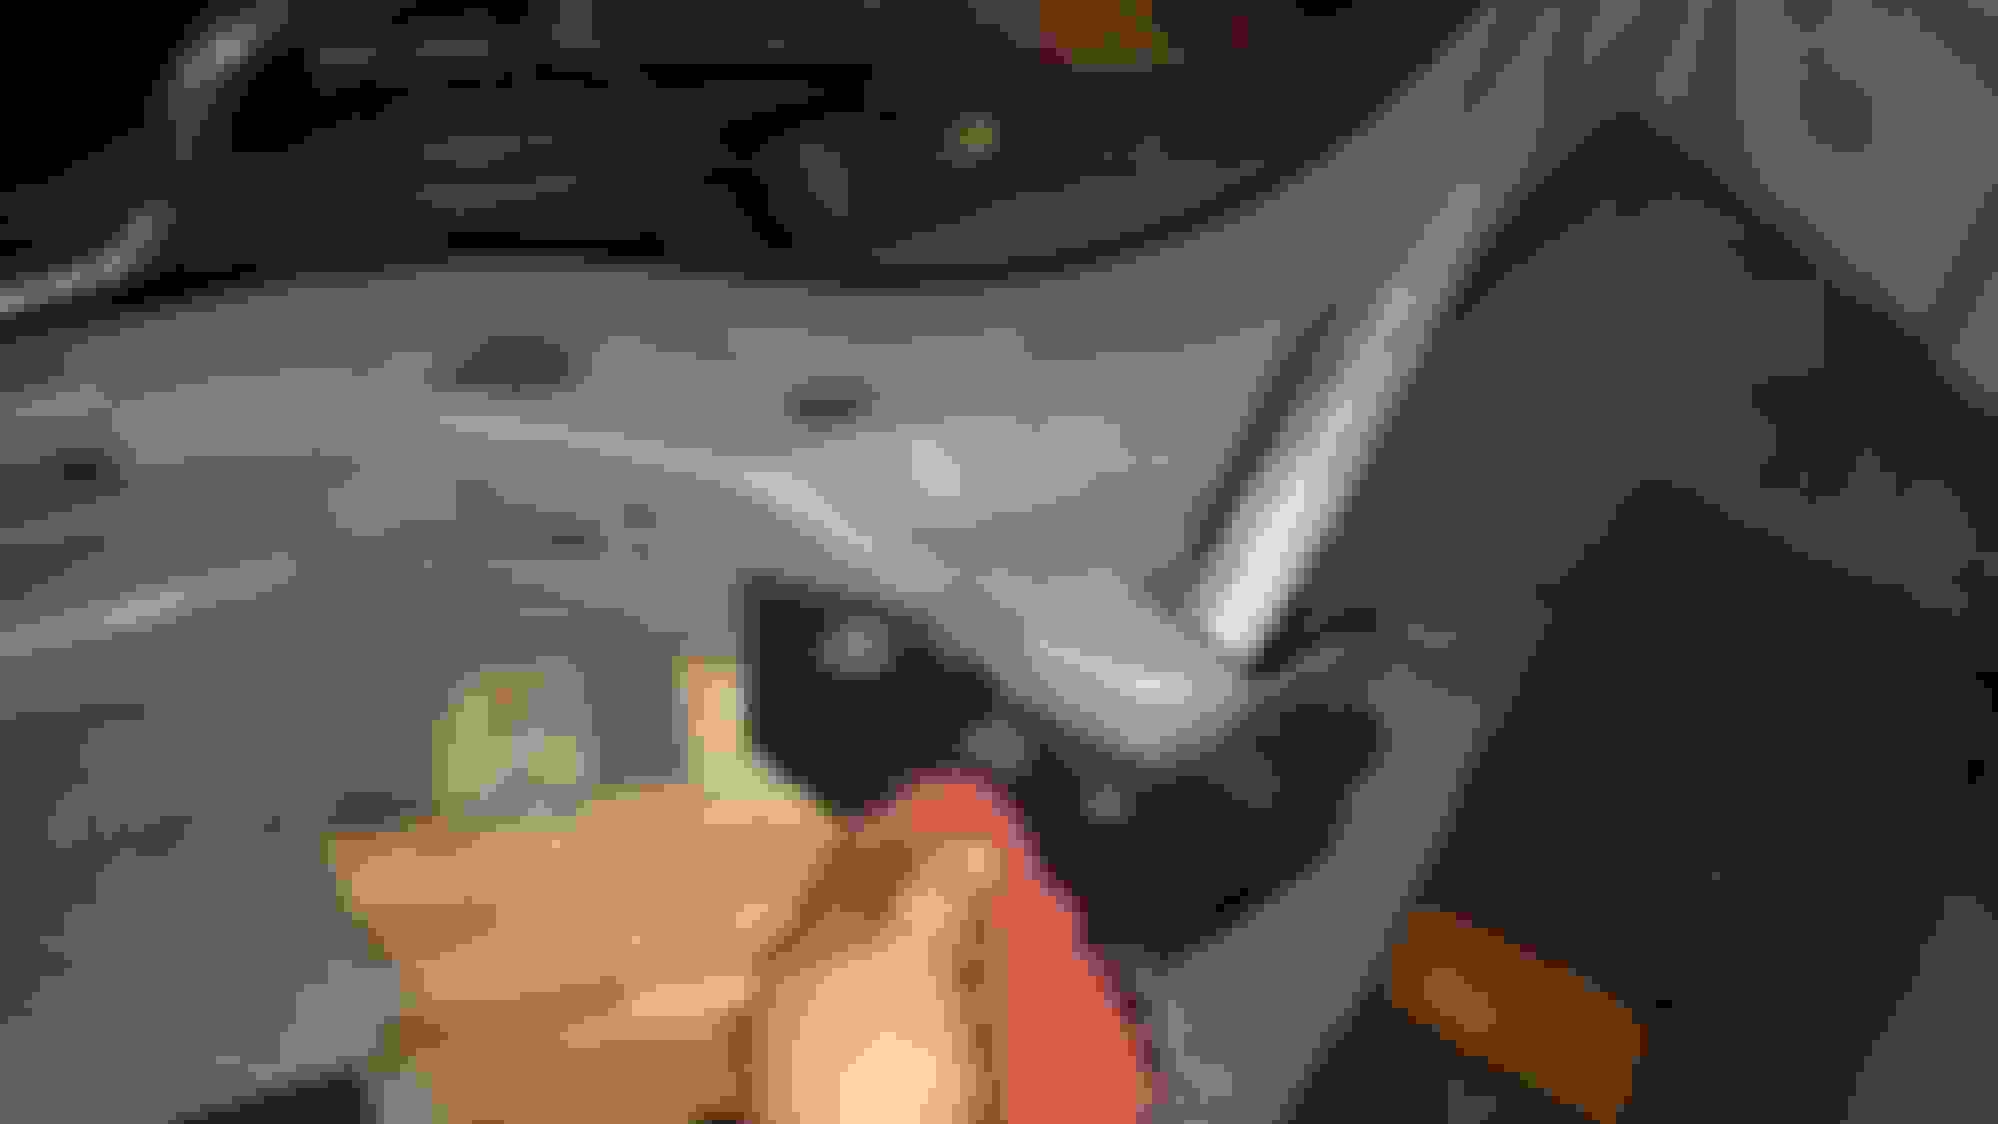
Went by the junkyard the other day and got quite a few cool things. They had just gotten in an 01 Camaro with an ebony interior. So I got a ton of pieces I needed and a few I didn't know I wanted.
I pulled a piece of the HVAC ducting to the drivers A-pillar that I was missing.
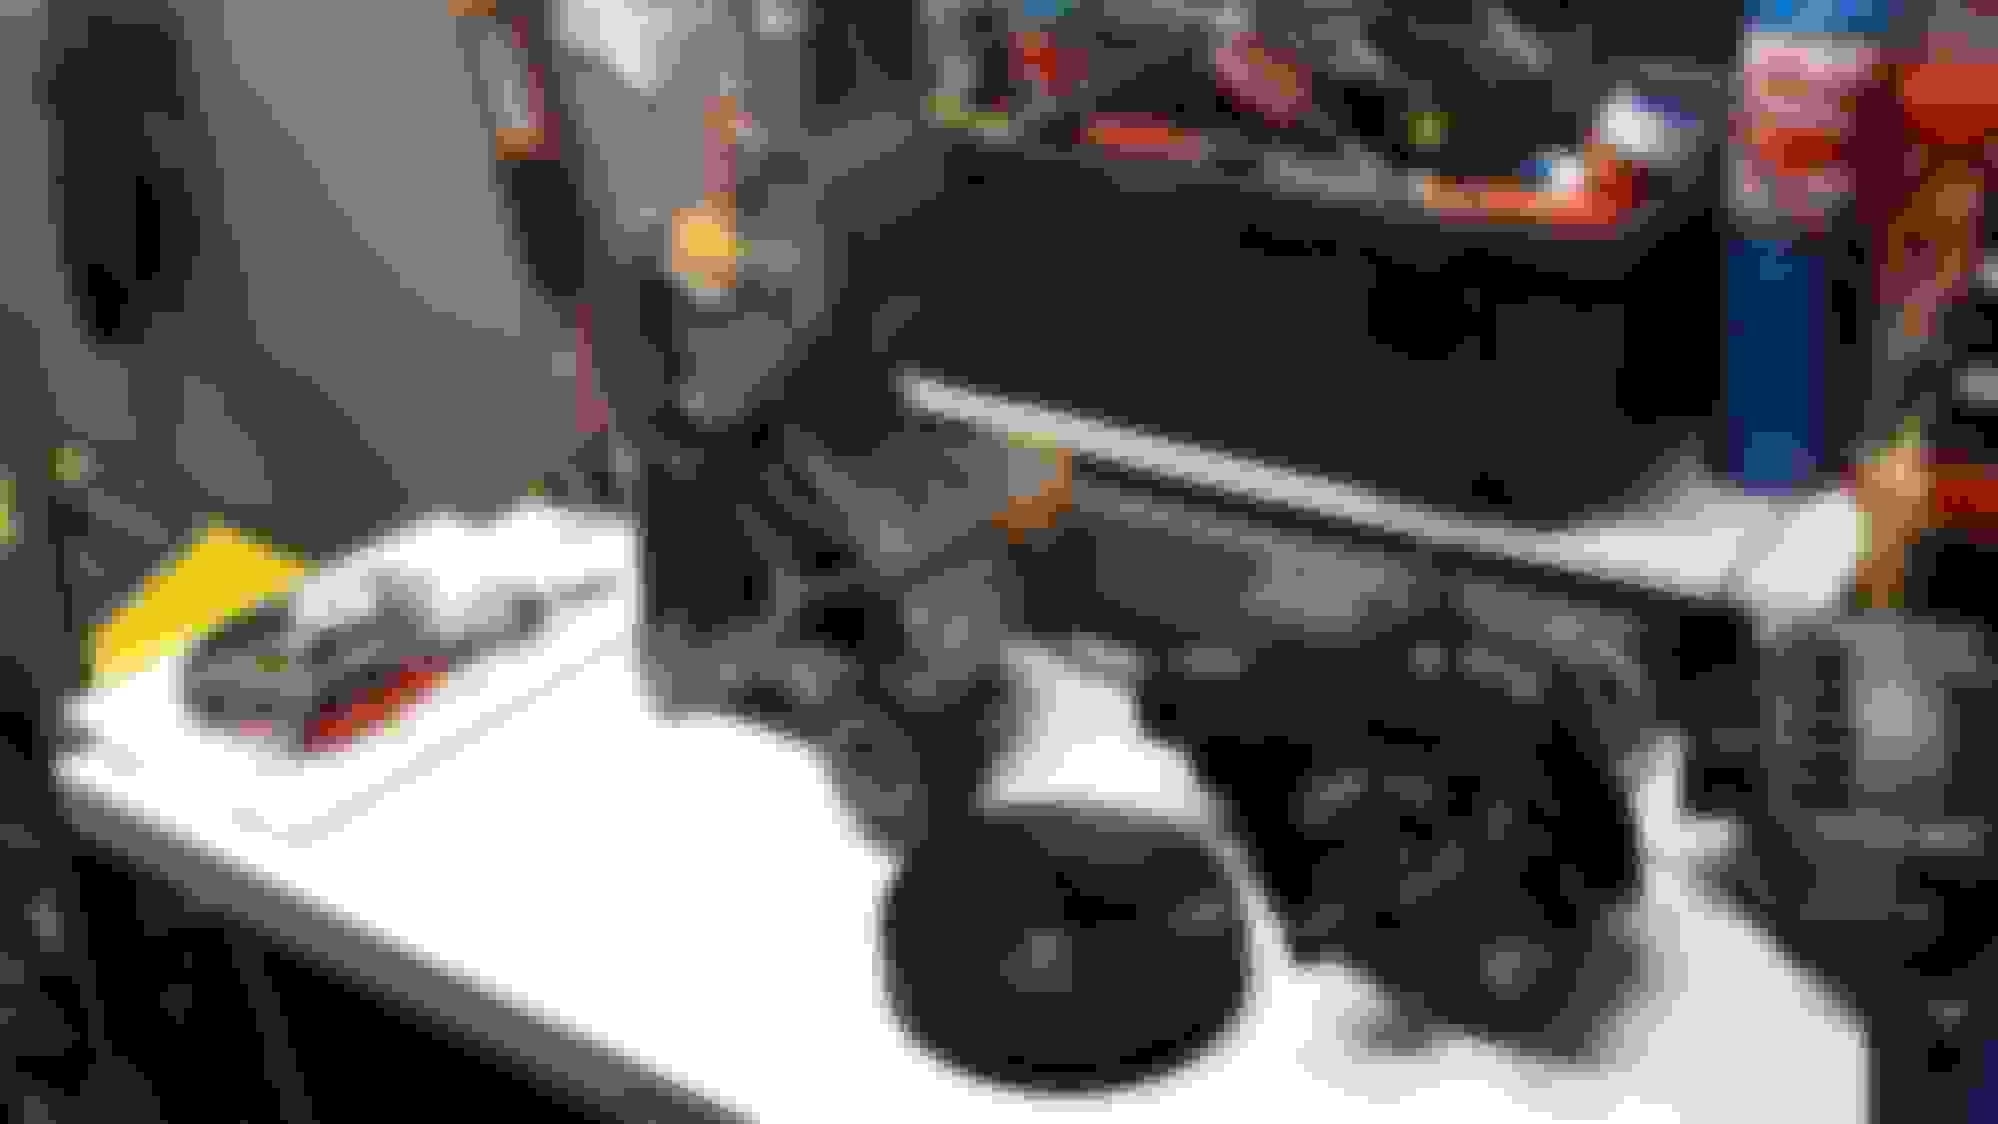
Got both A-pillars with tweeters that I can modify to close up the holes on the top of the dash.
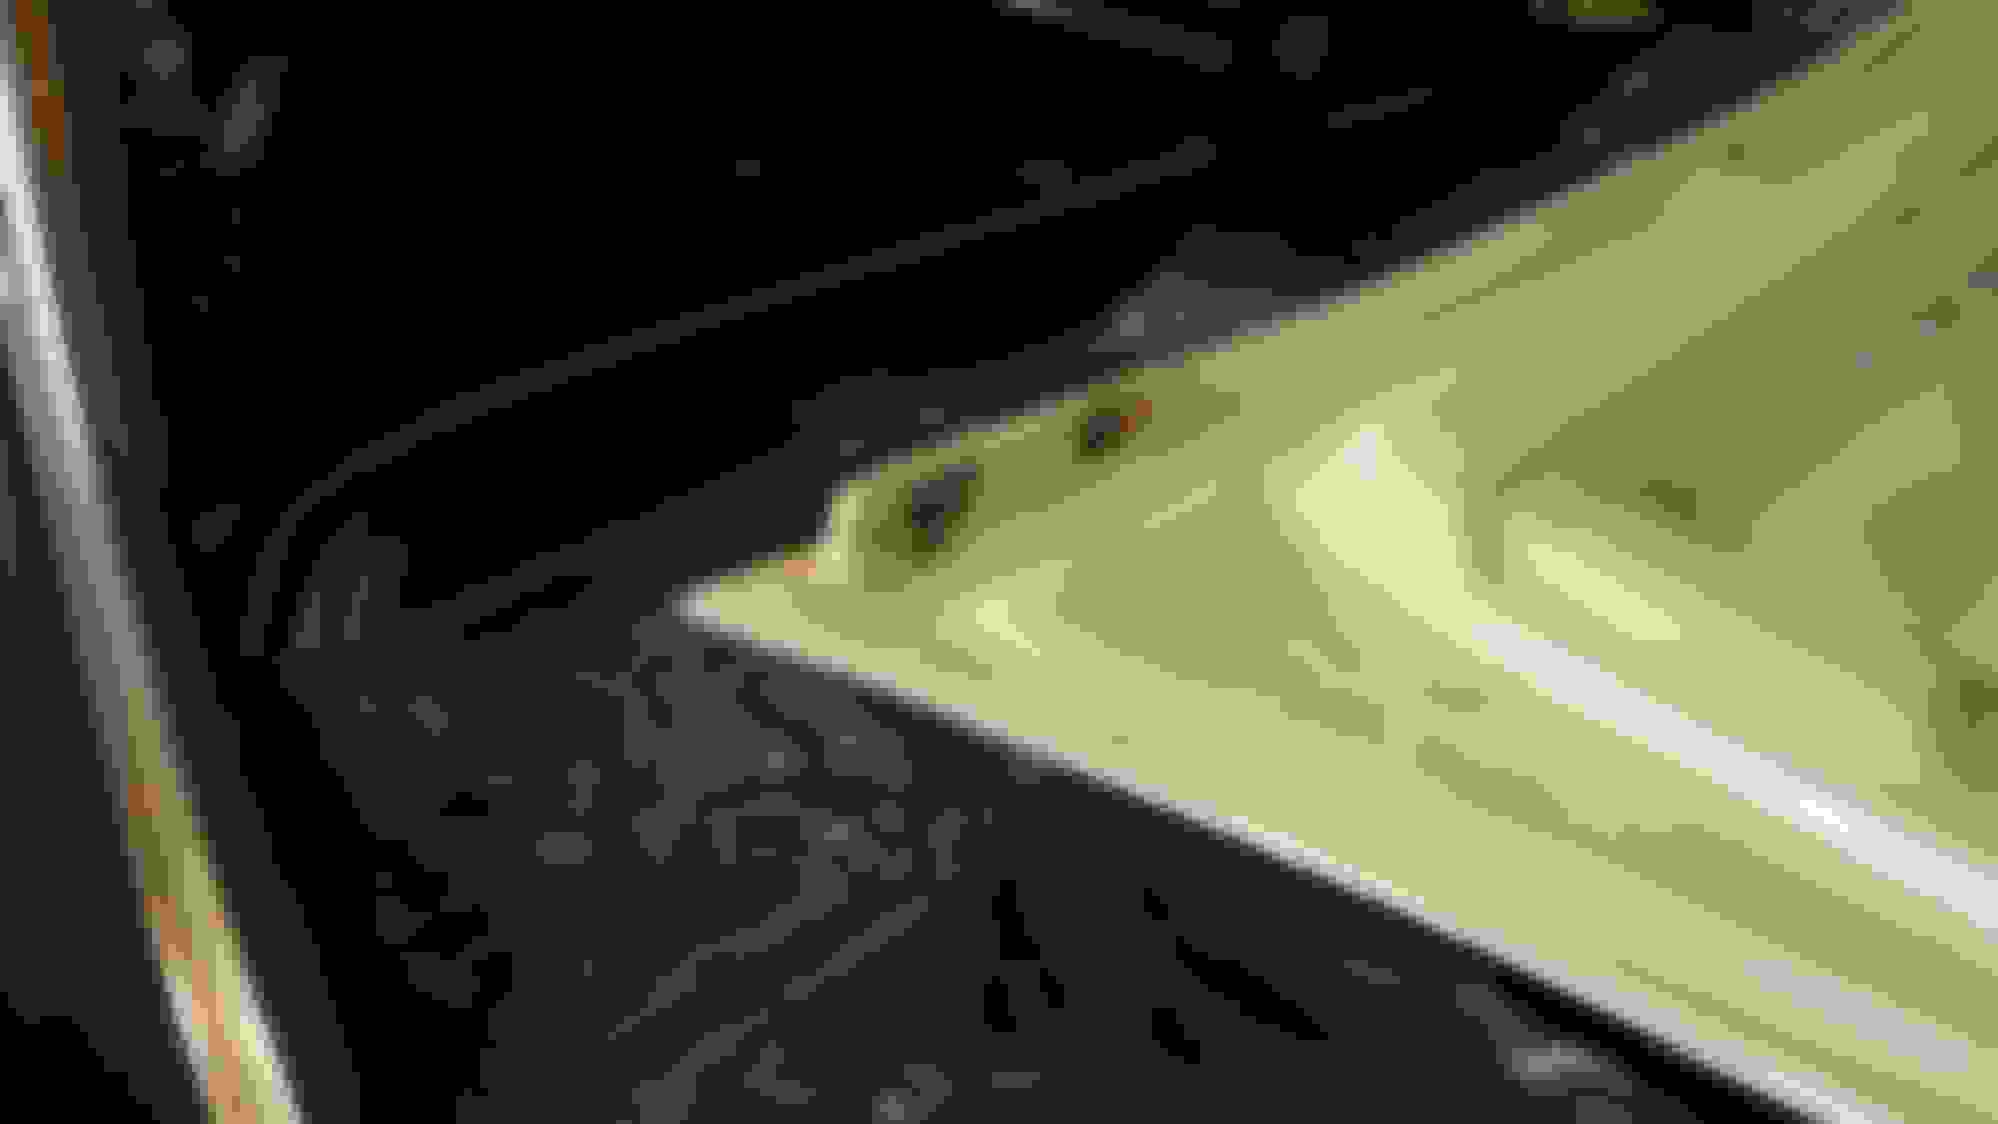
The upper dash cover under the windshield because mine is cracked badly.
The car had Focal component speakers so I got all that stuff (checked them at home and they are perfect!)
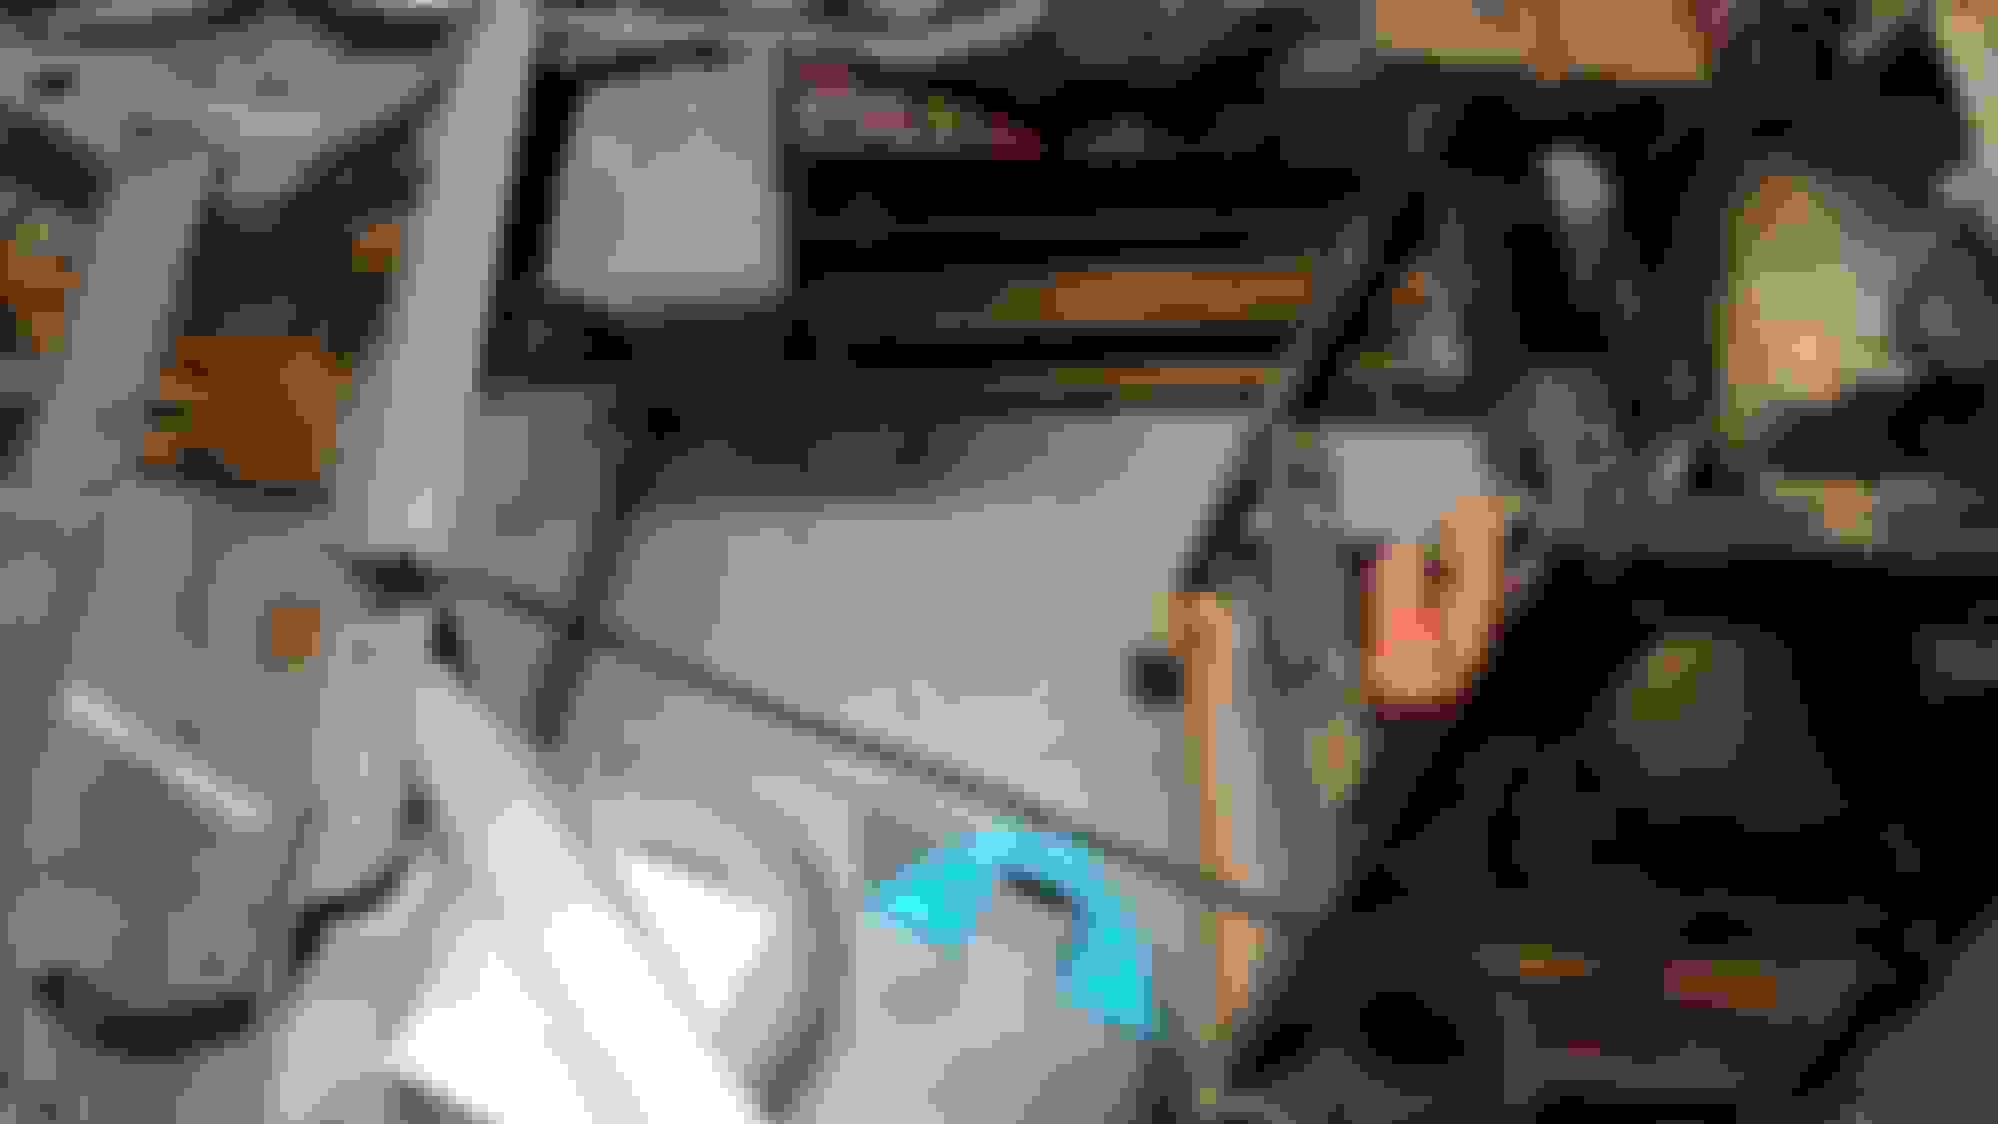
Also got the change holder for in the glove box and the shifter surround for a manual. I'm not going to change the build up any more than I have and go with a manual but I do like the boot and ash tray location a lot more than the auto piece. So I've decided to go with that now. I really like how good that plain ball shifter **** looks on the auto shifter too.
Everything will get painted black at the end, and maybe some things will get covered in fabric of some kind.
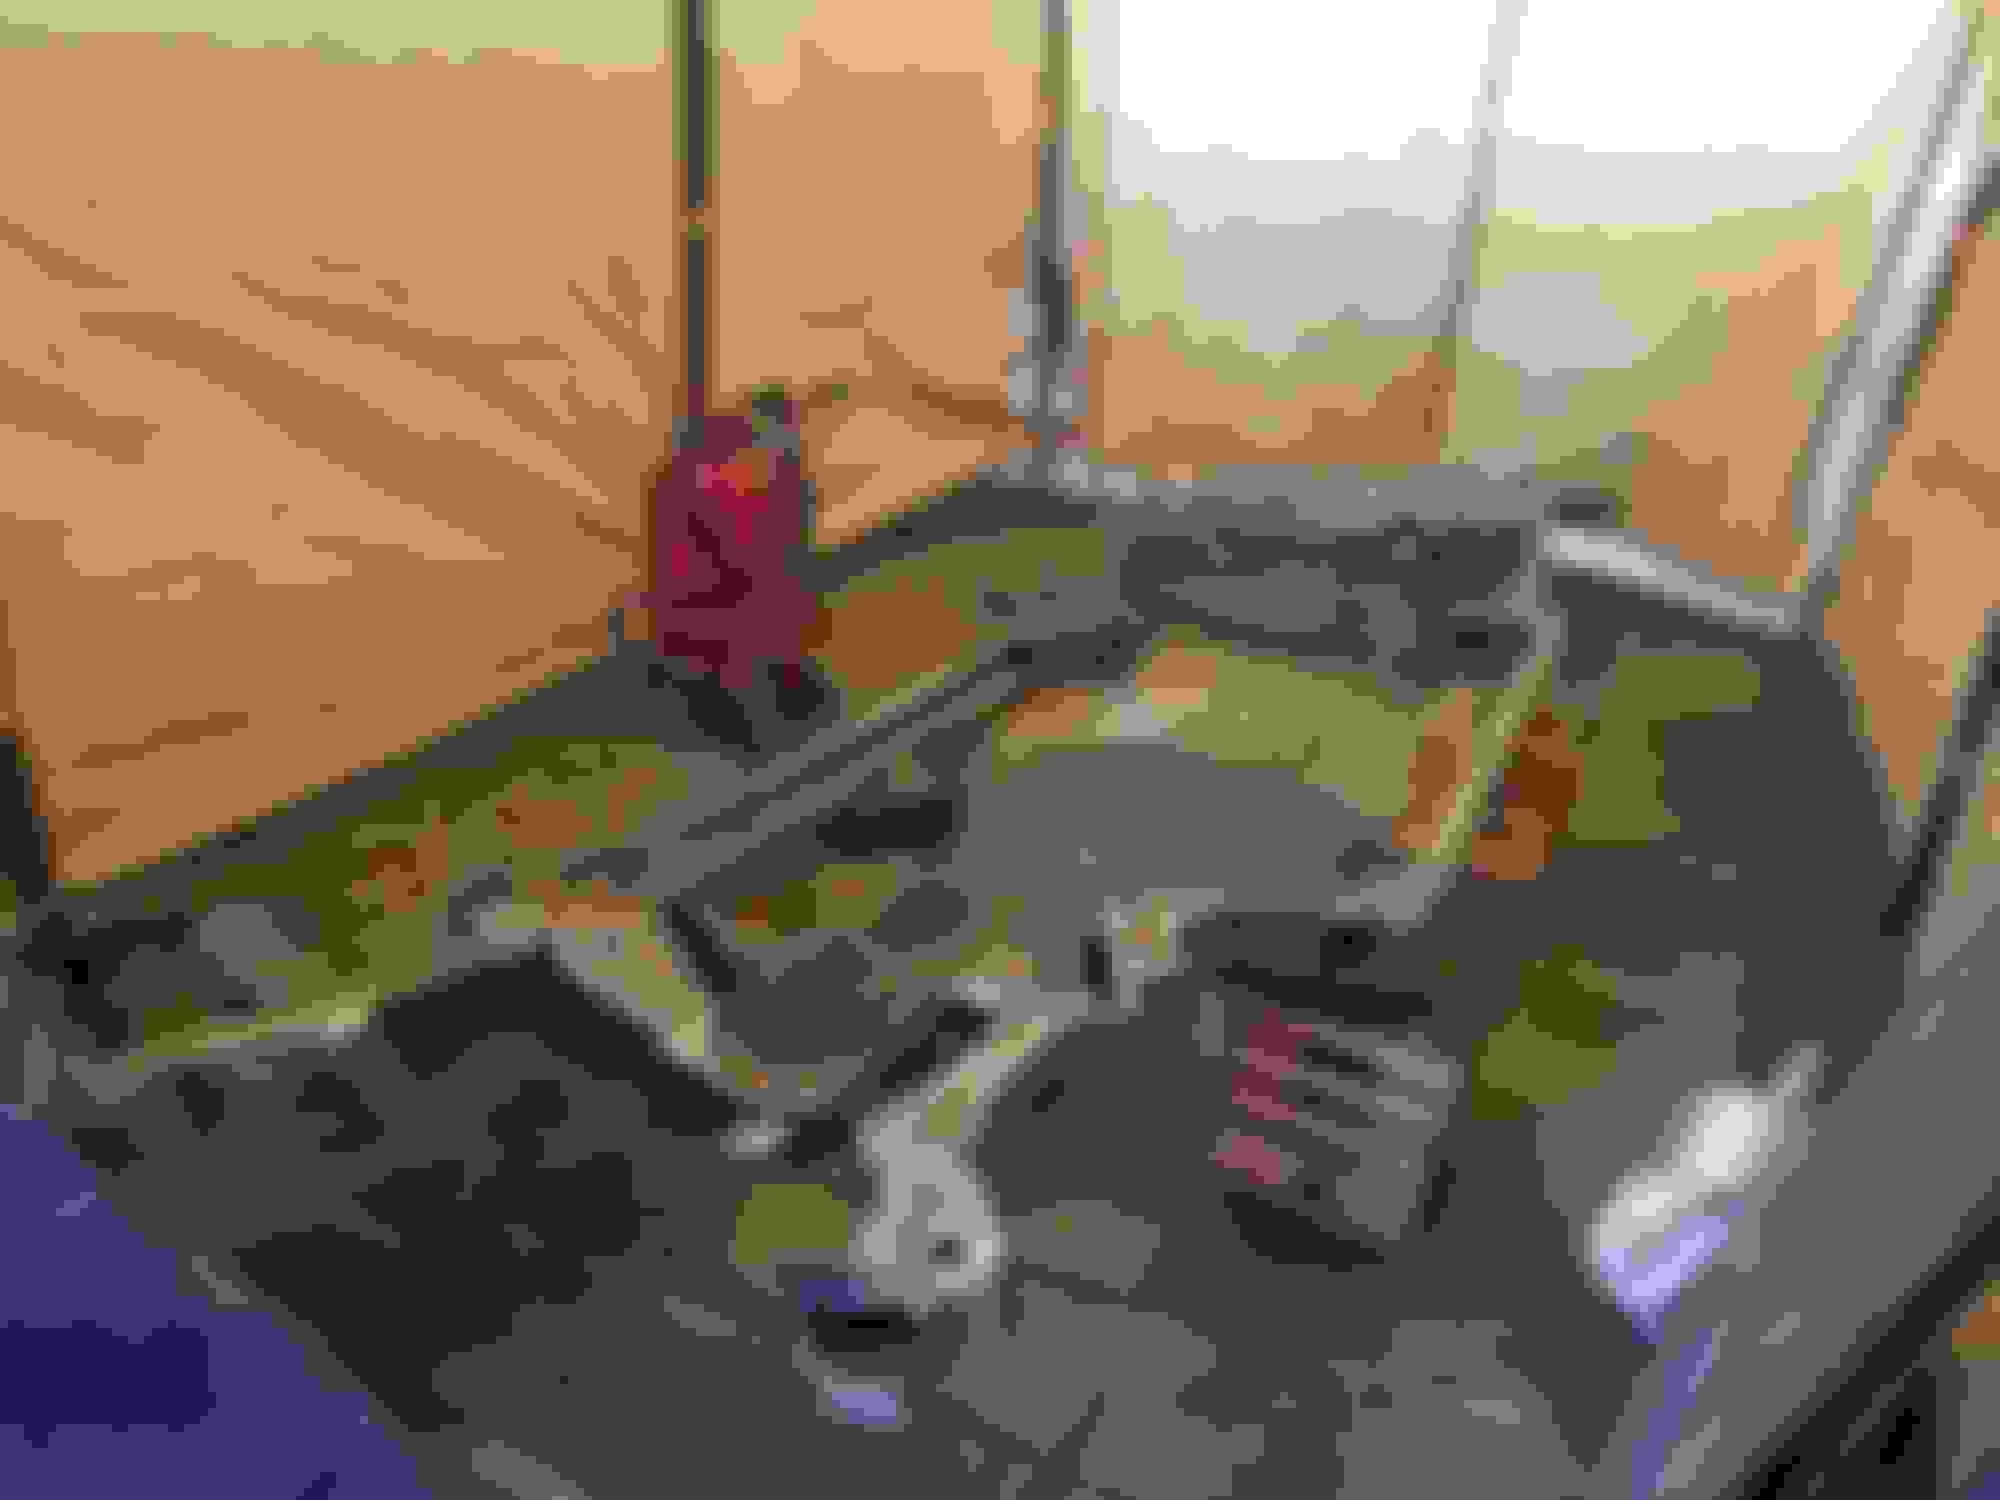
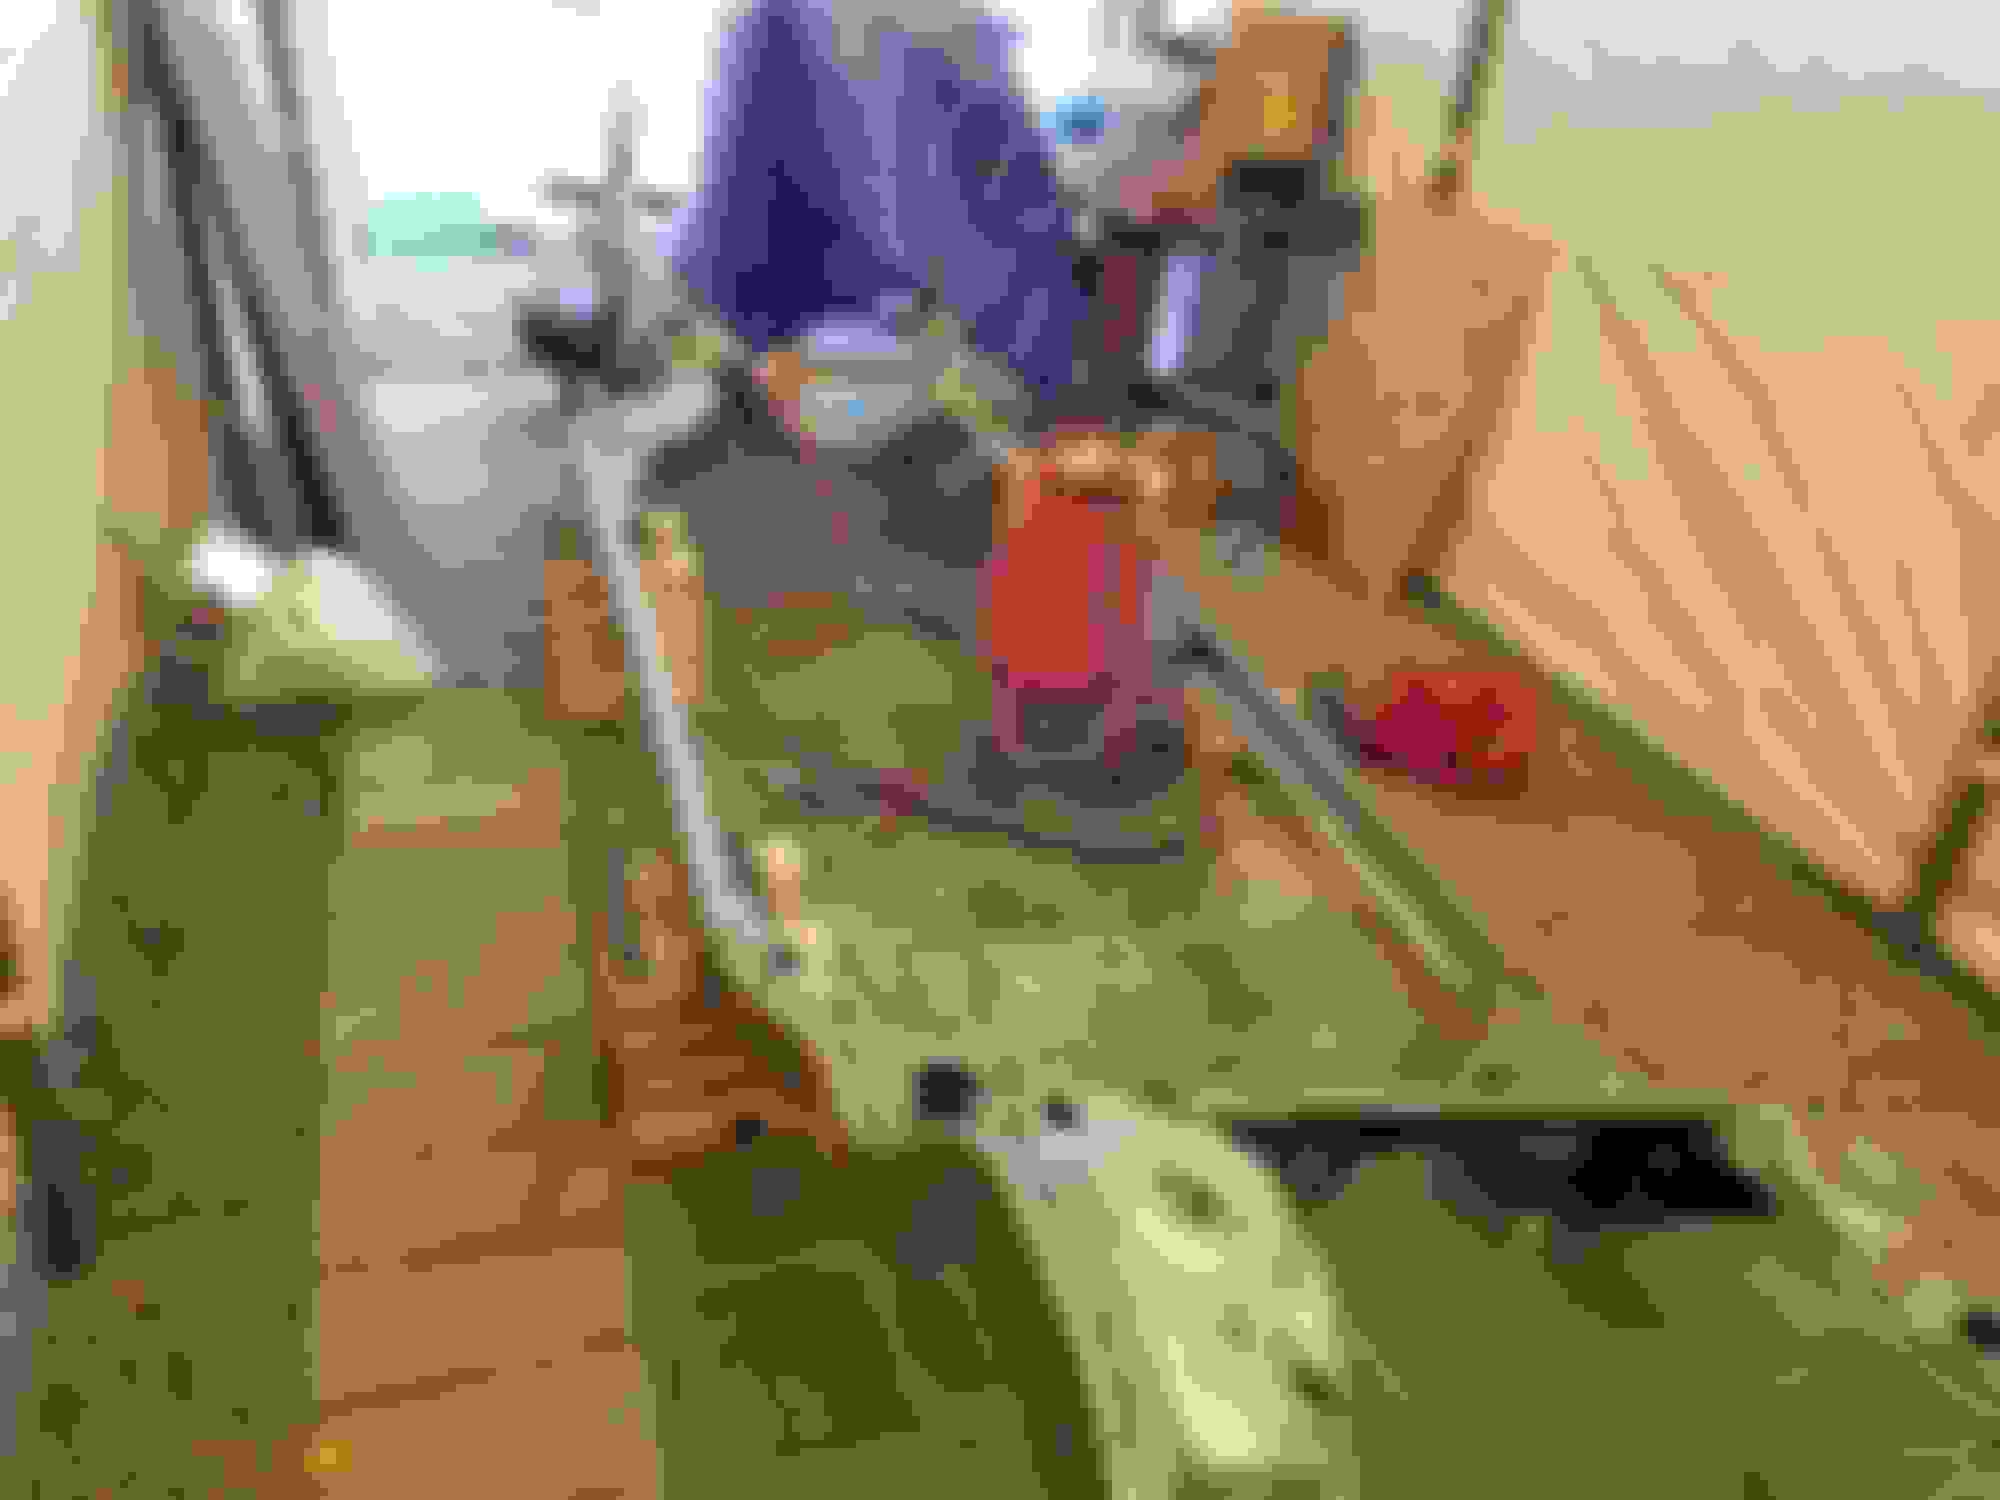
Got a nice sunny day this week so I took off as early as I could from work and started cleaning the frame. All I have left to deal with is that rear crossmember and inside the c channel. I'll probably still have to blast all the tight spots but I'm getting really close and its still looking really rust free
OK so worked on my Fiero a ton this weekend (on the only decent day we had) so I didn't get the frame out of the garage to work on the last bit of cleaning.
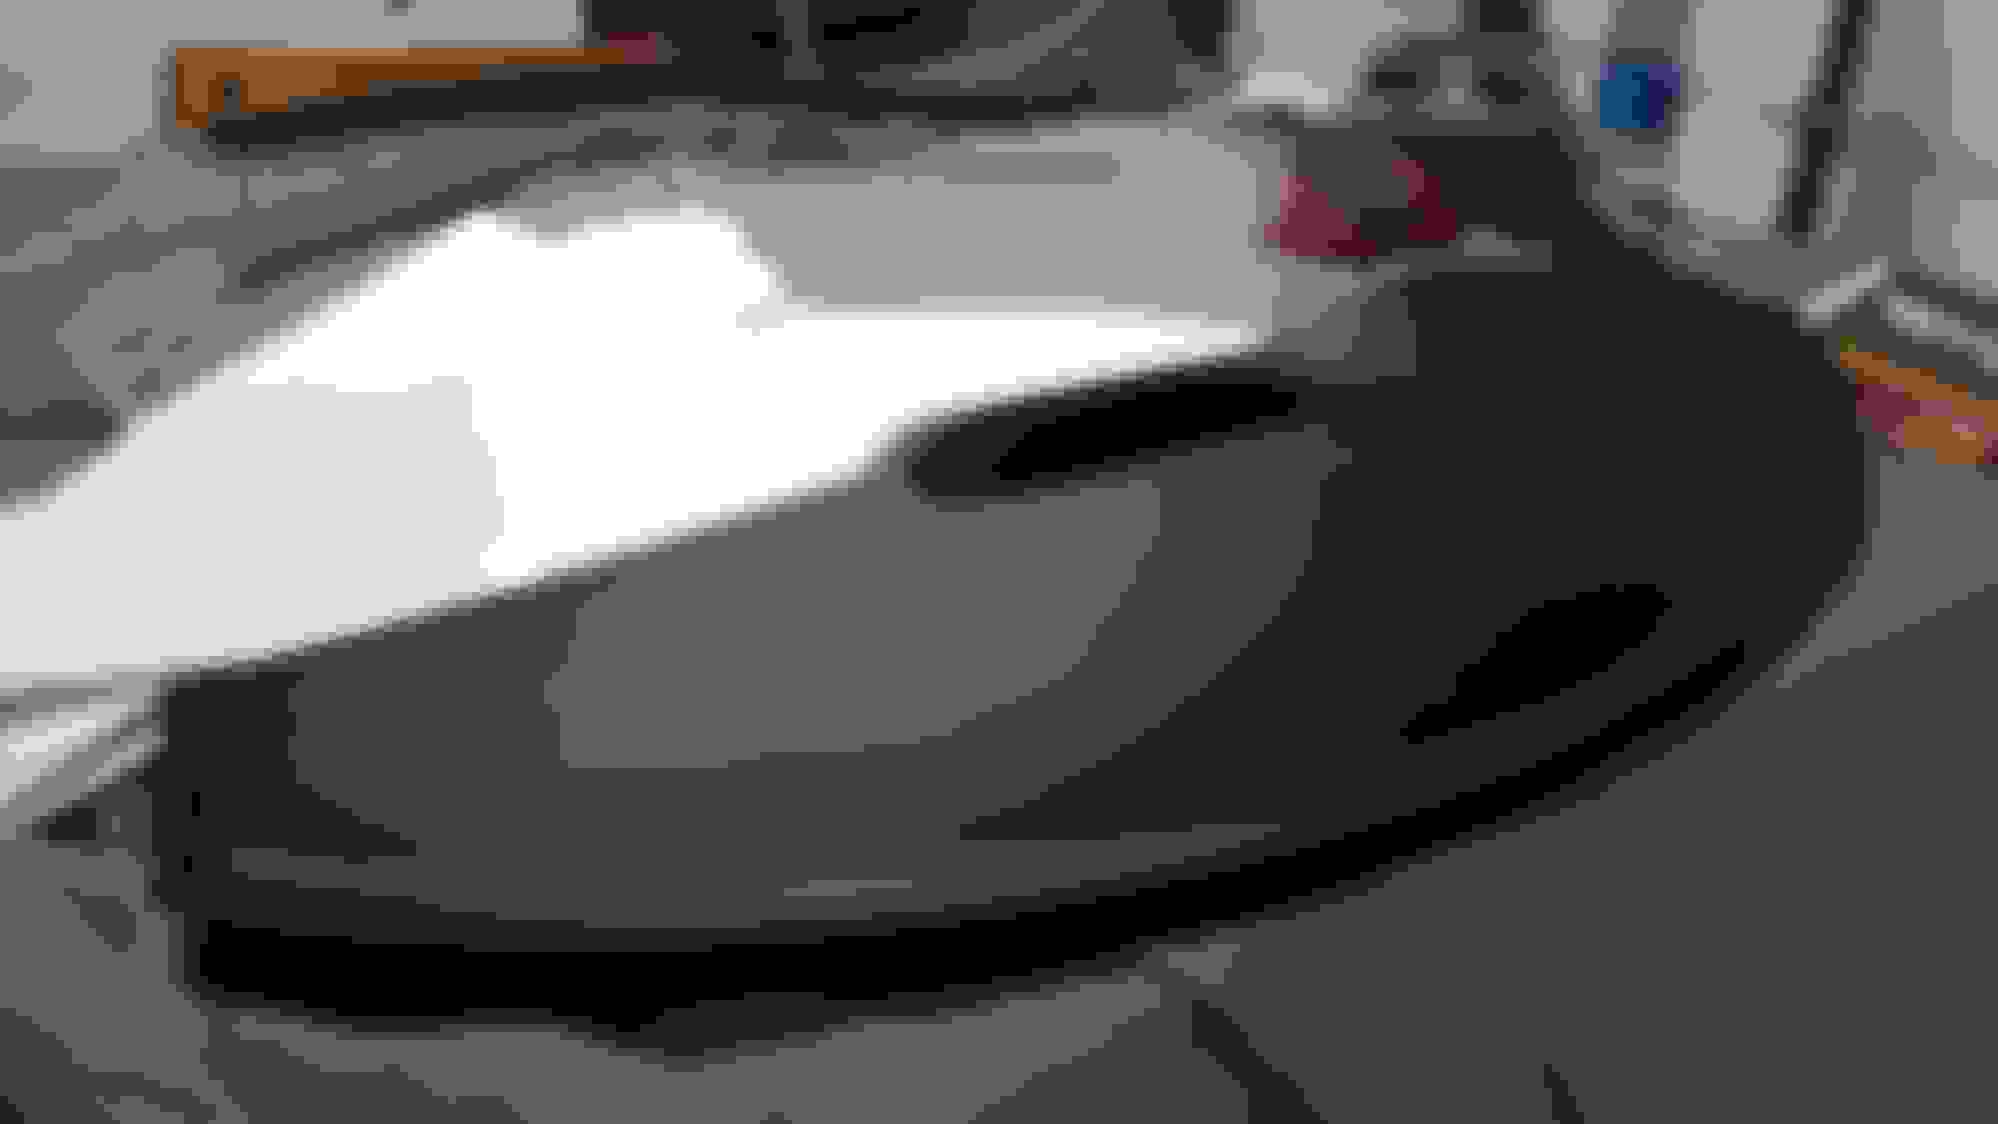
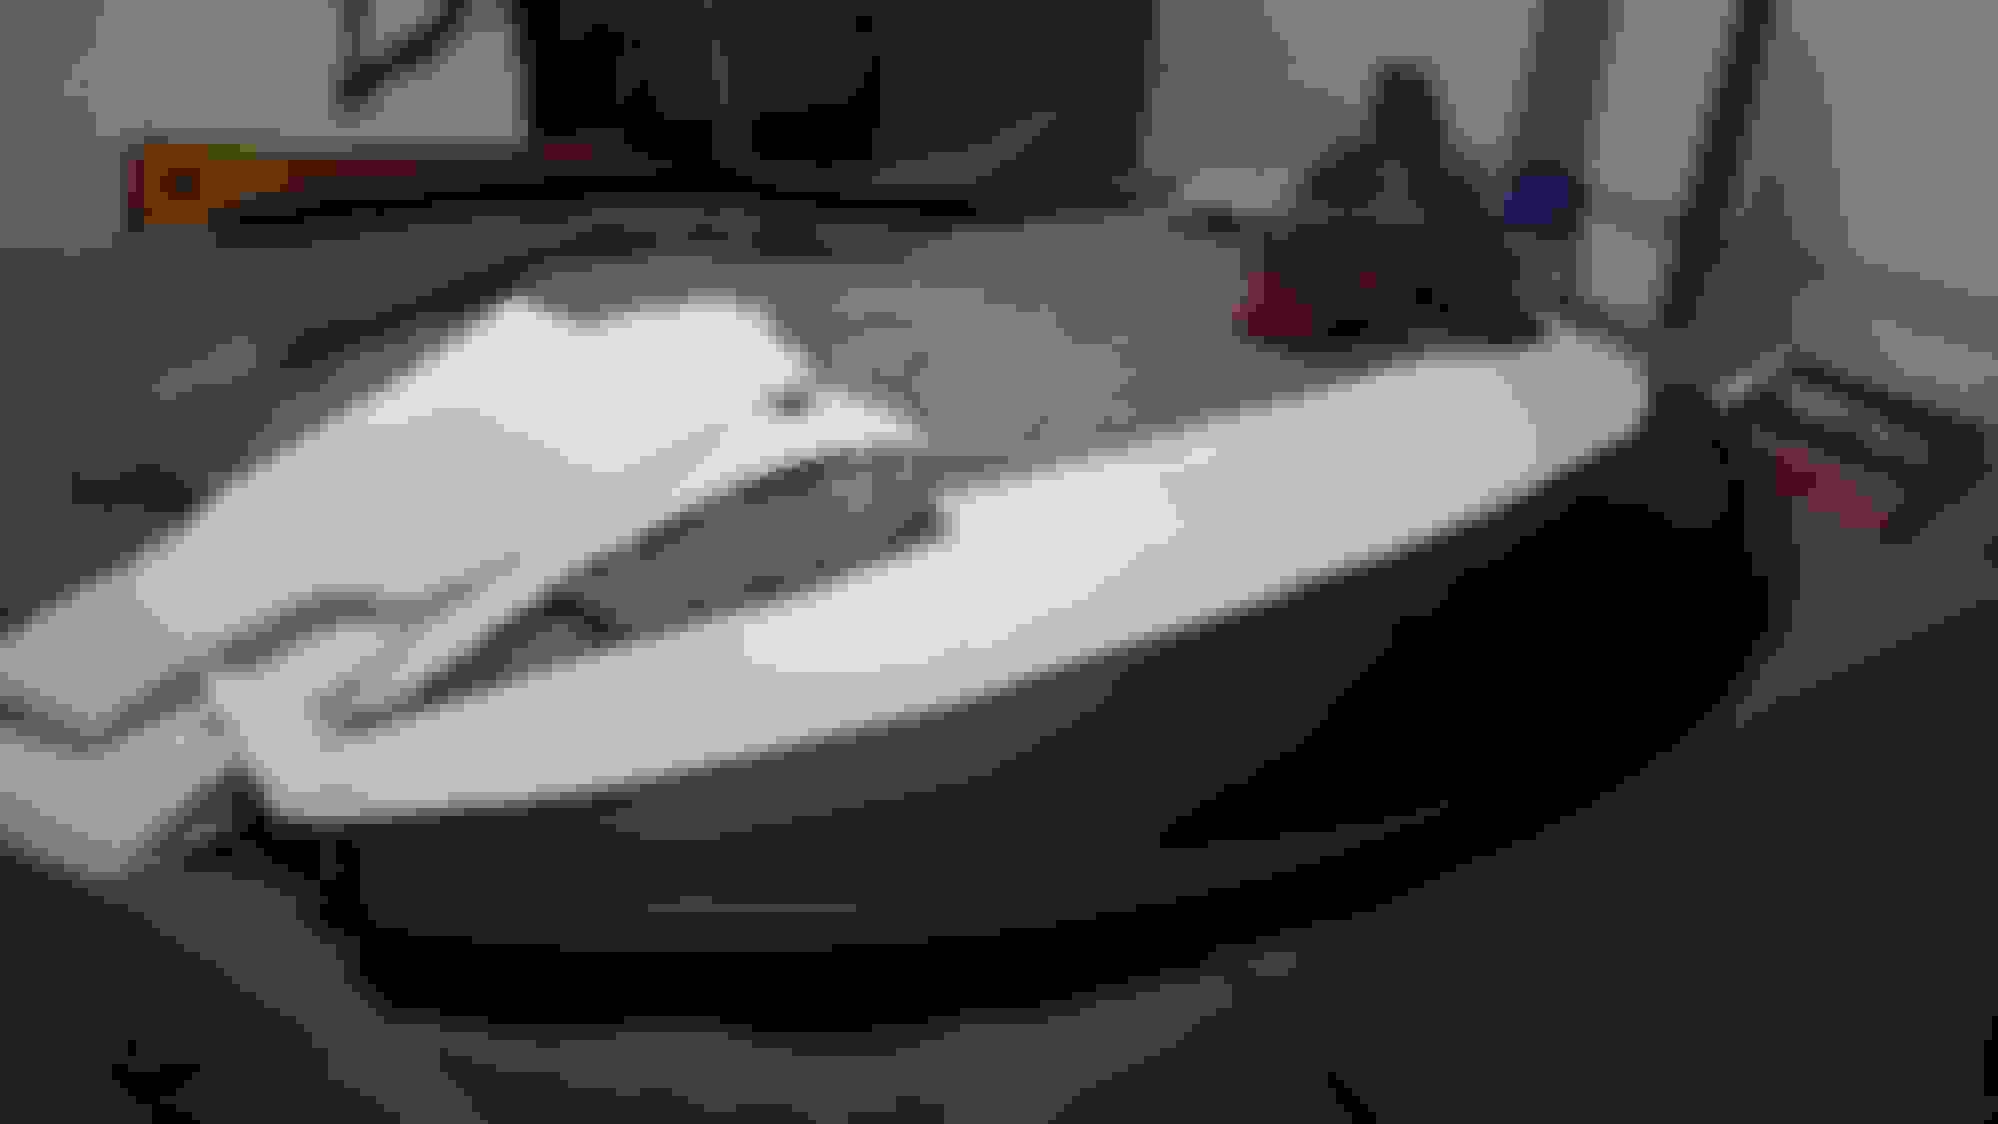
I had to give up on the Fiero when it got dark out and started to rain so I went in the garage and worked on fitting the upper dash pad into my car.
I lucked out at the junkyard and picked up a really nice one, so it was time to practice on the not so nice one.
Used some poster board to make a template of what my stock dash looked like where it met the windshield and how the new Firebird dash looks where it meets the dash top.
I used a spinning wheel of death to cut the dash piece, it was not a good idea and I further broke the broken part
I got pretty close to making it fit, of course its broken in half and cracked pretty extensively now. I'm either going to find a better way to cut it or I'll just use this broken one and glue it back together with some ABS cement and fiberglass mat for reinforcement. I'd hate to cut up a good one just to destroy it for no reason. I'll just sell the good one to someone who needs a mint replacement.
I'll try to work on it some more and update on whether I figure out a better way to cut it or a way to glue it and how it all turns out. Its looking like rain is the forecast so the frame isn't going outside for a while so I'll be playing with the interior for a bit.
More Pics!!! Not necessarily important but everyone love pics in a build thread
First the engine now has a water pump in case I forgot to say that before. Plus it just looks so cool, I thought a pic was in order.
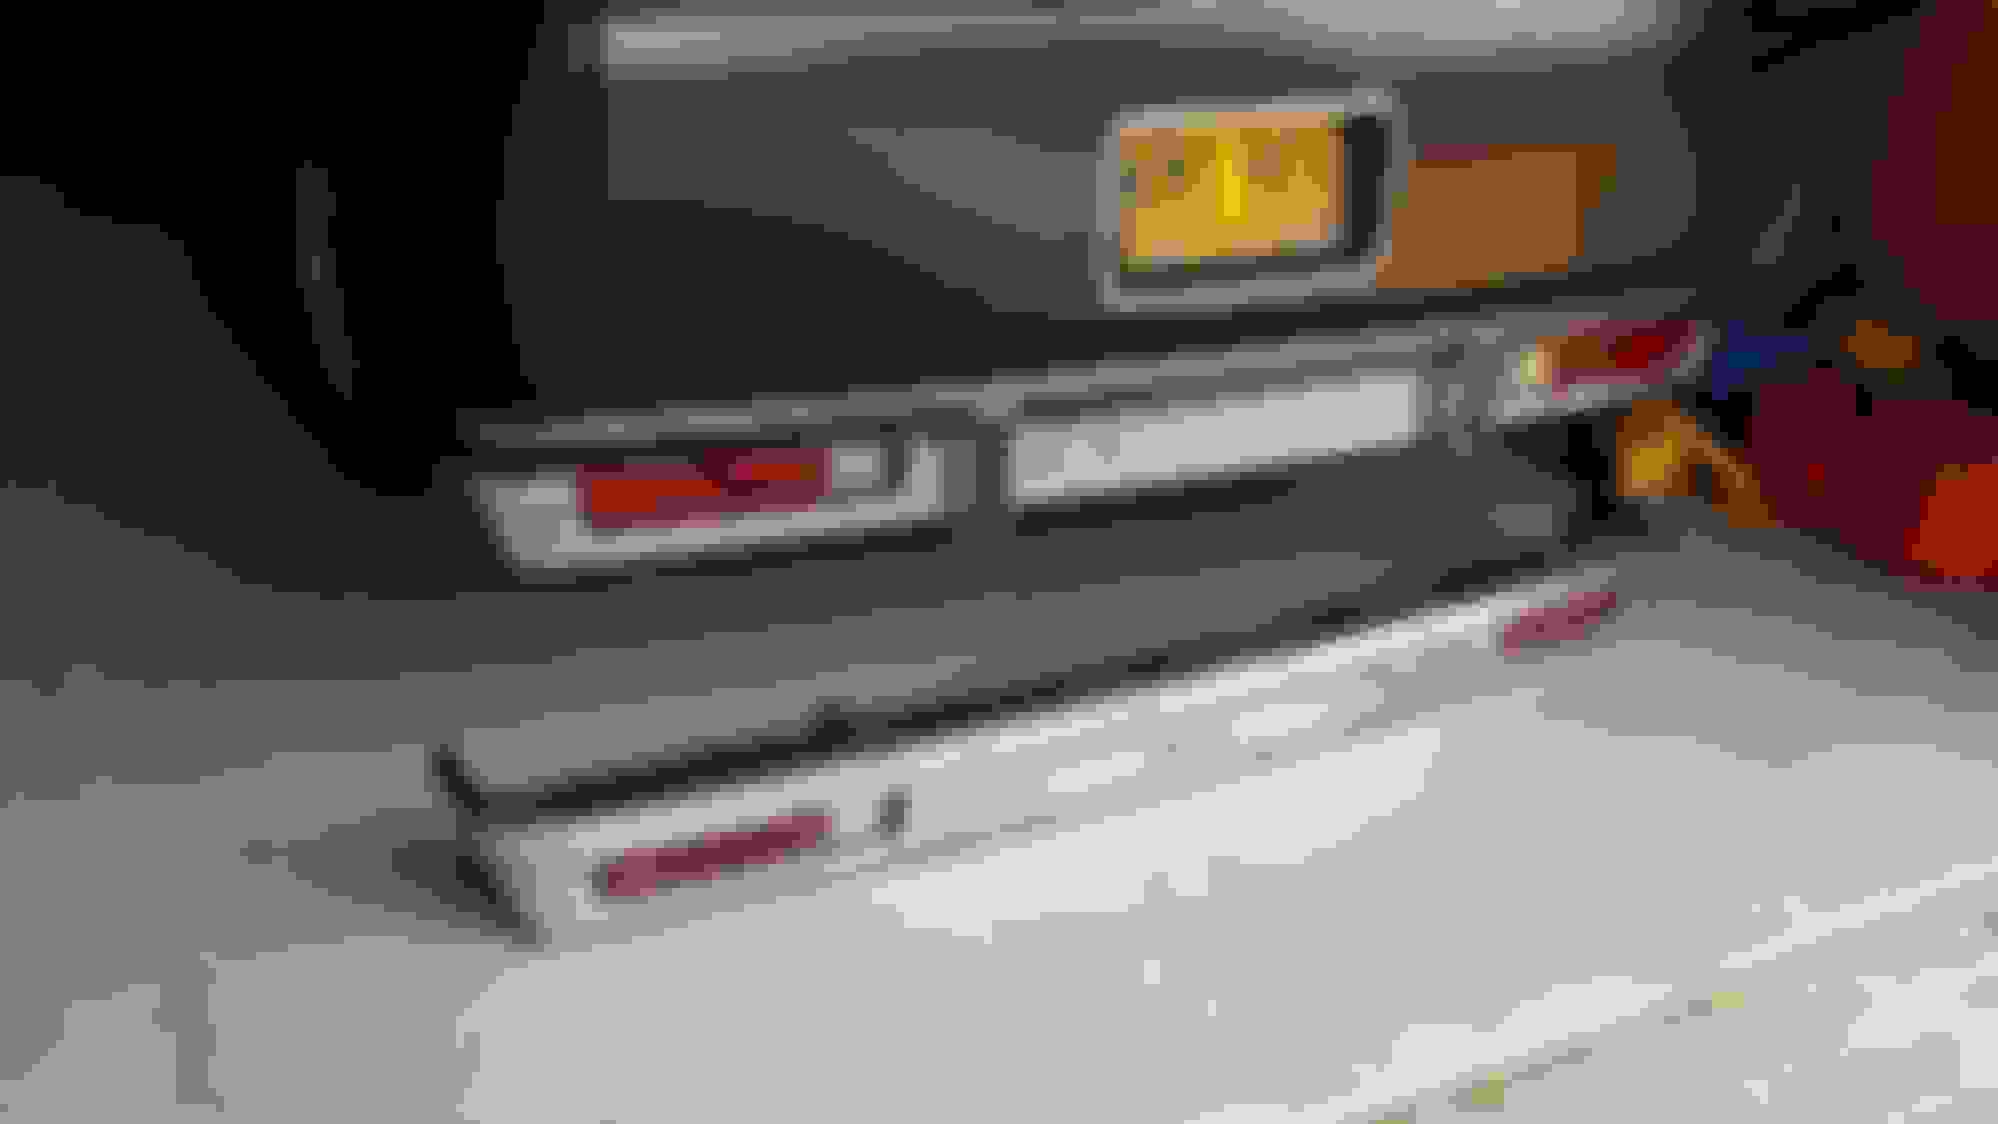
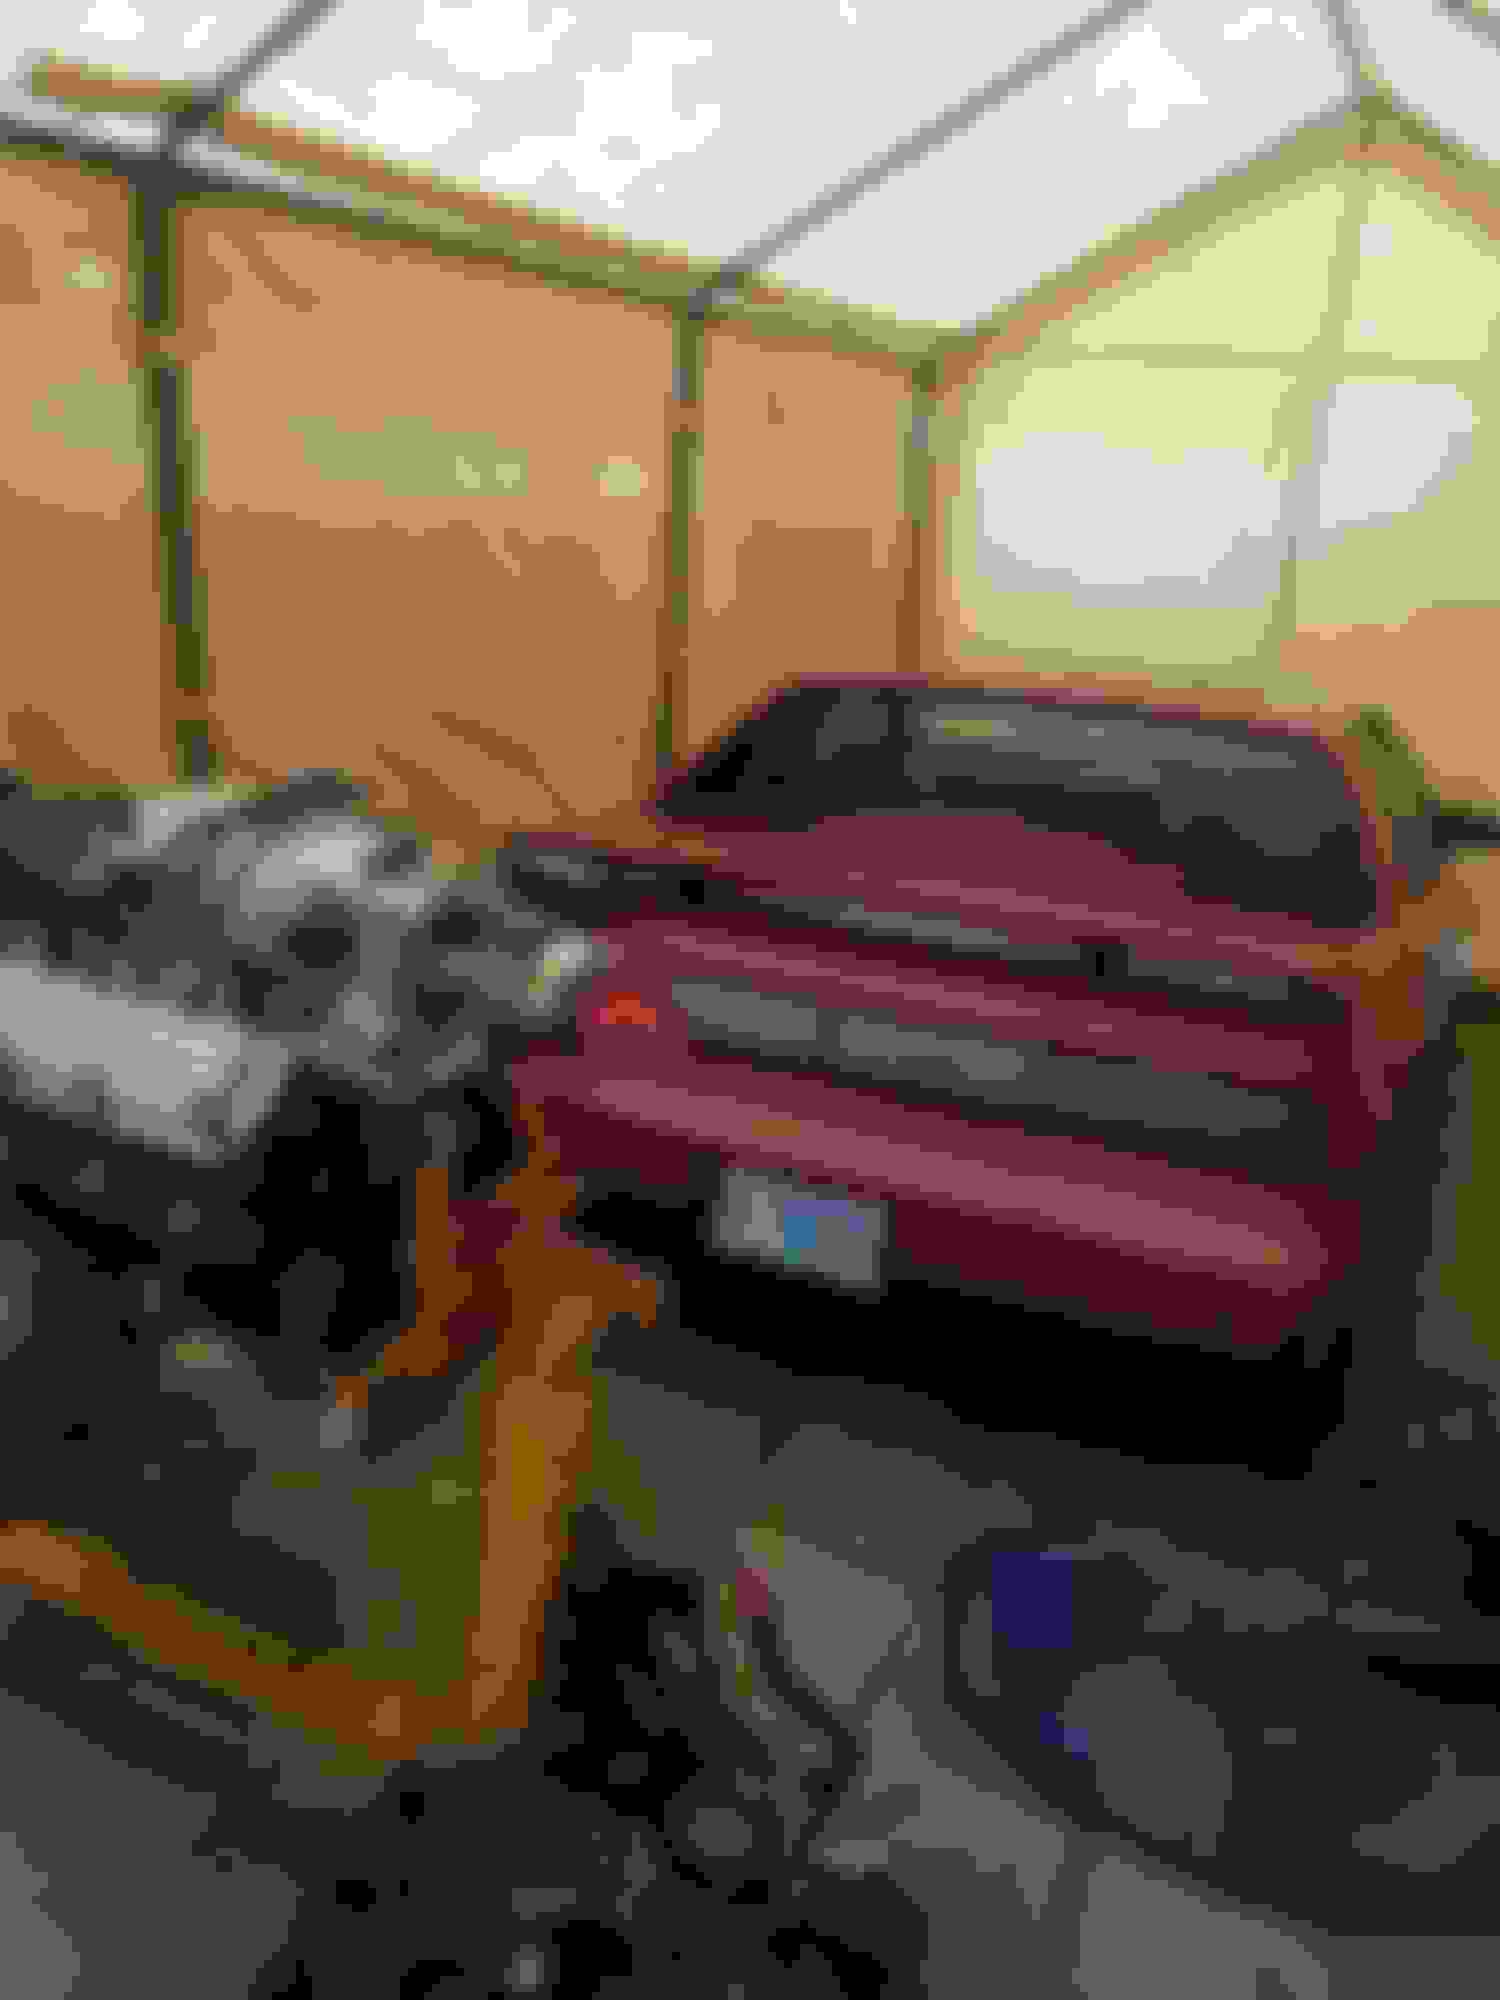
I found a new (used) bumper at the junk yard off a pristine looking '83 wagon so I'll finally be free of the black trim and bumperettes.
I tucked the bumpers a couple years ago and I forgot how much harder it is to get the bumpers off because there is so little space.
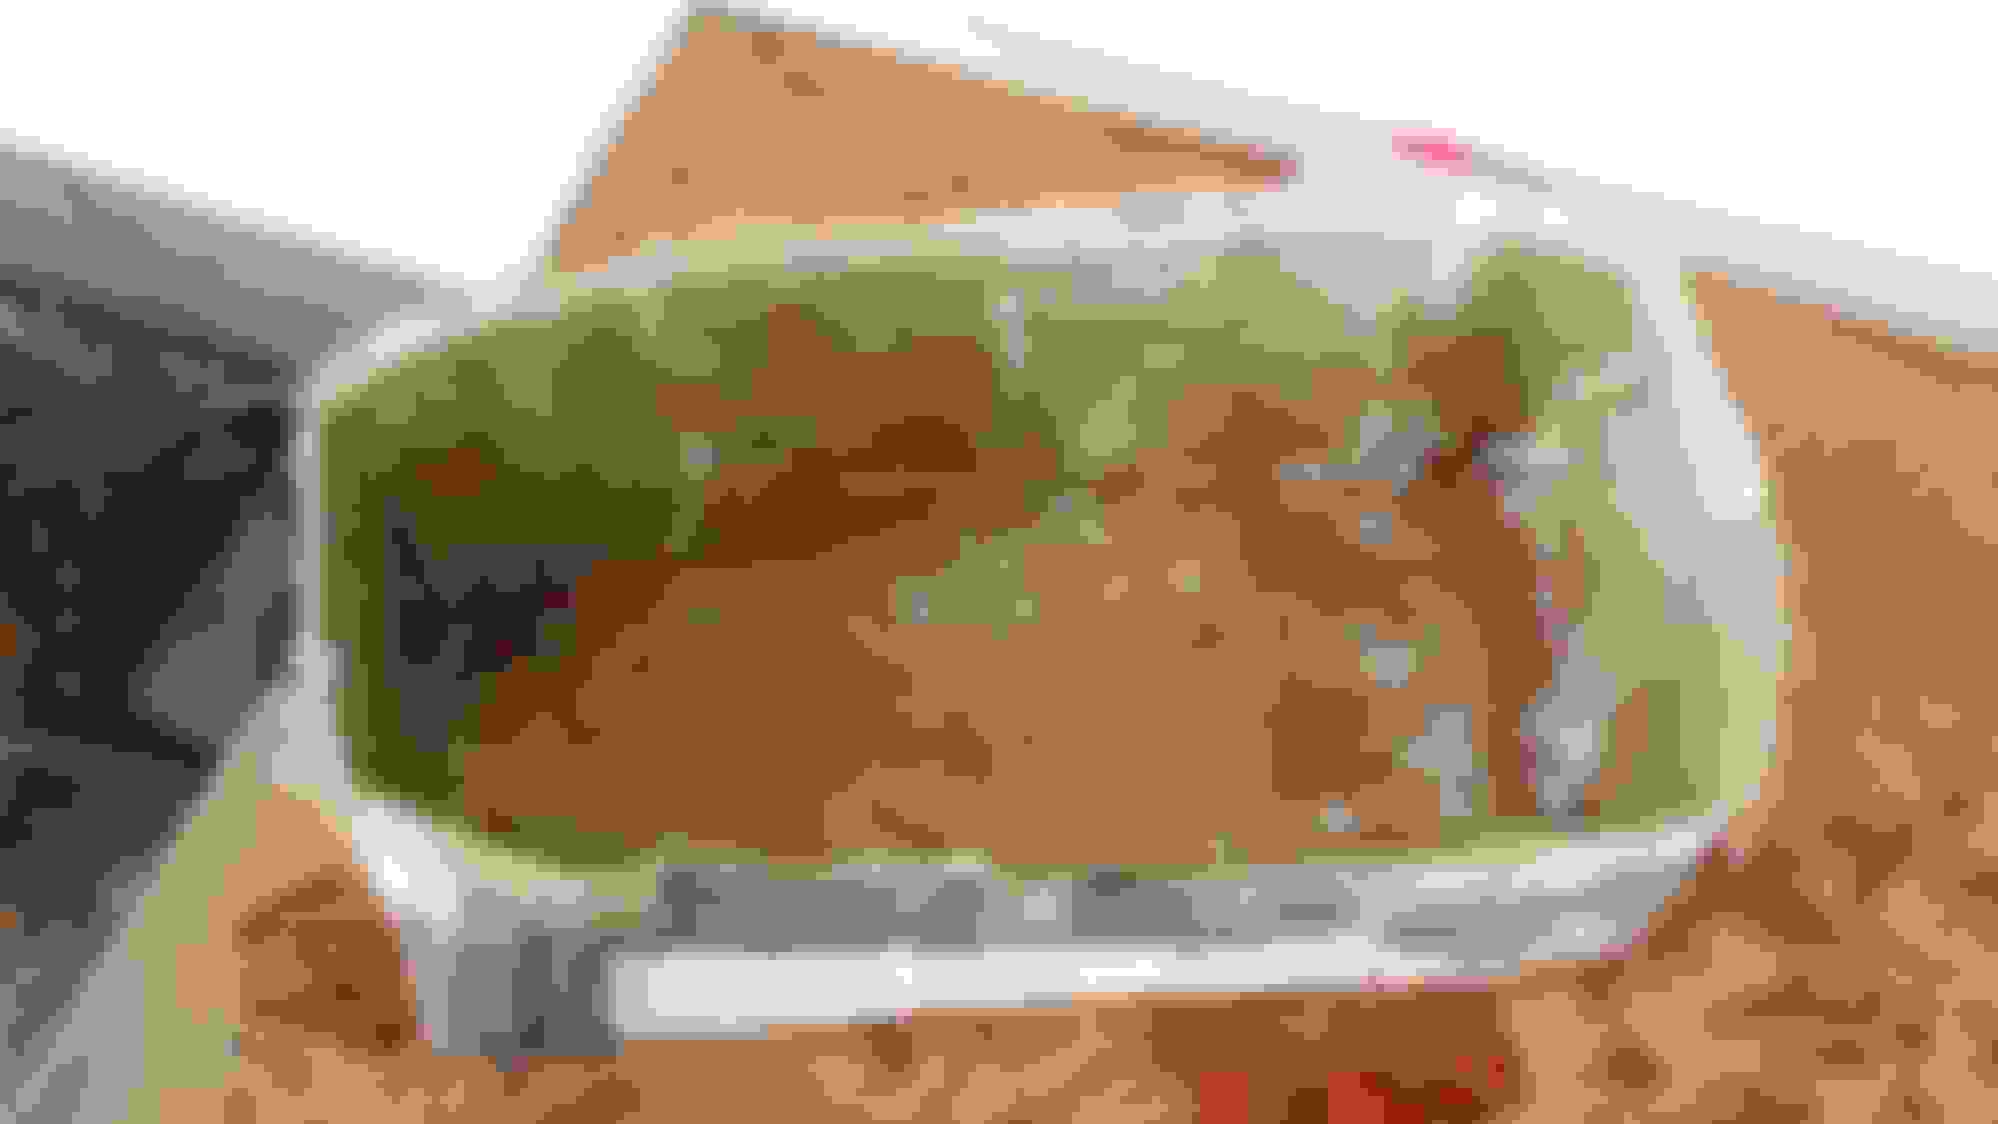
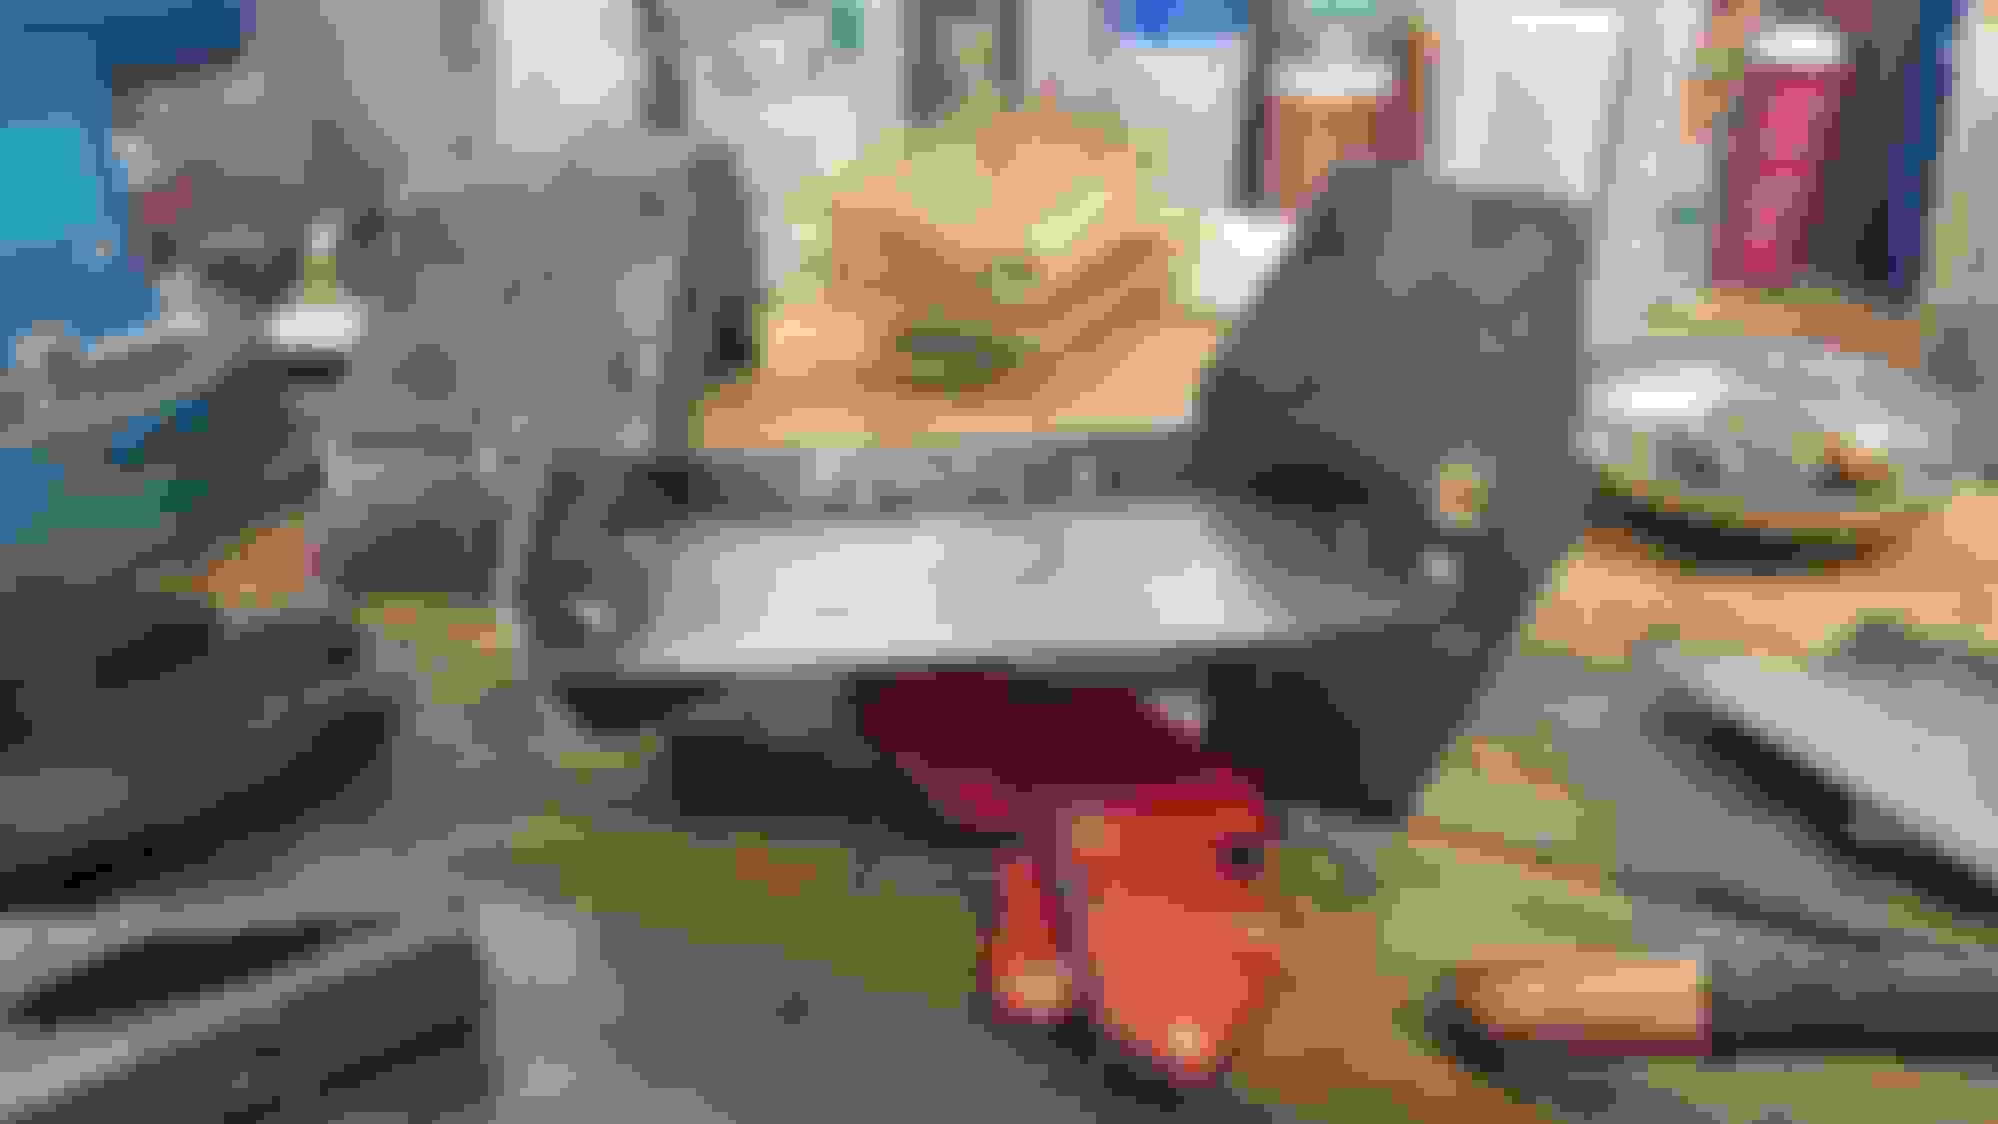
I also redid my subwoofer boxes. Before they were some plastic tubs that barely fit and didn't really help anything sound wise.
These fit the floor pan behind the seat, and are almost big enough for the minimum volume of my 10" subs.
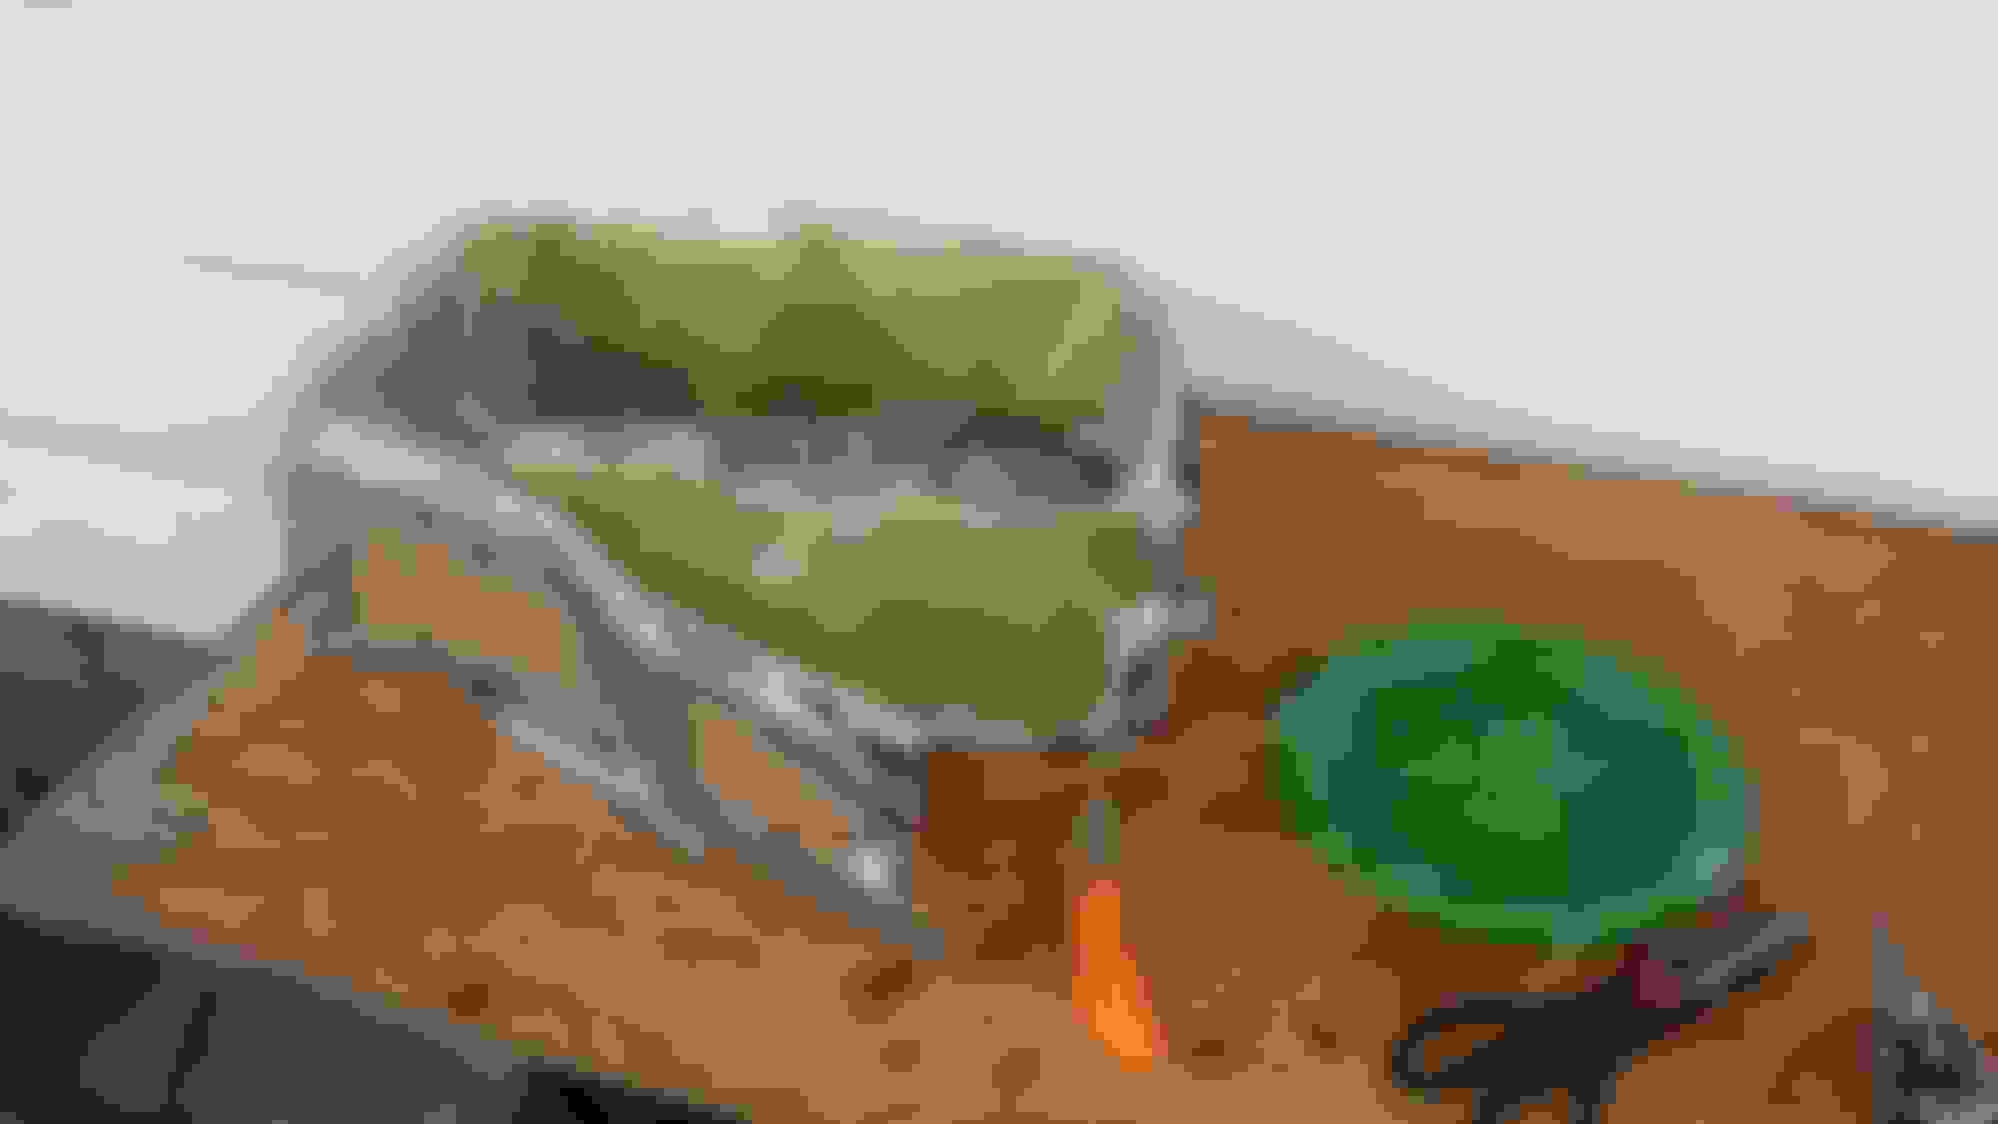
Cutting the form off the fiberglass for the subwoofer enclosure, then I cleaned up the top and glued/sealed them to the speaker plate and no one will ever see them.
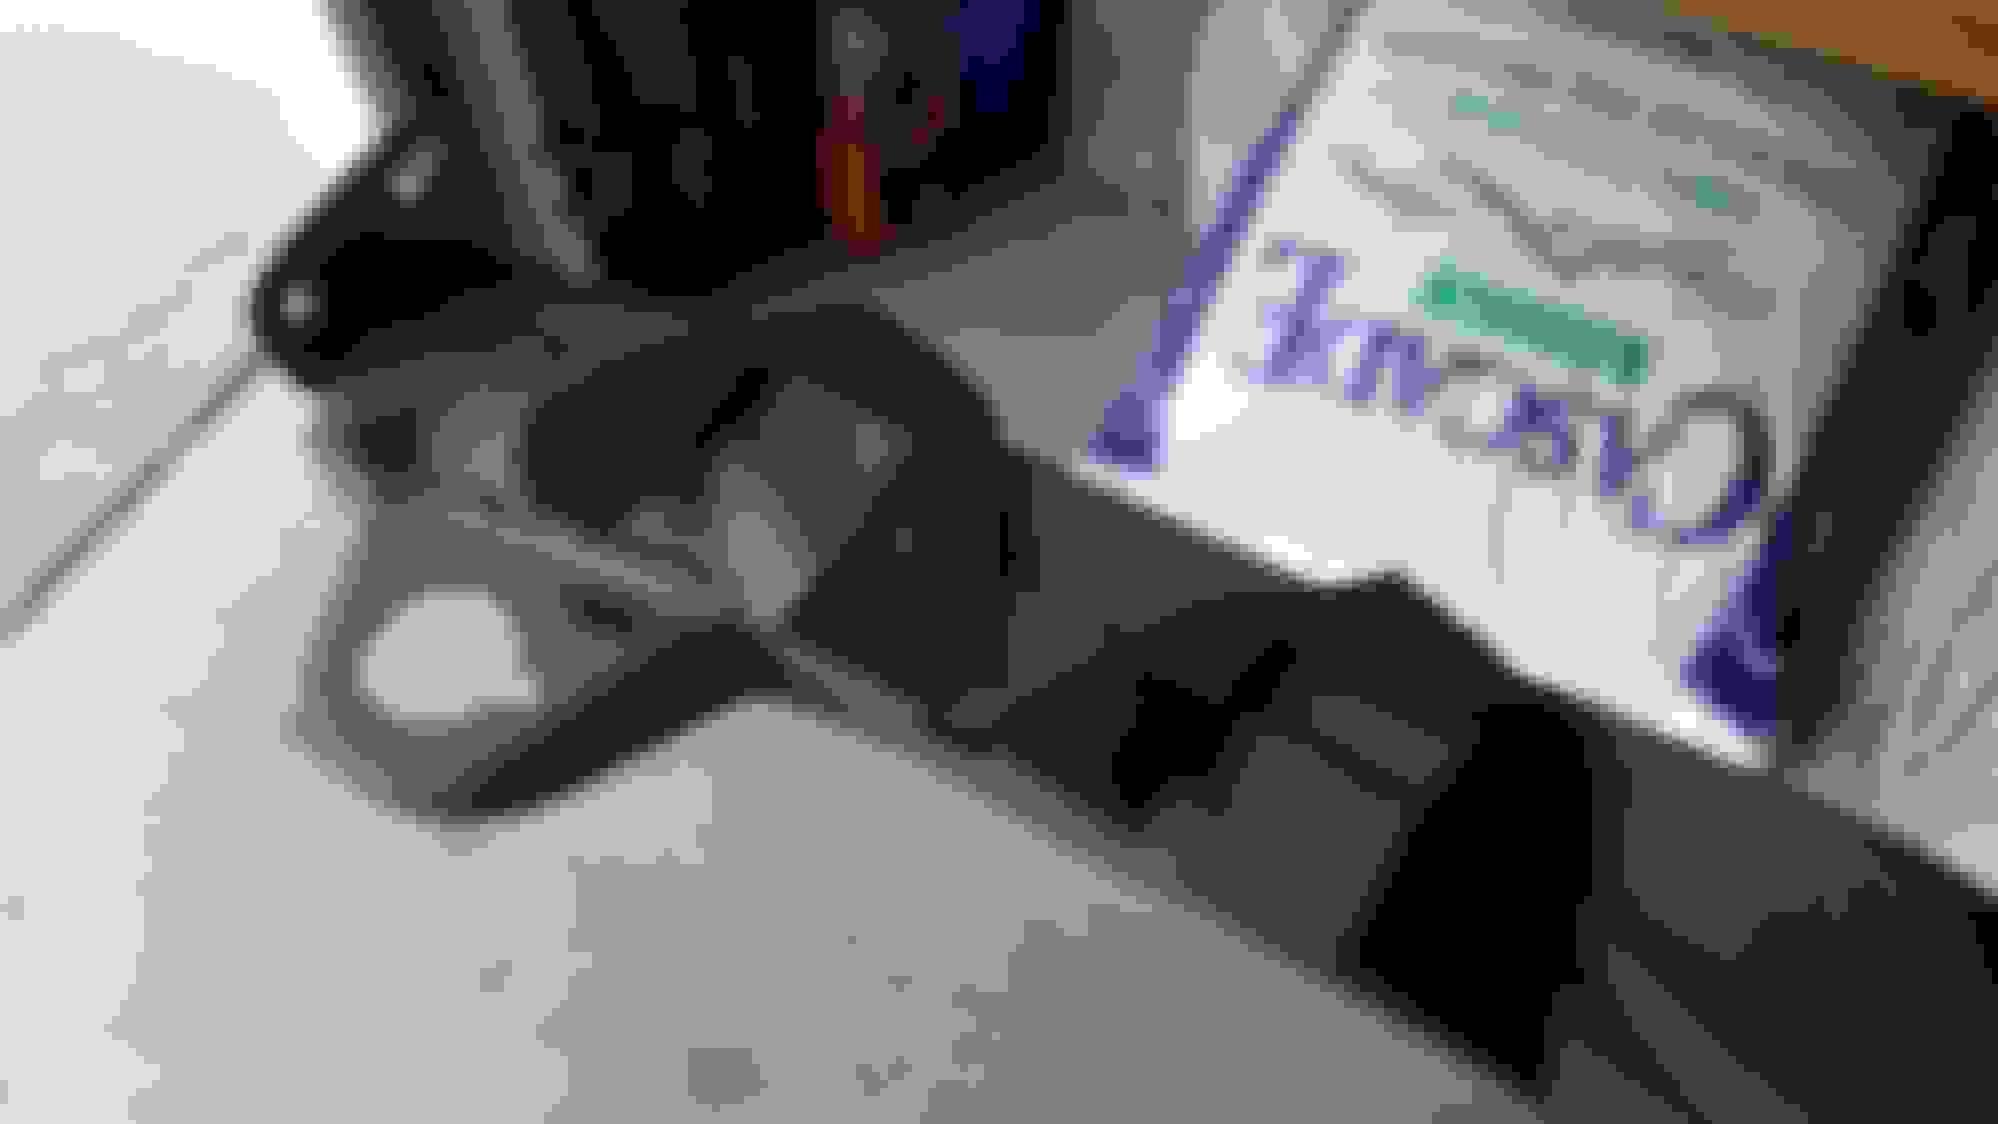
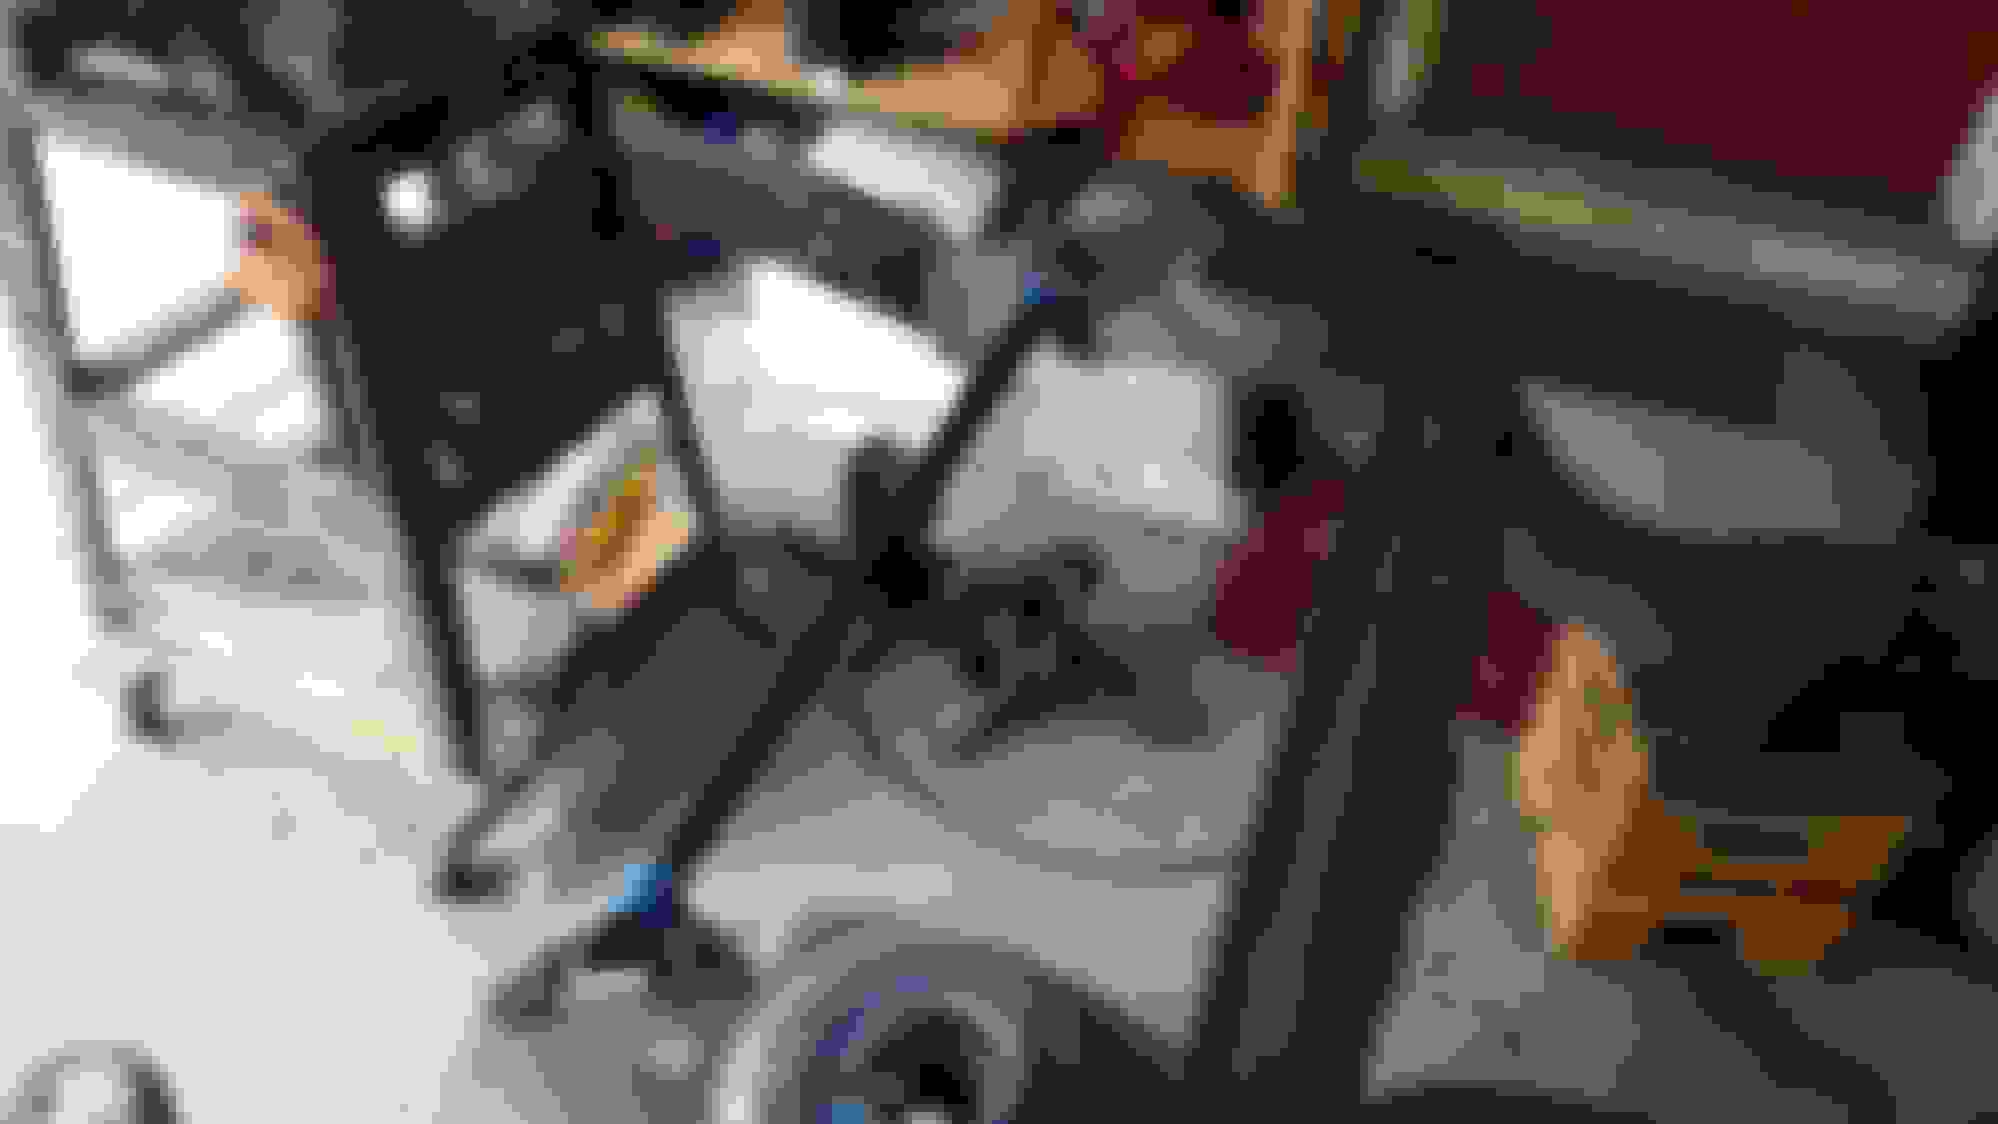
Pulled out the truck parts I had laying around and started to get them ready to go onto a new bracket
The starter and alternator tested out fine so I'll reuse them. and after a lot of cleaning I decided the power steering looks good too.
The S-10 has been getting a little attention too. I redid the whole cooling and HVAC systems for a few different reasons. One of which was the smashed heater fan box covered in duct tape.
There it is all cleaned up and ready to go get a freon charge.
I also ditched the mechanical fan and installed a couple electric ones.
Fancy output shot from the S10. The projectors are the same on the El Camino.
I got this hood for my S10 off craigslist for $50
It had a bit of a crack on one hinge mount, but overall it looked pretty good.
Played with some 'glass over the weekend and its almost ready for paint and body work. Plus it should be a lot stronger and mounted better when I'm finished.
I also got this wild contraption for working on my friends 1973 BMW 2002. Never played around with points before but I can always ask my dad for advice.
I'll keep adding to this as things come up; but at least there has been some progress
Jessica
Can you tell me about the wheels on the s10...might look for some on my Regal
I don't know much about them. They came on the truck, are 17" steelies and are heavy as all hell. Plus they had stretched 225s on them and those wore out way too fast so they are taking up space in my garage and I'm running my old 15s from the El Camino on it. They look a lot like the Cragar Soft 8s but they are a knock off. I believe they are distributed through Summit and Jegs and are less than $100 a wheel (might be less than $50) I haven't seen the 5x4.75" bolt pattern listed anymore though so I don't know if they still sell them.
Finally got the frame all clean! No more undercoat and just a little dark areas that still have some rust that is too embedded in the metal for a wire brush to remove. Its surprisingly clean. It'll get hit with a media blaster "soon" in the unboxed area and then I'll box that in. Then I'll have to make a decision regarding notching the rear for more tire clearance (I'm leaning towards doing it at this point).
Never mind the FWD trans, its for a Buick I bought, that might end up donating its supercharged powertrain to the Fiero once the El Camino is more finished.
I'm back from the dead and I've made a ton of progress. I'm hoping that this will be a trend this summer
Got the frame out in my car port and blasted
Cleaned up really nice and made a huge mess of green
Much faster than a grinder, and it fits in the C-Channel
Up all high and ready for after blast etch
I ended up painting it with some 2 part epoxy primer. I'm going to have to grind some of it back off when I go to weld my braces and stuff. When I'm done welding I'll touch up those areas with more primer and then I'll paint the whole thing, this way it won't flash rust while I finish what I'm doing, and I only have to move it out here once.
I feel the same way! I've been working like crazy lately and haven't had time to get back on the car at all. I've got other car projects that have sucked my time and energy away from the Elky but I've got a plan to get all the stuff done I need to this summer that requires paint so I won't be stuck waiting for warmer weather this winter.
I'm going to get my metal for the boxing sometime this month and then it'll be ready for paint and then assembling the suspension and plumbing. I really want to test fit the engine with the frame out from under the car so that could provide some fun motivational pictures.
Jessica
Started working on the frame boxing. I've been traveling for work again and the water main for my house sprung a leak so as you can imagine I'm preoccupied. At least I spend a couple hours drinking beer and making up these plates and then spent the evening in a hammock
I still need to trim the top and bottom of the plate to match up with the frame, unfortunately my frame isn't perfectly straight across the bottom. I think it was lifted with a jack a few times and it bent it so I've been bending it back as best I can.
My plan is to get these plates trimmed and then make up the rear trailing arm braces and I'll prime all of them before I install them. I'll just grind back the primer where I need to weld so that inside will be sealed and it shouldn't rust as fast/bad.
So this weekend will be spent digging up a water main and going to a parade, but next week should be more progress.
Just some little life updates! My automotive ADD has hit again, I'm super swamped with projects and my life is almost too busy to keep on top of it all but I'm getting there.
I've been working on my Fiero a lot lately (I just got the original engine cradle dropped out with the stock drivetrain. Now I'm figuring out how to get it out from under the car and get my new 3800 supercharged and overdrive trans into it on the new cradle).
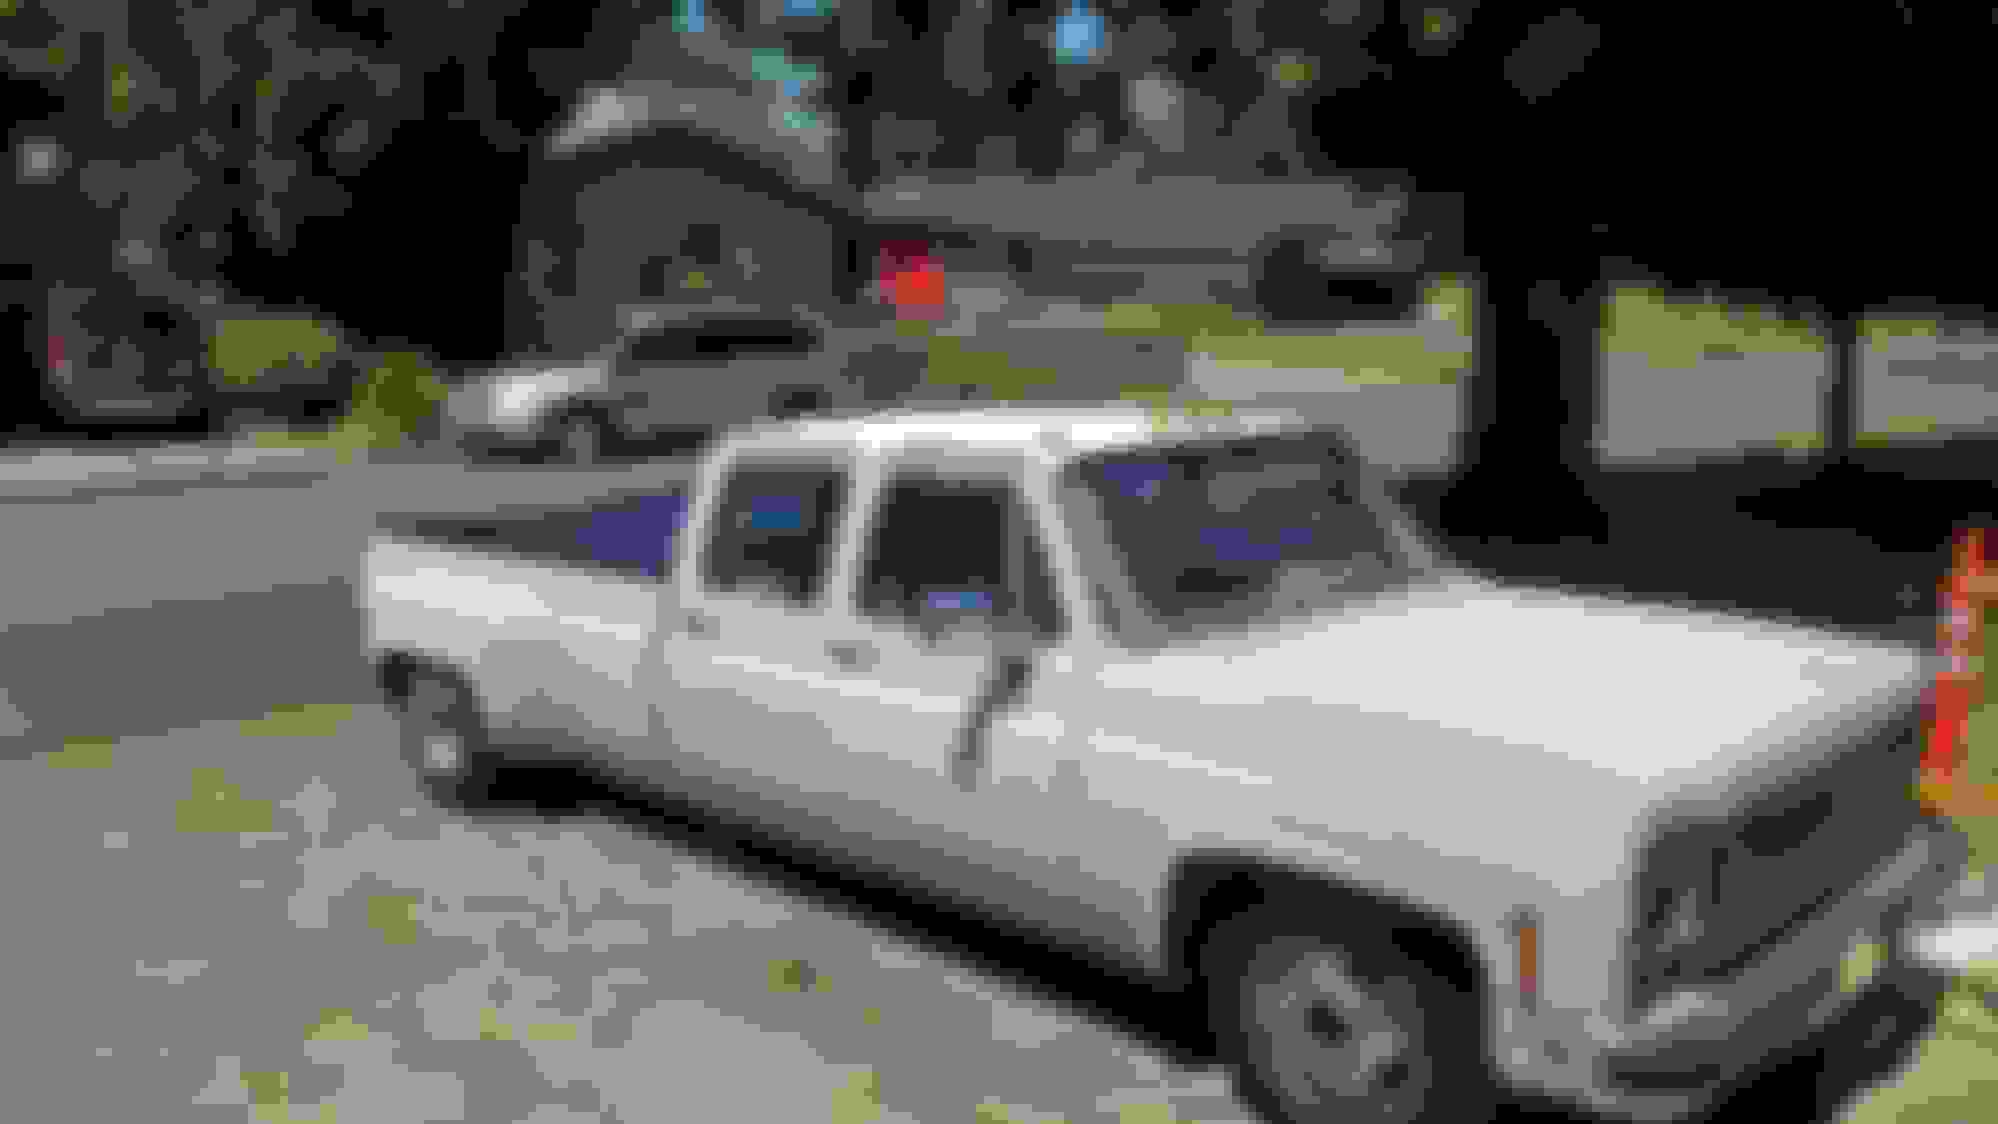
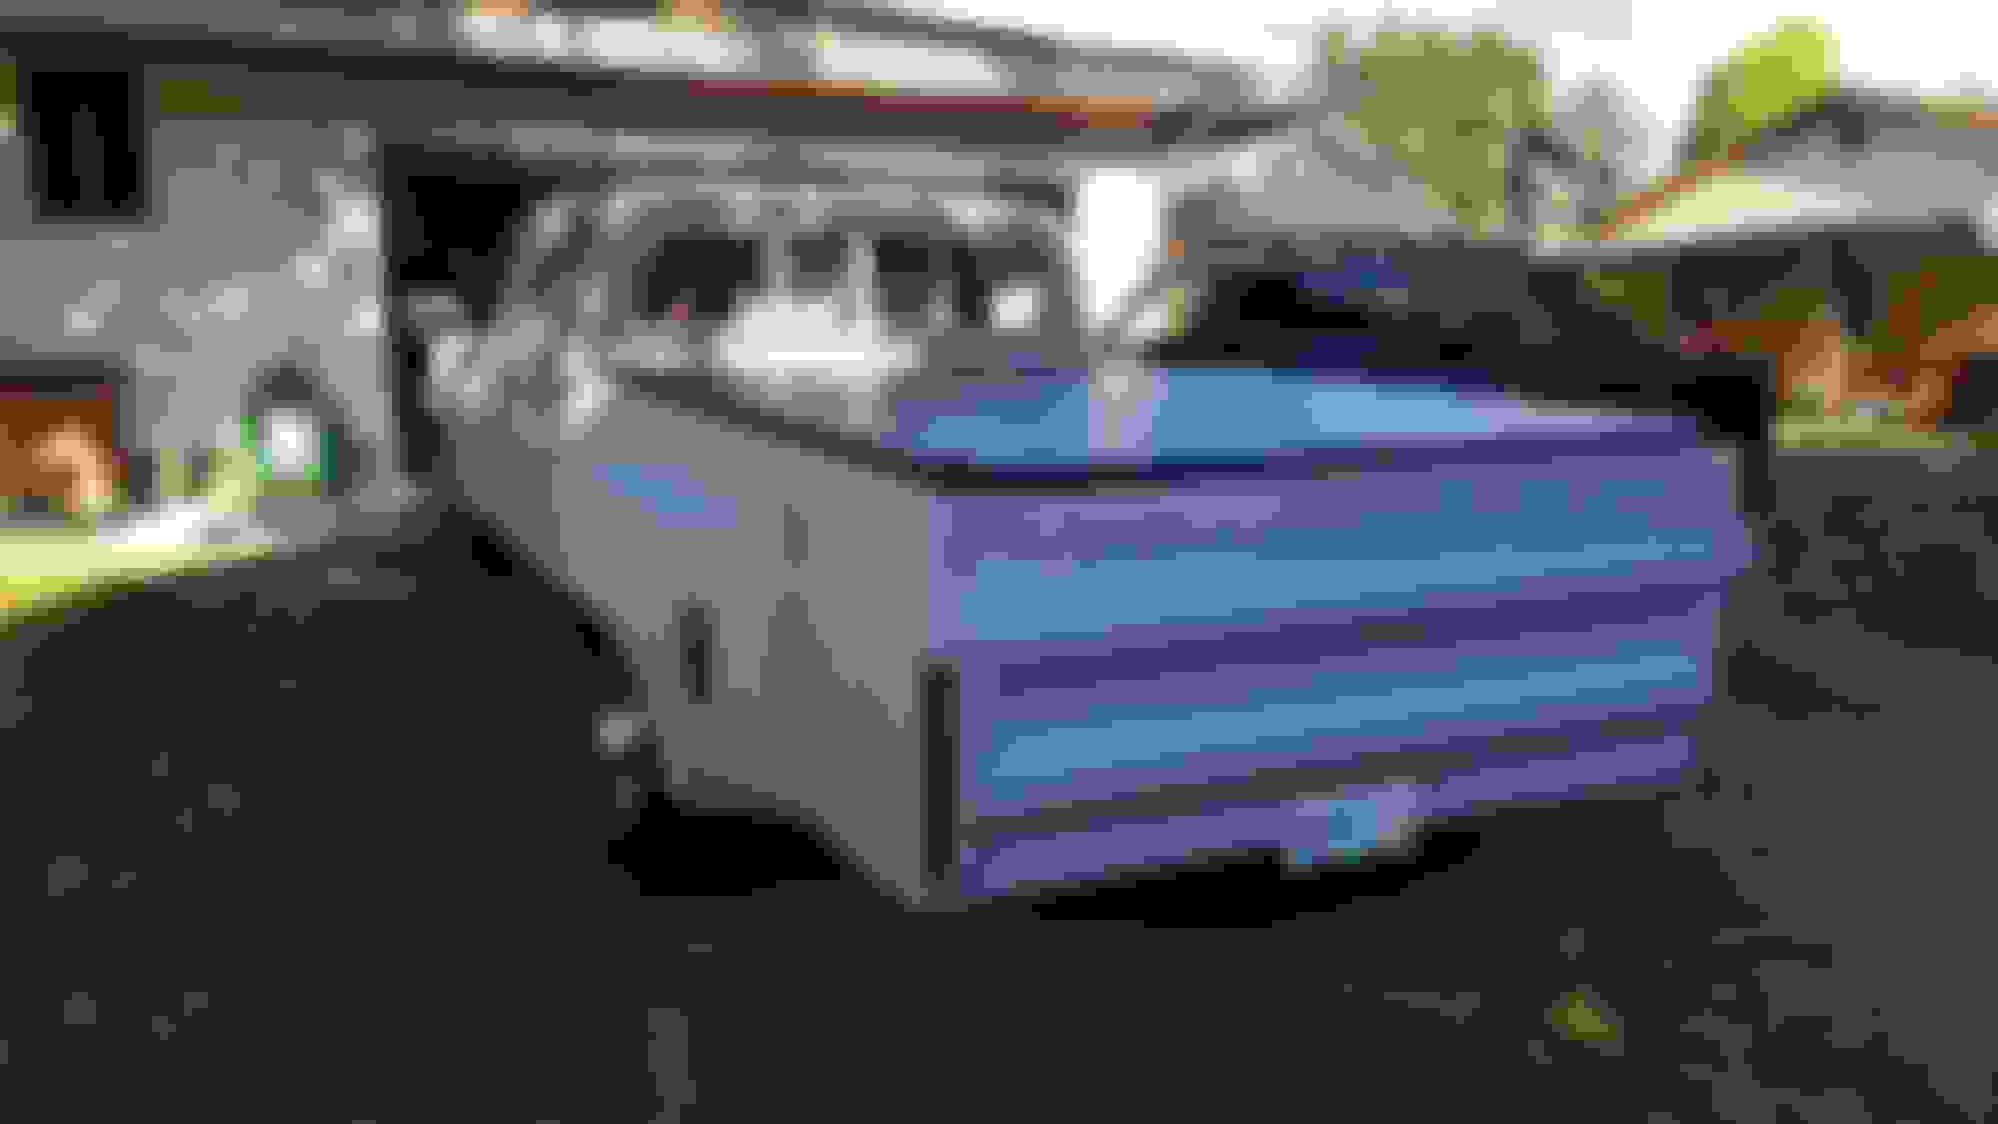
I picked up a '78 Chevy crew cab dually that was kind of half finished and needs some love. It has a step notch and the bed is mostly cut out, came with drop spindles (but not for a 1 ton) and a full air ride kit. I'm just going to put the right spindles on it and static drop it for the time being. I also need to finish frenching in the inverted Deville taillight on the passenger side and make the roll pan flow a little better. I just want it to be a driver at this point, and a tow rig. It'll get it some attention after the Fiero is running.
But I've been hard at work on the El Camino in the meantime. Its nice that right now I'm not having to spend a lot on the El Camino to make progress, its all about the time investment. I've started on the lower trailing arm bracing, I'll do the uppers as well once I've finished these.
Hopefully I'm not too busy with other things this summer and I can really get some of this stuff done!
Jessica
Still plugging away at this pile. Wish it was better updates but it is what it is.
I'm actually really happy with my progress, and my fabrication skills are getting a lot better. I'm making things a lot faster and they look and fit a lot better. I really respect people who can do this and make it look easy
Brace all tack welded together. Still needs some more holes drilled in it.
Started fitting a cutting out the upper trailing arm bracing.
Just making sure everything fits. I couldn't get my welder to the back of the frame so I had to tack this together on the bench.
It fits, and on the first try! I'll cut the spot welds and put it in one piece at a time when its ready to go in.
It was getting late and I try to be a considerate neighbor so I just started to cut out the brackets for the rear shock mount bracing.
I've gotta get some tubes to make the rear brace for the shocks, so that will hold me up a little bit. Luckily if I don't get it done it doesn't impact my ability to install the other pieces or finish painting my frame.
Things are also cruising right along with my other projects so I'm hopefully going to have those kind of squared away by the time I need to get the frame into my make shift paint booth
hey it was nice meeting you! great work on the el camino. i can't believe i've never dropped into this thread before. keep it up!
Yeah it was great to meet you too, I really liked your trucks. The thread gets buried a lot because I don't update it that often, so its not hard to miss it.
Jessica
I just wanted to show how rough these start out, I'm getting better at fabricating but I still start with parts that look like they were chewed by a beaver.
After a fairly painless process of using a disc and belt sander, a band saw, a step bit, and a file, I've got one bracket looking much nicer and it fits great.
The general design of the rear brace, obviously there needs to be a bracket where my hand is to mount the bars to.
This is my first time working with tubing, I went with 1.25" .125 wall DOM for this brace. I'm just glad I gave myself an extra inch and I didn't mess up the taper cuts to match up to the brackets.
This is the start to a bracket that will be welded to the frame for the diagonal tubes to bolt onto.
Everything just taped in place so far, decided to spend the rest of my Sunday night relaxing and I'll get to the rest of this later.
So I got a bit of work done this last week and some on the weekend. I've got the rear lower trailing arm braces to weld up before I put them on the car (the uppers I'll weld while they are on the car).
I'm going to weld a couple temporary braces across the frame, while I weld in the C-channel boxing plates. I'll also be welding up a triangular brace on the front of the frame, but I need to flip the frame to do that one.
Ordered my paint for the frame so I should have this thing painted in the near future and I'll be reassembling the suspension and then learning to plumb this disaster
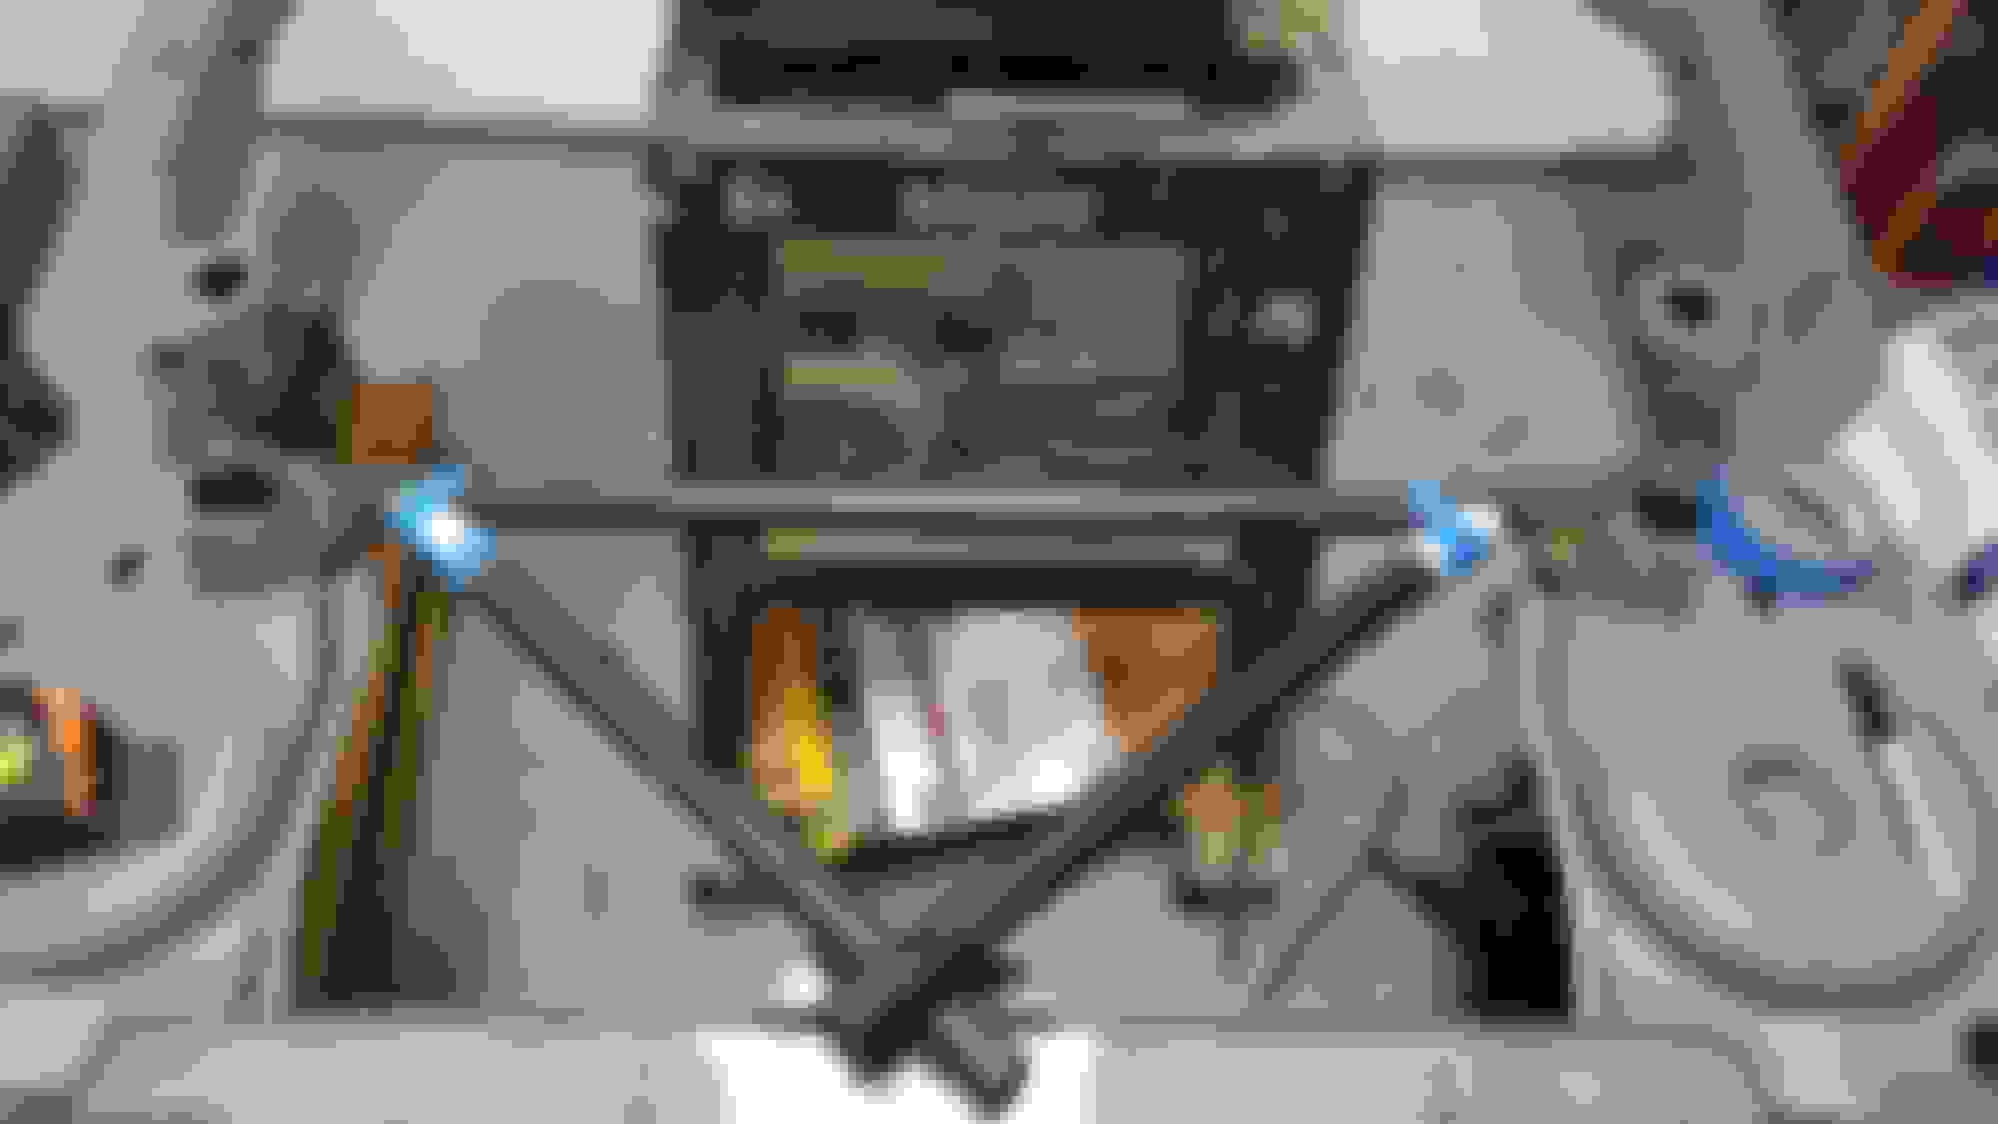
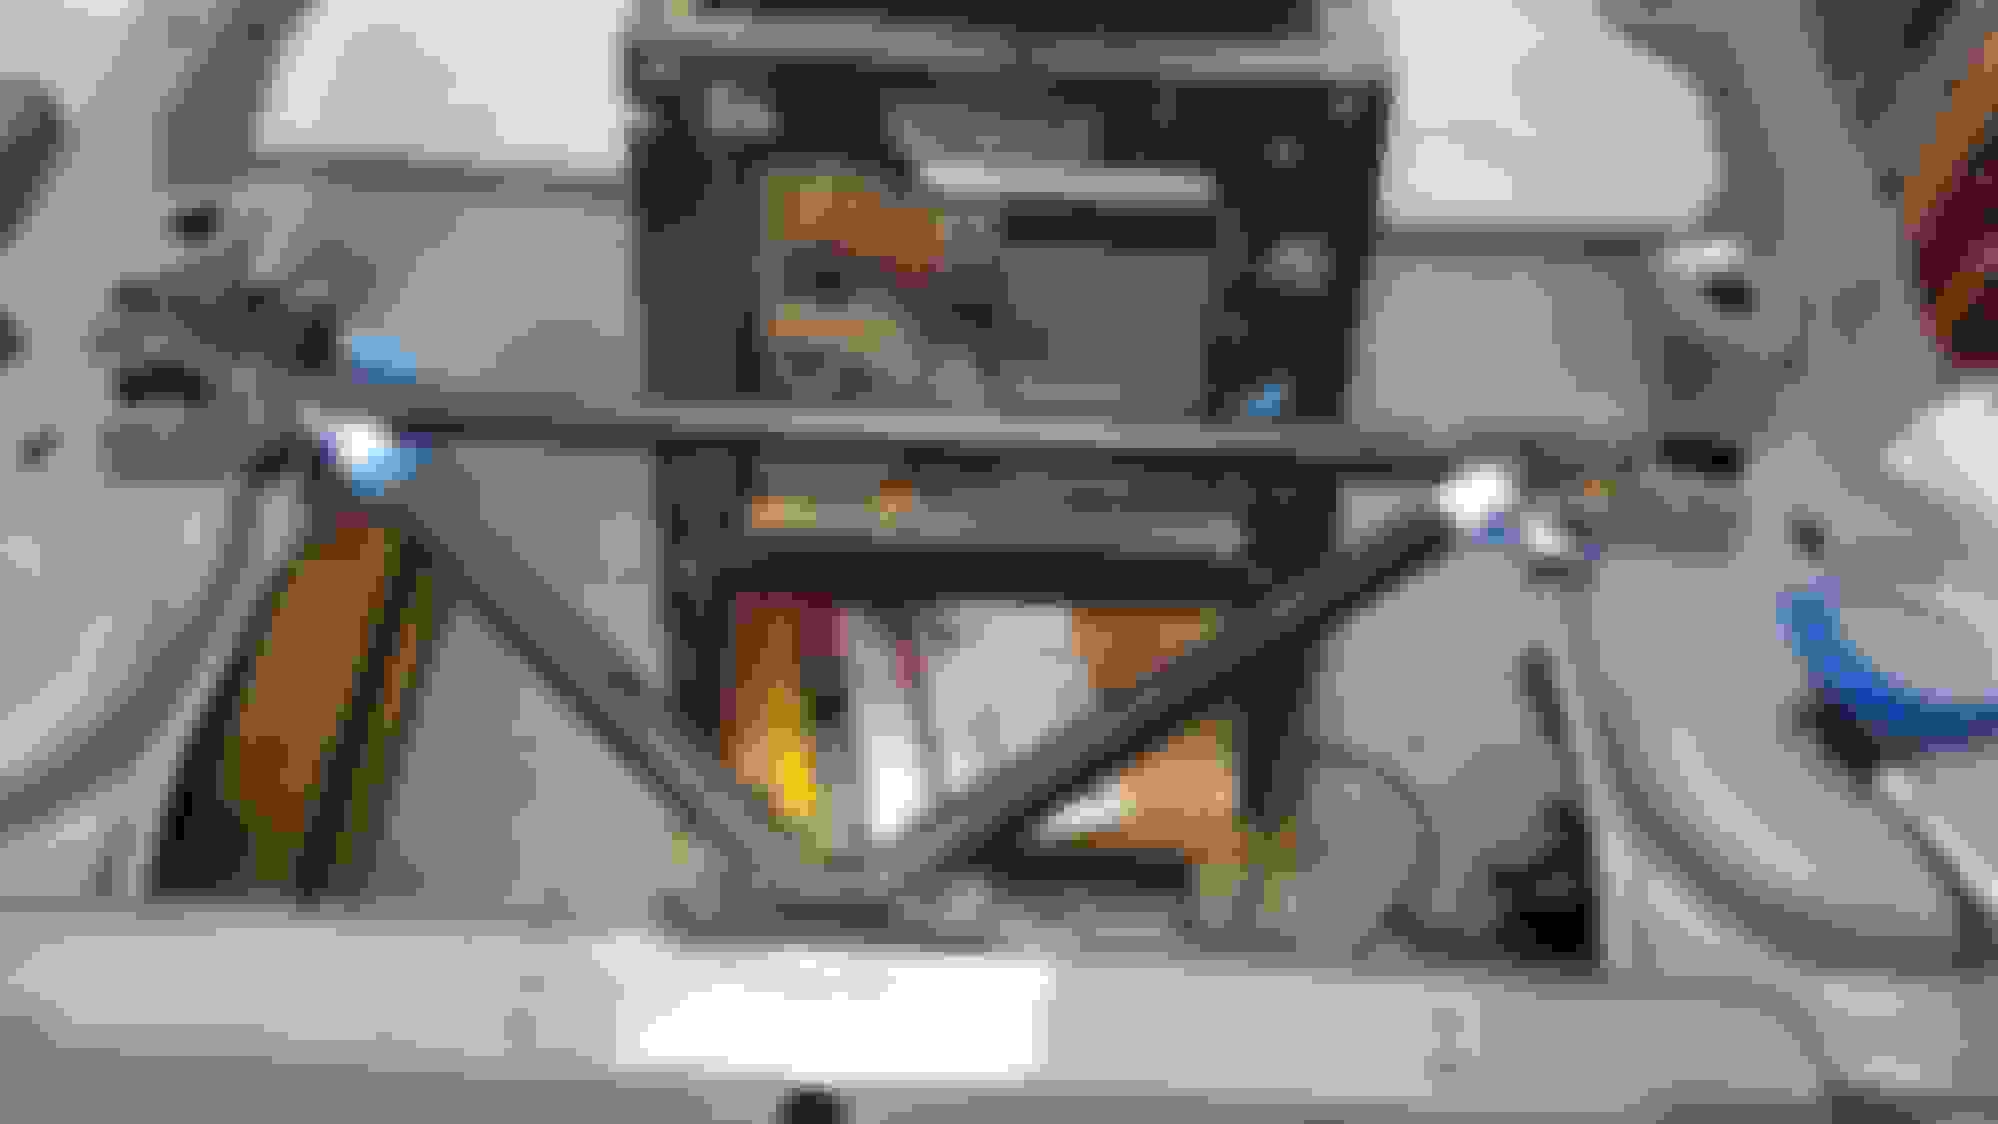
Rear brace started
Front mounting tab welded onto crossmember
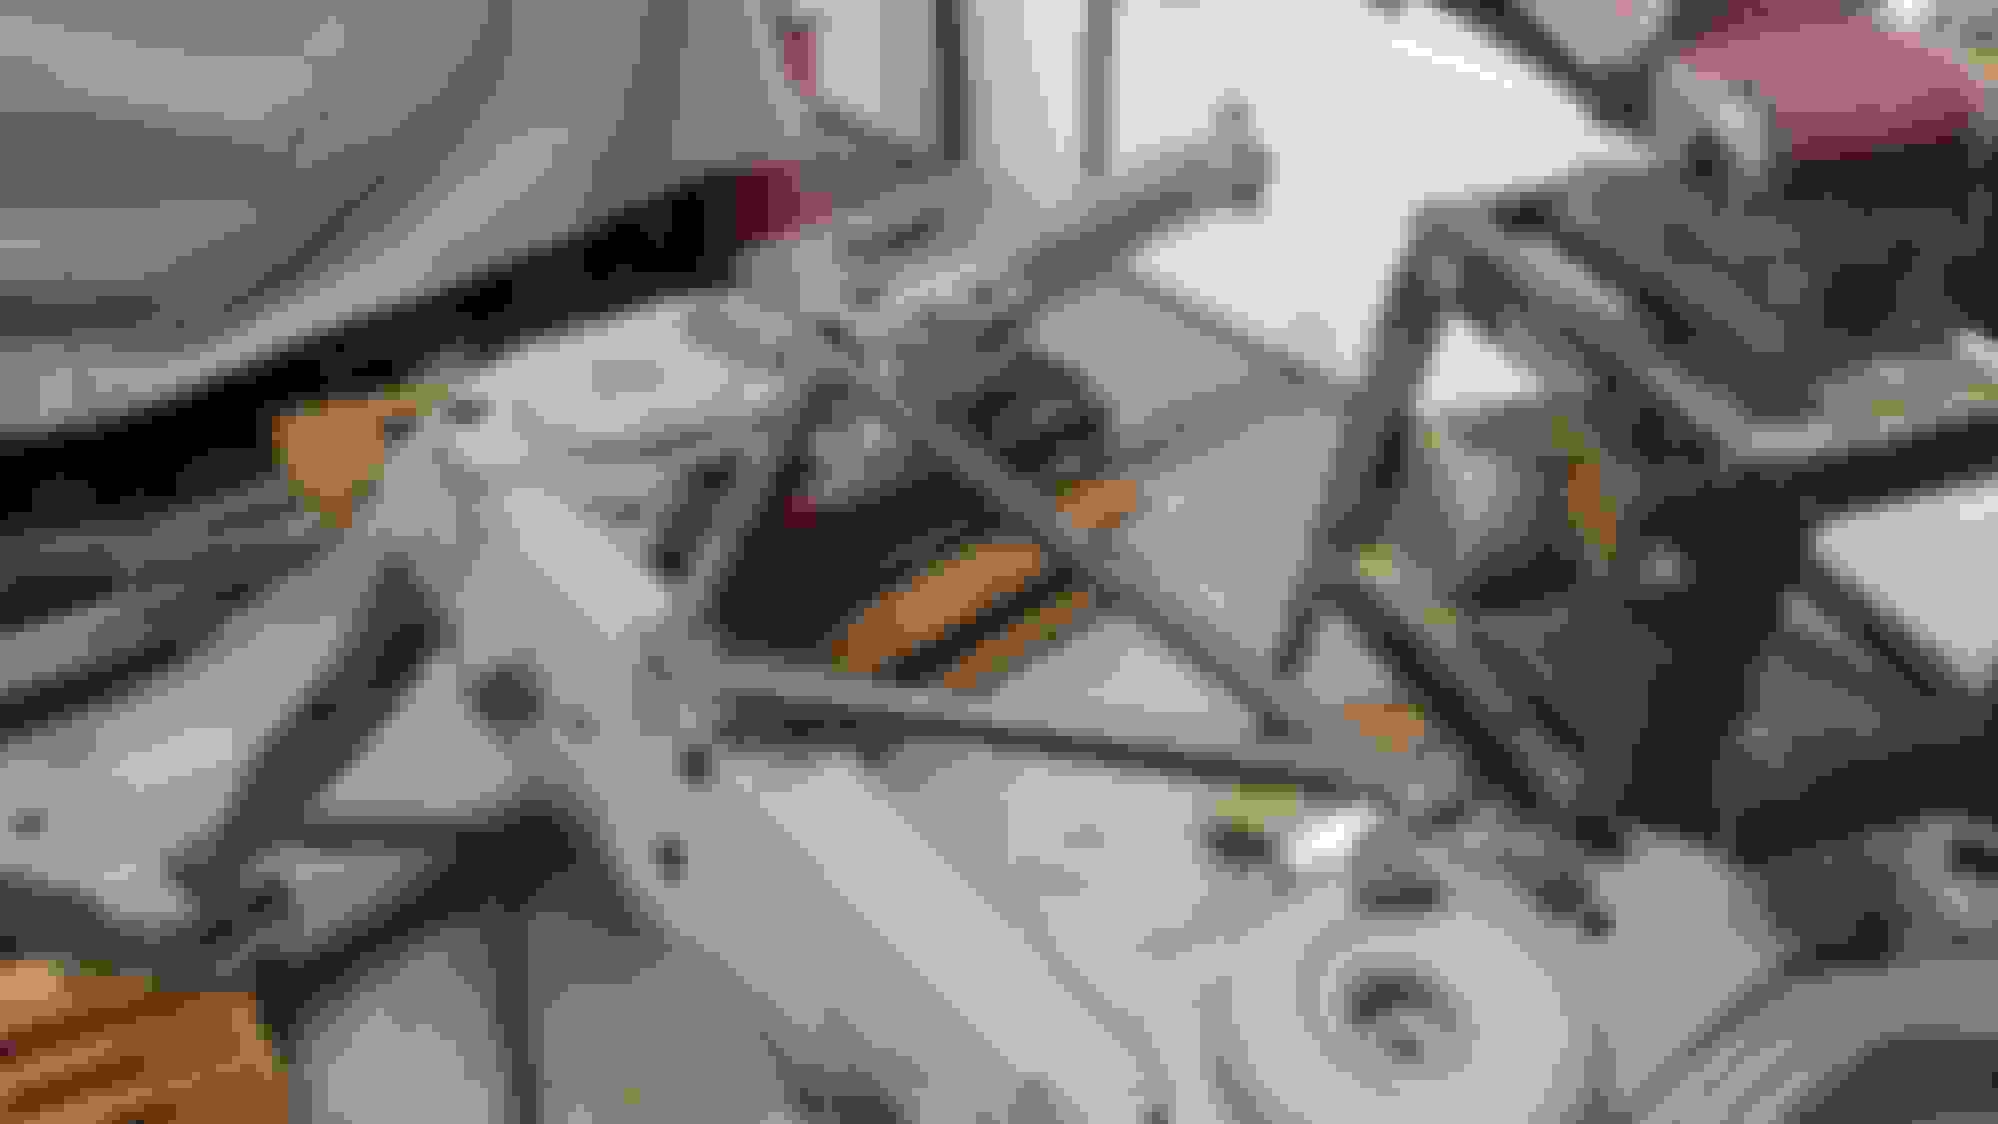
getting these things lined up, metalgeek.com is so cool, got the notches made really easily with the templates.
The front was a little harder to notch.
I tried to weld in some nuts, that didn't go so well so I'm going to cut them off and just attach it with nuts that aren't welded on.


 01-21-2016, 02:39 PM