When you click on links to various merchants on this site and make a purchase, this can result in this site earning a commission. Affiliate programs and affiliations include, but are not limited to, the eBay Partner Network.
Just hang in there and work on it when time/money permits and you'll get there. That's what I have to keep telling myself every day too.
Thanks, I keep thinking the same thing. I got some Summit bucks the other day that were apparently going to expire so I bought spark plug wires for the engine. Its all the stupid little stuff I need that will all add up over time so I might as well get what I can while I can and it'll all build towards getting the project finished.
I got my S10 running again last night; so that is a lot of stress off. Amid all the engine work the fuel pump crapped out and I was chasing my tail thinking I broke something or screwed up the timing and it was basically unrelated to anything I touched. I'm still trying to get the Fiero I bought running but I feel like I'm really close on it. I think I've turned a corner and will be back to work on the Elky soon I almost went out to cut spot welds last night but it was 9:30 and I try to be a nice neighbor
Well I finished cleaning up all the metal so I could get to the spot welds last night and I had just a few minutes to spare before it was too late so I only got the spot welds on the rocker panel cut out and the floor pried up. It went a lot easier and faster than I expected. I also haven't found any new rust yet
I've finished a bunch of other projects and my new car I bought is finally up and running (almost road worthy) so I'm going to get some work done on the El Camino! It feels so good to be working on this car again.
And its out, except the back shelf portion, but the main bit is gone! So there is no more rust on the drivers side
I recently got a compressor and some air tools and it has made a huge improvement in how much I can get done in an evening. This would have taken forever with just a pry bar and hammer.
Nice work. I tried doing the spindle modification but didn't like how it looked so I did blazer spindles with kore 3 bracket kit for c5 vette and used ls1 calipers. Cleared my 17 tt2 with a 1/2" spacer
Nice work. I tried doing the spindle modification but didn't like how it looked so I did blazer spindles with kore 3 bracket kit for c5 vette and used ls1 calipers. Cleared my 17 tt2 with a 1/2" spacer
Yeah I've heard people go with Kore 3 for that reason. I had a brand new set of rotors I had cut down by an enthusiast who has done many sets of these with no issues. He then pressed in some long 1/2" studs to match what my rear end has. I was a little worried about doing this but after I had it all together it looked very solid and I'm not worried about it. I also have 2" drop spindles and I didn't like the idea of running a blazer spindle and when I looked into Kore 3 they only offered products that require using a b-body spindle which really messes up the already not great front geometry of the g body.
Either way its really nice to have a set of decent brakes on the front of the car
A bit more progress pics. I took the last section of the floor pan out where it meets the rear cubby hole. Then I had to see what it will look like with the new pan installed. I've got to grind down the spot welds and clean up the flange the floor pan sits on and I can start the welding.
I took the rest of the transmission tunnel out last night and cleaned up all the spot welds. I used a wire brush on the flanges to get them ready for welding. I'll still need to flatten and bend back all the flanges so that the new pan fits better but its very close to fitting. I don't think I'll need to do a ton of cutting and stuff (YAY)
Lots of progress this weekend. I fought with my welder a lot on Saturday because it kept having trouble feeding the wire but by Sunday it was dialed in.
Fronts mostly done
Rear mostly done
Taking the passenger side out now.
I'm sure putting the passenger side in and getting that center seam to line up well will be a lot harder but I'm happy to say the drivers side went in very smoothly. The car seems very square, which is a nice surprise
I got the rest of the old floor pan cut out of the passenger side. The flange on the rocker was pretty rusty but I kind of knew it would be as the passenger side floor was a lot more rusted. I still need to grind down the old spot welds and flatten out the flanges I bent and mangled taking out the old pan. Then I'll start fitting the new pan in there.
Of course I had to throw the new pan in to see how much work it'll need as well as how nice it'll look. I'm super excited; I can't wait to get this part finished
Picked this little rotisserie up this weekend so I didn't get anything done on the El Camino. It should help a lot when it comes to painting the bottom of the car and holding the body when the frame comes out to get cleaned up as well. It came without the rams but that can be easily fixed.
Jessica
I've been able to get a lot of nights and a few Sundays in the garage the last few weeks and there has been some progress
Prepping the passenger side pan to be installed. I went ahead and installed the seat belt nuts before putting this pan in. I installed the one on the drivers side after it was in and it was a bit of a pain.
The pan fit really well, in fact maybe a bit better than the drivers side.
All welded in. The rear part of the seam was a little wide so I had to fill it a bit. There wasn't enough room to put a sliver of a patch in but I think it will be fine.
Grinding down all the welds and making the pan pretty and ready for seam sealer.
The brace fits really well still so that is a nice bonus (hopefully welding it in will go smooth).
I painted Chassis Saver on the inside of the brace, and I sprayed some weld through primer on the flange.
I also stared to fix up the seat brackets (They are a bit rusty but I hope I can get them looking nice)
The most up to date full car photo I have.
I'm curious should I use the seam sealer on the edge of the pan and then install the brace over it and just dig out any that is in the way of my spot welds? OR should I just do the seam sealer after and not worry that some of the flange won't get sealer over it?
Started to strip the old glue/paint/sound deadener/rust and just crud out of the trunk/cubby behind the seats.
Its getting closer. I plan to remove all this old adhesive and fuzzy old carpet stuff from the cab and then I'll get it ready to paint it and put either bed liner down or another sound control option.
I finished half the floor of the cubby and what a pain it is when you can't even lean on the floor because it doesn't have any bracing. I'm hoping to get the rest stripped this weekend.
I think there are a few old screw holes in the floor from something so I need to weld those as well.
I got a lot done this weekend, I probably would have finished the rest of my list for the floor pan if I hadn't gone out with friends. But who cares I got a lot done anyways!
Grinding down the coating so I can weld the brackets and brace to clean metal.
I couldn't find any NOS or replacement outside seat brackets so I bought these from a guy parting out a Olds. They were pretty rusty but they cleaned up really nice.
Brace welded in, now I can lean on the floor again and not worry about bending it.
I figured the easiest way to measure the seat bracket location (My car never had center seat brackets because it was a bench seat car) was to just install the factory rails on my seat.
All finished welding and grinding.
I also started to do seam sealer on all the welds and flanges, I'll finish that and the last of the welding this week (or maybe tonight). Then I'm going to take some more parts off and get ready to pull the body.
Done sealing the seams for the time being. I ran out with 4" to go so I'll open another tube of the stuff at a later time when I have more areas to do.
Started cleaning up the seat rails. They look like they'll turn out pretty nice when I'm done. Then I had an accident with a wire wheel on the angle grinder so I quit for the night.
Lots of work getting done that I haven't taken a picture of. I built a new work bench to hold my tools better in my garage and its on wheels so I should be able to keep it out of the way when I pull the body off the frame. I also pulled the rear body mount bolts that are behind the axles without much trouble. I figured they would be the most corroded, but they came out fine; now I just hope the others do too!
Taking a little break from the El Camino project to finish getting the $250 Fiero all buttoned up. Its now significantly more money than $250 but its also a pretty cool little car. I've got it running and driving and stopping pretty good but I just need to redo the suspension and replace the injectors and it'll be perfect
Well I got the seat rails all refurbished, I ended up using a bucket of CLR to clean them up. I ended up with a 5"x1" scar on my leg from that damn angle grinder and a nasty infection. Guess you can always be more careful. After that I bought a "little" media blaster and I've been using that (with good safety equipment) with some not silica media to clean my weird shaped and messy parts.
I put the car on some cheap harbor freight movers dollies and have been pushing it around the garage to clean the floor after all the messy cutting and welding.
I also finished up the big project on the Fiero, and I hope that is kind of out of my way now.
I think I'll start to fill some of the useless holes in the firewall on the El Camino and I'm debating on what to do about the frame; if I try and strip and paint it myself or if I have it done and powdercoated. I am leaning towards powdercoating because I could potentially have that done during the winter months and not have to wait till next summer to do all the work on it outside by myself.
I figured I'd update the thread a little seeing as how its been about a month since I really put anything up here.
And a picture of the Fiero just for fun
I just finished replacing all the bushings, ball joints, springs, shocks, struts and brakes. Its now less than 4' tall and more go-kart like than ever!
Big things happened last night!
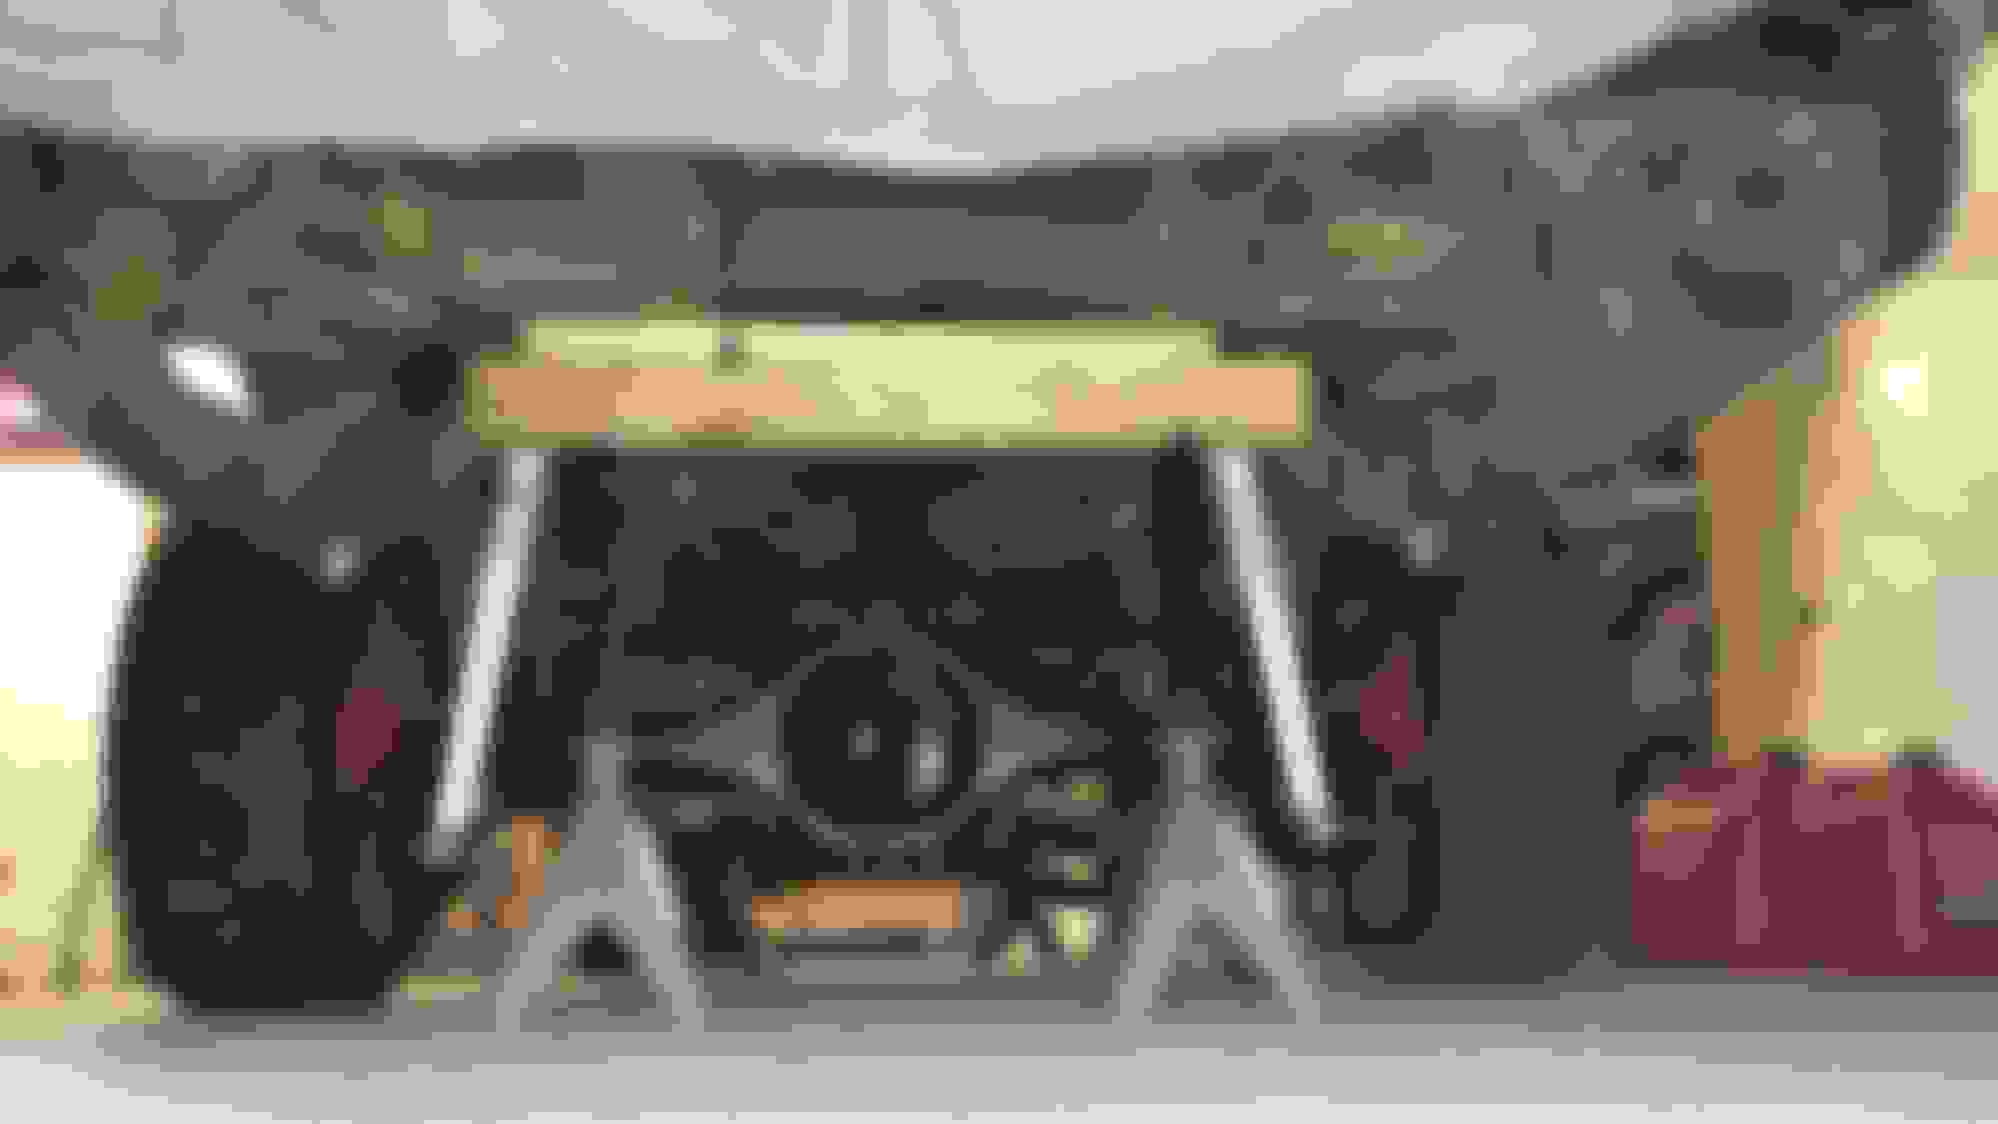
I got the frame out from under the body.
I had 6 bolts left to take out under the doors and they all came out in a few minutes. In fact all 12 body mount bolts came out amazingly well; none stripped, spun, or broke!
I'm also going to go look at and hopefully buy a new dash and console for the car this weekend. I don't want to give anything away but its not from an 80s car and its hopefully going to work really well.
I feel like I've turned a corner and am back on track with the build
Car up in the air and ready to separate!
Frame on the floor, but still a little too hard to move out.
Thats about the max height I can get from the 6ton stands.
I used two 4x4s in the front and then found (cut an old fence post) one that was long enough and got rid of the two pieces.
Pulled the wheels and put the rotors on dollies to give me some more clearance. It was barely enough on the back.
Now to get the frame out and keep the body from falling!
Got the front and rear past the first set of jack stands.
Well it took about 2 hours from when I jacked the car up to this point. I think I'll put the wheels back on and roll the frame out and then blast it with a pressure washer.
As an added bonus to all this the bottom of the car looks great, so far I haven't found any rust, and the frame also looks really nice. I guess it was just all those college years living in Seattle with the car in the rain and the heater box and windows leaking that killed the floor pans
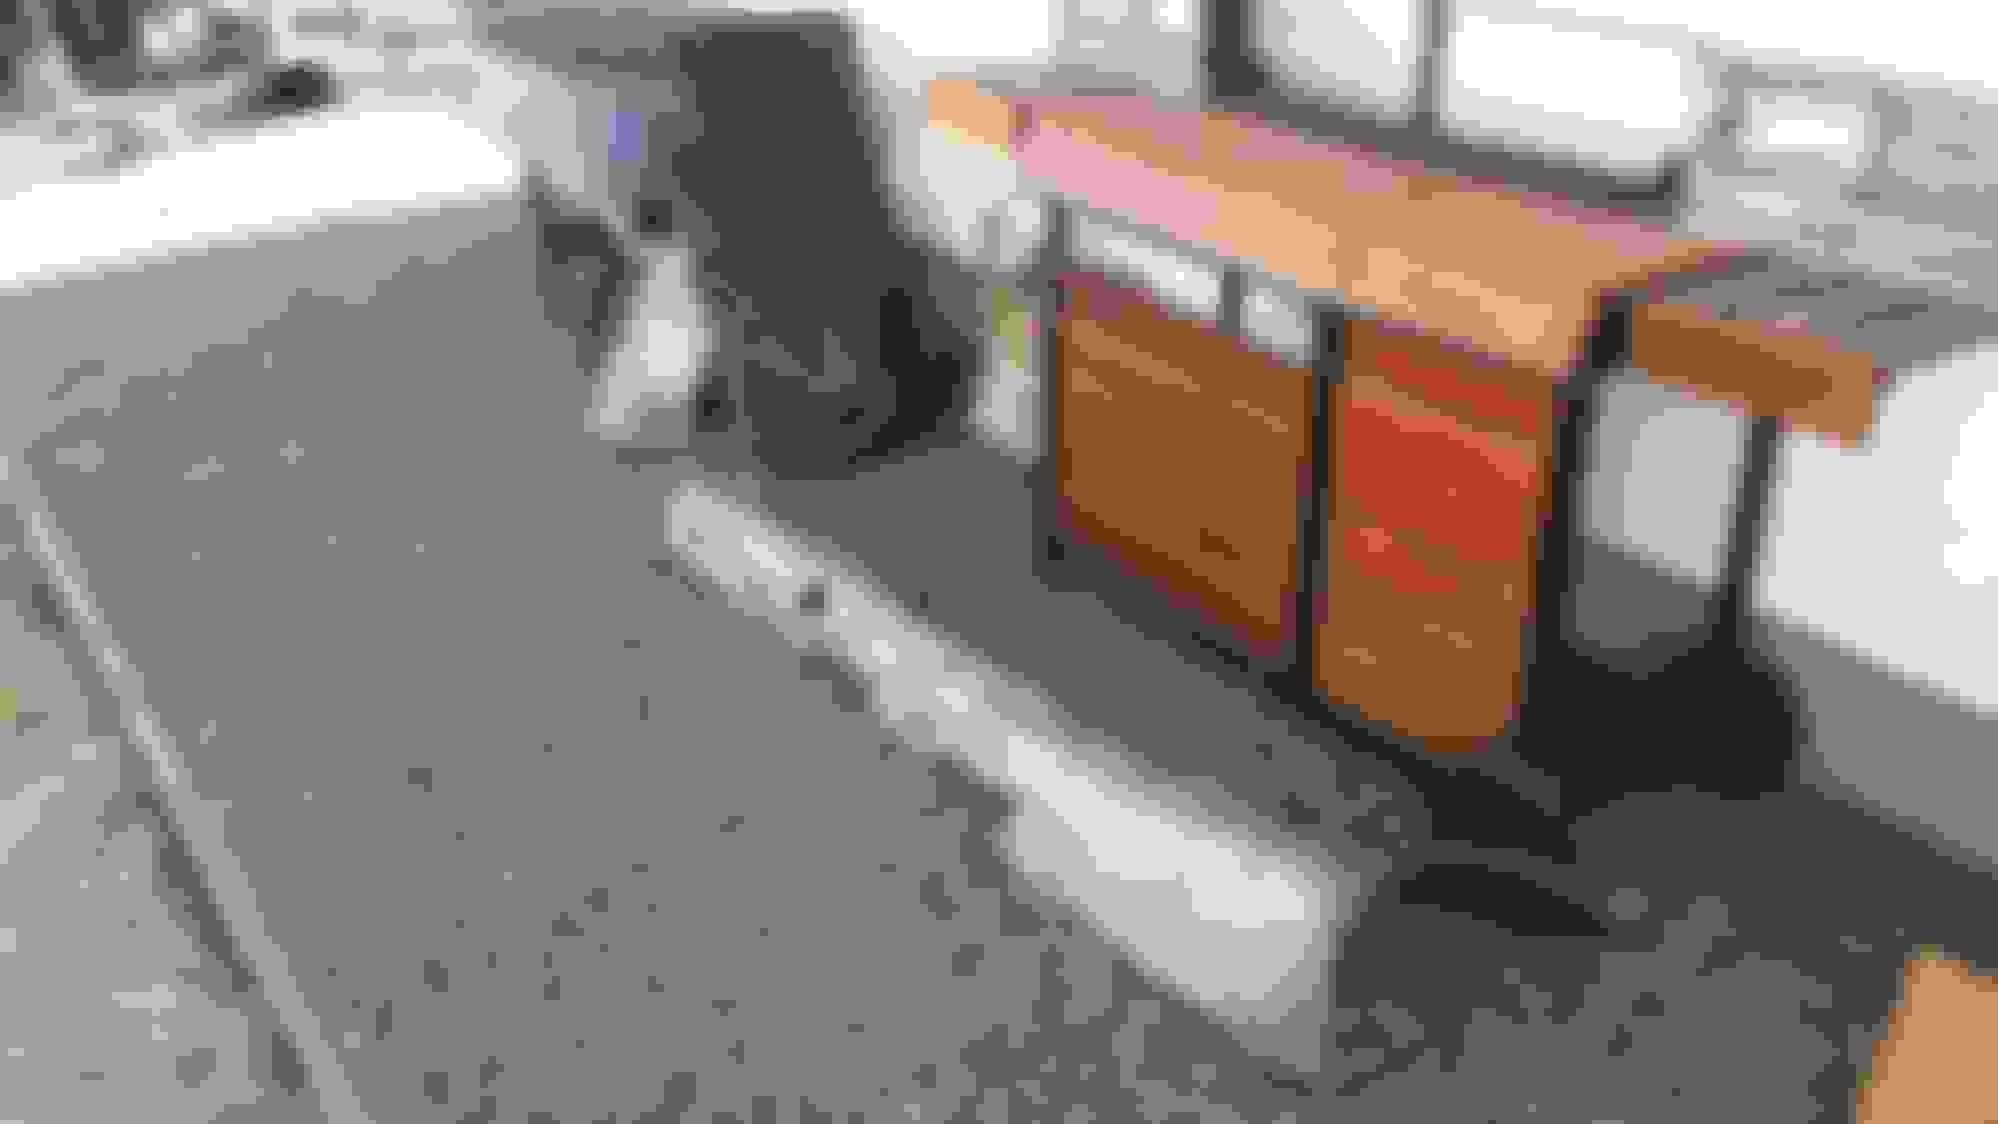
So I got a bunch of parts from a 99 WS6 this weekend! To be exact I got the complete dash with gauges and wiring harness/fuse box, steering column with wheel (from a Camaro), console (minus the lid), shifter and e-brake, as well as some extra plastic pieces. The console had a rough life and I'm not sure if its going to be salvageable but it'll work just fine to help me make up all the mounting points I need to get this stuff in the car. All in all not too bad for a couple hundred bucks
Taking some time to clean and remove all the grossness from the parts before I tuck them away and get back to work on the frame and body.
The El Camino sort of left the garage! Its funny, just the frame looks gigantic compared to the Fiero.
Lots of degreaser and pressure washing got most of the crud off the frame, it is rusty but its just surface rust and its very solid!
With the frame out of the garage I could get the front half of the rotisserie into the garage and assemble it.
I cut and welded up some brackets to attach to the front body bolt location. I painted them with some left over spray paint so they wouldn't rust.
I got the rear half pulled around the house and into the garage as well so I could make sure the rear brackets are built right.
The rear brackets cut drilled and welded ready for paint.
Done and ready to go on the car!
Well that was a bit of progress over the last few days. I'll attach the body to the rear rotisserie maybe tomorrow night when I can get my dad to come over and give me a hand. I really would feel better having a second set of eyes to make sure nothing bad happens, plus I need to push it further into the garage so that I can close the door ;-)
Went home at lunch because that was when my Dad could come help me with the car:
There she is all up in the air and stuff!
My next step is to start taking the suspension and stuff off the frame and get that ready to take to the blaster. I don't think it'll take too many evenings to disassemble everything but I may run into a problem, so who knows when I'll get it apart.
Jessica


 05-07-2015, 09:29 AM

 I almost went out to cut spot welds last night but it was 9:30 and I try to be a nice neighbor