When you click on links to various merchants on this site and make a purchase, this can result in this site earning a commission. Affiliate programs and affiliations include, but are not limited to, the eBay Partner Network.
They aren't perfect and they need to be cleaned up and de-rusted but they are complete and they are factory bucket seat mounts for my car. The guy I got them from only charged me a few bucks and he cut the spot weld out and pulled them without breaking them. As an added bonus he even labeled them so I can tell which one goes where
Jessica
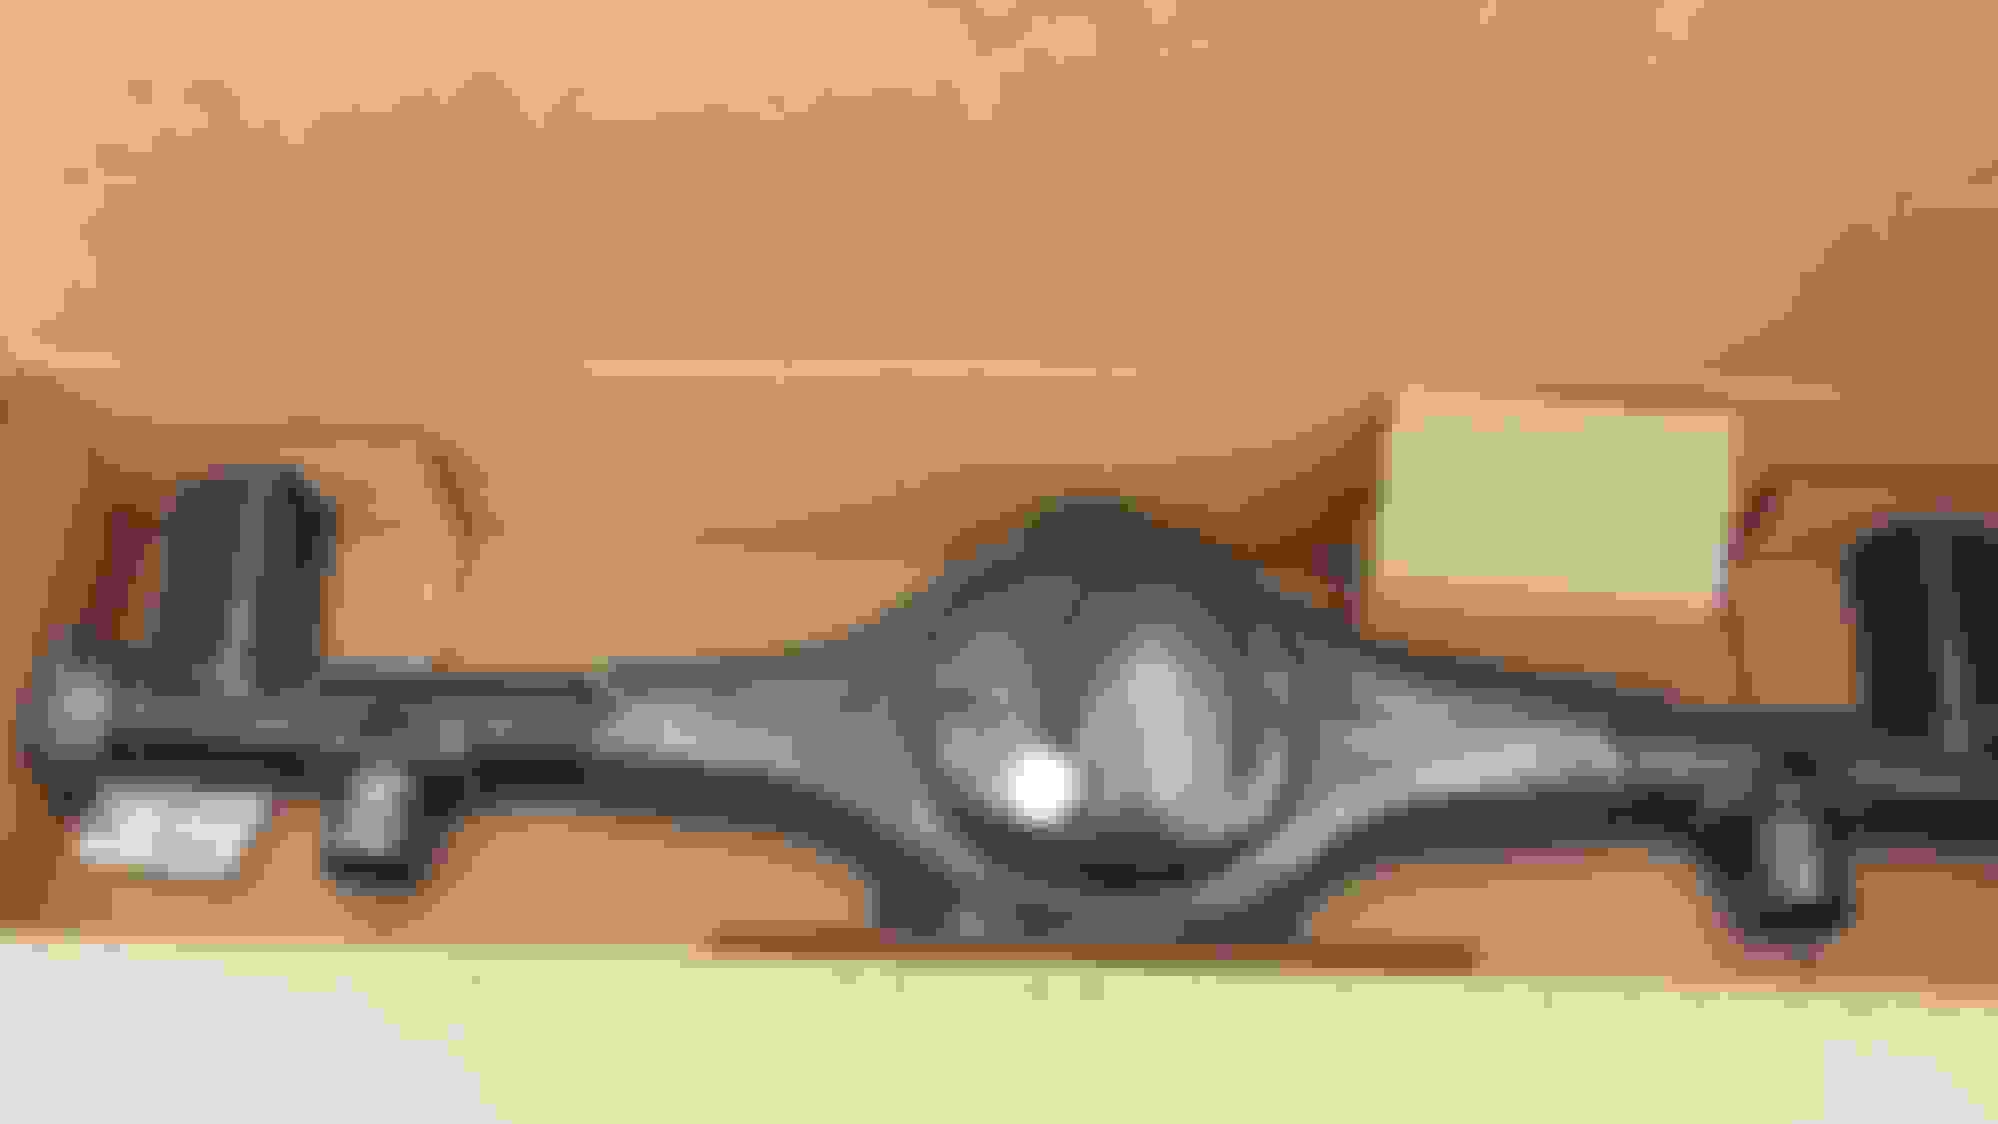
The rear end finally showed up. The people at Quick Performance are awesome to deal with and I'd highly recommend them to anyone!
I had a couple hours to kill so I got a good couple coats of self etch primer on it, now I just need to decide what to paint it with.
I also was able to find a good used welder, and although it looks rough it works good. Plus its 220v so I don't have to worry about tripping a breaker like I kept doing with my 90 amp 110v.
Still cleaning up the inside of the cab to get all the brackets and braces out so I can be ready to fit the new floor pans. I should have it back on its feet once I get the rear end assembled I can't wait to get back to driving this!
So I hit a small snag. The bearings on the axles were accidentally pressed on when they were built so I can't get my backing plates on now. I called QP and they are amazing and helped me out. They are sending me some new bearings and retainer rings and I'll just have to get these off so I can assemble everything right. I also picked up some new parts for the welder and I'm on the lookout for a bottle and some other gear for it still.
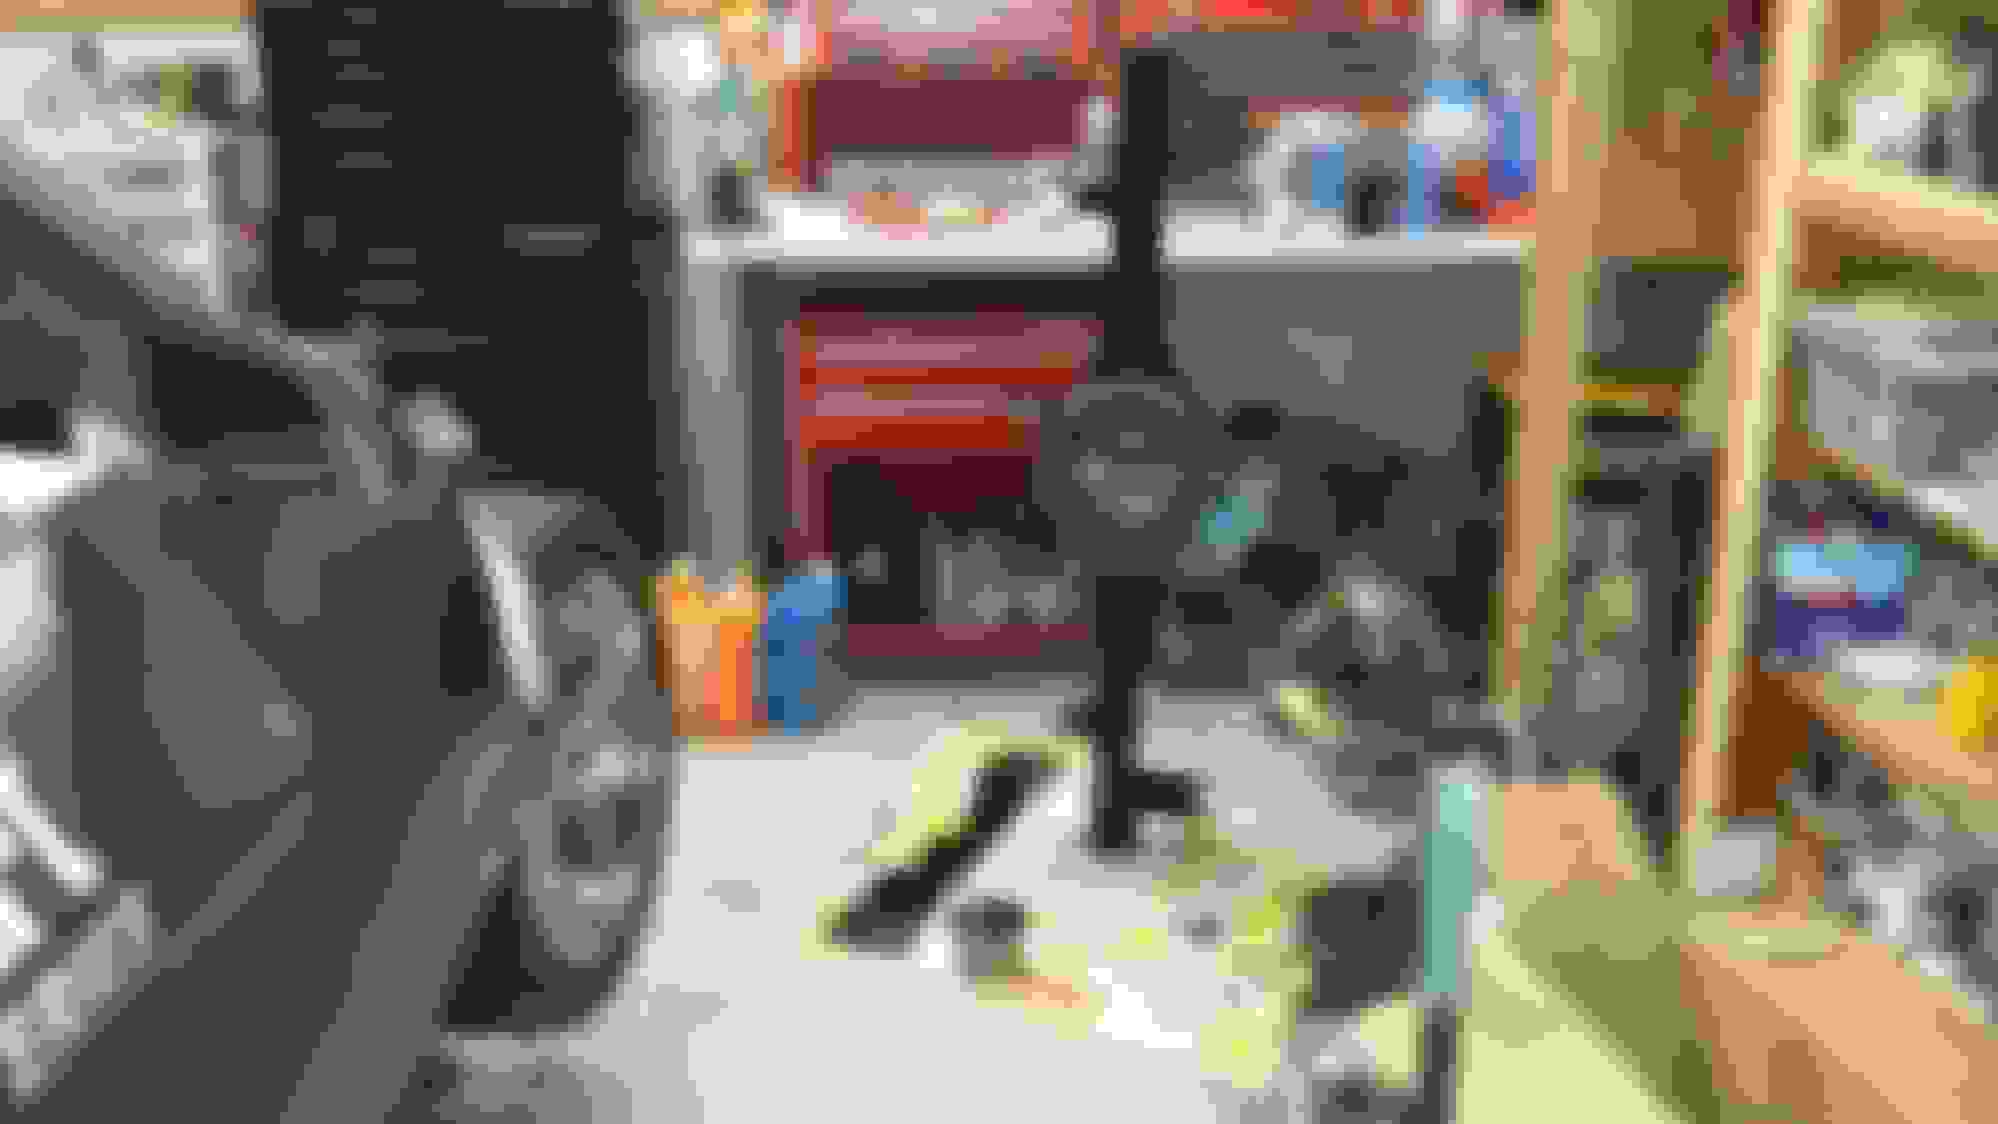
Also the garage is a total mess and that always bothers me a lot so I need to get the car back on the ground so I can move it out and clean out the garage and reorganize it and move on with the project without constantly tripping over stuff.
The first order of business has been getting the new-to-me welder up and running. I have used it and it works really good, but it was in pretty neglected shape. I figure if you have something it should look nice and be in good shape or else just not bother.
I started by getting a new tip diffuser and nozzle for it, along with some new hose for the gas tank. Then I started to remove panels to make sure all the inside was in good shape. I thought the on/off switch was bad but it turned out it just had so much dust and grime on it that it wouldn't switch. So I gave the inside of the tool a thorough cleaning.
The welder had been in a little garden shed and the PO had left it uncovered and it get a bit rusty. So I decided to go ahead and address that issue as well as the side panels.
Here is where I started, rust, over spray, gunk and a total mess.
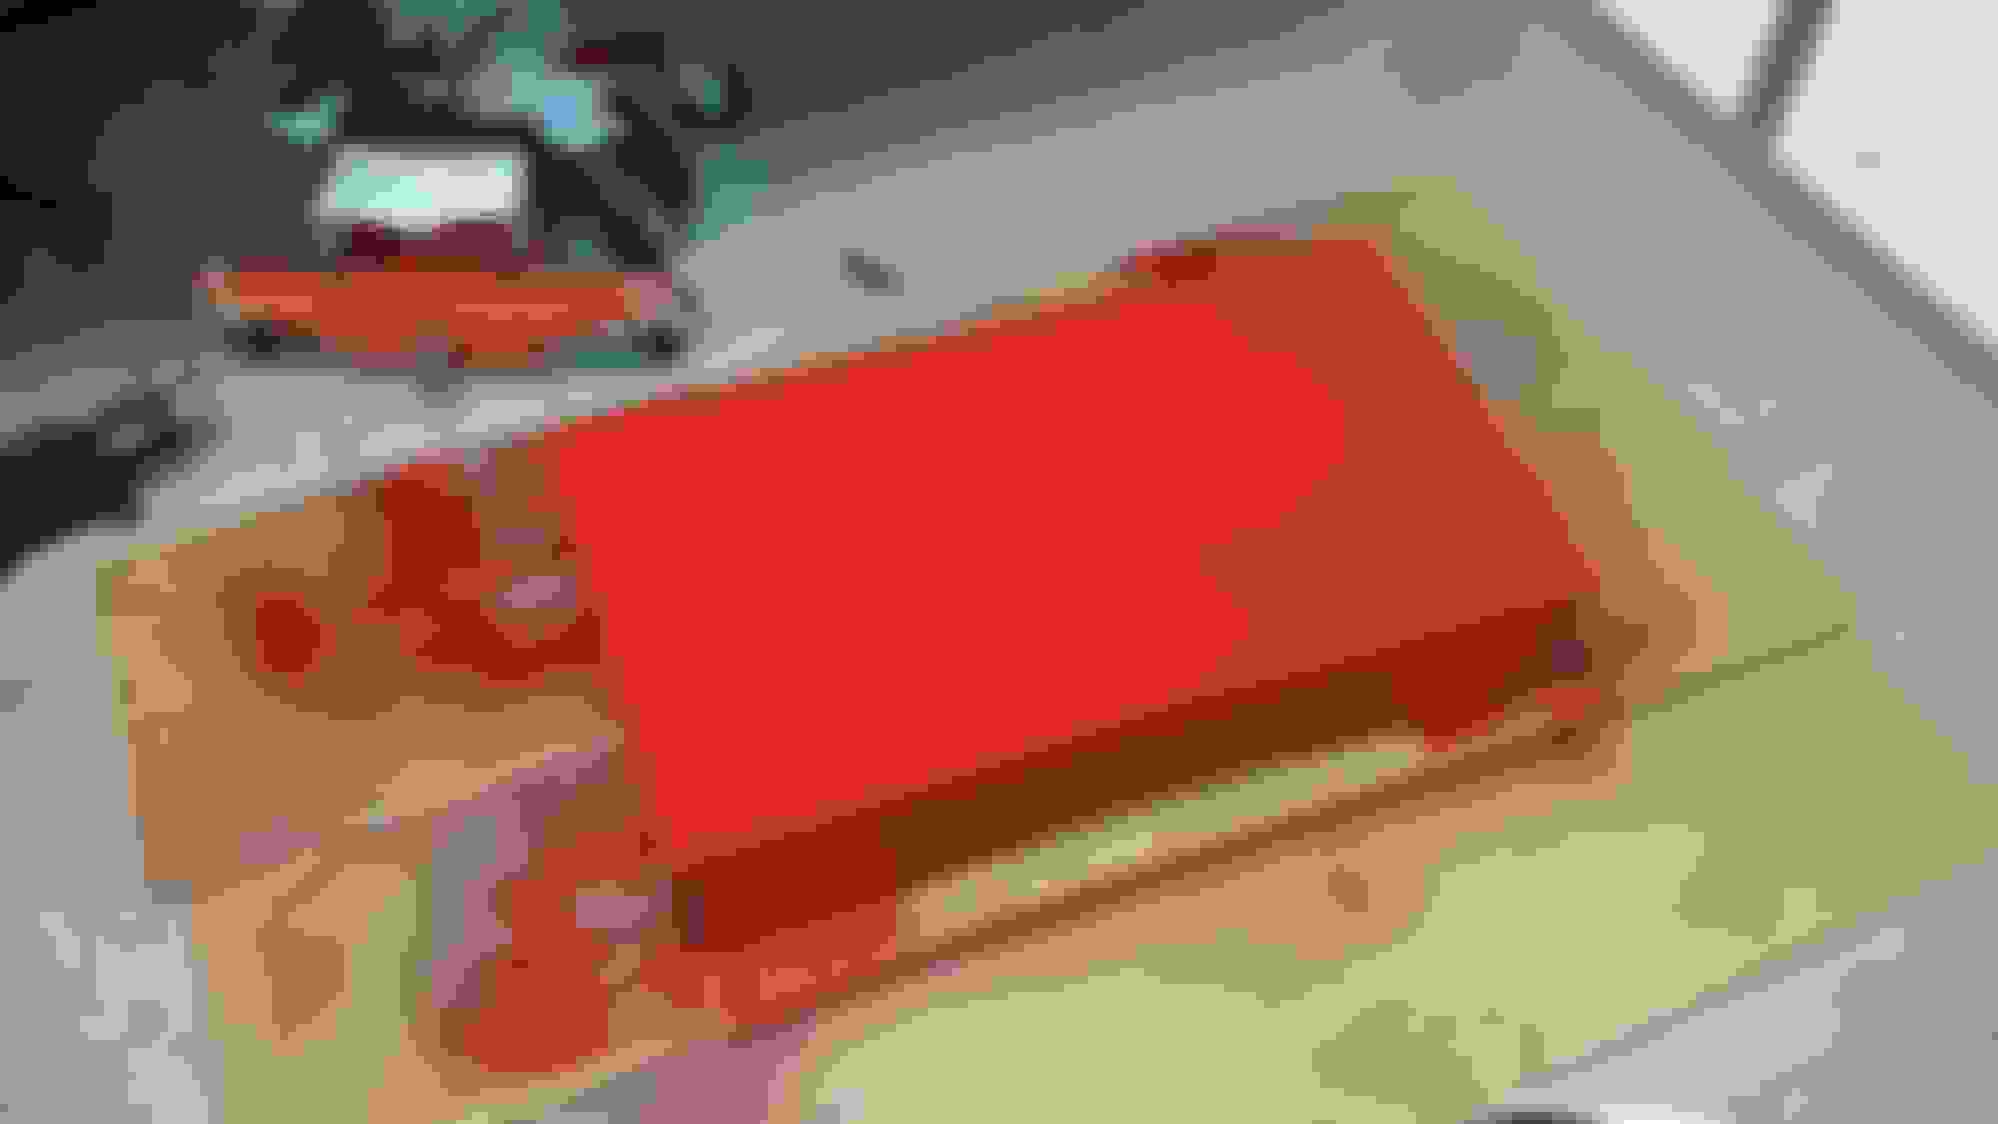
After sanding it down to bare metal I primed it with some self etch.
I'm not too concerned with hammering out dents or anything like that, I just wanted to stop the rust that was starting to pit the metal.
Got some thin and thicker coats on it last night and will probably spray another tonight before I get it put back together.
It is a huge improvement if I do say so myself.
A quick shot of the finished product. still need a few more screws to put it all back together right.
Now the cart the welder is on has a bit more rust than I'd like to see on the flat surfaces (looks like it had some puddles on it), so after I get the welder finished and put back together I'll tackle the cart.
Haven't had a chance to get the brace out of the inside of the truck, I've decided to grab a chisel next time I'm working on it to see if that will break it loose. Maybe I can get to that over the weekend and update this Monday with lots more progress.
Got a lot done this weekend I pulled the wiring out , and the fuse box. That helped clean the area up so I was able to clean up the rest of the tunnel and most of the toe boards. I also got that darn floor brace out finally! Then I removed the heater and vent ducts and air box. It needed to be resealed and had a small hole in it from my valve covers so now was a good time to get it out. The replacement bearings came for my rear axles so I can get the others pulled off and these pressed on once I find a place to get it done at. I almost got all the sill plates cleaned up but then I smashed my thumb on the metal seam that runs along the door and split my nail open so that ended my day way too early Sunday
I even have a pic of my thumb, but I'll refrain from posting that. I figure it'll take a couple days to feel OK and then the nail may or may not fall off. Unfortunately this isn't the first time I've destroyed a nail this way
Well I haven't had much time to work on the truck and I let me thumb heal up for almost a week before doing anything else major.
I called around to get the bearings pulled and my backing plates put on and new bearings installed and it wasn't going to be cheap or easy to do. I don't know what it is about the Portland area but I've never had great luck with machine shops and the ones I did like are in Vancouver and I don't want to drive there haha Anyways I ended up getting a press from Harbor Freight and I'll just press the bearings on myself!
I picked up a little bottle of gas for the welder and if I find its not enough they told me they'll put the cost towards the next size up or however much I'd like to buy next time.
I did make it to Cars and Coffee with the S10 so that was cool and gave me an excuse to clean it up.
I've only got about this much room on either side of the truck, I really need to figure out some better organizing of parts and tool soon or I'll not be able to do anything out there.
I finished cleaning the floors on the inside and I'm ready to cut the old ones out once my new pans get here so I started to do some more on the outside of the body today, specifically the floors and the firewall. The floors I just scraped off the undercoating and a lot of the floor still has the red oxide paint in good shape.
So this post was basically all about how I'm still just making a huge mess in my garage I should get my chassis paint by the end of this week so I might be able to get my rear end painted (along with some other pieces) and then I can maybe assemble it and hang it under the car!
I got the rear end painted along with the radiator top plate (one side) and the backing plates for the rear Camaro brakes.
I'll be pressing on the axle bearings today I think and my floor pans should be here today as well. Then I can assemble the rear end over the next few days. I am also going to strip then paint the core support and the battery tray at some point this weekend if the weather holds up.
CattleAC thanks, but I think I'll pass. Its a pretty blurry pic anyways when it isn't on a cell phone screen
Originally Posted by Fat Jesus 808
Nice, I also picked up a Quick Performance 9. Had a couple small snags as well with assembly, but for $1000 less than any other fabbed 9, I'll take it
Exactly, the price was too good to pass up. I've had a bit of a hard time with mine but every step of the way they were willing to make any issues right. It probably doesn't help that almost everything I do to this truck is custom. Half the time I buy something perfectly fine and I modify it right out of the box
Anyways I've got more updates and I'm taking a break from working in the garage.
This massive box showed up Friday, luckily its pretty light.
And these beauties were tucked inside!
this turned out to be a great work bench (until I had to get the rear end back onto a rolling dolly)
Got the axles in and the backing plates all tightened down. Of course with 4th gen Camaro backing plates the T-bolts won't work so I had to modify some socket cap screws
The transmission jack came in handy again.
This was about as hard to get right as it was on my Camaro. The darn parking brake shoes always hang up the rotors, but I got them on eventually.
I just noticed I may have the rotors on the wrong side...I'll have to double check what way the slots should be facing
I've still got to make a bracket to relocate the shock stud because the calipers are in the way of the stock bracket location. It would have worked if the calipers could mount to the front of the rotors but then they hit the frame
Guess I might get that done today.
Jessica
EDIT!!
I got back out there and although I now need to paint the adapter and get 2 larger bolts for it I am pretty happy with how it'll work.
Every bolt is just hand tightened on this right now
The angle of the shock stud was better when I was holding it but once I let go it shifted, again everything is loose.
My latest plan is to get the truck back on its wheels after a lot more undercoat scraping and degreasing on the underside and move the whole thing back to one side of the garage and start the floor pan replacement on the side not next to a wall so I can maximize my workable area.
I also may be building a more useful work bench (and tearing out the existing). I don't think the person who built my bench ever used it because it is pretty horrible where it is and how it is built.
Been following this thread for awhile now. You are always getting something accomplished and that is great. Inspiring to those of us who can't seem to find the time. Thank God that it's finally spring time so I can get started on mine again.
Been following this thread for awhile now. You are always getting something accomplished and that is great. Inspiring to those of us who can't seem to find the time. Thank God that it's finally spring time so I can get started on mine again.
Thanks so much! I've been trying to keep forward momentum on the project so I don't loose my focus or my drive. There are some days though and even weeks I haven't touched the car and I do work on my house or just hang out instead. Especially when something isn't working right I have finally realized it can be helpful to take a step back and regroup.
Like last night all I did was clean up those shock brackets and sprayed some primer on them. It took about an hour but thats an hour of busy work I don't have to do tonight
Well a bit more work is getting done on the rig this week. I also picked up a band saw and a drill press and reorganized the garage. I'm a total tool junkie and I can't see myself not doing projects so the ability to build my own parts is really a good thing. I've also been painting things which means dry time slow downs. I touched up the rear end because I did scratch it when I installed and assembled it. I also painted my shock brackets and when they are dry I can finish hanging the rear and put the wheels back on. Because it is all taking time I decided to also paint the gas tank.
I have given up on using the garage for 2 cars at this point; but I'm OK with that because tools!
First coat on the tank top.
Second coat, now to let it dry for a couple days and I can flip it over and start the bottom.
I'm going to clean up the bottom of the floor pans or maybe I'll clean up the core support next. Depends on how dirty a job I want.
Got the shock brackets bolted on last night after helping a friend pull an engine and put a C10 cab on a new frame for his dually project...for some reason I felt like I needed to make headway on my project
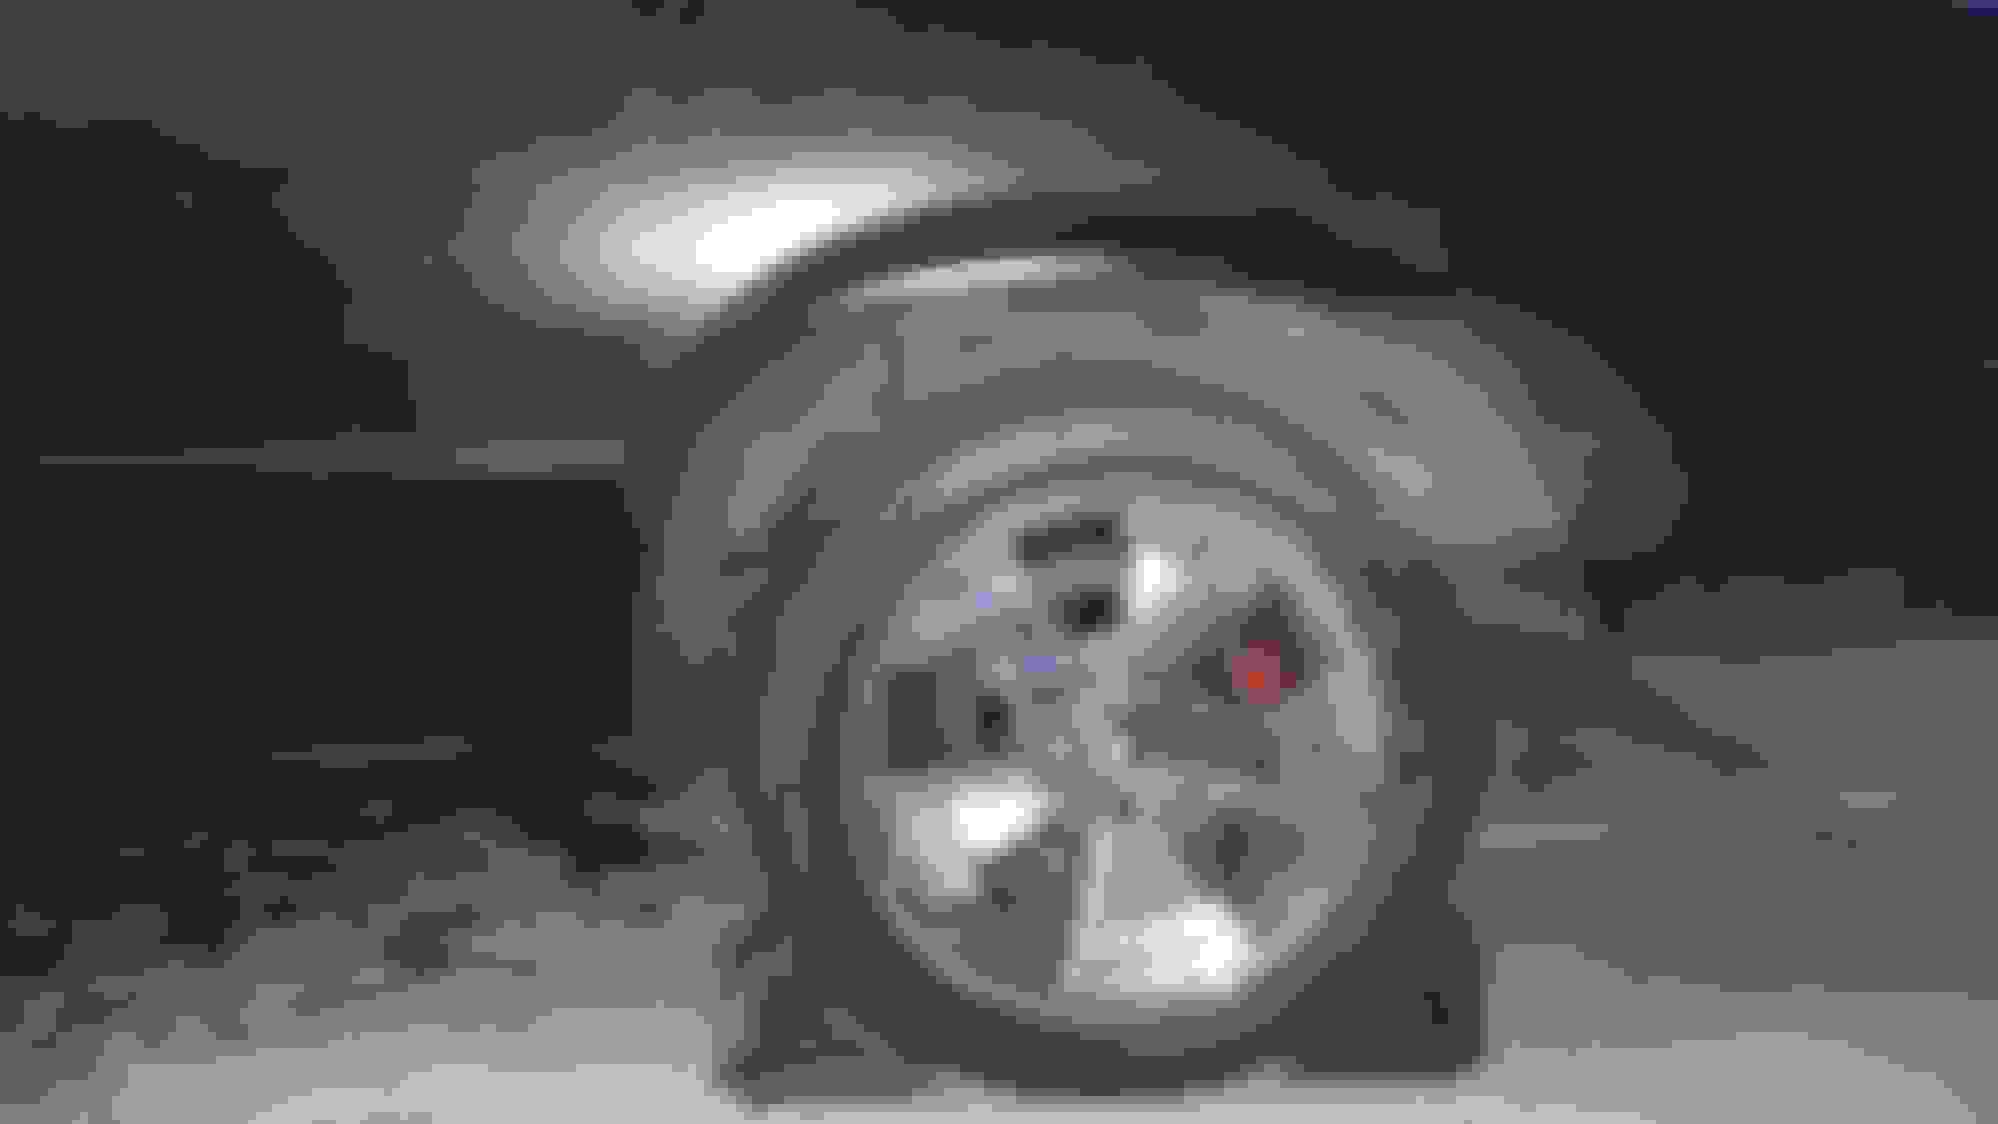
Those discs look right at home on the back of the truck!
First time in months its been on the ground! I may just put it back up in the air again but who cares its back on its feet!!!
I'm so excited to see it not looking like a monster truck, I had honestly forgotten how low it is. It makes sense why I have a low profile floor jack again.
I'm going to touch up some spots on the gas tank and then start painting the bottom of it. As for the truck I may just cut out my floor patch panels so I can start getting ready to do the floors. I still need to get all the accumulated grease, oil, and sludge off the bottom of the car so I don't ignite it while cutting or welding the floors.
Jessica
oh and somewhere in there all my yard remodeling has to happen!
Well with a friend's birthday party and a lot of yard work this weekend I didn't get much time to devote to the car. I did get a 2nd coat of paint on the bottom of the gas tank and I think it is ready to go now. I just need to attach a vent to the fill tube neck so I haven't painted that yet. I also spent some time figuring out what to do with the floors.
Still wet paint
These are all but 3 patch panels (14 gauge) I ended up removing from the old floor pans so that I could test fit the new pans, just to see how everything is going to line up etc. These kept me from flintsone-ing the car for the last 7 years.
Some of the holes on the drivers side (there are still some patches in place at this point)
The passenger side is where the problems really are. Its pretty rough.
Just seeing how it will all line up
For the most part the floor rot isn't into the rocker panel; so far I can only see a little issue on the passenger side where it has some surface rust between the panels near the spot welded flange. These replacement floor panels will cover all the rust (and then some). They even cover areas I really hadn't planned on replacing, and that are in fact still good perfect metal.
My problem/question is should I remove all the spot welds on rocker seam, the firewall, and the rear near the tunk and take the floor out? or is there a better way to do this? I'm still planning to only tackle one side at a time. I've got a friend local that has done this so I'm going to pick his brain as well
Jessica
I've not forgotten about this thread or the project but life has managed to get in the way of any progress and the car is sitting at the same point still. I need to cut the spot welds on the floor and then take out the old floor and put the new one in. I'll do the drivers side first then the passengers side. I'm up to my neck in all kinds of stuff, I've got another car (again) and I'm trying to get it back on the road but its fighting me every inch of the way. My S10 broke down and hopefully I won't be without a car for more than a few days. Anyways enough of my sob story I just wanted to check in and let people who watch this know I'm still here and I haven't abandoned the project.

 02-17-2015, 12:11 PM


 I can't wait to get back to driving this!