
88 Fiero Formula LS4/F40 6 speed swap
 03-23-2013, 11:44 AM
#121


I've been reading/watching this for a while, nice work. It got me thinking of using the drivetrain to swap into my 81 Sport Omega. http://www.tcstangs.com/forum/showth...Saturday/page7 Of course I won't have to do alot of work you did since it will sit in a normal engine bay. You made your own flywheel but I've been looking at getting the G6 flywheel modified to fit will not be that difficult. The larger pilot hole/new bolt holes won't interfere with the old ones so like the saying goes keep it simple. The one thing I do want to do is I have also been thinking of AWD. I have the AWD transfer case from an AWD Pont. 6000 STE, I just need to get the case mounted to the 6speed& have a custom jackshaft made. I also have an idea for a simpler rear diff setup than the 6000's independent setup. Of course I still need to use something similar to what GM did. They had taken an S10 3.42 front diff&simply flipped it over so a normal rear axle won't work because the driveshaft spins in the wrong direction. I plan to use a front diff from a 1/2 ton because a limited slip diff is available for it & is an 8.5" instead of the wimpy 7.5" r&p. Does anyone make a retrofit harness that can still use the Dod as I would also like to keep it active.
 03-24-2013, 08:00 AM
#122

I've been reading/watching this for a while, nice work. It got me thinking of using the drivetrain to swap into my 81 Sport Omega. http://www.tcstangs.com/forum/showth...Saturday/page7 Of course I won't have to do alot of work you did since it will sit in a normal engine bay. You made your own flywheel but I've been looking at getting the G6 flywheel modified to fit will not be that difficult. The larger pilot hole/new bolt holes won't interfere with the old ones so like the saying goes keep it simple. The one thing I do want to do is I have also been thinking of AWD. I have the AWD transfer case from an AWD Pont. 6000 STE, I just need to get the case mounted to the 6speed& have a custom jackshaft made. I also have an idea for a simpler rear diff setup than the 6000's independent setup. Of course I still need to use something similar to what GM did. They had taken an S10 3.42 front diff&simply flipped it over so a normal rear axle won't work because the driveshaft spins in the wrong direction. I plan to use a front diff from a 1/2 ton because a limited slip diff is available for it & is an 8.5" instead of the wimpy 7.5" r&p. Does anyone make a retrofit harness that can still use the Dod as I would also like to keep it active.
Rumor has it that the G6 dual mass flywheel is also a torque limiting flywheel, where it starts to slip internally once a certain torque is exceeded. Another fiero guy with a turbo 3900/F40 6 speed used one and had issues with it. There was a group buy for an aluminum 3900 flywheel that was one piece, but don't know if it ever went through.
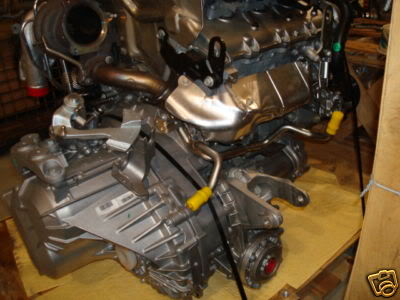
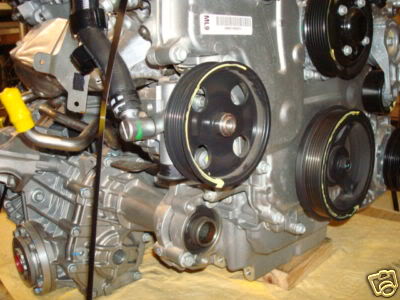
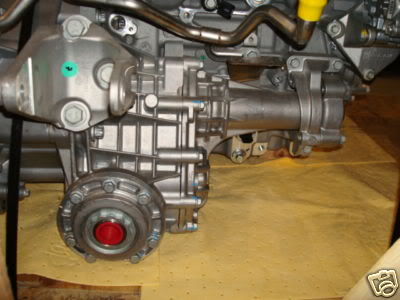
As for the AWD setup, the F40 6 speed manual came in AWD format in the Saabs (but they used a different bellhousing - should be able to buy 2 and make 1 AWD transmission that bolts up to the LS4 (or any GM Metric engine)... Here are some pics:
 03-26-2013, 01:01 PM
#125
Not exactly sure... never focused much on the AWD side but did grab the pictures when I came across it. I would start by looking at all the 6 speed manual AWD applications (like their crossover SUV... don't remember what it was called) from 2003+
03-26-2013, 01:38 PM
#126
Teching In

Join Date: Feb 2010
Location: Smithers BC
Posts: 9
Likes: 0
Received 0 Likes
on
0 Posts
It won't be the crossover.
I believe it was the second generation 9-3. That shared a platform with the G6 and it's other cousins. It was also available in a 2.8L V6 TT so the bellhousing might be the same as the rest.
I come from the G6 community and have a 3900/F40 GTP myself.
You're sure making me ponder doing this to mine ... especially with the possibility of AWD.
Edit for this: The AWD variants are knows as MK6 & F46 and are still available for the opel insignia in europe ... which is sent to the US/Canada as the buick Regal. Those share the epsilon platform with the G6/9-3. Small Gm world family

Last edited by GTP RWD; 03-26-2013 at 01:45 PM. Reason: Added extra info
03-26-2013, 03:22 PM
#127
From the pics it looks like the transfer case bolts to the F40. I know the F40 case hase some mounting holes on the right side output shaft so Hopefully I can find just the transfer case. Unfortunately it's not coming up on car-part listing a transfer case for the 9-3. I guess I need to start my own thread researching this because it looks like this could get lenghty. Again, love the Fiero. I'll post a new topic maybe in the tranny section.
04-17-2013, 06:07 PM
#128
Been a while since the last update...
I was fighting some fuel starvation issues about 4500 rpm and higher, ended up being the fuel tank was rusted like crazy and the fuel in the fuel rail was rust brown. So filled the tank with vinegar for 5 days to clean out all the rust, installed a new fuel pump, fuel filter and cleaned the injectors. No more fuel issues!
I have started tuning the WOT A/F ratio with the wideband and have 5K-62K within .1%. The car is pulling 42.1 lb/min of air mass at 6200 rpm, but the Kpa's are dropping starting about 3500 and down to 94-95Kpa by 6200. The current filter is a 5" cone and the one on order is an 8" cone.
Still working through some transmission related codes (automatic is long gone), but have started to drive the car daily.
Here is a video for your viewing pleasure:
I used a Dosimeter to measure the exhaust sound level.
At the exhaust tips at idle it is 98db
While revving to 6500 rpm it goes to 120db.
From 10' behind the car, idle is 75db and revving to 6500 is 97db
In the car cruising at 65 is 79-80... I need to get this down to the 75-77 range.
Last edited by fieroguru; 05-03-2013 at 03:37 PM.
 05-03-2013, 03:36 PM
#130
Its hard to keep my foot out of if, but with stock timing running 55-65mph on a 2 lane/4 lane combo for 100+ mile trip, it got 27.7 mph. I am now running a couple more degrees timing in the cruise range so that might help it a bit more.
I am still trying to get rid of the TCM codes so DoD will have a shot at working, but I am about ready to put that to the side while I drive and enjoy the car this summer.
I am on vacation next week and am going to try to get it on a dyno to see what kind of #'s it is putting to the wheels.
05-05-2013, 07:02 PM
#131
I am real close to having 1K on the swap. Just filled up from the commute/tuning tank and got 17.5 mpg... all the running around at 4K+ and about 7 WOT 3rd gear blasts take their toll on the fuel efficiency. Saturday morning I took the car on a 221 mile trip with 60 miles 2/4 lane and the rest open interstate at 70-75mpg. Sole purpose of the trip was to check the mileage and it averaged 27.3mpg for the trip.
The old SBC swap would get 22-23 mpg, so 220 was about the limit of its range, this car did the 220 with 1/4 tank left to go and only used 8.1 gallons. It was about 60ish outside for this trip, so on a warmer day I might be able to get a little higher mpg... but I am pleased with what it is delivering. If I can keep my foot out of the loud pedal, it might get to 20-22 mpg on my daily commute.
The other thing I learned today was I need new rear tires. They are the ones from the old SBC car and are 4+ years old. Prior to today, I hadn't gone WOT in 2nd (just 3rd gear), but today I gently launched in first, revved to about 4K and shifted to second and then rolled into the pedal for WOT. About 4K in 2nd the tires just broke loose and the rear started to drift to the passenger side... need more traction.
05-05-2013, 07:03 PM
#132
It was raining, so I wasn't temped to take the car out driving, so I backed it into the garage and started taking it apart. One of the projects for vacation week is swapping out the 85mm MAF for the LS3/LS7 card MAF.
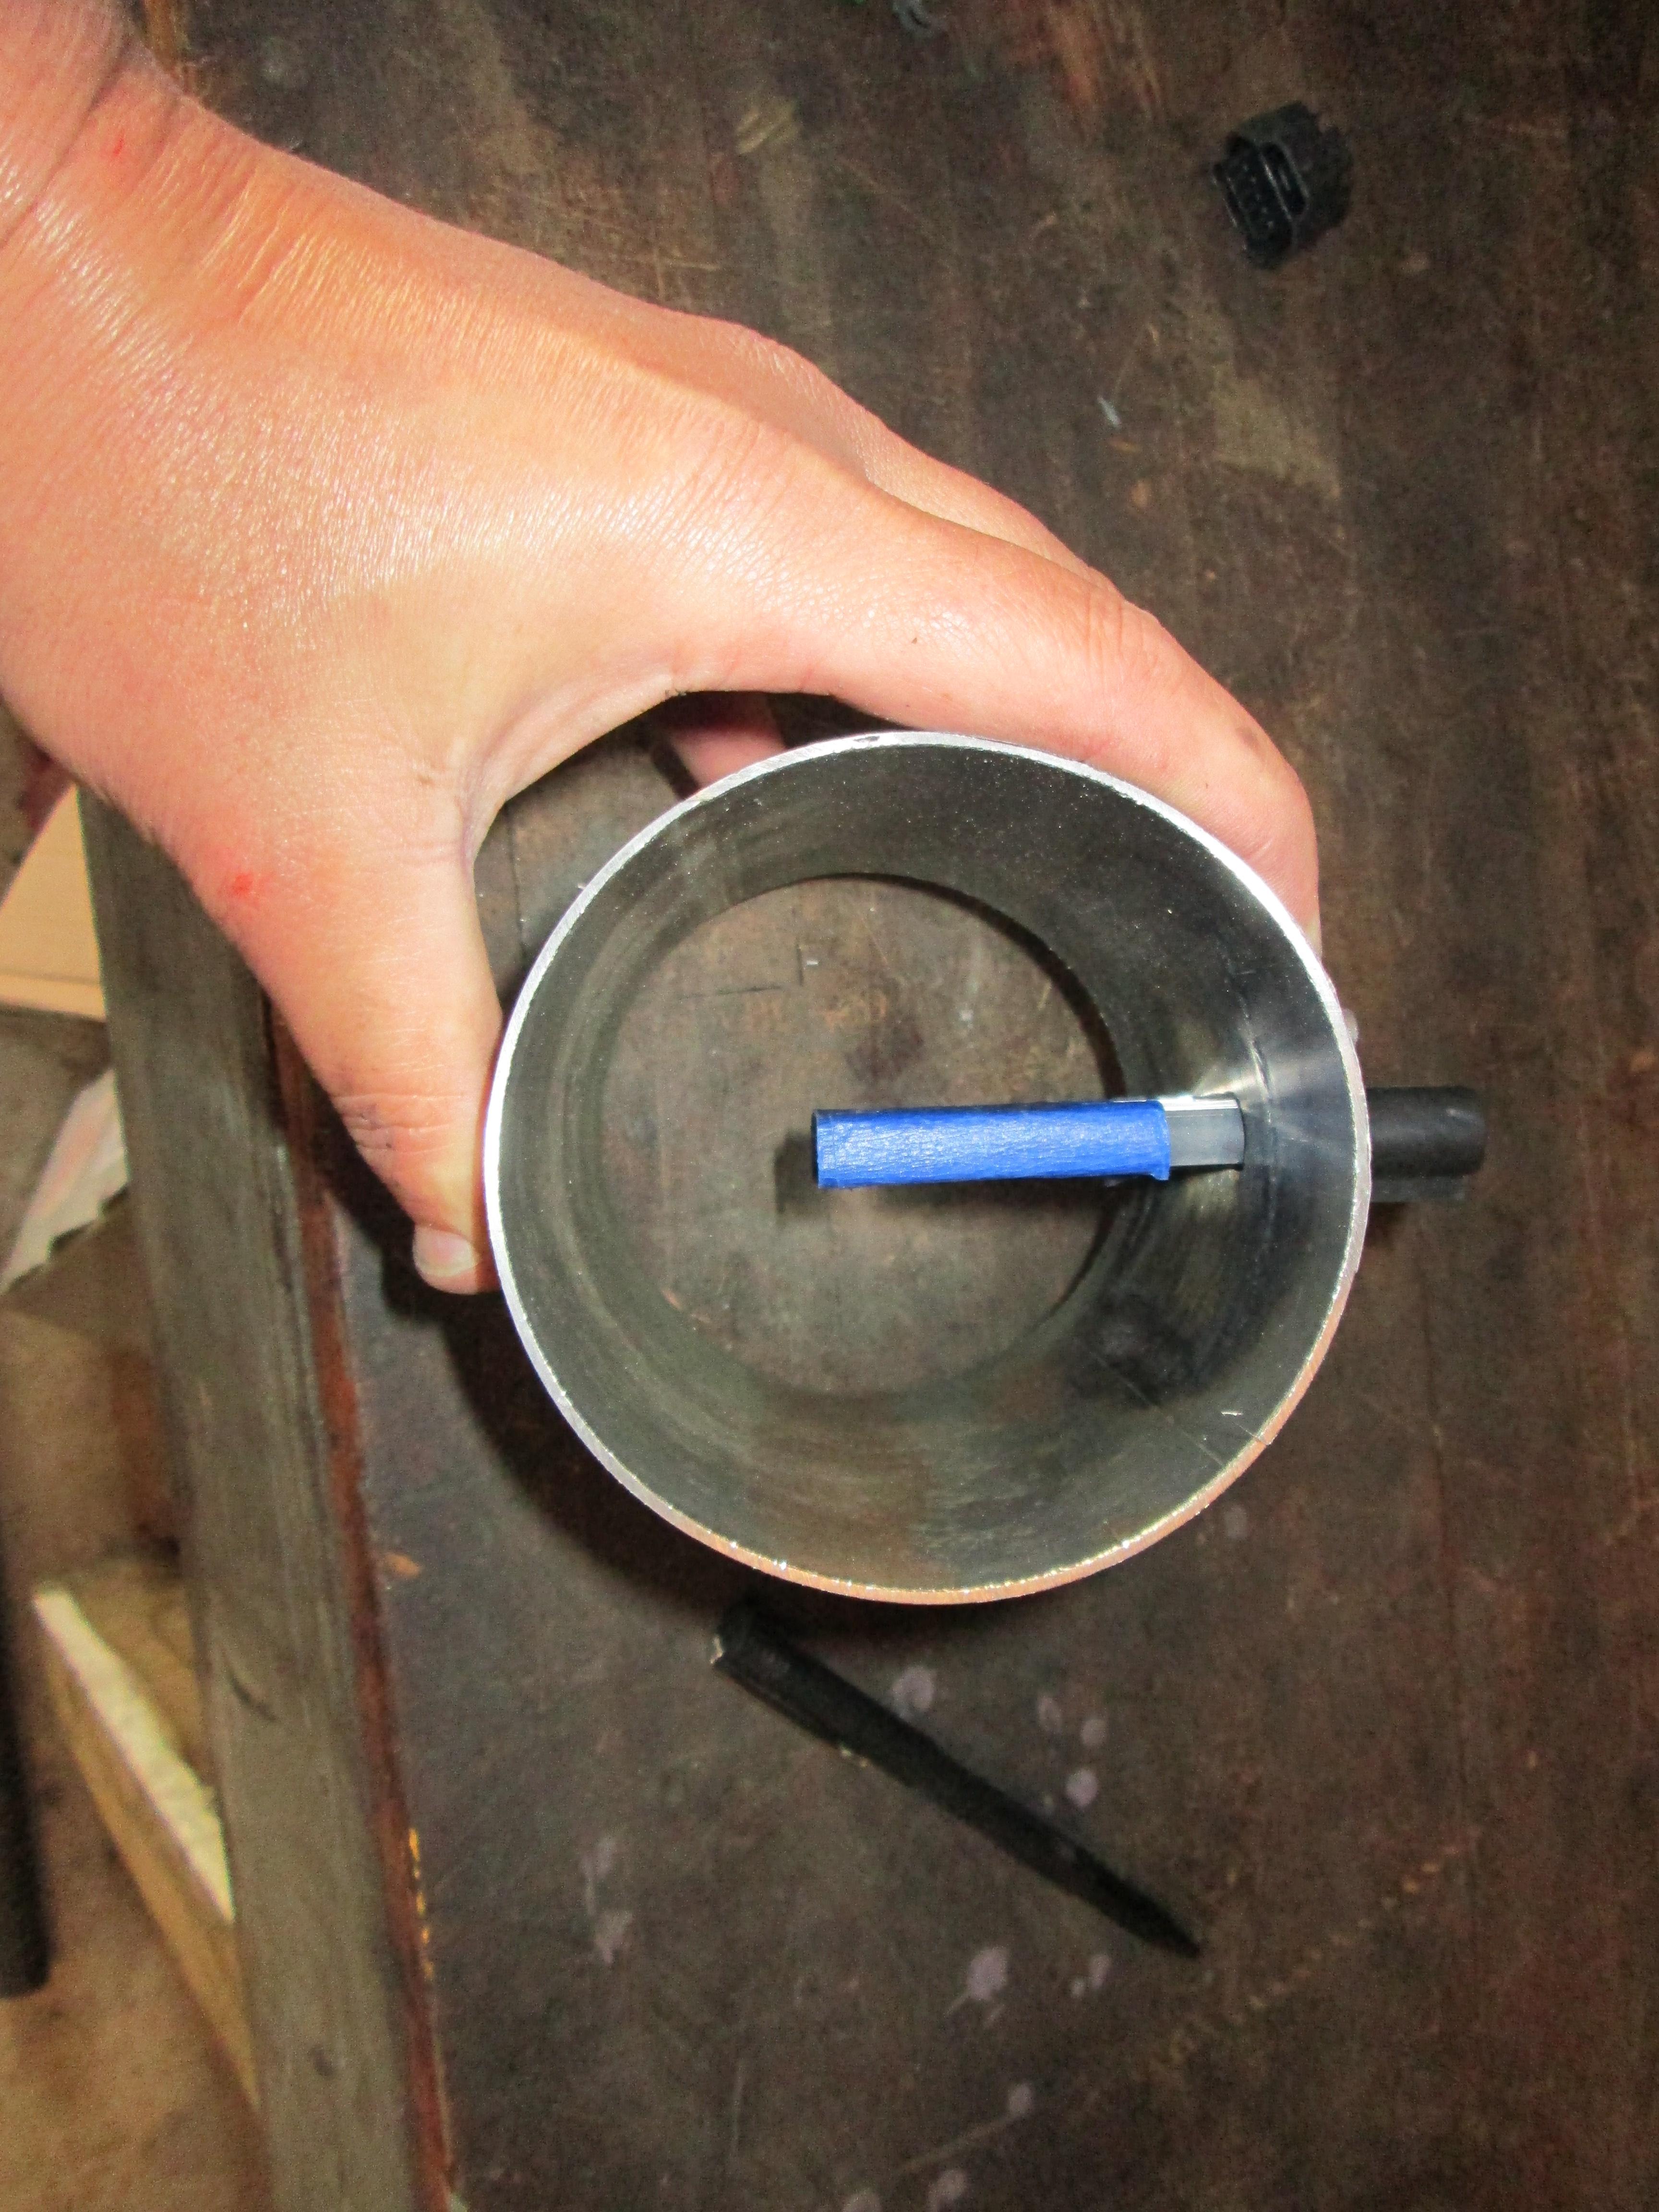
I started off with a section of 4" tubing and made a shelf so the MAF would have a flat space to mount:
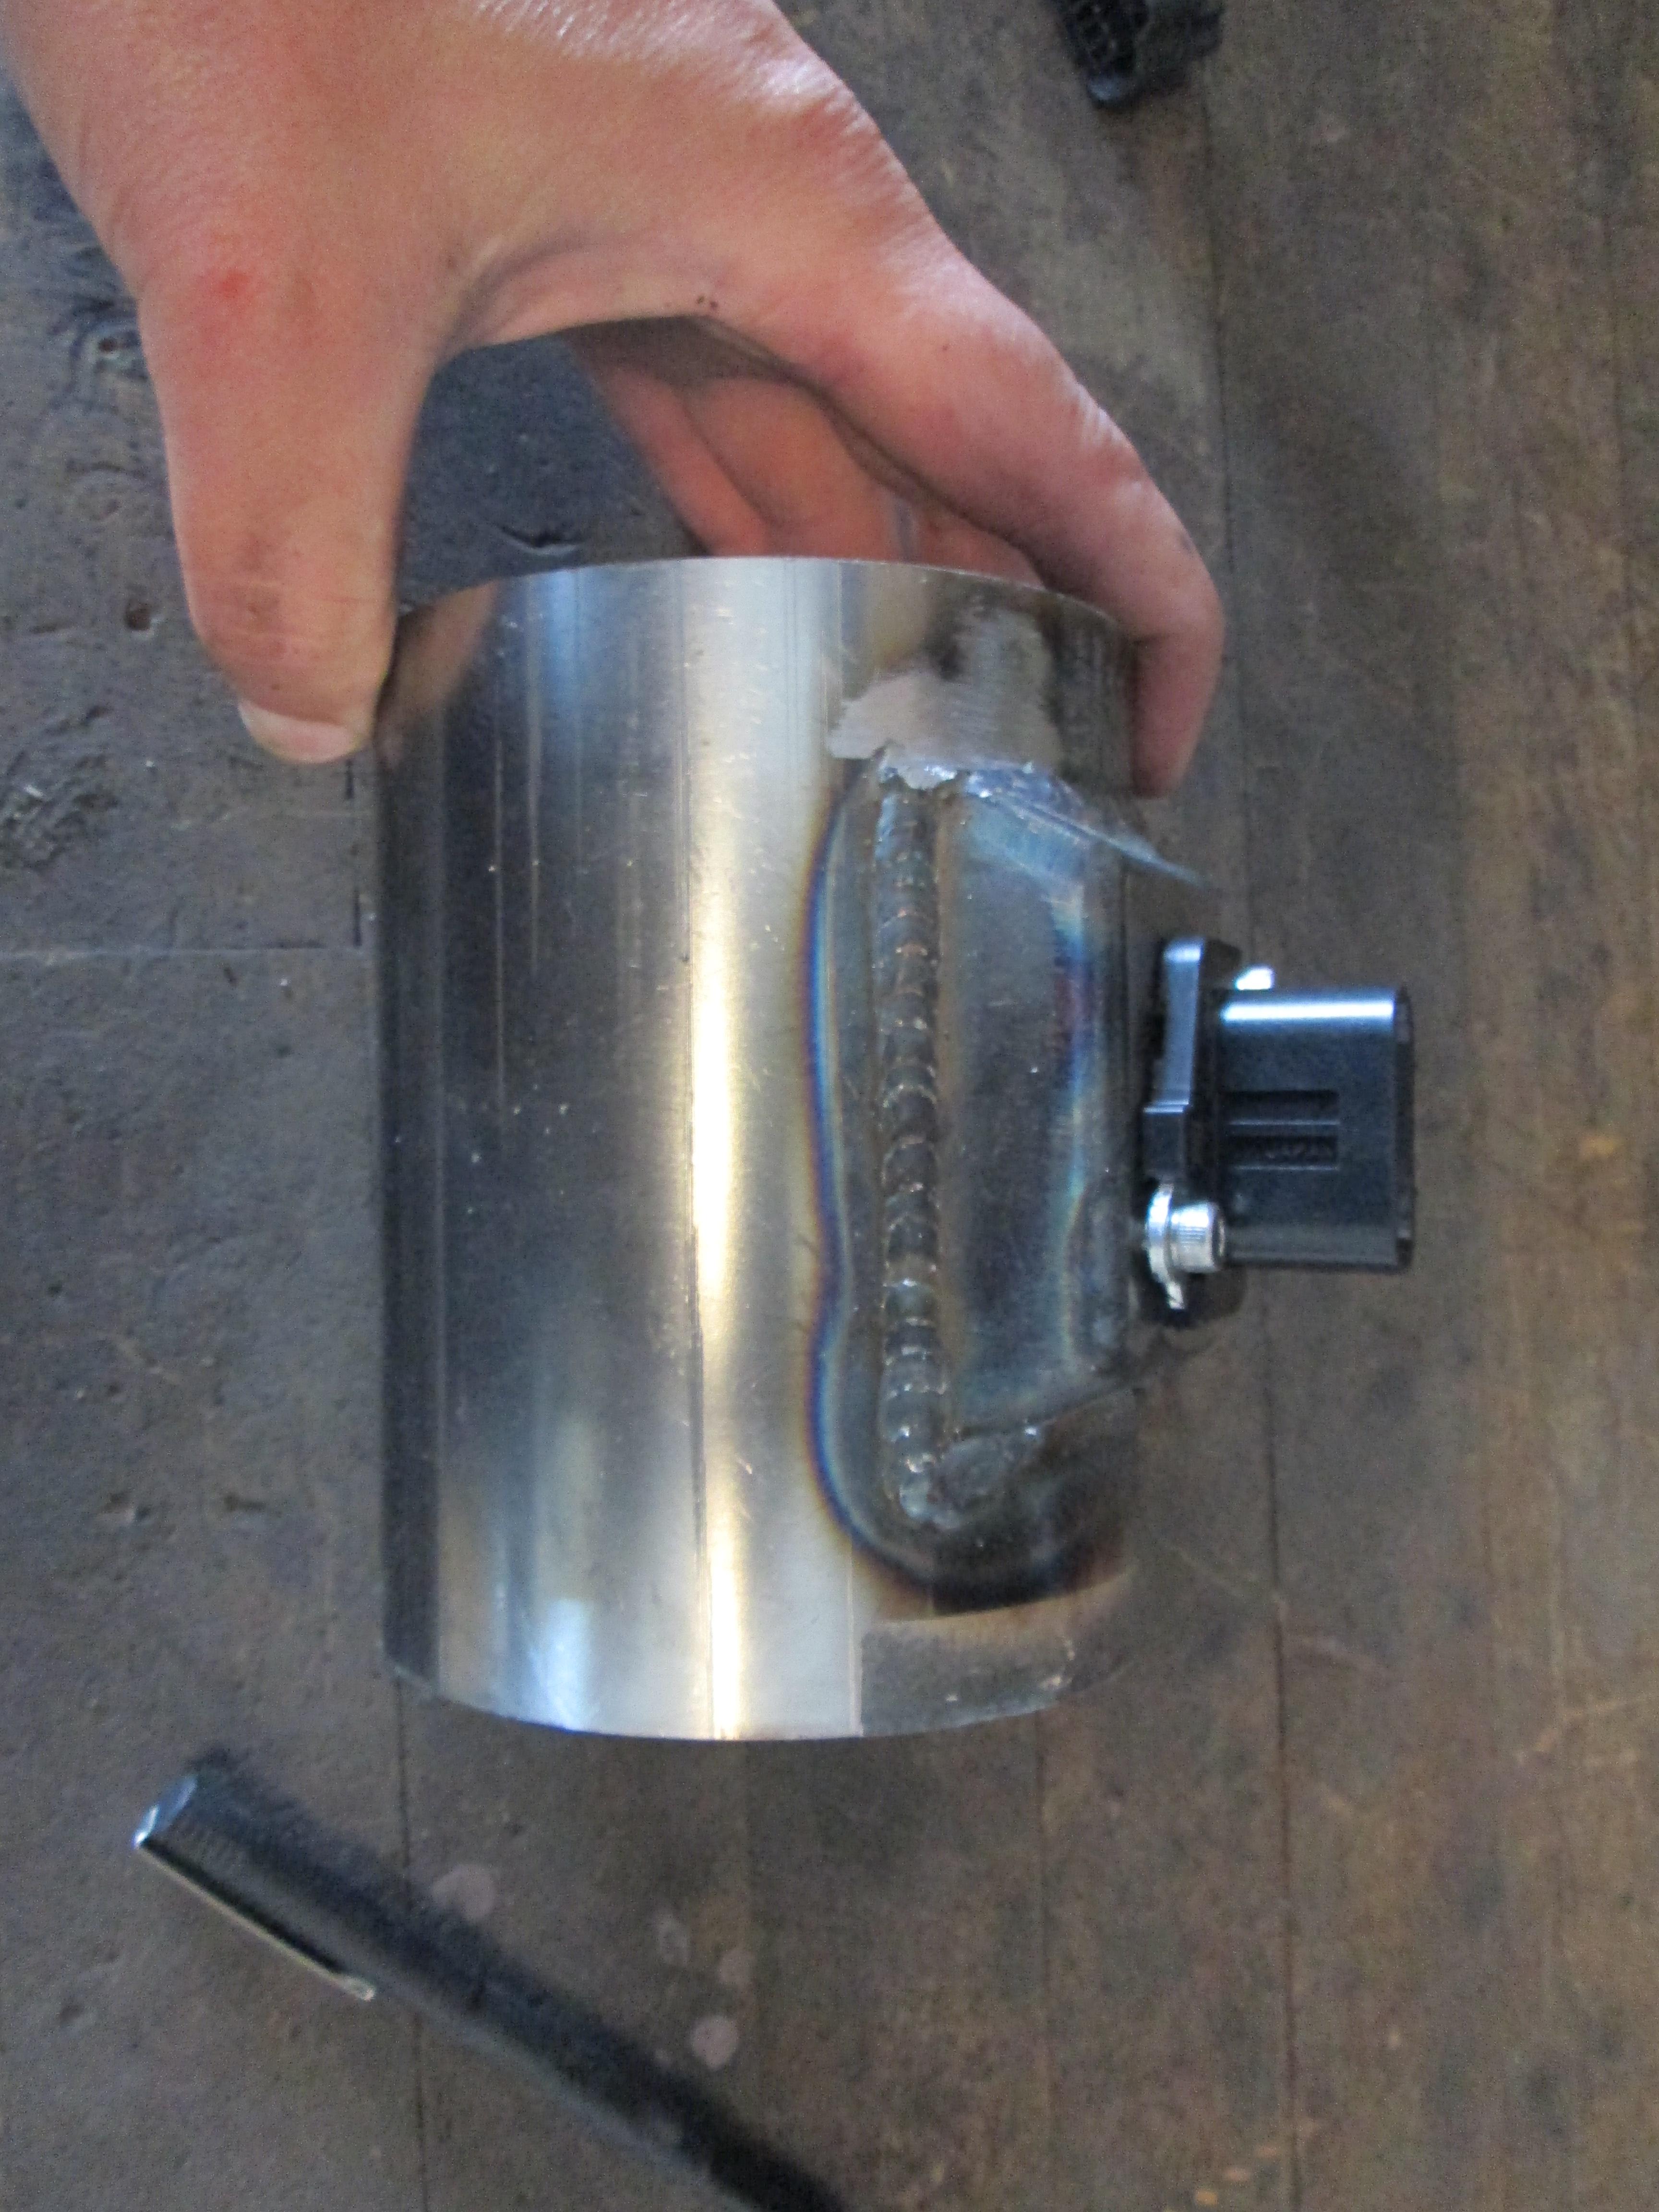
Here is the inside of the tube with the MAF sensor installed:
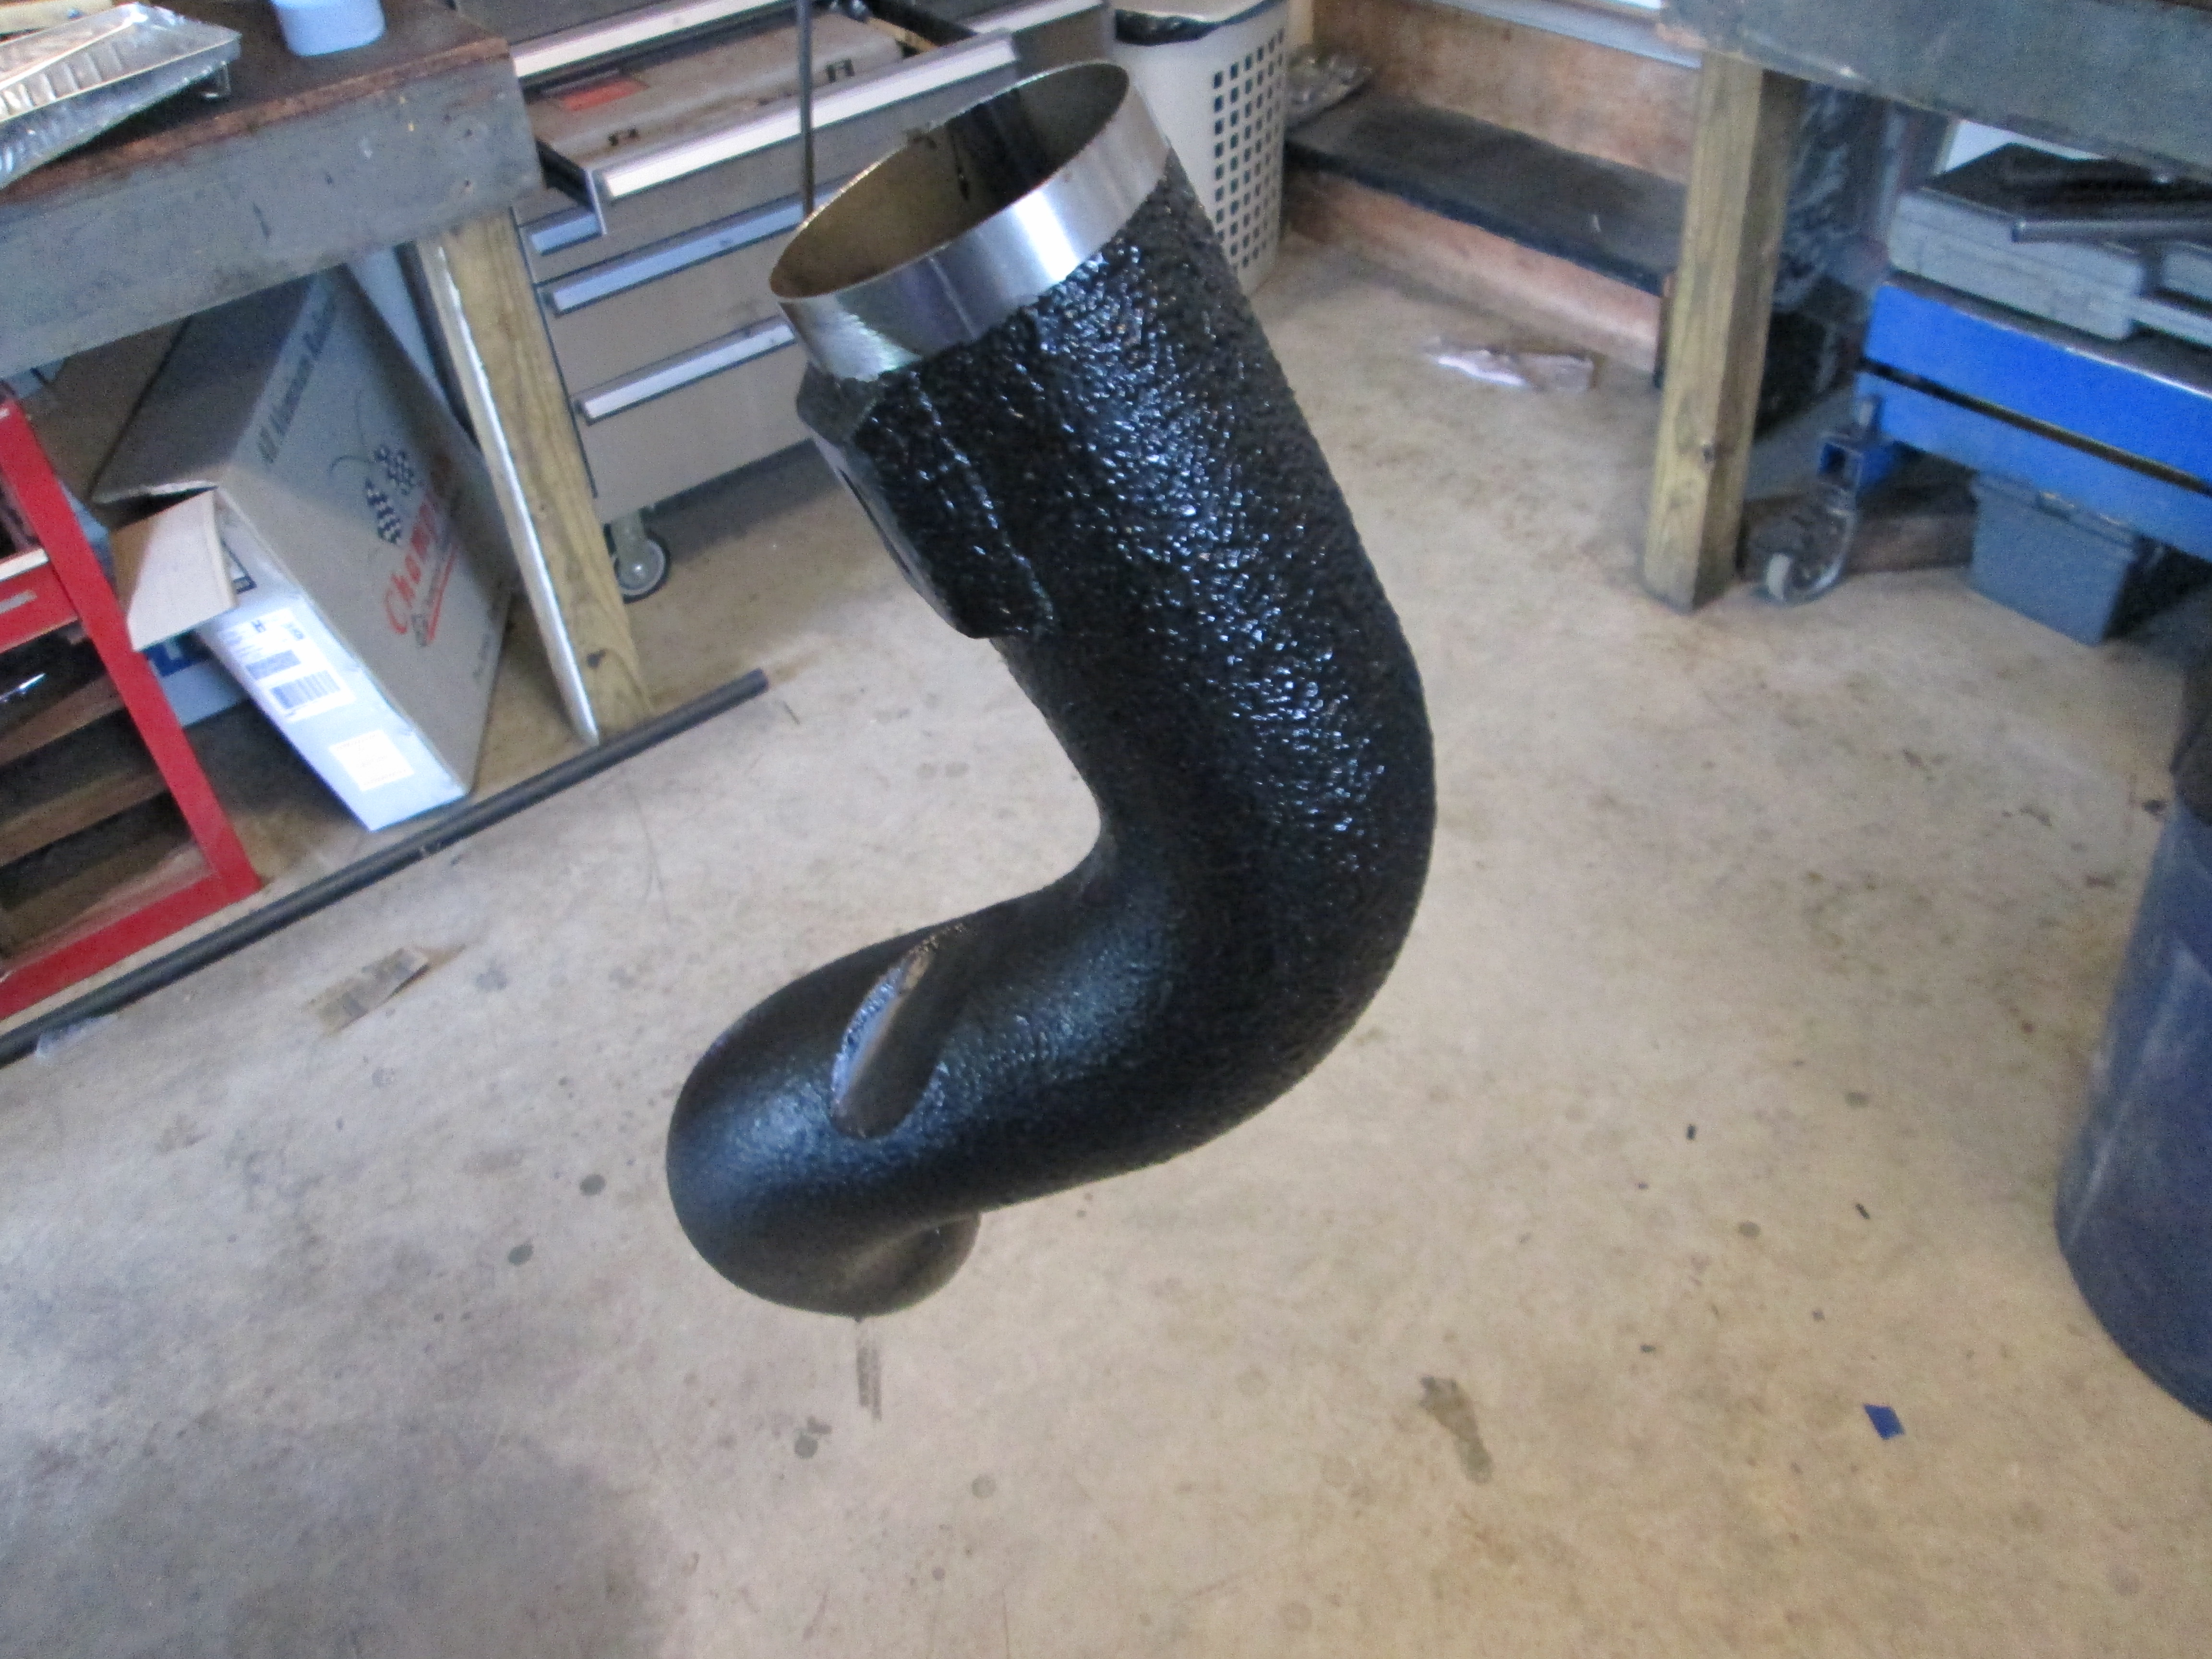
Removed the old MAF and test fitted the new tube section:
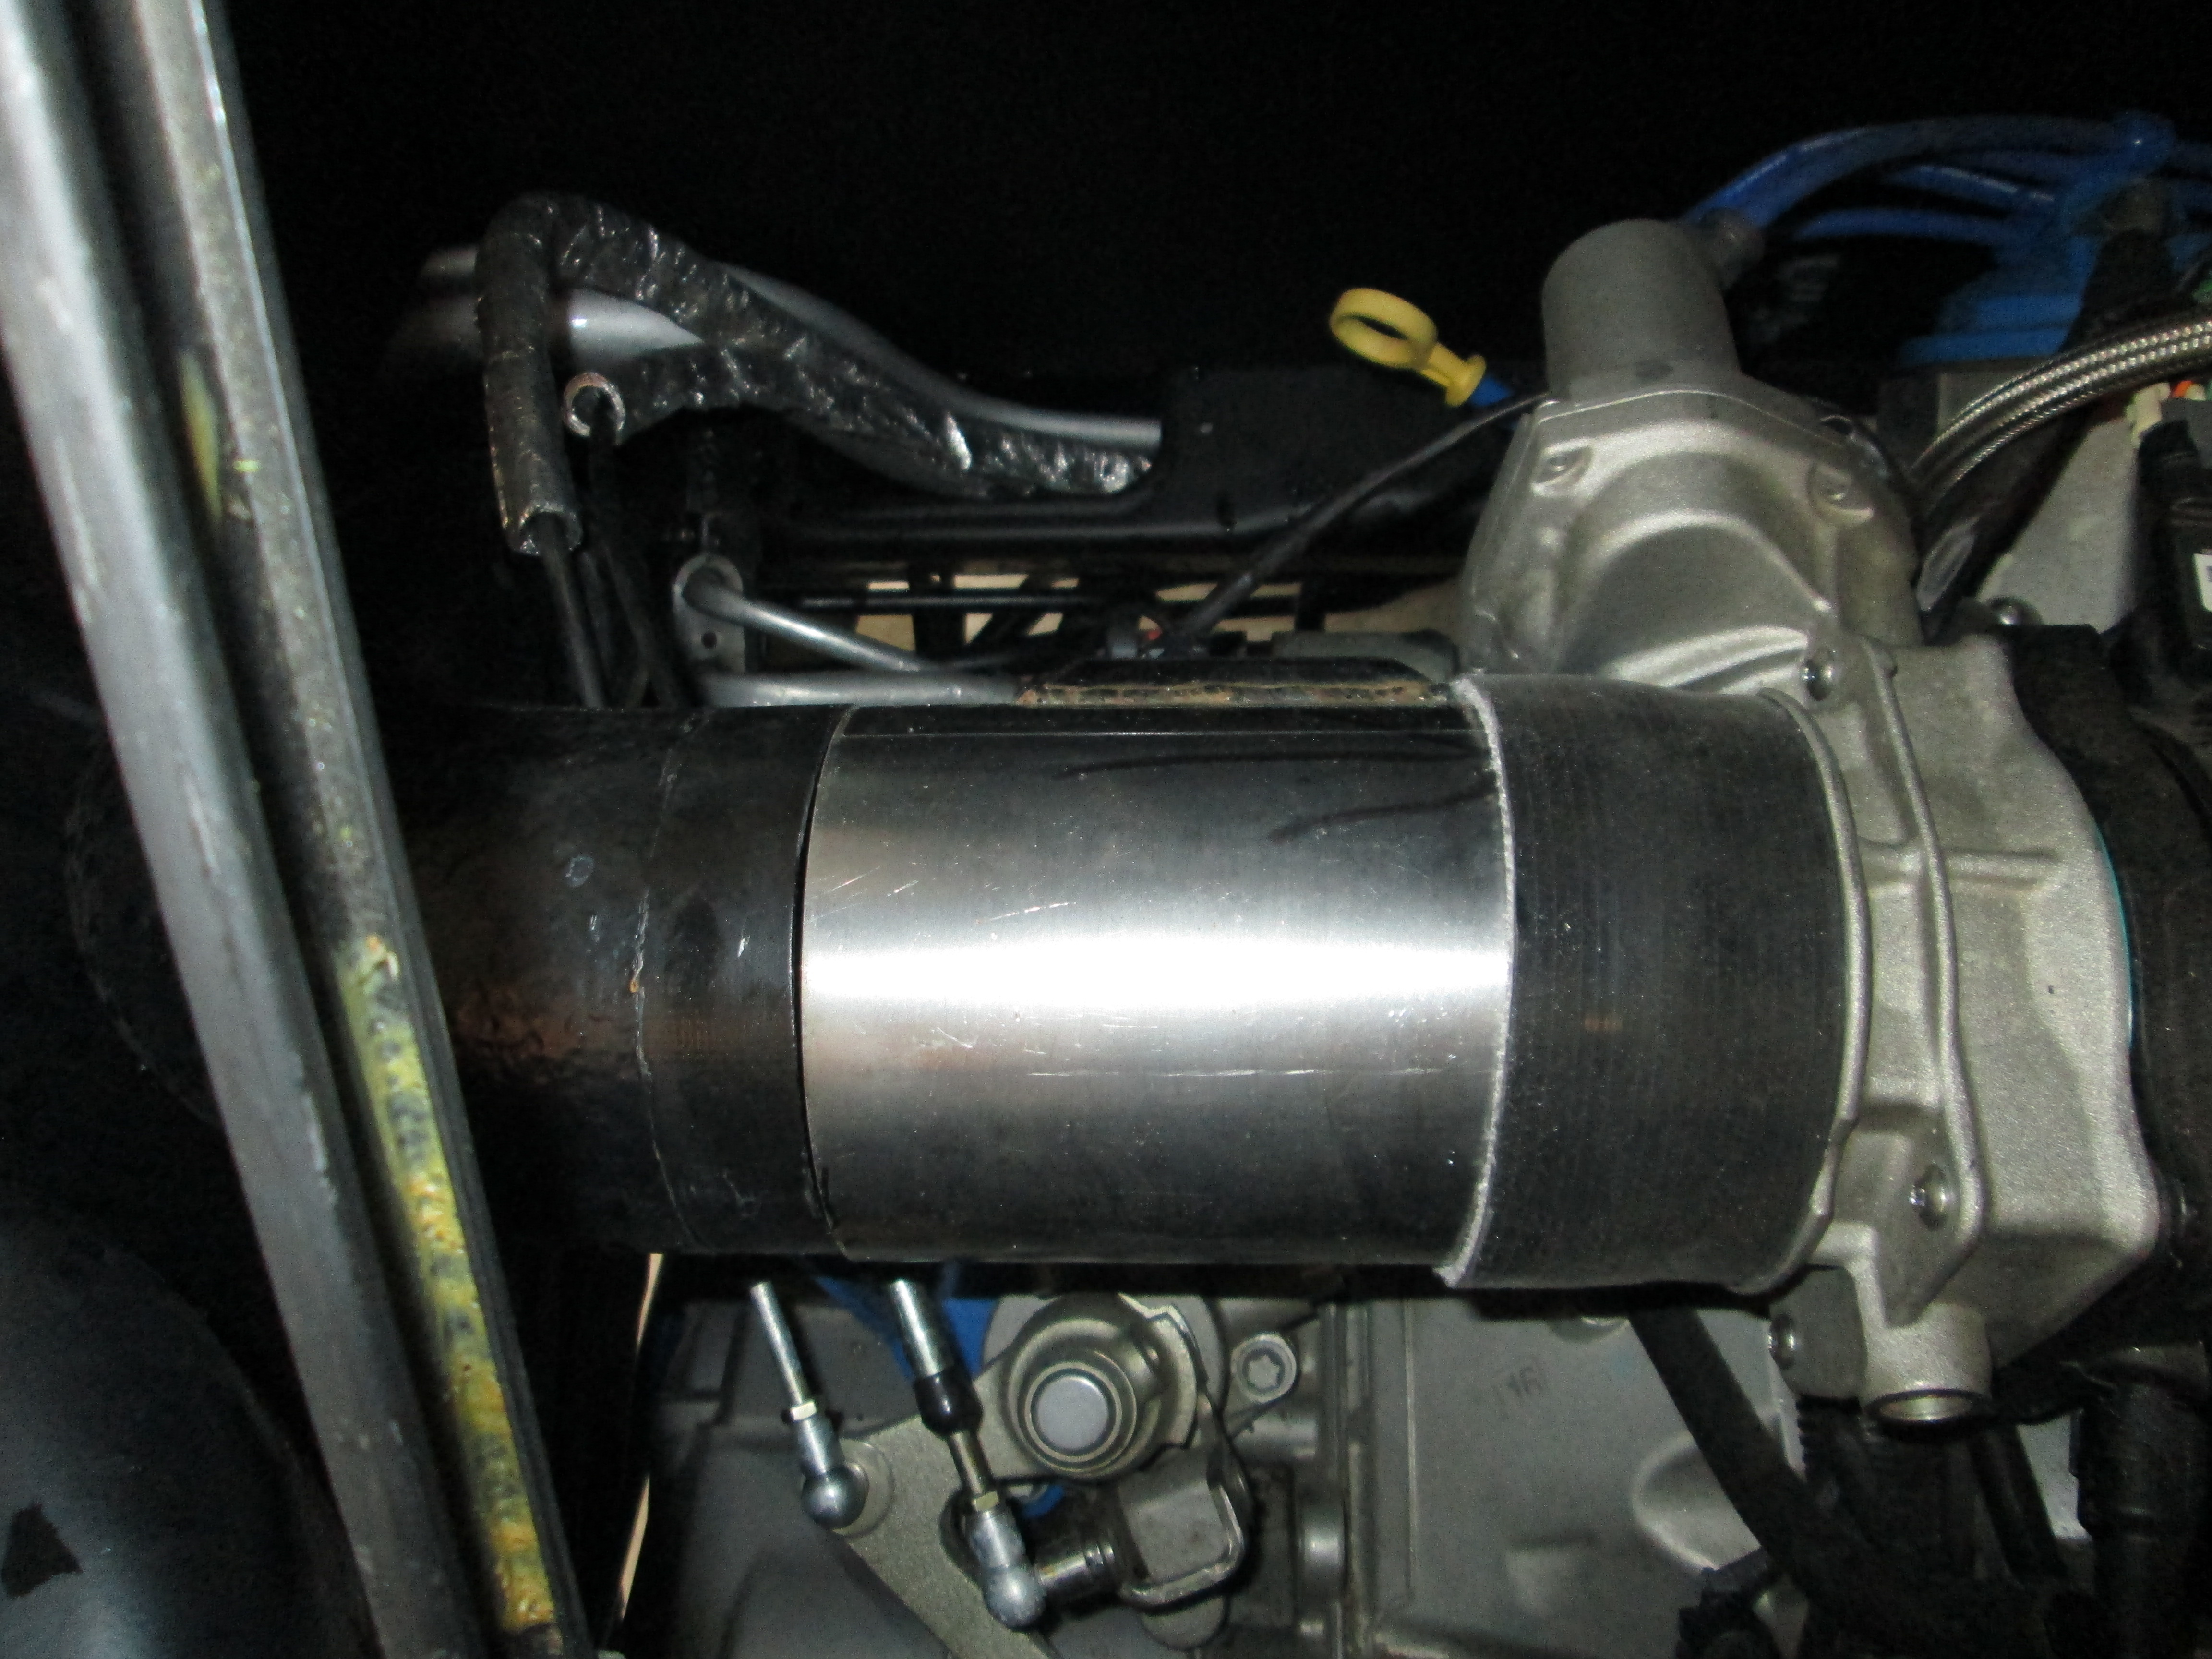
I welded to the tube section to the original air intake tube (fewer silicone couplers and clamps). Once the welds were smoothed, I sanded the tube and applied some more truck bed coating to it:
While letting the tube dry, it was time to swap out the connector end since they were different. The good news is it literally is just swapping out the connector end. Here are the two connector ends (LS2 on the left, LS7 on the right). Each one was opened up, the terminals released and pulled out of the housing:
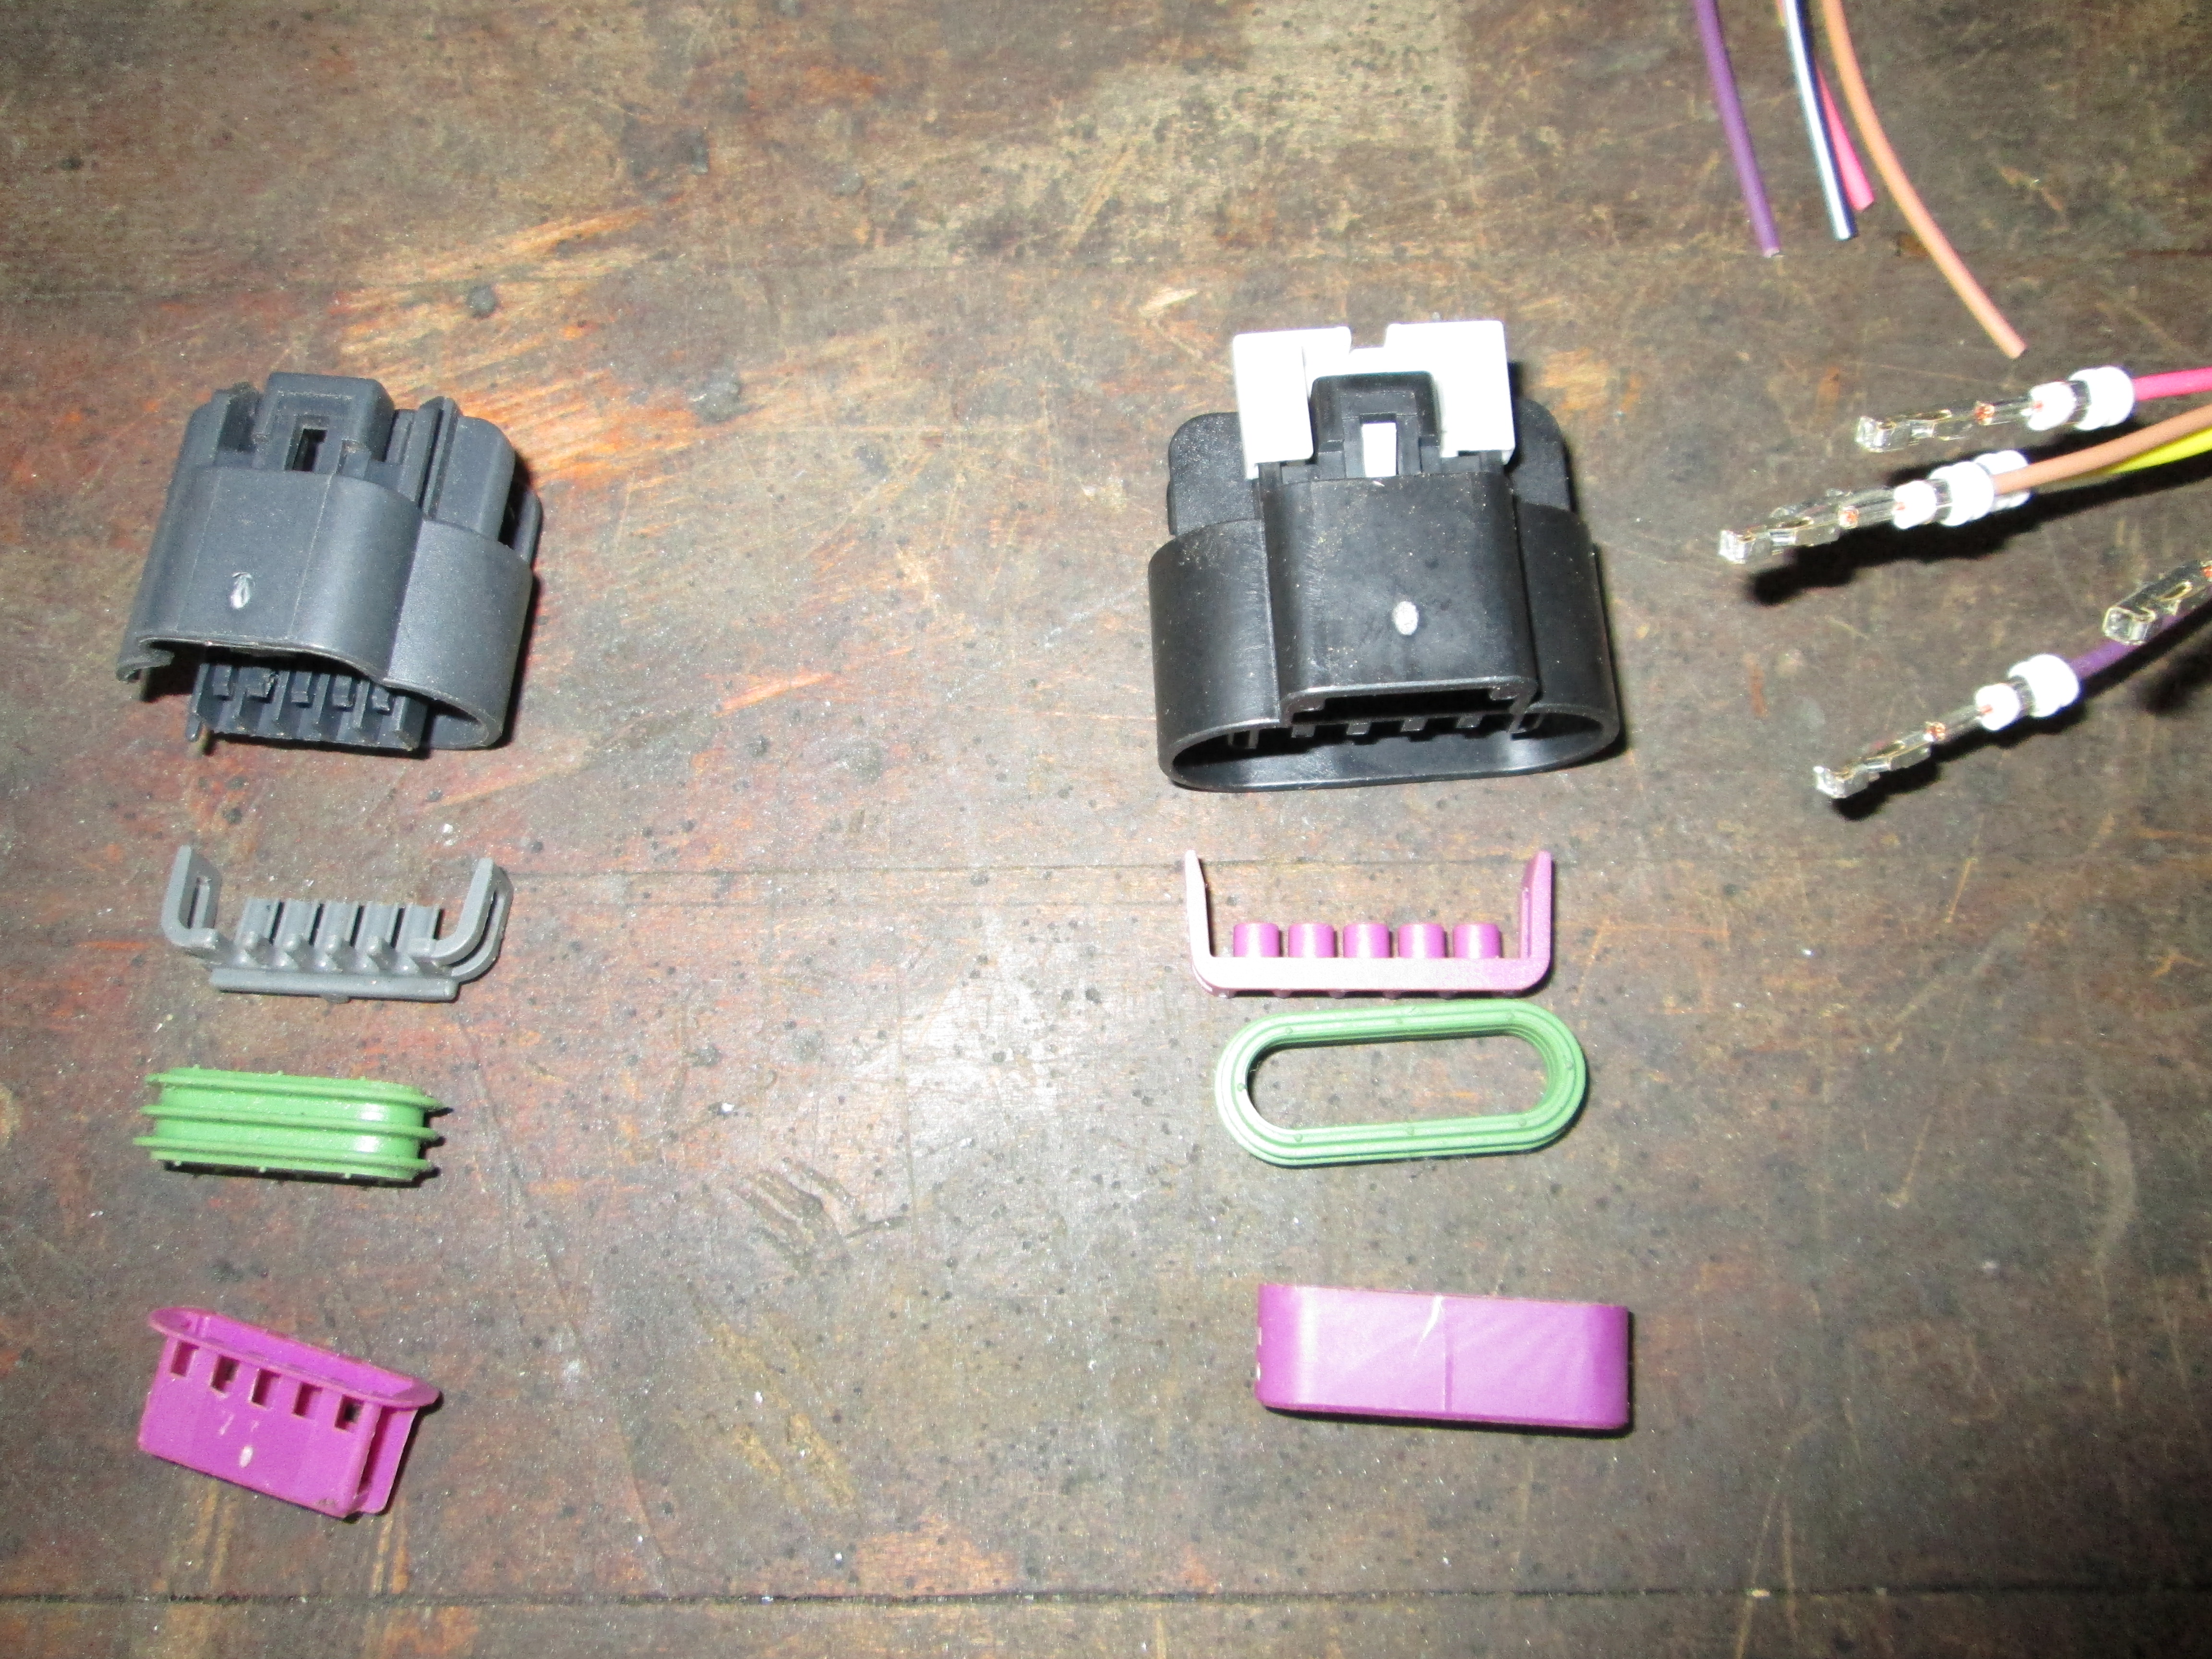
Here are the terminals from the harness:
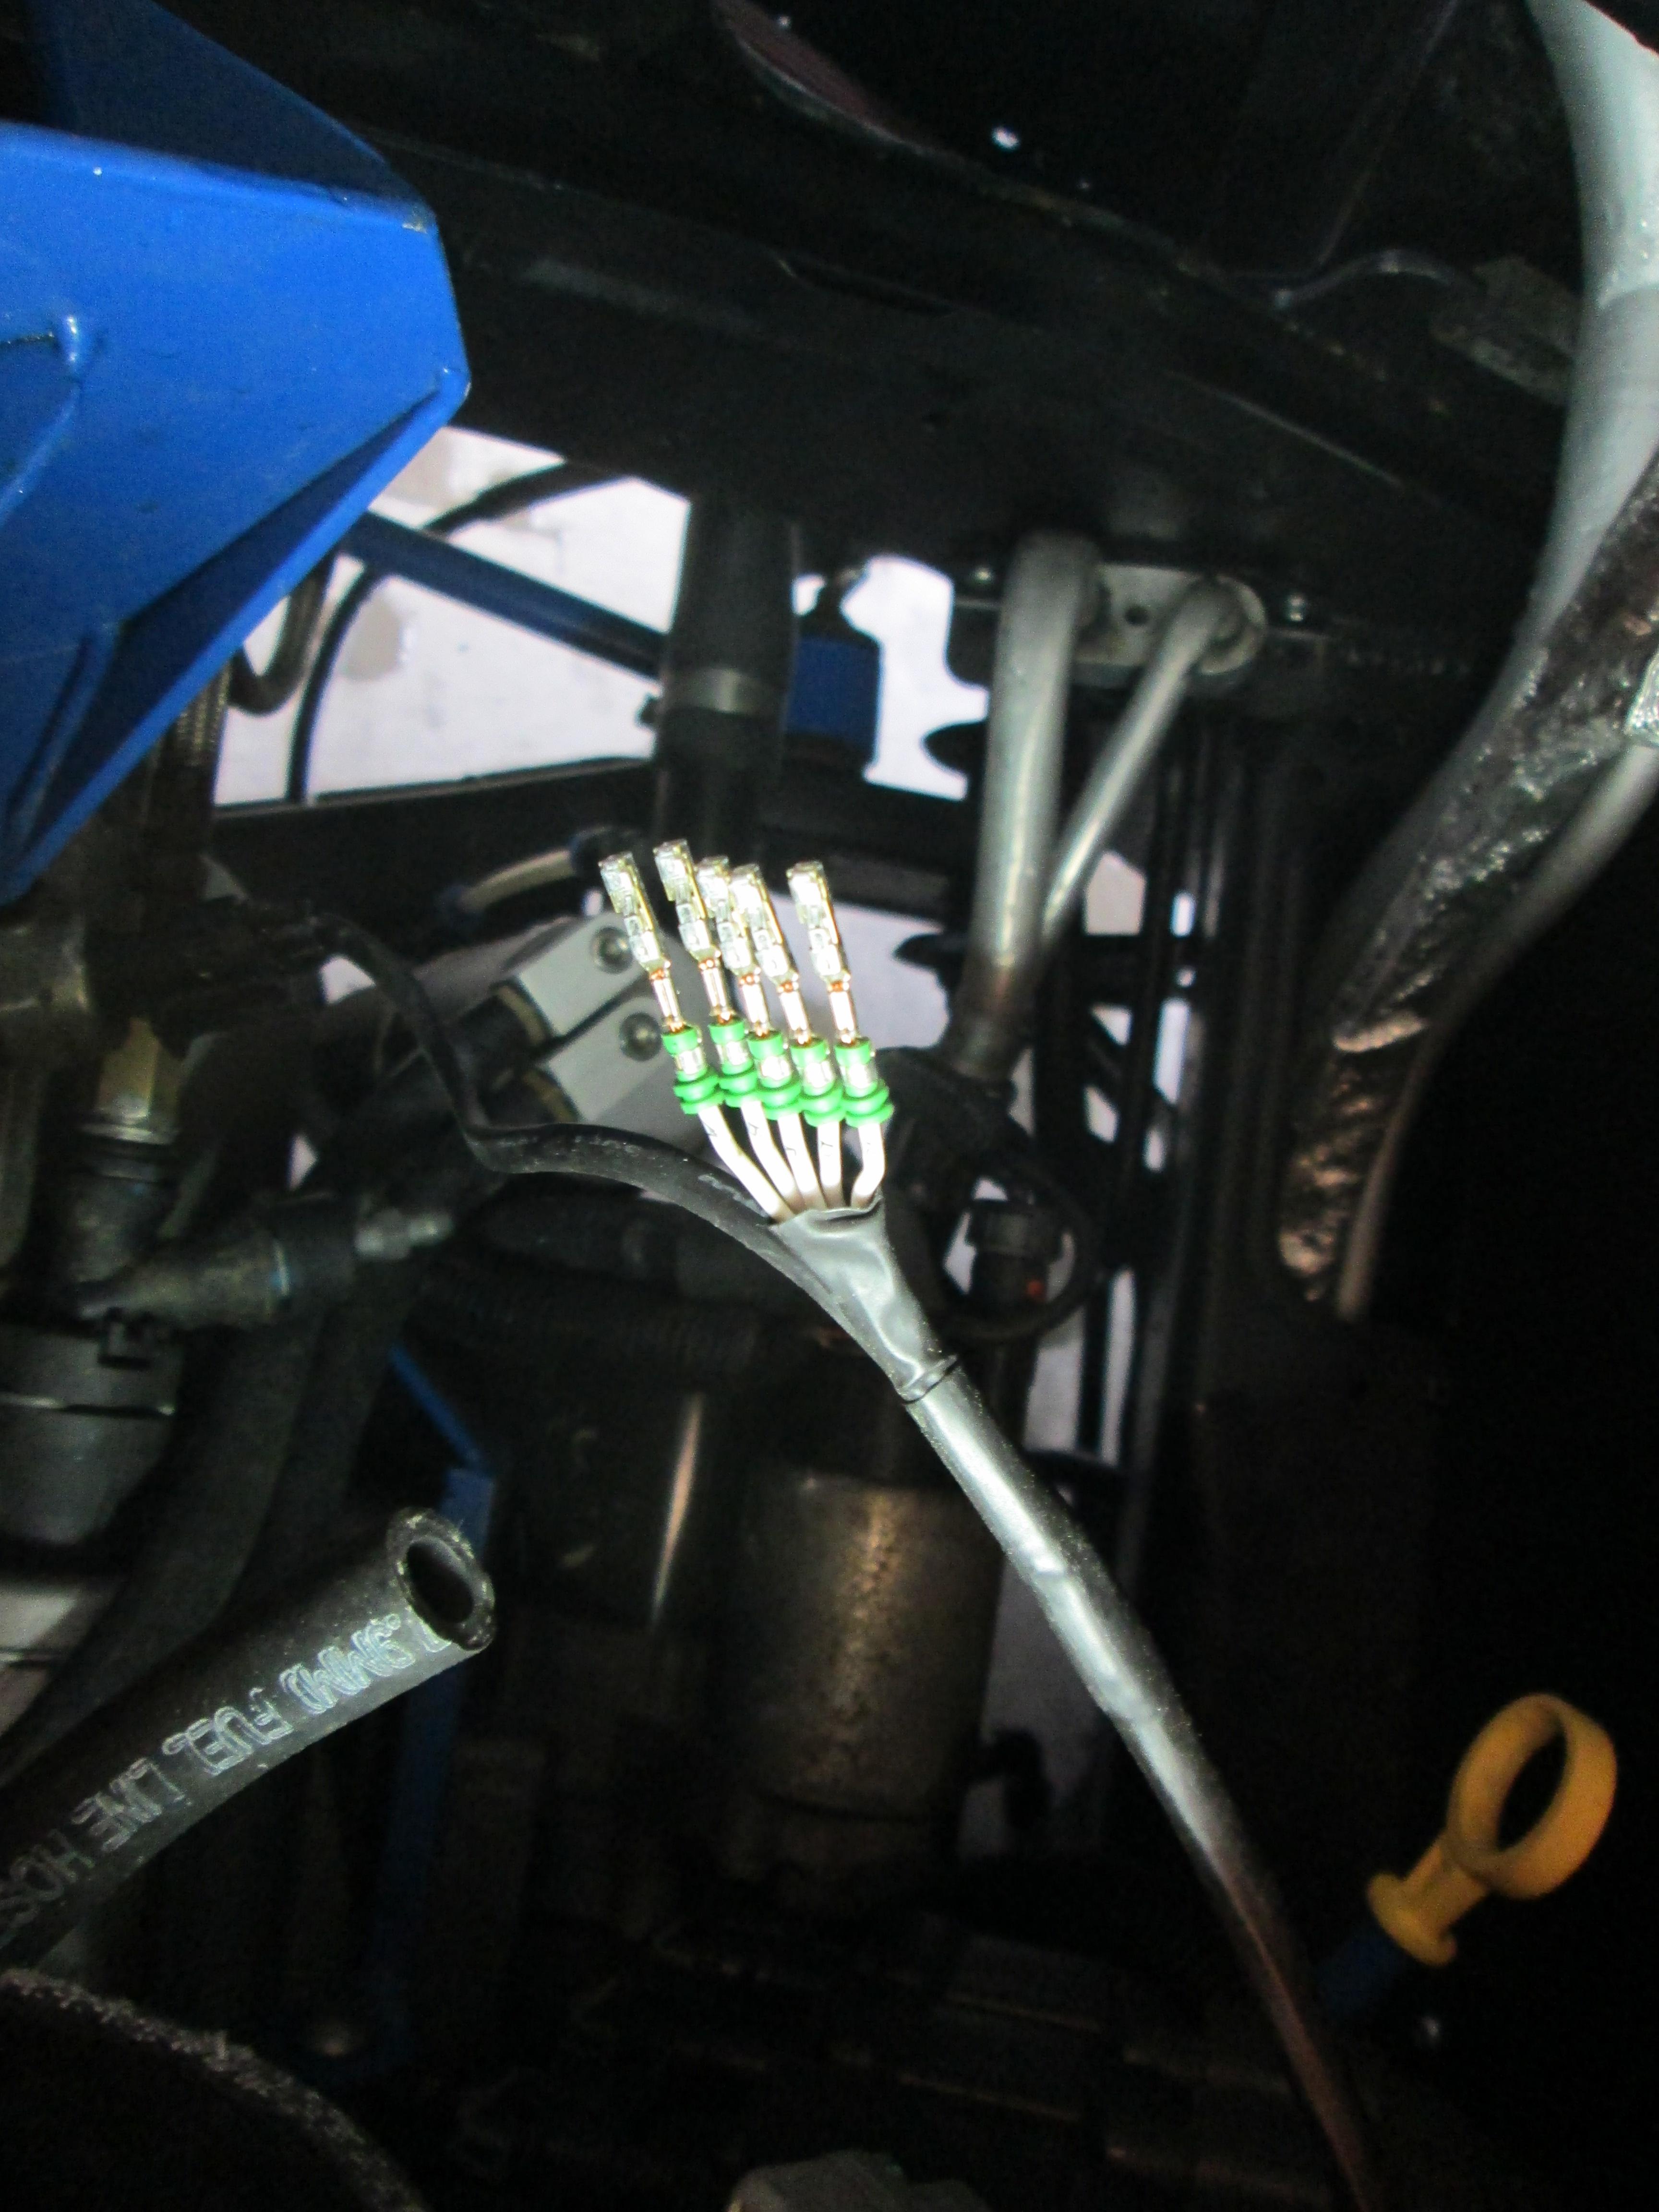
The terminals are flipped between the two MAF sensors, so I just had to install the new connector flipped over. The really nice part is the terminal retaining latches are flipped as well between the two housings, so I didn't even need to rotate each wire 180 degrees. Just slide off the old connector, flip the new connector and slide it onto the terminals in the harness... doesn't get much easier.
I started off with a section of 4" tubing and made a shelf so the MAF would have a flat space to mount:
Here is the inside of the tube with the MAF sensor installed:
Removed the old MAF and test fitted the new tube section:
I welded to the tube section to the original air intake tube (fewer silicone couplers and clamps). Once the welds were smoothed, I sanded the tube and applied some more truck bed coating to it:
While letting the tube dry, it was time to swap out the connector end since they were different. The good news is it literally is just swapping out the connector end. Here are the two connector ends (LS2 on the left, LS7 on the right). Each one was opened up, the terminals released and pulled out of the housing:
Here are the terminals from the harness:
The terminals are flipped between the two MAF sensors, so I just had to install the new connector flipped over. The really nice part is the terminal retaining latches are flipped as well between the two housings, so I didn't even need to rotate each wire 180 degrees. Just slide off the old connector, flip the new connector and slide it onto the terminals in the harness... doesn't get much easier.
05-06-2013, 05:37 PM
#133
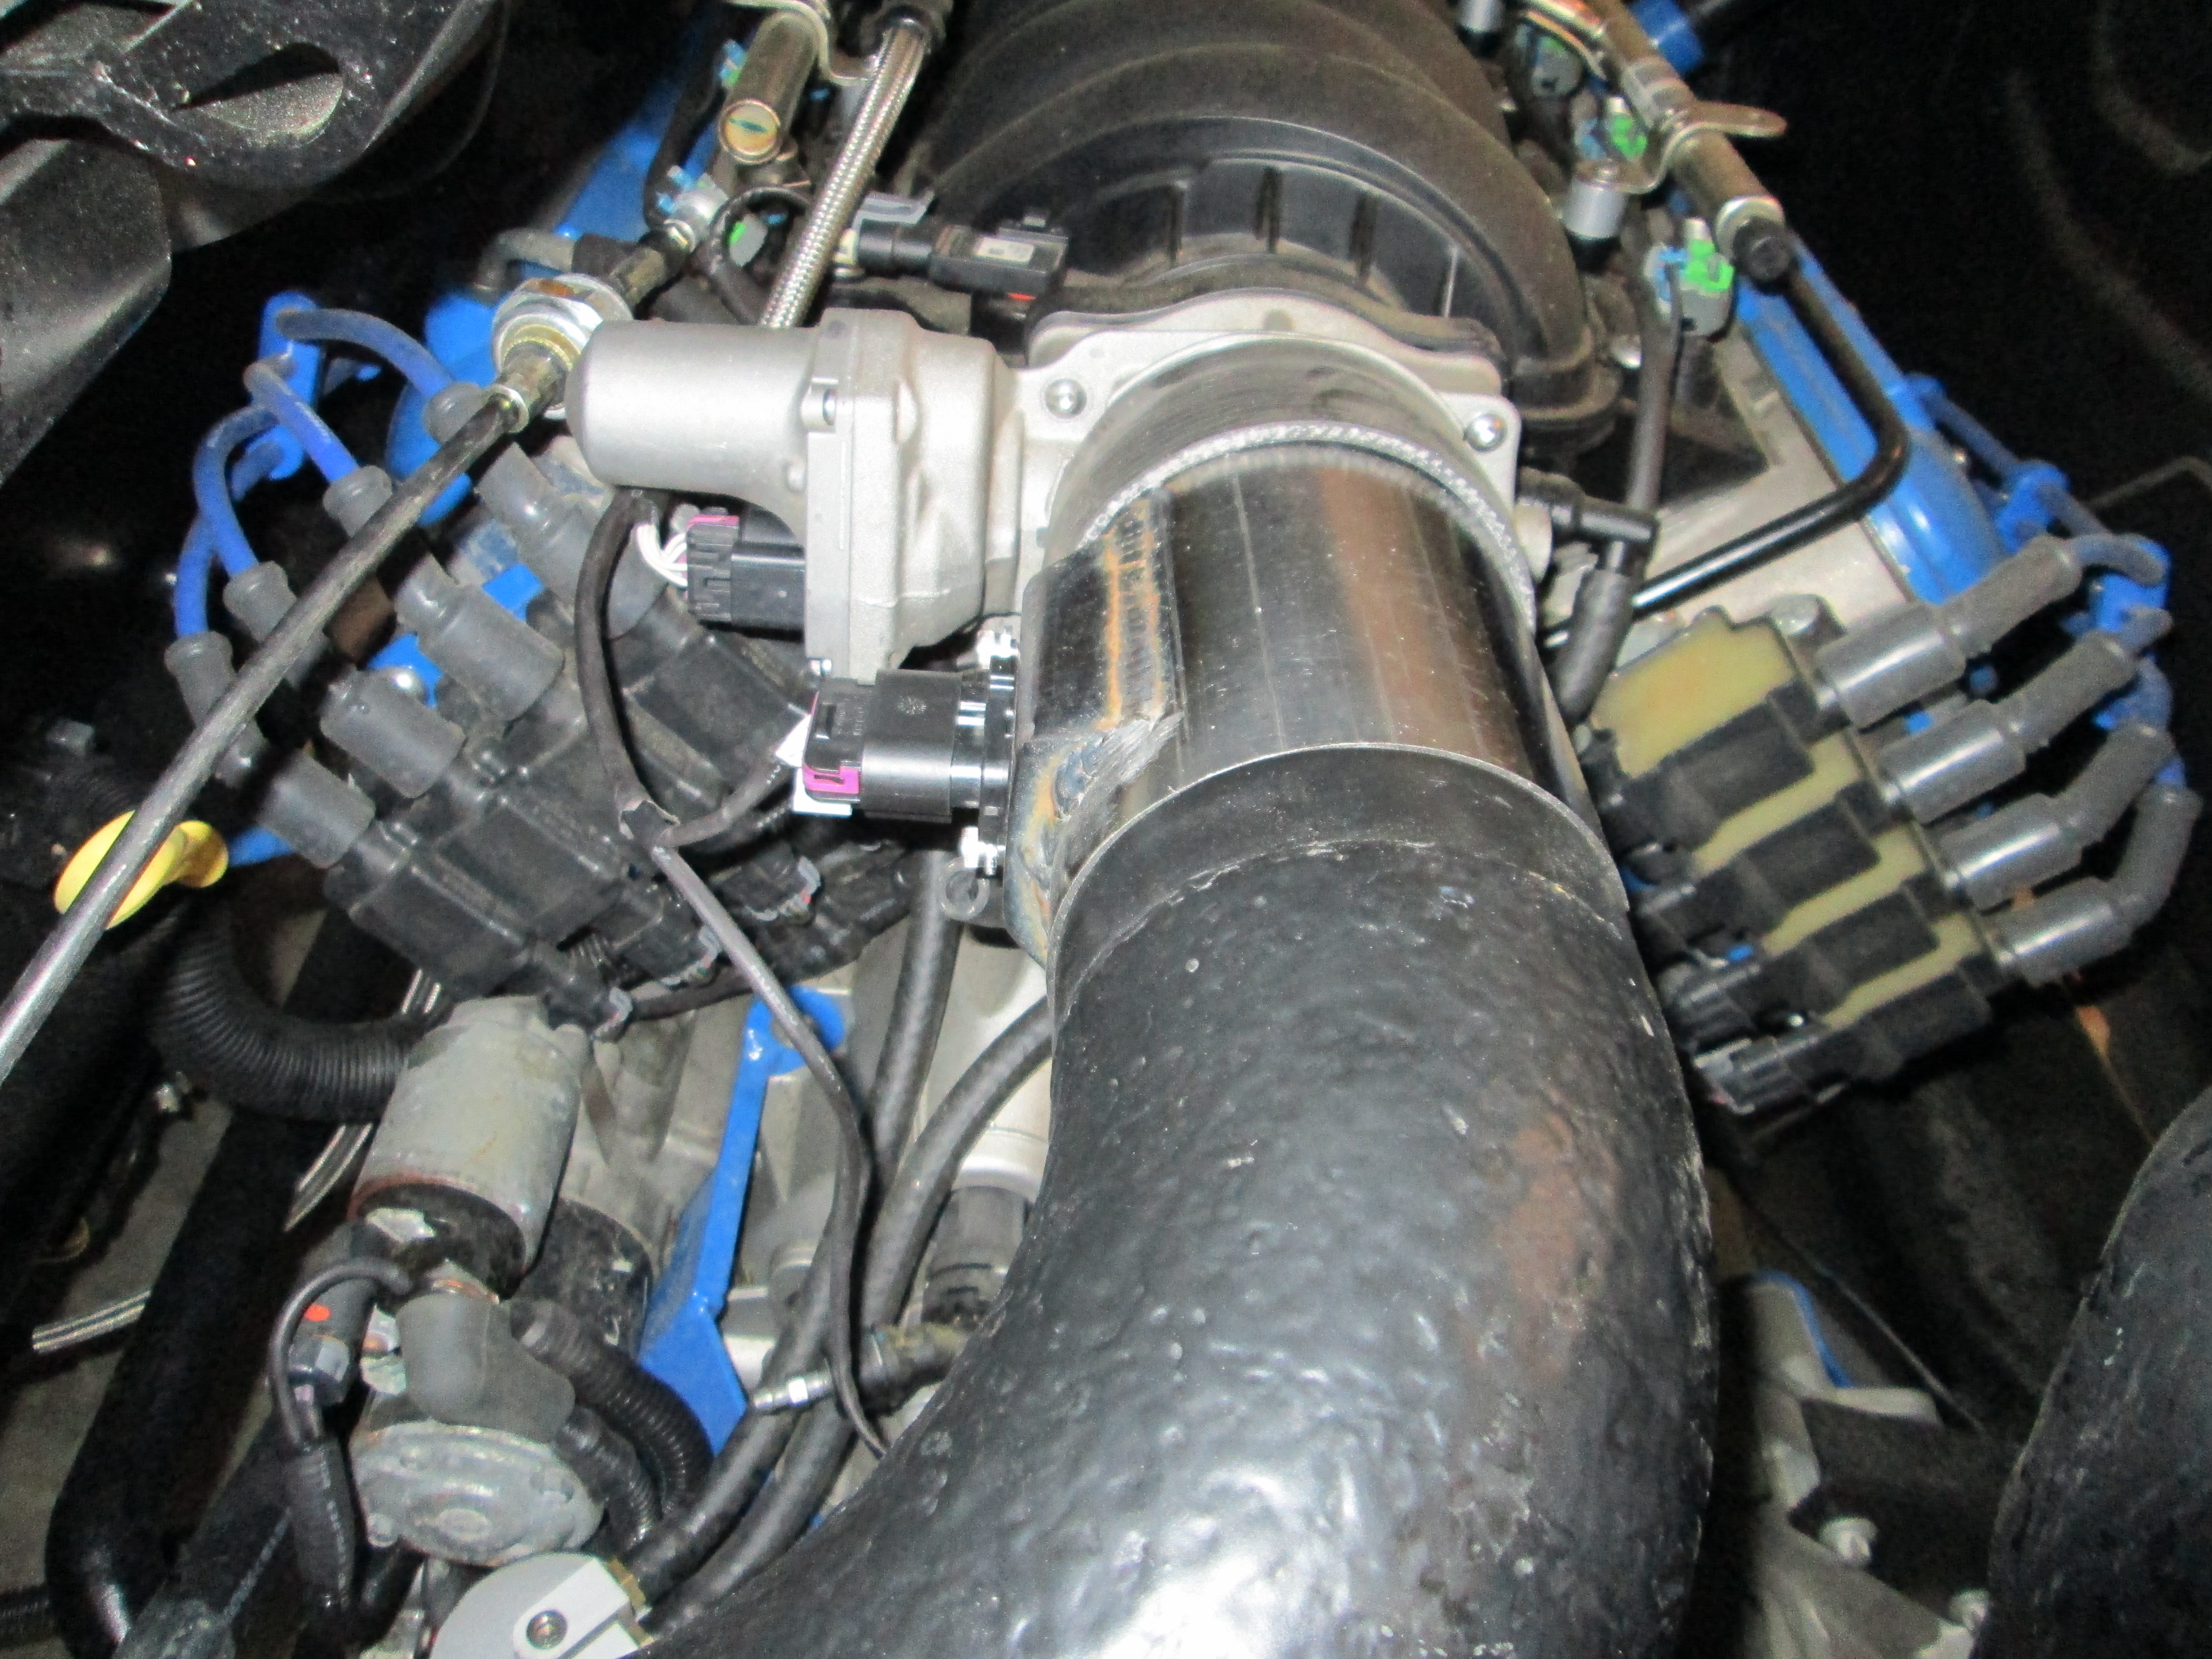
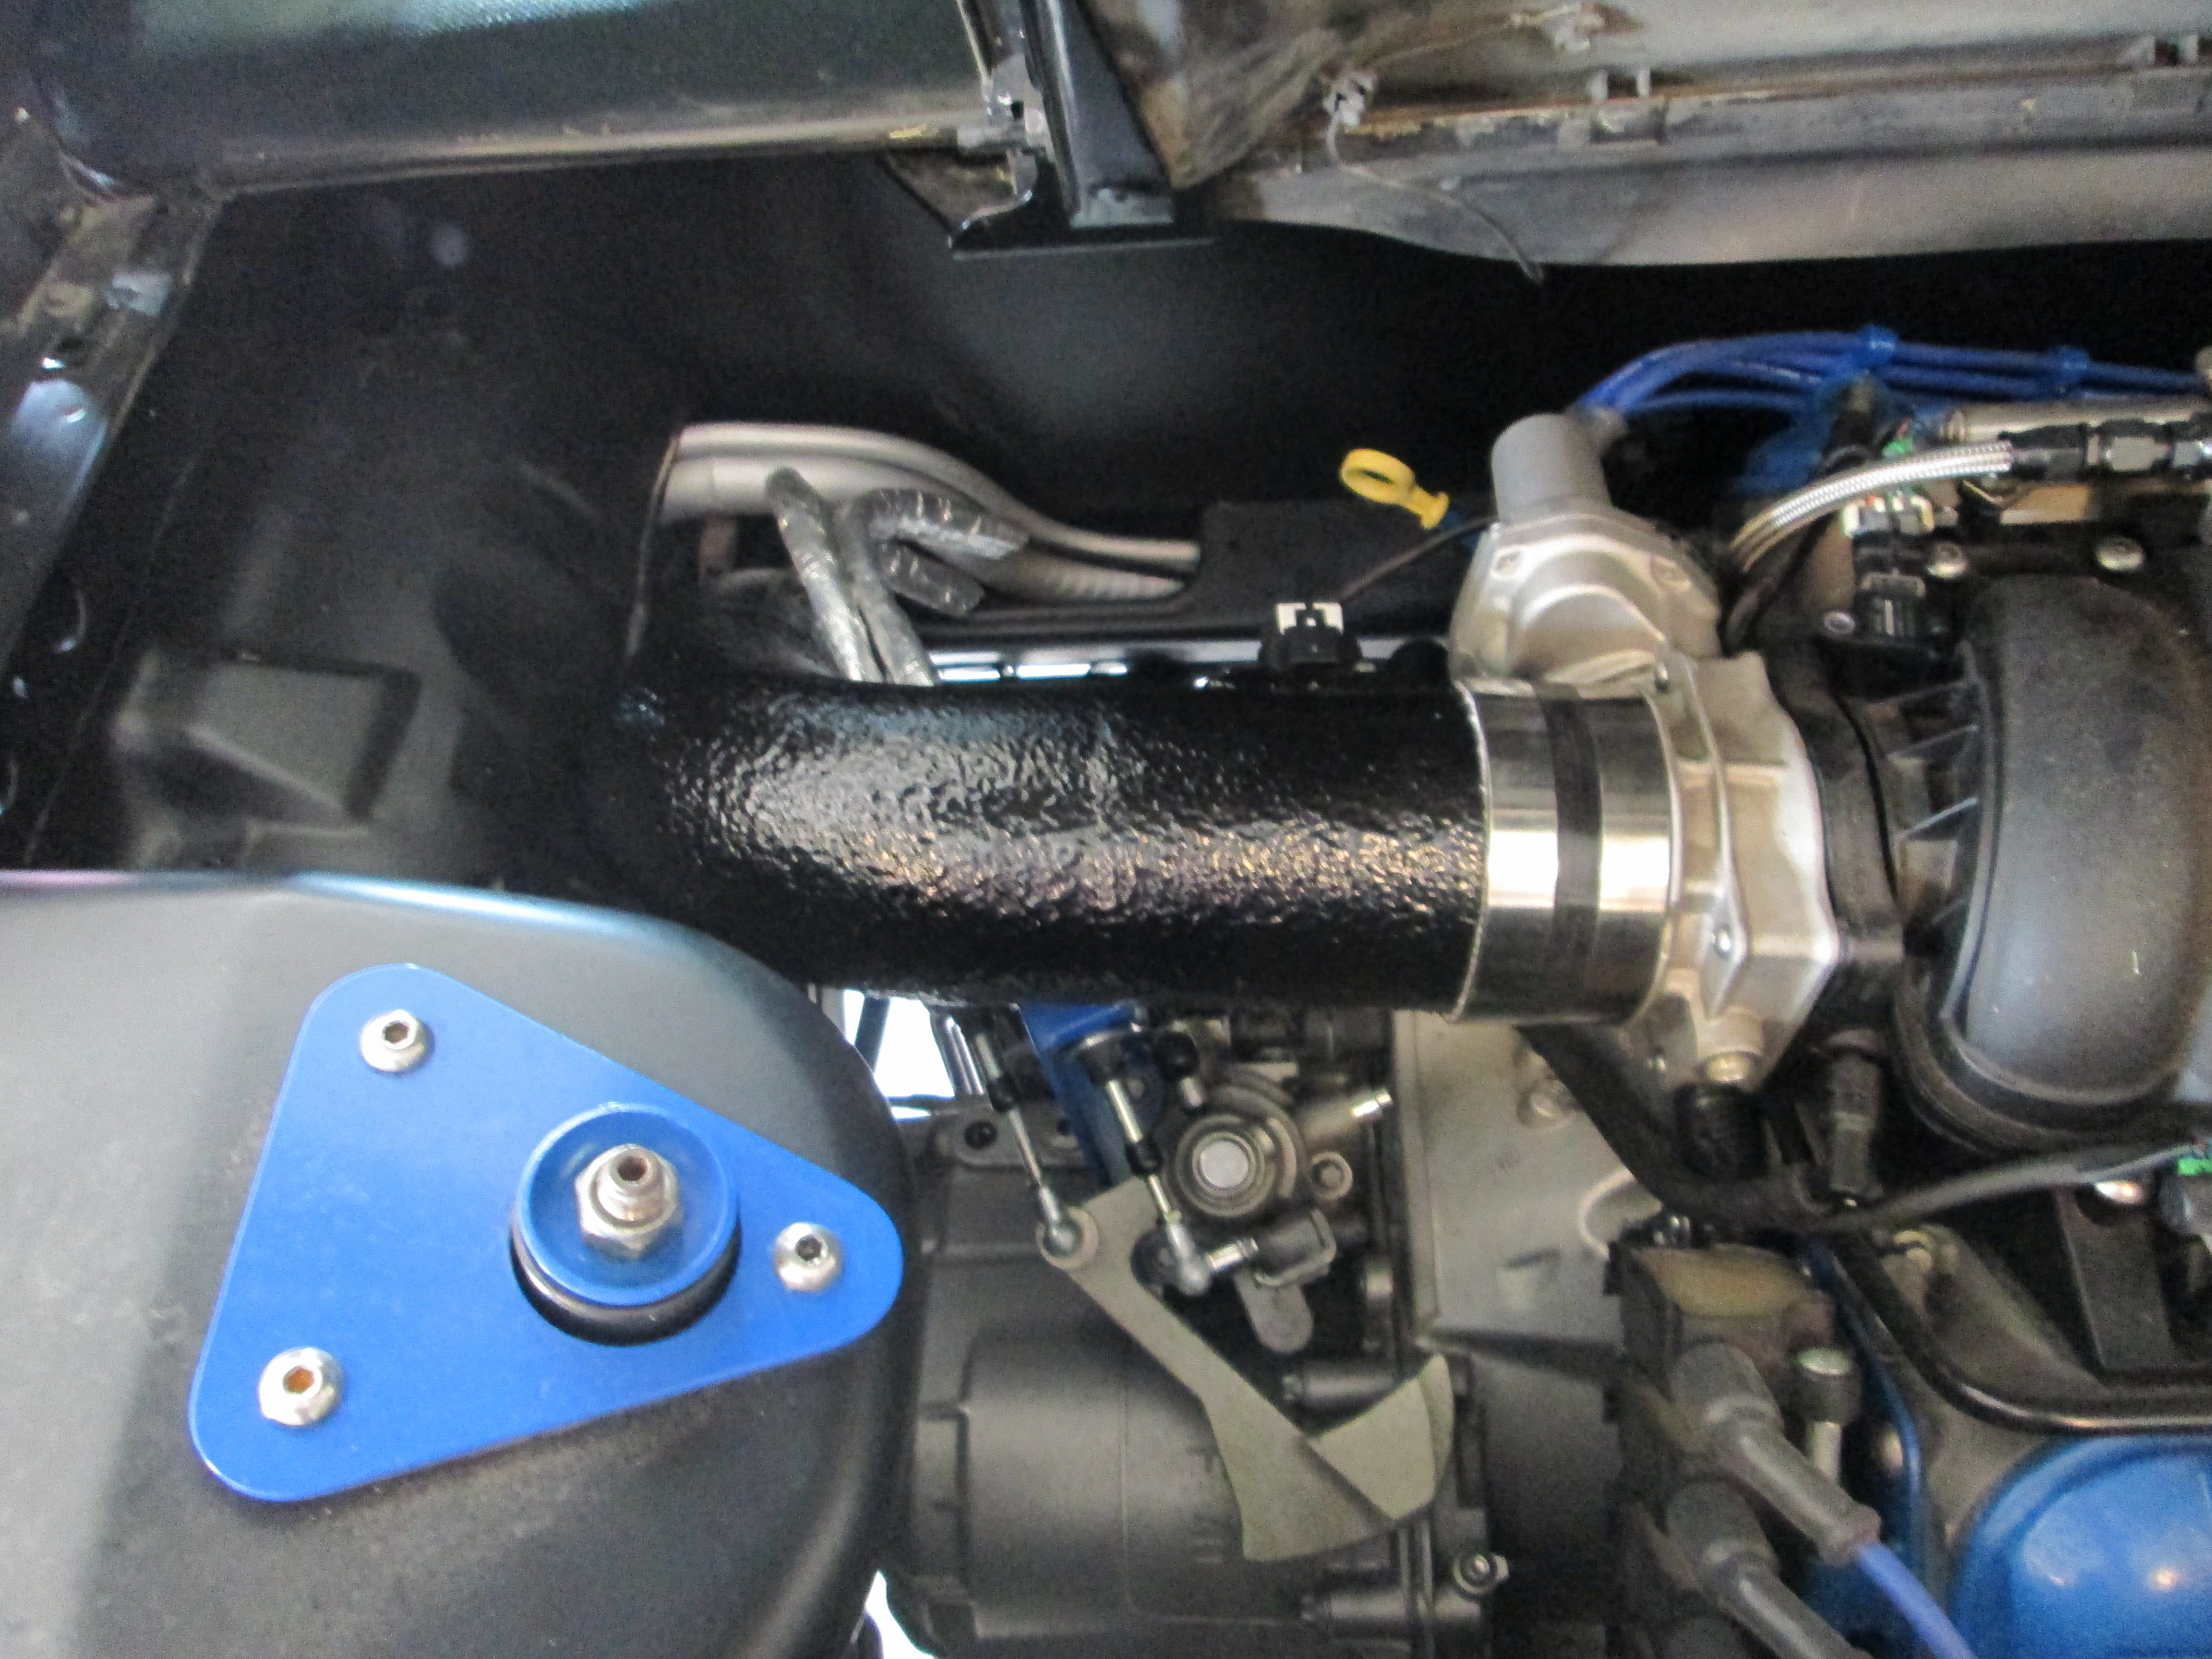
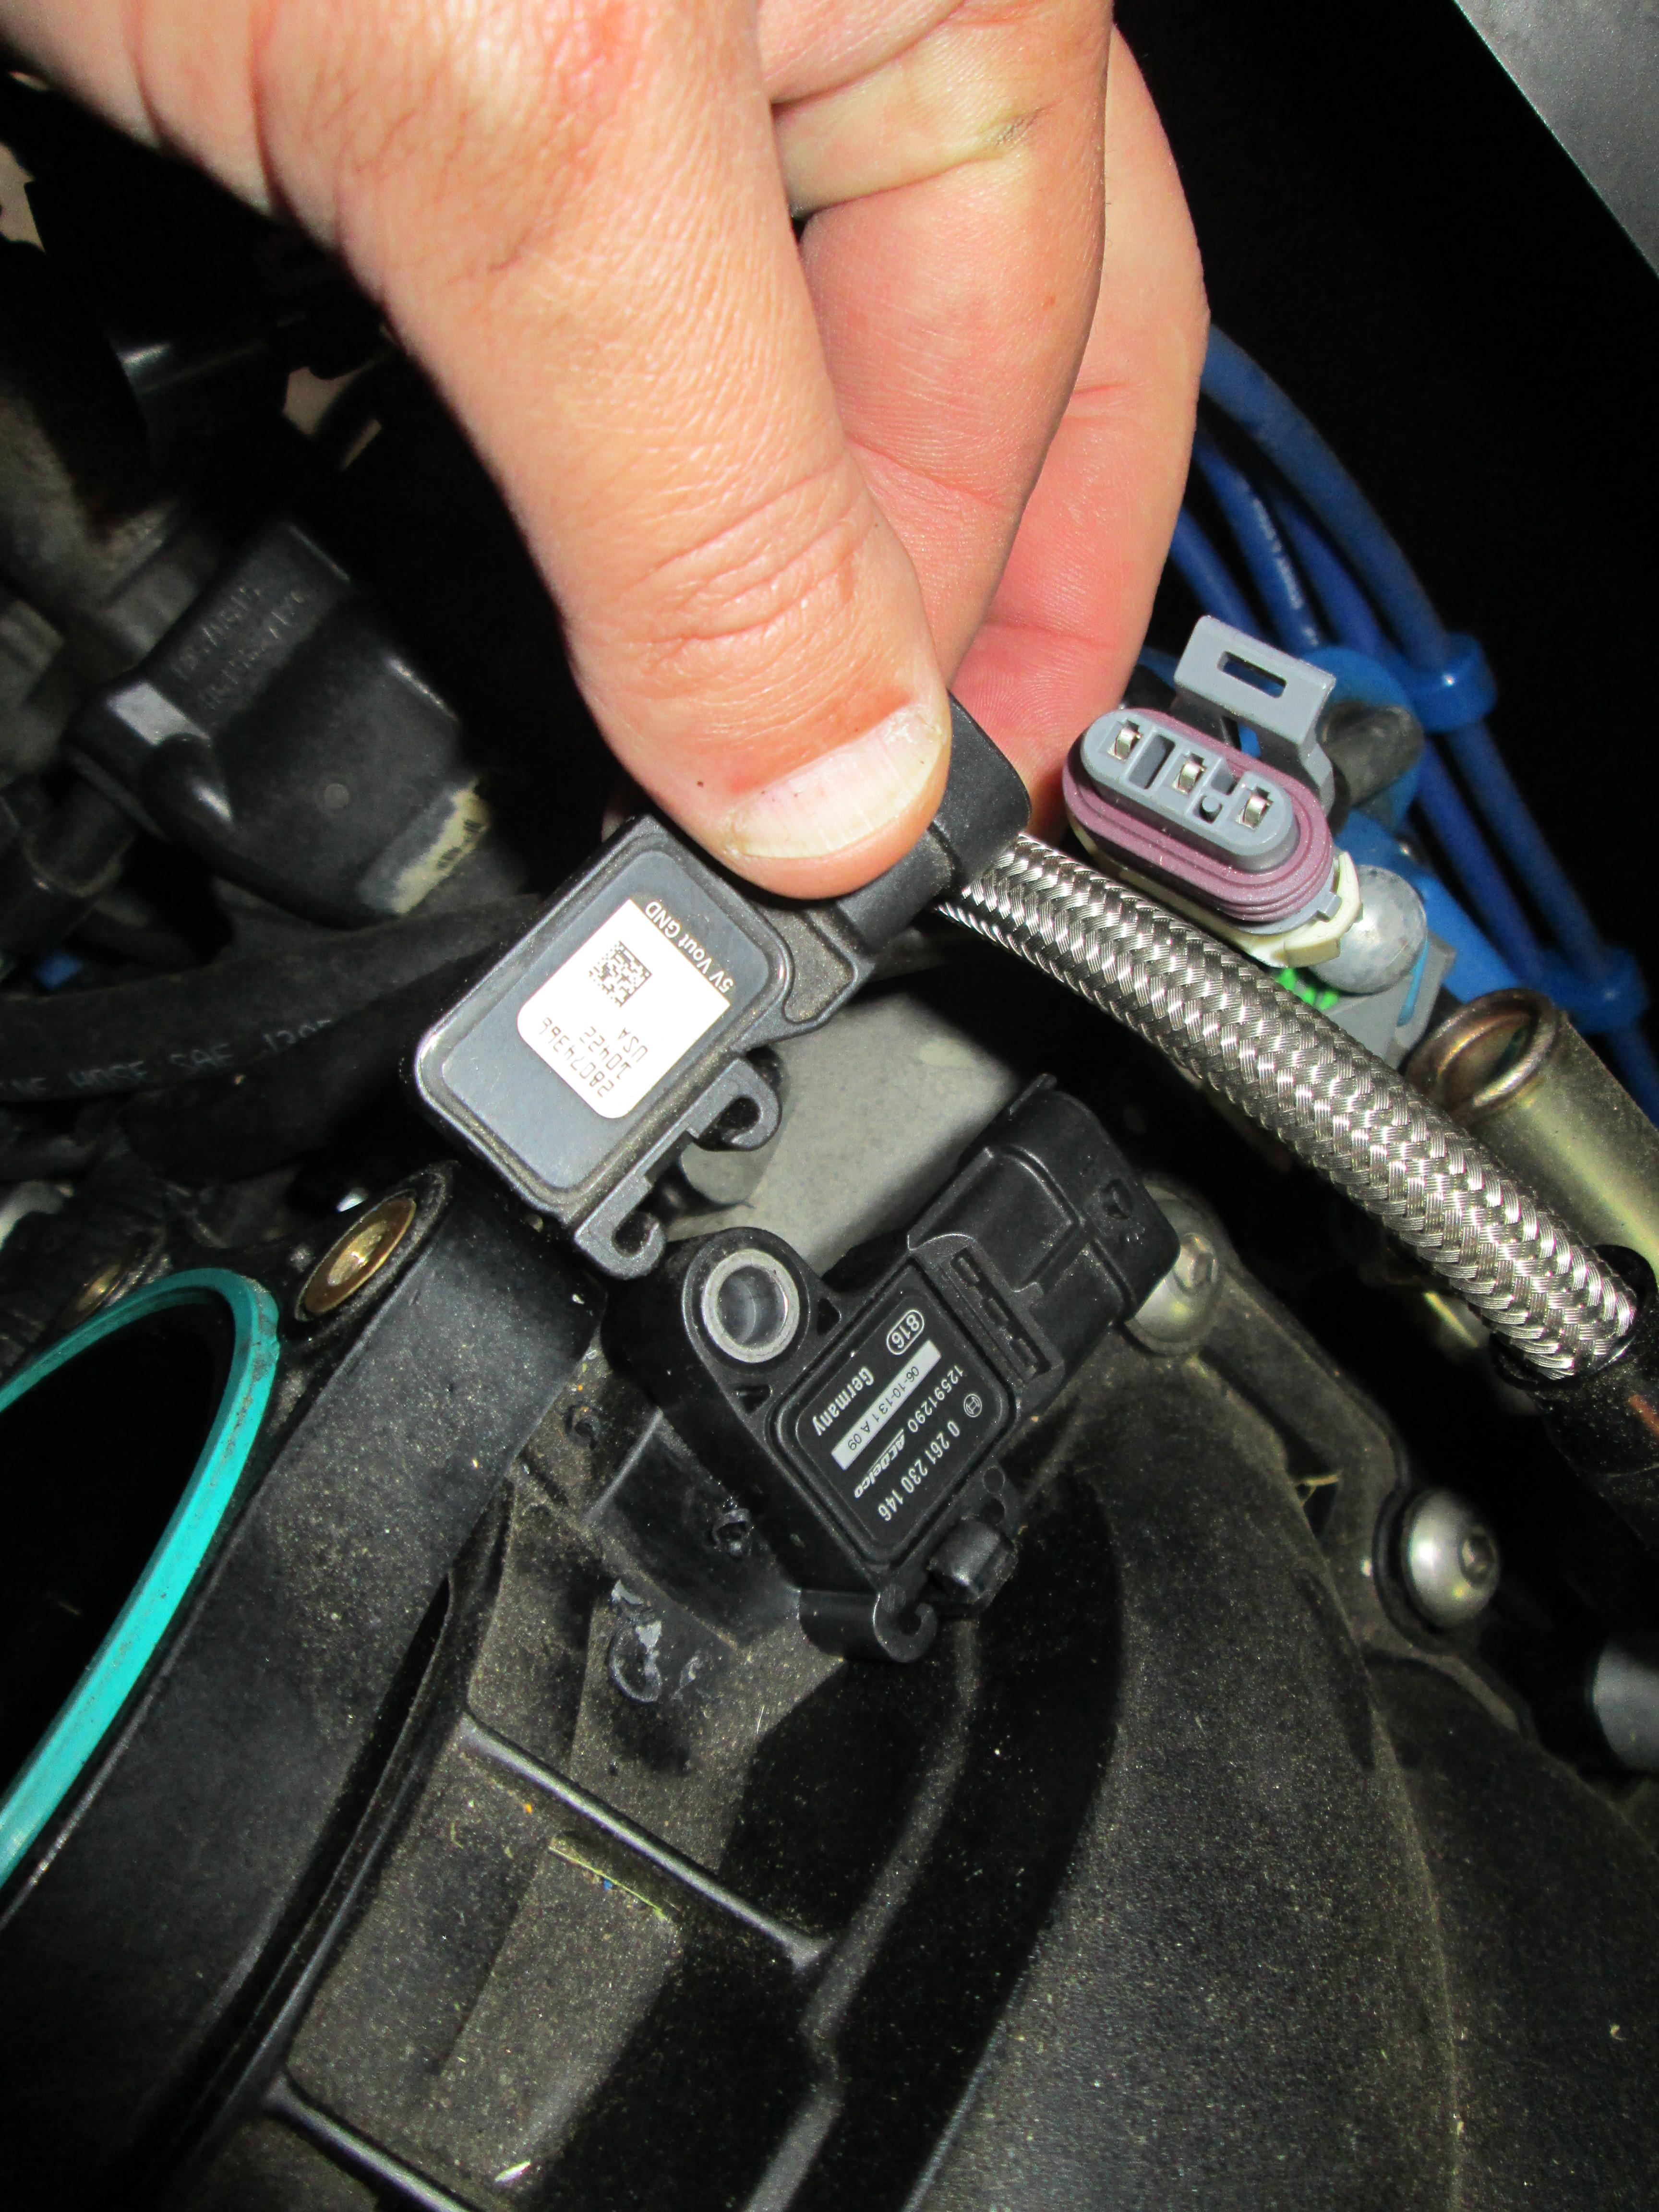
New MAF sensor and modified intake tube are now installed:
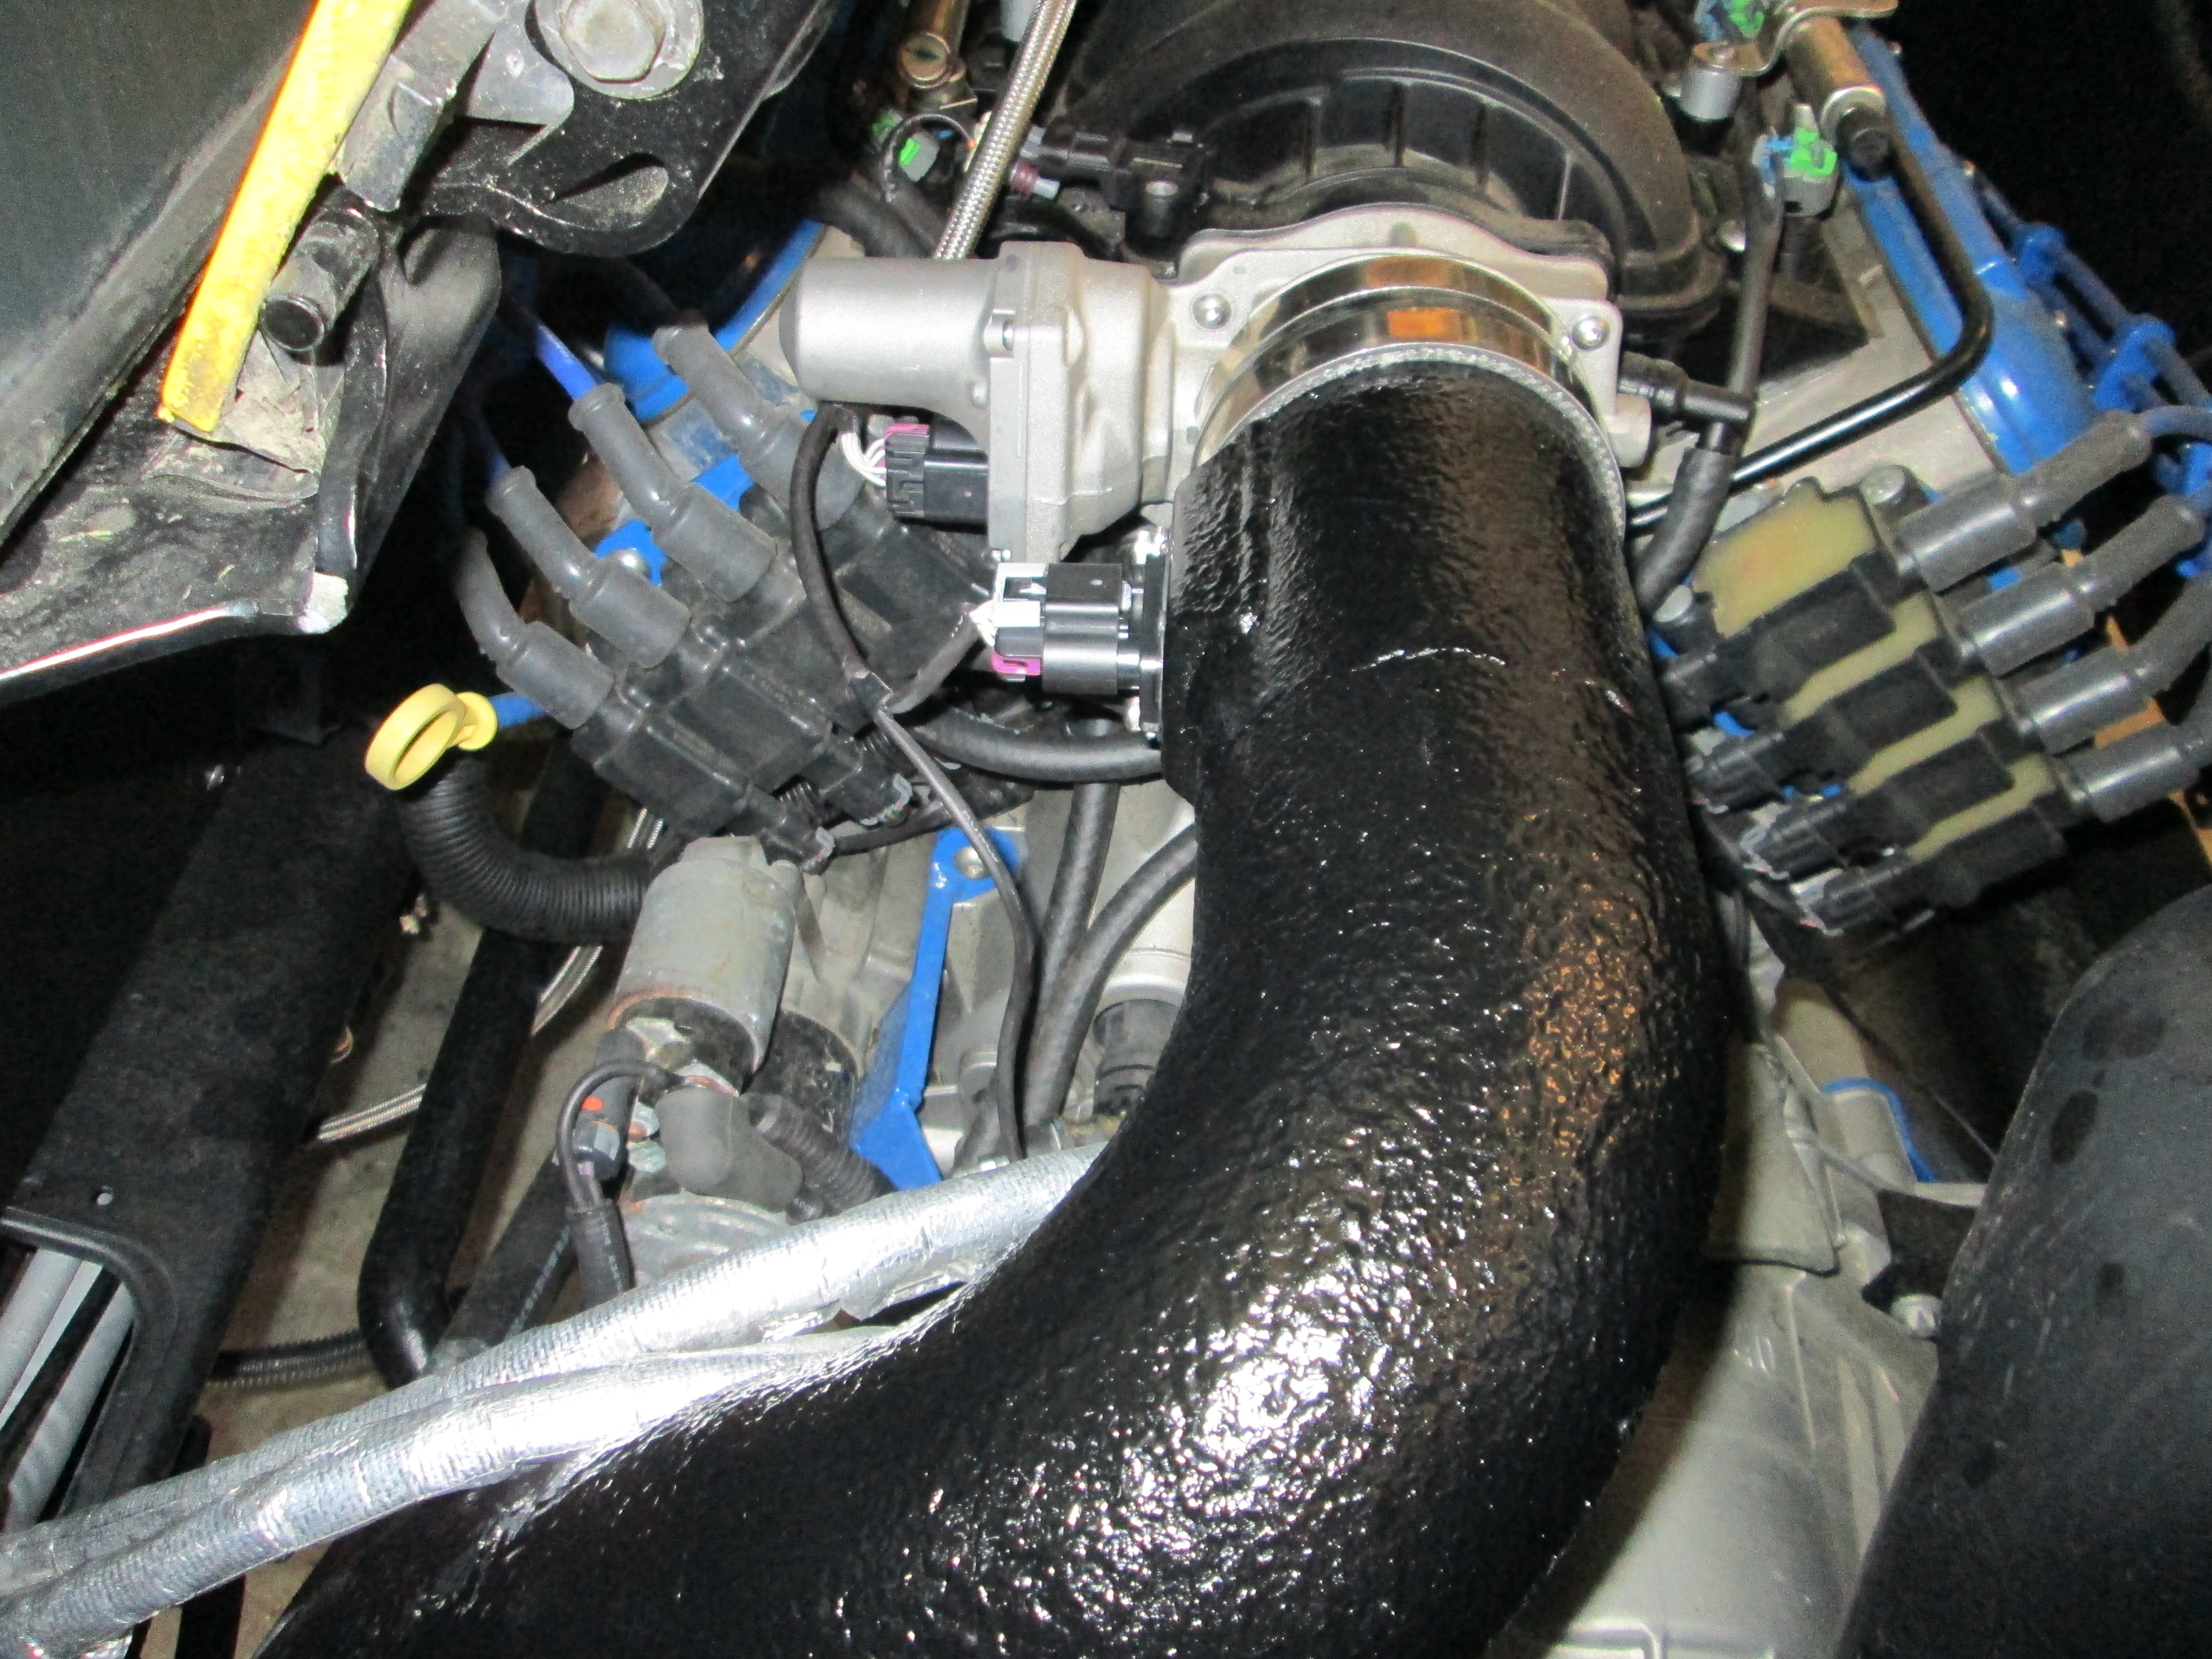
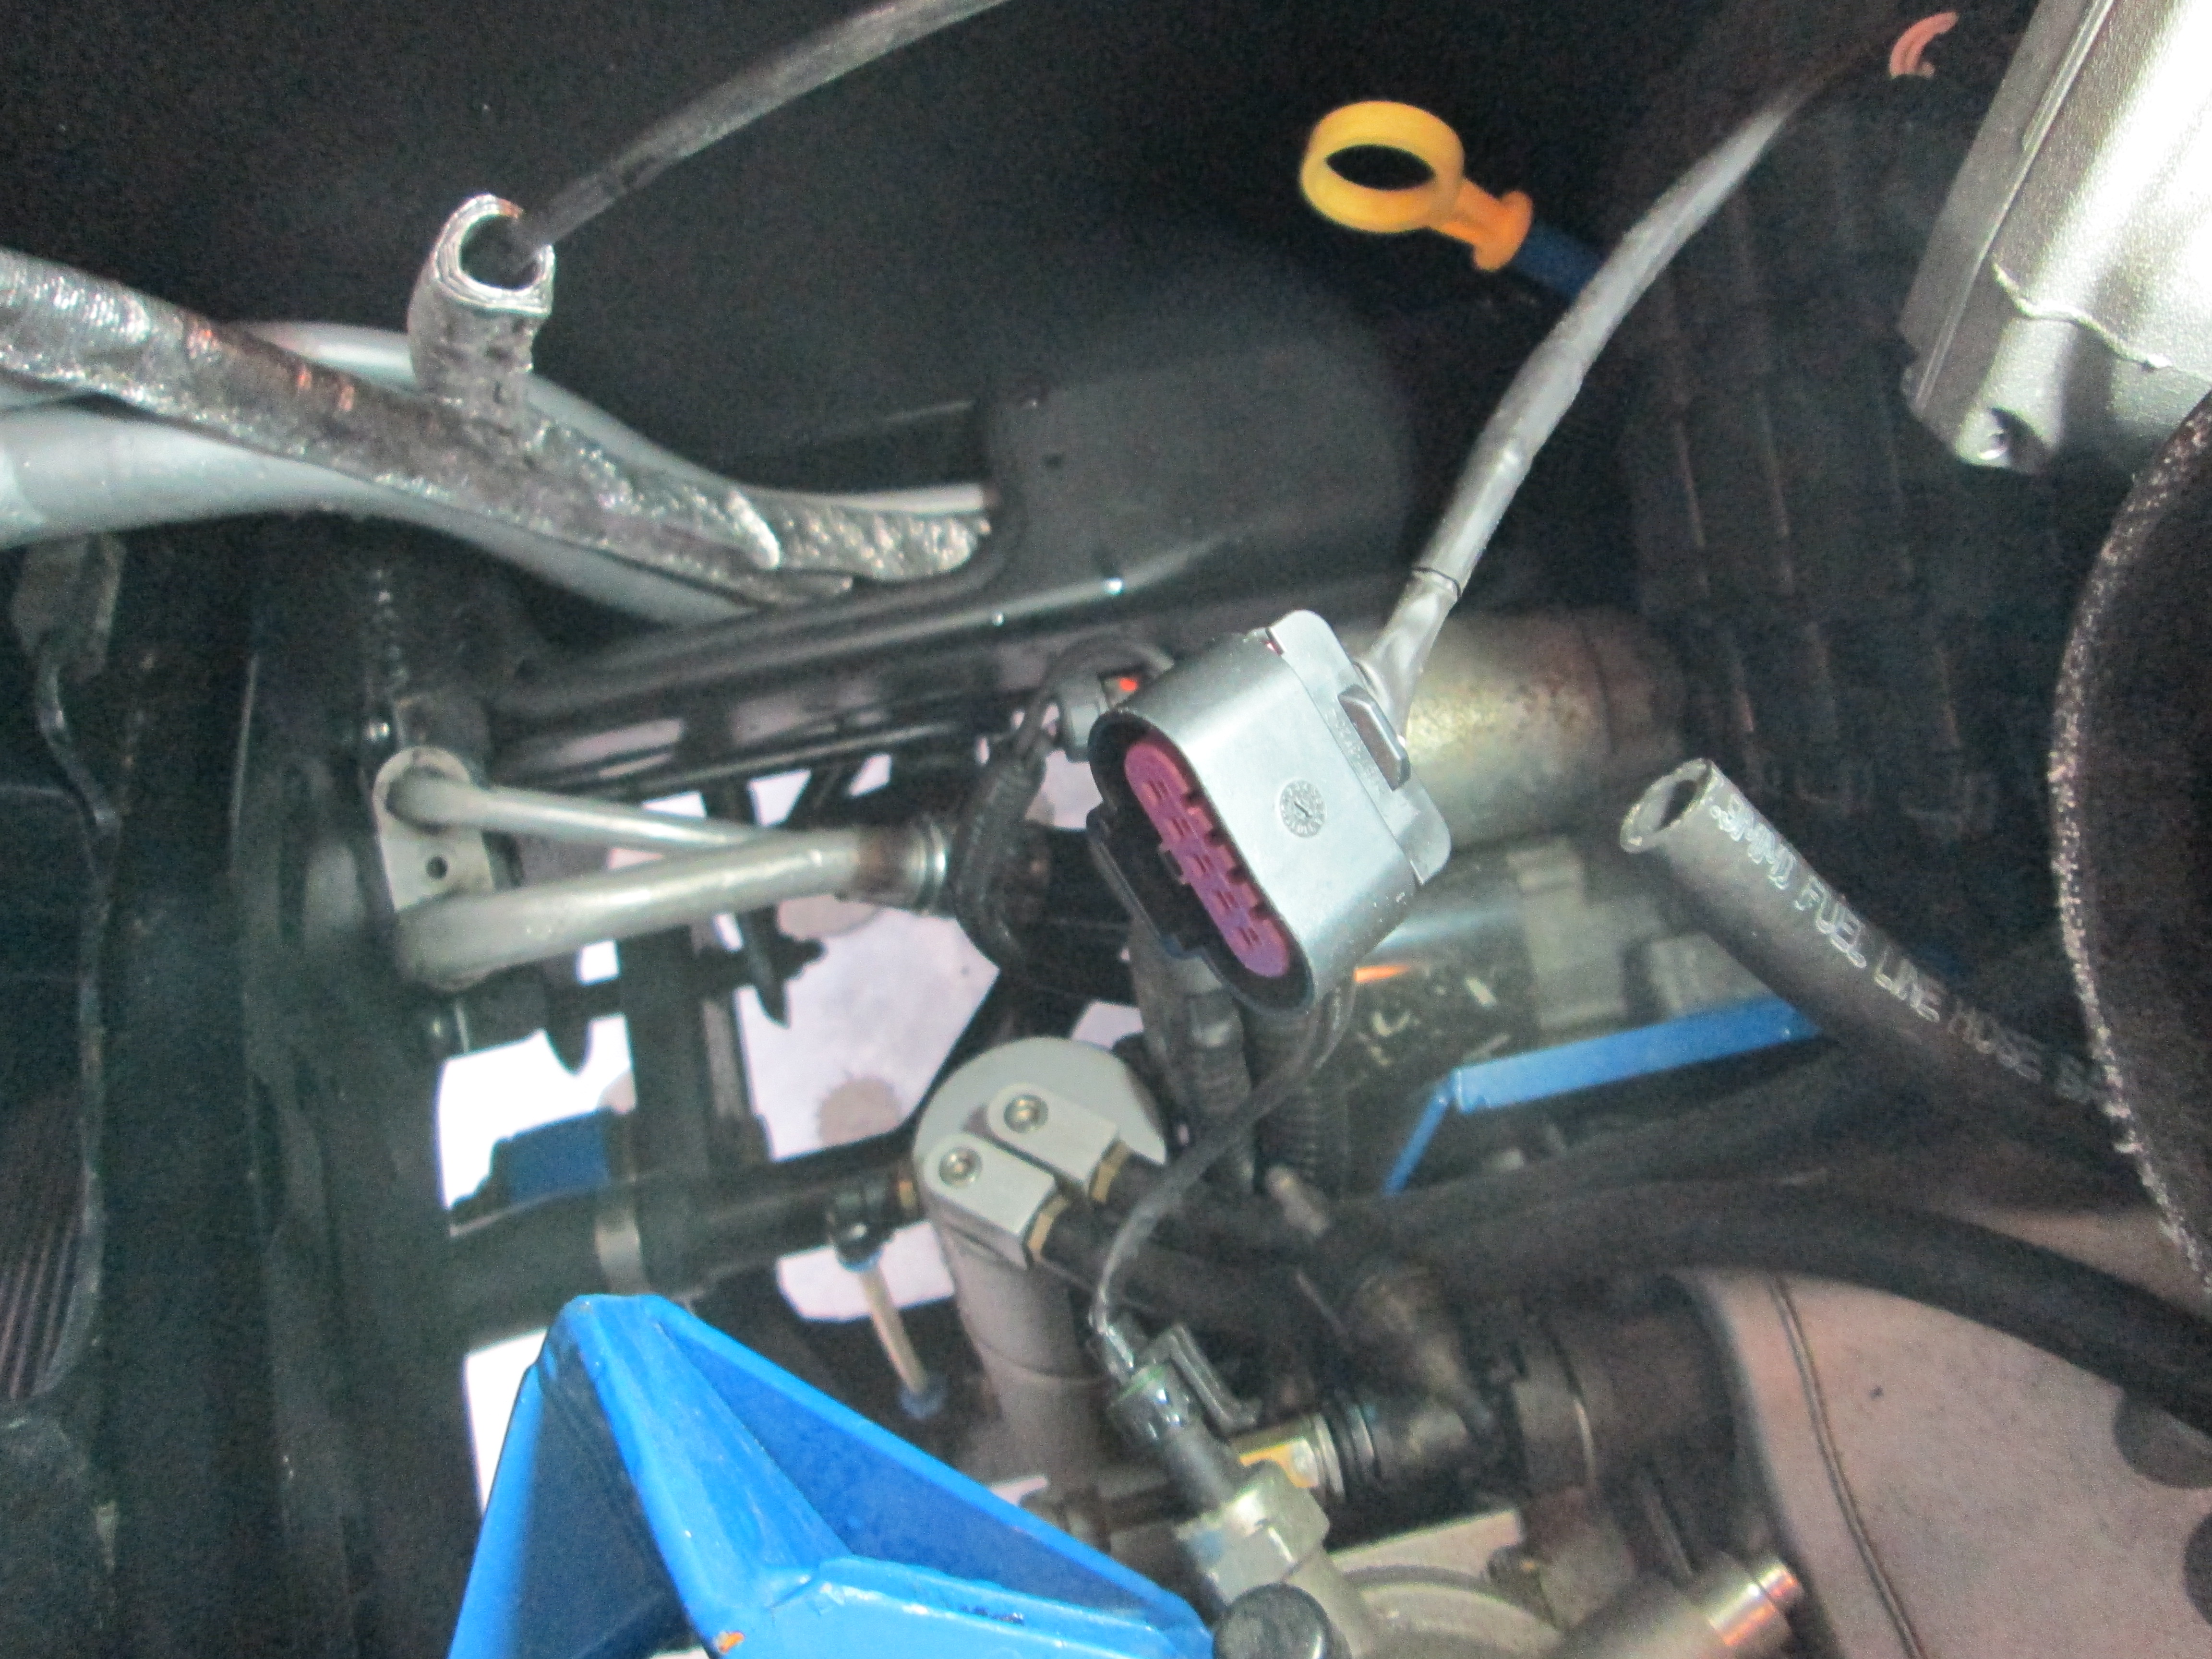
While the TB was off, I drilled the MAP sensor hole over sized so I could switch back to the LS4 MAP sensor. I ordered the adapter harness, but got an email that it was back ordered. So I ordered just the LS2 MAP female connector end and I can make my own adapter harness with the LS4 MAP pigtail that I removed when I did the harness. Here is a picture of the LS4 MAP sensor installed:
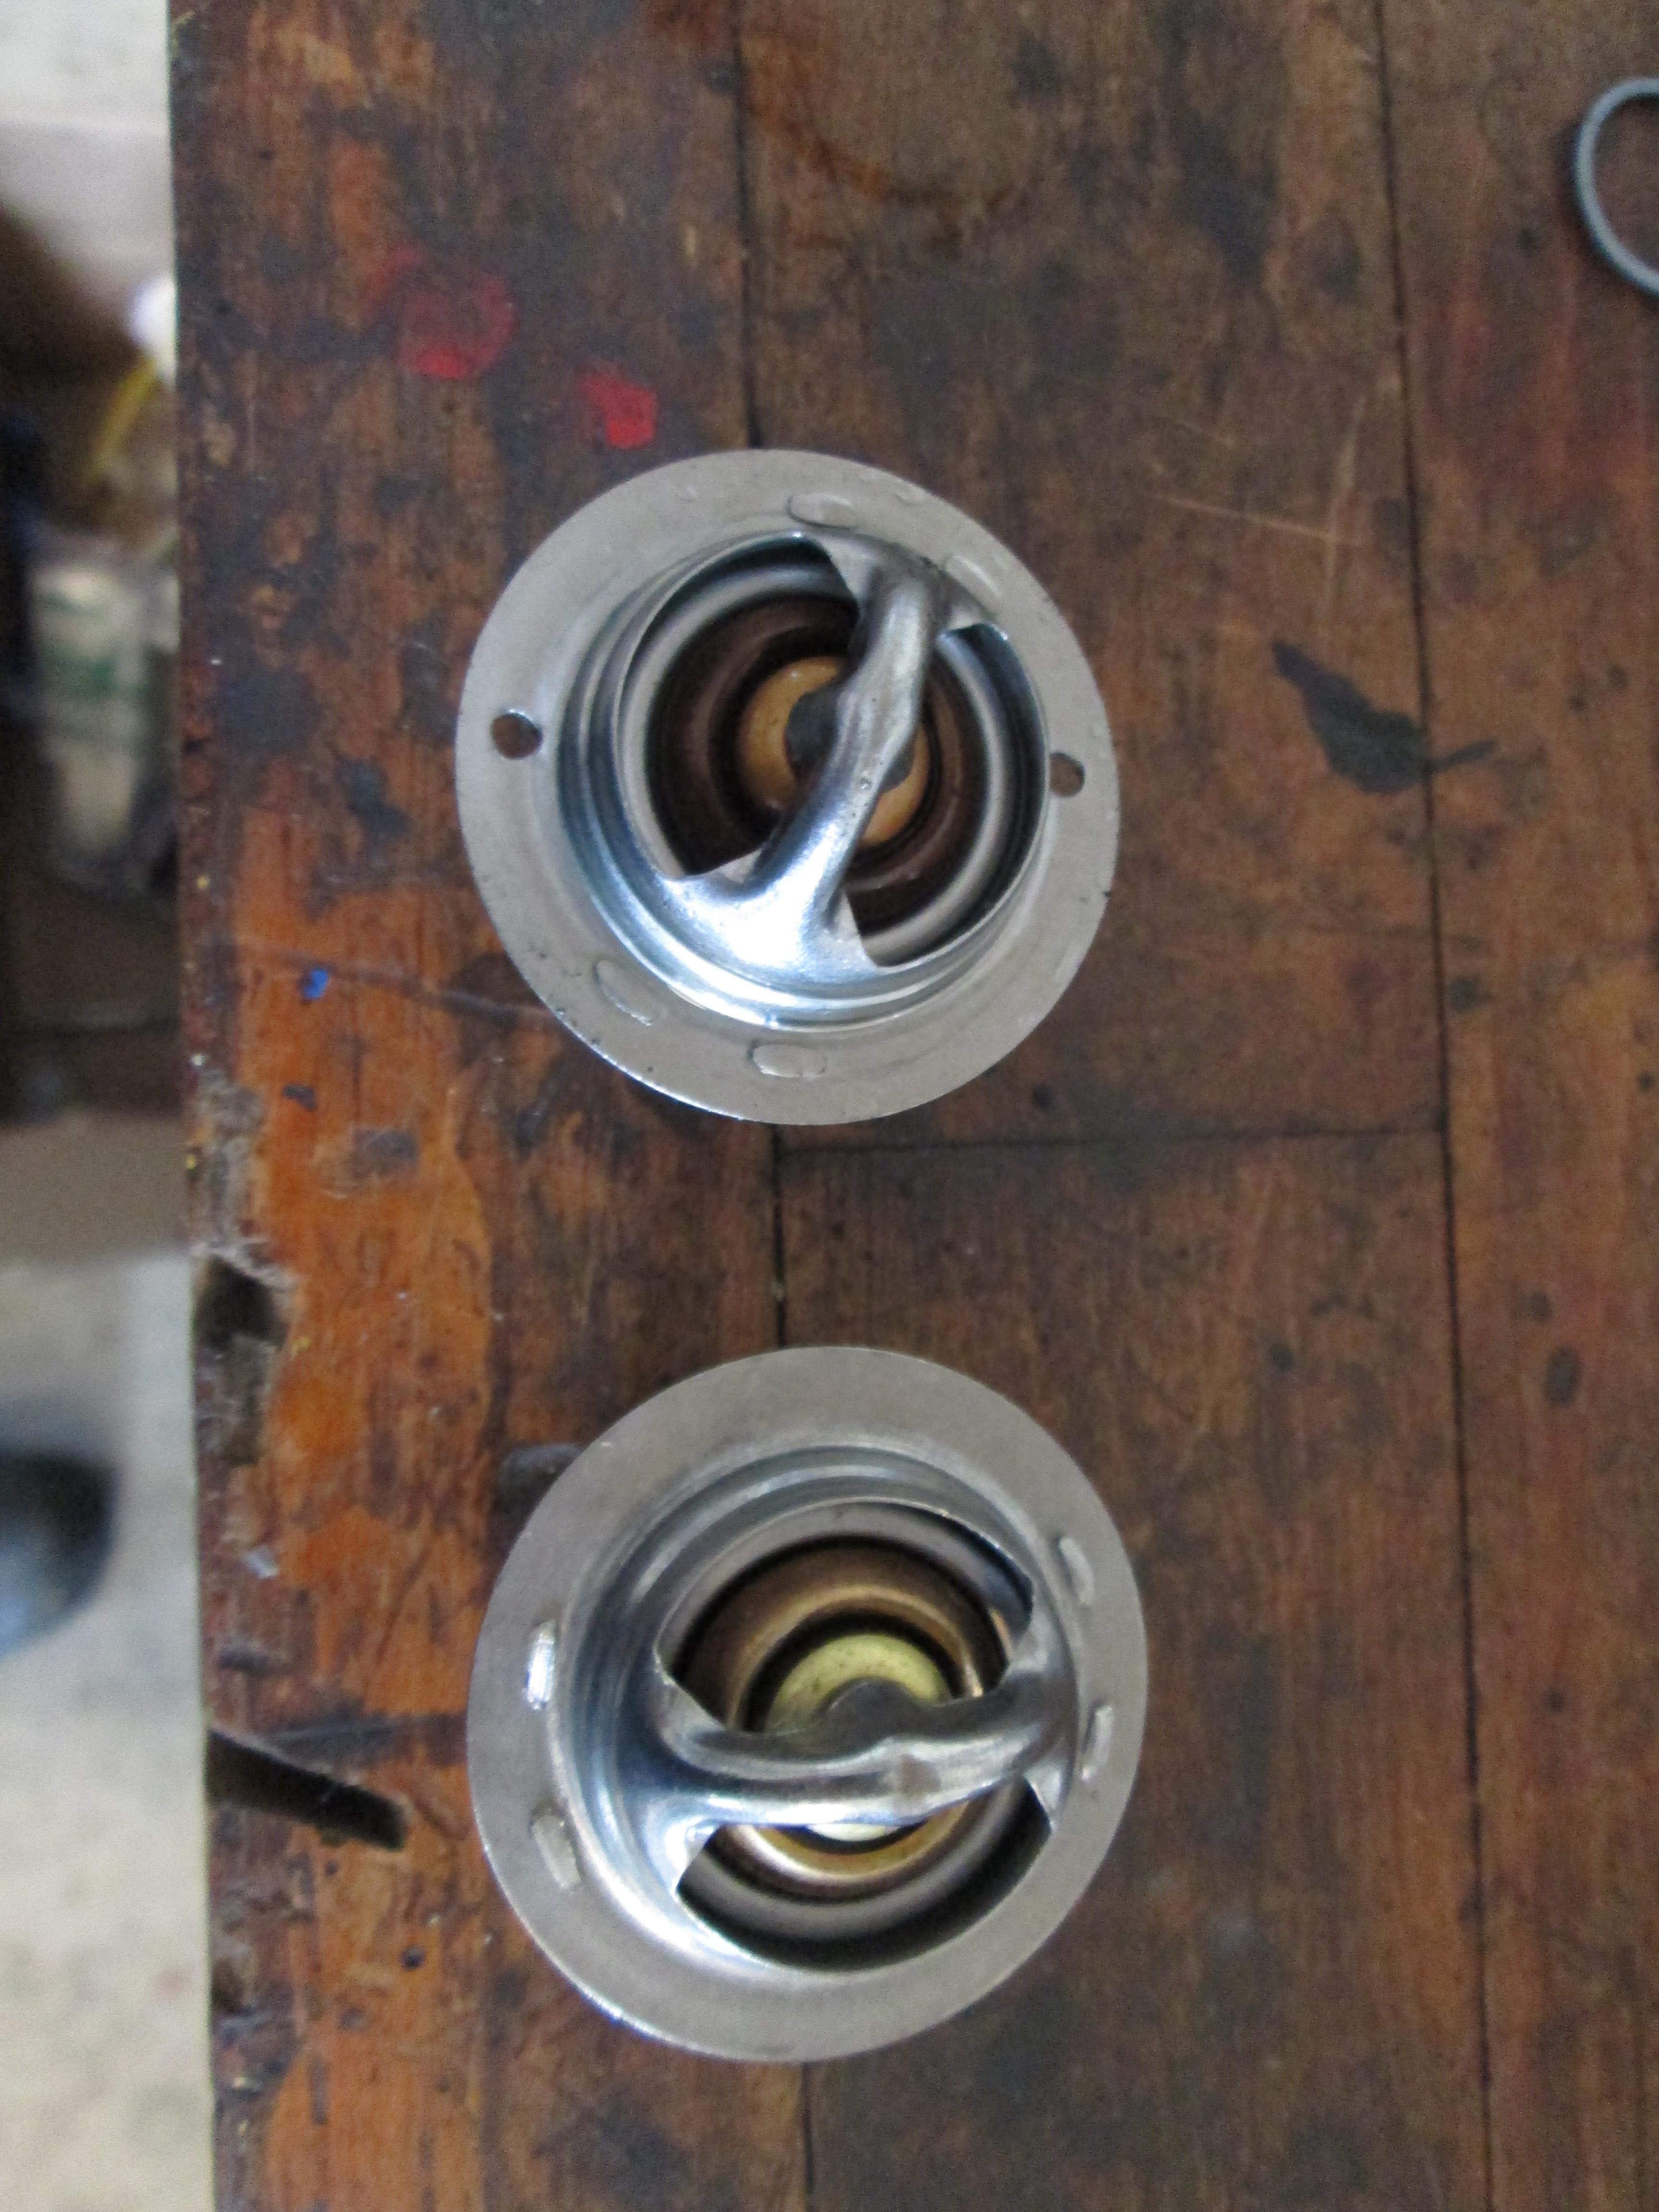
While still working in the engine bay, I removed the thermostat that I had previously drilled a couple of holes in. It was taking the car too long to get up to temp and on cool mornings it wouldn't get much above 165 degrees.
I also took the time today to prep the A/C system for a charge. I replaced all the o-rings, swapped out the orifice tube and added the R134A fittings. I hope to have the A/C all charged up later this week.
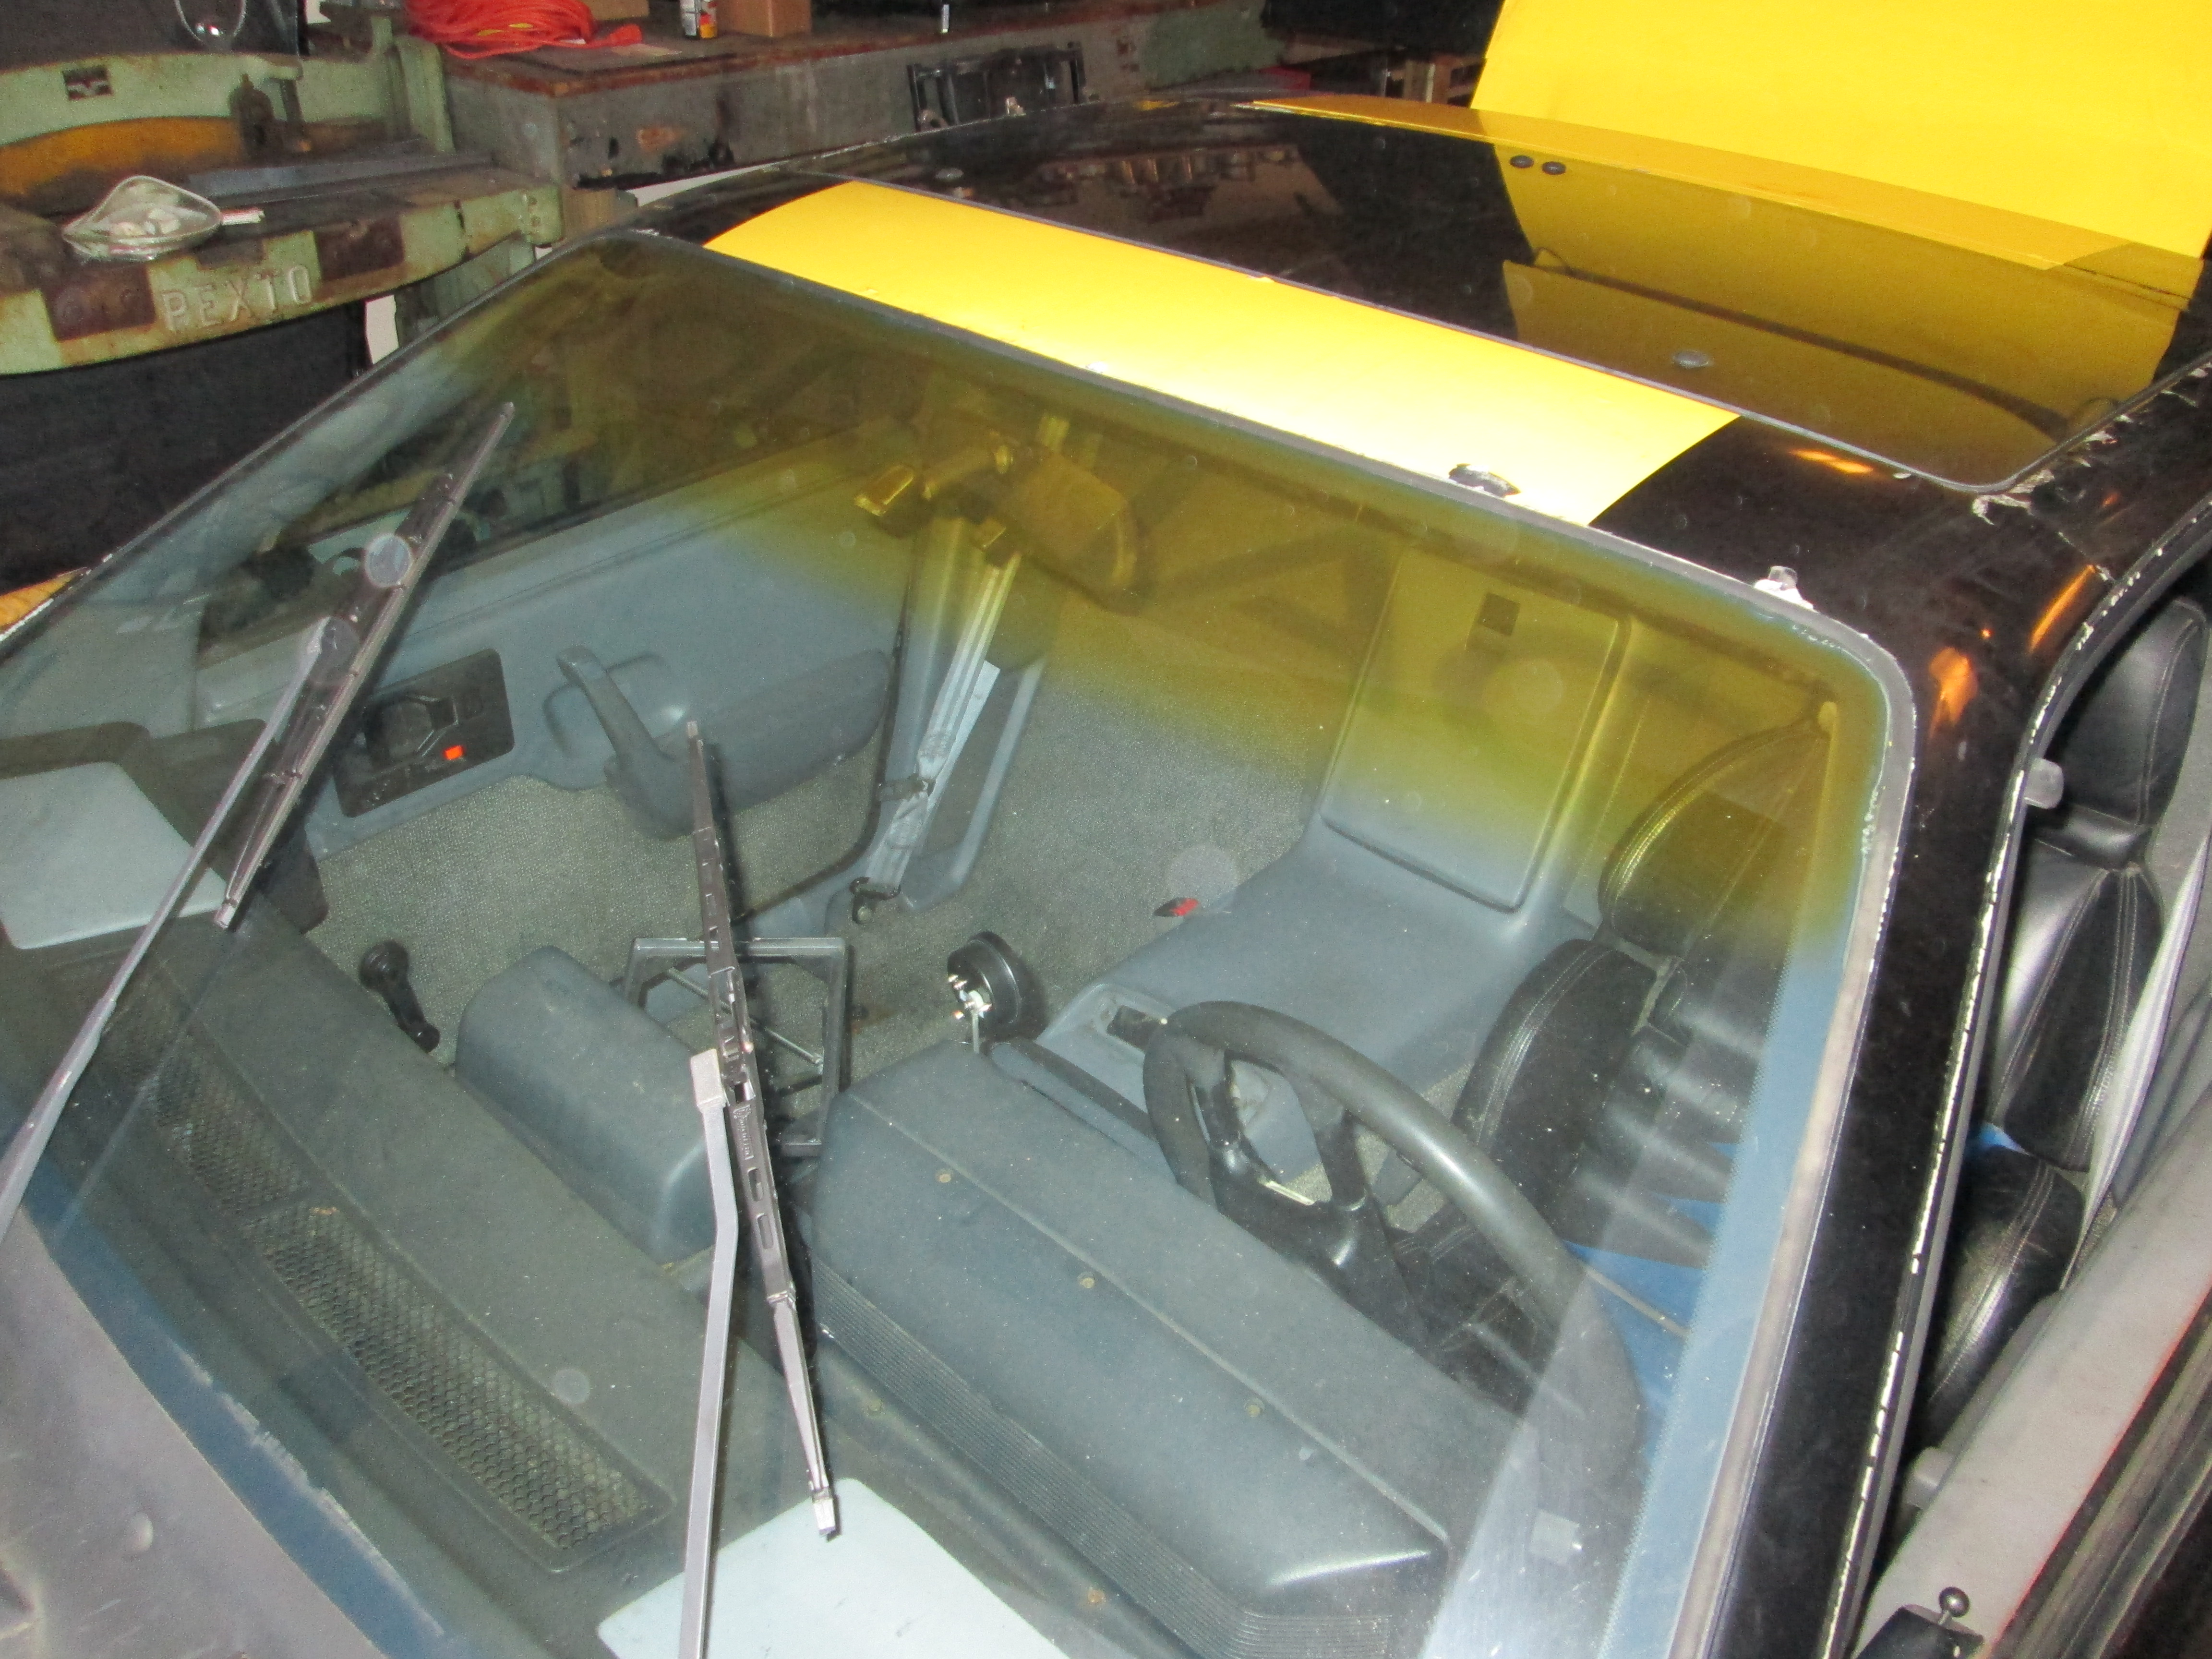
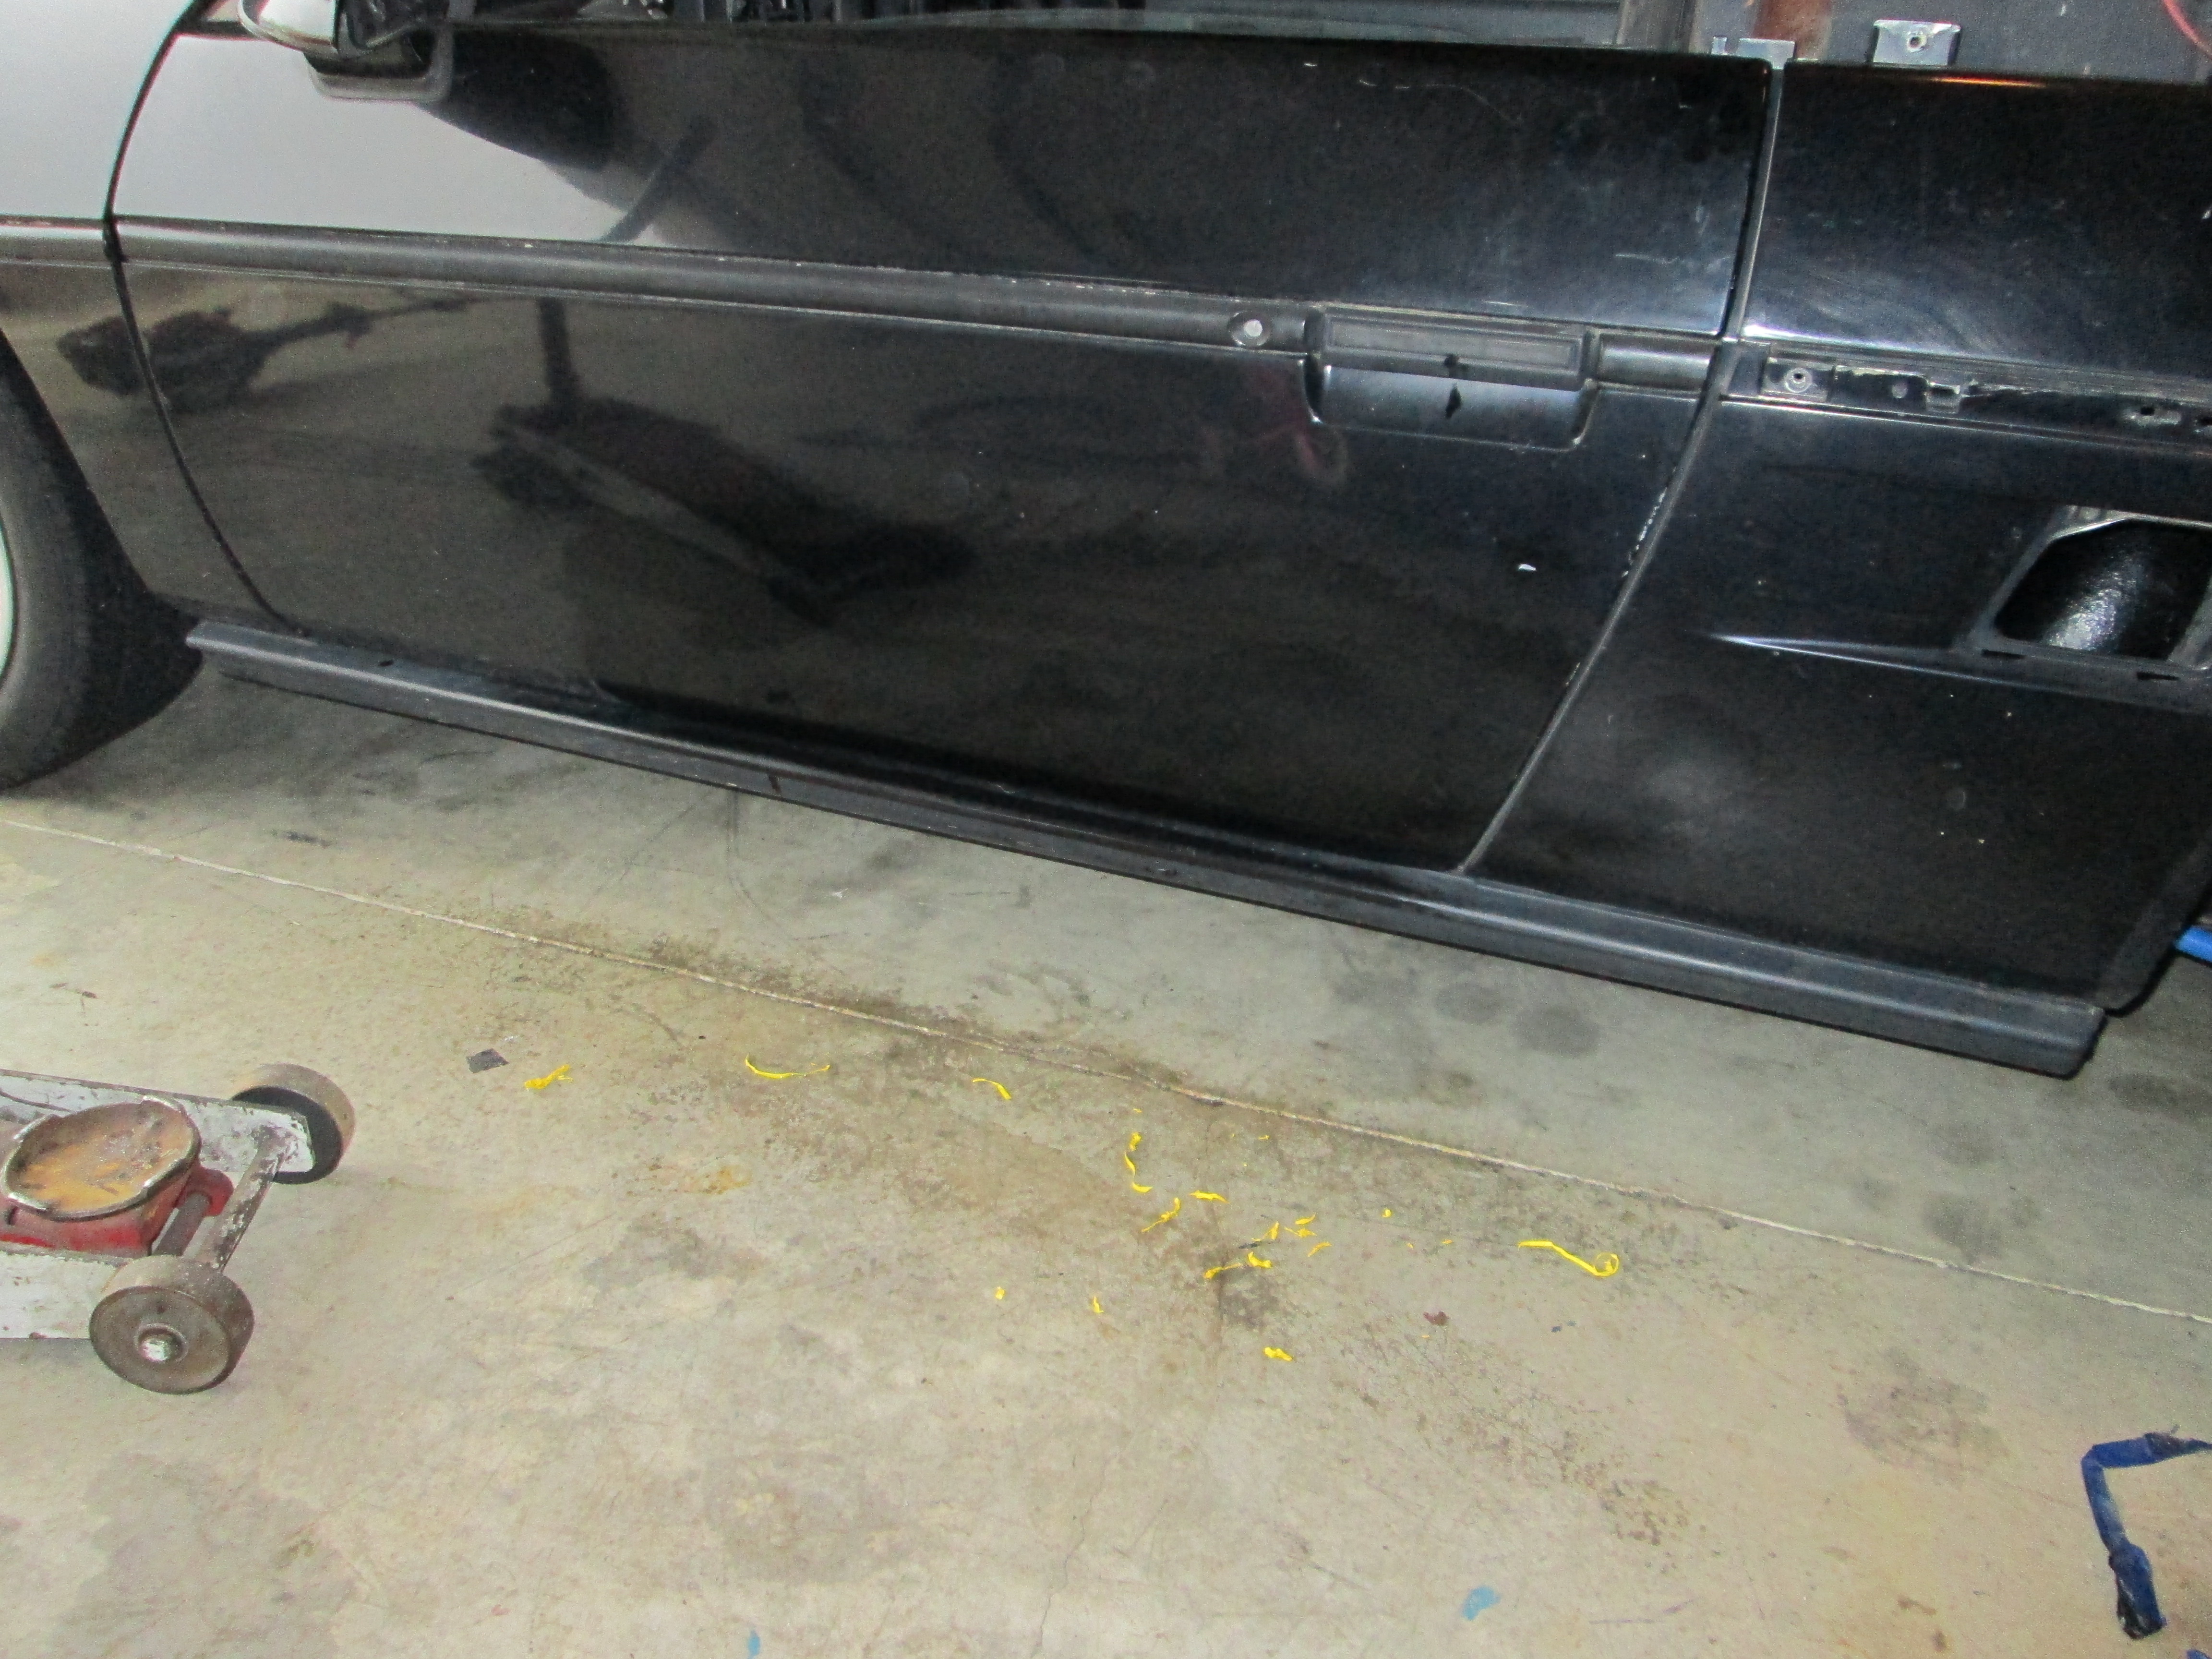
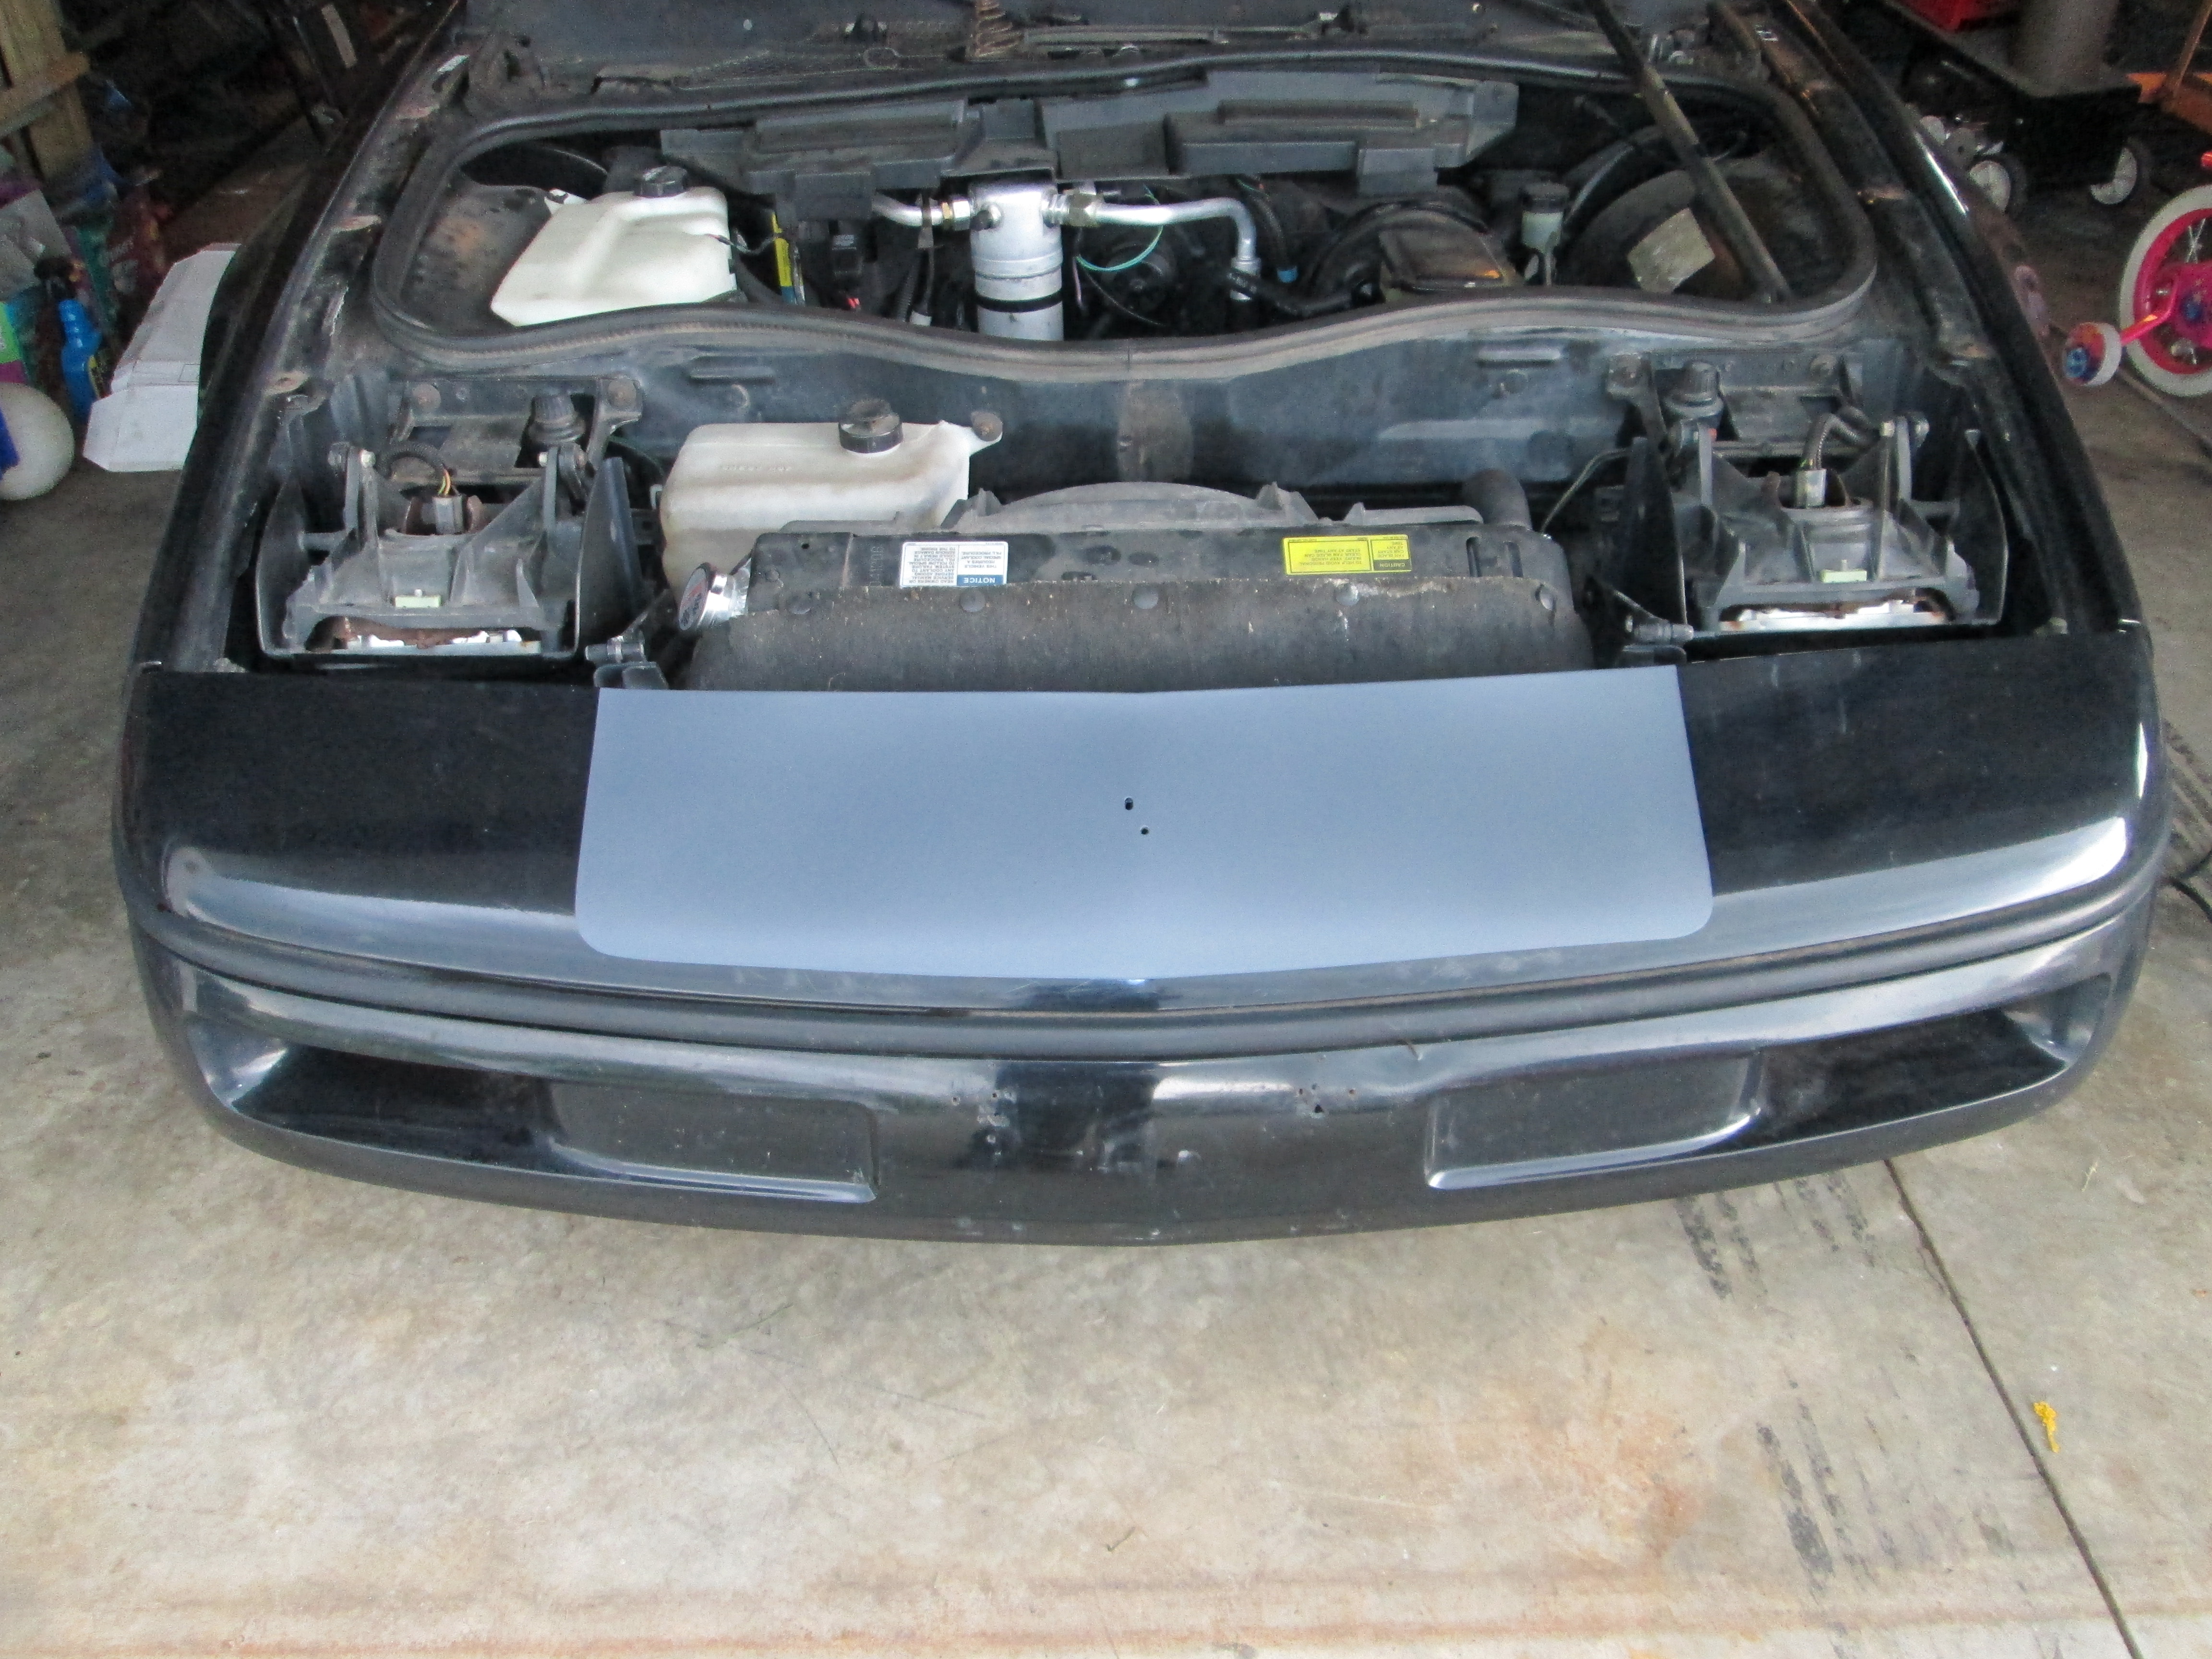
Another key project for this week is to make all the yellow disappear... not a fan of it at all. Makes the car look too "ricky racer" and draws too much attention. Time and $$$ are just not in the cards right now to get the car painted vodoo blue, but I can make the yellow disappear. First step was to remove all the stickers (Pontiac, Formula, Fiero):
Later this week, some Gunmetal Grey Plasti-dip will arrive and I will use it to cover the yellow painted surfaces. So the car will still have the wide stripe (not really a fan of it either), but at least it will be in a more subtle color and when it is time to paint, the plasti-dip will just peel off.
While the TB was off, I drilled the MAP sensor hole over sized so I could switch back to the LS4 MAP sensor. I ordered the adapter harness, but got an email that it was back ordered. So I ordered just the LS2 MAP female connector end and I can make my own adapter harness with the LS4 MAP pigtail that I removed when I did the harness. Here is a picture of the LS4 MAP sensor installed:
While still working in the engine bay, I removed the thermostat that I had previously drilled a couple of holes in. It was taking the car too long to get up to temp and on cool mornings it wouldn't get much above 165 degrees.
I also took the time today to prep the A/C system for a charge. I replaced all the o-rings, swapped out the orifice tube and added the R134A fittings. I hope to have the A/C all charged up later this week.
Another key project for this week is to make all the yellow disappear... not a fan of it at all. Makes the car look too "ricky racer" and draws too much attention. Time and $$$ are just not in the cards right now to get the car painted vodoo blue, but I can make the yellow disappear. First step was to remove all the stickers (Pontiac, Formula, Fiero):
Later this week, some Gunmetal Grey Plasti-dip will arrive and I will use it to cover the yellow painted surfaces. So the car will still have the wide stripe (not really a fan of it either), but at least it will be in a more subtle color and when it is time to paint, the plasti-dip will just peel off.
05-09-2013, 07:42 AM
#134
So fieroguru,I'll just say fg for short. I picked up an F40 a couple weeks ago, now going to look at a transfer case. My AWD endeavor has begun. I wish I could get info on what the Saab rear diff gear ratio is. Specs talk about the final drive ratio and all I can find is what it says the transmissions final drive ratio is(3.55 of course). The transfer case & rear diff can be something different as long as they match. But if the rear diff is also 3.55, then I'm going to use a Ford 8.8 solid axle w/3.55's. You know, keep it simple.
05-26-2013, 06:05 PM
#135
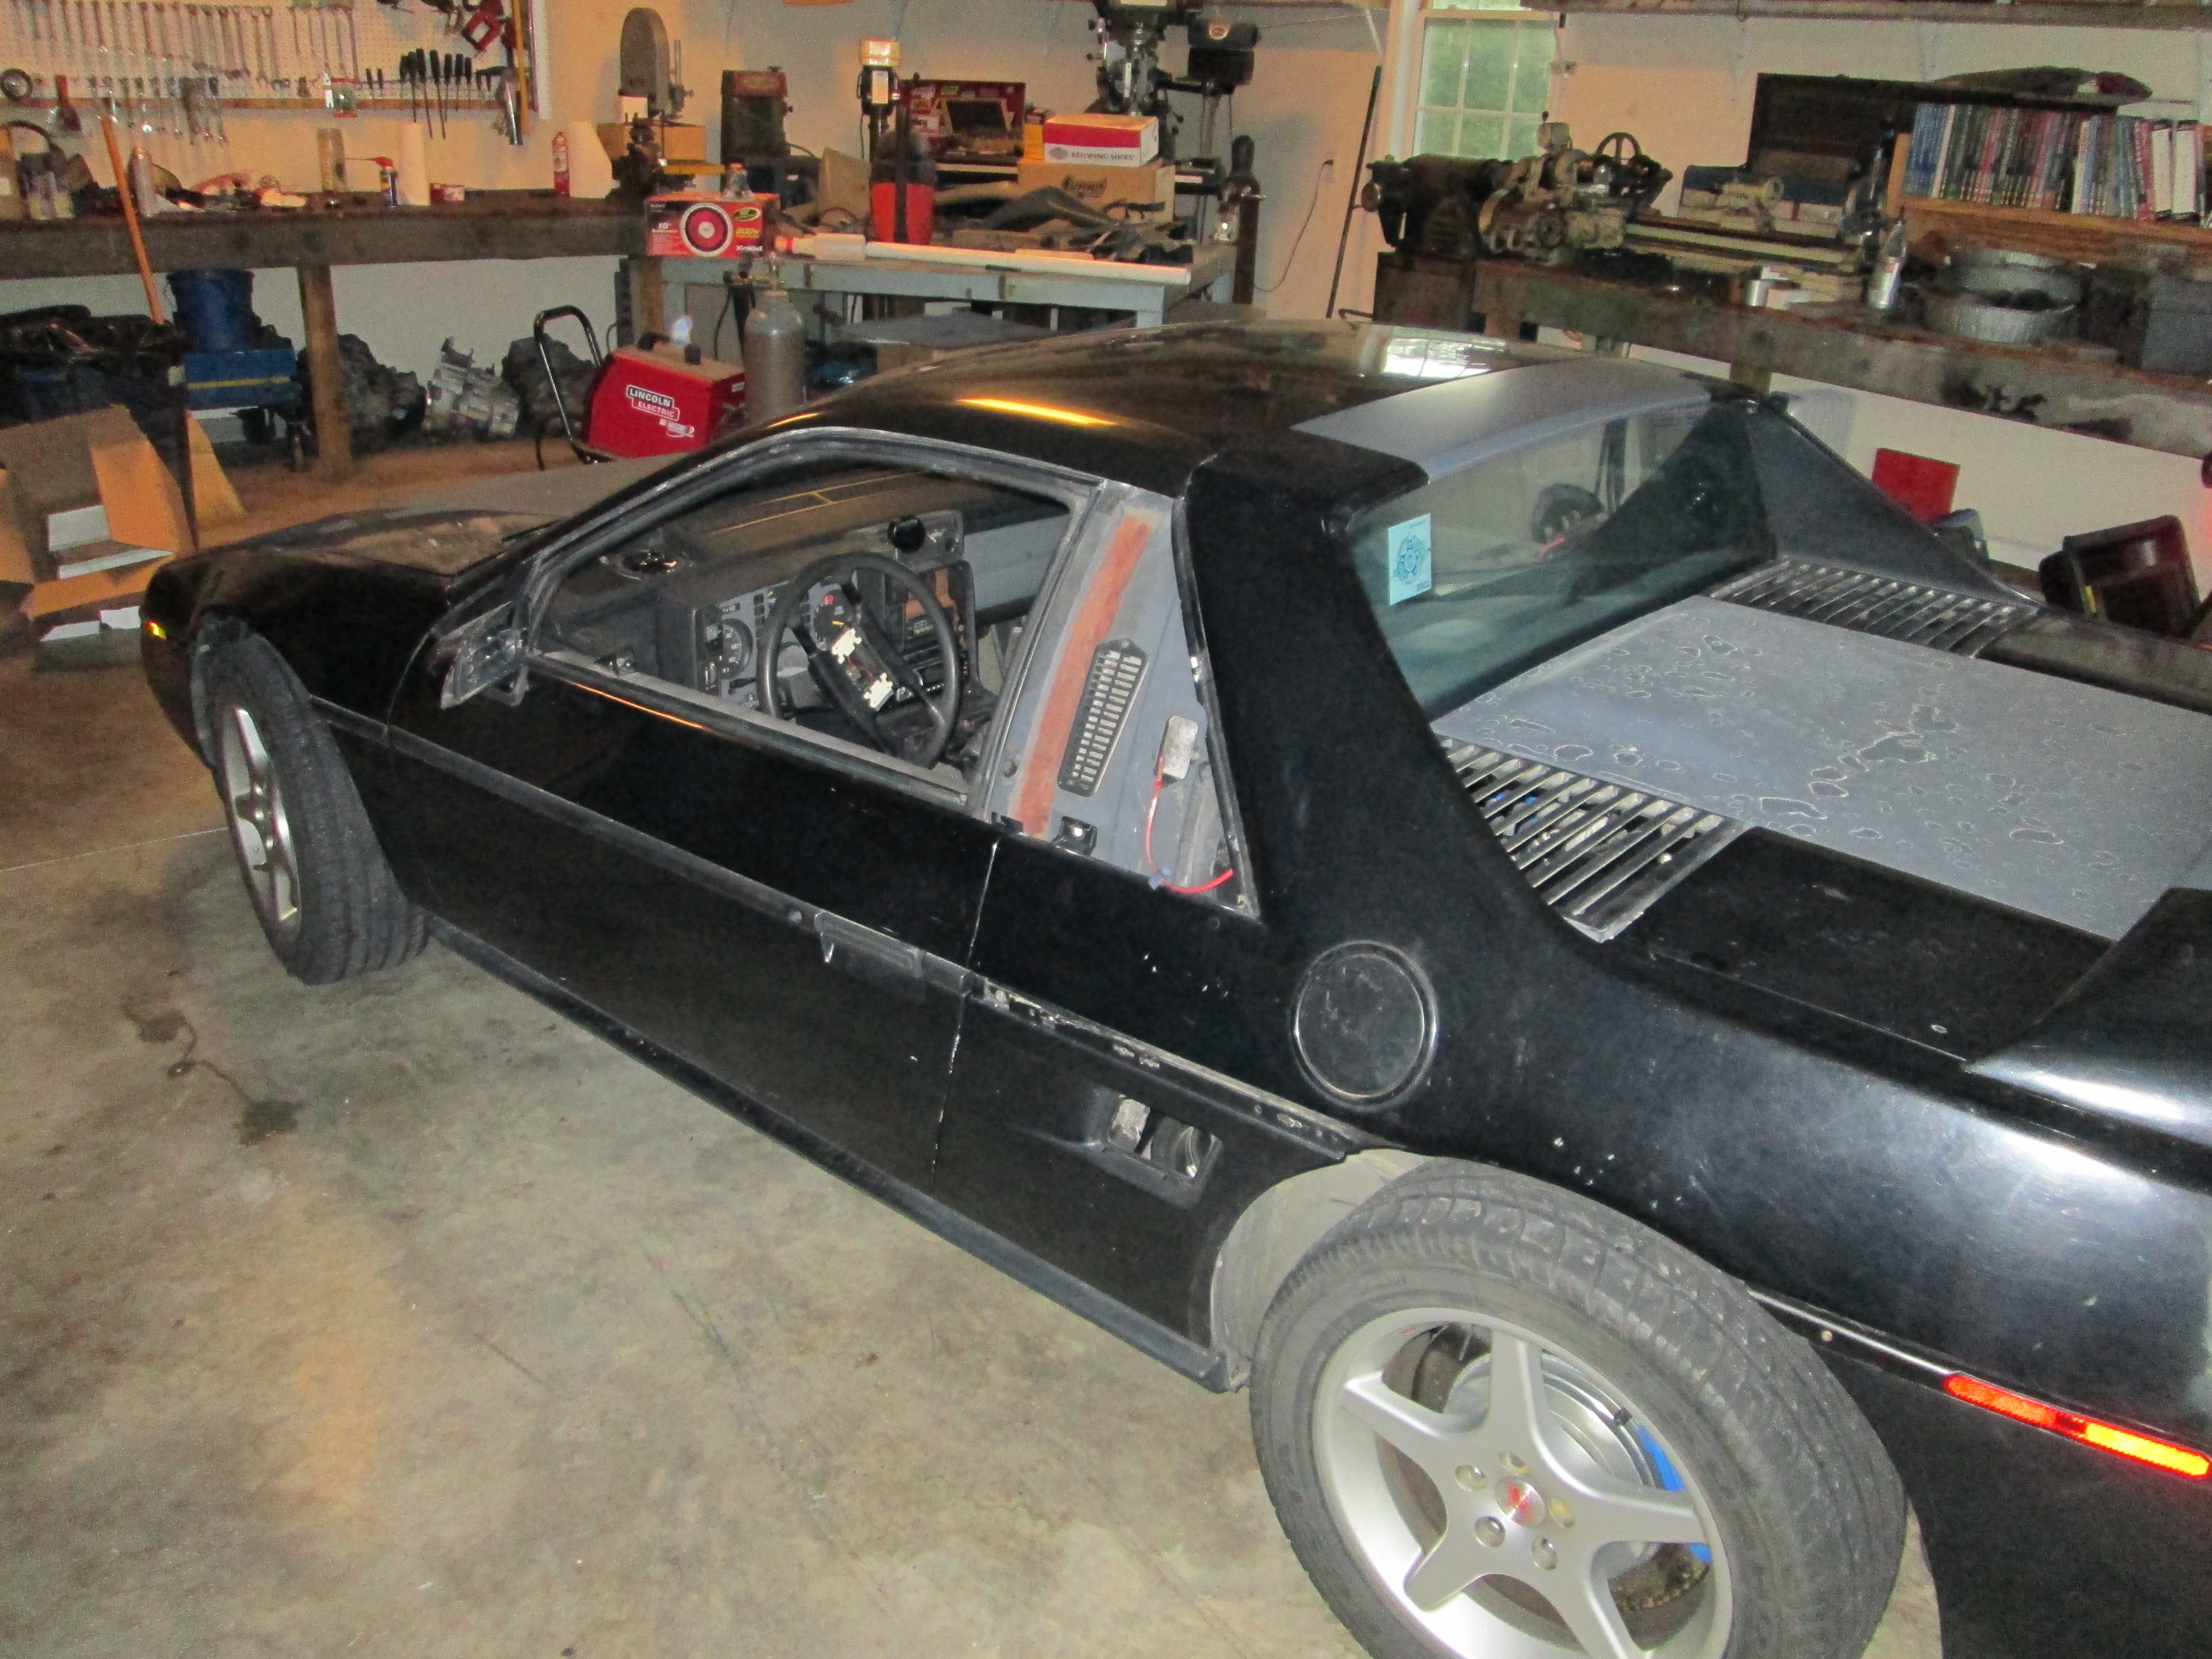
Been slacking on updates....
I removed all the yellow decals and covered the racer boy yellow stripe with plasti-dip gunmetal grey. Gives the car a much more subdued look:
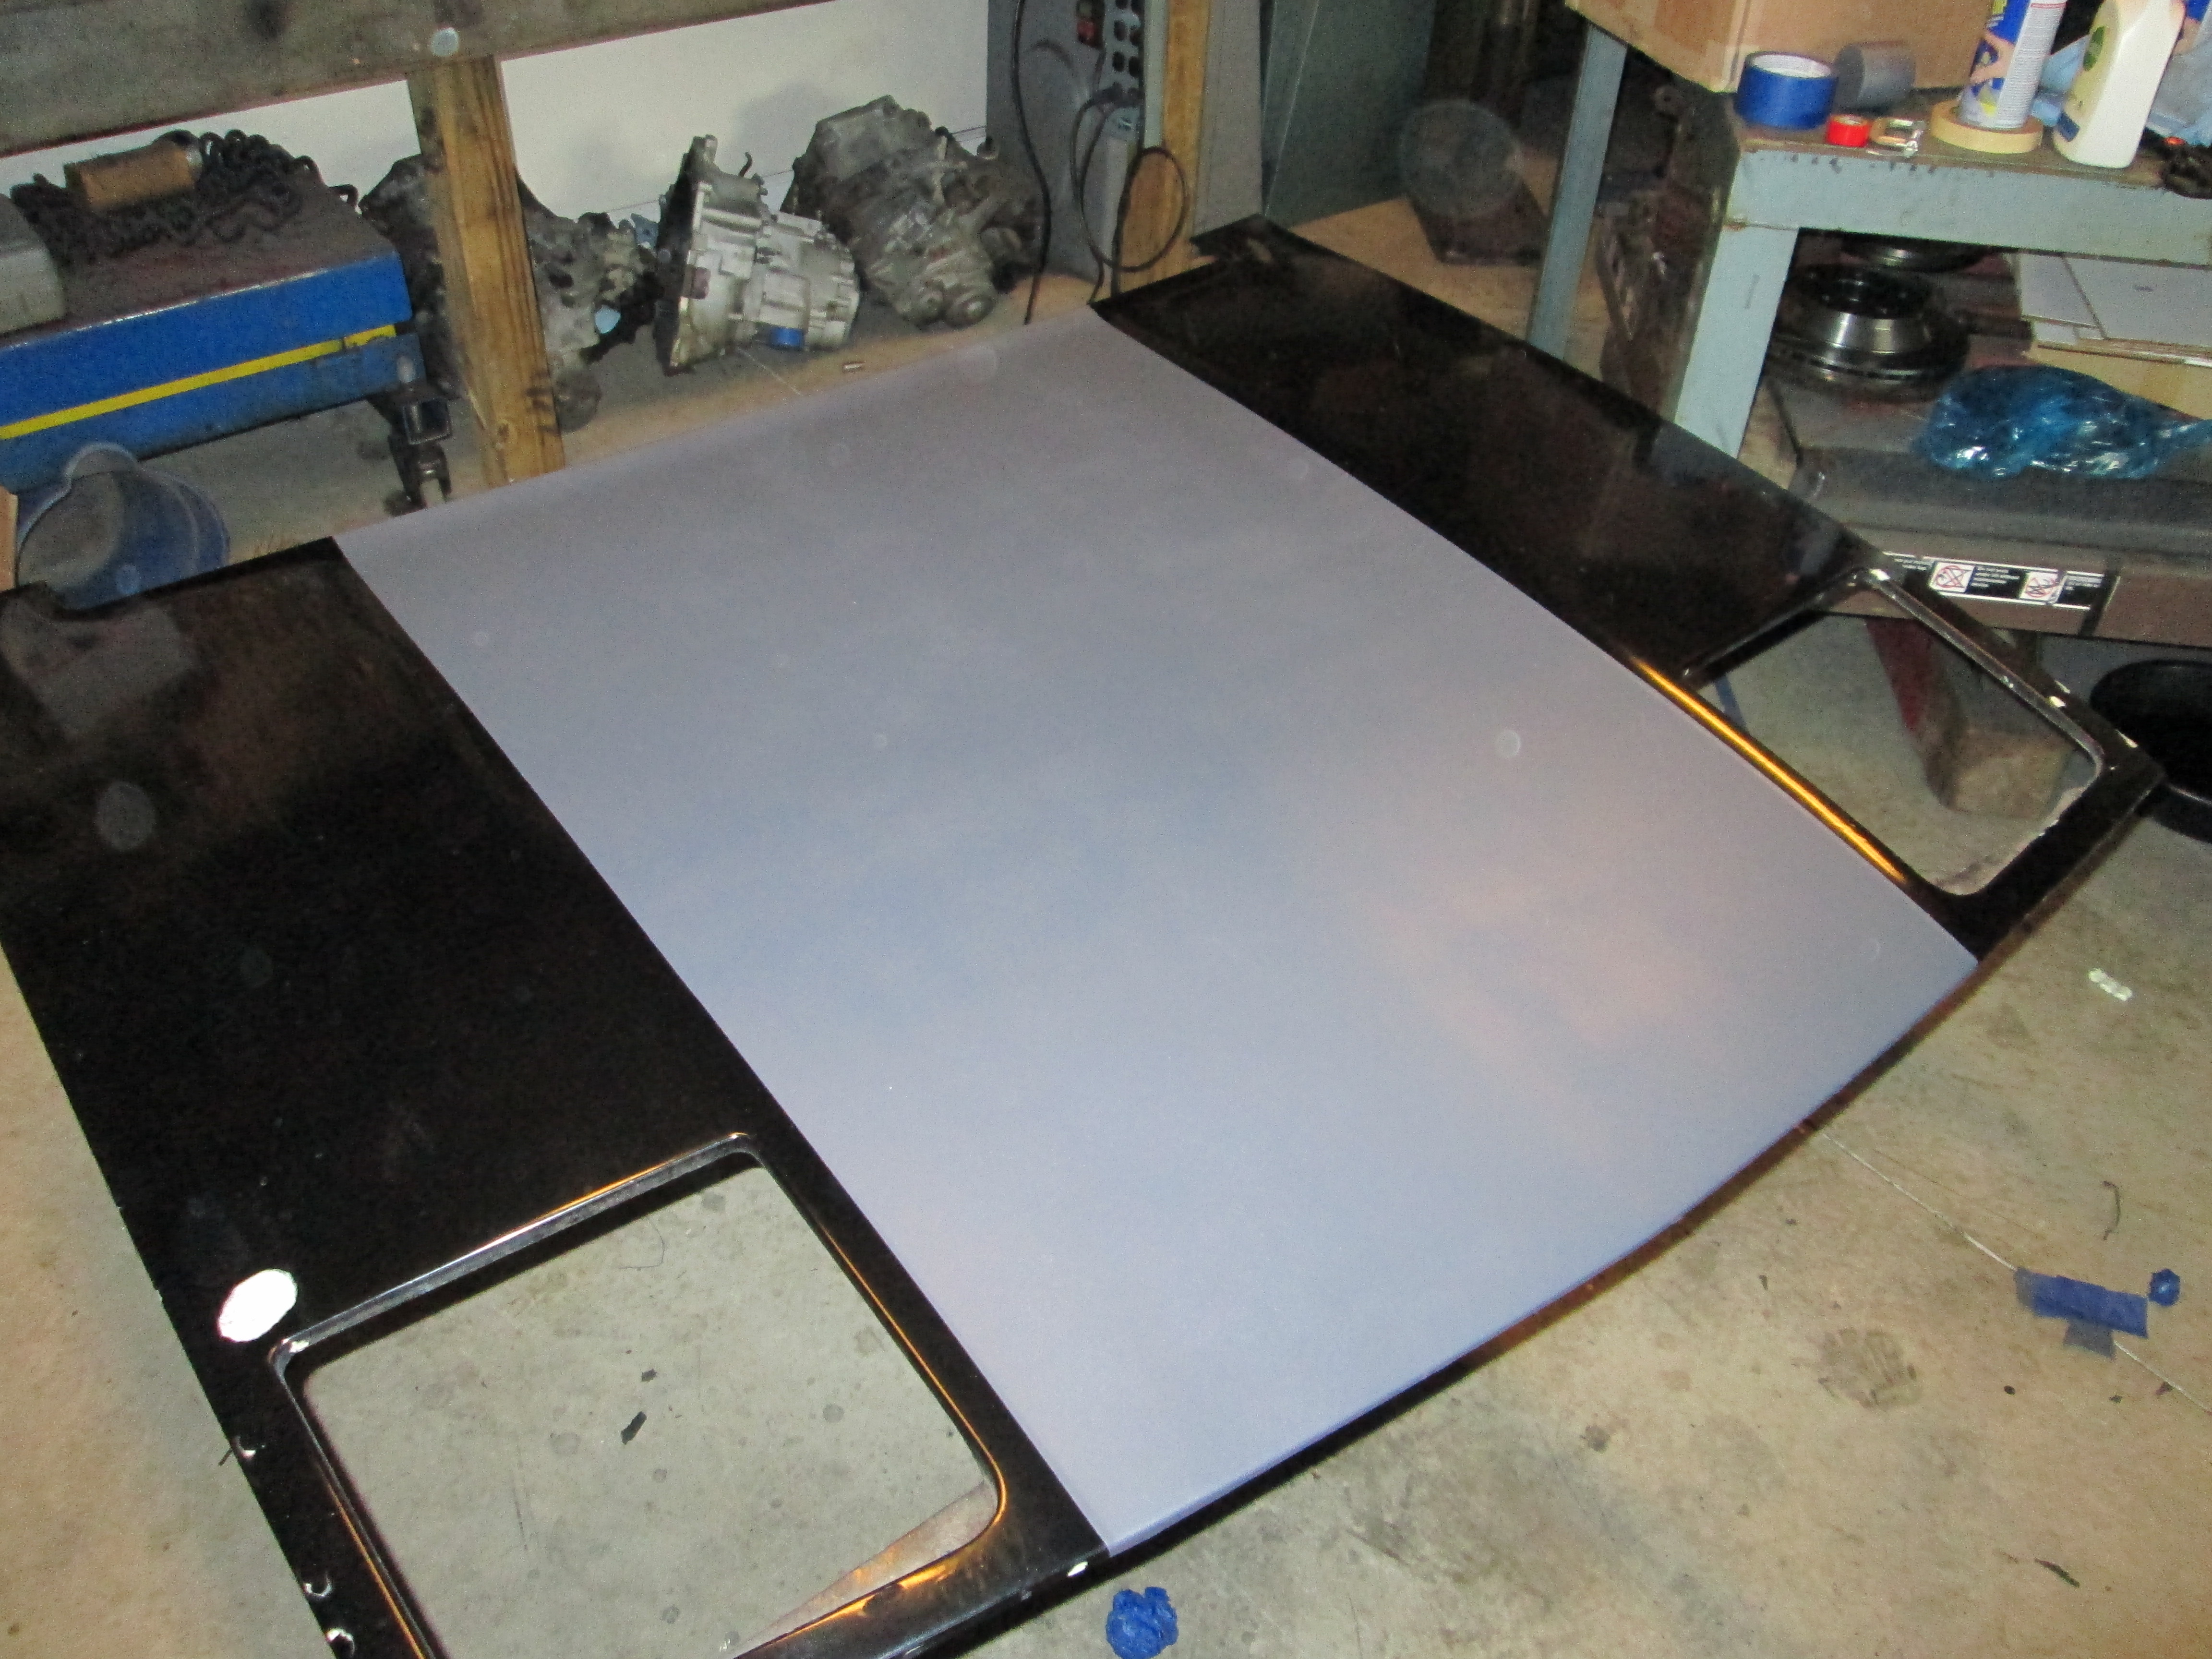
Replaced the busted up sunroof panel with a solid roof panel. It was white, so I had to paint it black to match the car... can't bring myself to put a stripe over it.
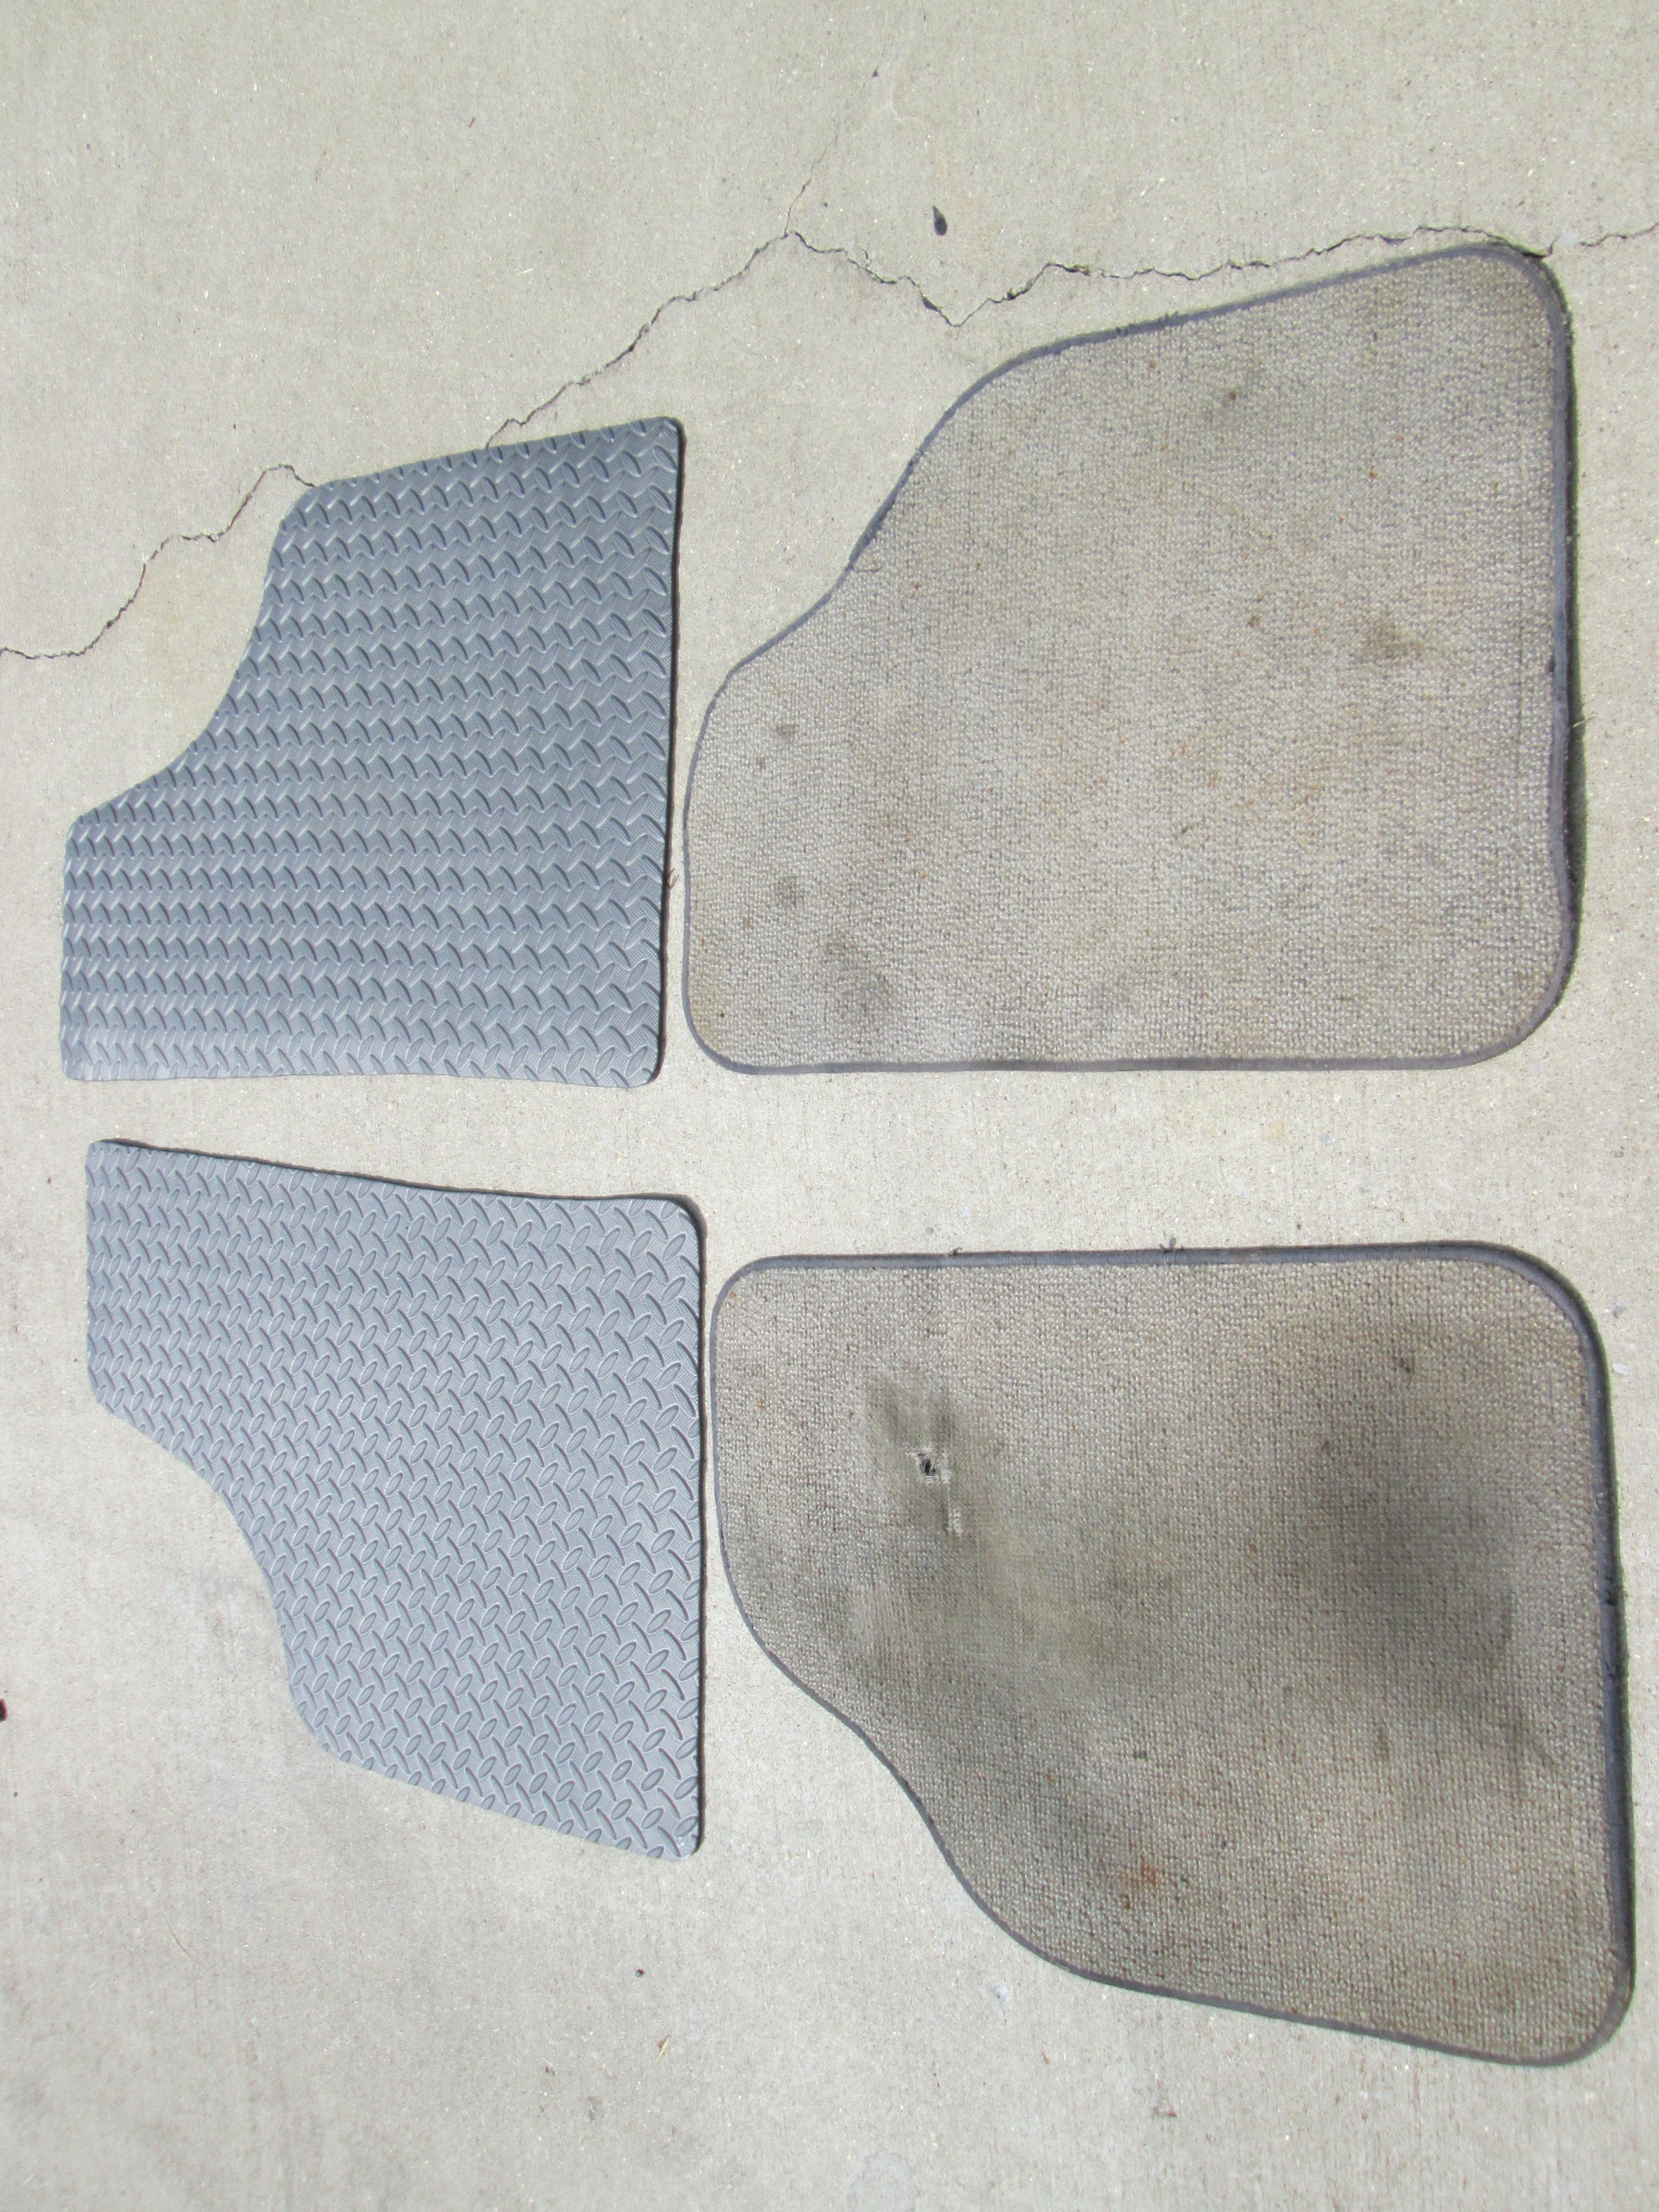
Picked up some custom cut rubber/foam floor mats for $25 from another fiero guy:


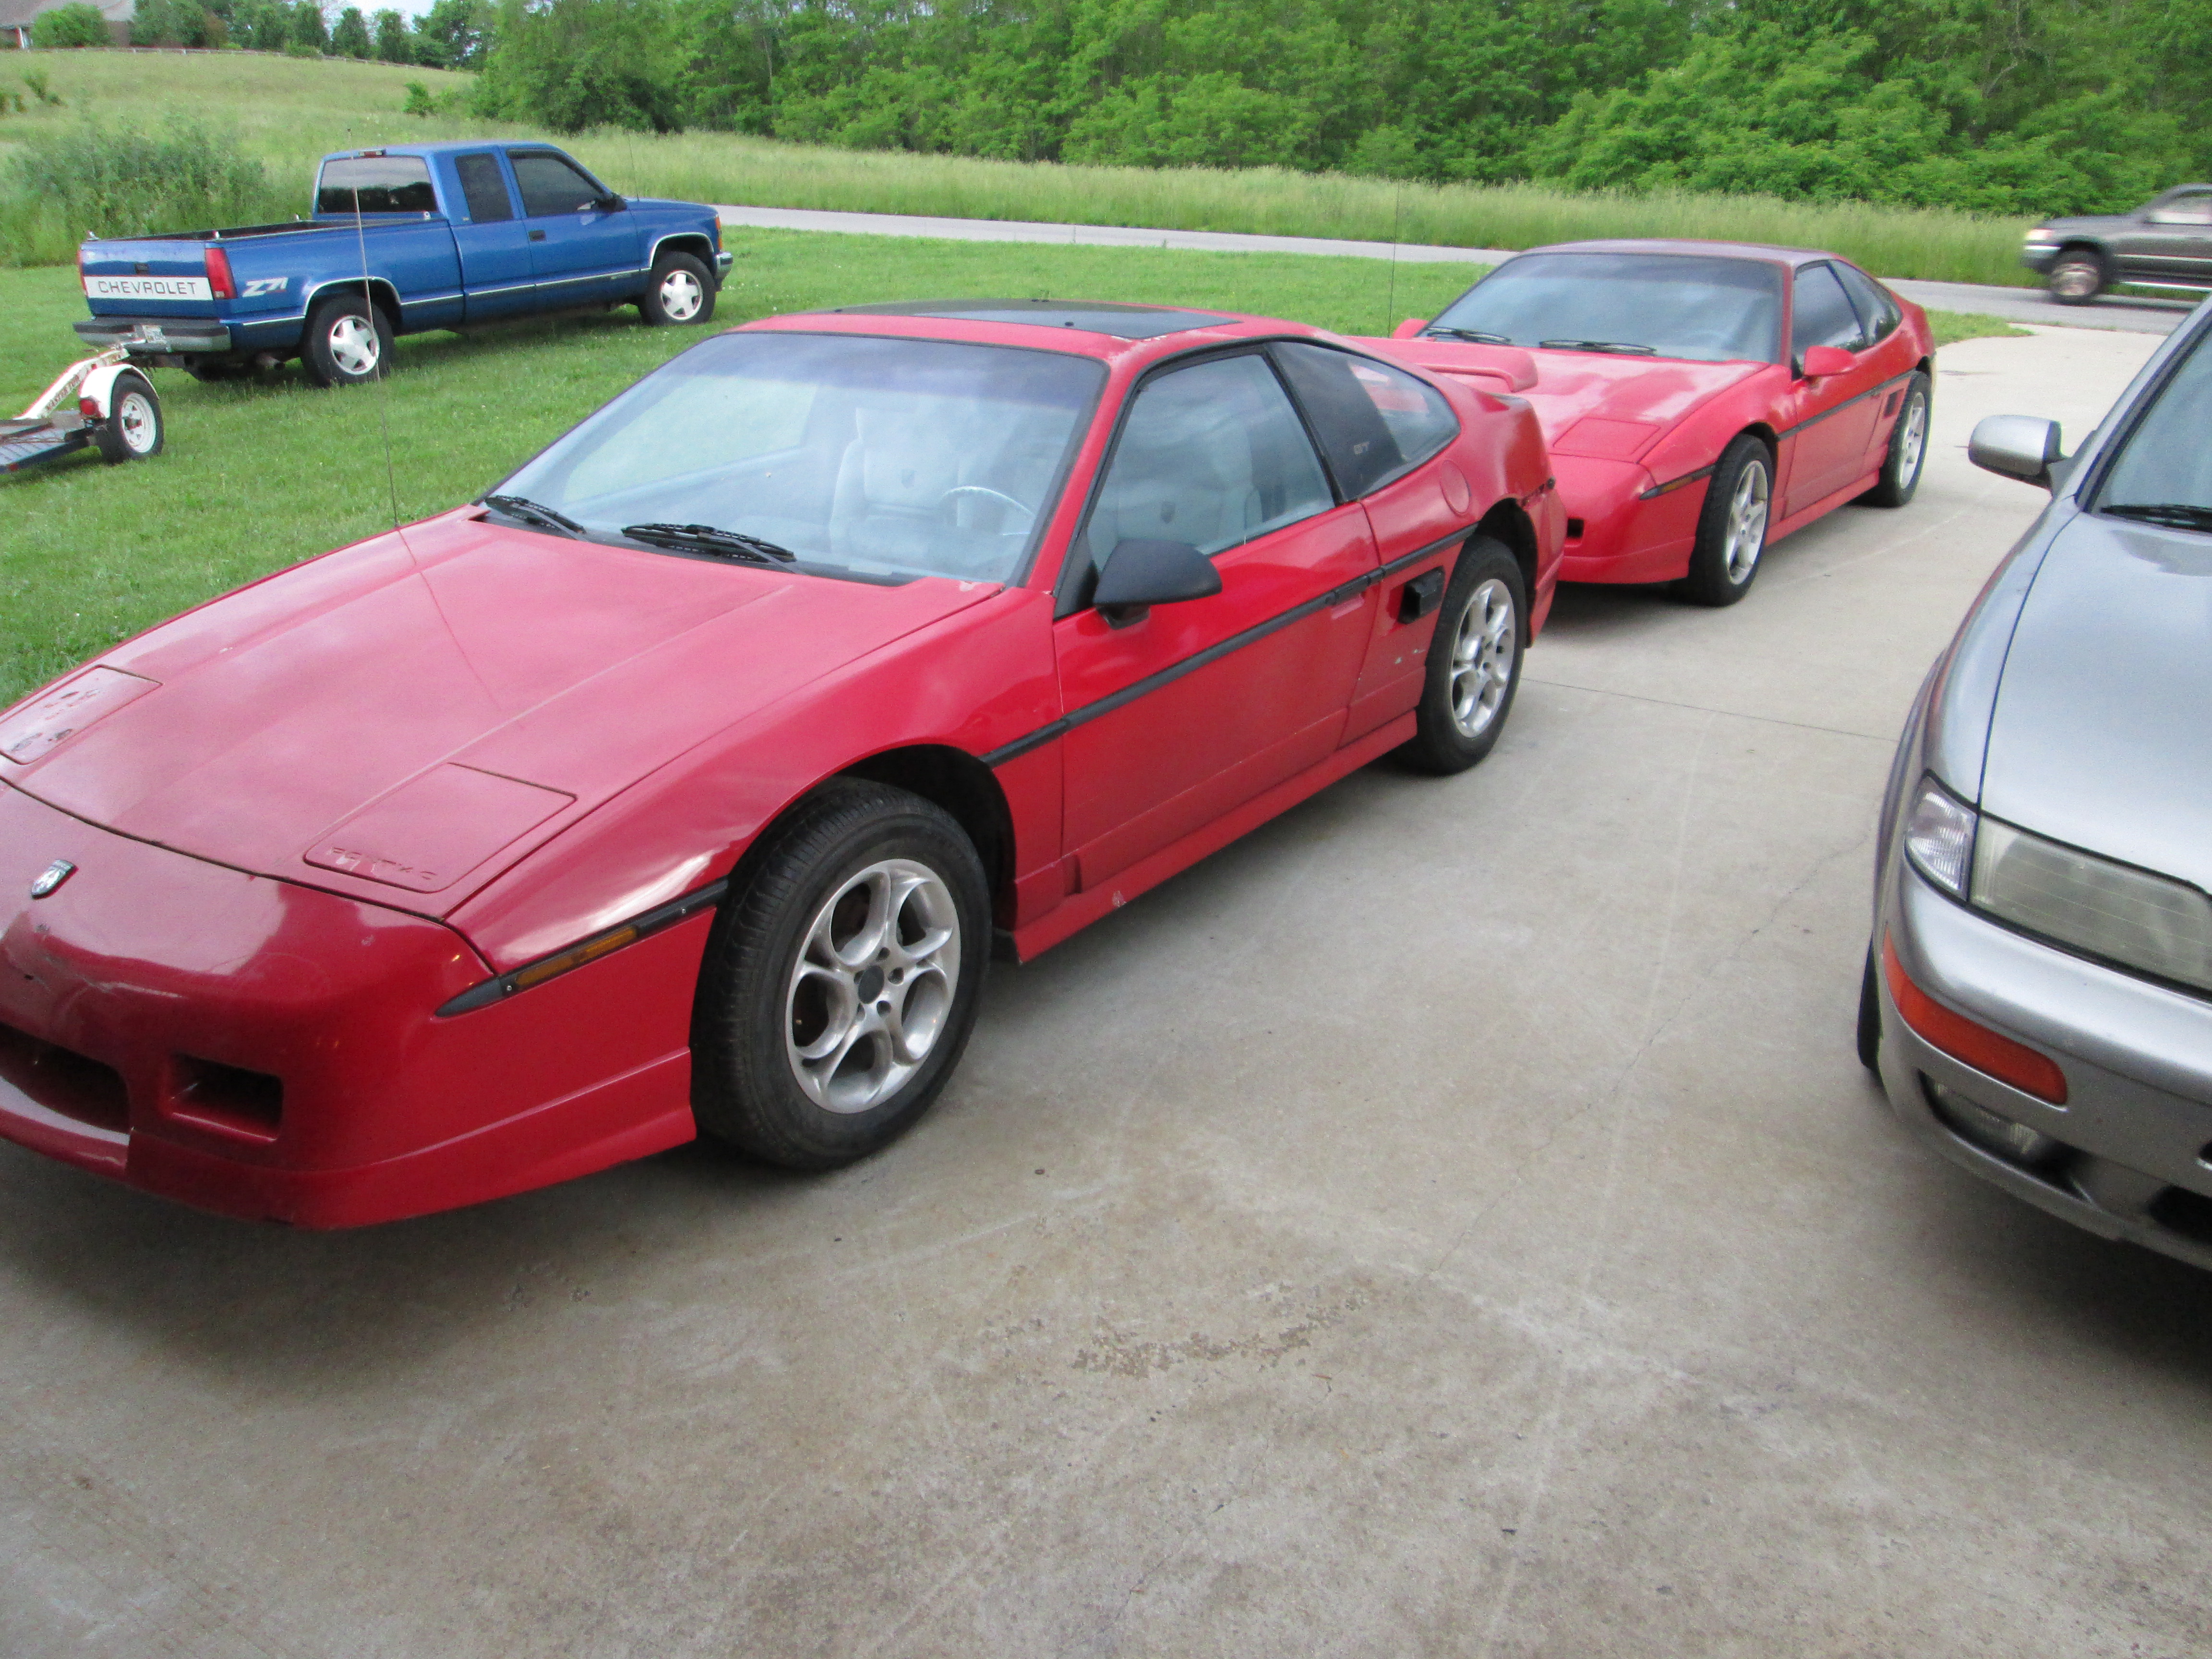
I picked up yet another fiero (on the right with the 15" wheels) for $250. This car will give up some of its interior to the black car as it is in better condition.

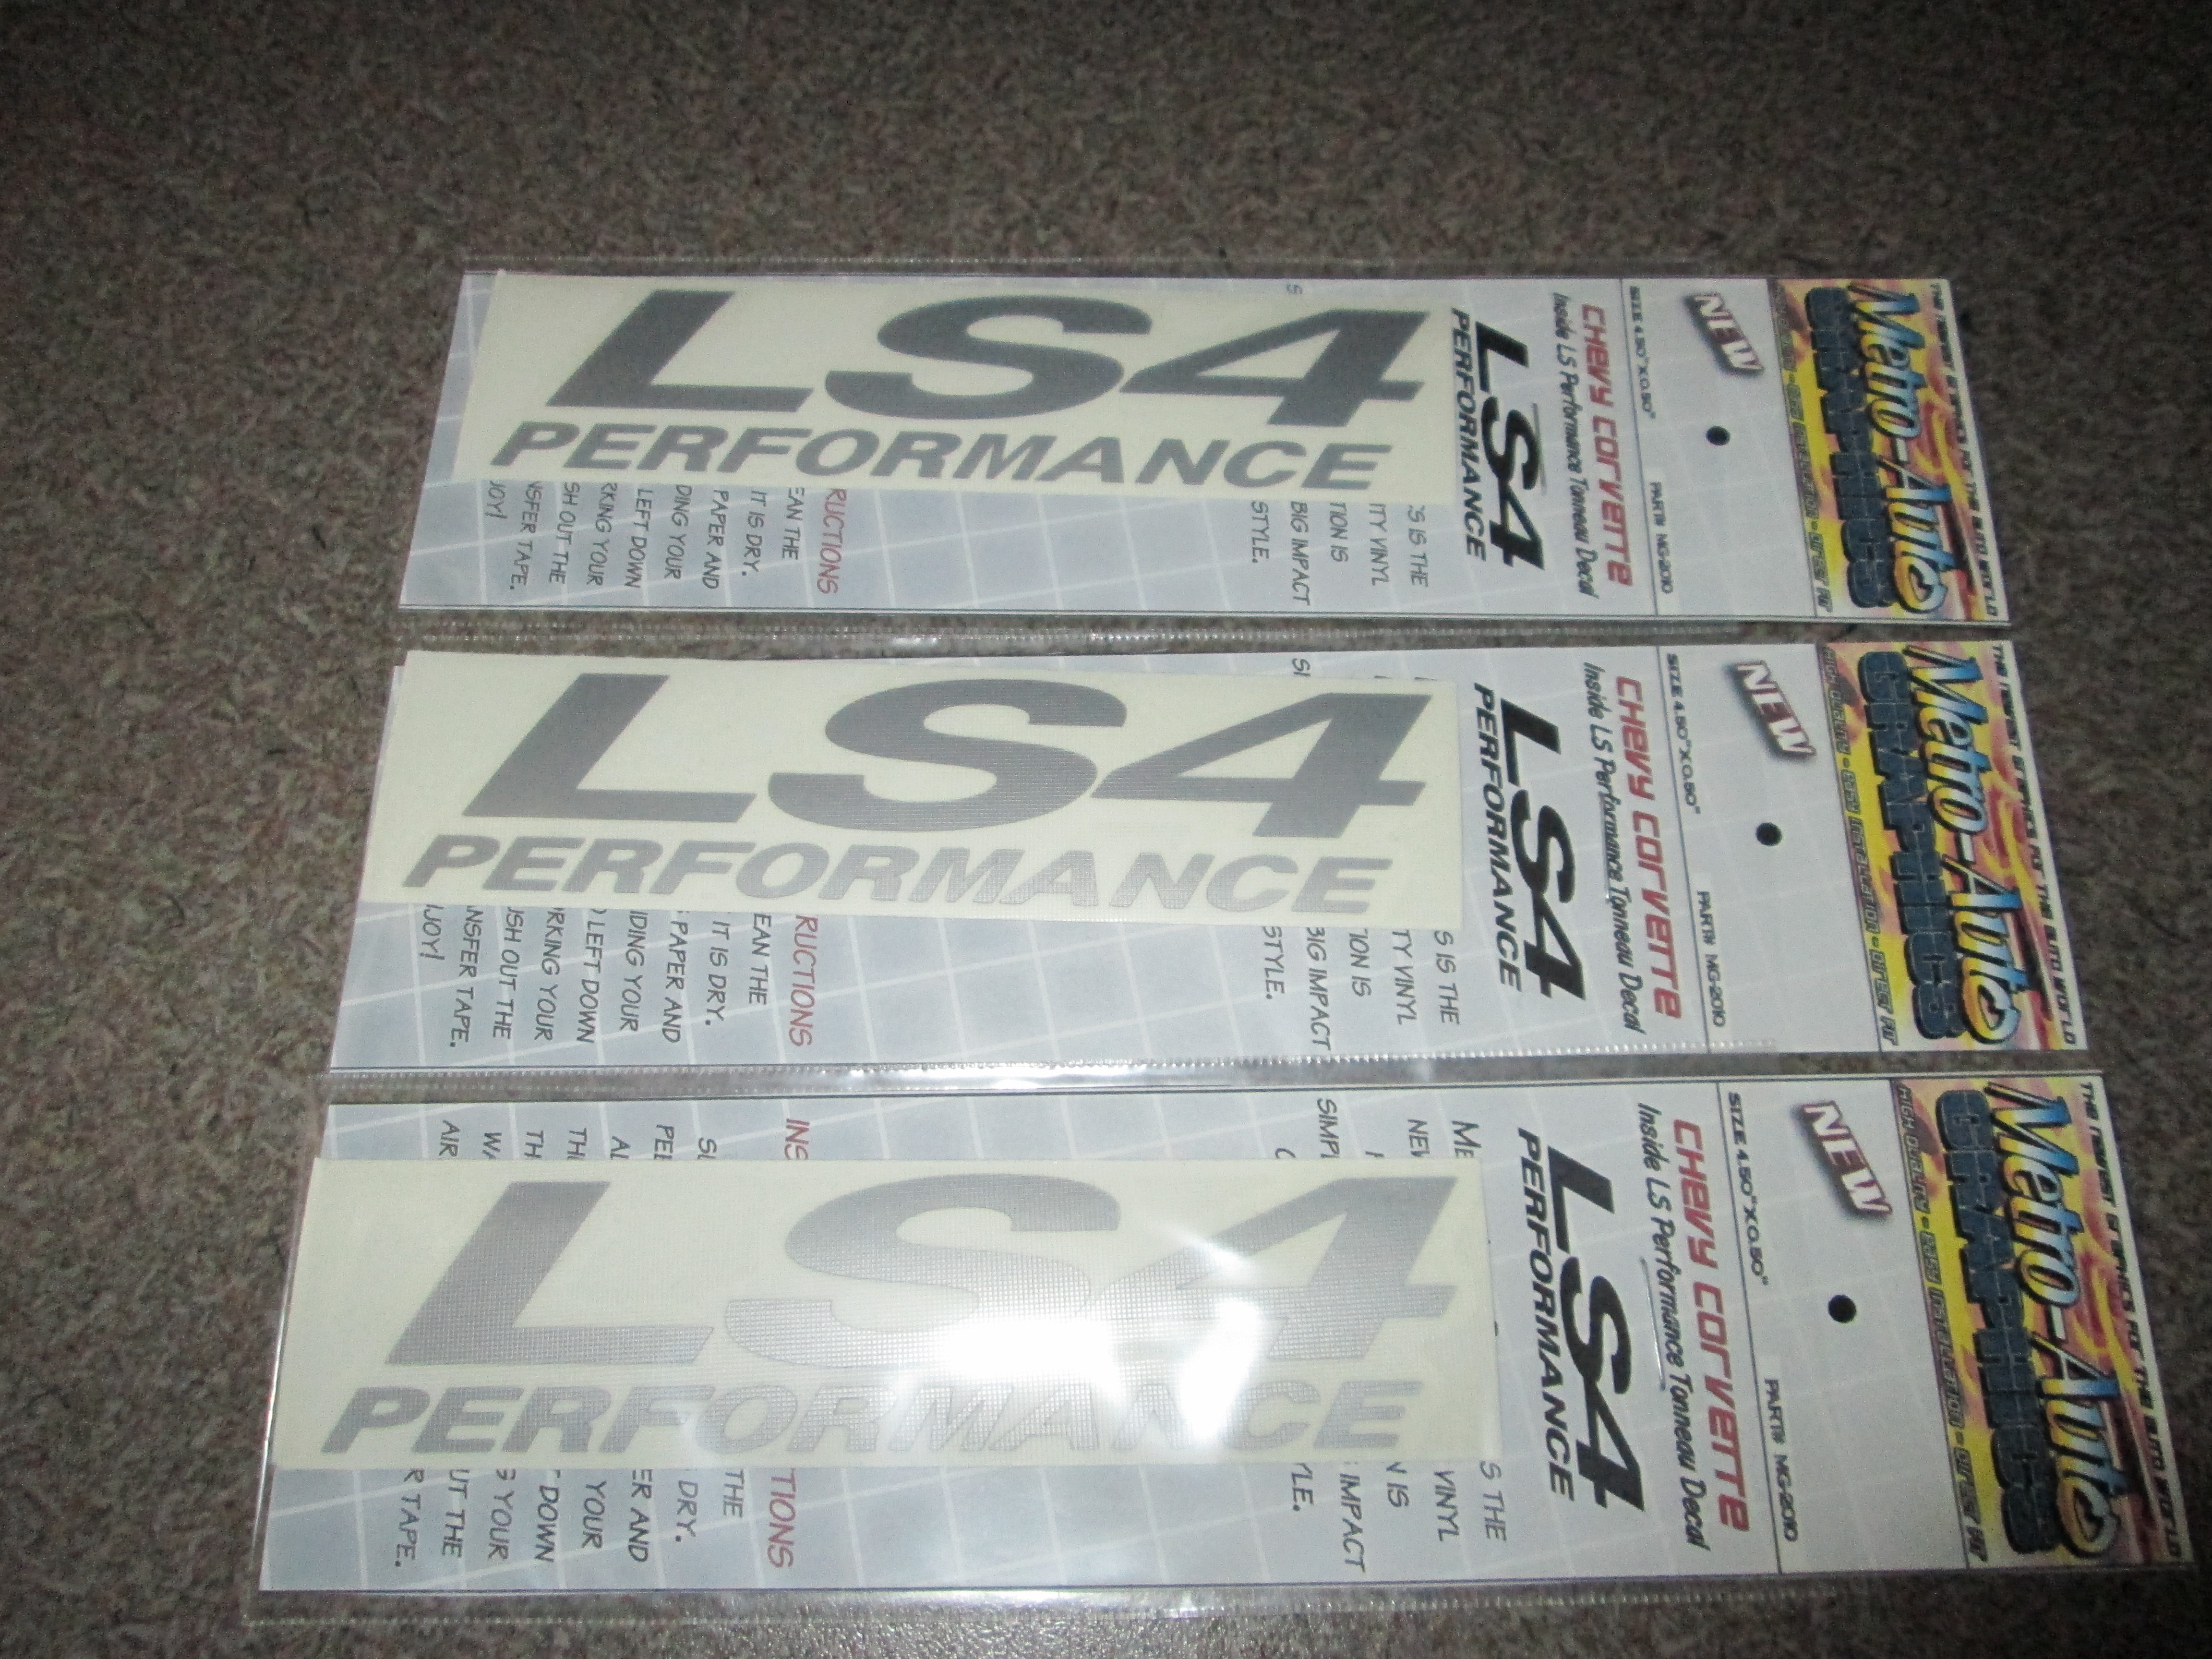
Here are some silver decals I will place on the sail windows (after I install them) and the rear decklid where FIERO used to be.
Knocked out a bunch of little stuff.
Air/Fuel tune adjustments are pretty much complete for MAF and SD (just not for DoD)... no more engine changes!!!
Fixed the loose connection in the back of the instrument cluster that kept the fuel gauge and check engine light from coming on (from when I took it out and reinstalled in a couple weeks ago.
Cleaned all the windows with a scotch-brite pad and Windex. Car had been sitting for about 6-7 years so there was quite a bit of build up that just wouldn't wipe away. Now the windows are clear.
Swapped the 10+ year old snow tires for some 1 year old tires from the other car... WOT in 3rd gear takes me to 110mph and the tires were a little iffy.
Bypassed the heater core... sprung a leak on the way to work last Monday. New one is on order, but wanted to be able to drive the car.
Made more progress with peel & sealing the inside of the b-pillars, the roof structure behind the sunroof opening and the underside of the roof panel (still need to do the rest of the roof).
Evac and charged the A/C system... works like a champ.
Searched high and low for my kahines GT style, notchie sail panels... no where to be found. I think some of my little helpers who were trashing boxes during the move might not have noticed them still in the box.
Still need to:
Install the lower rocker panel on the PS and attach all the round trim pieces.
Continue to tweak the cruise timing at 55, 60, 65, 70, 75, 80, 85 to maximize cruise fuel economy.
Replace the side mirrors (DS one is mangled and broke) and peel & seal the door frame.
Install my lateral link relocation brackets in the rear and re-align the car.
Order and install another set of sail windows.
Remove interior again so I can use the better dash, carpet and a few trim pieces from the 86 GT acquisition as they are in better condition than the ones in this car.
Install a passenger seat.
Buff the black paint on the car to make it looks as decent as possible. Some sections are pretty ratty... but not time/money for paint right now..
Good deep wash of the car... and the engine bay, it has been getting dusty/dirty with all the driving.
Dyno the car... so when people ask how much hp it has I will know for sure.
I removed all the yellow decals and covered the racer boy yellow stripe with plasti-dip gunmetal grey. Gives the car a much more subdued look:
Replaced the busted up sunroof panel with a solid roof panel. It was white, so I had to paint it black to match the car... can't bring myself to put a stripe over it.
Picked up some custom cut rubber/foam floor mats for $25 from another fiero guy:
I picked up yet another fiero (on the right with the 15" wheels) for $250. This car will give up some of its interior to the black car as it is in better condition.
Here are some silver decals I will place on the sail windows (after I install them) and the rear decklid where FIERO used to be.
Knocked out a bunch of little stuff.
Air/Fuel tune adjustments are pretty much complete for MAF and SD (just not for DoD)... no more engine changes!!!
Fixed the loose connection in the back of the instrument cluster that kept the fuel gauge and check engine light from coming on (from when I took it out and reinstalled in a couple weeks ago.
Cleaned all the windows with a scotch-brite pad and Windex. Car had been sitting for about 6-7 years so there was quite a bit of build up that just wouldn't wipe away. Now the windows are clear.
Swapped the 10+ year old snow tires for some 1 year old tires from the other car... WOT in 3rd gear takes me to 110mph and the tires were a little iffy.
Bypassed the heater core... sprung a leak on the way to work last Monday. New one is on order, but wanted to be able to drive the car.
Made more progress with peel & sealing the inside of the b-pillars, the roof structure behind the sunroof opening and the underside of the roof panel (still need to do the rest of the roof).
Evac and charged the A/C system... works like a champ.
Searched high and low for my kahines GT style, notchie sail panels... no where to be found. I think some of my little helpers who were trashing boxes during the move might not have noticed them still in the box.
Still need to:
Install the lower rocker panel on the PS and attach all the round trim pieces.
Continue to tweak the cruise timing at 55, 60, 65, 70, 75, 80, 85 to maximize cruise fuel economy.
Replace the side mirrors (DS one is mangled and broke) and peel & seal the door frame.
Install my lateral link relocation brackets in the rear and re-align the car.
Order and install another set of sail windows.
Remove interior again so I can use the better dash, carpet and a few trim pieces from the 86 GT acquisition as they are in better condition than the ones in this car.
Install a passenger seat.
Buff the black paint on the car to make it looks as decent as possible. Some sections are pretty ratty... but not time/money for paint right now..
Good deep wash of the car... and the engine bay, it has been getting dusty/dirty with all the driving.
Dyno the car... so when people ask how much hp it has I will know for sure.
06-05-2013, 08:03 PM
#138
I am working with a guy who does CAN based controllers to find a solution. There are three paths we are researching:
1: Replace TCM with new controller that will send the needed signals to the ECM.
2: Add the controller between the TCM and ECM to filter out the signals that keep DoD from working.
3: Use the controller to replicate the signals (like ISS signal) from the transmission to keep the TCM happy.
He sent me a CAN signal logger and I have it hooked up to the car, just need to get together with him on setting up so we can log all communication between the TCM and ECM and go from there.
06-08-2013, 03:54 PM
#139
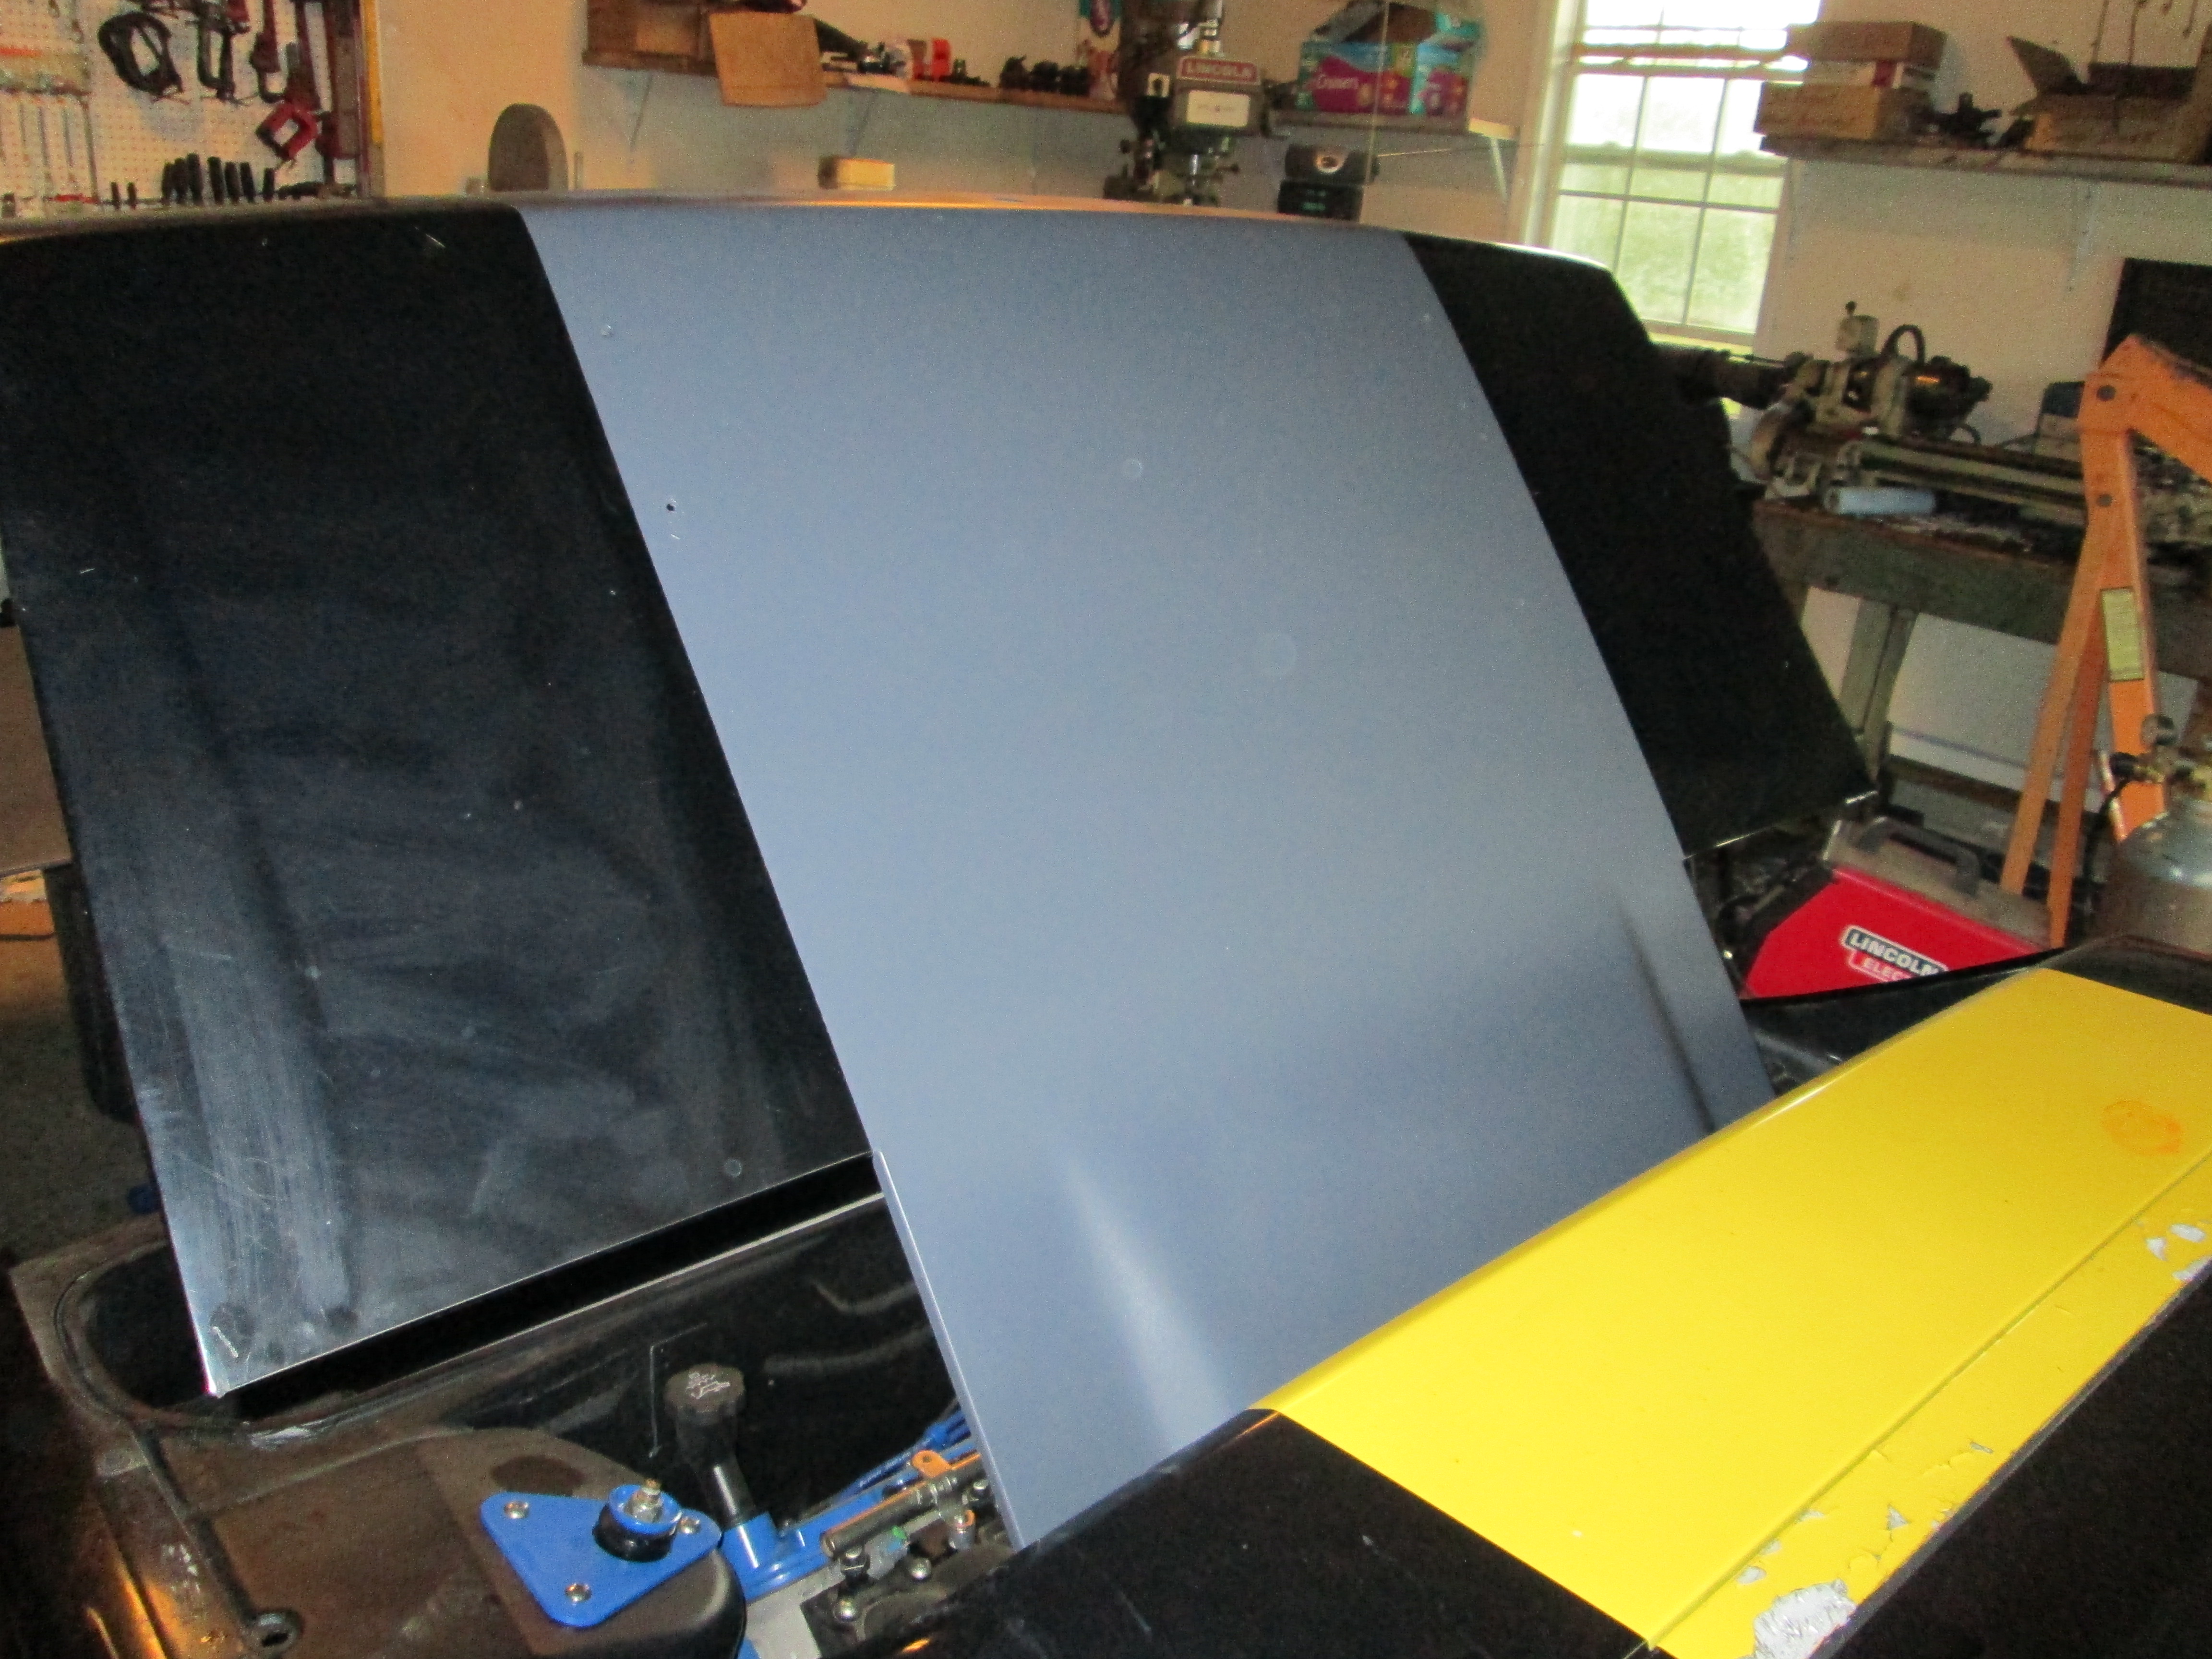
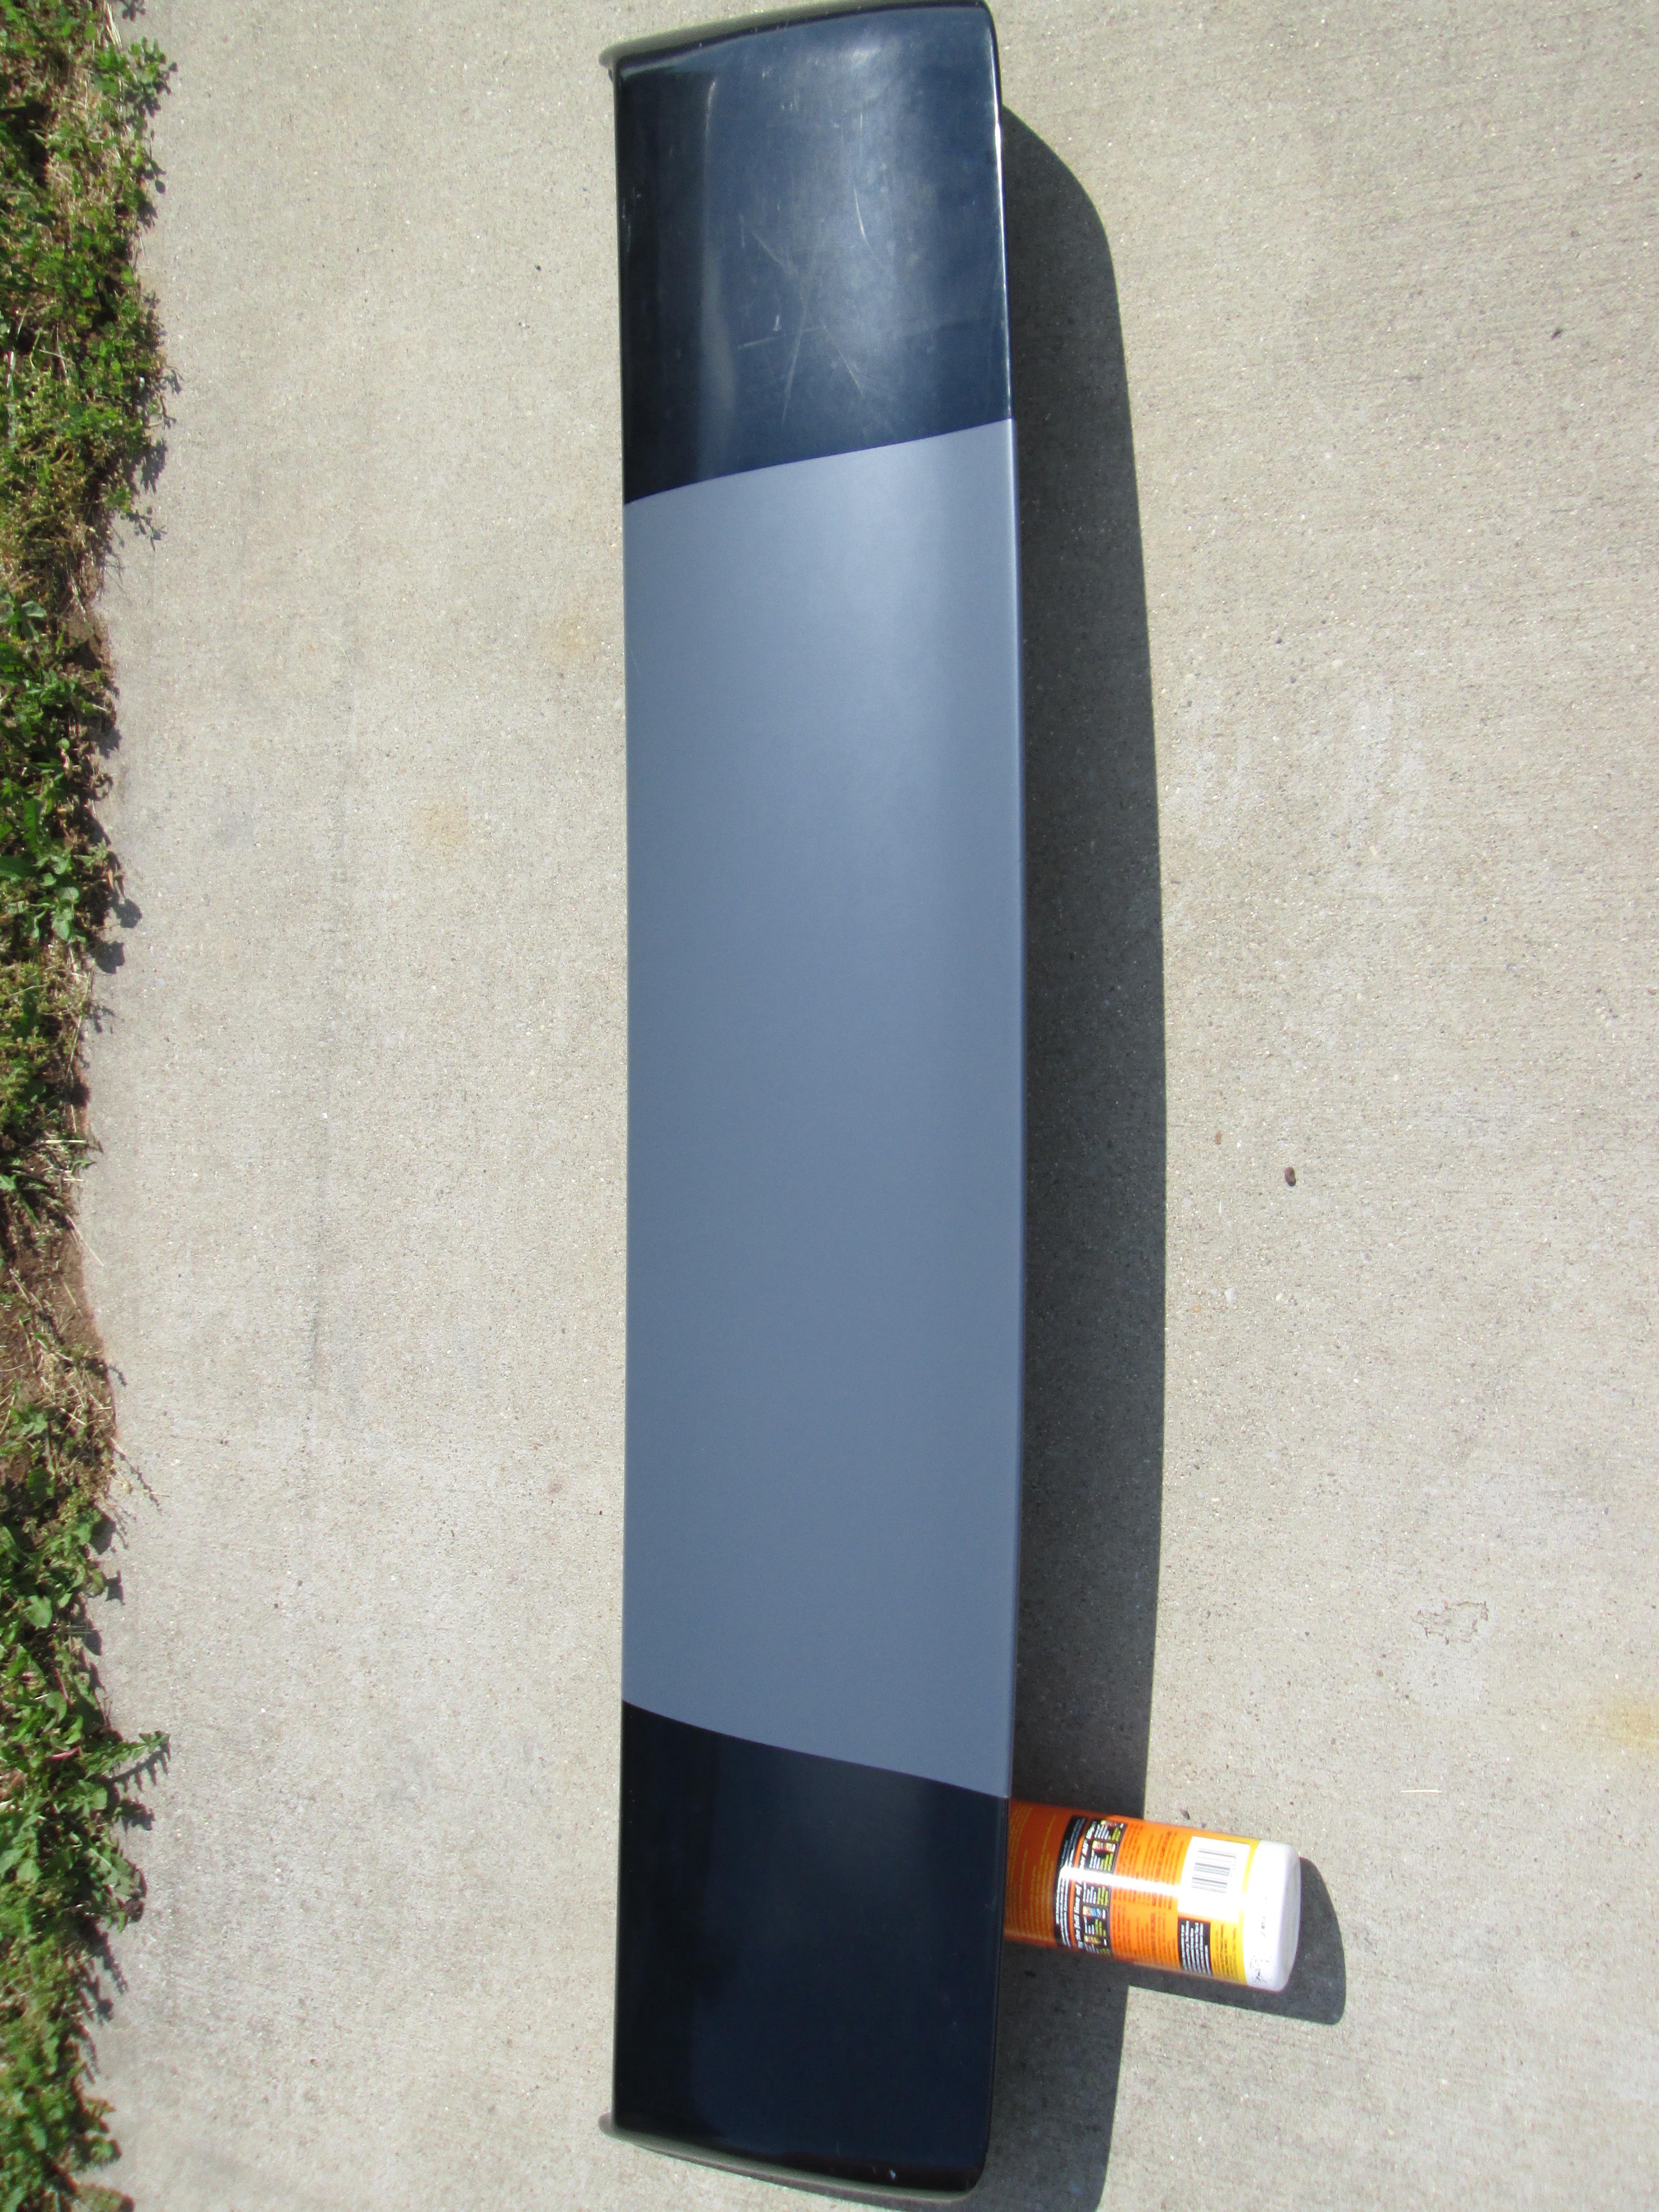
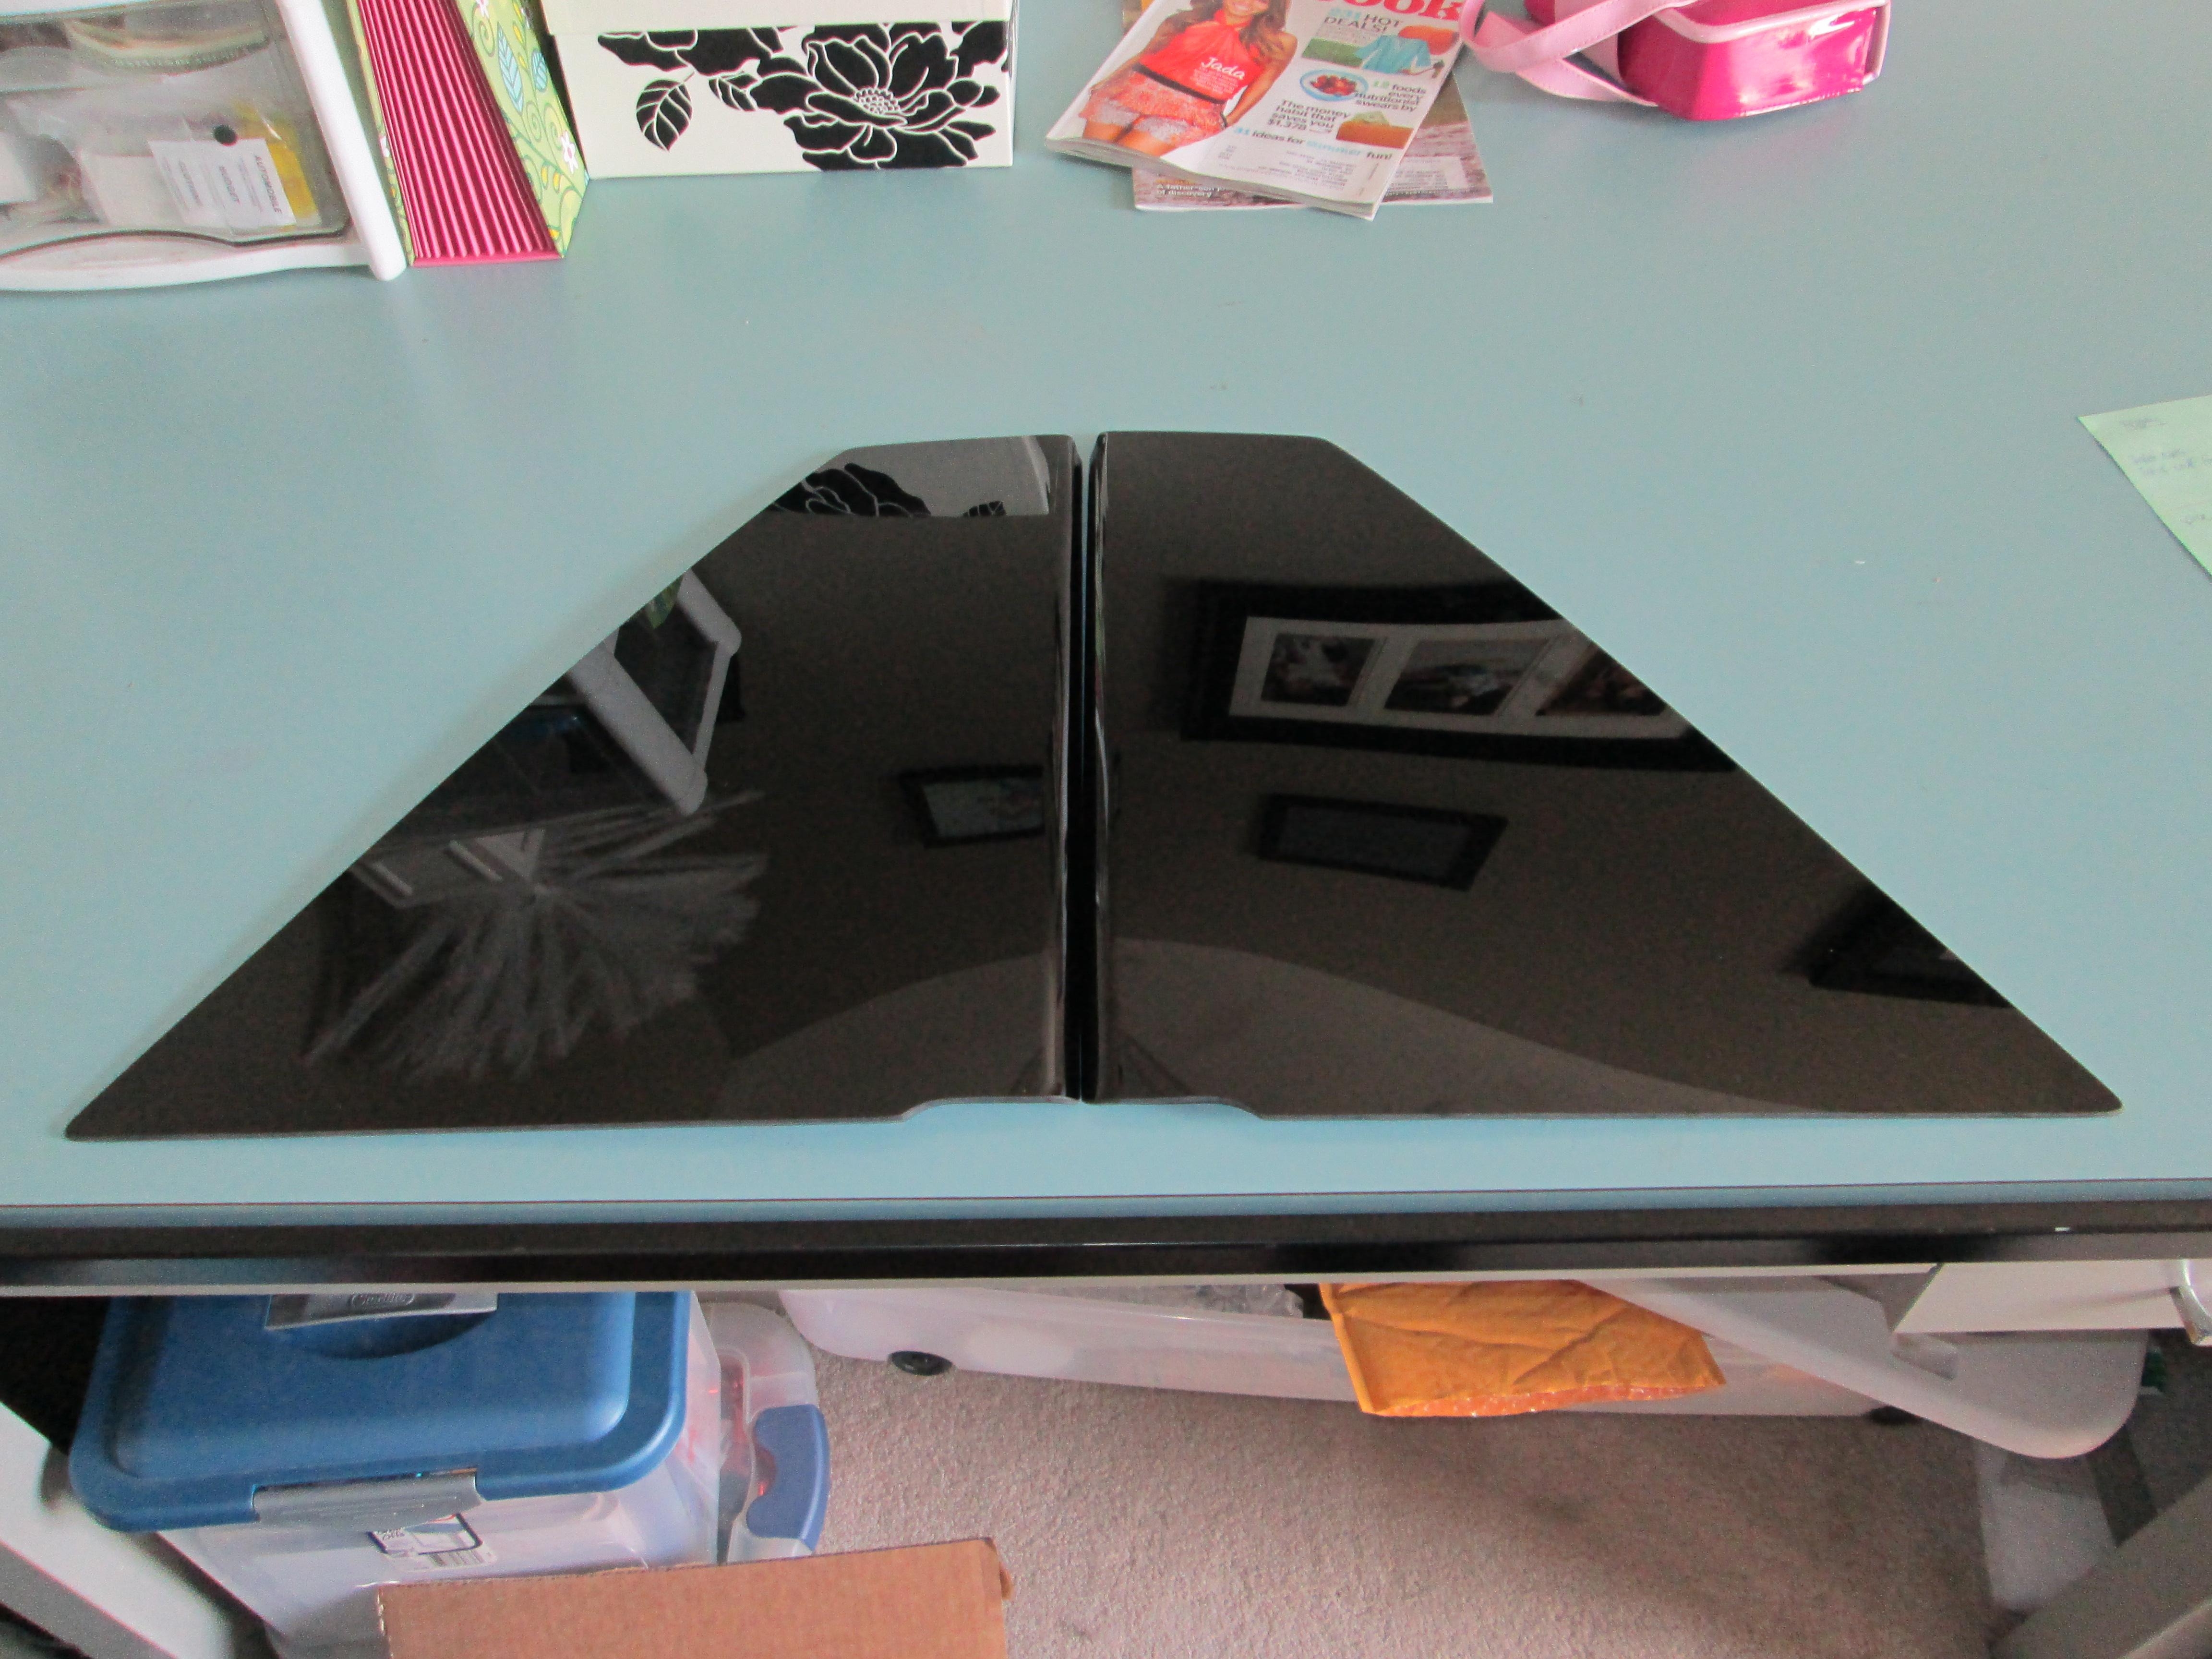
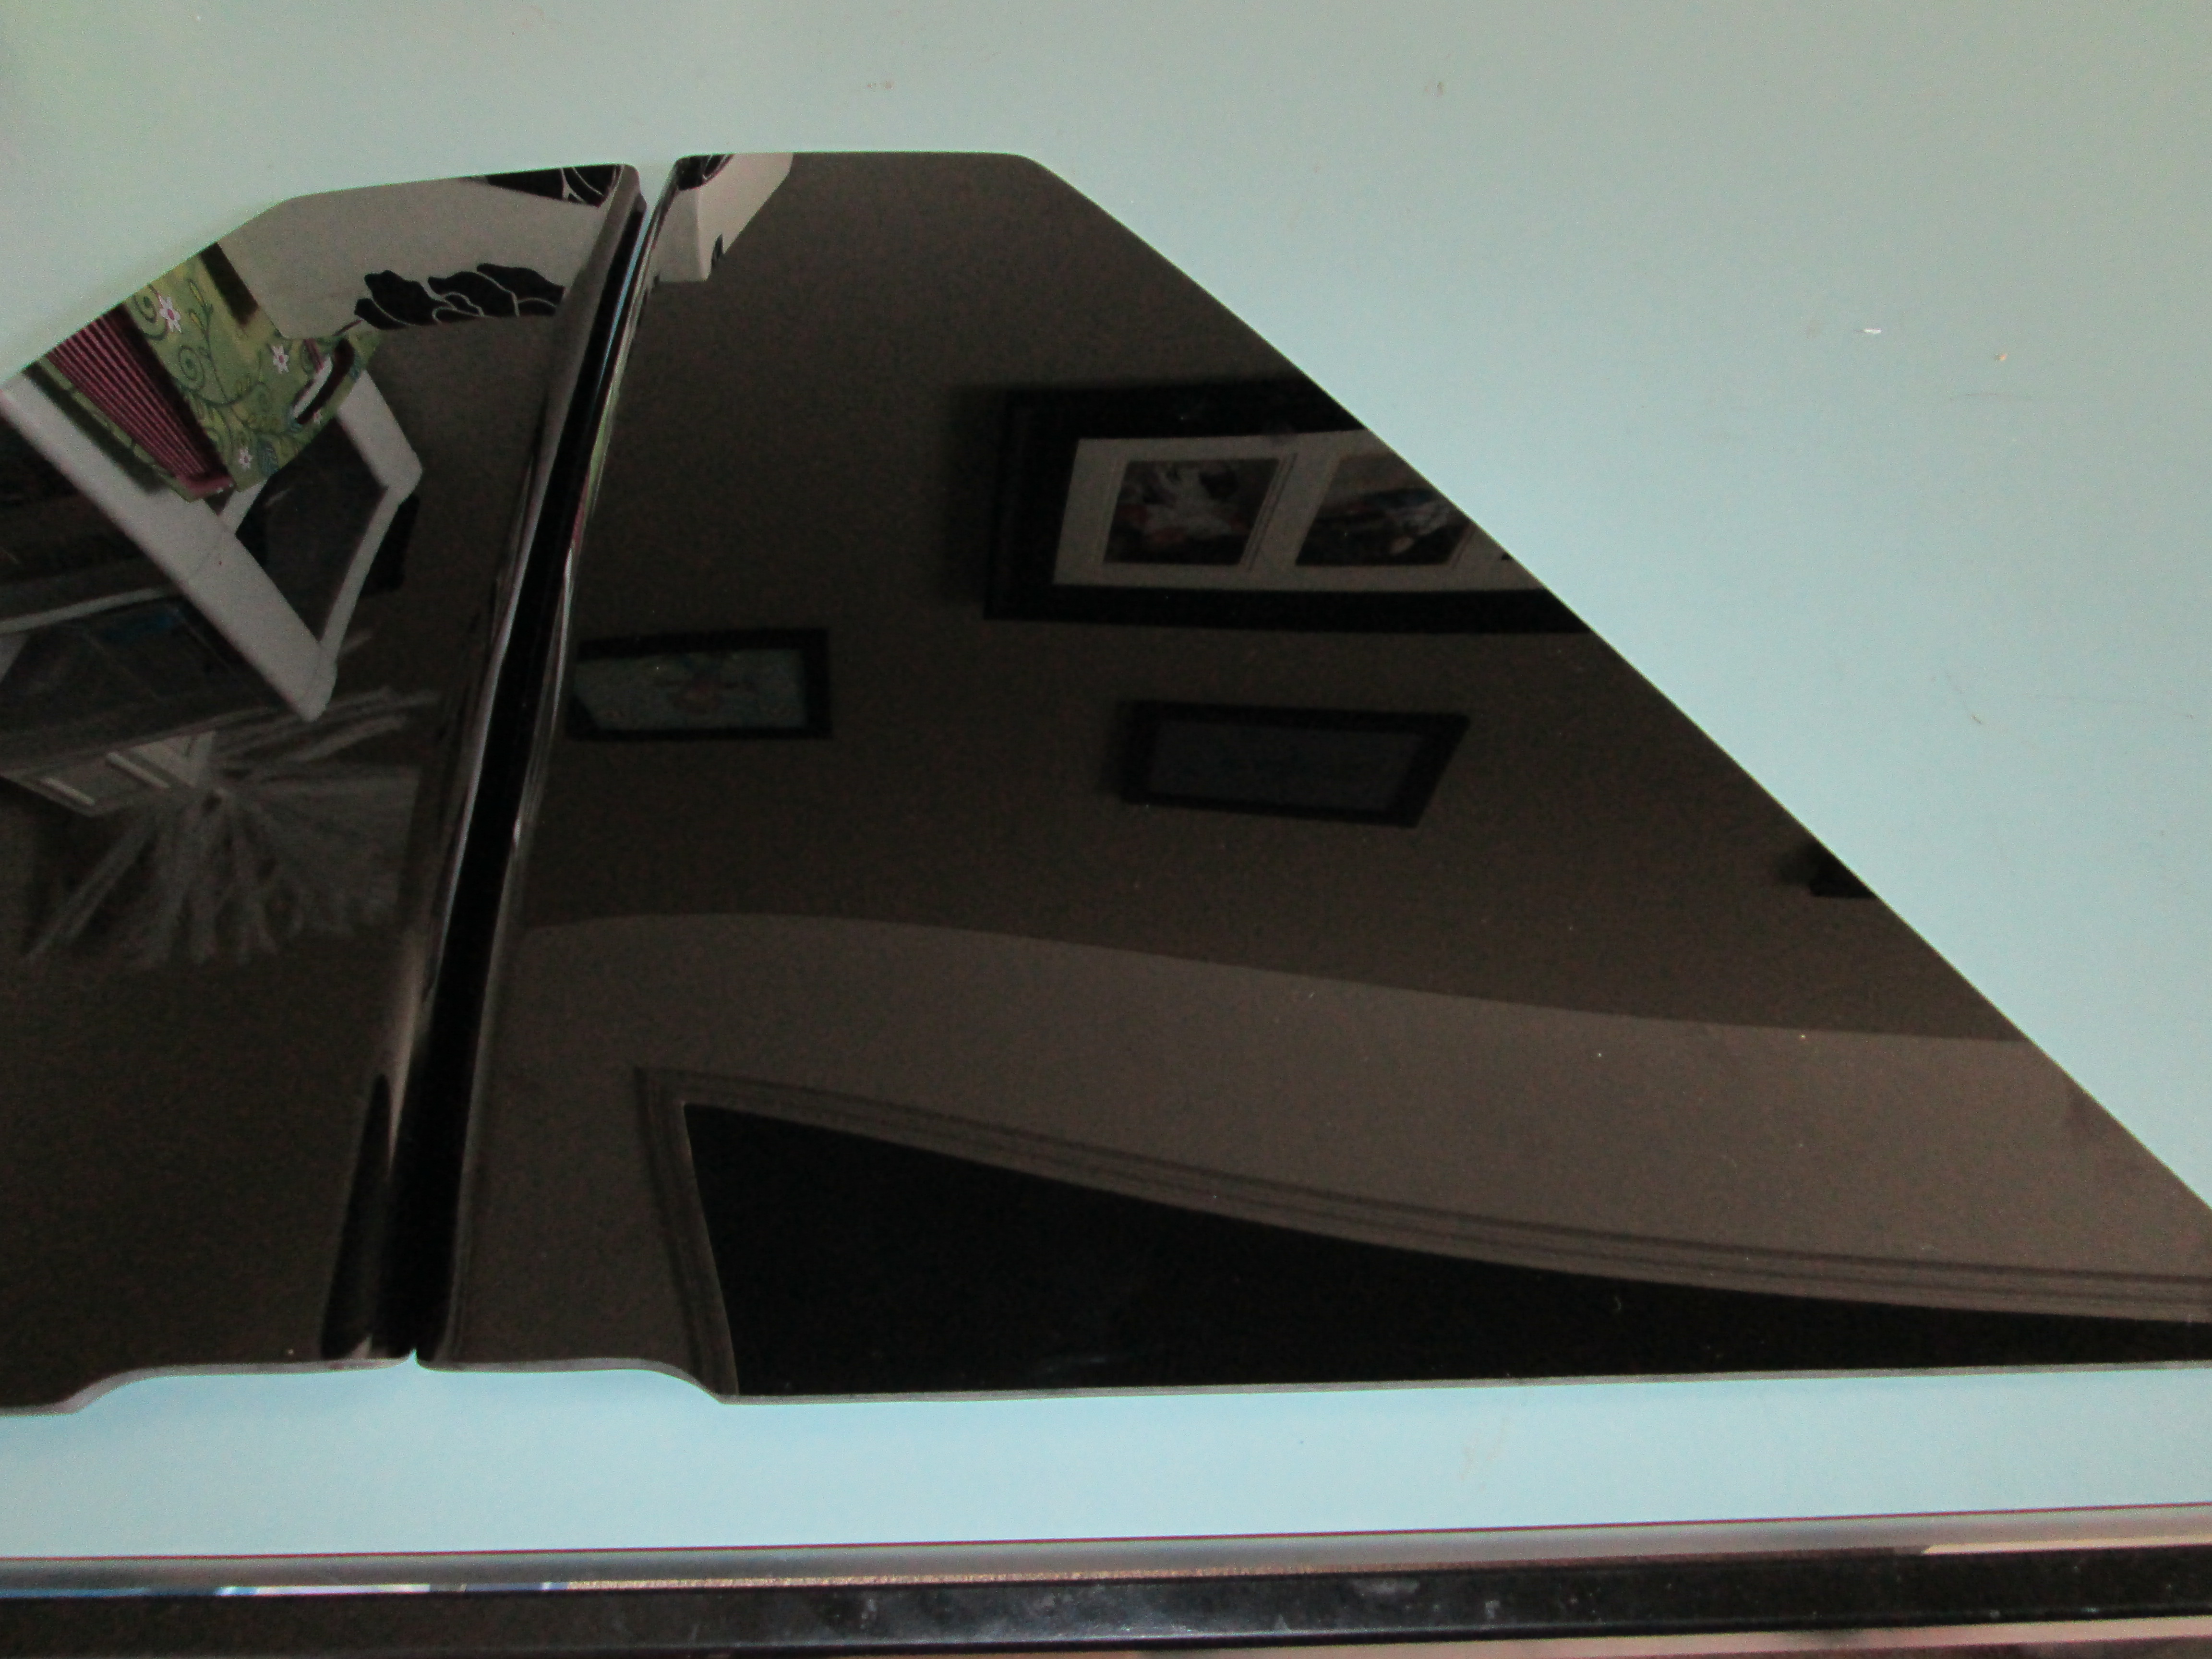
My sail windows came in from Kahines and they look good! I have been a fastback guy for years and prefer the clean/smooth transition between the window to the sail panels vs. having the bulky notchie transition.
Panels:
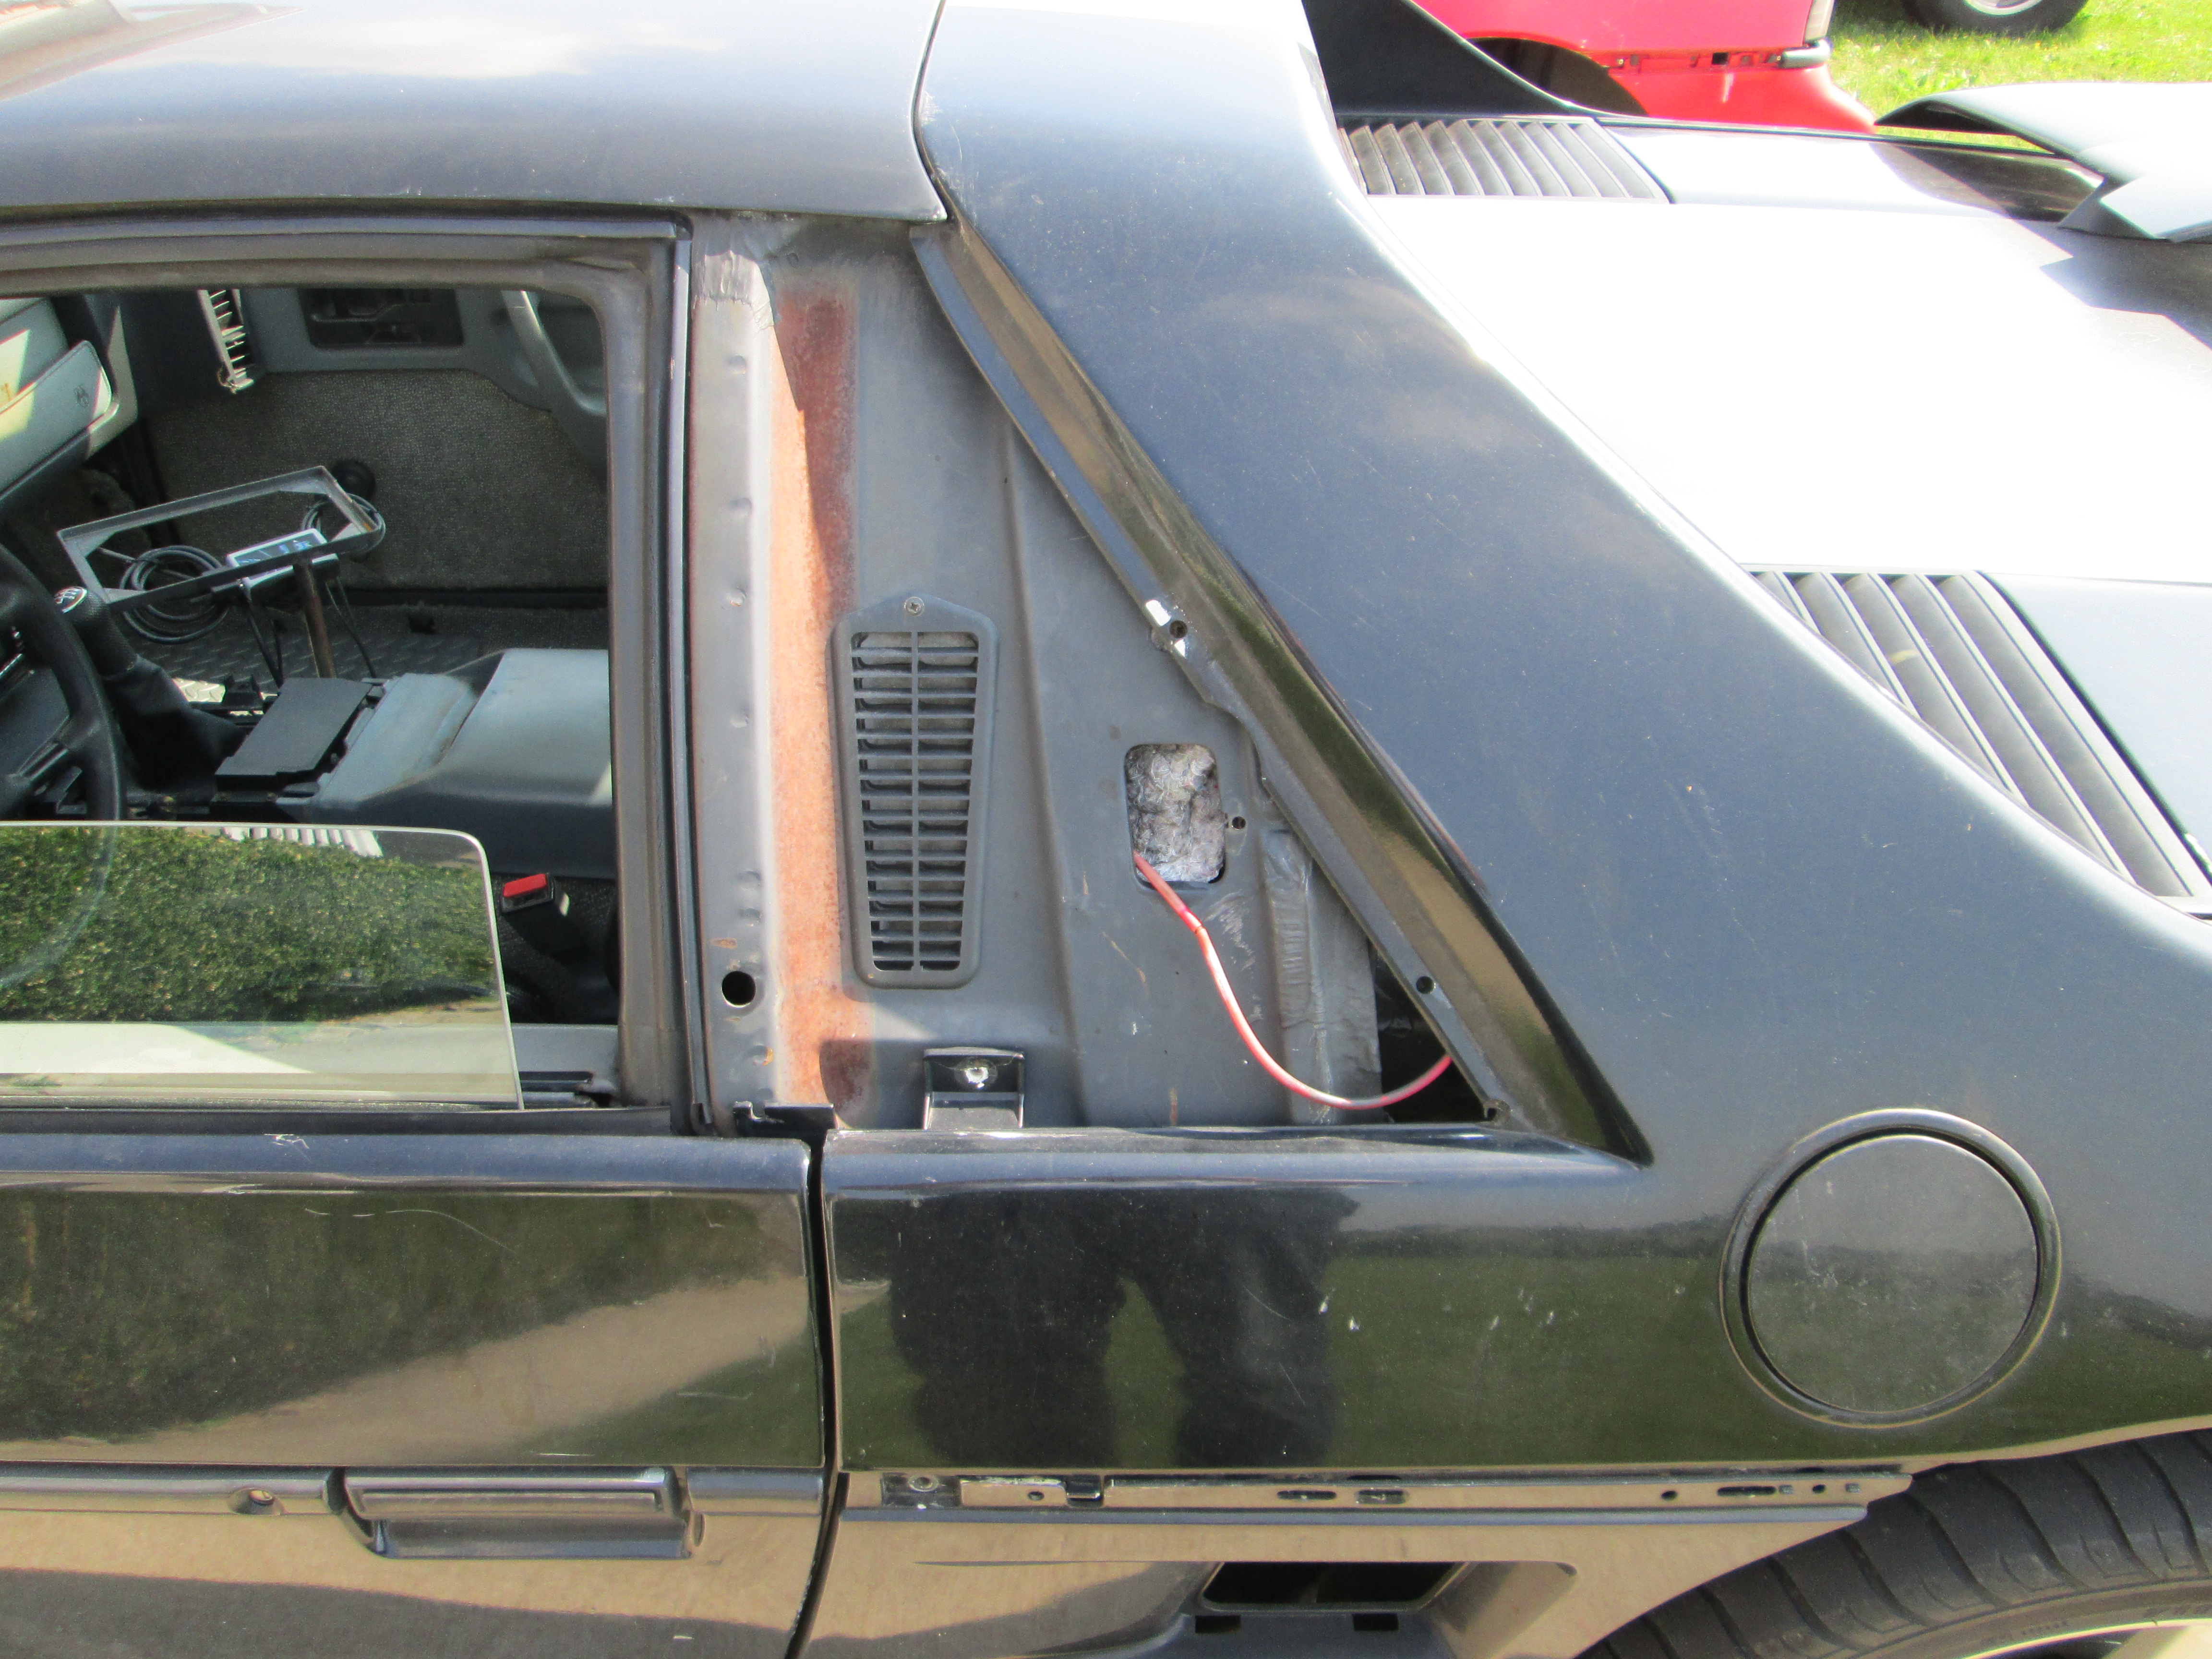
The ugly section of the car that needs covering:
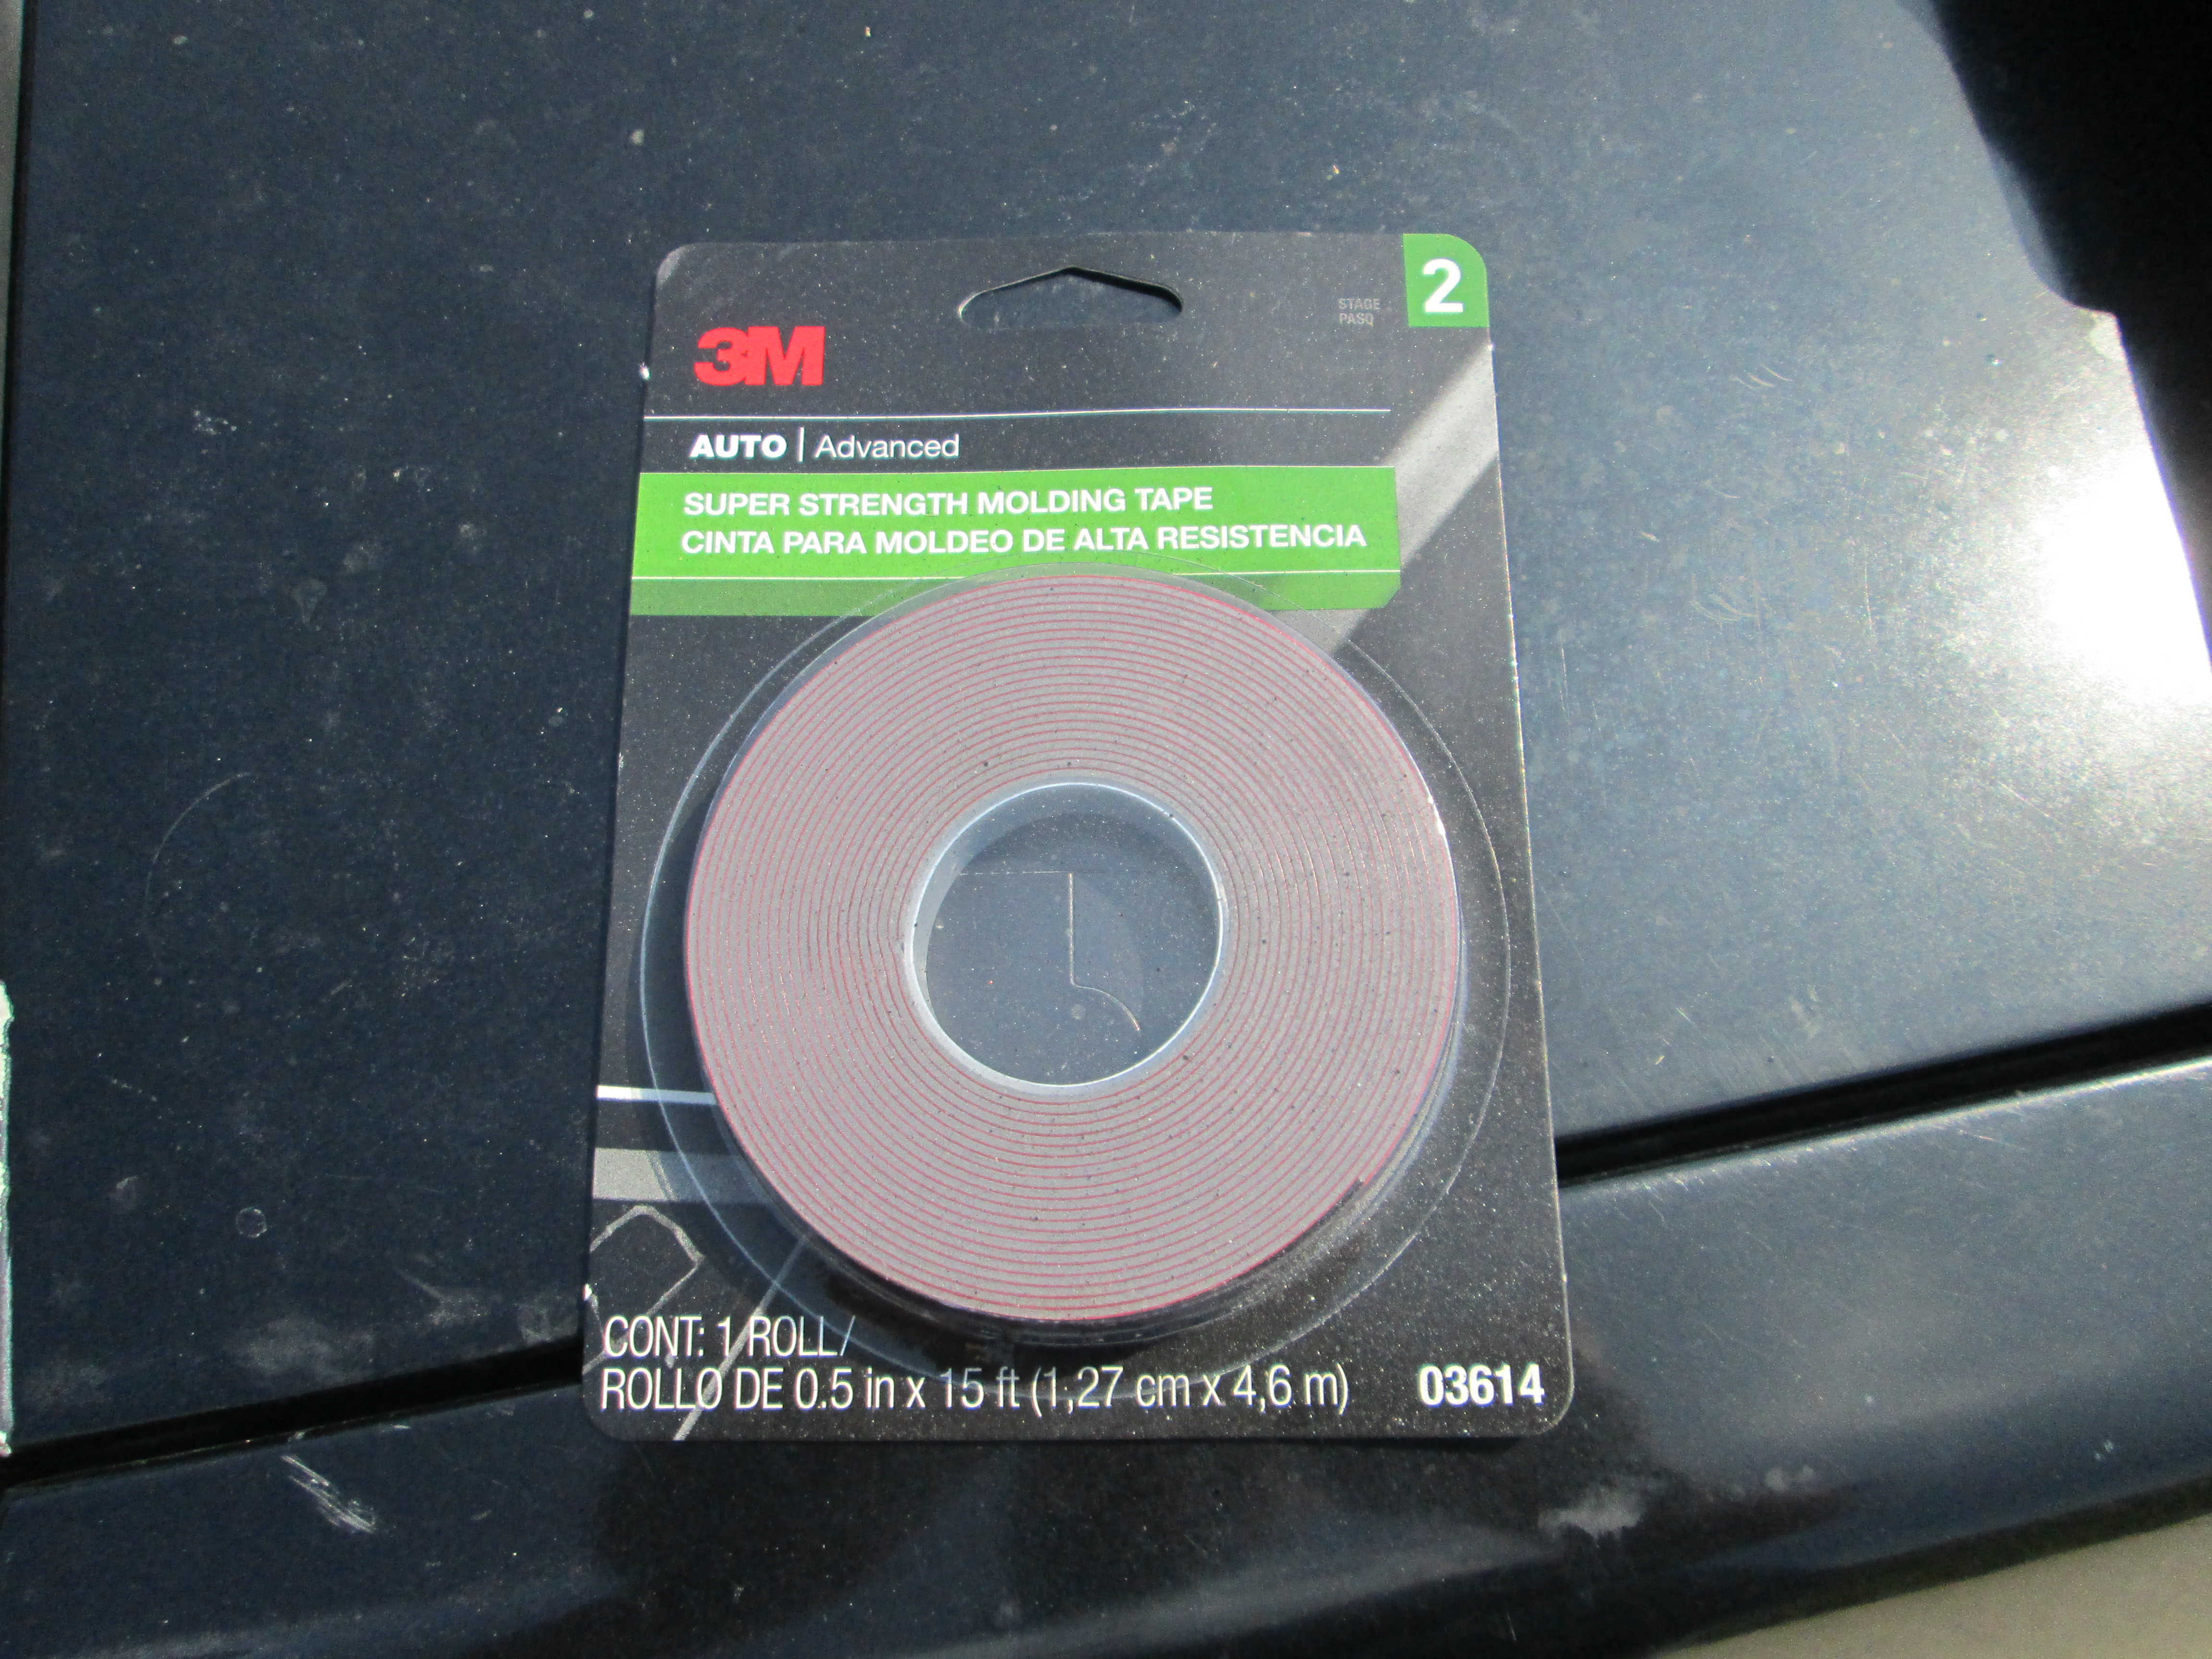
3M molding tape:
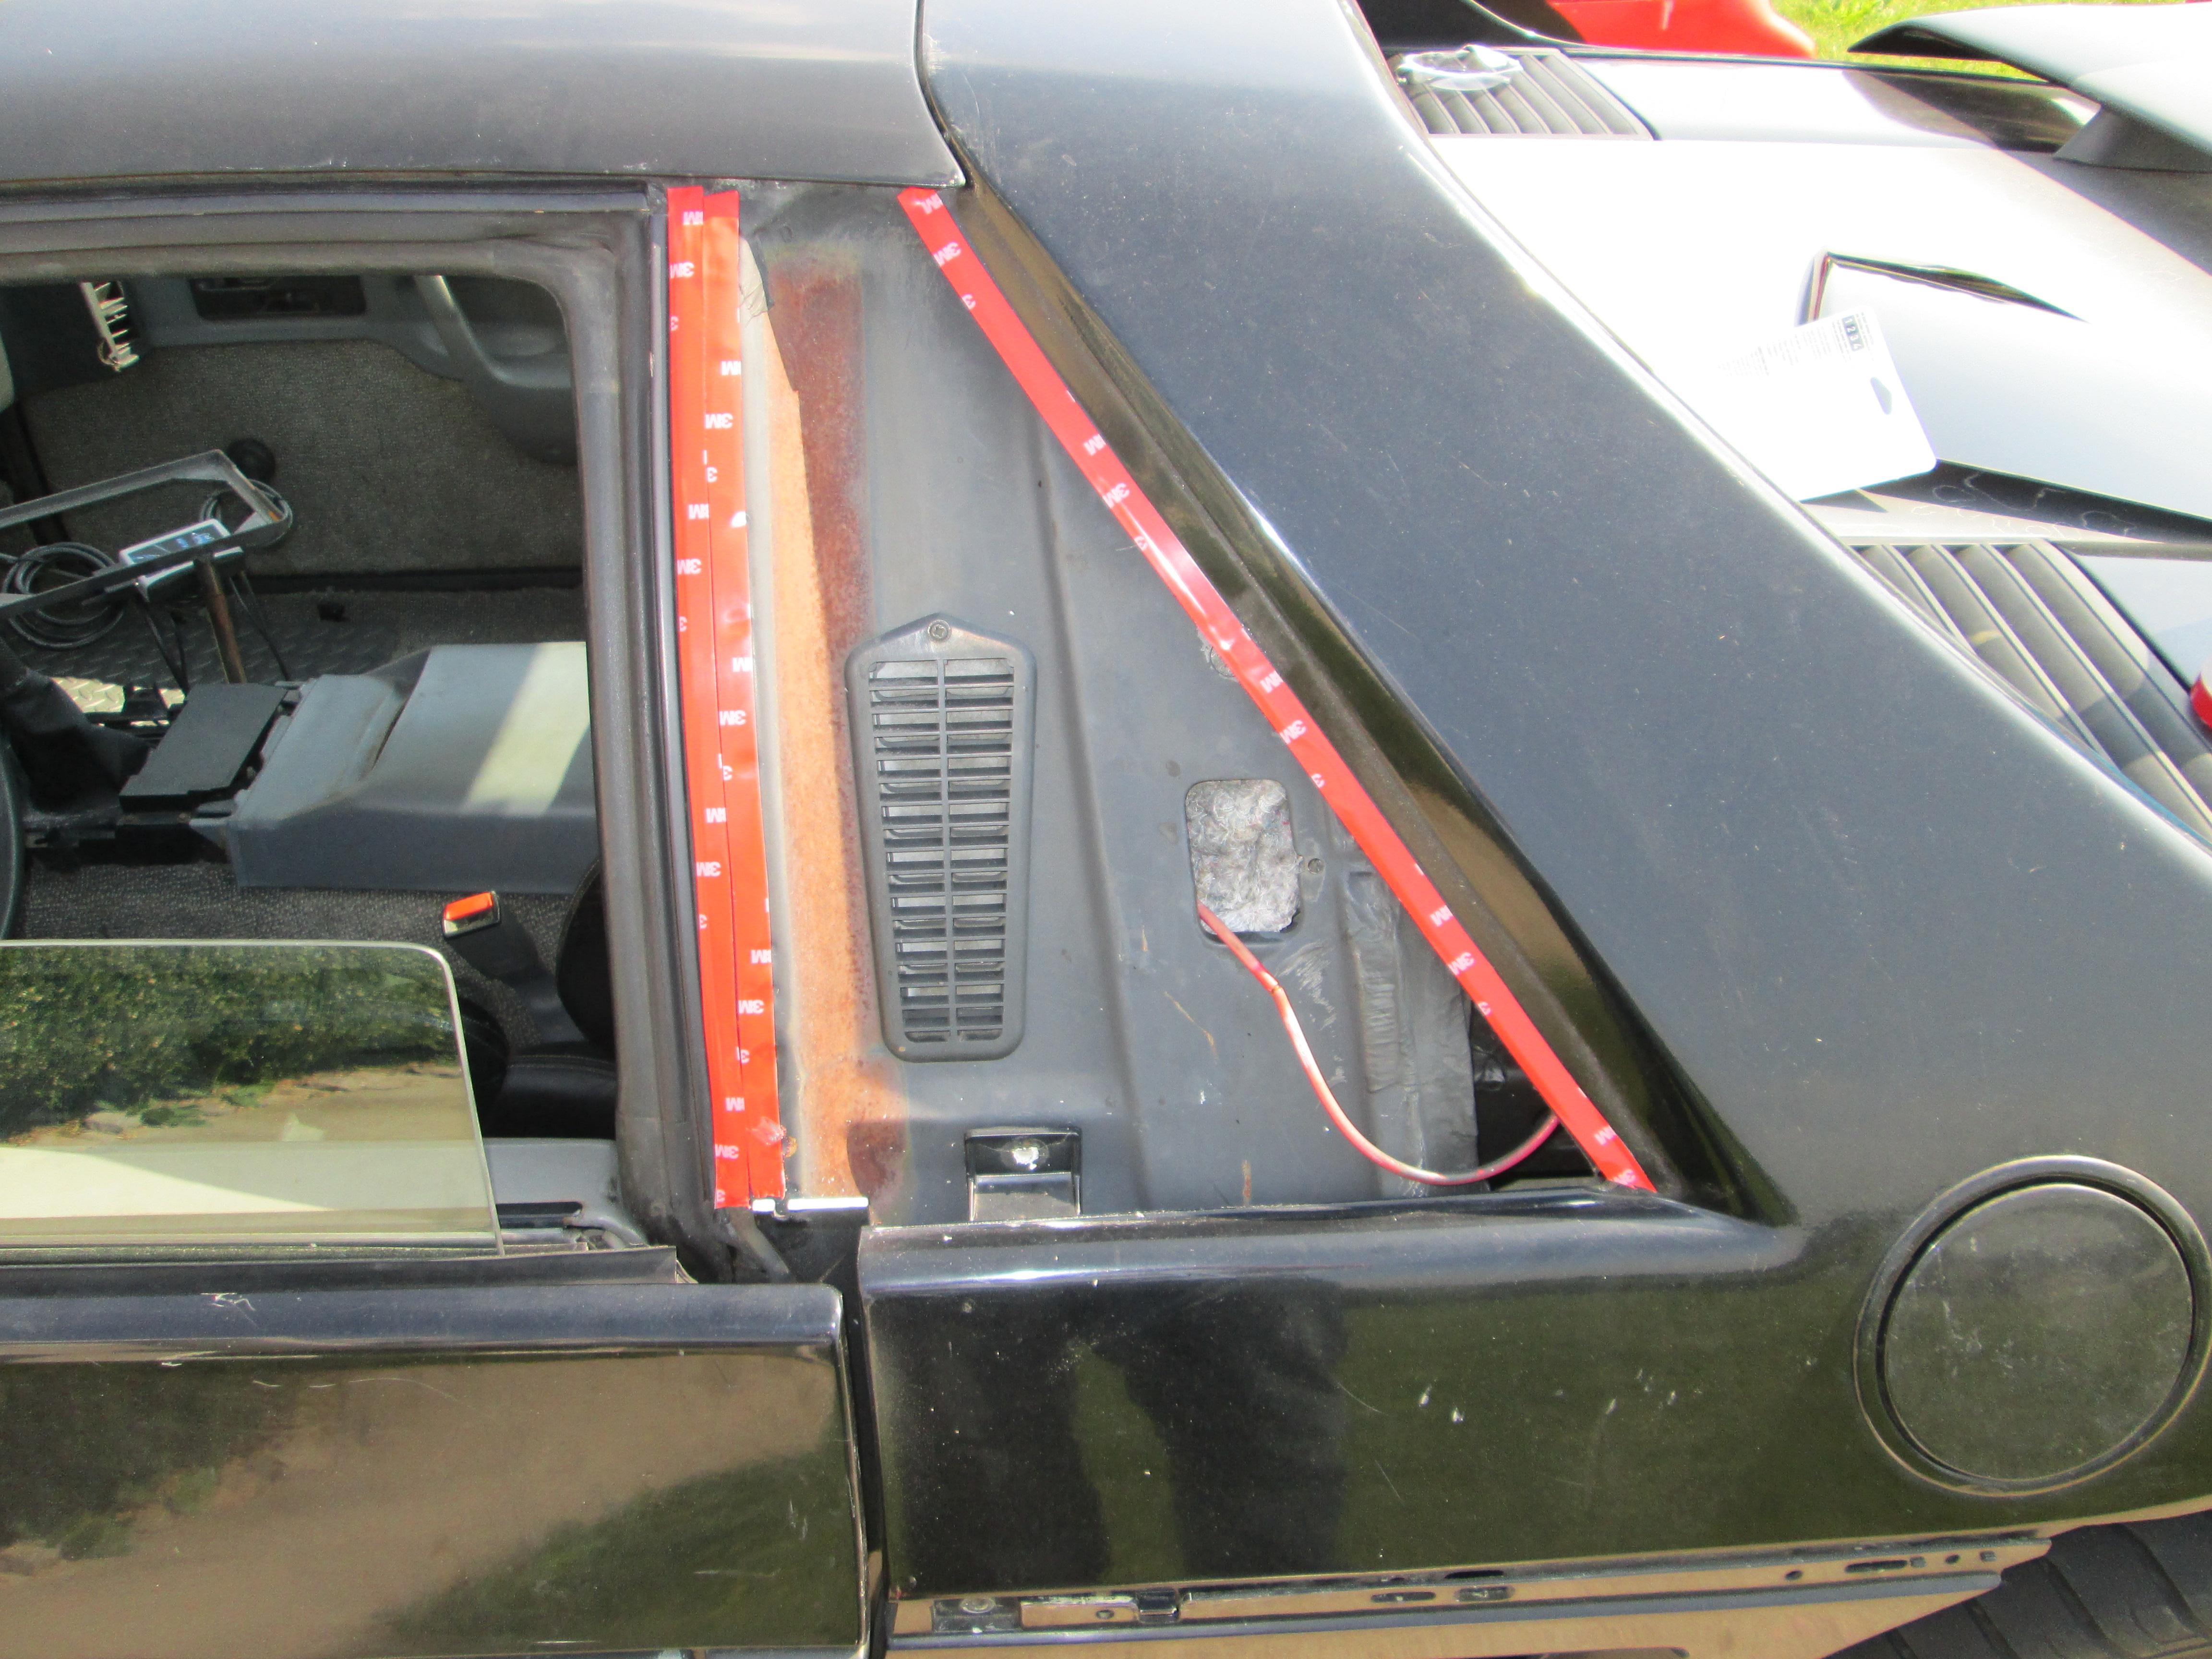
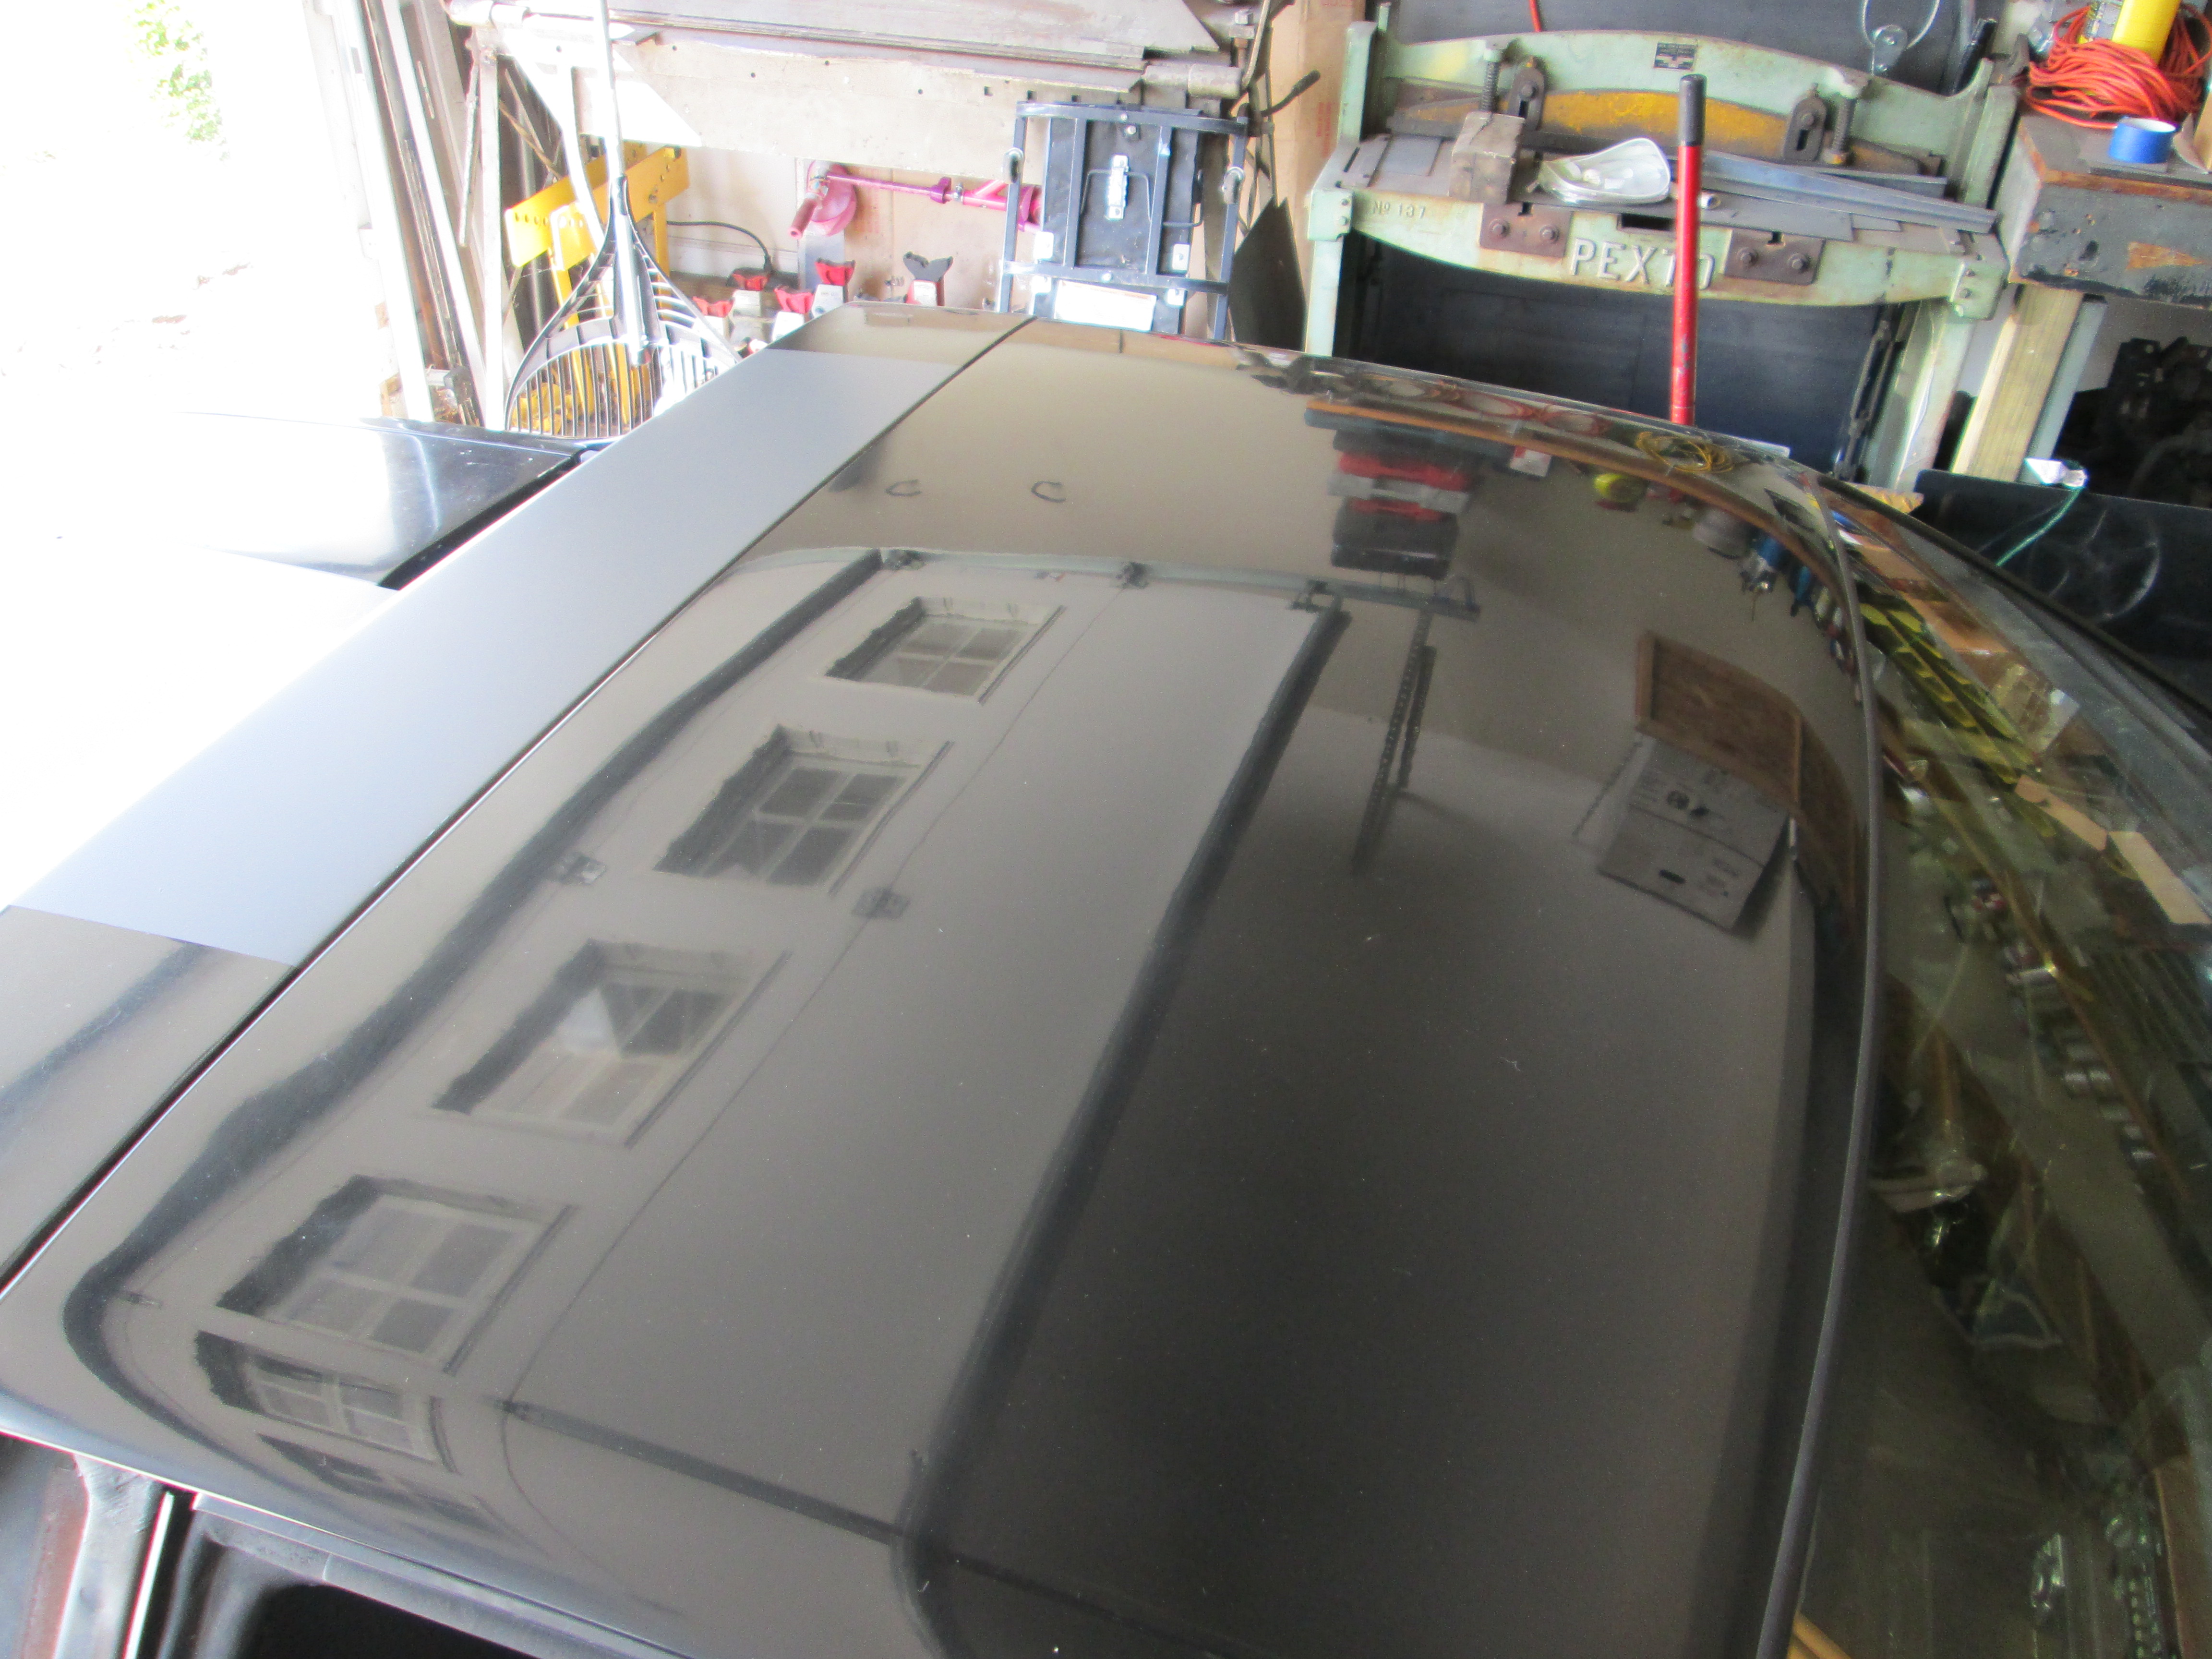
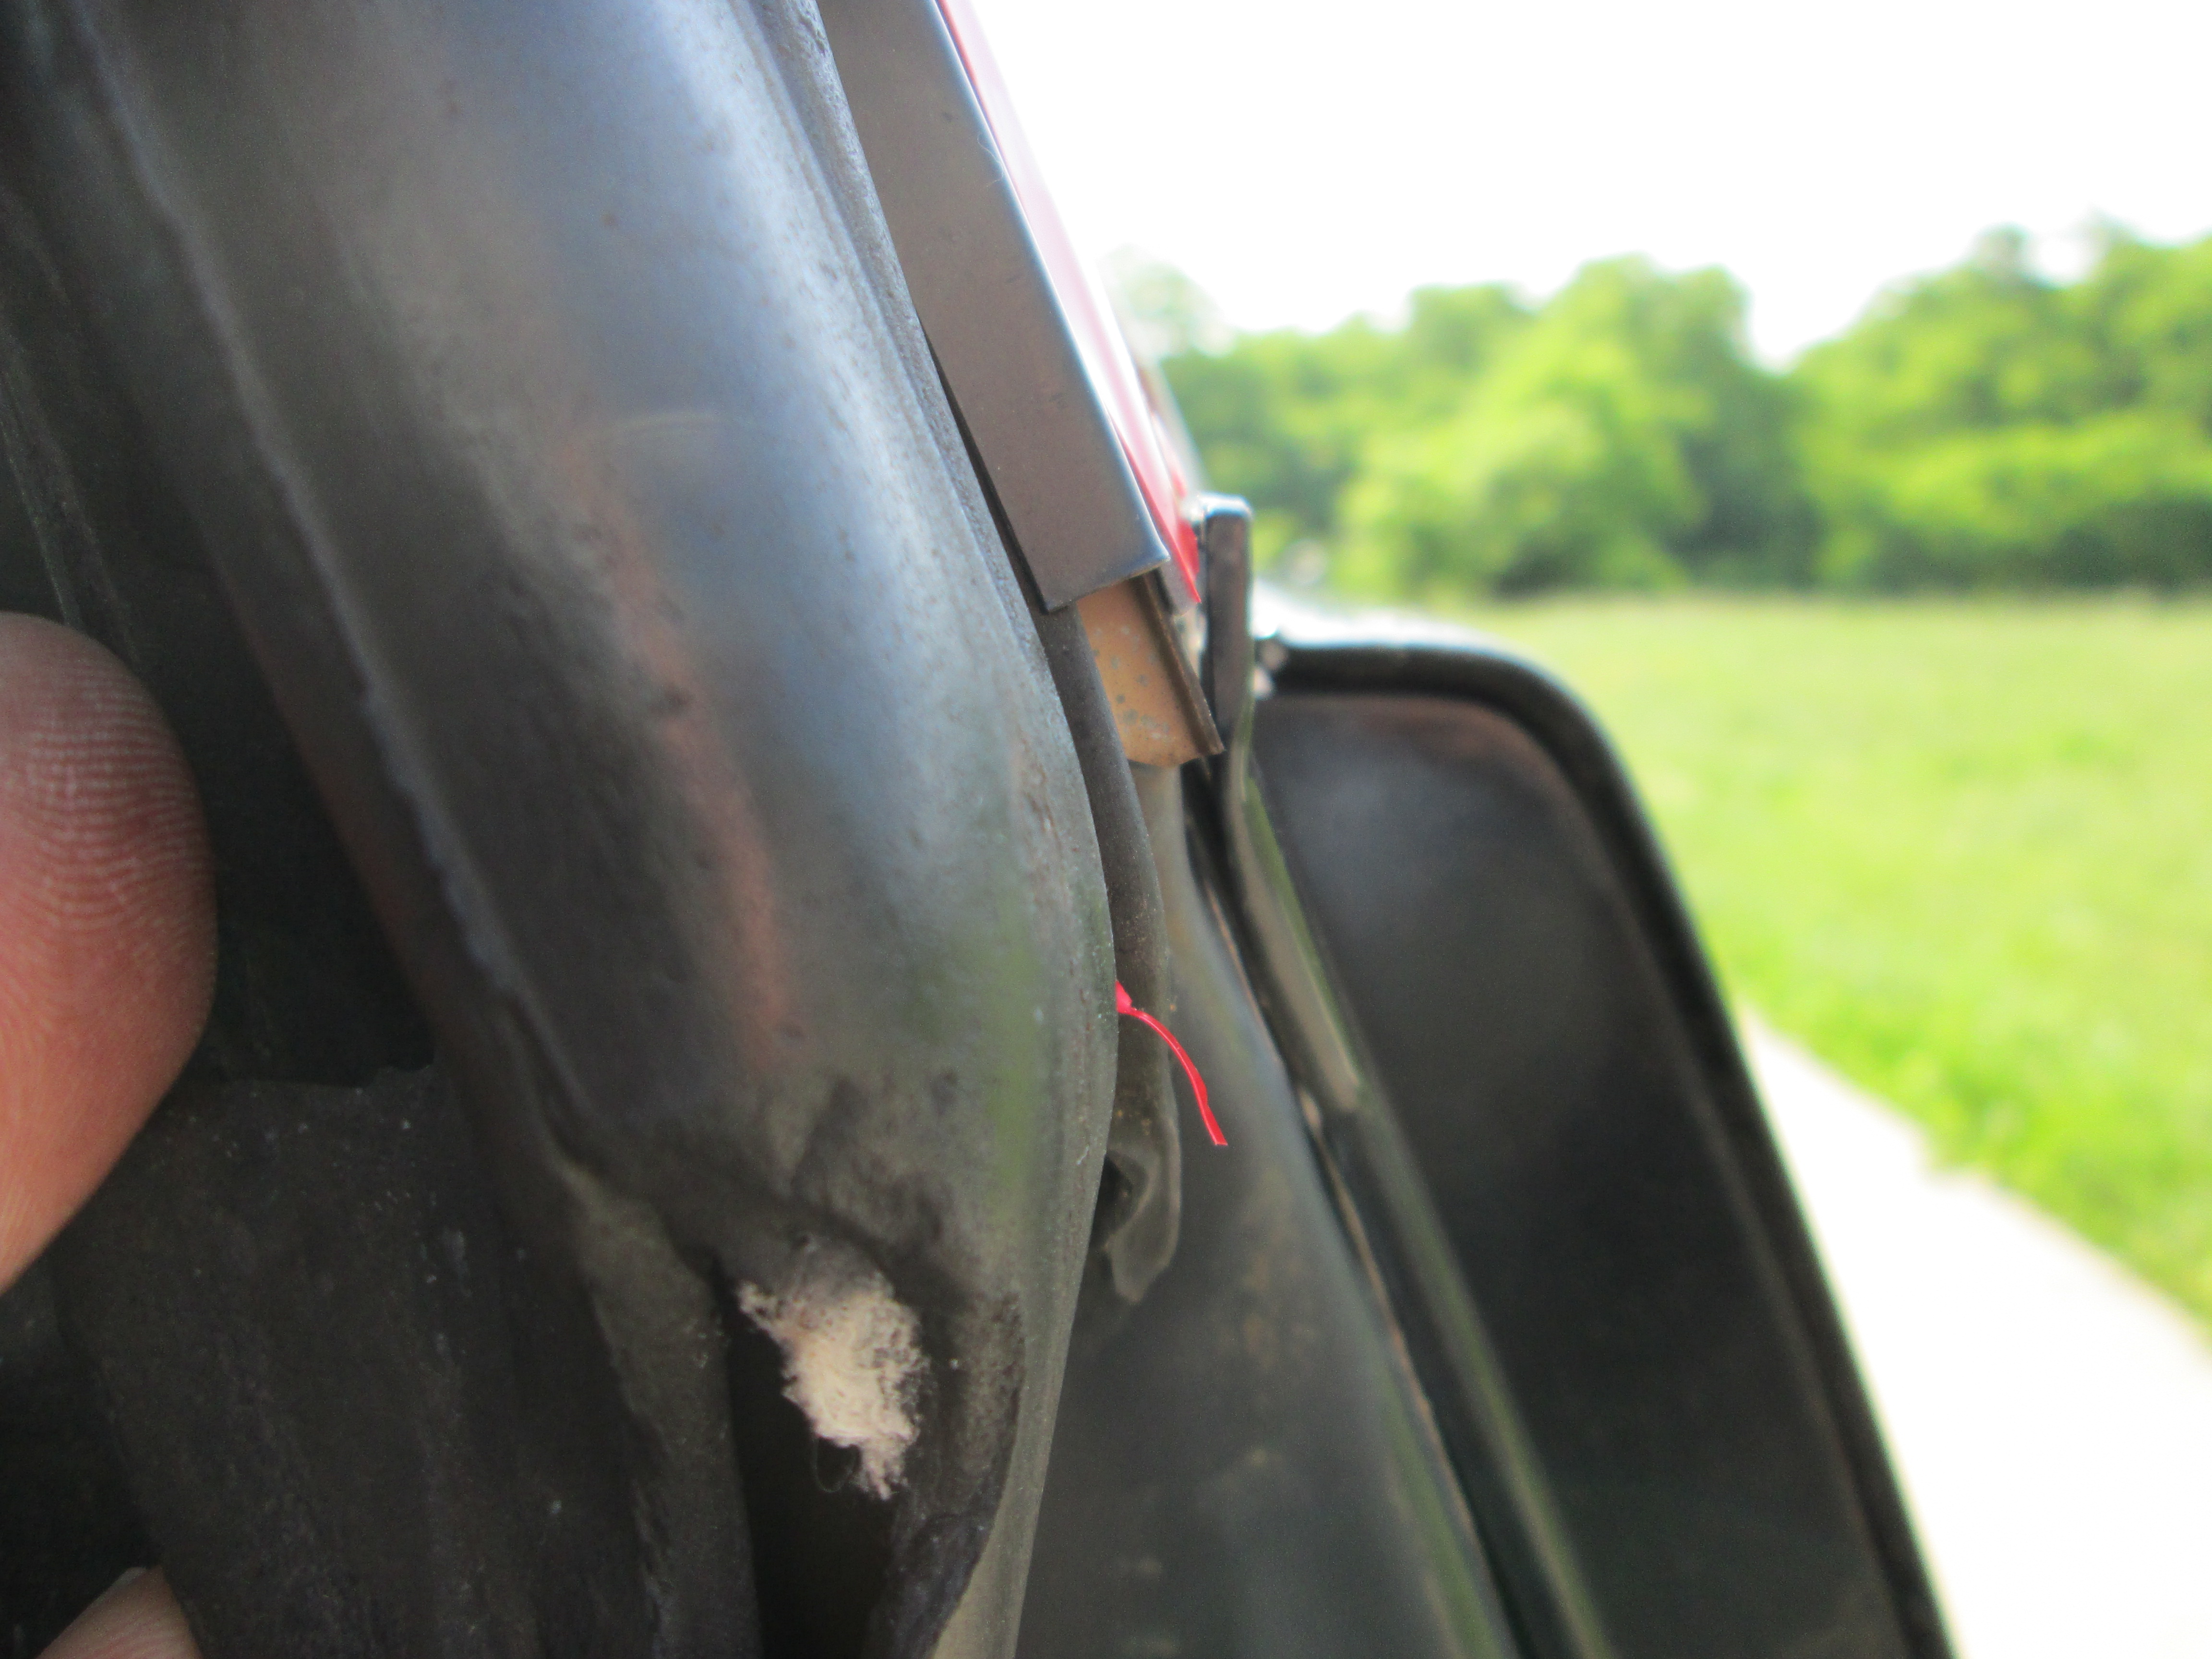
One place of interference. The top of the 1/4 panel sticks up past the top of the tape surface. I used a hand held grinder to bevel the top of this panel (it is hidden behind the sail panel) and did add a 2nd layer of 3M tape to the bottom 2" of the window so the edge would be held with tape and the gap where it transitioned between 1 layer and 2 layers of 3M tape would happen mid window.
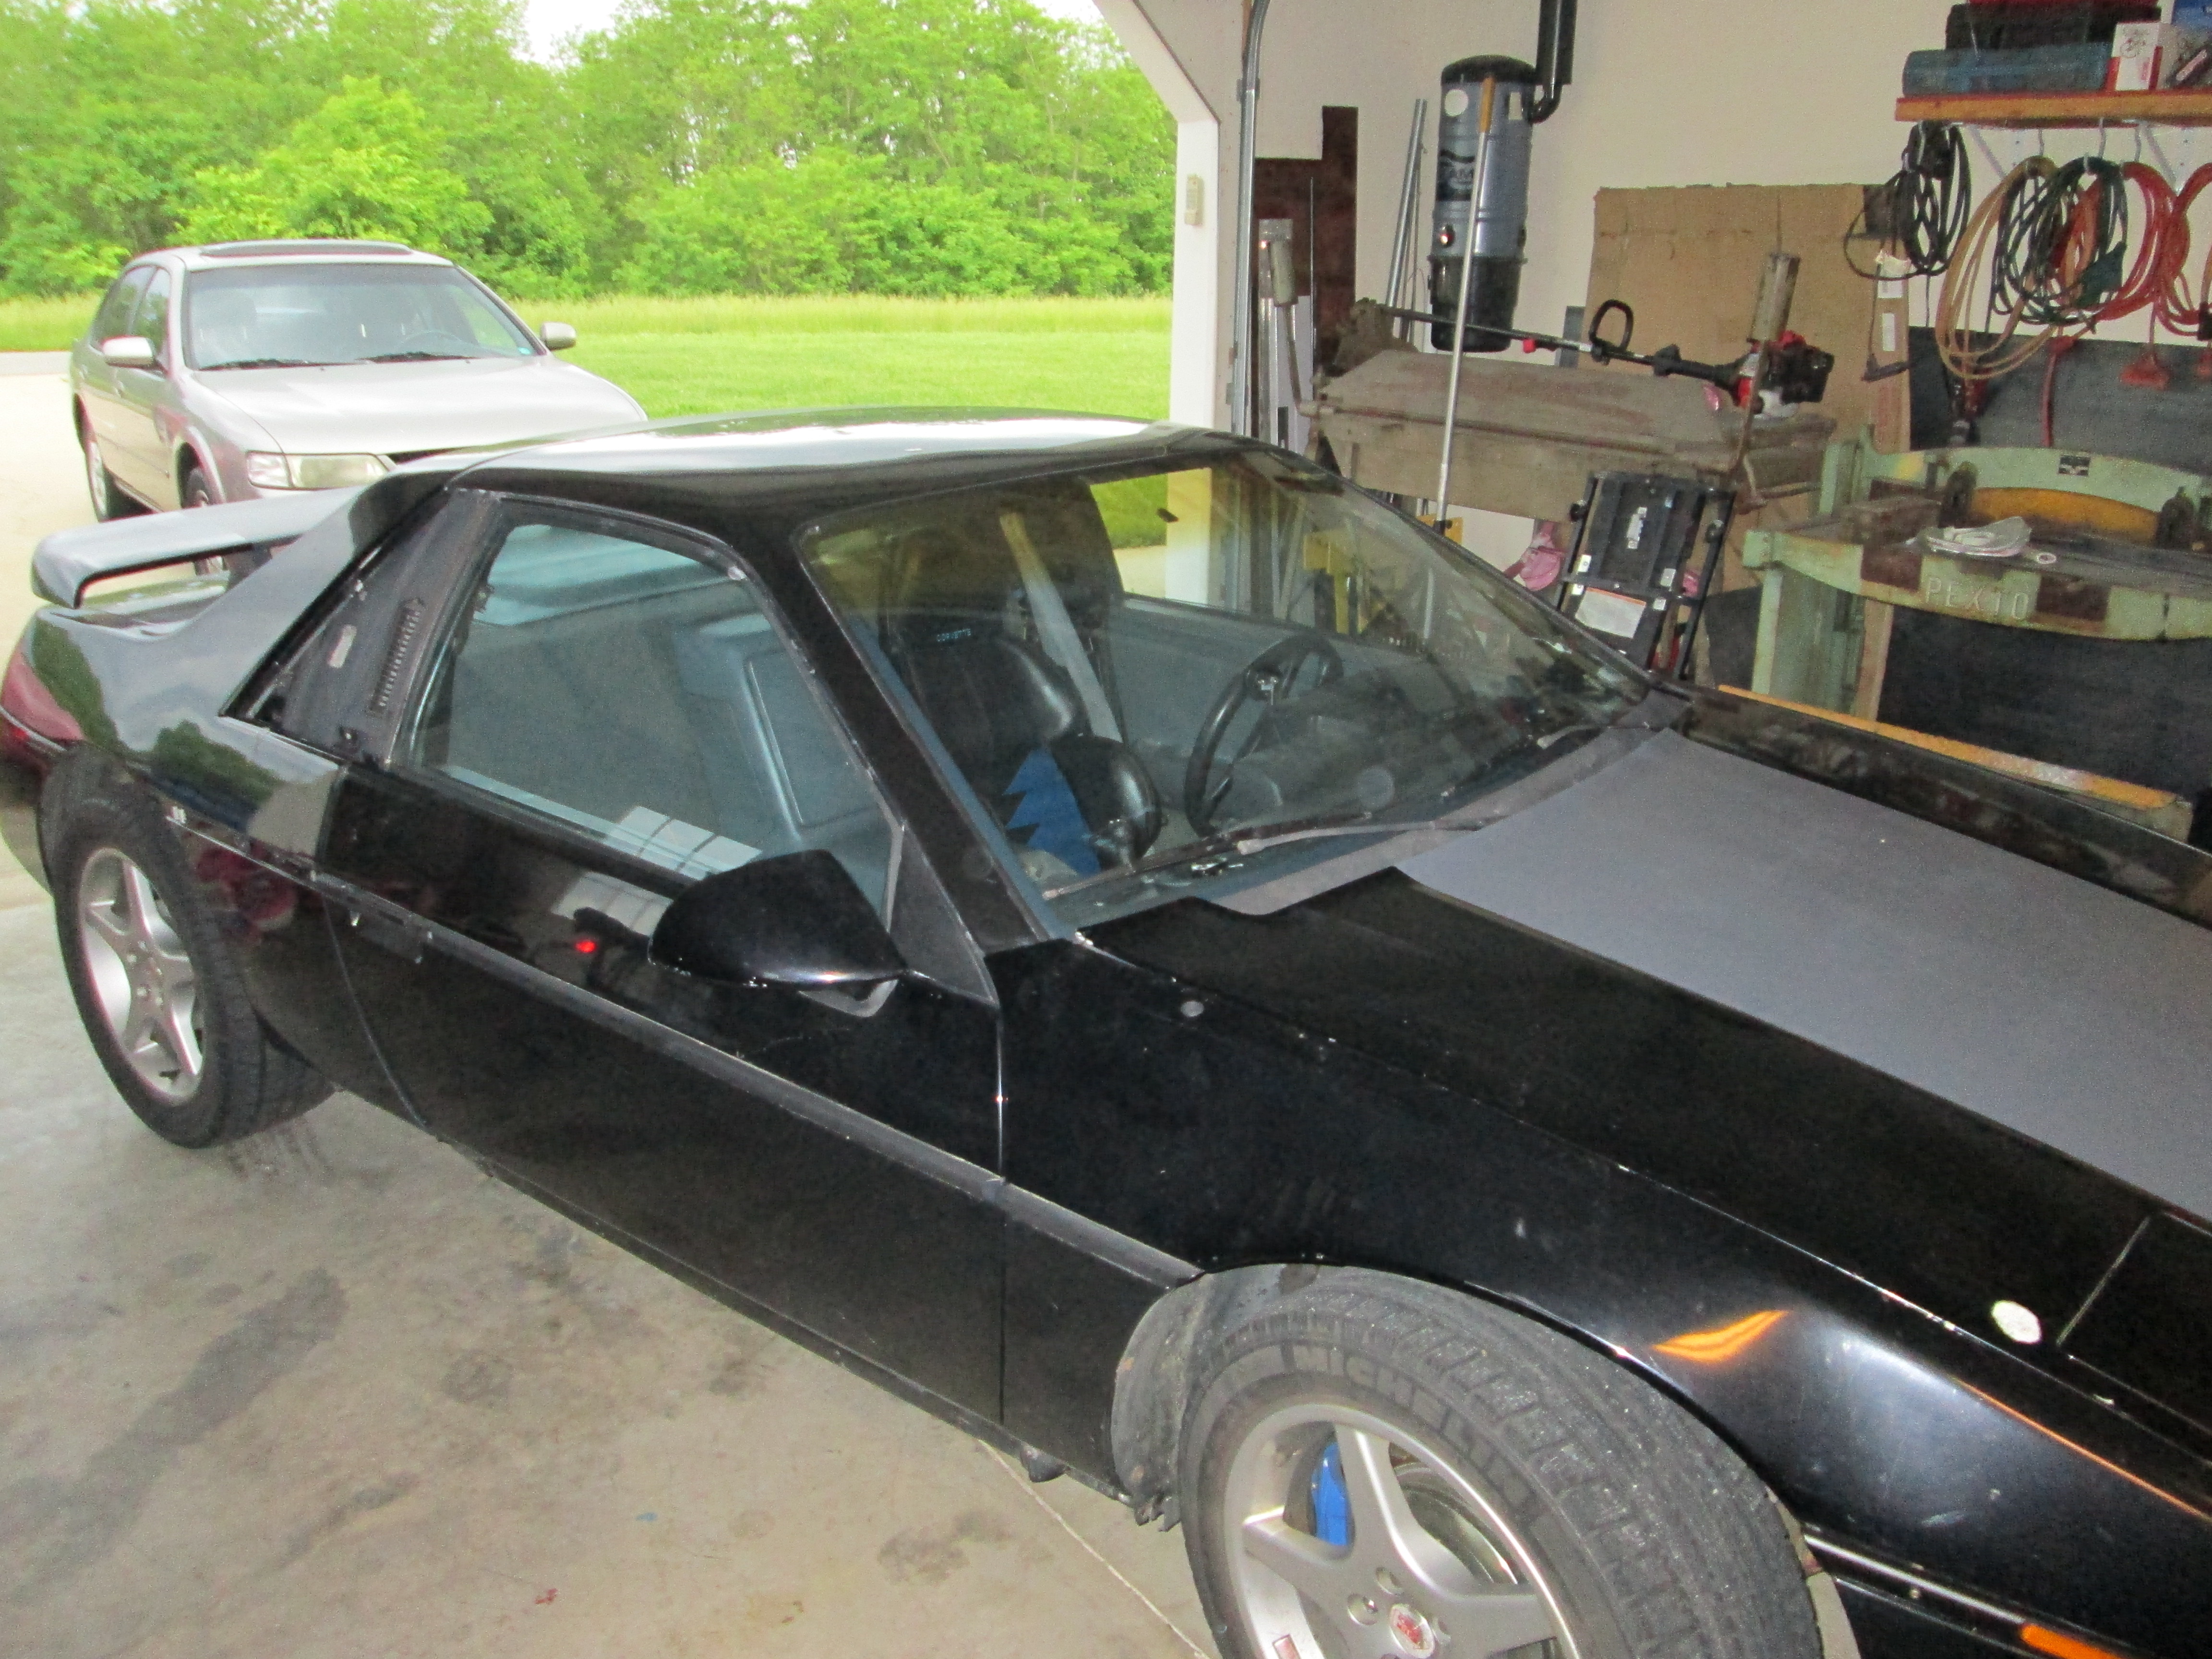
Installed:

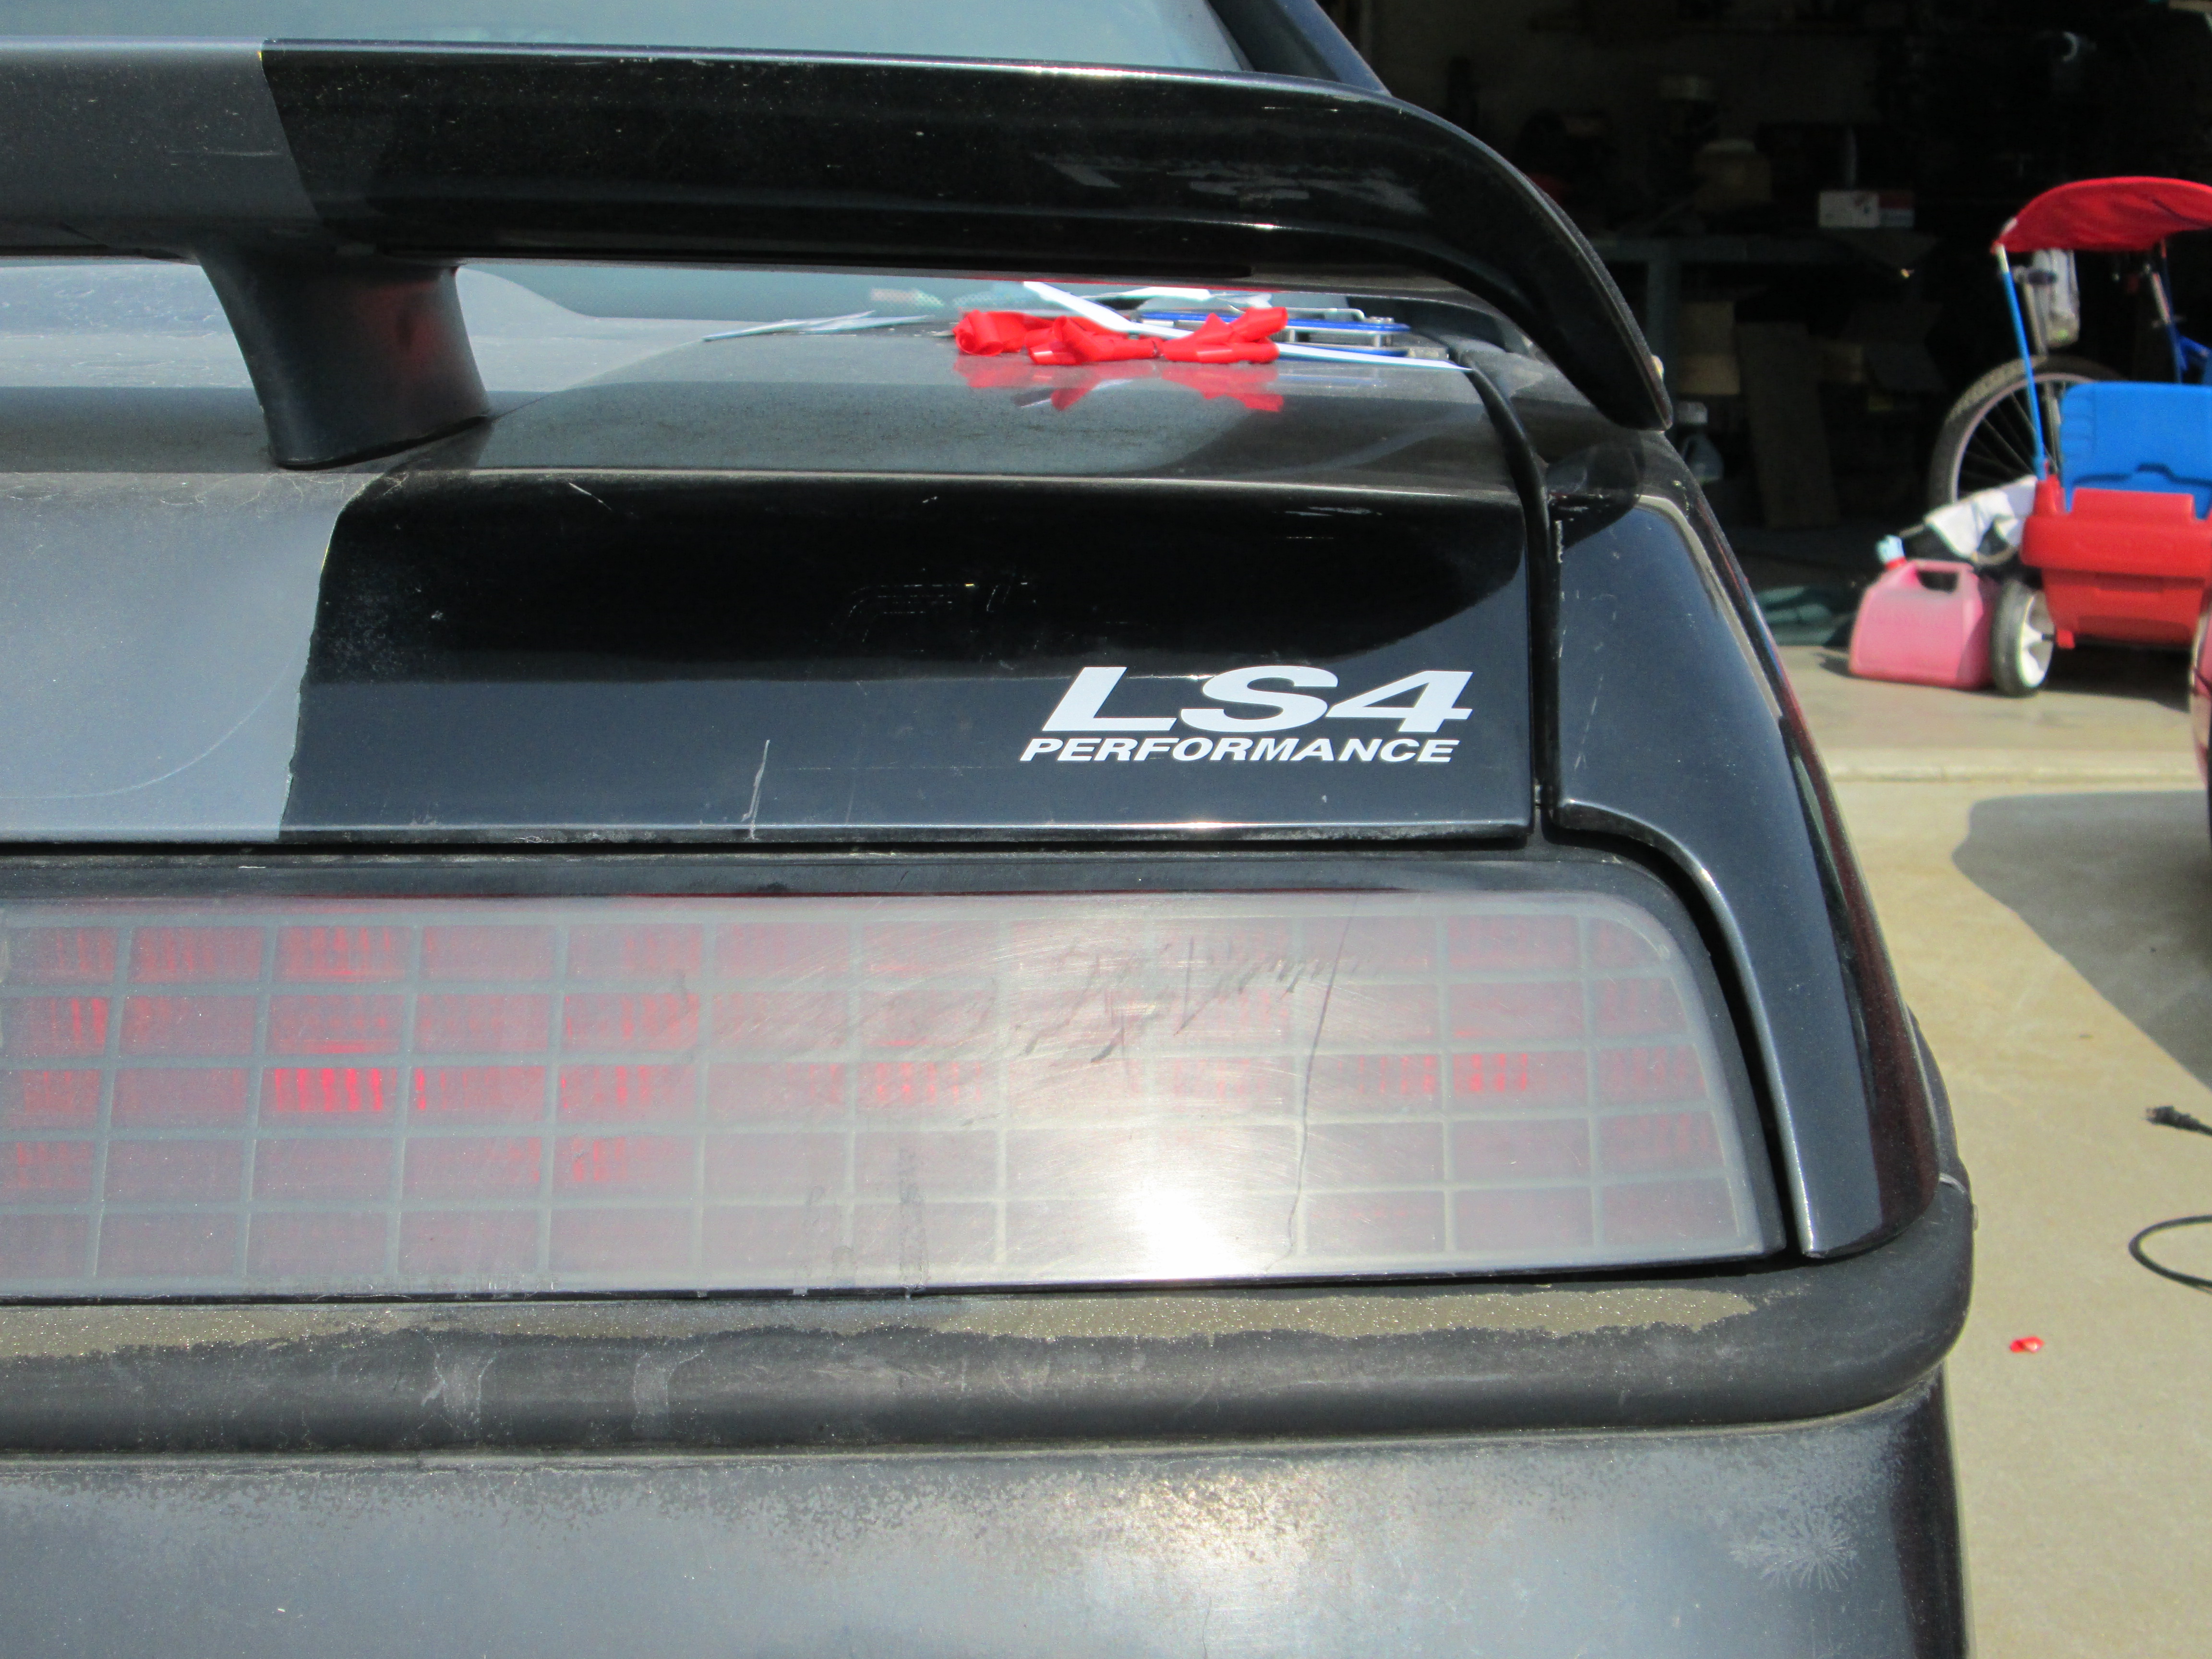
While working on the side windows, I also installed the decal for the rear decklid:
I have 2 more of these and thought about placing them on the sail windows, but for now I am going to leave them off. The car's exhaust gives it enough "presence" and I don't want the badging to be too "look at me". Understated looks with overstated exhaust note...
Maybe by next week I will have all the trim pieces installed, the car cleaned, buffed and looking sharp from 20'... the paint is still crap in several areas.
Panels:
The ugly section of the car that needs covering:
3M molding tape:
One place of interference. The top of the 1/4 panel sticks up past the top of the tape surface. I used a hand held grinder to bevel the top of this panel (it is hidden behind the sail panel) and did add a 2nd layer of 3M tape to the bottom 2" of the window so the edge would be held with tape and the gap where it transitioned between 1 layer and 2 layers of 3M tape would happen mid window.
Installed:
While working on the side windows, I also installed the decal for the rear decklid:
I have 2 more of these and thought about placing them on the sail windows, but for now I am going to leave them off. The car's exhaust gives it enough "presence" and I don't want the badging to be too "look at me". Understated looks with overstated exhaust note...
Maybe by next week I will have all the trim pieces installed, the car cleaned, buffed and looking sharp from 20'... the paint is still crap in several areas.
