
Single Owner 1973 Datsun 240Z Build Thread
 12-03-2012, 02:32 AM
#1

You can follow more periodic updates of the build by liking (subscribing) to my facebook page, or following my instagram.
Facebook
Instagram
Over 1,000 hi res images, and timelapse videos of the build here
I will however occasionally update this thread with lots of full size images as time permits and partake in discussion.
-------------
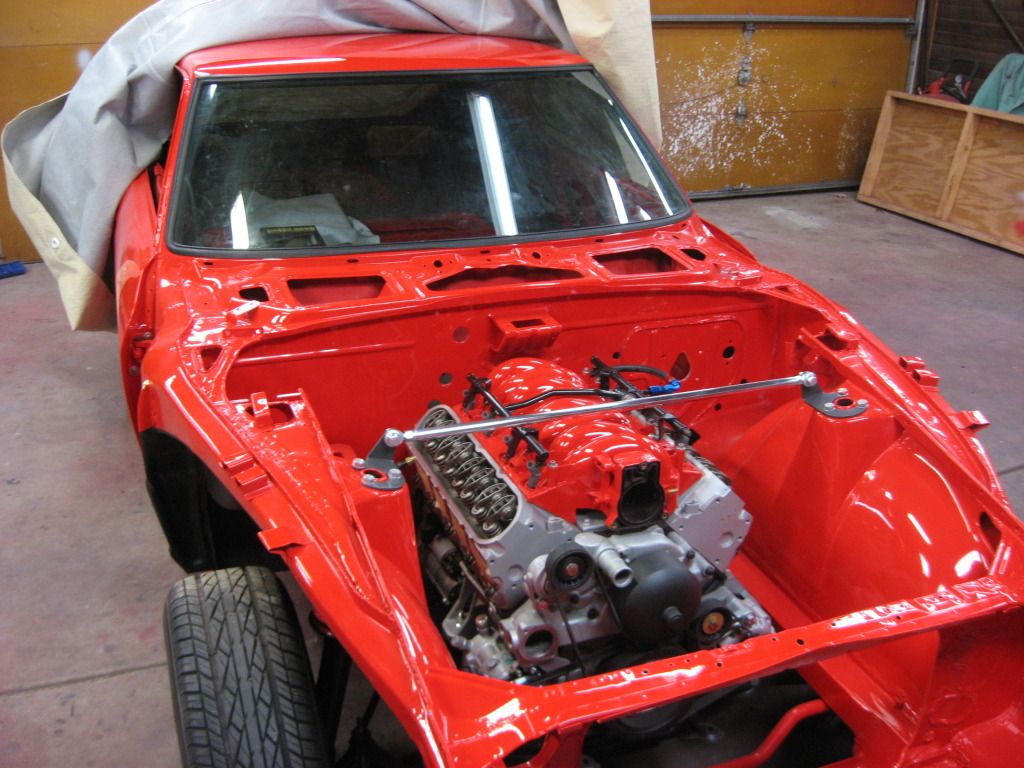
I thought I would start a build thread for the latest car I'm working on. It's a single owner 1973 Datsun 240z. I am restoring/ bringing it up to todays standards for my second cousin who resides in Redondo Beach California.
I've been working on the car for roughly 2 years. The car is getting a lot of goodies such as A/C, security system, power everything, etc. The engine is a 5.3L from a 2001 GMC truck. 4l60E transmission.
The goal for the car is to have a very clean build. Somewhat "production" like. A lot of time has been put into making the car extremely serviceable, and enjoyable to drive on a daily basis.
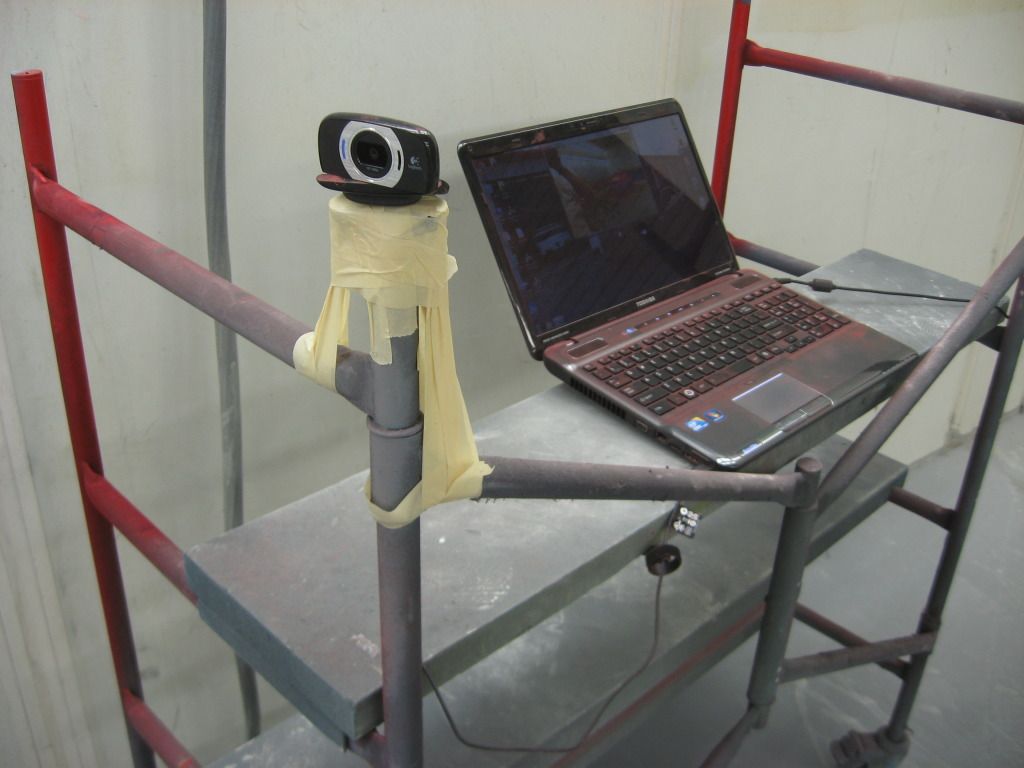
Here are a few time lapse videos of the build. I just recently started recording these.
And here are some pictures.
My time lapse rig.
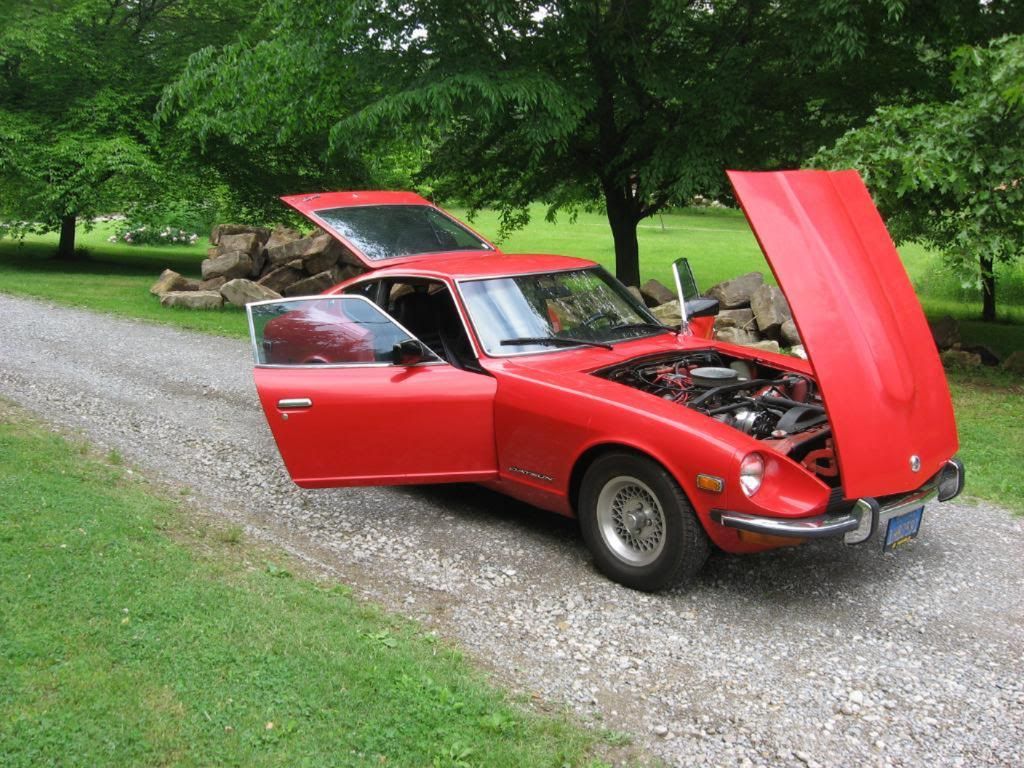
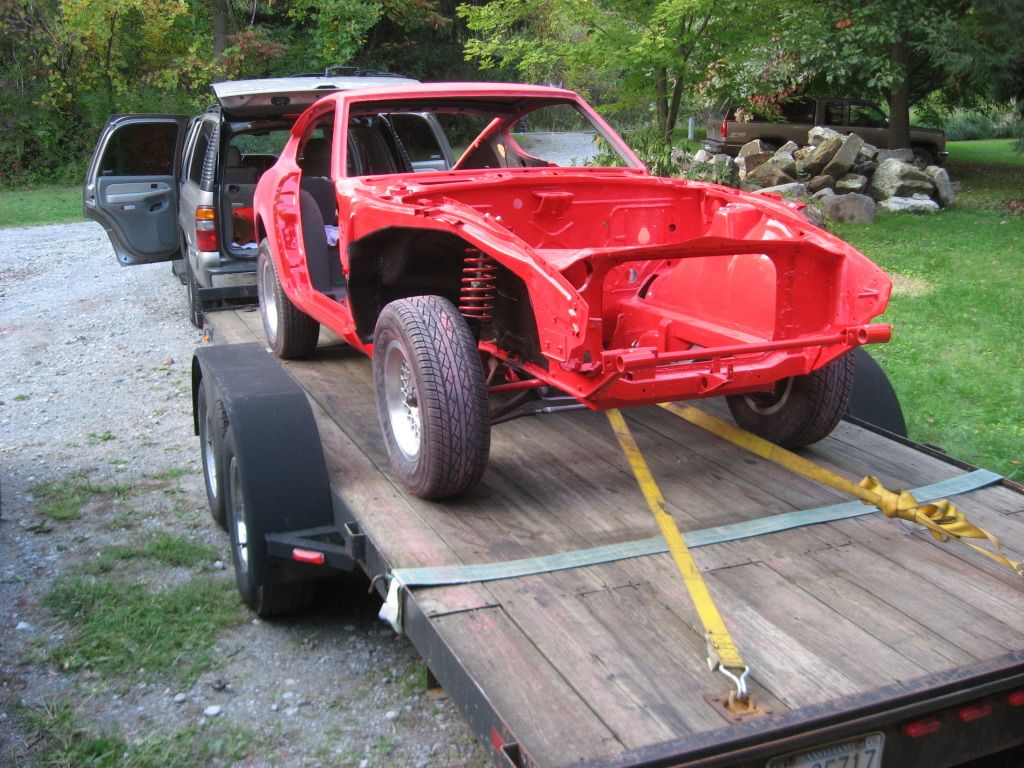
Fresh of the trailer from California.
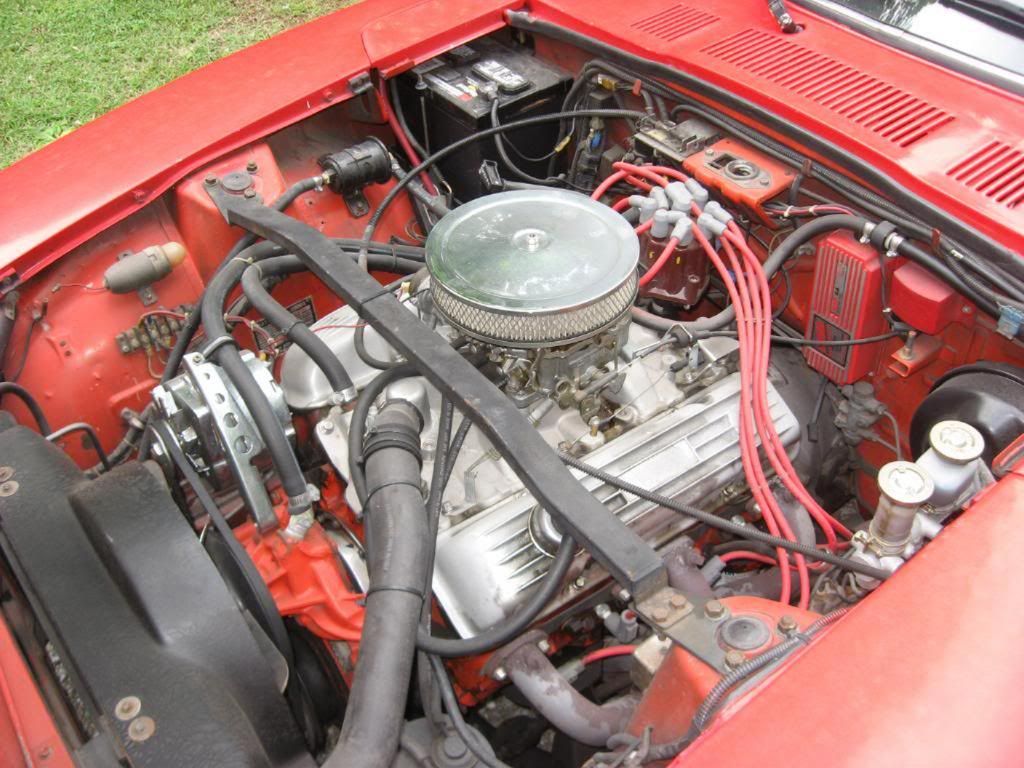
Tame 355.
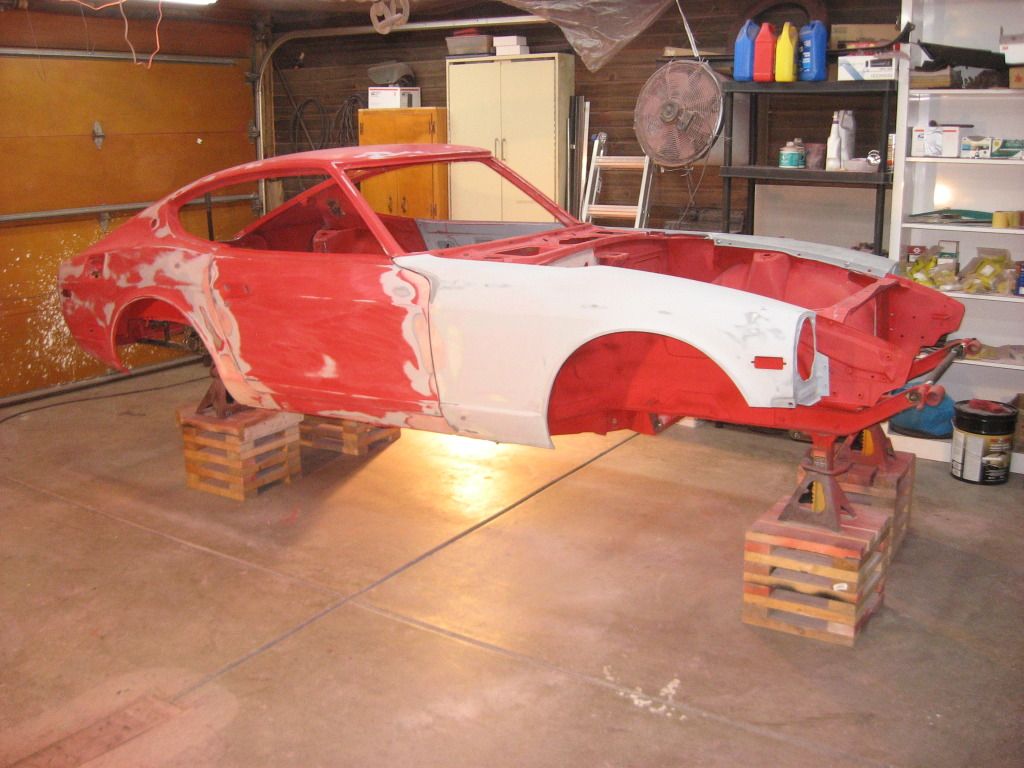
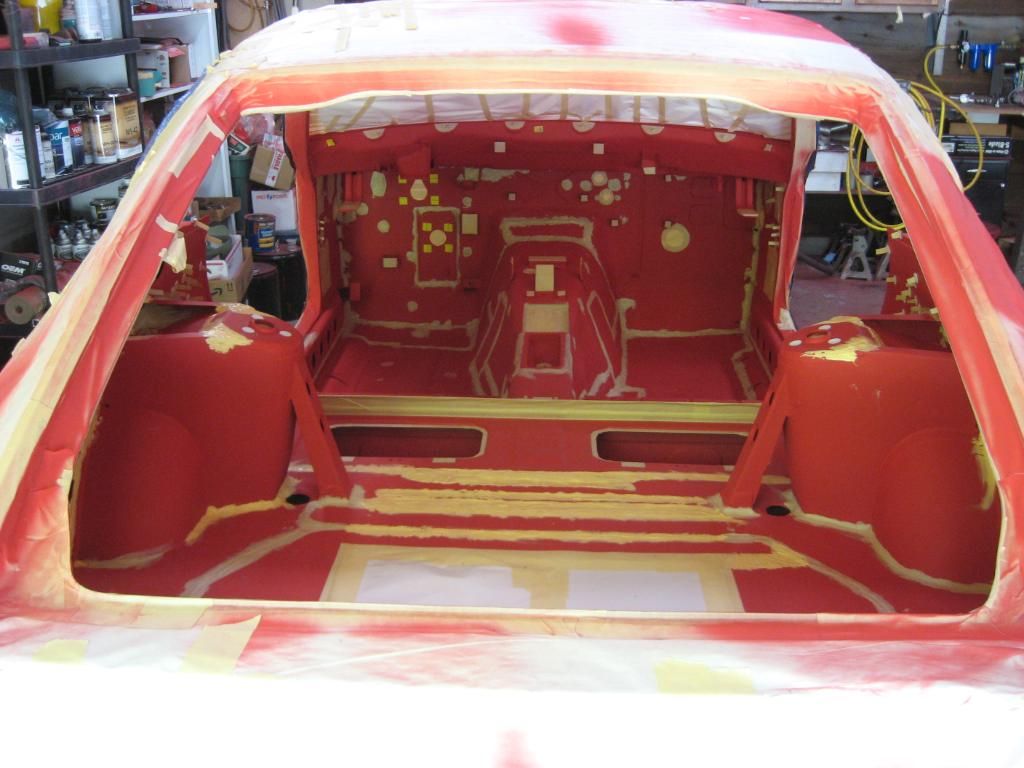
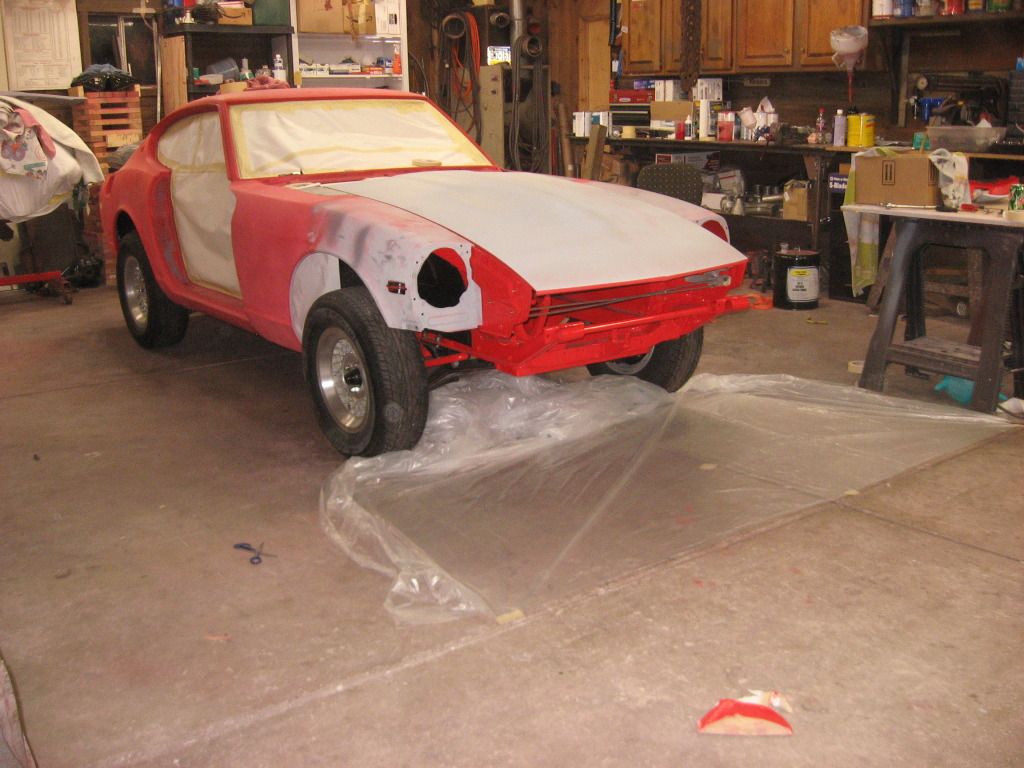
Lots of body work!
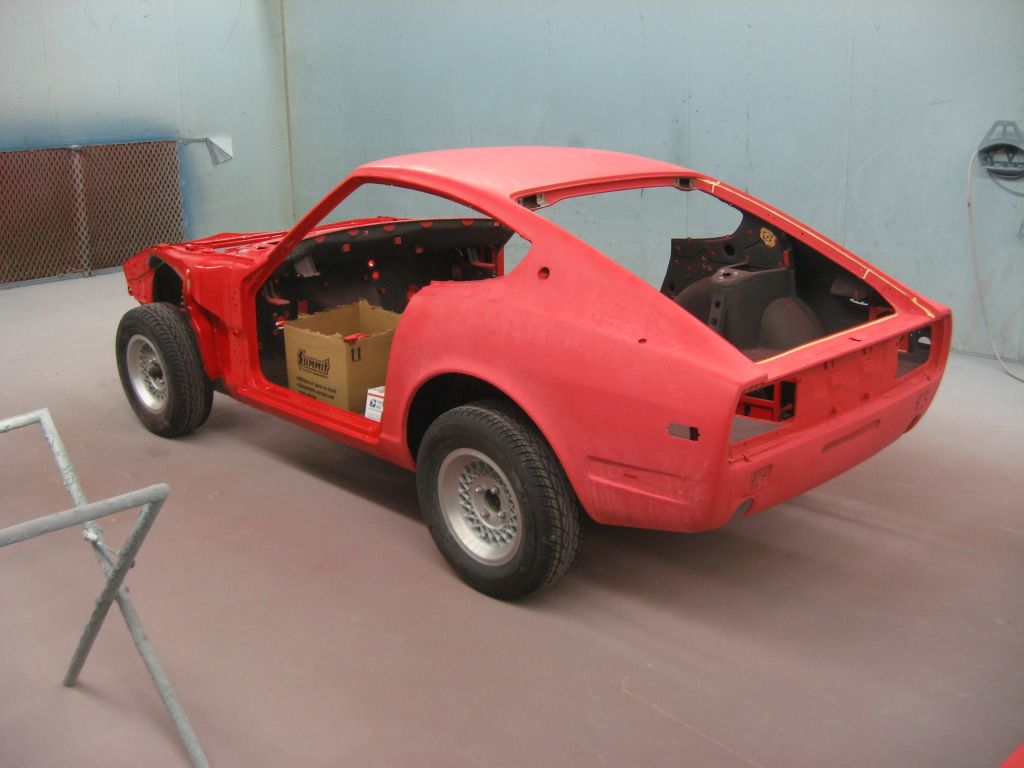
Lots of epoxy primer and urethane seam sealer throughout the whole car.
Lizzard skin sound deadener.
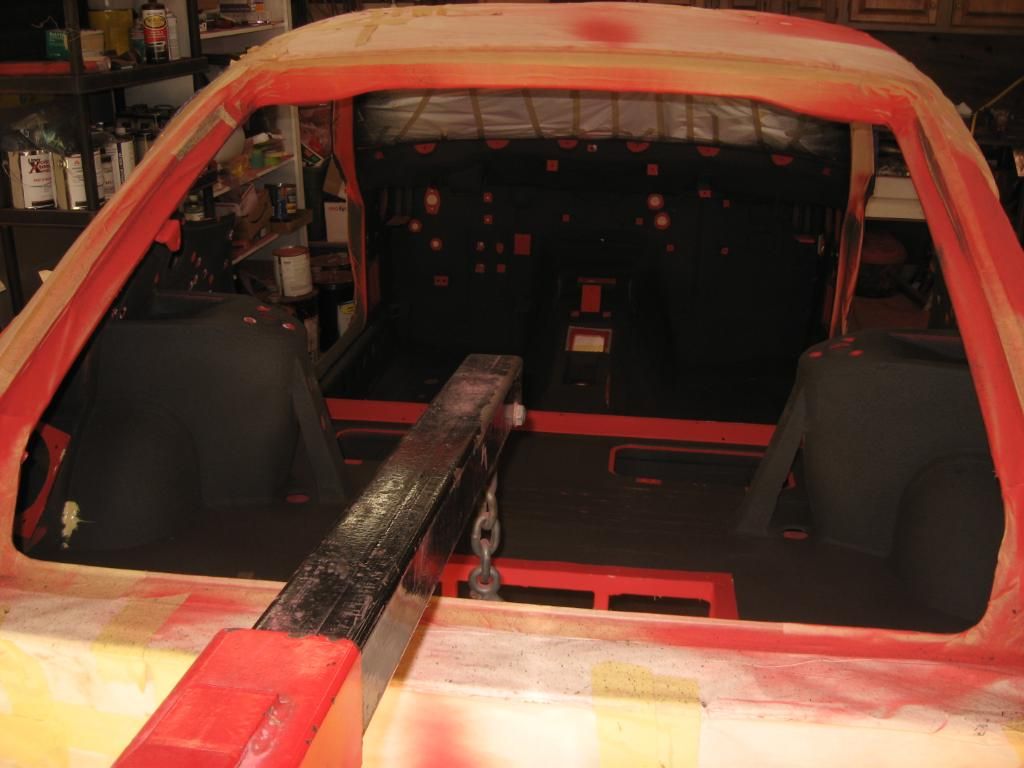
Spray on epoxy bedliner.
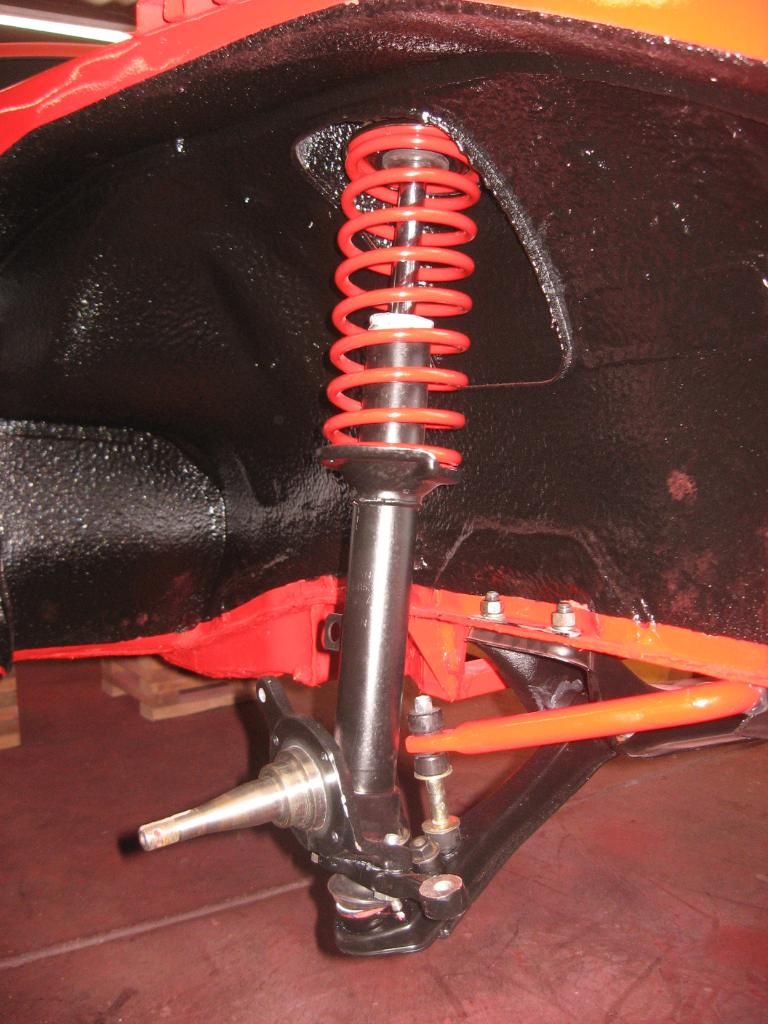
More bedliner on the undercarriage.


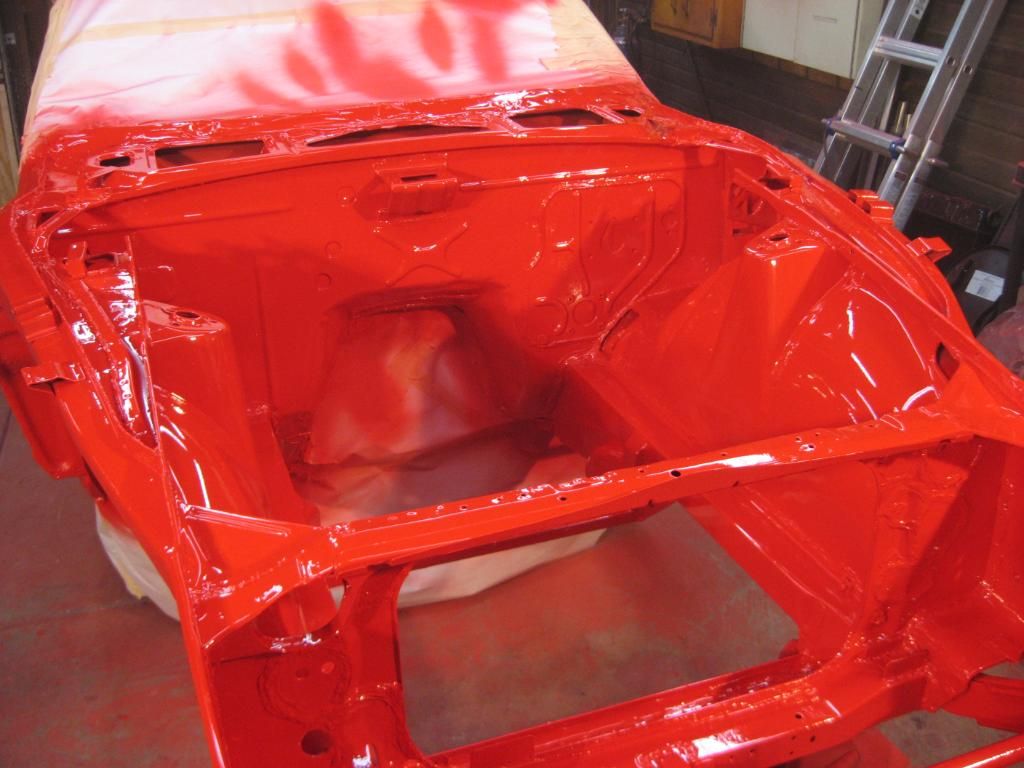
Engine bay sprayed.
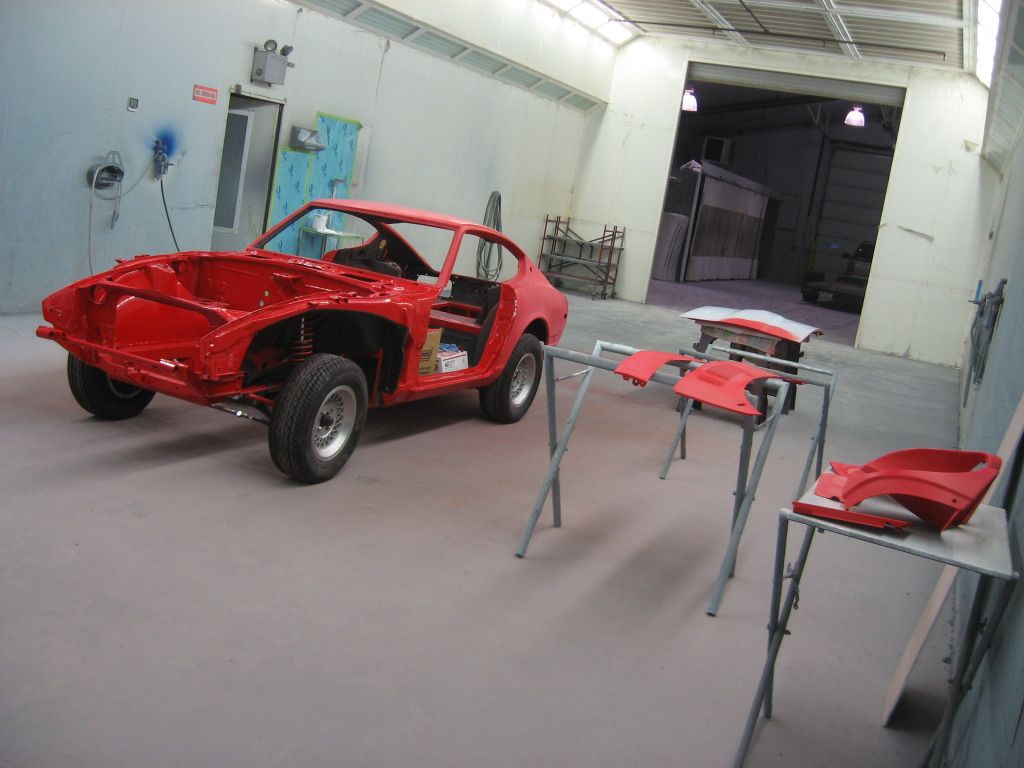
Prepping for the paint booth.
Off to the booth she goes!
At the booth with the engine bay and door jambs edged in.
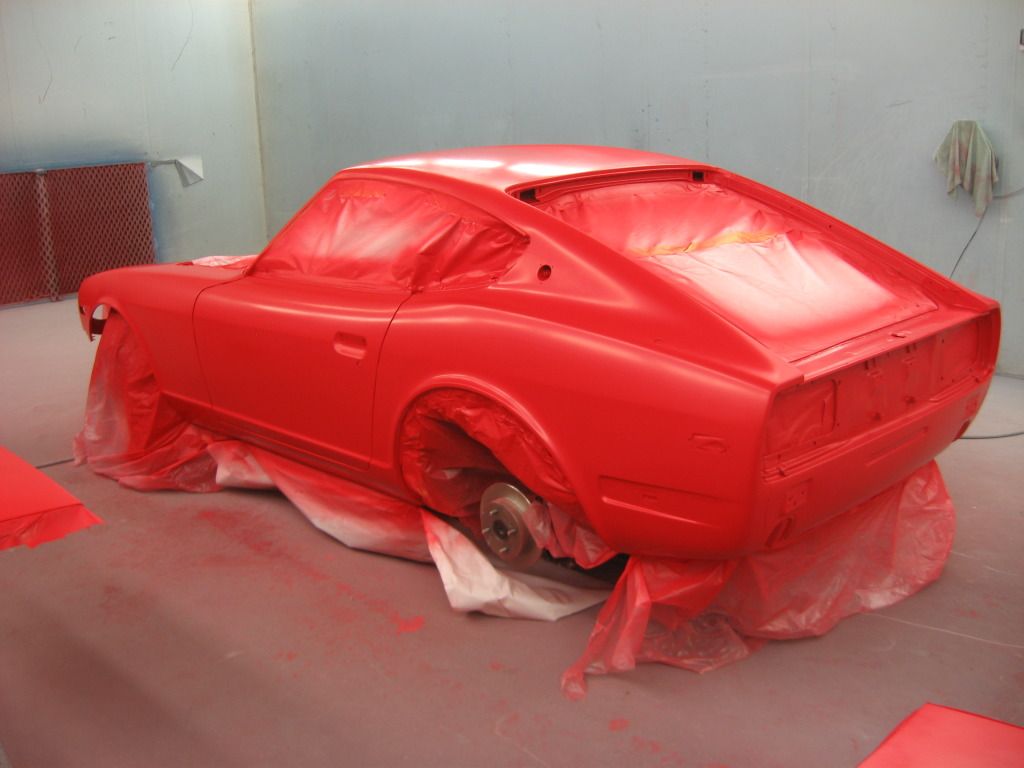
Basecoat. (Viper red)
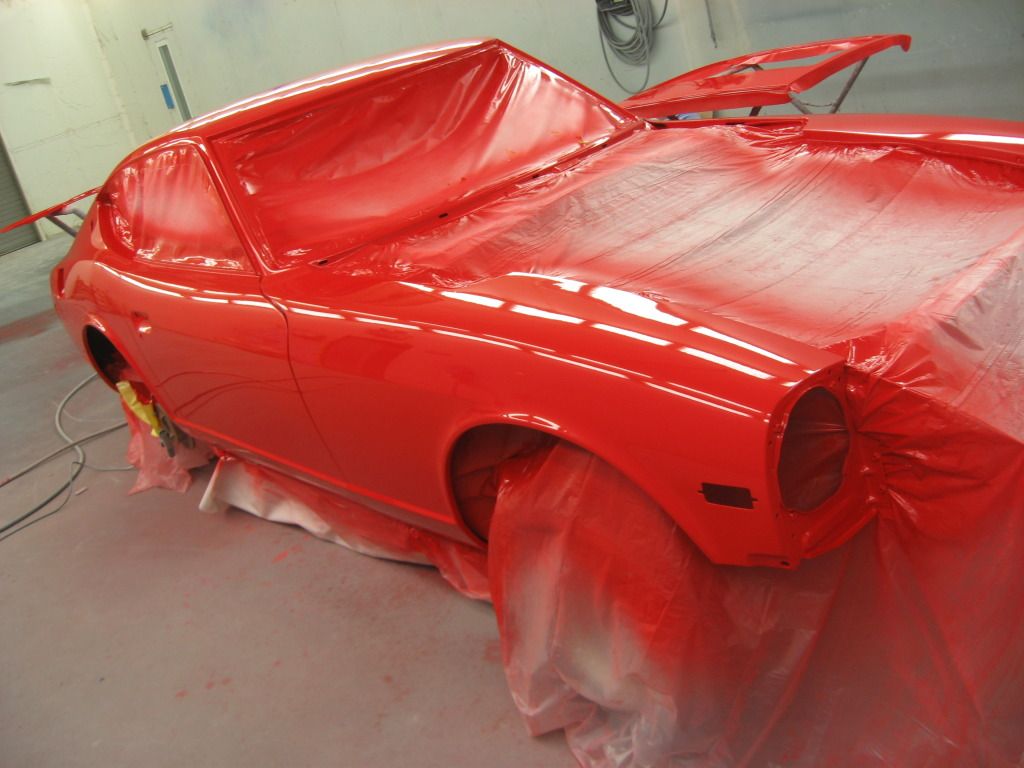
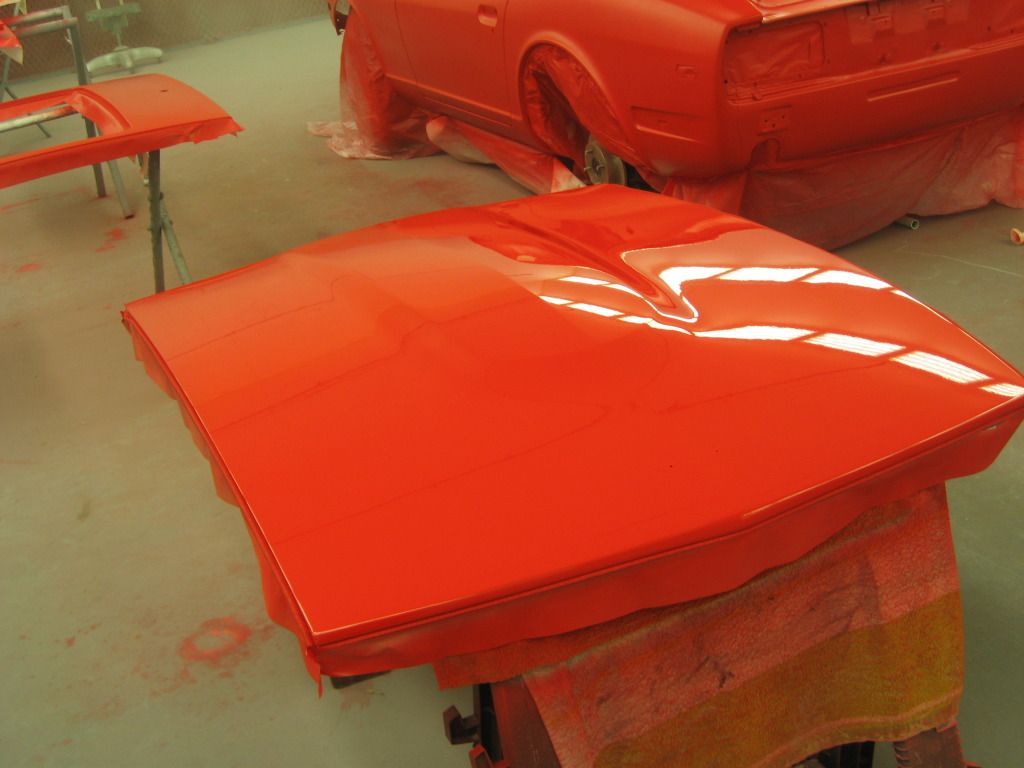
Clearcoat!
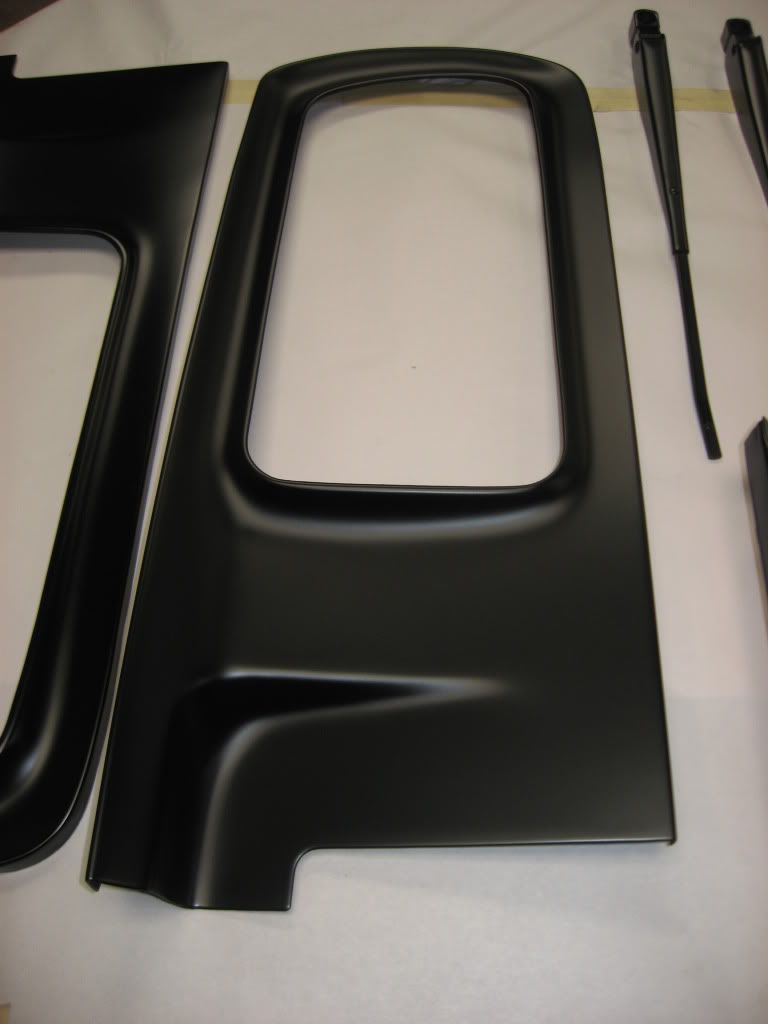
SEM hotrod black.
Fresh plates! (Owner has had this same plate number since he bought the car new!)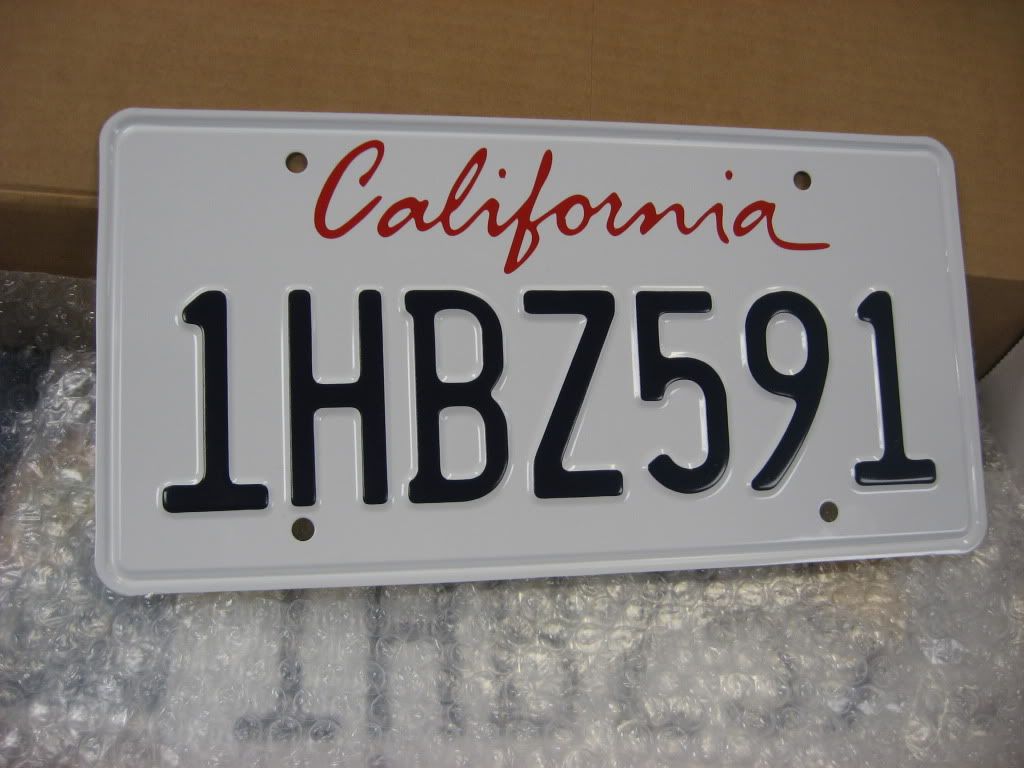
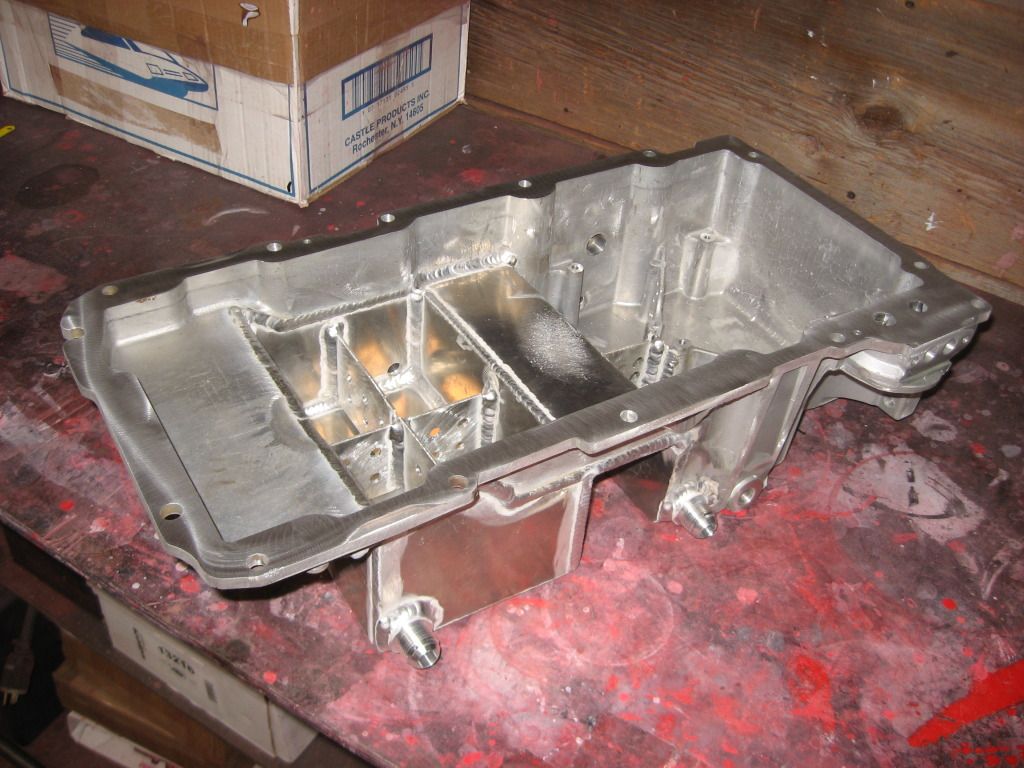
Custom dual sump pan.
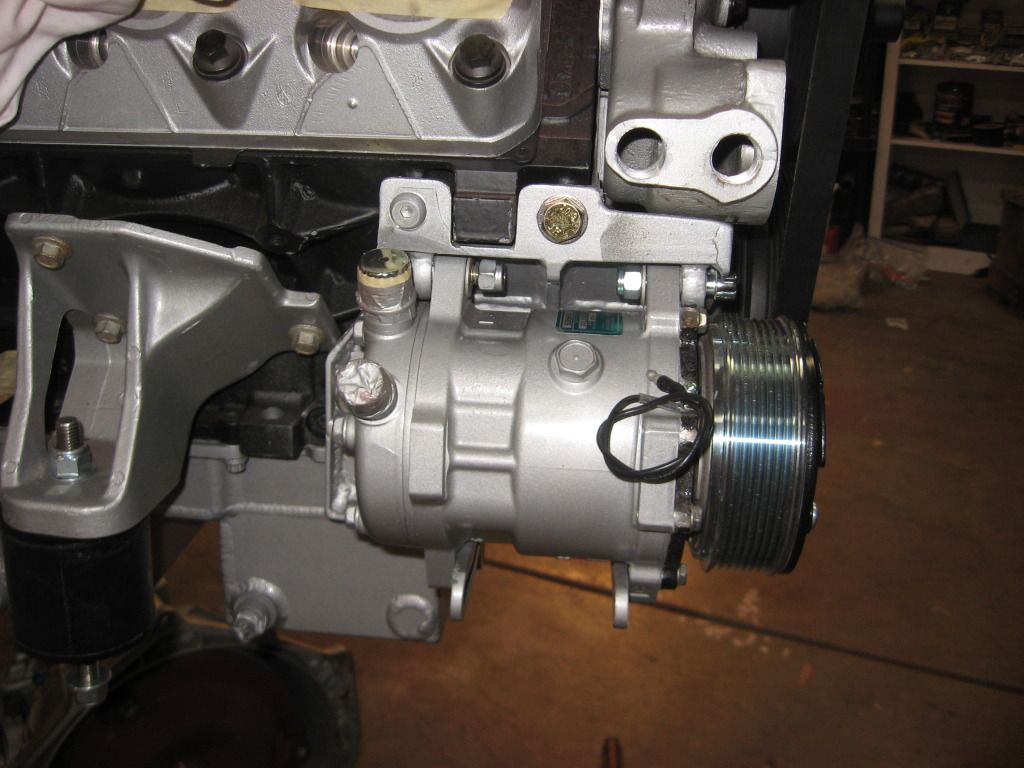
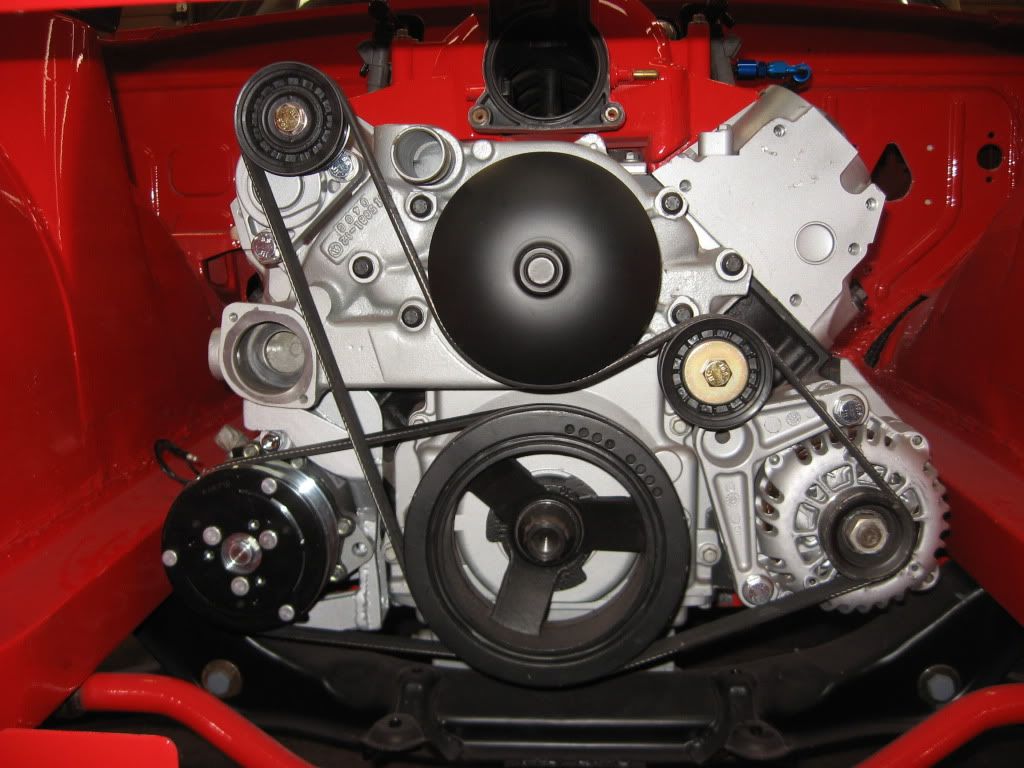
Custom Sanden 508 bracket.
Hinson Z06 polyurthane mounts.
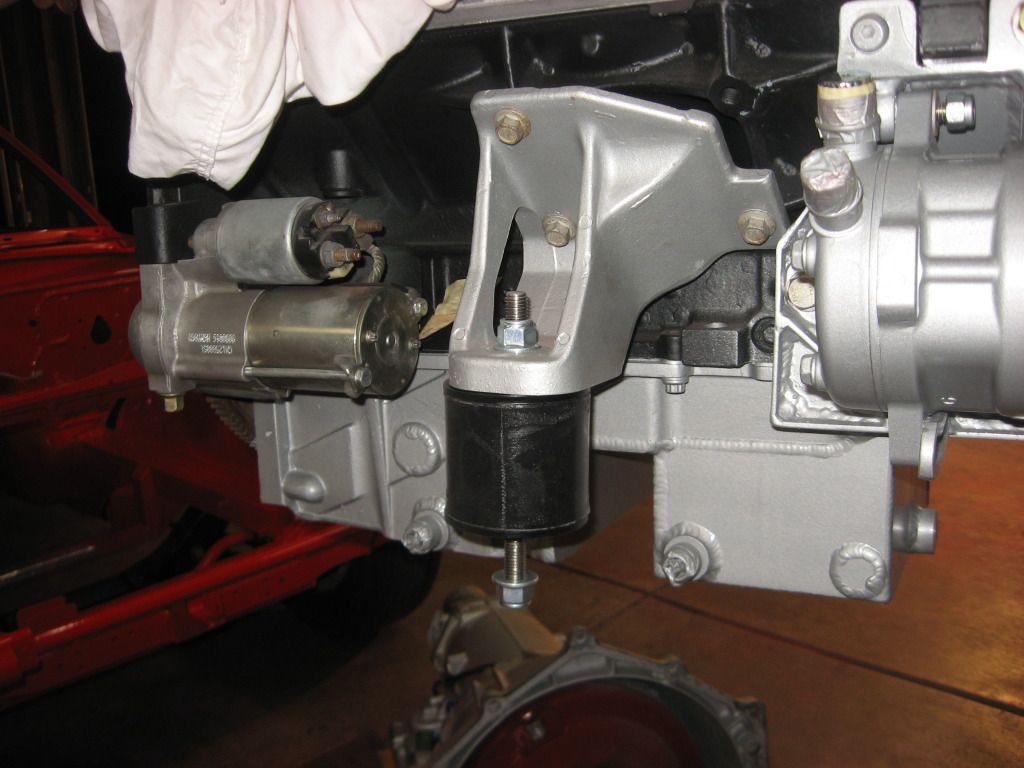
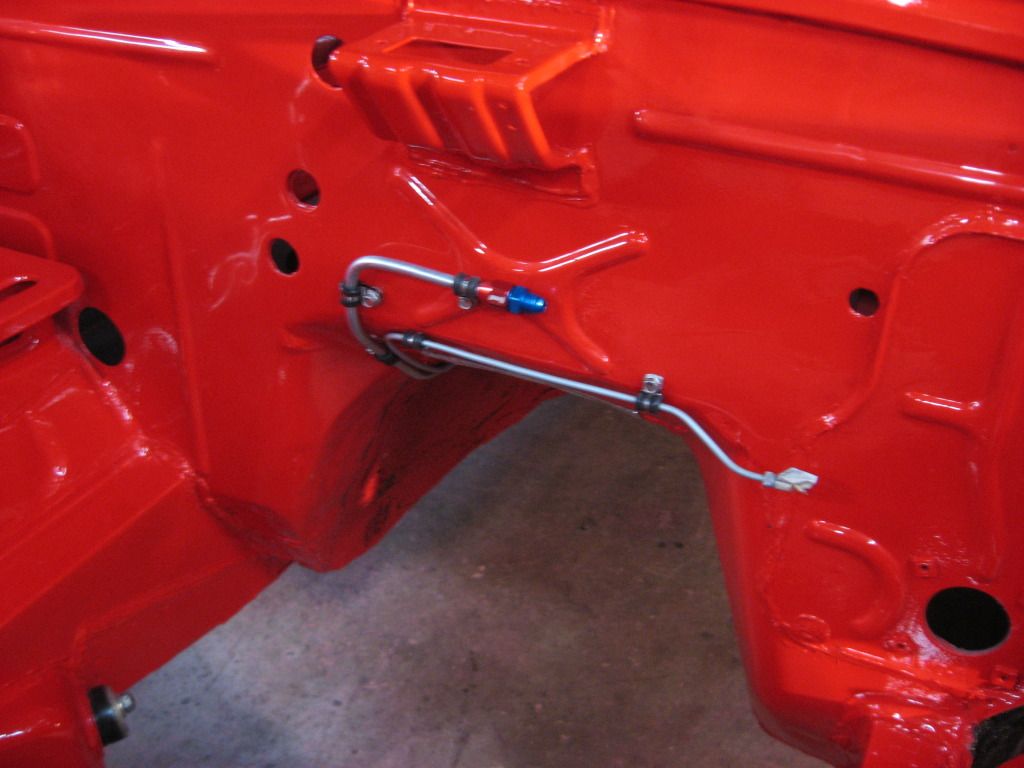
Some plumbing finished to permit engine/ trans installation.
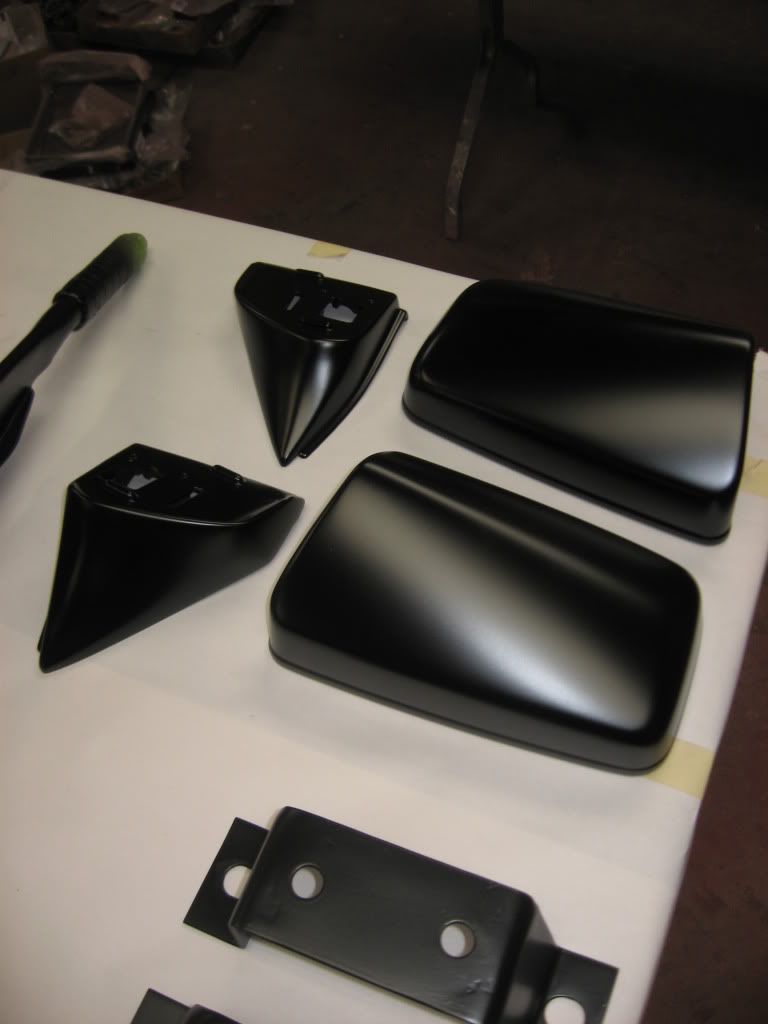
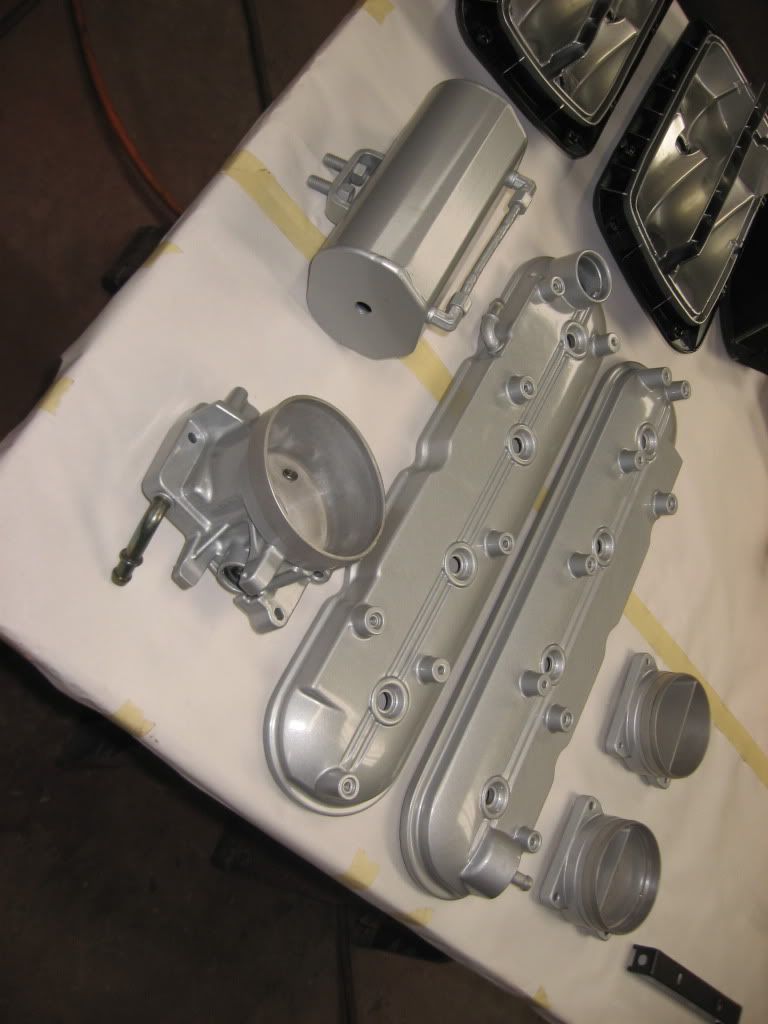
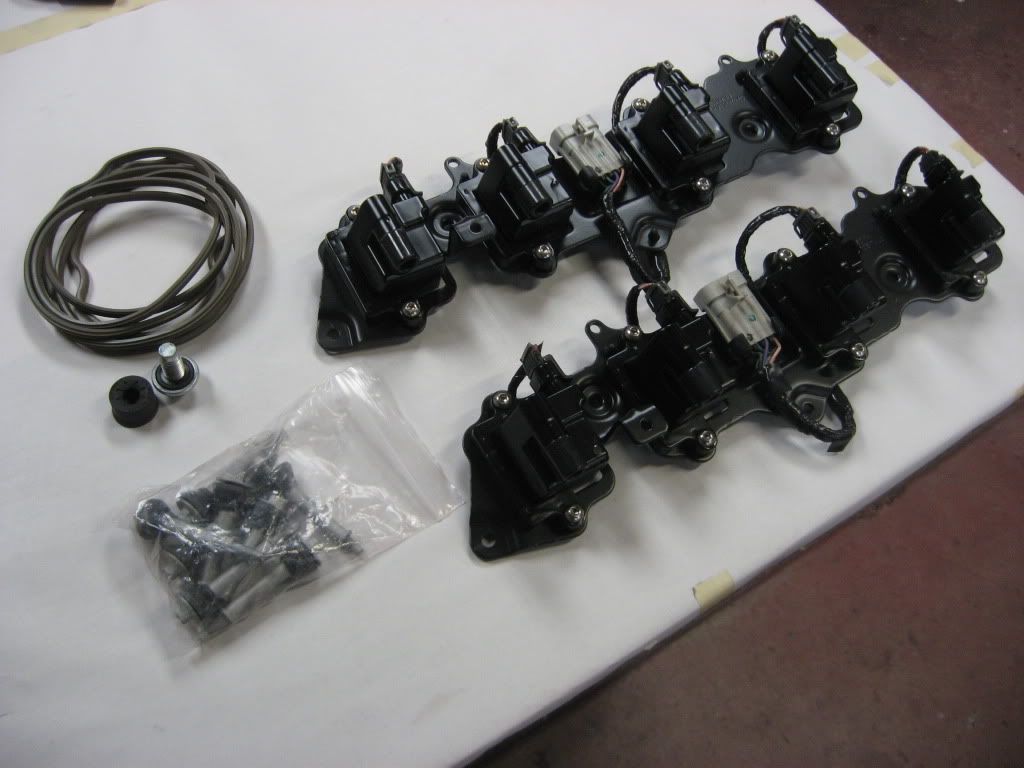
Misc parts refinished.
Engine in!
Thanks for looking!
Over 1,000 hi res images, and timelapse videos of the build here
I will however occasionally update this thread with lots of full size images as time permits and partake in discussion.
-------------
I thought I would start a build thread for the latest car I'm working on. It's a single owner 1973 Datsun 240z. I am restoring/ bringing it up to todays standards for my second cousin who resides in Redondo Beach California.
I've been working on the car for roughly 2 years. The car is getting a lot of goodies such as A/C, security system, power everything, etc. The engine is a 5.3L from a 2001 GMC truck. 4l60E transmission.
The goal for the car is to have a very clean build. Somewhat "production" like. A lot of time has been put into making the car extremely serviceable, and enjoyable to drive on a daily basis.
Here are a few time lapse videos of the build. I just recently started recording these.
And here are some pictures.
My time lapse rig.
Fresh of the trailer from California.
Tame 355.
Lots of body work!
Lots of epoxy primer and urethane seam sealer throughout the whole car.
Lizzard skin sound deadener.
Spray on epoxy bedliner.
More bedliner on the undercarriage.
Engine bay sprayed.
Prepping for the paint booth.
Off to the booth she goes!
At the booth with the engine bay and door jambs edged in.
Basecoat. (Viper red)
Clearcoat!
SEM hotrod black.
Fresh plates! (Owner has had this same plate number since he bought the car new!)
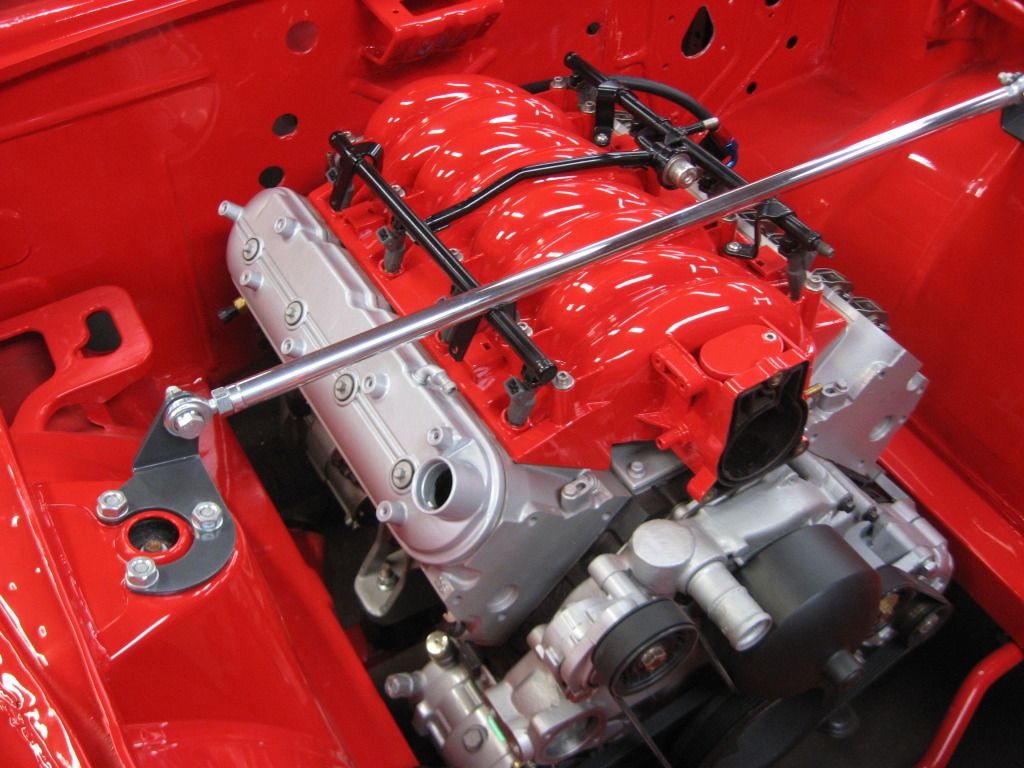
Custom dual sump pan.
Custom Sanden 508 bracket.
Hinson Z06 polyurthane mounts.
Some plumbing finished to permit engine/ trans installation.
Misc parts refinished.
Engine in!
Thanks for looking!
Last edited by tylert14; 04-15-2013 at 03:49 PM.


 12-03-2012, 10:55 AM
#4
WOW! that is one awesome datsun! Great work and great attention to detail, the devil is in the details! Subscribed!
__________________

Standalone LS Swap Harnesses IN STOCK!
LSX, LTX Stand alone swap harnesses. S10 LSX conversion PLUG AND PLAY harnesses, 24x conversion PLUG AND PLAY harnesses. LT1 to LSX PLUG AND PLAY Harnesses.
sales@bp-automotive.com
www.bp-automotive.com
1-888-467-4491
Standalone LS Swap Harnesses IN STOCK!
LSX, LTX Stand alone swap harnesses. S10 LSX conversion PLUG AND PLAY harnesses, 24x conversion PLUG AND PLAY harnesses. LT1 to LSX PLUG AND PLAY Harnesses.
sales@bp-automotive.com
www.bp-automotive.com
1-888-467-4491
12-03-2012, 12:41 PM
#5
Very pretty. Maybe some day my zed will look half that nice.
I was wondering why you had to notch the oil pan like that, but I went to the link and answered my own question.
What headers will you run with that?
I was wondering why you had to notch the oil pan like that, but I went to the link and answered my own question.
What headers will you run with that?
12-03-2012, 03:03 PM
#6
Thanks everyone!
Yeah the notch in the pan is to clear the engine mount subframe I fabd.
I'll be making my own s.s. headers for it. I wanted to run LS7 manifolds but they interfere with the Z06 engine mount pieces being switched around side to side.
Exhaust clearance is extremely tight. It's definitely going to be the most challenging exhaust system I have ever built. I'll be doing the exhaust soon. I'm waiting to get the differential installed and the driveline angle shimmed perfect before I start due to the exhaust clearance being so tight. I don't want to leave any room for error!
12-03-2012, 04:00 PM
#7

Thanks everyone!
Yeah the notch in the pan is to clear the engine mount subframe I fabd.
I'll be making my own s.s. headers for it. I wanted to run LS7 manifolds but they interfere with the Z06 engine mount pieces being switched around side to side.
Exhaust clearance is extremely tight. It's definitely going to be the most challenging exhaust system I have ever built. I'll be doing the exhaust soon. I'm waiting to get the differential installed and the driveline angle shimmed perfect before I start due to the exhaust clearance being so tight. I don't want to leave any room for error!
Yeah the notch in the pan is to clear the engine mount subframe I fabd.
I'll be making my own s.s. headers for it. I wanted to run LS7 manifolds but they interfere with the Z06 engine mount pieces being switched around side to side.
Exhaust clearance is extremely tight. It's definitely going to be the most challenging exhaust system I have ever built. I'll be doing the exhaust soon. I'm waiting to get the differential installed and the driveline angle shimmed perfect before I start due to the exhaust clearance being so tight. I don't want to leave any room for error!
Trending Topics
12-03-2012, 06:48 PM
#9
With how solid the chassis is, all the various sound deadening practices I am employing, and the fact that the car is retaining a factory cam I crossing my fingers that the poly mounts will not transfer obvious NVH into the cabin.
If the poly mounts present a problem after the car is up and running I will be looking into using a mount somewhere between poly and hydraulic. Most likely won't be an off the shelf solution though so that's why i decided to give the poly mounts a shot.
12-03-2012, 08:26 PM
#10
Thanks for the answer. I have tight clearance around the exhaust, but am using F-body mani's, also using c-5 mounts, which I just found are also hydraulic.
Last edited by rotor vs. piston; 12-03-2012 at 08:31 PM.
 12-03-2012, 08:43 PM
#13
Launching!
Beautiful S30 project. My dad has 5 immaculate 240z's all with under 90k miles and 2 of them with less than 40k. Having restored his 71 with him (2012 Nationals 2nd place winner), I know how much work it takes to get one to this level. Extremely impressed sir. Looking forward to the final outcome.
12-04-2012, 05:25 AM
#14
Those Hinson poly mounts claim to have NVH somewhere inbetween true poly and a stock mount. Ought to be interesting.
I went with the S&P biscuit mounts. Basically shock mounts with a bolt in the middle. Like you said the C5 mounts are massively huge and I wasn't overly concerned with vibration. I also added a cross piece for the engine mounts, but must have gotten it farther forward cause I run an unmodified LS2 vette pan. I was also able to run off the shelf shorty headers.
I'm surprised you didn't run some type of sub frame connectors, or did I miss that in the pics? The floor pans on these 240's could really use some help.
12-04-2012, 01:28 PM
#15
Beautiful S30 project. My dad has 5 immaculate 240z's all with under 90k miles and 2 of them with less than 40k. Having restored his 71 with him (2012 Nationals 2nd place winner), I know how much work it takes to get one to this level. Extremely impressed sir. Looking forward to the final outcome.
12-04-2012, 01:37 PM
#16
Those Hinson poly mounts claim to have NVH somewhere inbetween true poly and a stock mount. Ought to be interesting.
I went with the S&P biscuit mounts. Basically shock mounts with a bolt in the middle. Like you said the C5 mounts are massively huge and I wasn't overly concerned with vibration. I also added a cross piece for the engine mounts, but must have gotten it farther forward cause I run an unmodified LS2 vette pan. I was also able to run off the shelf shorty headers.
I'm surprised you didn't run some type of sub frame connectors, or did I miss that in the pics? The floor pans on these 240's could really use some help.
I went with the S&P biscuit mounts. Basically shock mounts with a bolt in the middle. Like you said the C5 mounts are massively huge and I wasn't overly concerned with vibration. I also added a cross piece for the engine mounts, but must have gotten it farther forward cause I run an unmodified LS2 vette pan. I was also able to run off the shelf shorty headers.
I'm surprised you didn't run some type of sub frame connectors, or did I miss that in the pics? The floor pans on these 240's could really use some help.
I built the cross piece to align with the c6 engine mounts, then built the pan around it.
The engine is pushed back as far as possible and it is also offset to the pas. side like the original I6. That's why my exhaust space is so limited.
As for the floor. I thought about running some rectangular tubing to tie in the front rail to the back, but I decided not to since this cars going to stay a mild setup with street tires its while life. The sfcs got put in the "yeah I could but there's a lot of thing I could do" section of the build.
12-05-2012, 08:33 AM
#17
Launching!

Join Date: Jan 2008
Location: Allen,TX.
Posts: 245
Likes: 0
Received 0 Likes
on
0 Posts

Beautiful work, I have a 240 with a first gen sbc 385 and am in the beginning stages of swapping a L76 6 liter/4L80E in mine. Where did you get the mounts, Broken Kitty/ John's Cars?
I was looking at there stuff but have heard they were bulky.
Mike
I was looking at there stuff but have heard they were bulky.
Mike
12-05-2012, 12:30 PM
#19
The engine mounts are from a c6 zo6 on the engine side of things. Chassis side wise is all custom, consisting of 1" x 2" steel tube and steel plate.
The alternator is in the stock f-body location. The a/c compressor is mounted via a custom bracket.
You may be able to use a factory AC comp and mount if you centered the engine instead of offsetting it like I did. I don't have much room on my passenger side. I have plenty on the drivers side
The alternator is in the stock f-body location. The a/c compressor is mounted via a custom bracket.
You may be able to use a factory AC comp and mount if you centered the engine instead of offsetting it like I did. I don't have much room on my passenger side. I have plenty on the drivers side