When you click on links to various merchants on this site and make a purchase, this can result in this site earning a commission. Affiliate programs and affiliations include, but are not limited to, the eBay Partner Network.
Swapping a 1999 fbody ls1 into a volvo v90. Using the holley 302-1 oil pan which clearly states "Requires use of Holley 302-15 Dipstick and Tube Kit or LS3 dipstick (GM P/N 12669528) and tube (GM P/N 12625031)"
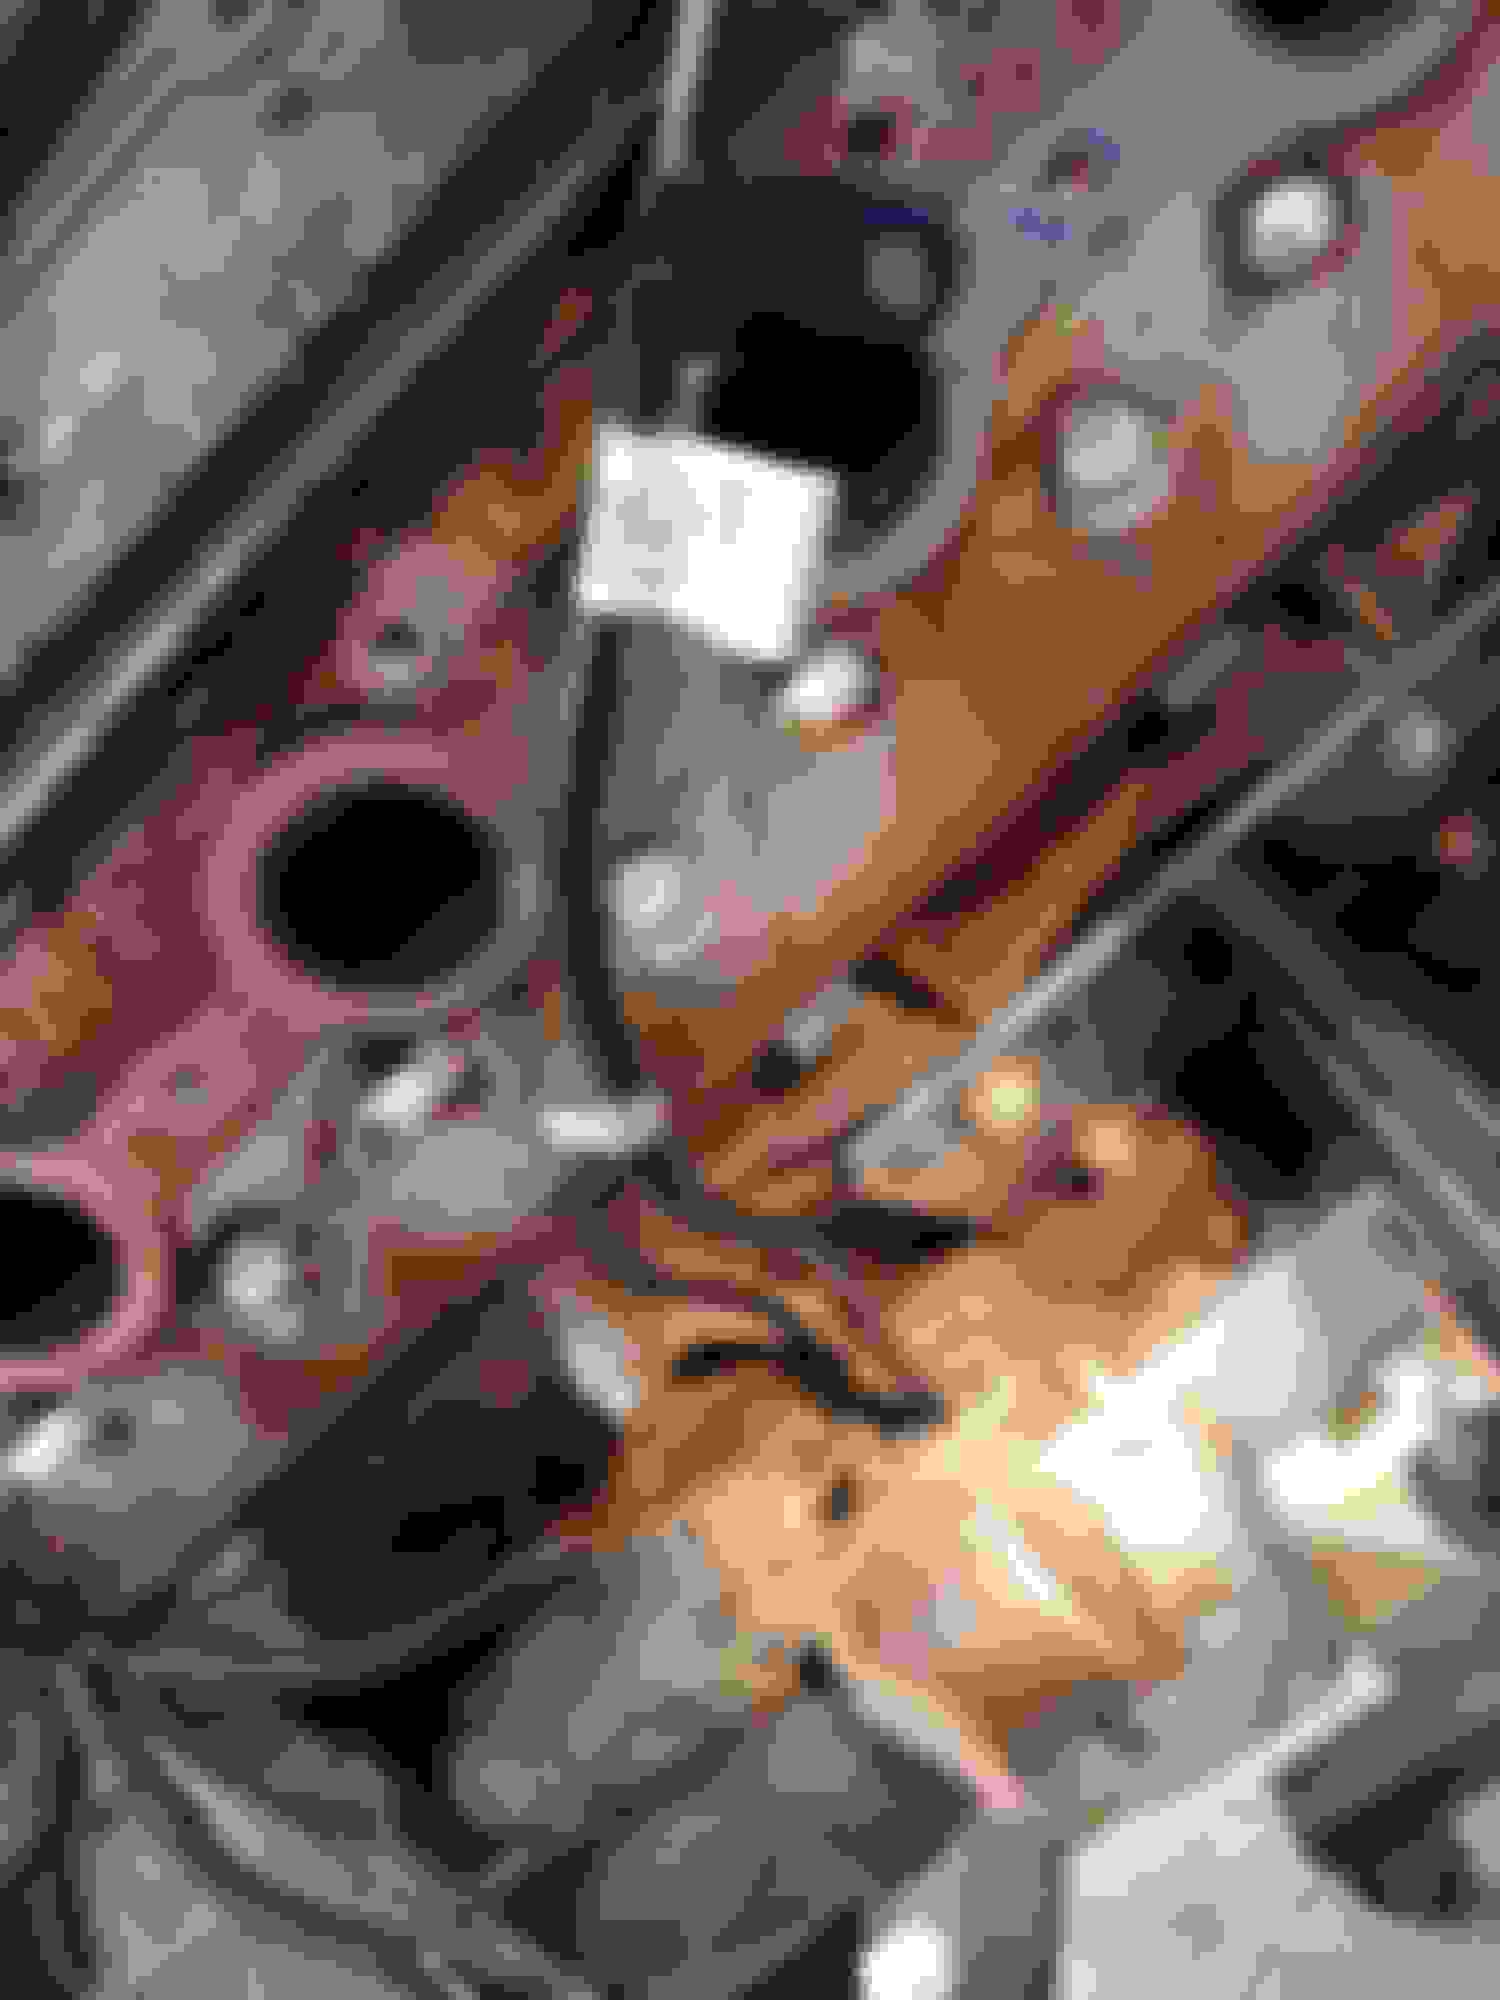
Well, i've purchased both the 12669528 (dipstick) and 12625031 (tube), and can't for the life of my figure out how the dipstick tube is supposed to mount on the block! Does anybody have a good picture or description of how this played out in your swap?
It's almost as if the dipstick tube i got is a little bent or something, it's close to landing on one hole in the block (see pictures) but wont quite make it.....
any reason i can't just use an fbody dipstick and tube, or possible one of the lokar flexible disticks? I am using block hugger headers and i'm not even sure the ls3 dipstick tube will clear those.
Aaaand it looks like it bolts to the hole above and between the front 2 exhaust ports. I think his tube got bent in shipping. Just gotta fanagle it around until it's right...
1) Holley says the capacity of the pan is 6 qts. Level the pan (off the motor) and add 6 qts of water. Confirm that sits BELOW the gasket sealing surface. When you get ready to fire up the beast, level the car and add 6 qts. of oil. Insert dipstick - remove it and take a file and make a mark at the oil level showing on the dipstick. That's YOUR new 'full' mark, allowing for ignoring and not being confused by the multiple 'marks' on the dipstick.
2) Be sure to carefully measure and adjust (if needed) the clearance between the tube pickup and the bottom of the pan. Most recommend 5/16" - 1/2" clearance.
3) Be sure you have the correct size o-ring on the tube that goes into the pump. There's more than one size -- if you don't get the seal right, you'll be rewarded with impressively low oil pressure and all the fun that comes with removing the oil pan just as you completed the swap.
Last edited by Michael Yount; 08-31-2019 at 05:13 AM.
Be sure you have the correct size o-ring on the tube that goes into the pump. There's more than one size -- if you don't get the seal right, you'll be rewarded with impressively low oil pressure and all the fun that comes with removing the oil pan just as you completed the swap.
To help you here, if there is a rolled-in groove around the pickup tube right where it goes in the pump, use the "fat" O-ring. If the tube is un-grooved, the skinny one goes on.
wow as always thanks for the huge amount of support from this forum
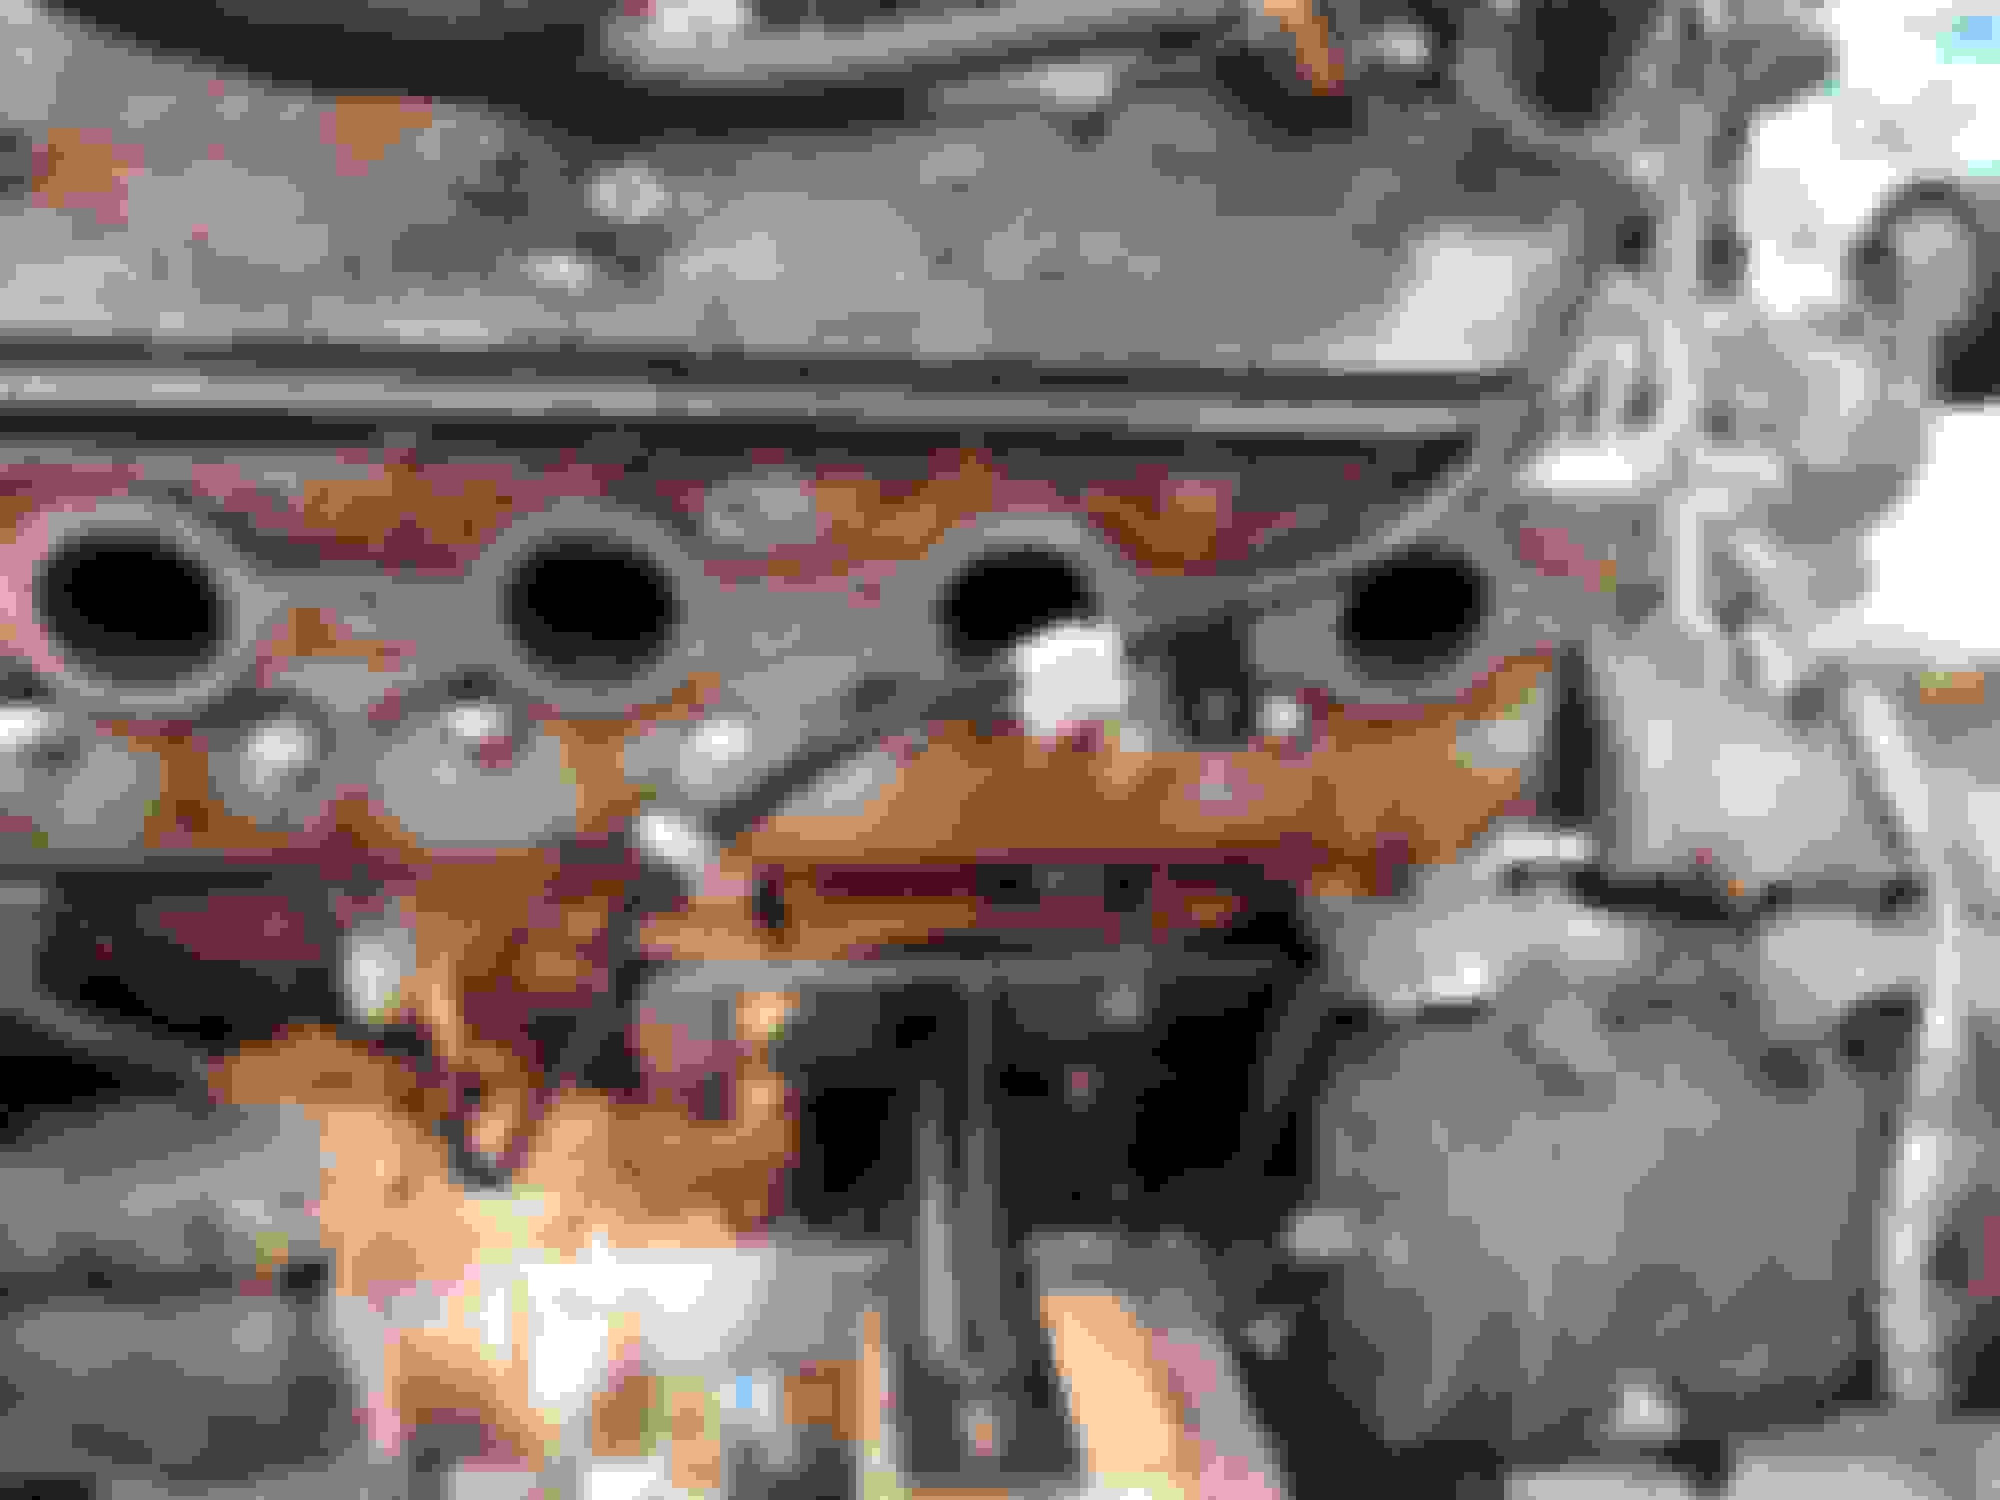
with some wrestling/wrangling and a new approach the dipstick tube is in. Initially my approach was to insert the tube into the hole in the block, then spin it around and try to line up the mounting hole. Did not work. New approach:
-insert just a little of the dipstick tube into the hole in block
-line up mount with bolt hole in bolt
-screw bolt in a little
-wrestle dipstick tube into hole as much as possible
-rotate around mounting bolt, then tighten down while pushing dipstick tube into hole
It's in! I still think this one got a bit mangled in shipping, it should've been easier. As a bonus, it even clears the block hugger headers....glorious.

 08-30-2019, 10:35 PM


 .
.