1970 GTO Version 3.0

TECH Apprentice


Joined: Jan 2015
Posts: 313
Likes: 127
From: Austin area
Thread Starter


Joined: Mar 2003
Posts: 10,607
Likes: 1,881
From: Little Austin
Thread Starter
Joined: Mar 2003
Posts: 10,607
Likes: 1,881
From: Little Austin
Since I decided to rotate the Holley Lo-Ram base front to back, I needed to add a fitting for the catch can. Instead of using the typical NPT to AN adapter, I used this straight thread ORB adapter.
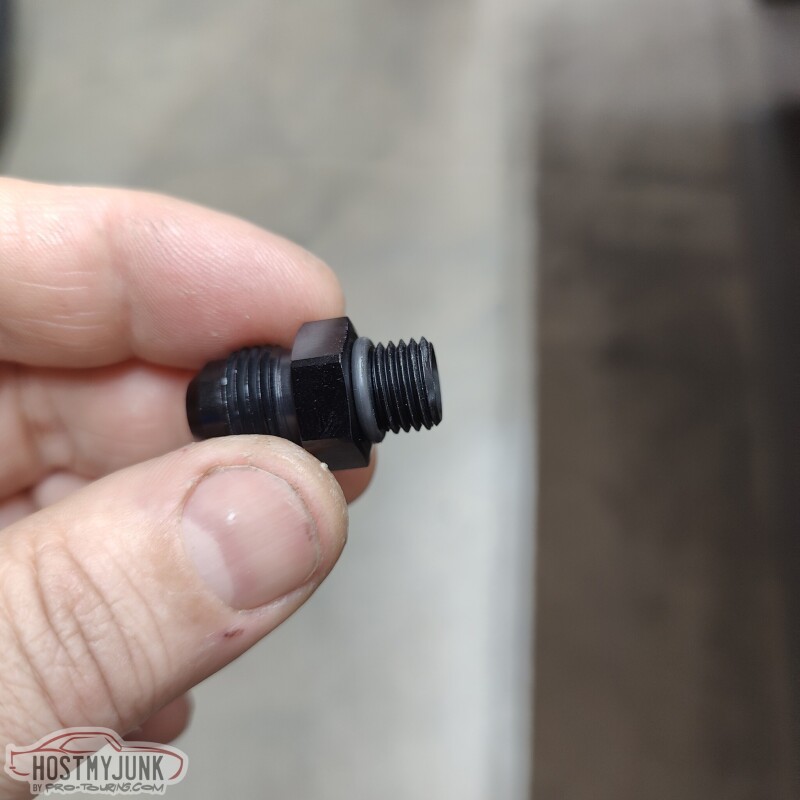
All that is needed is a little counter-sink for the o-ring to seal against. Sorted...
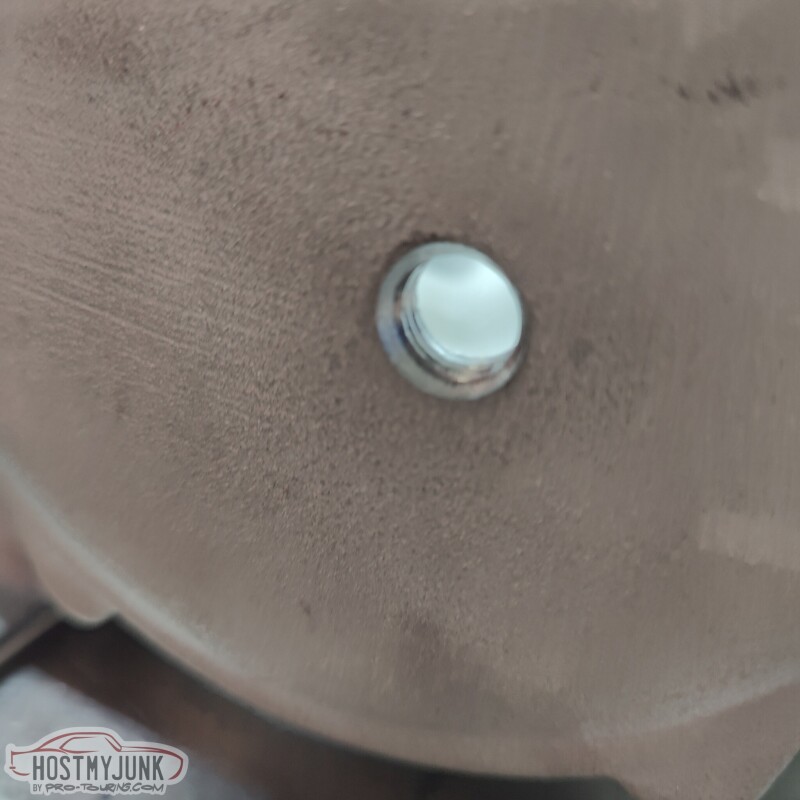
I needed a pass through for some wires to come through the firewall, low on the passenger side. This pass through is for wiring the heater control valve, fan speed signal, AC pressure sensor, EGT probe, and the dome pressure sensor.
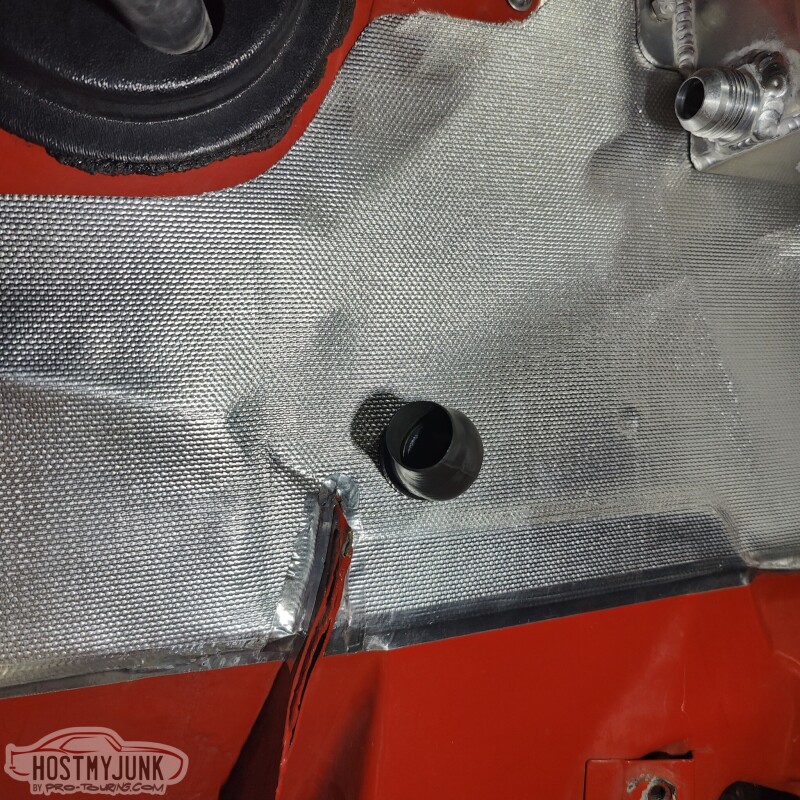
I enlarged an existing hole to 1" using a step drill and...
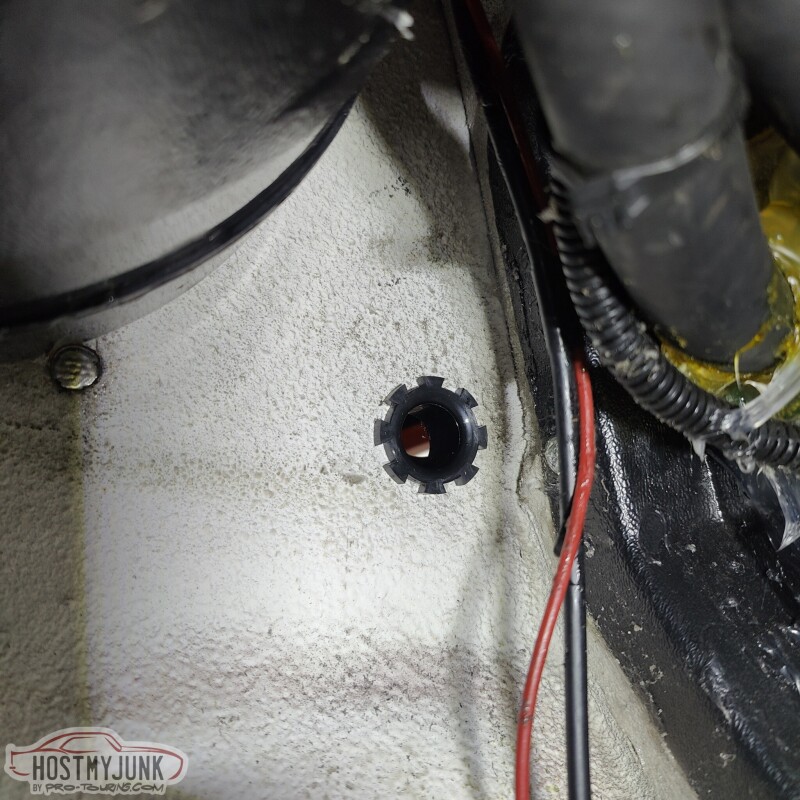
used a TE Connectivity 90 degree heat shrink boot passthrough.
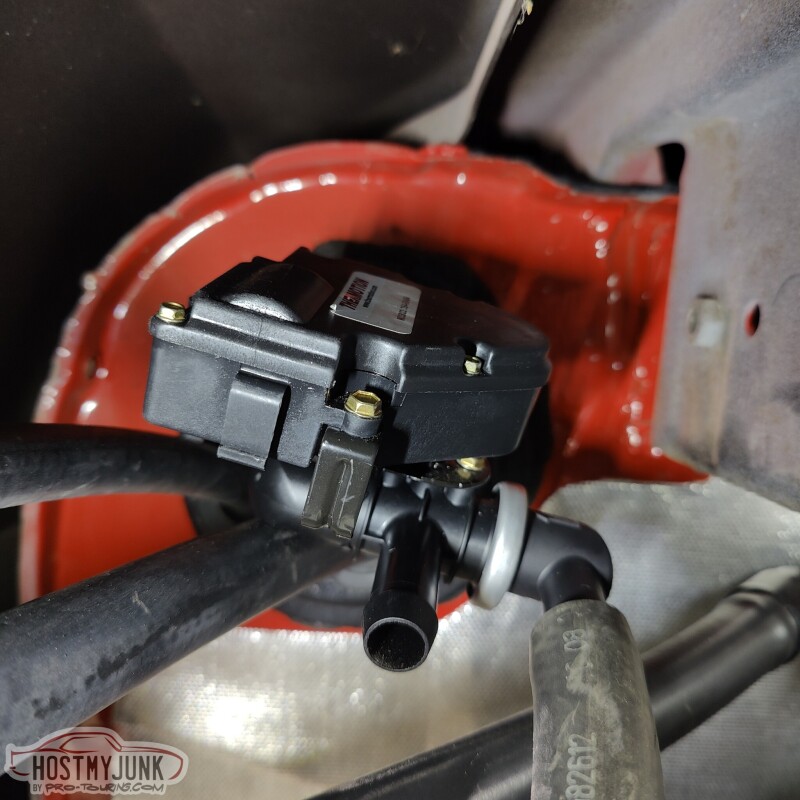
This is the 4 port, electronic heater control valve that I am using. It is sold by Thermotion. This will allow the coolant to flow through the heater core circuit when the valve is closed to shut the coolant flow through the heater core, when the AC is being used.
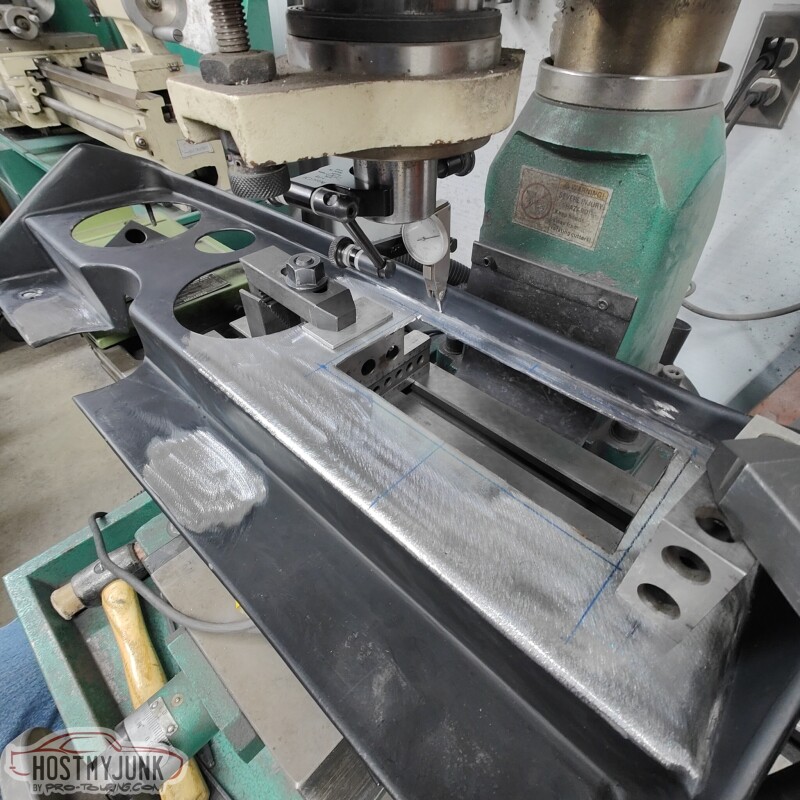
Vic also finished filling the holes in the dash. He then fixtures the dash in the mill to make the opening for the Holley 6.86" Pro-Dash.
Below the dash will be two of these VA dash vents:

Andrew
All that is needed is a little counter-sink for the o-ring to seal against. Sorted...
I needed a pass through for some wires to come through the firewall, low on the passenger side. This pass through is for wiring the heater control valve, fan speed signal, AC pressure sensor, EGT probe, and the dome pressure sensor.
I enlarged an existing hole to 1" using a step drill and...
used a TE Connectivity 90 degree heat shrink boot passthrough.
This is the 4 port, electronic heater control valve that I am using. It is sold by Thermotion. This will allow the coolant to flow through the heater core circuit when the valve is closed to shut the coolant flow through the heater core, when the AC is being used.
Vic also finished filling the holes in the dash. He then fixtures the dash in the mill to make the opening for the Holley 6.86" Pro-Dash.
Below the dash will be two of these VA dash vents:
Andrew
Thread Starter
Joined: Mar 2003
Posts: 10,607
Likes: 1,881
From: Little Austin
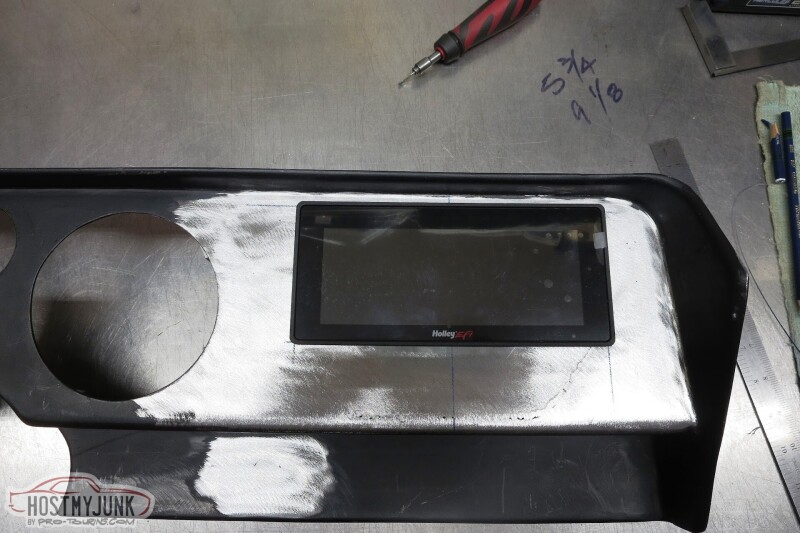
Yesterday Vic finished the opening for the Holley ProDash.
The Vintage Air vents will be here tomorrow, courtesy of @Summitracing .
Andrew
The Vintage Air vents will be here tomorrow, courtesy of @Summitracing .
Andrew
Thread Starter
Joined: Mar 2003
Posts: 10,607
Likes: 1,881
From: Little Austin
I am afraid that progress has slowed down a little. I am waiting on a local shop to get me in for the exhaust work and after that the car comes home.
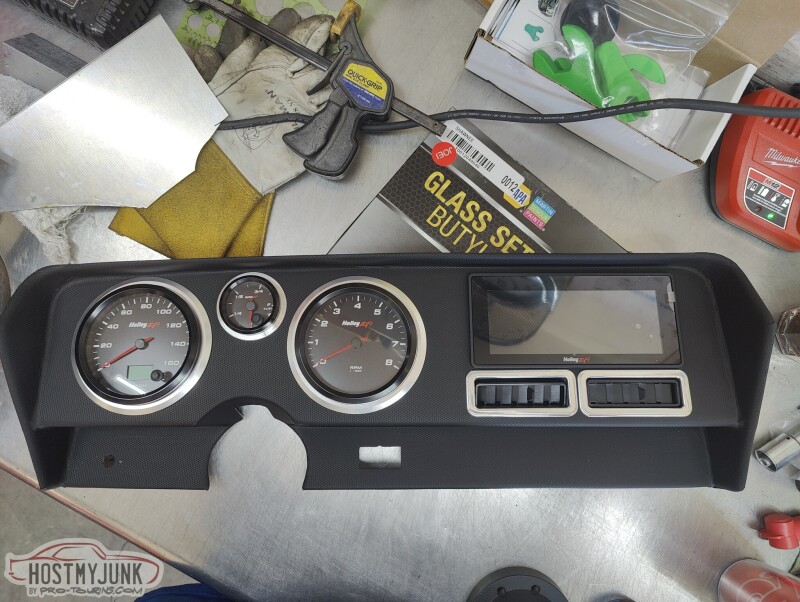
In the meantime, the dash is done:
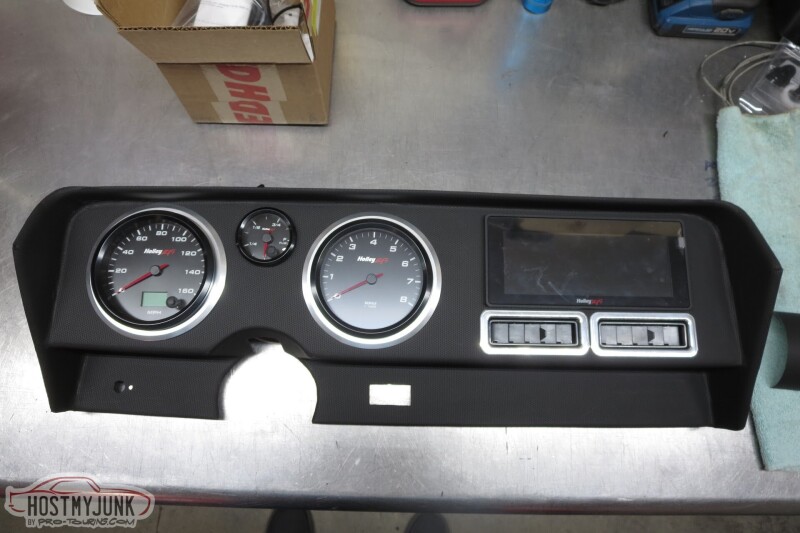
I may add a thin trim ring to the fuel level gauge, just to make it match the tach and speedo.
Andrew
In the meantime, the dash is done:
I may add a thin trim ring to the fuel level gauge, just to make it match the tach and speedo.
Andrew

Thread Starter
Joined: Mar 2003
Posts: 10,607
Likes: 1,881
From: Little Austin
Thread Starter
Joined: Mar 2003
Posts: 10,607
Likes: 1,881
From: Little Austin
I forgot to mention, the little slot to the right of the steering column is getting one of these:
https://www.molex.com/molex/products...ors/0795405067
Andrew
https://www.molex.com/molex/products...ors/0795405067
Andrew

TECH Senior Member


Joined: Jun 2016
Posts: 22,288
Likes: 3,615
From: Central Cal.
I forgot to mention, the little slot to the right of the steering column is getting one of these:
https://www.molex.com/molex/products...ors/0795405067
Andrew
https://www.molex.com/molex/products...ors/0795405067
Andrew

On The Tree
Joined: Feb 2012
Posts: 108
Likes: 40
From: Lombard, Il
I forgot to mention, the little slot to the right of the steering column is getting one of these:
https://www.molex.com/molex/products...ors/0795405067
Andrew
https://www.molex.com/molex/products...ors/0795405067
Andrew
Thread Starter
Joined: Mar 2003
Posts: 10,607
Likes: 1,881
From: Little Austin
Thread Starter
Joined: Mar 2003
Posts: 10,607
Likes: 1,881
From: Little Austin
I went over to Vic's today and did a bunch of little projects to get it ready for a move to Hotrod Express to do the exhaust system. I cleaned the underside as best as I could, installed the gas tank, tidied up any loose wires, and packed up all of the left over parts to take home.
While I was doing all that, Vic tipped up a trim ring for the fuel level gauge:
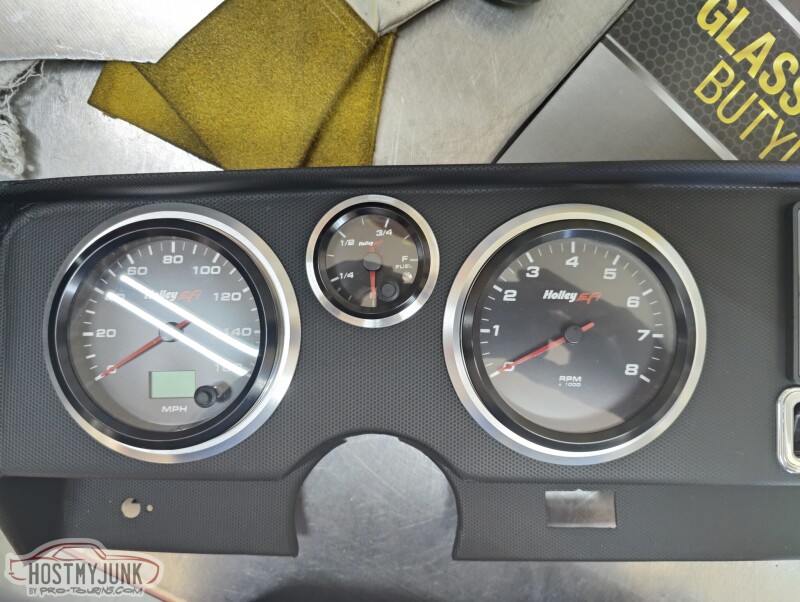
Some people had expressed a concern for a lack of trim ring, so there it is...
Andrew
While I was doing all that, Vic tipped up a trim ring for the fuel level gauge:
Some people had expressed a concern for a lack of trim ring, so there it is...
Andrew


Thread Starter
Joined: Mar 2003
Posts: 10,607
Likes: 1,881
From: Little Austin
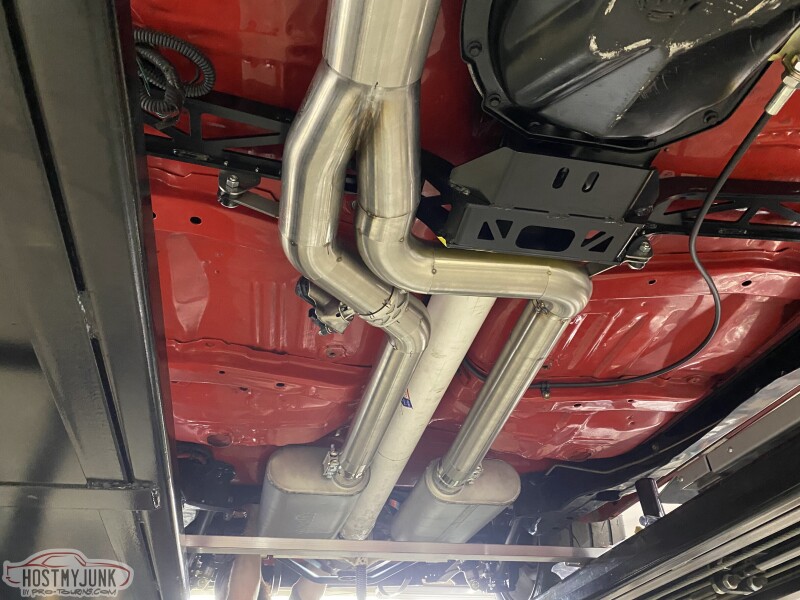
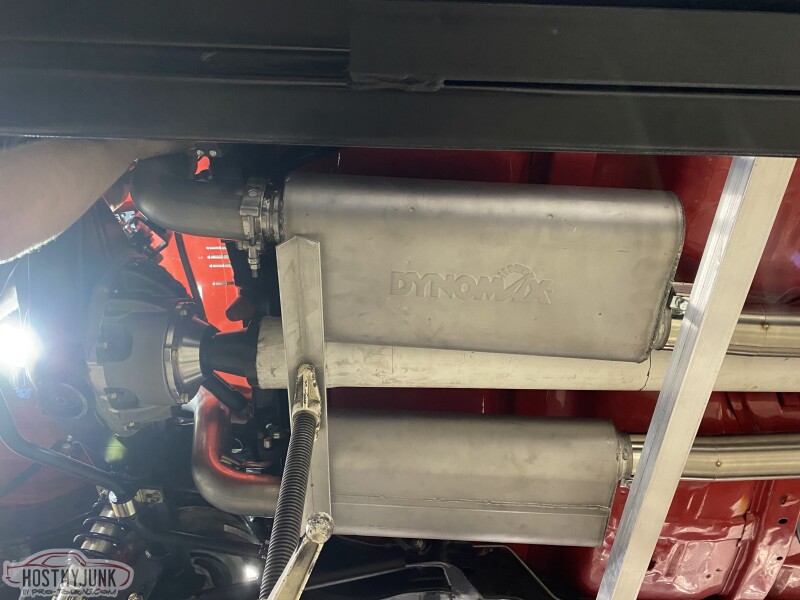
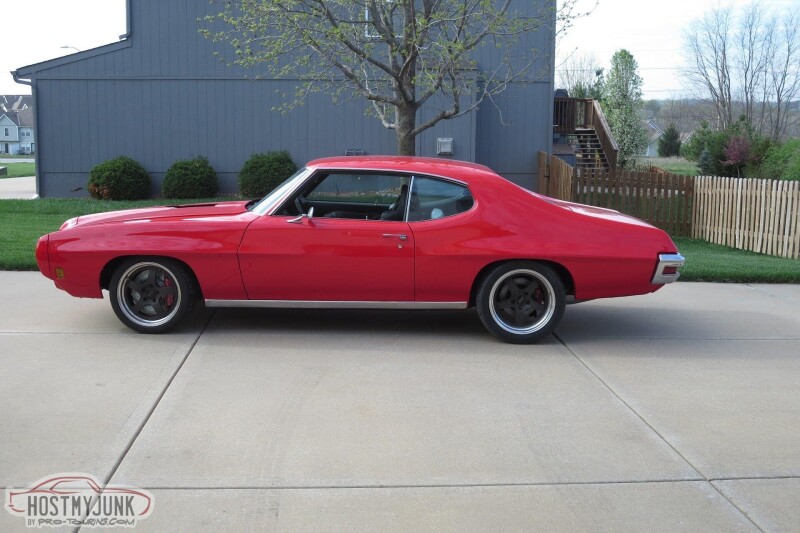
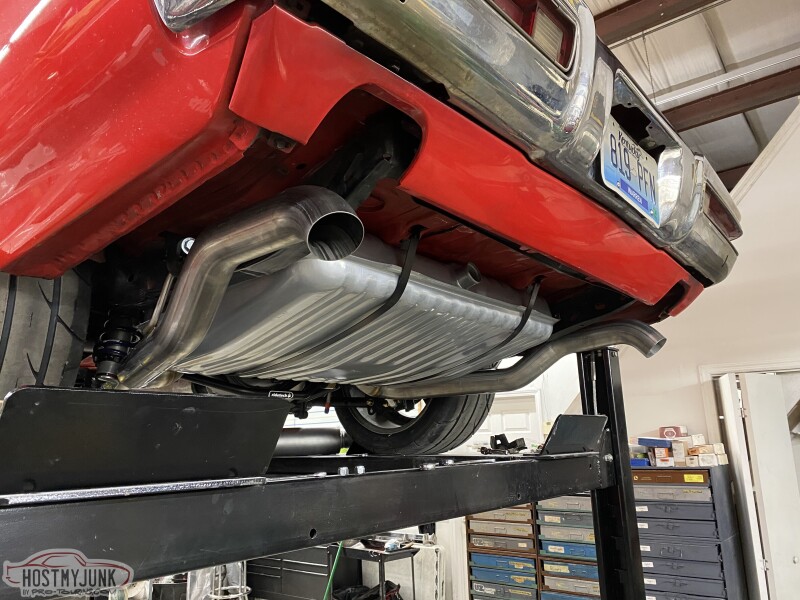
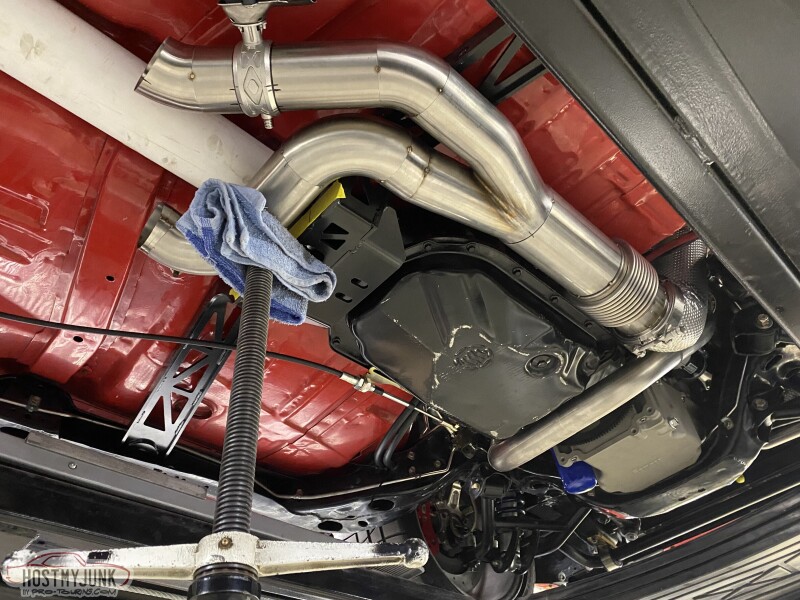
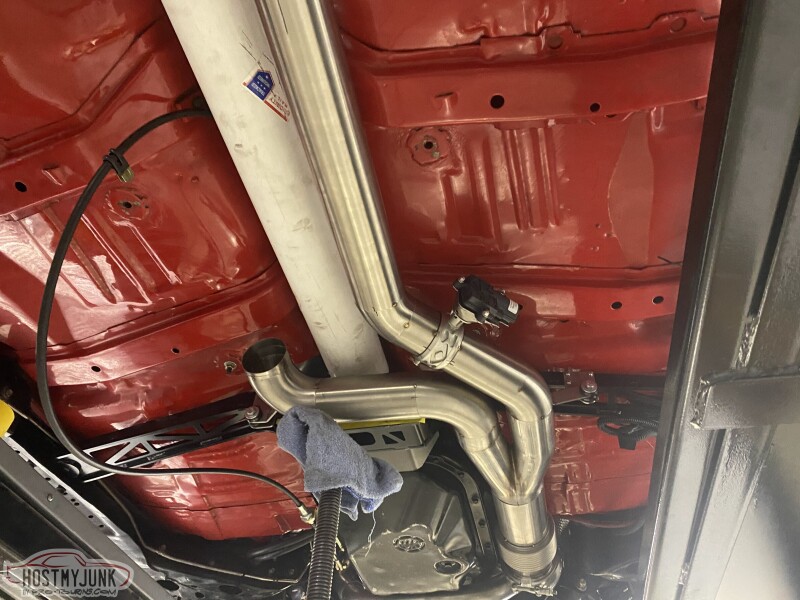
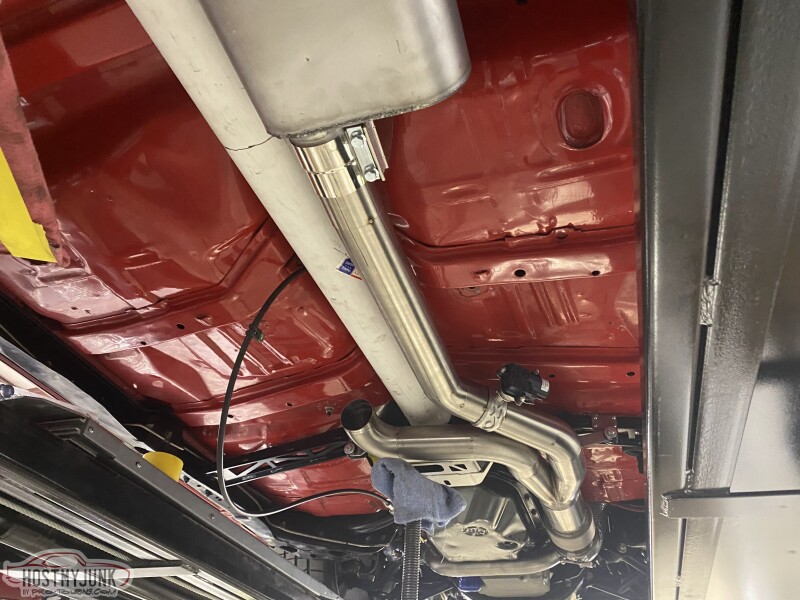
The GTO took a ride to Hotrod Express this morning to have the exhaust system built.
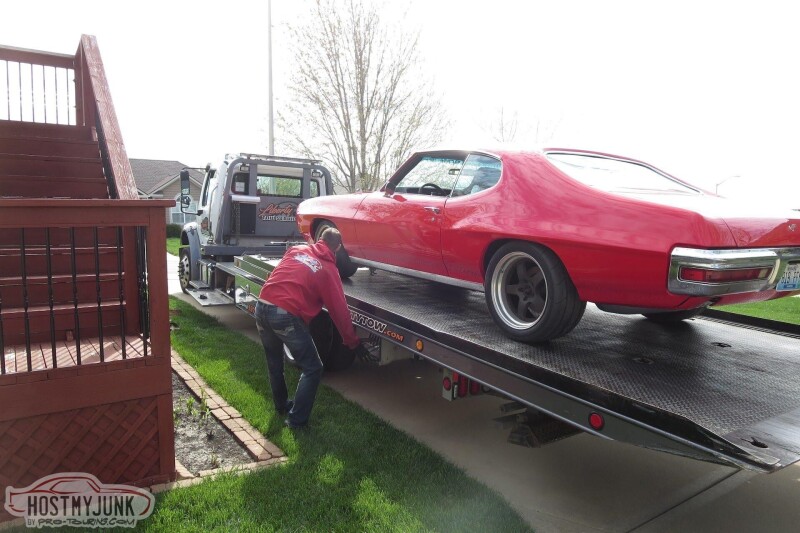
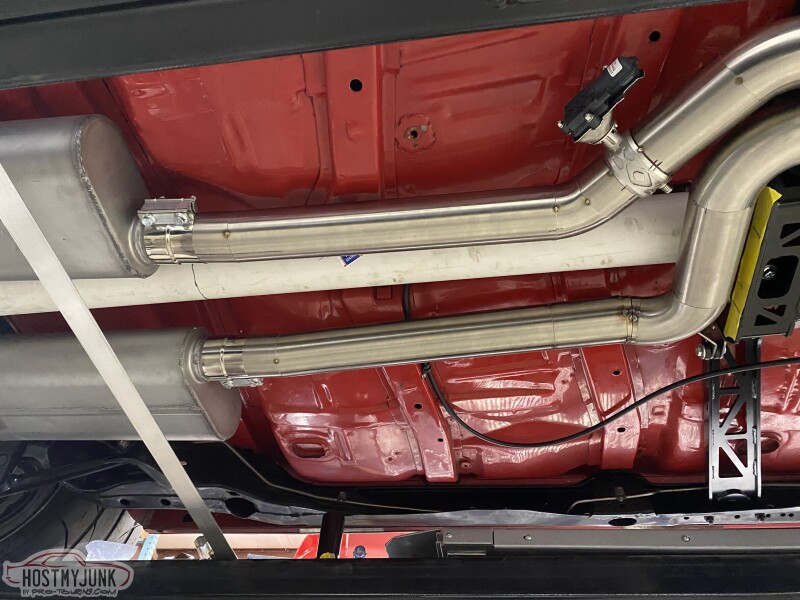
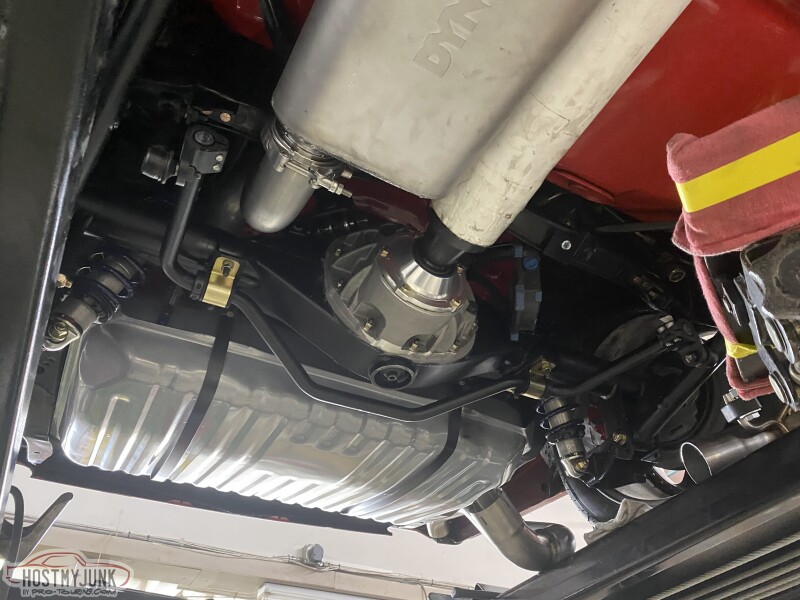
To recap, the plan is to carry the single 4" from the downpipe, past the transmission crossmember. From there I have a Burns Stainless single 4" to dual 3" splitter, which then will feed into Dynomax UltraFlow Welded (PN 17547) large case mufflers and then tailpipes out the back with the OEM looking dual tips in the stock location. One of the 3" pipes will also have the exhaust valve installed before the muffler. This will allow me to effectively turn it into a single exhaust system for cruising on the highway. The exhaust valve will be controlled by the Holley Dominator ECU.
Andrew
Thread Starter
Joined: Mar 2003
Posts: 10,607
Likes: 1,881
From: Little Austin
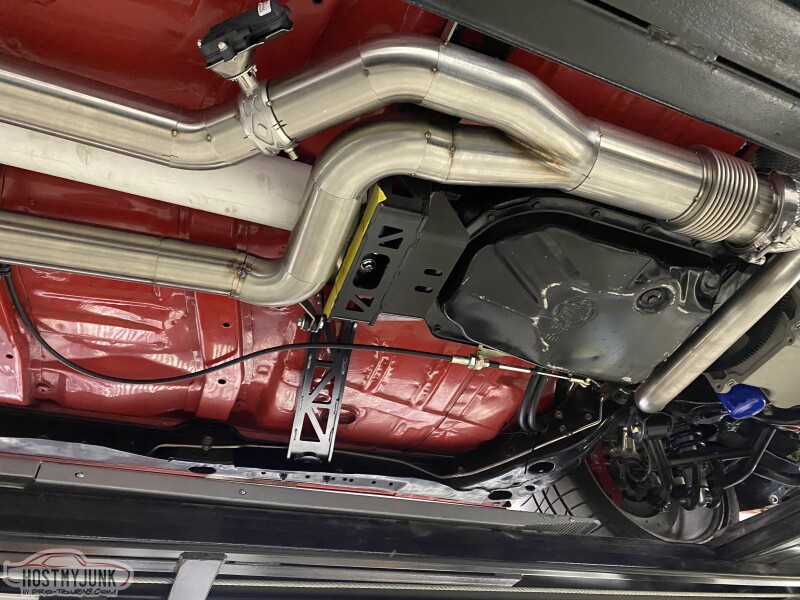
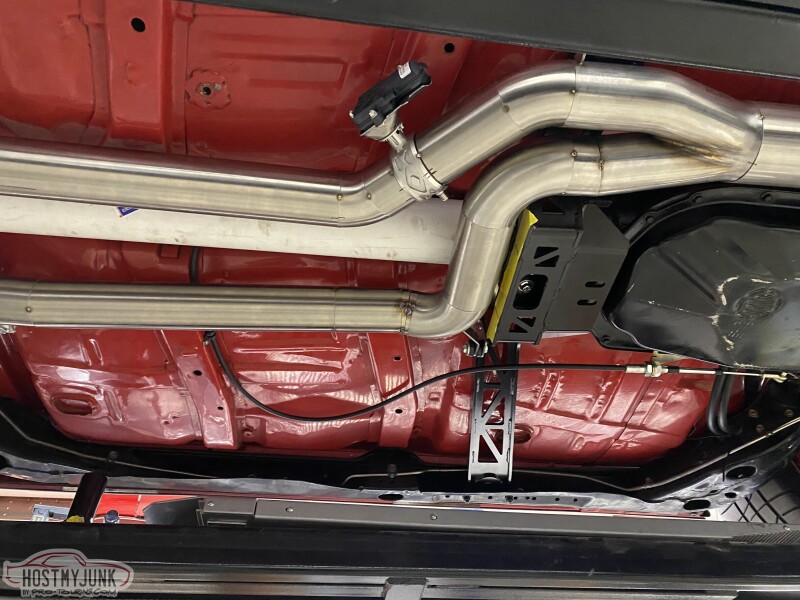
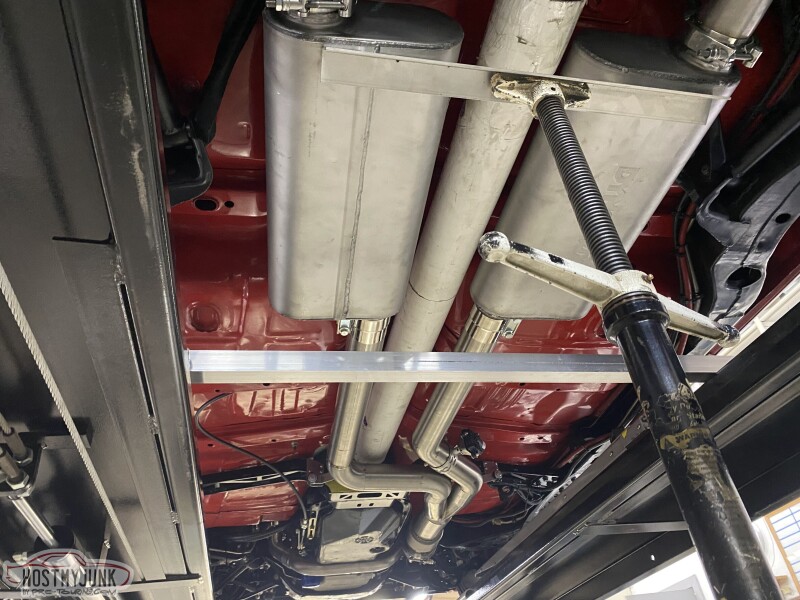
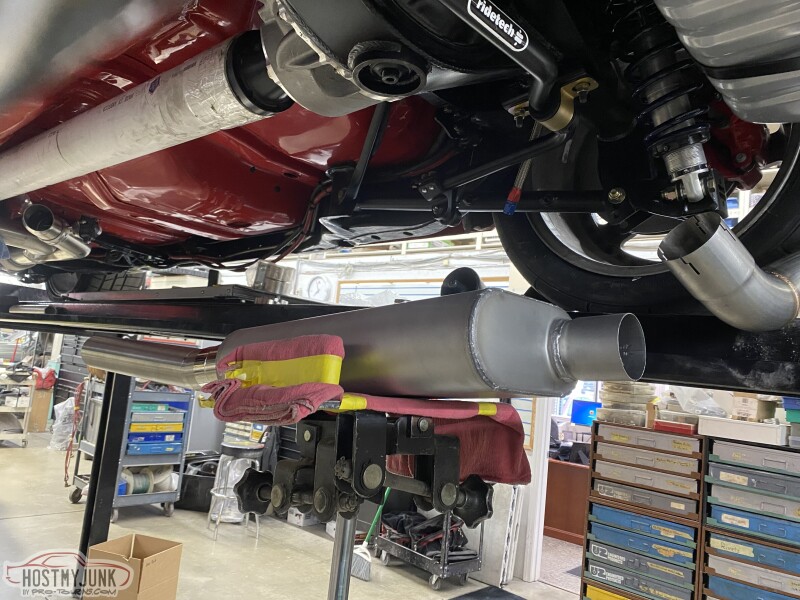
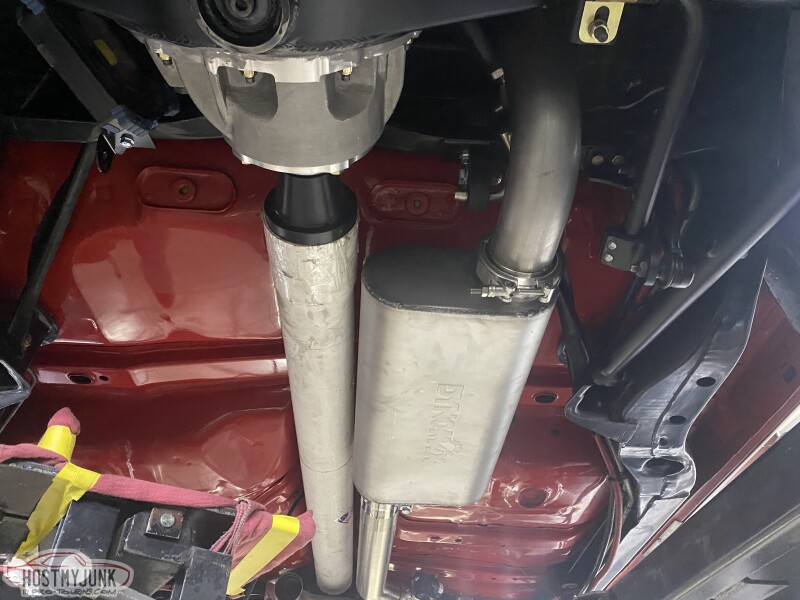
The GTO is at HotRod Express and they have been making some progress on the exhaust.
The ends of the tailpipes will also be modified to bring the stock looking tips through the cutouts in the rear valance panel.
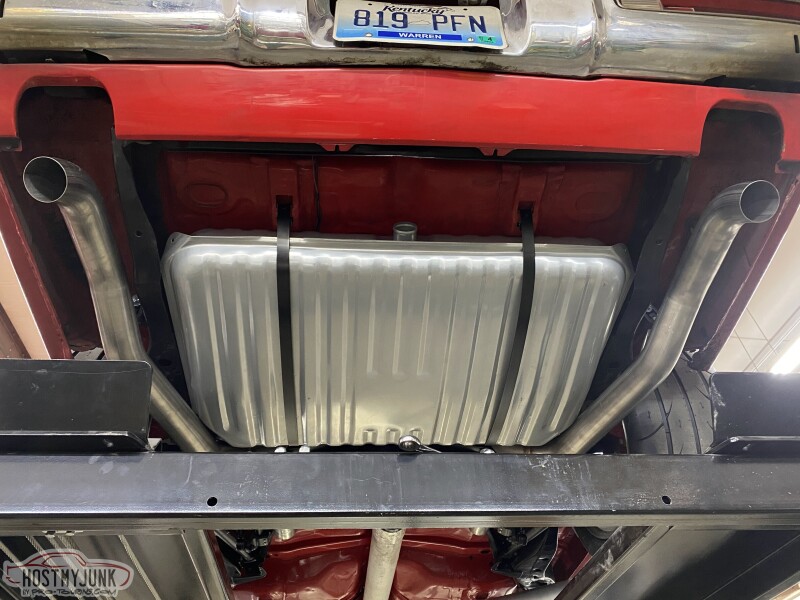
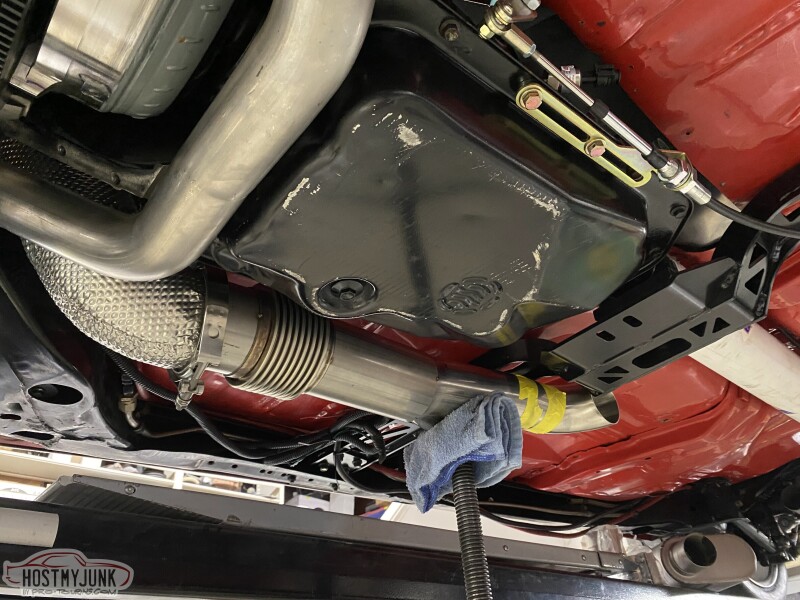
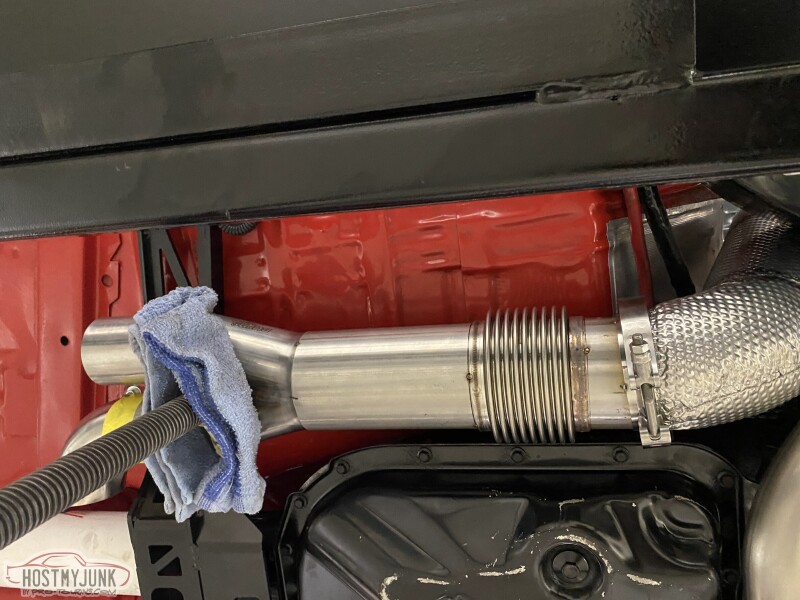
There are going to be some issues with the tailpipes, which we anticipated. The the RideTech coilover is making the tailpipe fitment a little tricky. At this point it is clear that the front corners of the gas tank will need to be notched.
Andrew
The ends of the tailpipes will also be modified to bring the stock looking tips through the cutouts in the rear valance panel.
There are going to be some issues with the tailpipes, which we anticipated. The the RideTech coilover is making the tailpipe fitment a little tricky. At this point it is clear that the front corners of the gas tank will need to be notched.
Andrew

TECH Apprentice
Joined: Jan 2015
Posts: 313
Likes: 127
From: Austin area
That looks CLOSE.
Also (and I probably missed it), what is the connection from driveshaft to rear end? You and I have gone back and forth on CV on the trans-side, but not sure what the other connection is.
-Jim
Also (and I probably missed it), what is the connection from driveshaft to rear end? You and I have gone back and forth on CV on the trans-side, but not sure what the other connection is.
-Jim
Thread Starter
Joined: Mar 2003
Posts: 10,607
Likes: 1,881
From: Little Austin
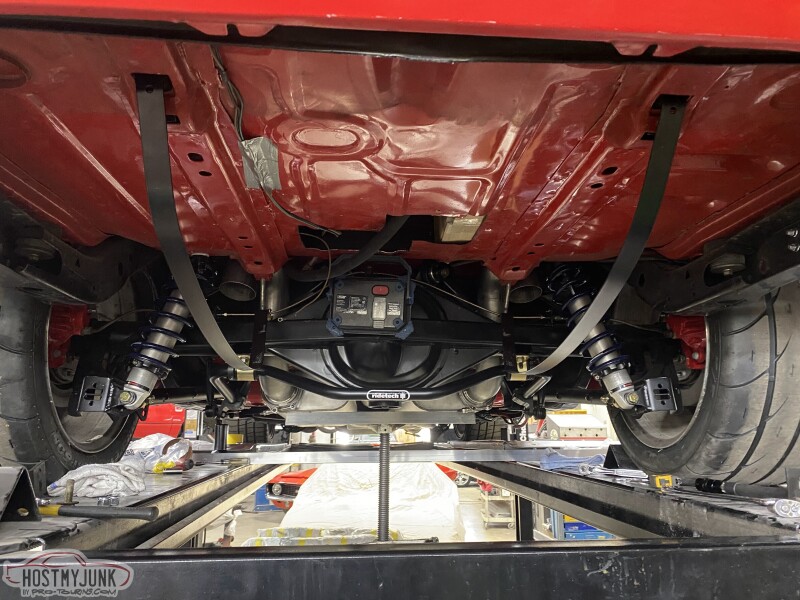
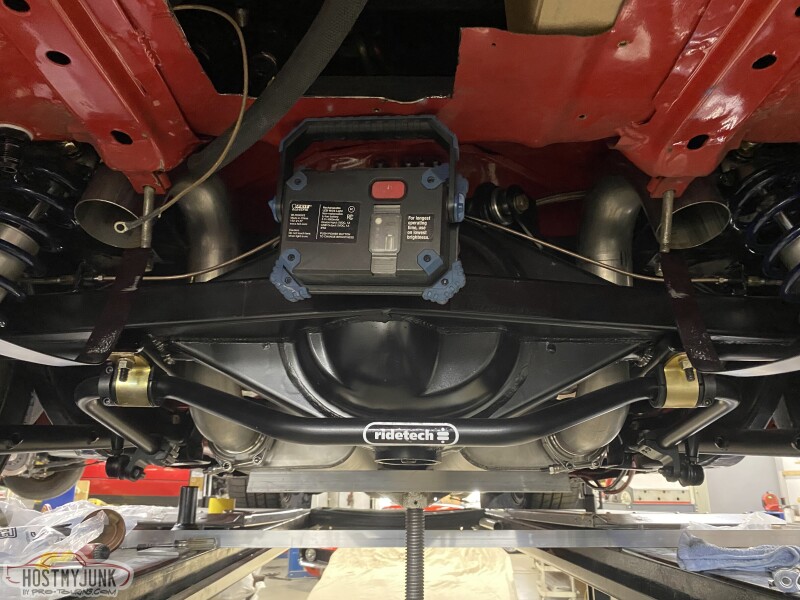
The rear end was built using a CV pinion yoke from The Driveshaft Shop. They will be building me a dual CV driveshaft.
Andrew