When you click on links to various merchants on this site and make a purchase, this can result in this site earning a commission. Affiliate programs and affiliations include, but are not limited to, the eBay Partner Network.
While on the subject of sensor connectors, I also had a problem with the oil pressure sensor. My LS376/480 came with an oil pressure sender but it required a different connector that what was provided by Holley. I could've purchased another sender but since I work with Metri Pack and Weather Pack connectors/terminals, I decided to search for the correct connector. After a lot of internet searching, I found the correct connector and installed it. It's actually a GT 150 connector as seen here: GT 150
This is the Holley supplied connector for the oil pressure sender. It wouldn't fit my engine's oil pressure sender.
Use the special tool to depin the connector.
You can see all three pins are now removed out of the wrong connector.
Here is the correct connector that is going to fit my oil pressure sender.
Pinned.
Connected.
This is an excellent tip, that I'm not even sure that I knew about!
The last part of the FEAD to be completed was to replace the Corvette spacing harmonic balancer with an F-body harmonic balancer. I rented some tools to remove the engine's factory, Corvette balancer.
I purchased my own harmonic balancer installation tool.
Worked perfectly!
When I was installing the brackets and pulleys, I noticed that the pulley above the tensioner was going to interfere with the throttle body. I called ICT Billet and asked them if they sold a smaller pulley that would clear the TB. They told me that they had a Throttle Body Rotation Angle Adapter that allowed the throttle body to be rotated to clear the pulley. You can see the rotation of the TB to clear the pulley in the following picture. That's a 114" serpentine belt for this ICT Billet FEAD bracket kit. Down below the Ford power steering pump is a Powermaster 48247 165 amp alternator
How about something a little different? Away from mechanical/electrical to interior. When I purchased the car in Dec 2018, the previous owner, Noah, had tried to change the interior color (originally a gray/blue color) to black. Noah was a young guy and did his best but........
I had ordered my 1991 Mustang GT from Ford and I specified a black interior. Many of those black parts are now in this white coupe but certain parts like the perfect headliner are different for hatchbacks (GT) vs a coupe. I had to redo Noah's headliner. Here are some pictures of the headliner.
It looks bad in this picture and it was worse in person! Tons of wrinkles and it wasn't like the OEM material.
So begins the fun of removing the old material.
That really wasn't too bad of a job.
Now it's time to get rid of the residual foam on the headliner cardboard.
Definitely. This is not my first time LS swap a vehicle, but first time LS swapping a somewhat modern one.
Also, I had wanted/planned to take my 91 to 2024 cruising the coast. So perhaps we can work out a schedule where we can caravan?
rick, I've got some bad news for you; Cruizin' the Coast only allows cars 1989 and older! The only way to get a newer car registered to participate in CTC is to do 24 hours of volunteer work for CTC.
If you decide to go, I'd love to caravan to CTC with you. I'm planning on taking my Mustang coupe even though I won't be able to participate in any reindeer games. It'll still be nice to be able to drive my hot rod to the many different CTC venues and happenings that first week of October.
I got my headliner material for Joann Fabrics now known as just Joann. The black headliner material was pretty much a 100% match of my 1991 GT's OEM black headliner. I ordered the 3M adhesive online.
The last time I'd done a headliner was probably in the early 2000's for my 1980 Camaro Z28. I was out of practice and it resulted in me having to do the Mustang's headliner twice.
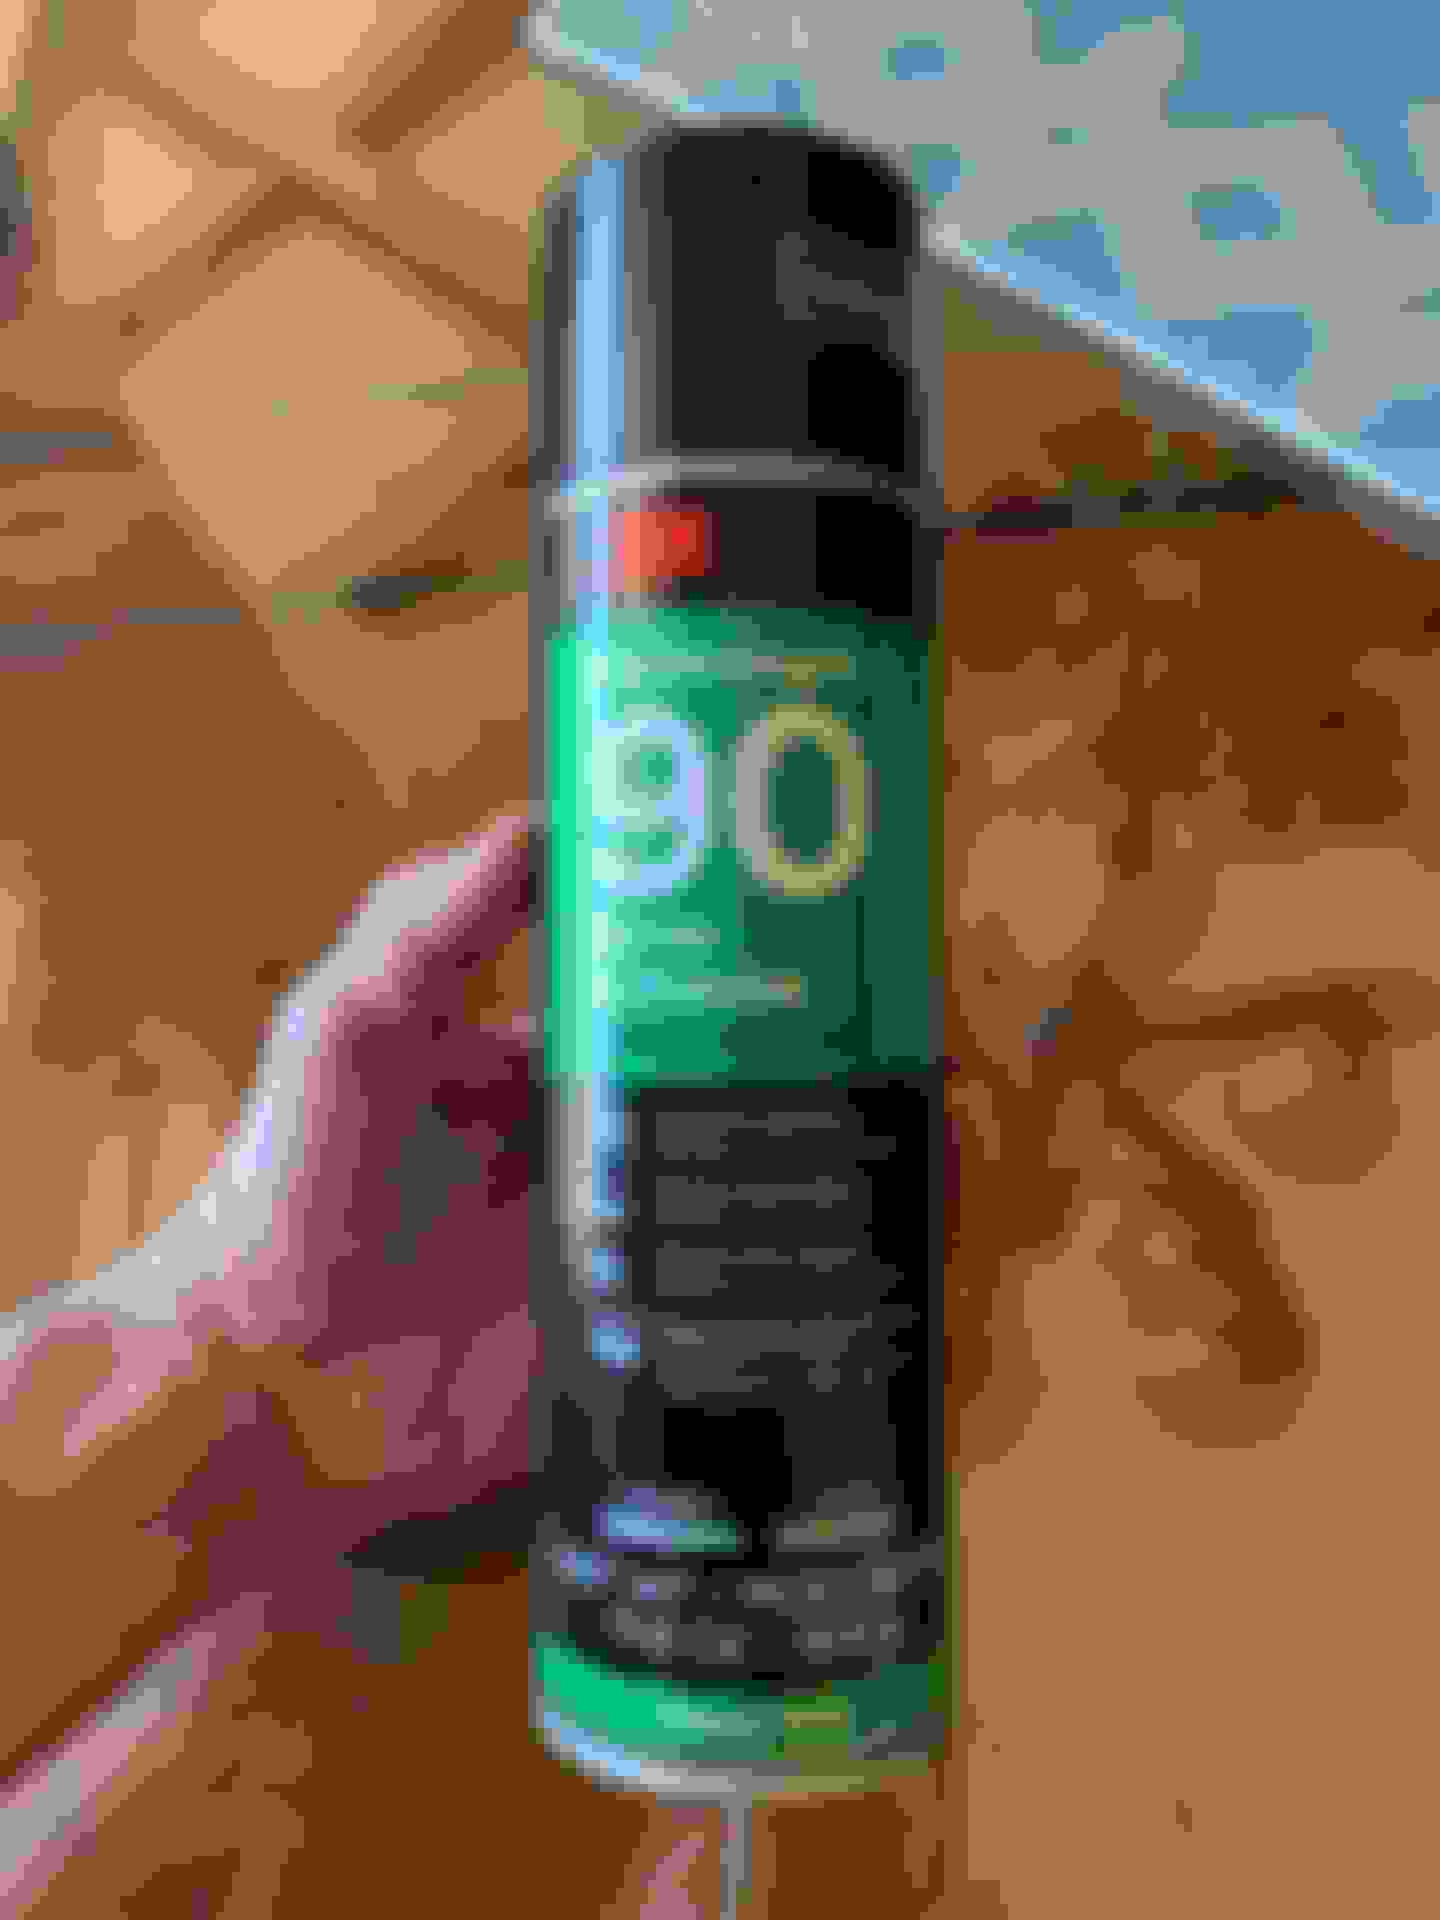
This is the 3M spray adhesive that I used.
Spray the adhesive and both the cardboard and the foam side of the headliner material. Let it tack for a while and then slowly and carefully roll the material onto the cardboard. Don't press too hard or you will have dents in the headliner material as you crush the foam and the glue holds it crushed!
I messed up and got glue on the material itself. It doesn't look that bad in this photo but it was really bad looking in person. Bright white glue on a black background! There was no way to remove the glue. In addition, I'd messed up earlier and had a slight crease in the material that I'd glued down. With this second mess up, I was going to start all over.
About $45 worth of material and glue down the drain.
IIRC, I picked up this second can of 3M adhesive at Walmart.
Successful glue down of the second purchase of material. If you look closely, you'll notice some dents in the upper left corner of the picture. My wife was helping but I was doing all of the pressing down of the material. At the very end of the project, I was on the other end of the headliner and I asked her to press down the area in the upper left corner. She'd never done a headliner and she pressed down too hard resulting in dents. Definitely not her fault at all. I'm the one who knew better, not her. I wasn't too worried about the dents because I knew the sun visor was going to cover that area up.
It's about ready to install.
It looks great!! Even without the sun visors in place, when I look up at the headliner, I don't even notice those dents.
Last edited by dannyual777; 12-20-2023 at 08:53 PM.
rick, I've got some bad news for you; Cruizin' the Coast only allows cars 1989 and older! The only way to get a newer car registered to participate in CTC is to do 24 hours of volunteer work for CTC.
If you decide to go, I'd love to caravan to CTC with you. I'm planning on taking my Mustang coupe even though I won't be able to participate in any reindeer games. It'll still be nice to be able to drive my hot rod to the many different CTC venues and happenings that first week of October.
Oh I know about the cut off year. Been taking my LS2 swapped 67 Firebird apthere a few times, then got bored . I have a group of friendd here in Houston that goes every year.
Oh I know about the cut off year. Been taking my LS2 swapped 67 Firebird apthere a few times, then got bored . I have a group of friendd here in Houston that goes every year.
Oh, Ok. You already knew about it. I've been attending the show for most of the last 10 yrs. My father-in-law lives in Diamondhead and CTC does the "Blessing of the Classics" (I think that's what it's called) parade right in front of his house on Wednesday afternoon, midweek of the show. This year, my wife and I got there on Tuesday. Next year, I want to be there at least by Sunday afternoon of the start of the show.
The previous owner, Noah had tried to change the coupe's interior from a blue/gray color to black. He used Walmart spray paint or something similar. Nothing looked good so I redid everything of his that I had to reuse. My donor car was my "owned since new, 1991 Mustang GT." A lot of the hatchback parts will work in a coupe but many won't. Some that won't work include the headliner, rear seat side panels and rear seat back. I'll get to the seat in a later post. Some of my GT's metal, headliner trim pieces weren't looking good after over 30 yrs so I pained them as well.
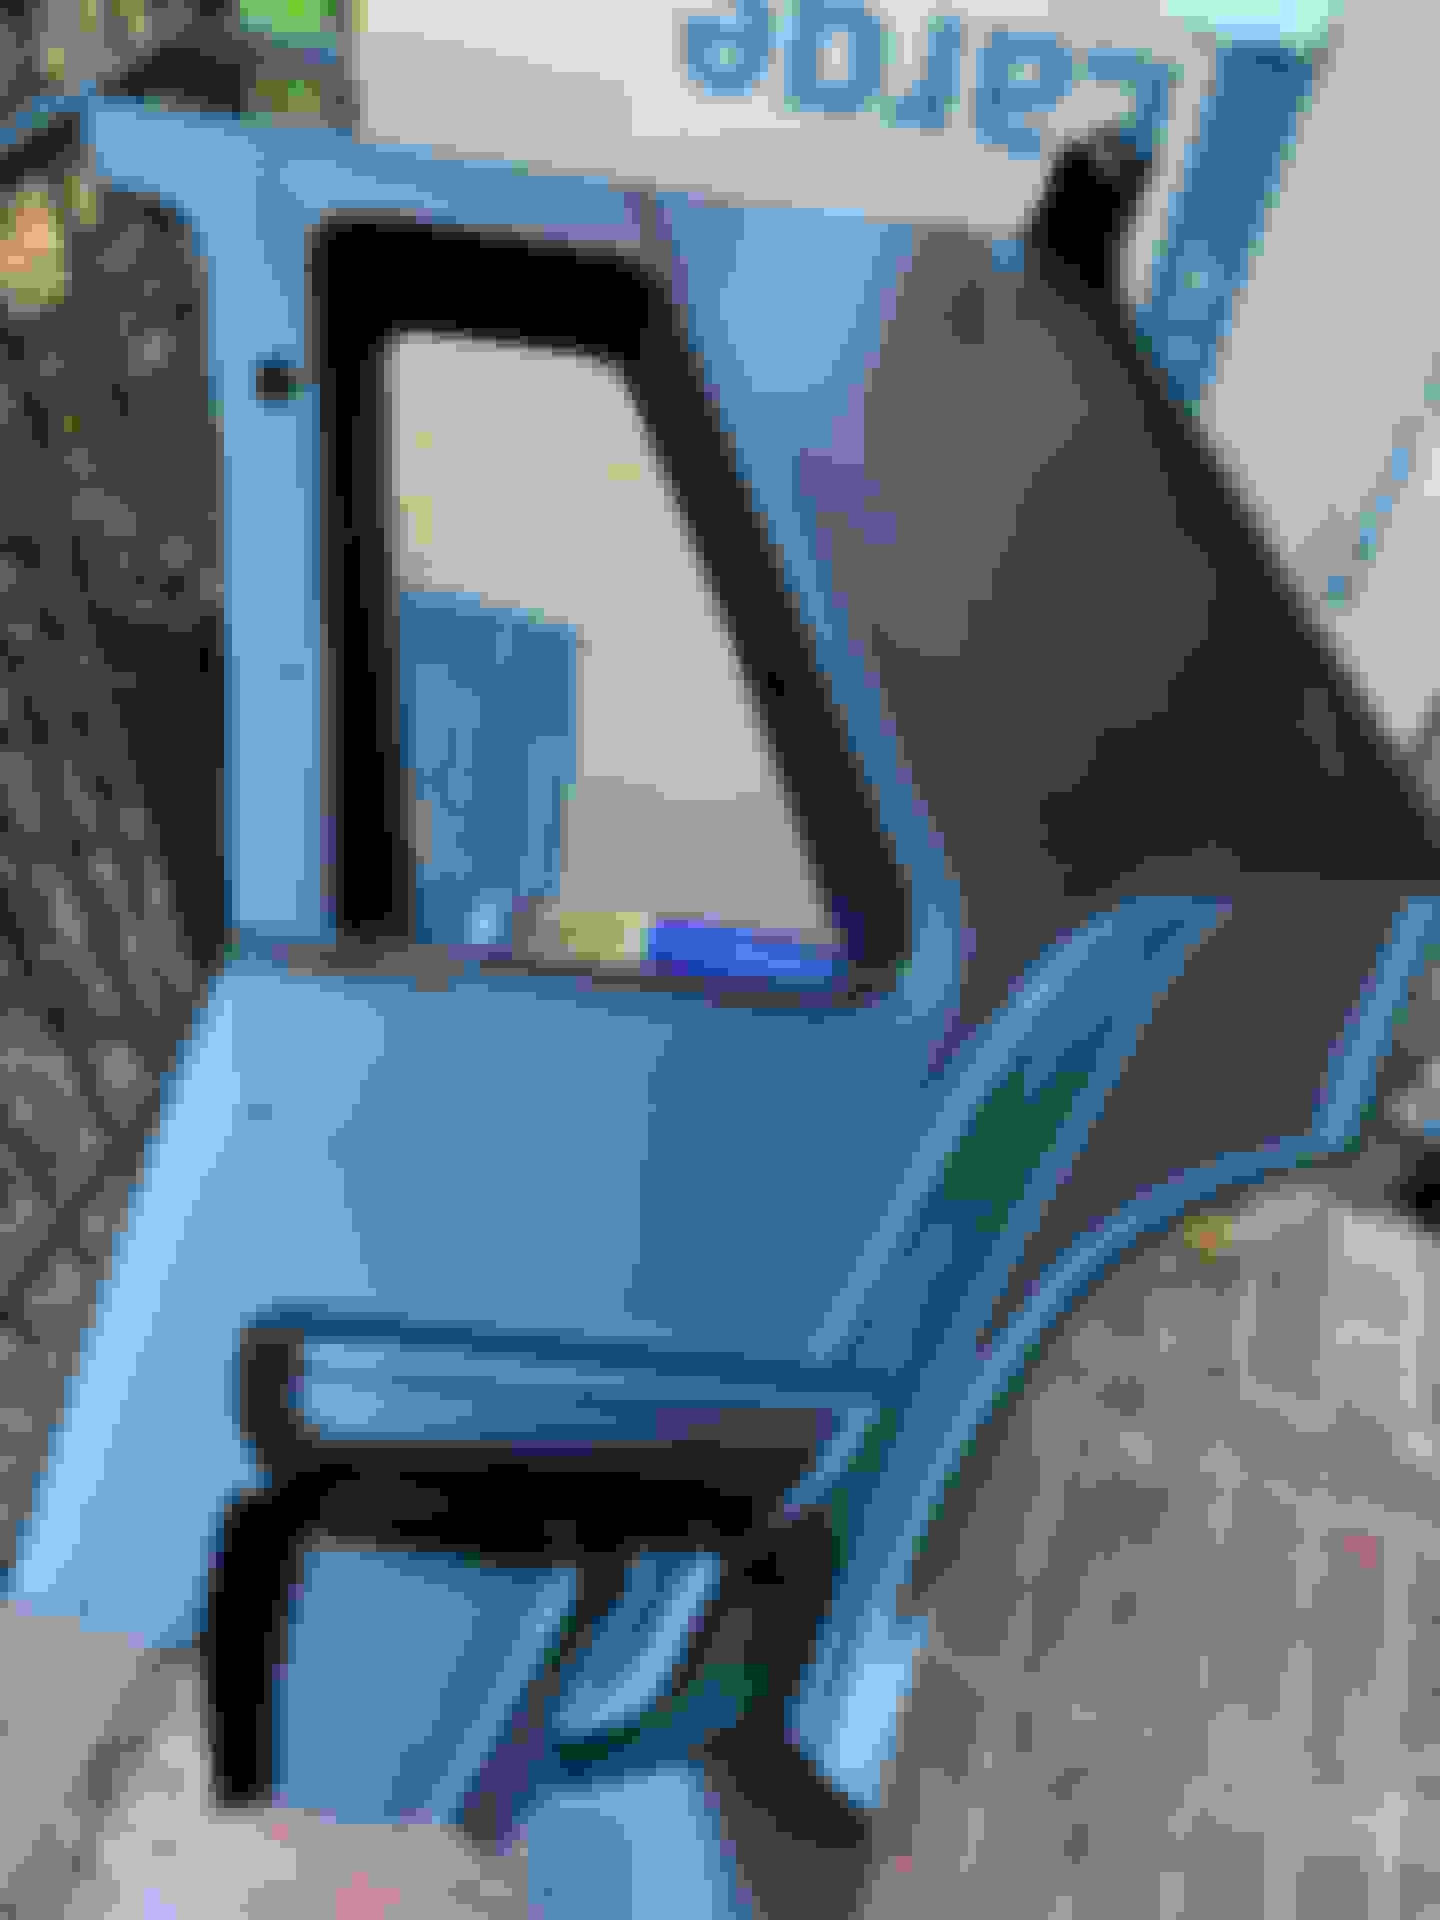
I picked up these cans of pro automotive, interior paint at my local auto paint supply store. Each can was about $21 but the result was well worth the money.
I just can't rave enough about how well that Landau Black SEM paint worked. The interior parts looked factory new!
SEM paint is quality stuff. I used to use their Trim Black to black out trim around windows to give a hardtop look. Those who saw the result thought it was factory. Just the right flat/gloss ratio.
I recently purchased a new can of 39143 black trim paint to paint the taillight housing for my car. The PO had changed out the entire taillights to LED but, unfortunately, one of them didn't work. I decided to just use the taillights that came on my 1991 GT. I replaced the ugly GT lenses with LX lenses back around 2007. The GT taillight housing was painted body color. My GT was red so.....
This just wasn't going to cut it. Time to mask it off and paint it with SEM black trim paint.
As I mentioned in previous posts, the original interior color of this coupe was a blue/gray color. I wanted a black interior and I moved as many usable interior parts as I could from my 91 GT to this coupe. The GT seats were in perfect shape with OEM upholstery so I installed them in the coupe. The front seats were protected by seat covers for 32 years. The rear seats were barely used at all. The GT had split, fold down rear seat backs that don't work in a coupe. I needed to use the coupe's OEM seatback but the rear, bench seat bottom is the same in both cars. It was time for new rear seat back upholstery.
In my search, I never could find any OEM, black upholstery nor could I find anything all that similar. I buy a lot of stuff from Late Model Restoration Supply so I purchased their full kit of replacement seat upholstery. It wasn't all that OEM looking but it was a little bit similar and it looked good. I haven't mentioned it but I've NEVER done upholstery work in my life. This was a first for me.
This is the backside of the coupe's rear seat back. You can kind of see the OEM color on the edges.
You can see two metal rods in this picture. The rods go inside some upholstery material that gets hogringed deep into a crevice in the seat foam. Unfortunately I don't have a picture so show it.
I thought I had a picture or two of the new upholstery going on the seat back but I don't. Here is a picture of it finished and ready to install. Most of this seat back upholstery was stapled on the OEM backer board. The hogringed parts are the two vertical lines toward the outter edges of the seat back.
A trial fitting of the seat back. It's looking great and I'm very happy with it!

 12-19-2023, 04:07 AM