When you click on links to various merchants on this site and make a purchase, this can result in this site earning a commission. Affiliate programs and affiliations include, but are not limited to, the eBay Partner Network.
This is officially one of my favorite builds going...
Andrew
I have to wholeheartedly agree.. the attention to detail and information is killer, and we're still at the beginning/catchup phase. Also doesn't hurt that this is all directly applicable for me!
Andrew and Joe, I'm very flattered. Thank you, guys! It's my first build thread and I'm trying to be thorough with pictures and information to help anyone that may be working on their own Fox coupe conversion (Joe) or maybe any car project.
This 2-part, epoxy paint had good reviews and about the only knock on it was that it had a little to much shine to it. Some said that the shine tended to lessen over time and so far, I'd say that's true. I read that it could take up to three days for the paint to fully cure. I was glad I'd read that beforehand because it most certainly took days (maybe 5) to fully cure hard. I was warned so I didn't sweat it. I sprayed the parts in the spring so the temperatures were moderate. If I'd painted the parts in the middle of a Houston summer, I'm sure the cure time would've been much shorter!
This paint sprayed and covered very well. I had brushed some paint into to crevices of the 8.8 that I thought I might have difficulty getting the spray gun to shoot paint into. There was no need for brushing. This paint sprayed very well and covered beautifully. Another thing I found with the catalyzed paint is that it would easily keep until the next day or longer if I needed to respray something or found something else to paint. This satin black paint goes a long way and I've got a lot leftover. I need to find more parts to paint!
Last edited by dannyual777; 01-15-2021 at 09:57 PM.
Reason: added text
Makeshift paint booth to keep falling debris out of my paintwork and to limit black overspray. It worked very well.
Wow! Looks great. That Chassis Shield is good looking stuff. It's very glossy looking in these pictures but as the paint cured, the gloss lessened. Over time, the paint has turned more satin looking and I don't think that it's too glossy.
The clock was just so I could keep up with the time required between coats of paint. The anti-sway bar is not actually touching the blue trash can!
Here is the rear anti-sway bar and painted front anti-sway bar brackets. I put long bolts through the mounting holes of the anti-sway bars. I was able to rest the bolts on top of the jackstands and that way I could paint all around the bars and not have to lay the painted bars down and mar the finish.
Did ya cut the quad shock brackets off? That sound deadening thing looks like a great idea, I wished I would have done it now. It’s pretty loud inside my notchback with LS3 and headers. The carpet kit came with attached jute backing but does little noise reduction.
Did ya cut the quad shock brackets off? That sound deadening thing looks like a great idea, I wished I would have done it now. It�s pretty loud inside my notchback with LS3 and headers. The carpet kit came with attached jute backing but does little noise reduction.
No, I didn't cut any of the brackets off of the rear end. Maybe I should've but I didn't.
After driving my 1991 GT for decades, I know how rattle filled and tinny sounding a Fox body is. Add to that the extra NVH from my Maximum Motorsports suspension parts and I knew that I had to do something. The sound deadening material, whether name brand automotive stuff or the less expensive home roofing stuff was something that I 100% felt that I had to try.
Shortly after painting the 8.8, we had a storm roll through (April 2020) and it knocked down a very large tree in my front yard. I know this is off topic but check out these pictures because they show that I had the grace of God on my side during this incident:
Wind and rain knocked down this very large tree in my front yard in April 2020.
That was way too close!!!
Whew! No damage whatsoever to my 2002 Pontiac WS6 Trans Am! I ordered the car brand new back in the summer of 2001.
I moved back to the interior and installed the HVAC box that had come out of my donor GT.
Next, I installed the painted dash "skeleton" in preparation for getting the main wiring harness into place.
Even though my donor car's wiring harness was in good shape, there were parts of it that needed to be rewrapped. The factory used a light adhesive, cloth backed tape, not the cheap, gooey vinyl electrical tape that people like to use. BTW, I don't think I even have any of that vinyl electrical tape in my garage because I don't use that stuff. Here is a link to the cloth backed electrical harness tape that I used:
Here is the Mustang main wiring harness out of my donor car. My harness was in better shape than the harness that came in the coupe and I'd never hacked it up.
I see where many are using the SN95 dashboard in their Foxbodies now, did you consider it?
No. I have to admit that the thought never occurred to me. I've seen where others have done it but I never considered it. I think the reason that I didn't is because I wanted to use a lot of the good parts from my donor car that I've owned since 1991. My donor's black interior is in excellent shape; easily a 9 (maybe 9.5) out of 10.
As of now, the Fox dash is not in so I could still change my mind.
I'm getting the 8.8 rear end into place. Notice my "helper?" I wish that I had a friend that would help but it seems like other than you guys on the internet, I'm the last car guy on earth.
I protected the fresh paint as much as I could. By the time these pictures were taken, the Summit Racing Chassis Shield, satin black paint was long since fully cured and hard.
You'll notice in the next picture that I've got the Fox OEM upper control arms bolted into place. I did this to locate the rear end as close to stock as possible before I moved on to installing the panhard bar. The Extreme-Duty Rear Lower Control Arms that I purchased are the version with the rear coil spring perches deleted since I'm installing coil overs.
With the mechanical helpers, I got the rear end in place and installed. You can see my Maximum Motorsports Extreme-Duty Rear Lower Control Arms installed.
I spent a lot of time on Maximum Motorsports' website learning about suspension. I knew I wanted to get away from the OEM, full of compromises, 4-link and go with something that would offer much more strength and grip. I felt that a panhard bar and a torque arm would be perfect. I may come to regret not going with an IRS but for now, my coupe will be riding on the PHB and TA.
I don't know why but I took very few pictures of my PHB installation. I remember starting the installation and then watching an Eric the Car Guy YouTube video. Here is a link to the video:
Eric seemed to have quite a few issues trying to fit his PHB and I counted my blessings that my installation went a lot easier than his did. Little did I know that more "Mt Everests" were in my future but at least the PHB installation went well.
You can see part of the PHB setup on the floor. My pen is pointing to one of the holes that I had to drill in the "frame" of the car to mount the bar. The MM instructions are written well and I don't remember having a problem with the install. Eric had to do a lot of hole enlarging and filing. Mine went together with no required drama!
Check out my mechanical helpers holding up the PHB! In the youtube video, Eric talks about holding this bar up firmly against the frame. I used the gas charged shocks that came out of the coupe to hold this bar up against the frame. Its what you've gotta do when you're the last guy on earth that works on cars!
For anyone who may actually install one of these PHBs. I encourage you to watch Eric's video. BTW, you'll notice that he didn't clean the bottom of his Fox Body Fairmont and it's full of dirt and grime. Just sayin'!
After installing the PHB, I think the normal thing would have been to install the torque arm. However, the TA requires subframe connectors to already be installed in the car and at this point in the build, the SFCs were still in the box. It was the spring of 2020 and the virus was really putting people out of work. I tried calling some welders to see if someone could come to my house (because the car was completely immobile!) and weld the SFCs in. No luck. I did "speak" with a local welder online who was out of work. I thought I had him hired to come weld the SFCs in but a month later, he quit responding to any of my messages. At this point, I realized that I was going to have to weld them in myself.
In the meantime, I moved on with other suspension work and assembled my dampers and coil-over conversion kits. There is so much technical information on Maximum Motorsports' website that it can be quite confusing. One must keep in mind all of the suspension components that he's planning to use to make decisions on which components to buy so that everything works properly together; i.e. my coil-over springs required a different rate because of the torque arm. There is plenty of information on MM's website to make the determination. Still, I called them and I was advised to go to a spring that was just a little higher than I was planning to use. I figured that they knew better than me.
My coupe is not going to be a race car but rather a nice performing street car. I chose the "low level" parts that I did because I wanted good ride quality and not all out cornering capability. Will I regret it and buy higher level parts later on? Maybe.
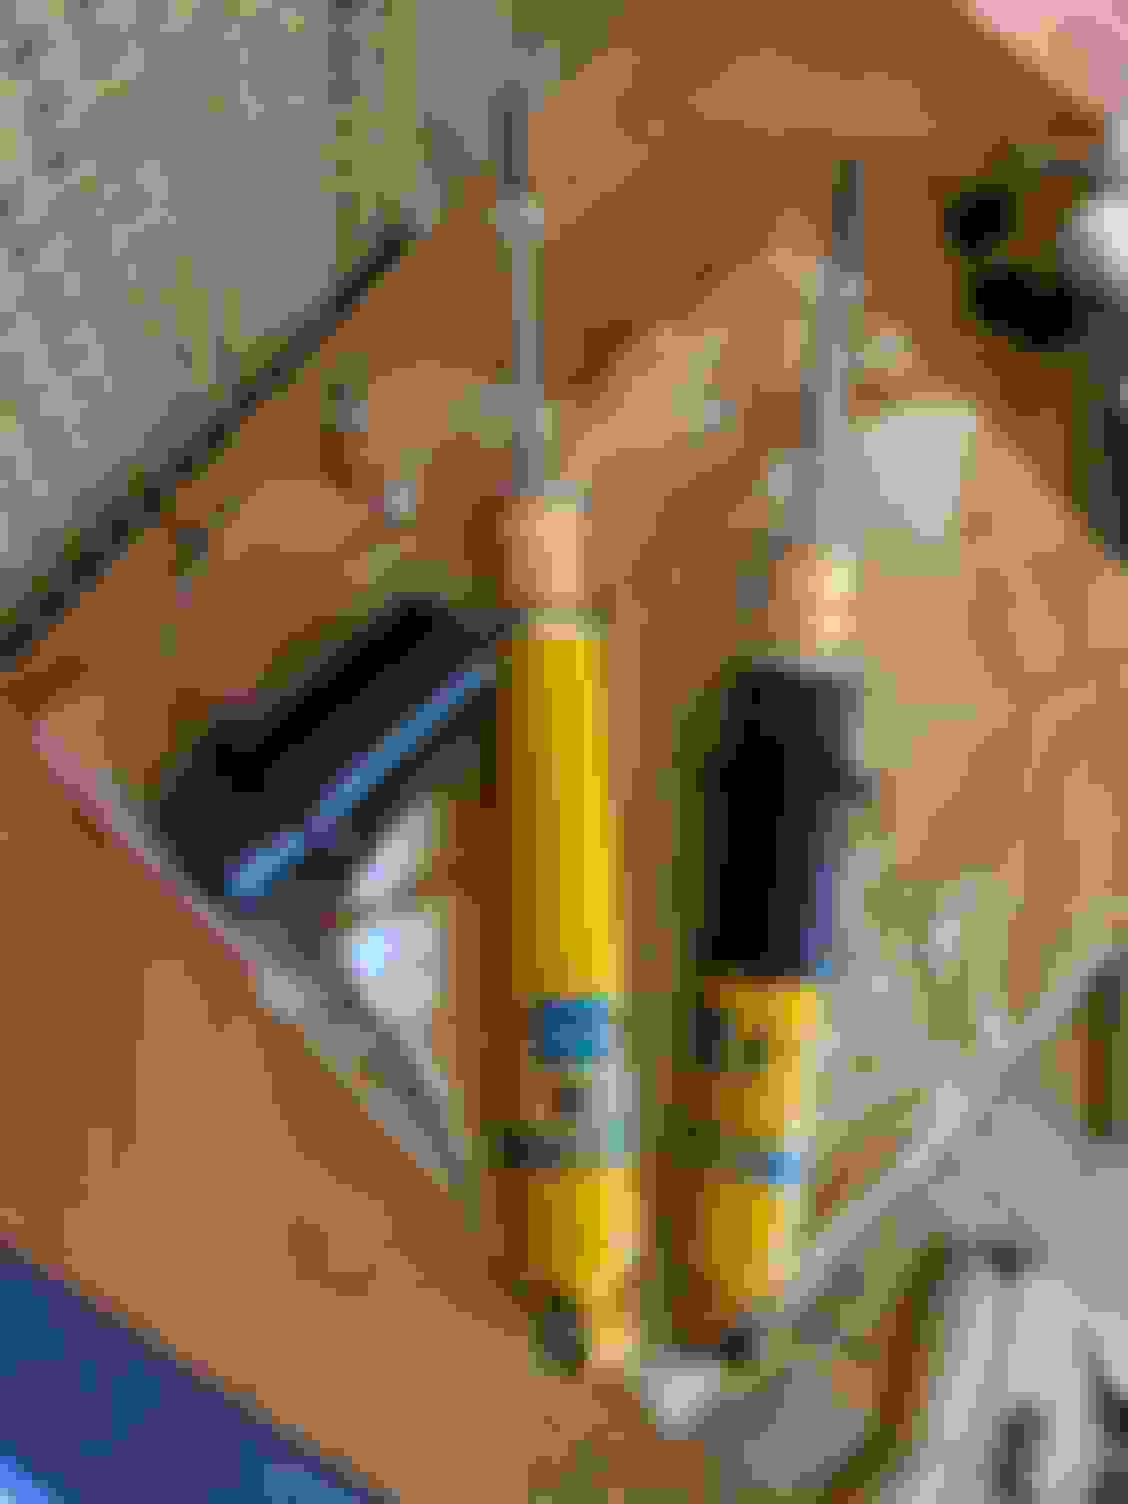
I followed the MM's instructions very carefully. This is one of the assembled rears. Very nice looking!
Working on the fronts. Again, I followed the instructions very, very carefully. There are a lot of steps to installing these coil-over conversion kits!
Here are the assembled fronts. I've never had anything like this so they are super cool looking to me!
I had already sprayed the late model (2001), drilled spindles with the same Summit Racing Chassis Shield, satin black paint that I used on the rear differential. The paint really made the ugly spindles look good.
Sorry about the blurry picture. This is my Maximum Motorsports hybrid steering shaft to connect my car's column to the late model (2001), rack and pinion steering rack. It comes in bare steel and the Chassis Shield came to the rescue again.
Wow!
The tie rod ends are both sitting loose because there will be a lot of bumpsteer measurements and adjusting that will have to be done.
Here are the rear coil-overs installed. Yes, I know those rear brake rotors look terrible. They're the original, Ford Cobra rotors that I bought way back in the 2008 timeframe to do my 5-lug, 4-wheel disc brake conversion. I probably should replace them with something that looks better but other than the rust, they're in perfect condition.
The Ford calipers were looking bad so I repainted them with some old, old, 2-part epoxy paint that I had for literally decades. Yes! Decades! It was radio control model paint.
The calipers look great and I'll see if that old epoxy paint will stand up. If not, I'll redo them and get some rotors that are prettier.
Andrew, I don't know why I quit getting instant email notifications to responses in this thread. I just now came in here and saw your question.
Do you still use the upper control arms when you install the torque arm?
No. The panhard bar and torque arm do away with those severely compromised upper control arms. According to Maximum Motorsports, the OEM upper control arms have to do two jobs at once; keep the rear end centered under the car and prevent rear end rotation during acceleration and braking. The upper control arms don't do well at either job. Replacing them with a PHB for side to side centering and a TA to prevent rear end rotation is the ticket to better traction, cornering, predictability, ride quality, etc.


 01-14-2021, 10:07 PM