When you click on links to various merchants on this site and make a purchase, this can result in this site earning a commission. Affiliate programs and affiliations include, but are not limited to, the eBay Partner Network.
Fowler, his and hers coupes? I like it! I hope you do start a thread for your builds. I like seeing other peoples' builds as it gives more information, options and instructions for how to do things. It can keep a car builder from making mistakes that other builders have made in the past. A lot to be gained by viewing similar builds with nothing to lose.
I completely understand why you don't want to spend any of your "off" time out in a hot garage. I'm working in an air conditioned environment and I don't like spending "off" time outside in the Texas summer heat.
Been a while since I have been on here, I hope you're still making progress! Between work being crazy busy and the wife and kids I don't get to mess with these cars very often. Finishing up a 6.0 swap in the wife's 93 coupe. Once I get it running I'll tear it back apart to start the actual build. My white 89 will get a 1st get SBC setup that I had in my 92 hatch a few years back. I have a lot of cleaning up to do but they're coming along. My goal is to have 1 car running for the yearly foxbody meet-up that the North Texas group puts on around May.
Awesome! Thanks for posting an update, Fowler. Two Fox coupe projects is going to keep you busy, for sure!
Since the weather has cooled in the Houston area, I've been back to work on my coupe. I got some holes welded up in my trunk floor today. The previous owner had drilled a number of small holes trying to trunk mount a battery. My new Taylor trunk mount battery box should be here at the end of this coming week and I'll properly mount it.
After I've made a good bit of progress, I'm going to do what I did almost a year ago and start posting pictures and descriptions.
Last edited by dannyual777; 12-05-2021 at 08:26 PM.
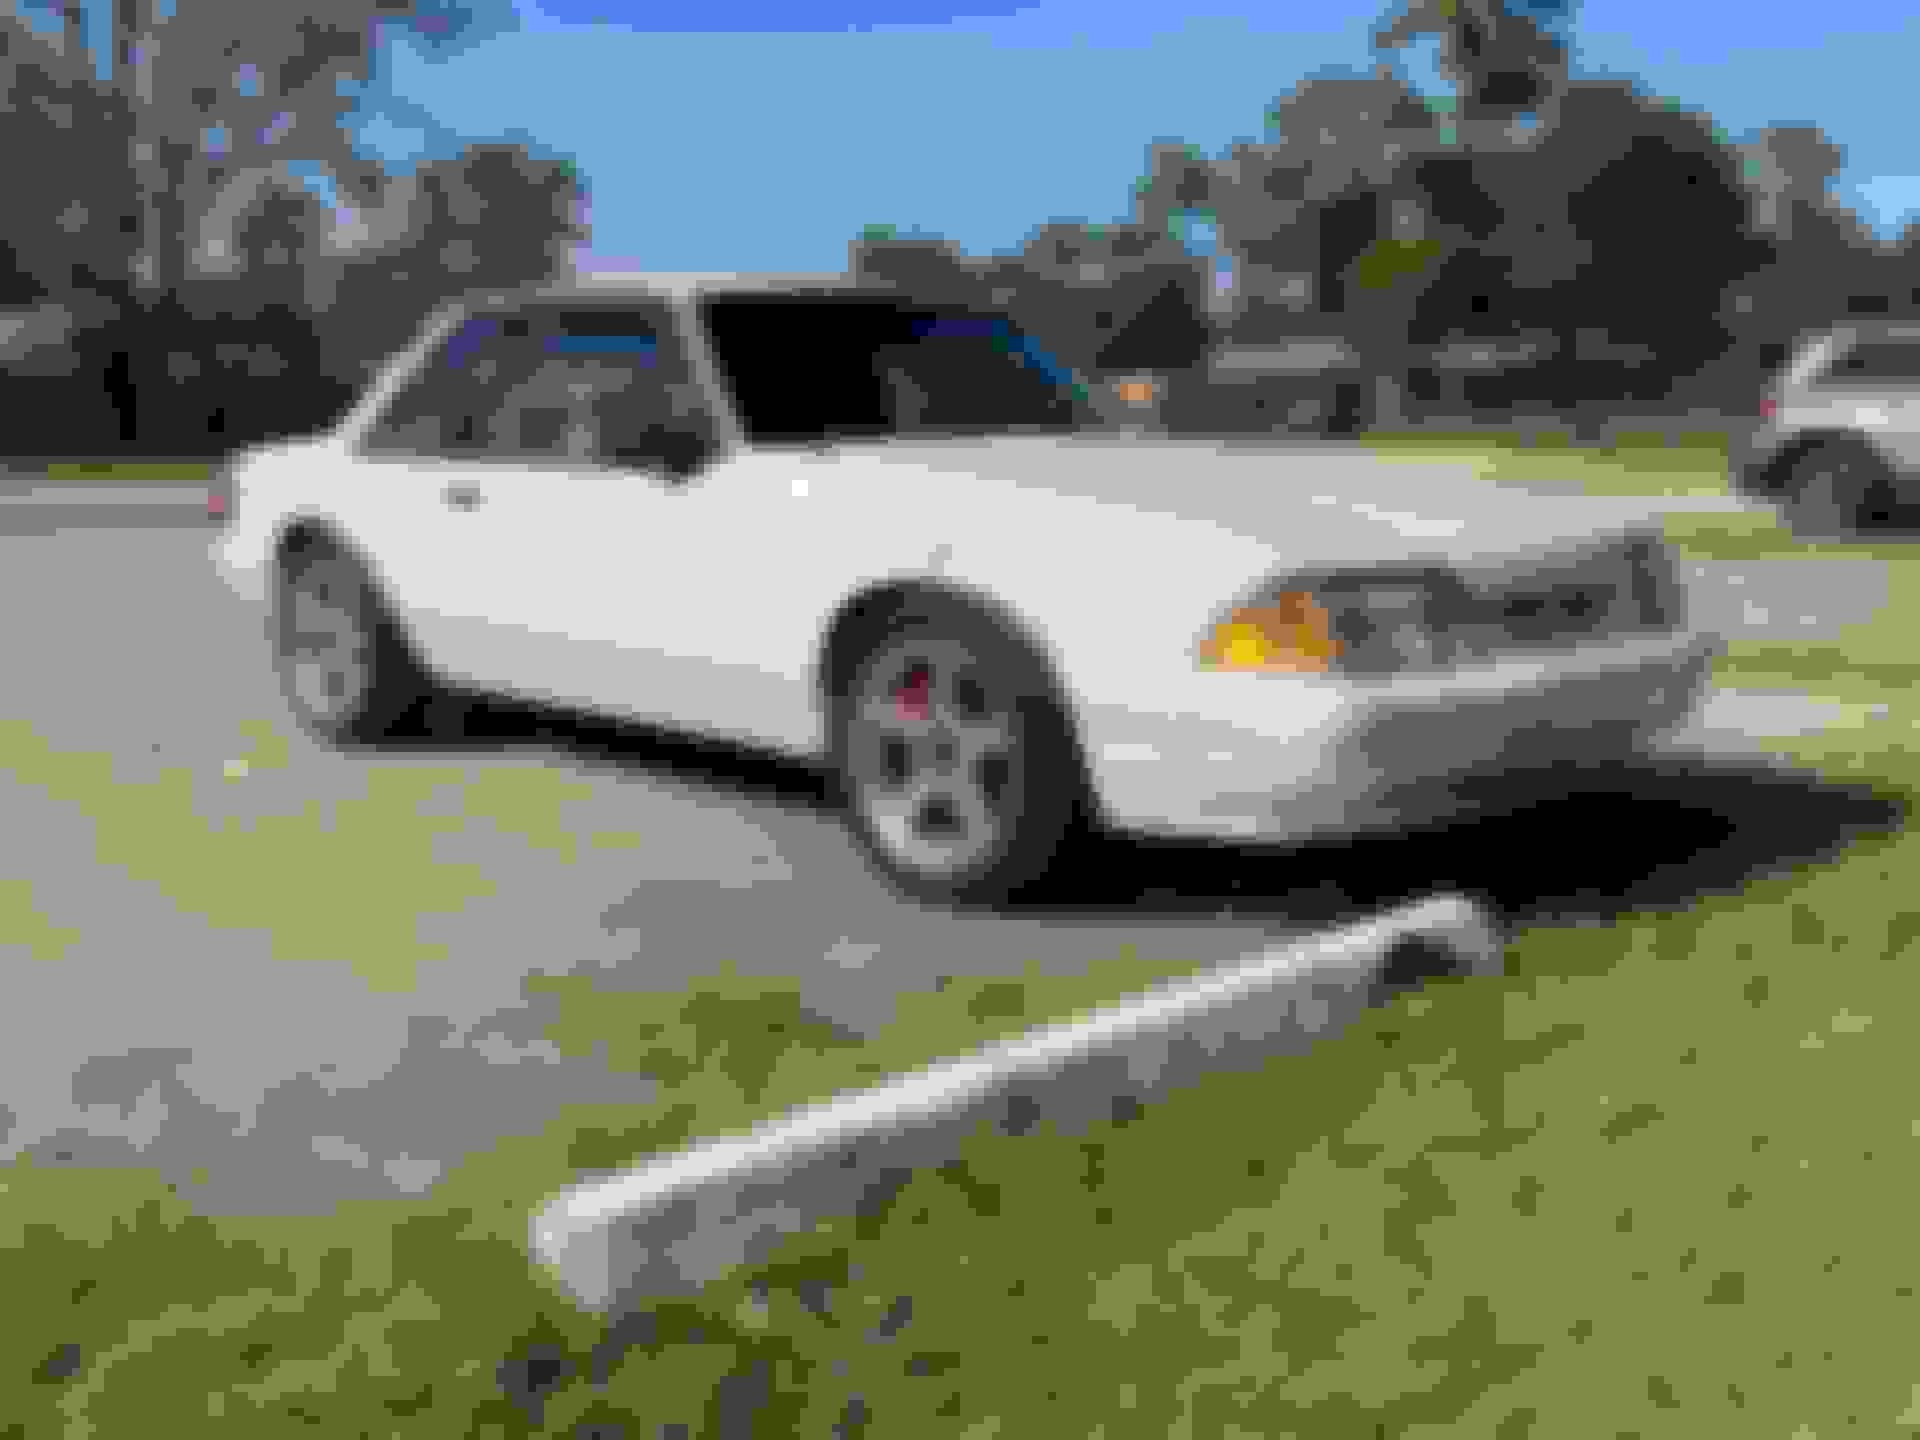
This is my first update to this thread in well over two years. After a project that has spanned one week shy of 5 years, I started and drove this car for the first time yesterday, 11/25/2023!
This is my first update to this thread in well over two years. After a project that has spanned one week shy of 5 years, I started and drove this car for the first time yesterday, 11/25/2023!
She sounds great and thanks for allowing me to share that moment with you. The first engine start is always special and it's great when it goes as smoothly as yours did.
Good early Sunday morning, Andrew, You're very welcome! You beat me to my next post!
My tuner, Andrew, was on the phone with me and he was "remoted" into my Windows laptop connected to my Holley ECU as we started the car for the first time yesterday. There were no leaks, parts banging together, strange sounds or strange vibrations. We ran the engine up to temperature and noticed that my DCC controlled, Lincoln MVIII electric fan's temperature probe was inserted into the wrong area of the aluminum radiator allowing the engine to reach 218 degrees.
After Andrew and I got off the phone, I went ahead and connected the fan's AC "on" wire to 12v which forced the fan on at all times. Temps were consistent at 199-201 degrees. It was time for a test drive and my wife wasn't going to miss that first drive in this car. We motored through the neighborhood and all was well so I took the car out on the open road. The engine ran great! The transmission shifted great. There were no strange noises or banging of parts under the car. The only thing that wasn't right is that my power steering is acting strange. I'm thinking that it may have air in the system since I rebuilt the OEM Ford power steering pump about 2 years ago The rack and pinion came out of a 2000 Mustang so that could be the cause.
Anyway, we returned home uneventfully. My teenage daughter who took the video of the startup had a horse riding lesson so we decided to take the coupe. I had no time to even remove my tape marks on my car and I really didn't care!
The car ran great with the temperature staying right at 200 degrees. It was about a 25 mile round trip and my wife had her hands covering her ears for about half the time due to the loud Hooker exhaust that dumps before the rear axle. That'll be addressed over the winter. I do already have a set of Pypes polished stainless steel tailpipes that clear my Maximum Motorsports' panhard bar. I don't think my wife is getting back into the car until the Pypes tailpipes are installed.
I did make it to our local car get together last night. With the sound of that car, there were people staring at me as I pulled up! There were some Ford guys who were not happy about my LS3 in the Mustang. In fact, one of them had looked under my car and he informed me that I had forgotten to remove the foam protection wrapped around my Hooker mufflers. DOH!!!!!!! I was quite embarrassed!
I will go back in time to mid 2021 and update this thread with all of the progress that led up to yesterday. I took pictures all along the way and I'll post it all here over the coming days/weeks.
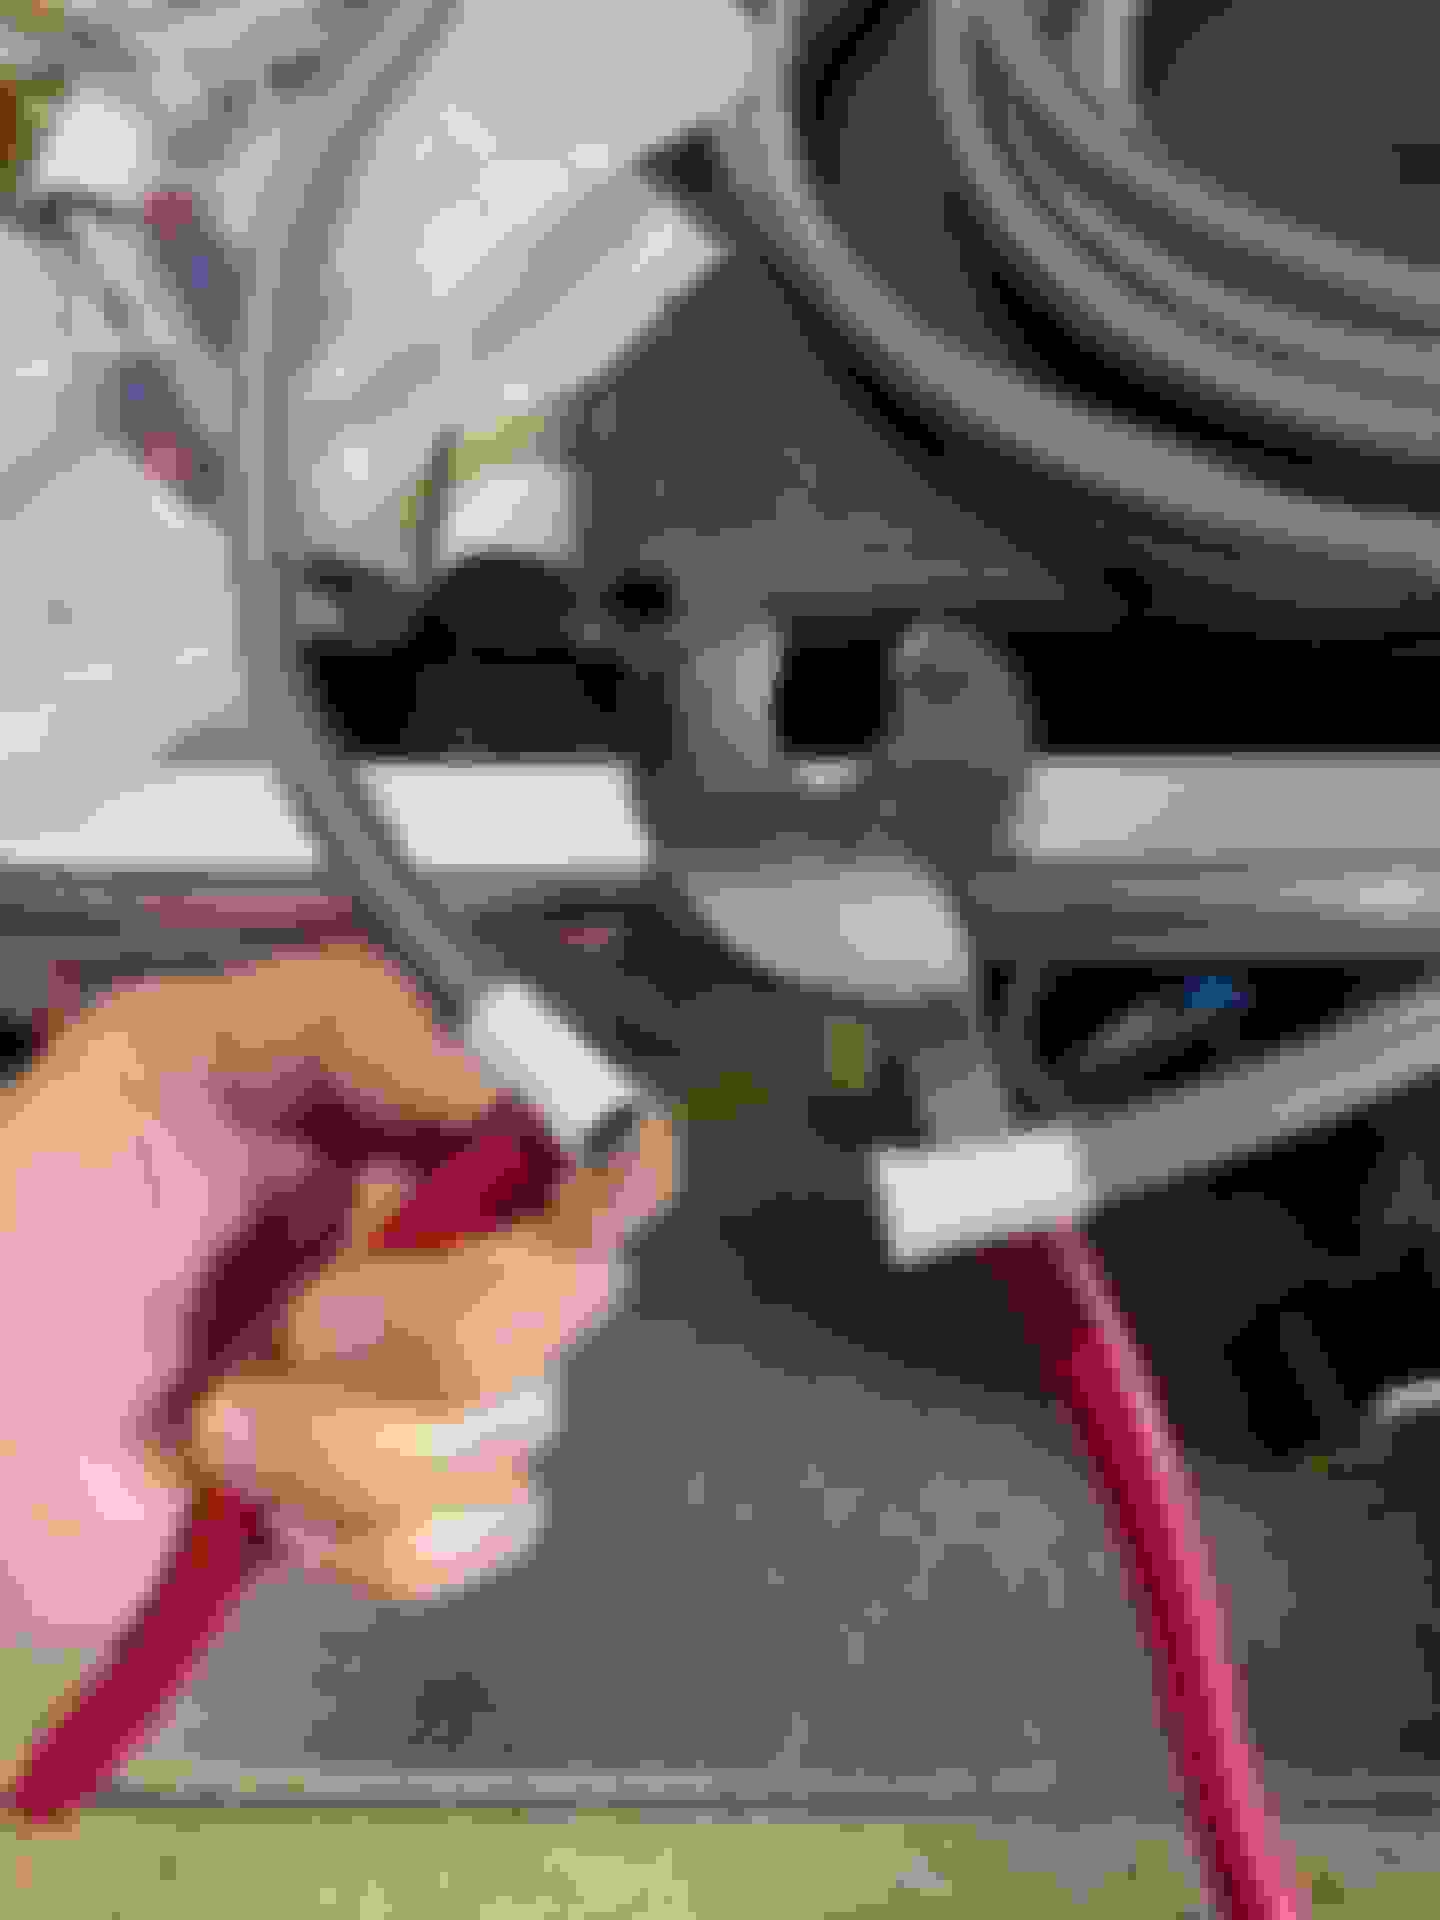
You can see the two pumps here. It's pretty easy to wire and plumb this up when you already have Metri Pack connectors/terminals and the proper crimp tools along with Oetiker clamps and the proper crimp tool.
Here the pump assembly is installed in my new gas tank..You can see the Fragola AN fittings that I used for the fuel feed and the fuel return hoses.
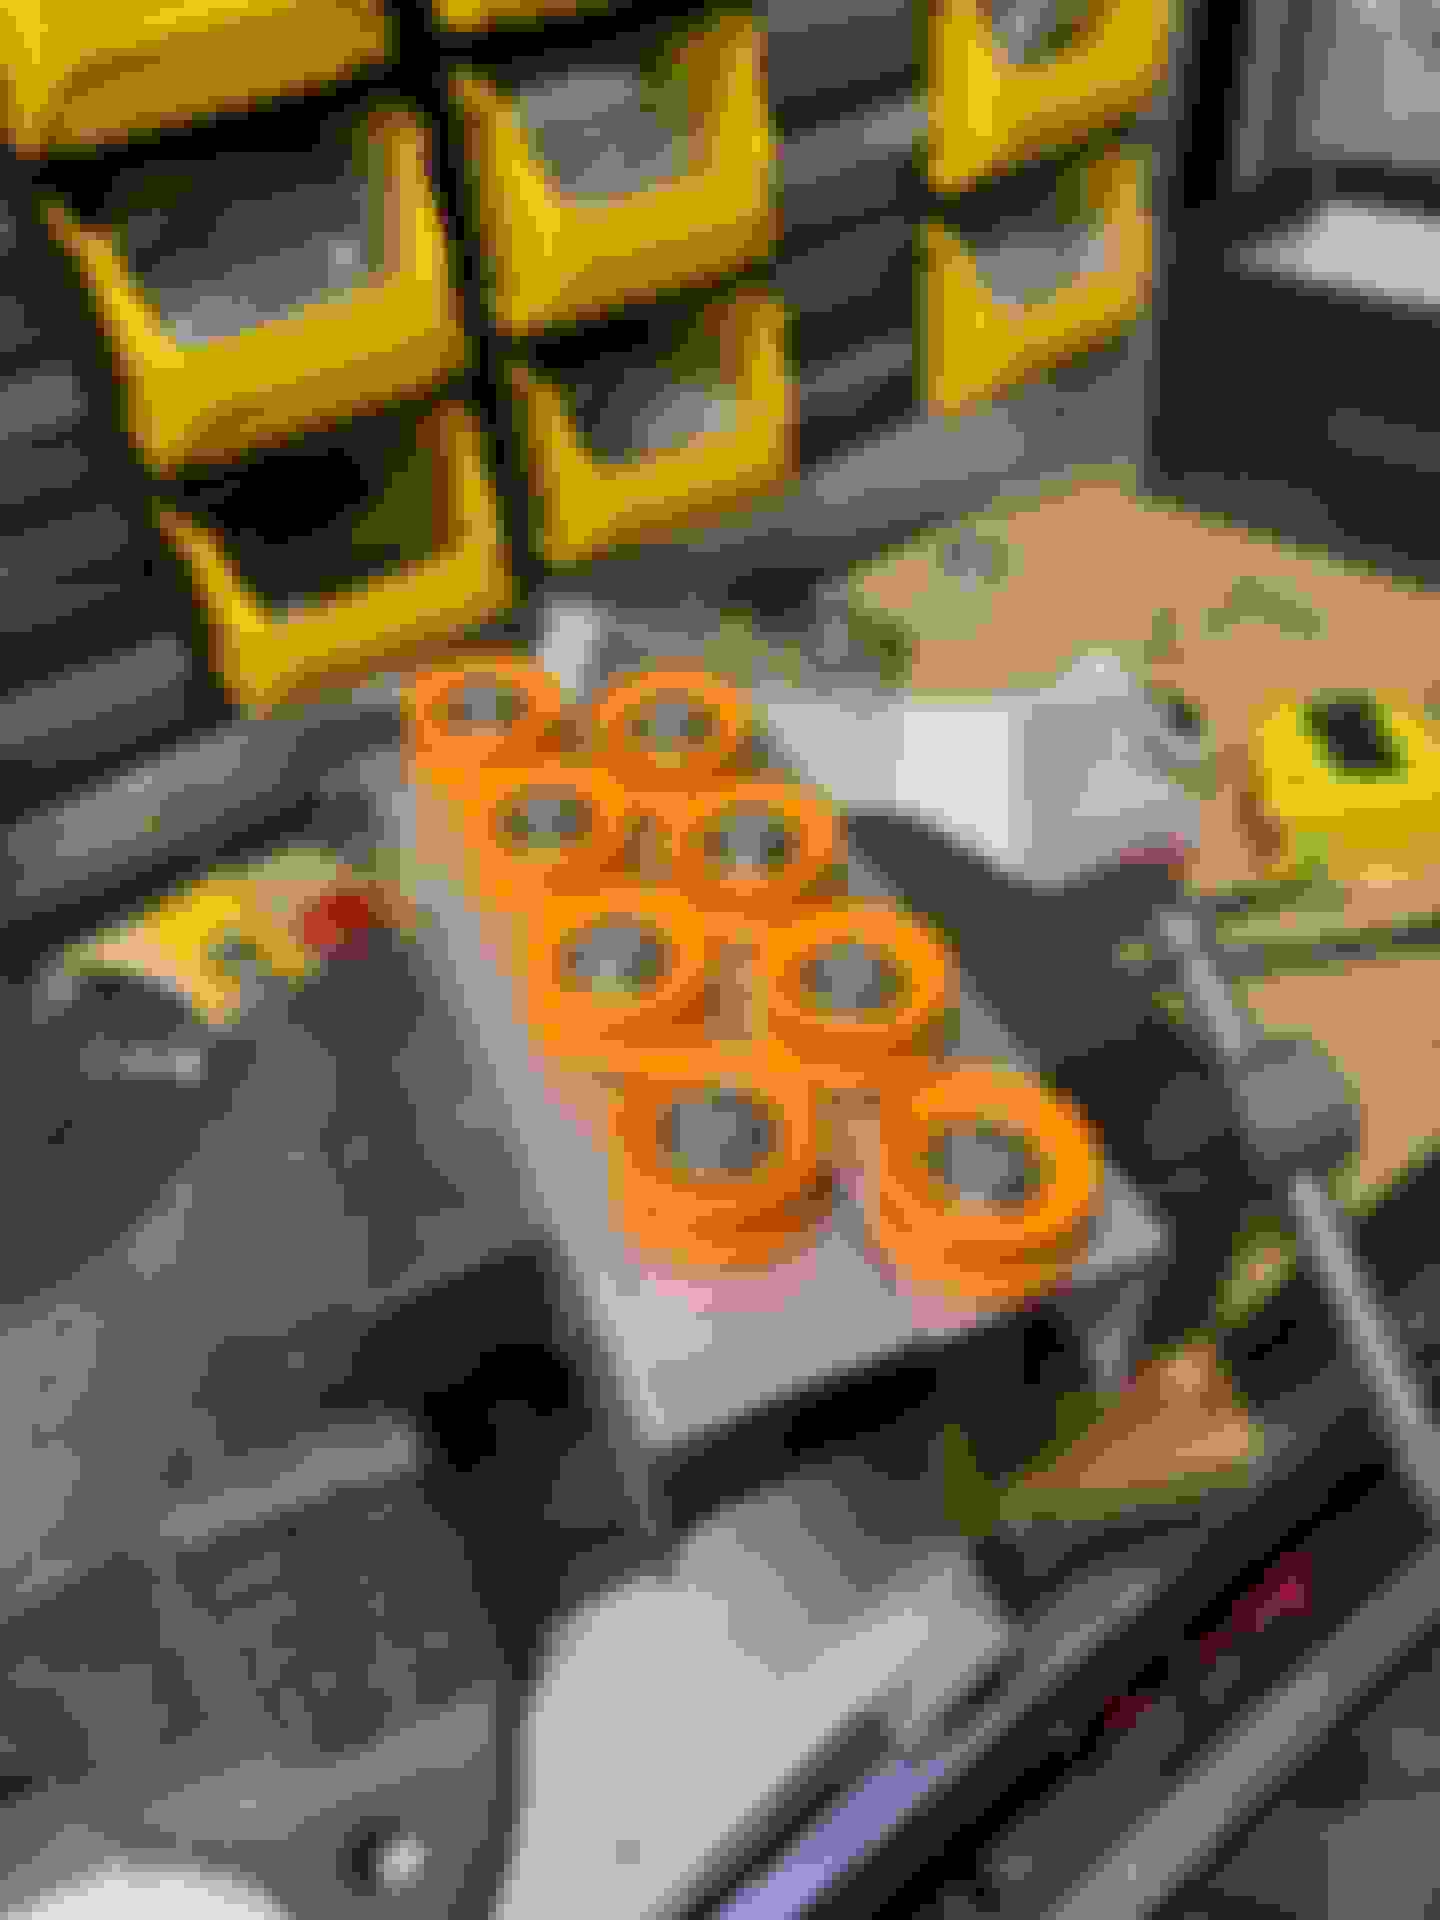
Continuing with the fuel plumbing, I decided to use stainless steel braided hose. I'd work with old school rubber lined SS hose in the past and I knew that wasn't going to work with 10% ethanol gasoline. It was time to get some experience with teflon lined SS hose. I used Fragola brand 6AN hose.
I found that electrical cable cutters worked well to cleanly cut this teflon lined SS hose
Prior to this, I'd never worked with teflon SS lined hose. The hose ends assembly is different.
I assembled two hoses. One for the feed and one for the return. I then air pressure tested them up to 100psi in a bucket of water. I did have to tighten one up more because bubbles were leaking.
So, I used teflon lined -6AN steel braided hose in the back or the car. Some guys will run it all the way up front and that is certainly a way to do it. Easy but not the way I wanted to do it. I wanted to do it a little more the way Ford did it. A combination of hard line and flexible hose. I'm not a total glutton for punishment so I decided to use nickle copper (nicopp) hard line. This stuff is pretty soft and it's much easier to work with than steel or, God forbid, stainless steel!
Prior to this project, I'd never worked with hard line other than maybe once with some small brake lines on my previous Mustang GT. I watched some videos on bending hard line on YouTube by HotRodHippie including this one:
Nicopp comes in a roll and must be straightened out before properly bending it to the user's needs. The tubing is bendable by hand but there is no way that you could straighten it enough by hand to look good. You need a tubing straightener.
You can buy one all day long for $125-$150 but what fun is that? I watched a YouTube video of a guy making one for about 30 bucks. This time I did decide to be a glutton for punishment and I made my own. It was relatively easy but spending the money would've saved me a lot of time. Still, I just wanted to see if I could do it and if it would work.
I made this tool fairly lightweight. It would never work on stainless steel. Probably not even mild steel but for nicopp, it was perfect! This homemade tubing straightener goes in a vice.
You hand straighten the coiled up tubing a little to get it into the orange rollers. Clamp down a little bit with the vice. Not too much or you'll dimple the tubing. Ask me how I know! You then push the tubing in and pull it out multiple times as the tubing straightens out. It won't be laser straight but it'll be straight enough to look professional.
Here is a picture of the tubing bender that I used. It's definitely not a tool for a professional like the HotRodHippie but it's perfectly fine for a hobbyist who bends some softer tubing once in a while:
You can see that it made some really nice bends. There is a learning curve with a tool like this. I did mess some bends up and waste some tubing. One time I bent the tubing 180 degrees in the wrong direction. You can't unbend that!
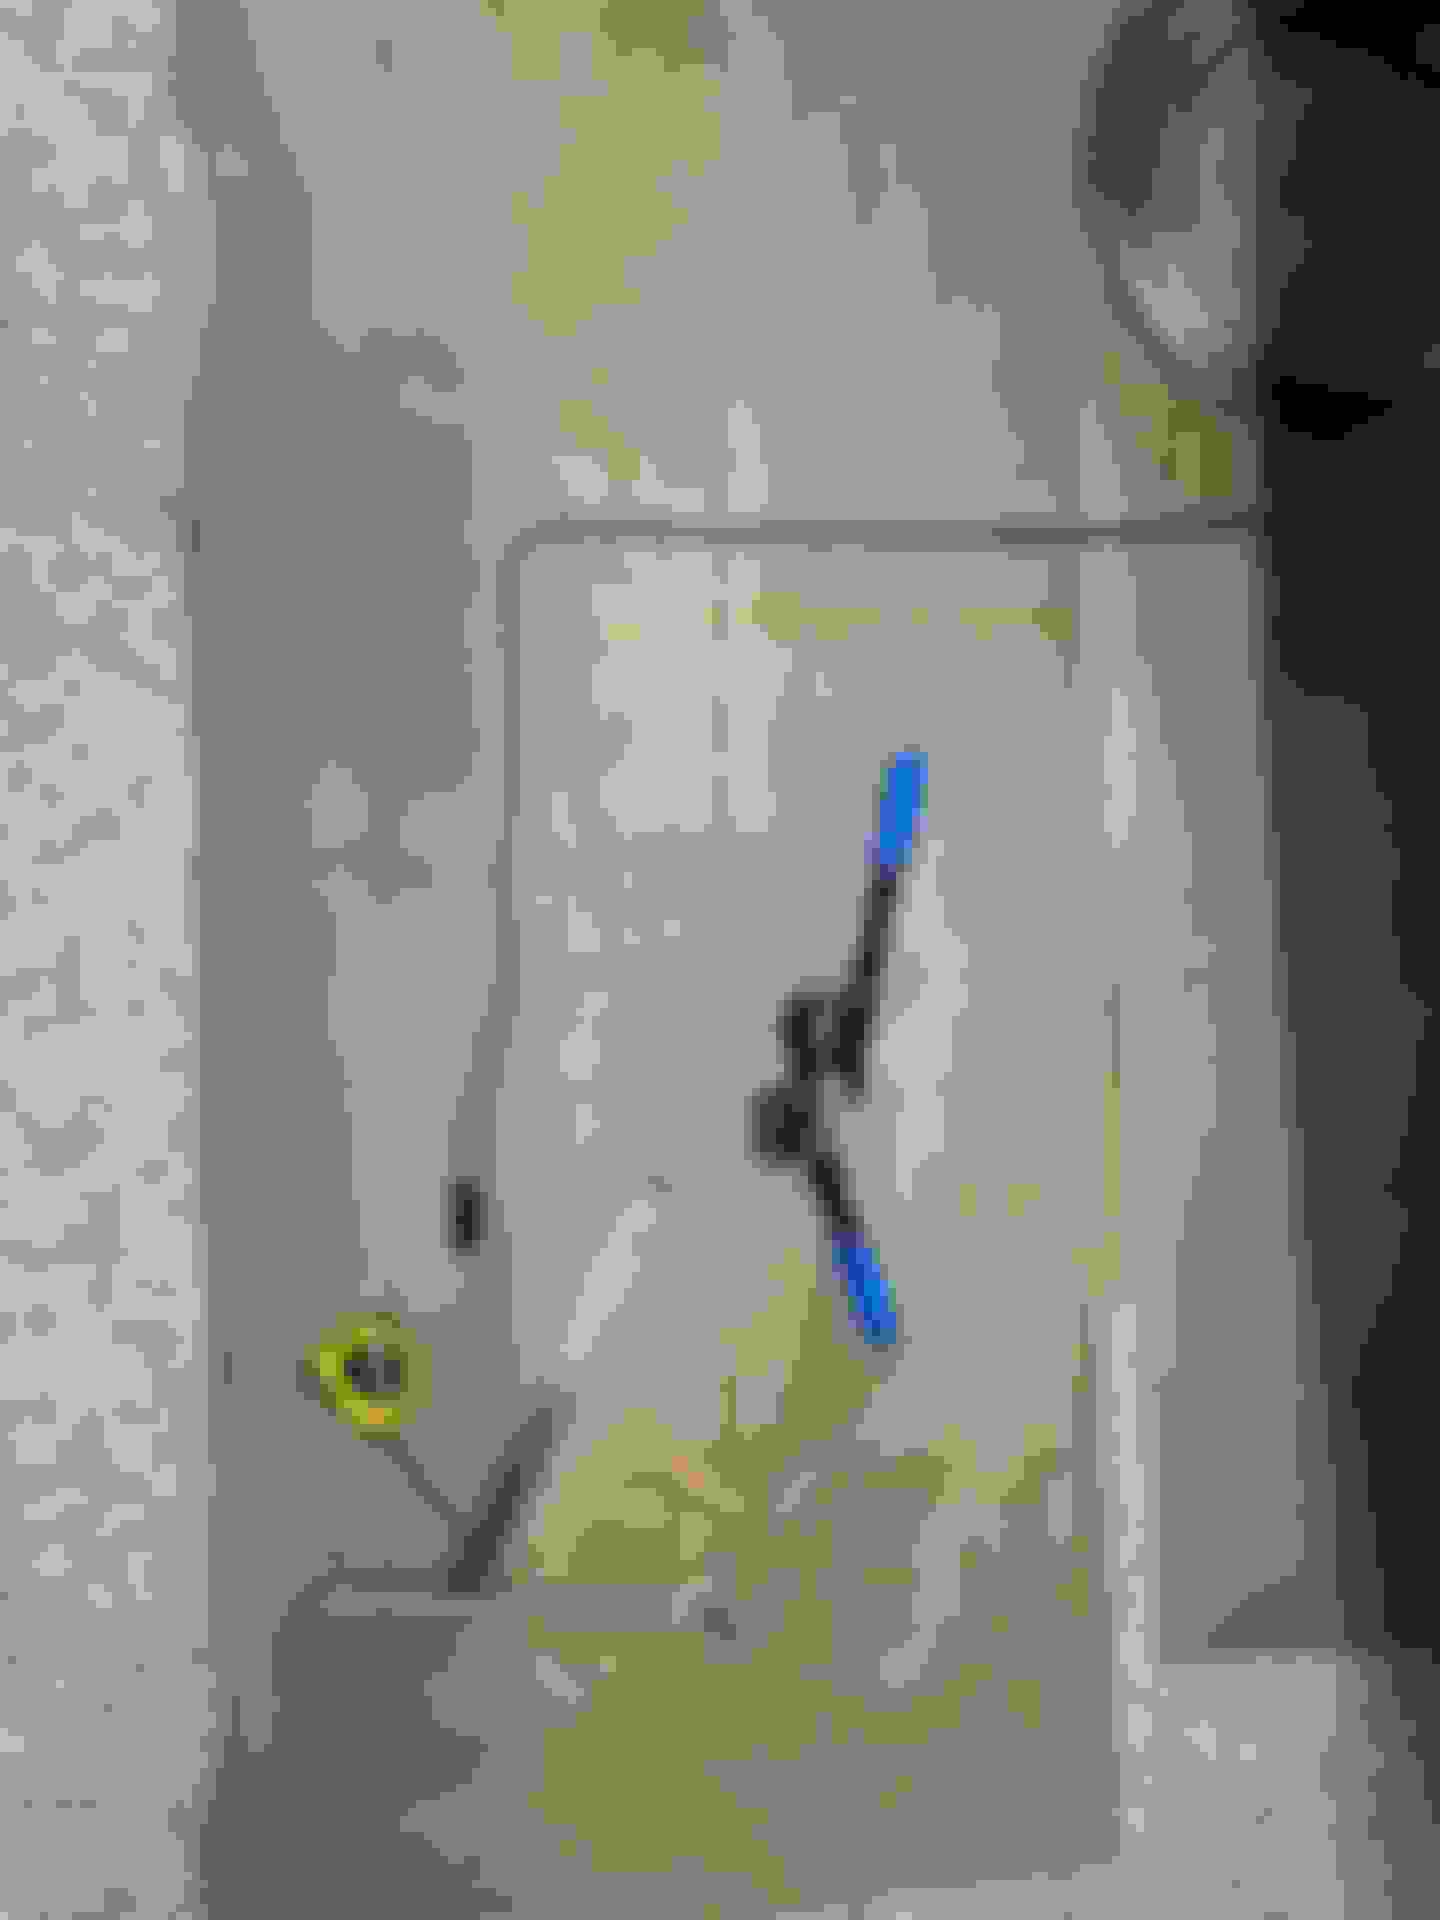
Here are a couple of pictures of the flaring tool and a flared end of tubing:
The flaring tool was easy to use and did a wonderful job of flaring the ends. Don't forget to put the blue tube nuts and red tube sleeves on first!
That RIGID flare tool is one of the best tools I�ve ever bought. Great job on the tubing straightener.
Thank you! Thank you! Sometimes I just want to see for myself if I can do something and making that tubing straightener was one of those times.
That RIGID flaring tool worked like magic on the nicopp tubing. It was super easy to use and the flares looked so good that I had a lot of confidence in them. So far, I've noticed no leaks.

 08-20-2021, 09:06 PM