When you click on links to various merchants on this site and make a purchase, this can result in this site earning a commission. Affiliate programs and affiliations include, but are not limited to, the eBay Partner Network.
I remember really wanting that 525hp rated engine. I was drooling over it for a couple of years and then the price shot up about $1K overnight. Like 31 Dec to 1 Jan. The lesser rated engines didn't go up near as much. I like value and an "overnight" price increase of $1000 didn't smell like good value to me. I started doing research into the LS376/430-480-525 and found out that the only difference was the camshaft. Even a genuine GM ASA cam was only about $550. Jegs had their version of the ASA cam for maybe $350. Even at the time, 2 yrs ago, people were saying that there were better cams out there for this engine.
In the end, I felt like I could always take the saved $1000 and buy another, better cam. I'd have the stock, crate 480hp HOT cam, an additional camshaft and cash leftover.
I decided to start working on the hydraulic clutch conversion. It was timely that I quit driving the donor GT because this is what the OEM clutch cable looked like when I removed it:
I wanted to move the car into the 21st century with a hydraulic clutch and I had read about Modern Driveline's hydraulic conversion kit for Fox bodies:
In hind sight, I wish I would've waited to install this part.
Way back in 2008 when I did my GT's 5-lug, 4-wheel Cobra disc brake conversion, this brake booster was a total PITA to install. The fear of going through a lot of that agony again made me want to get it out of the way. The key to getting it into place back in '08 was to cut down the four studs that go through the four holes in the firewall and under the dash. Once I found that tidbit of information back in '08, the booster went in. This time around, it wasn't much of a problem at all. For one thing, a giant wire harness wasn't in the way. I only scraped up a little of the silver paint. However, little did I know, that wire harness would force me to revisit the brake booster later.
After getting it in place, the last thing I wanted to do was remove it. I started installing the Modern Driveline conversion kit and quickly realized that the big brake booster was in the way. I couldn't get my drill in straight to drill the needed holes. I got the holes drilled without removing the brake booster but the holes could've been better. It all lined up well but I should've removed the booster.
Here is the clutch master cylinder mounting plate in position waiting for holes to be drilled. Way too close to the freshly painted brake booster.
The holes are drilled and the bolts are in. The silver paint on the booster is a little dinged up from the drill.
Last edited by dannyual777; 12-29-2020 at 04:12 AM.
Reason: added pictures
I really like the idea of the total engineered Holley/Hooker components. I wouldn't say these parts are inexpensive and I know things can be done cheaper but I wanted a system of components that I knew were designed to work together that would result in less agony for me. I really like the idea of keeping the Ford OEM driveline angles as well as the longitudinal offset. I think that Holley/Hooker engineer and LS1tech.com forum member Toddoky did an outstanding job on these components.
As the thread continues, I'll get to the pictures of these components. The K member pictures will be coming up soon!
Just a thought for you OP: if you’d painted your engine bay with satin or low gloss black, 1 million holes would only look like 100 or less. The contrast of white and dark holes is overwhelming. Just sayin.
Just a thought for you OP: if you�d painted your engine bay with satin or low gloss black, 1 million holes would only look like 100 or less. The contrast of white and dark holes is overwhelming. Just sayin.
Point well taken! It's so true that I read your post to my wife and we had a good laugh. Yeah, those 1 million holes are really ugly. If my timeline were different and I was getting ready to paint the engine bay in a month or so, I'd try welding up some of the holes. Back in October 2019, I didn't own a welder and had never welded in my life. I now own a Hobart 210 220/110V MIG welder. I'd give it a try and see if I could weld up and then grind the holes smooth.
I like your choice in motor mount and k member. i will be running the same mounts in my swap using the stock k member as my build will be on the budget friendly side.
On the engine bay paint thing its funny my car will be hot black put my bay will be gloss black to make it easy to clean. should have it sprayed this holiday weekend.
Last winter, I did a lot of online research to see what people were using for sound deadening insulation. Obviously there are the "automotive" insulations with big names and big prices. They work good for sure but are pricey. Then there are the much less expensive, house "roof" insulations. Quite a few people had used different brands including Peel & Seal from Lowes and Quick Roof
There's a lot of discussion on the internet about using these "house" products. Some people were concerned that the roofing products would smell up their cars. The people that had used them claimed that there were no offensive, tar smells in their car from the roofing products.
Sometimes I'll spend a lot of money on stuff and at other times, I want to be thrifty. I purchased three rolls of this:
This roll is 25 feet long and 6 inches wide for a total of 12.5 square feet.
Bare firewall about to get some extra sound deadening material.
The Quick Roof was very easy to work with. I used a utility knife and a pair of shop scissors to cut it.
I purchased a nice, urethane roller tool to help press down the Quick Roof but I quickly realized that I really didn't need the roller tool.
After I got the very front of the car's interior insulated, I installed the OEM firewall pad. This particular pad came from the donor car.
Back when I bought the three rolls of Quick Roof, it was just under $20/roll from Amazon. It's now over $25/roll. My plan is to insulate the entire car including the trunk so I realized that my three rolls wouldn't be enough insulation. I thought about buying 2 or 3 more but then decided to look into the Peel & Seal from Lowes. The P&S comes in a giant roll that is 3' X 33 1/3' for a total of 100 square feet. Way more than I'd need for the hole in the head but I would have plenty leftover for my next car project. With my military discount, the big roll was a little over $90 shipped to my house. Way less than the Quick Roof.
Since we all want to keep our cars light, weight matters! This 100 square foot box of "car insulation" weighs about 30lbs. Unless I was using this material in the doors, trunk lid and roof, there is no way I'd use this entire roll for one car.
As of now, I haven't tried the Peel & Seal. I've still got about half of the car to do. However, the Quick Roof was in my car's interior all summer (2020) in a garage that was 95-98 degrees most days. Granted it'll get hotter outside in the sun but I never once smelled any tar smell while working on things on the interior of the car.
At about this time, I decided to start installing the Modern Driveline hydraulic clutch conversion parts under the dash. The dash was still out of the car with no wiring harness so it was pretty easy to work on installing the components. It can be done with the dash in place but I'm sure it's a 100% total PITA! The MDL install instructions are very detailed with a lot of pictures to make this go as smoothly as possible.
Read my writeup under the last picture for the only problem that I had with the install.
This is called the “push lever.” The one that came with my MDL kit had a bad spherical bearing that was causing binding. The clutch pedal wouldn’t return to it’s resting position. I spoke with MDL and they had me isolate the push lever and it was still binding so we knew one of the two bearings were bad. I don’t remember which bearing was bad but it was easy to tell that one of the two was not articulating properly. I sent the lever back to MDL and they sent me a replacement. All was good!
Last edited by dannyual777; 01-01-2021 at 09:21 AM.
Reason: added text
At about this point I started some major work. It was time to remove the old, OEM K member.
This was the first time in my life that I'd messed with a K member. It's a major piece of the car but I was surprised at how easy it came out. All of the hardware connected to it is/was worthless junk to me!
Before I started with the K member alignment, I watched a couple of YouTube videos and read through the instructions a couple of times. The MM instructions are very thorough and the alignment isn’t all that hard. However, if you’ve never done it before, like me, it seems like it’s brain surgery! Once you get started, it all starts to come together. You’ll need at least one plumb bob. I’ve owned one for 20yrs but I purchased a second plumb bob just to make things easier and a little quicker.
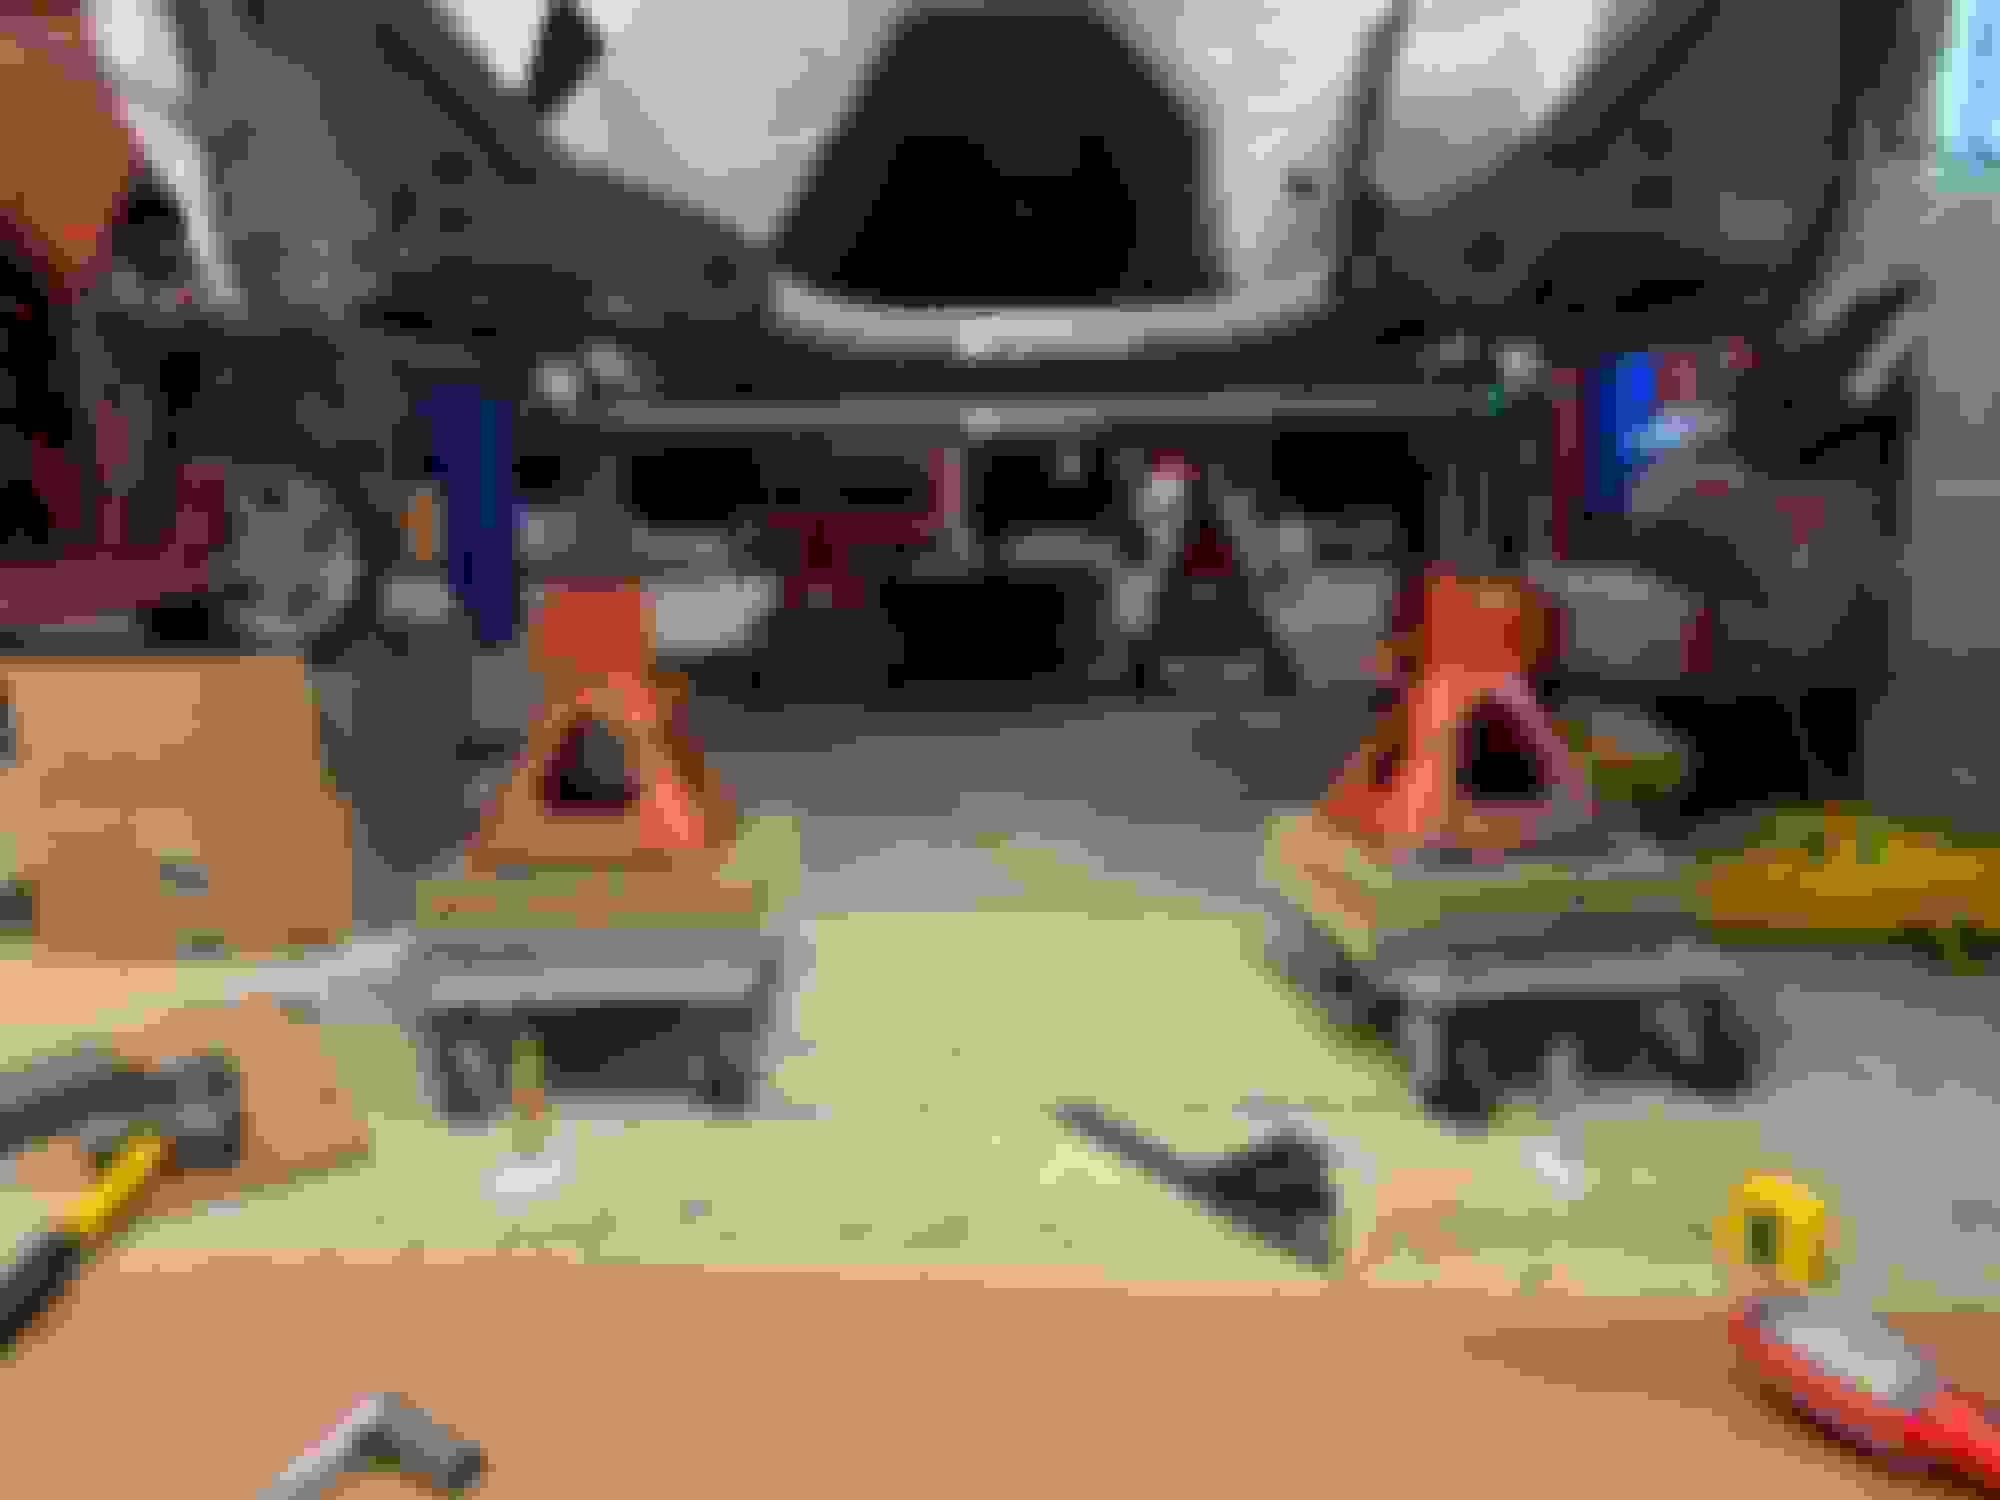
You’ll notice that I have the car up on jack stands that are sitting on top of wheeled Harbor Freight dollies. I had the wheels locked and everything was secure and didn’t move one bit.
Once again, I did this all by myself. Hopefully anyone else would use a helper. It’s so time consuming to constantly go back and forth checking the position of the tape measure to make sure it’s still spot on.
The white duct tape on the garage floor was quite helpful!
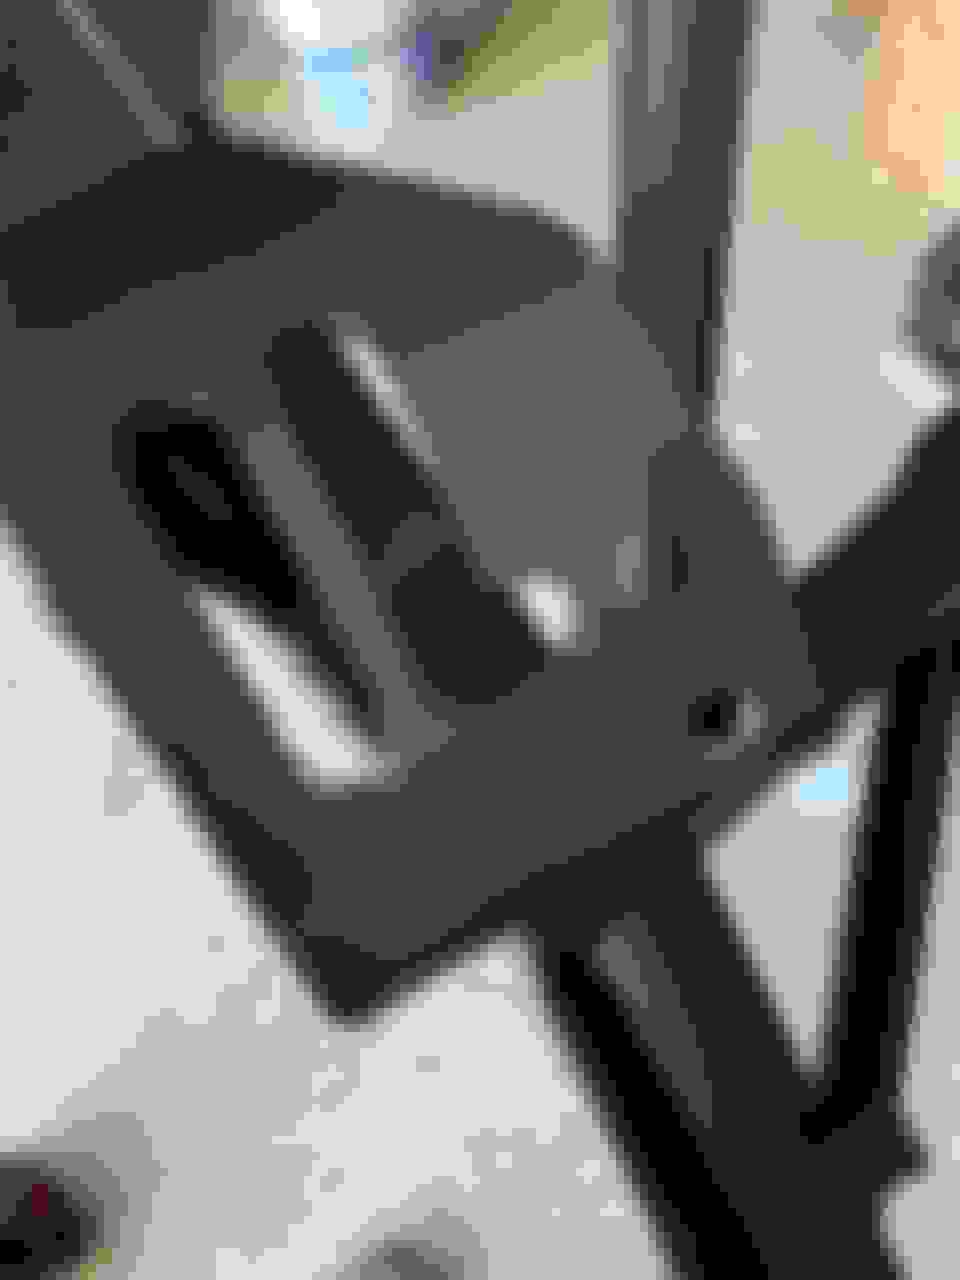
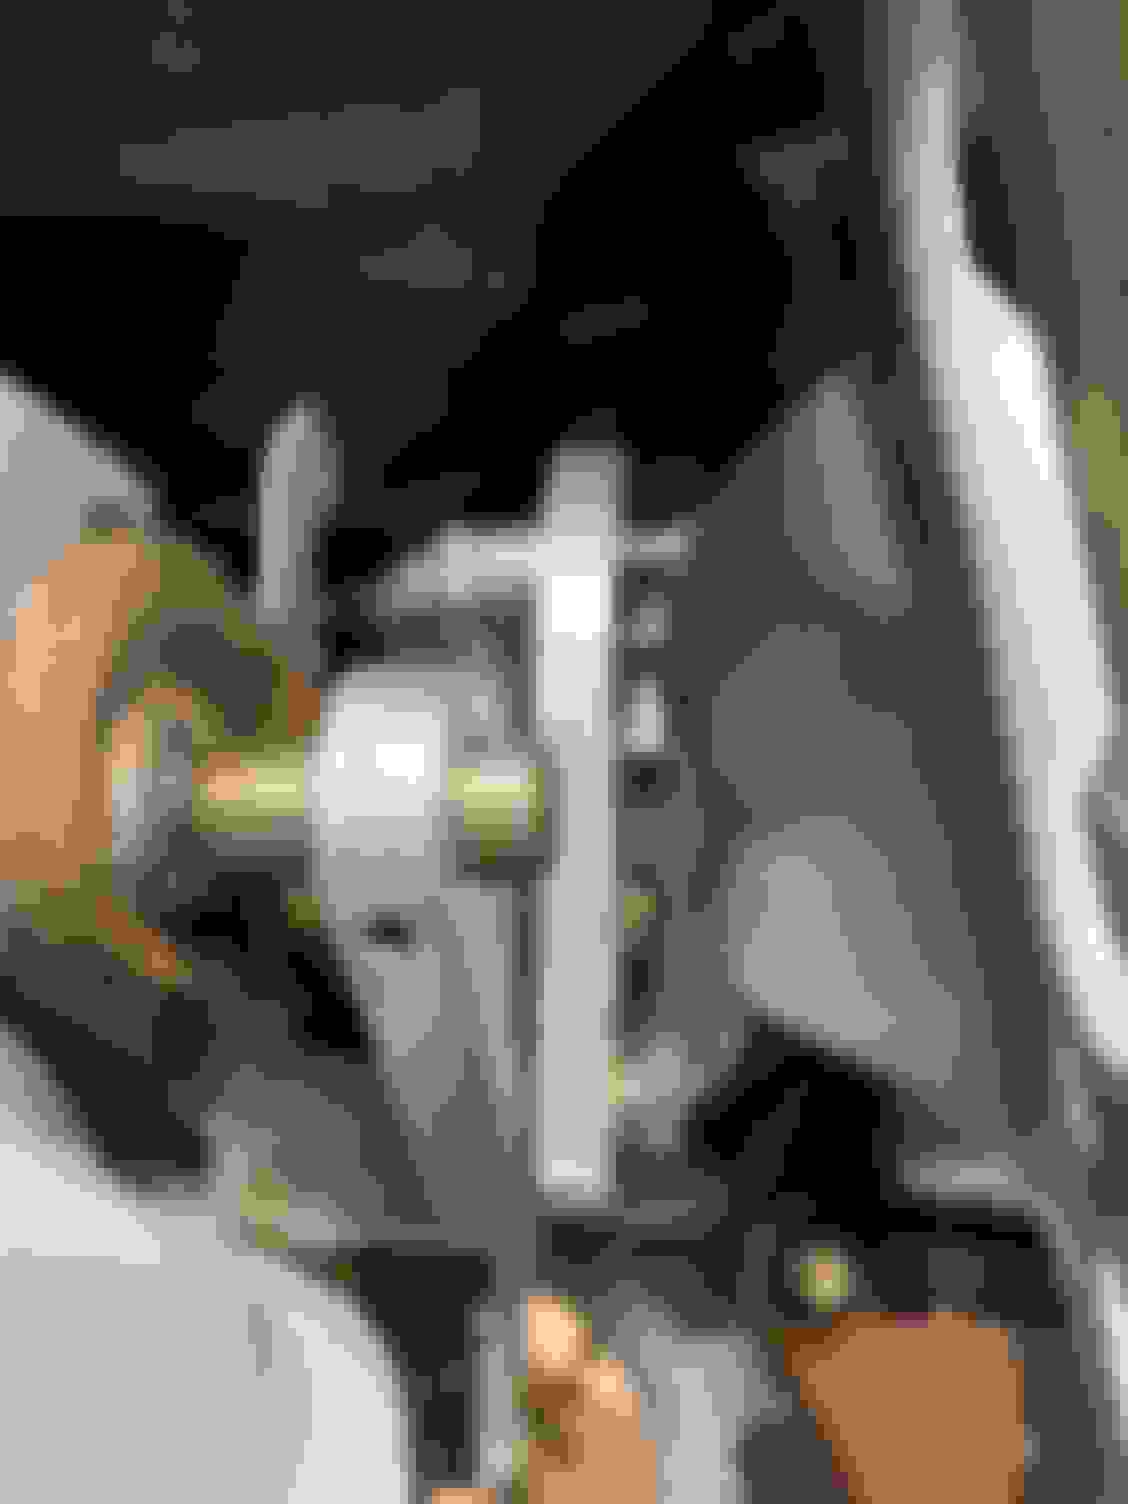
So after spending quite a bit of time aligning the MM K member, I thought I had it all done. Measurements came within 1/16" which is the MM specification. Then noticed this:
This is looking at the passenger side.
This is the driver's side.
I was concerned that the K member didn't seem to be centered right to left in the car even though my measurements were within specifications. I knew plenty of people have installed these high quality Maximum Motorsports K members so I went to corral.net where I've been a member for almost 19 yrs now. I figured that I'd get plenty of feedback there and I did. Most of the feedback was from Maximum Motorsports' tech guru, Jack Hidley himself. I knew I would get the correct information from him. I'm not going to hash through the whole thing but I will post the link to my thread for anyone actually doing a Fox body LS swap who may be interested in the specifics. Here is the thread and there are a lot of pictures:
I think that the Maximum Motorsports K member is an excellent, if not best, choice for any fox body Mustang. It's heavy duty for sure. I remember researching different K members before I purchased it and I felt that it was the most beefy K. Sure it might weigh just a little more than the competition but I'd rather try to save weight in other areas that I think are a little less "strength critical."
The welds are beautiful,the powdercoating is fantastic and it has a ton of engineering behind it. If you can afford the price, I highly recommend it.
The instructions were very specific about what needed to be done to the Maximum Motorsports MMKM-1 K member to allow the mount brackets to fit. I measured about 20 times before I drilled/slotted once.
You can see my scribe marks for my measurements. In addition to the lower hole in the lower right corner, I also had to elongate the front slot.
After working on the K member, I went back to the Modern Driveline hydraulic clutch conversion. I read the very thorough MDL instructions and made the proper master cylinder rod adjustments and then bolted the MC in.
Back under the dashboard
For anyone joining in late, these pedals came out of my 1991 Mustang GT that I bought brand new in 1991. I had to pull it off the road 5 years ago due to rust damage from saltwater air. I lived right by the beach for over 10 years in Fernandina Beach, FL just north of Jacksonville. Lots of good parts are coming off of the donor GT.

 12-28-2020, 12:10 PM