When you click on links to various merchants on this site and make a purchase, this can result in this site earning a commission. Affiliate programs and affiliations include, but are not limited to, the eBay Partner Network.
Did you weld up any of those un-needed holes? I remember thinking mine looked like a carcass with innards hanging out.....
About a million unneeded holes! Up until September 2020, I've never owned a welder or even did any welding at all. All of those million holes are still there.
About a million unneeded holes! Up until September 2020, I've never owned a welder or even did any welding at all. All of those million holes are still there.
Well, the good news is that the white paint almost hides the black holes.
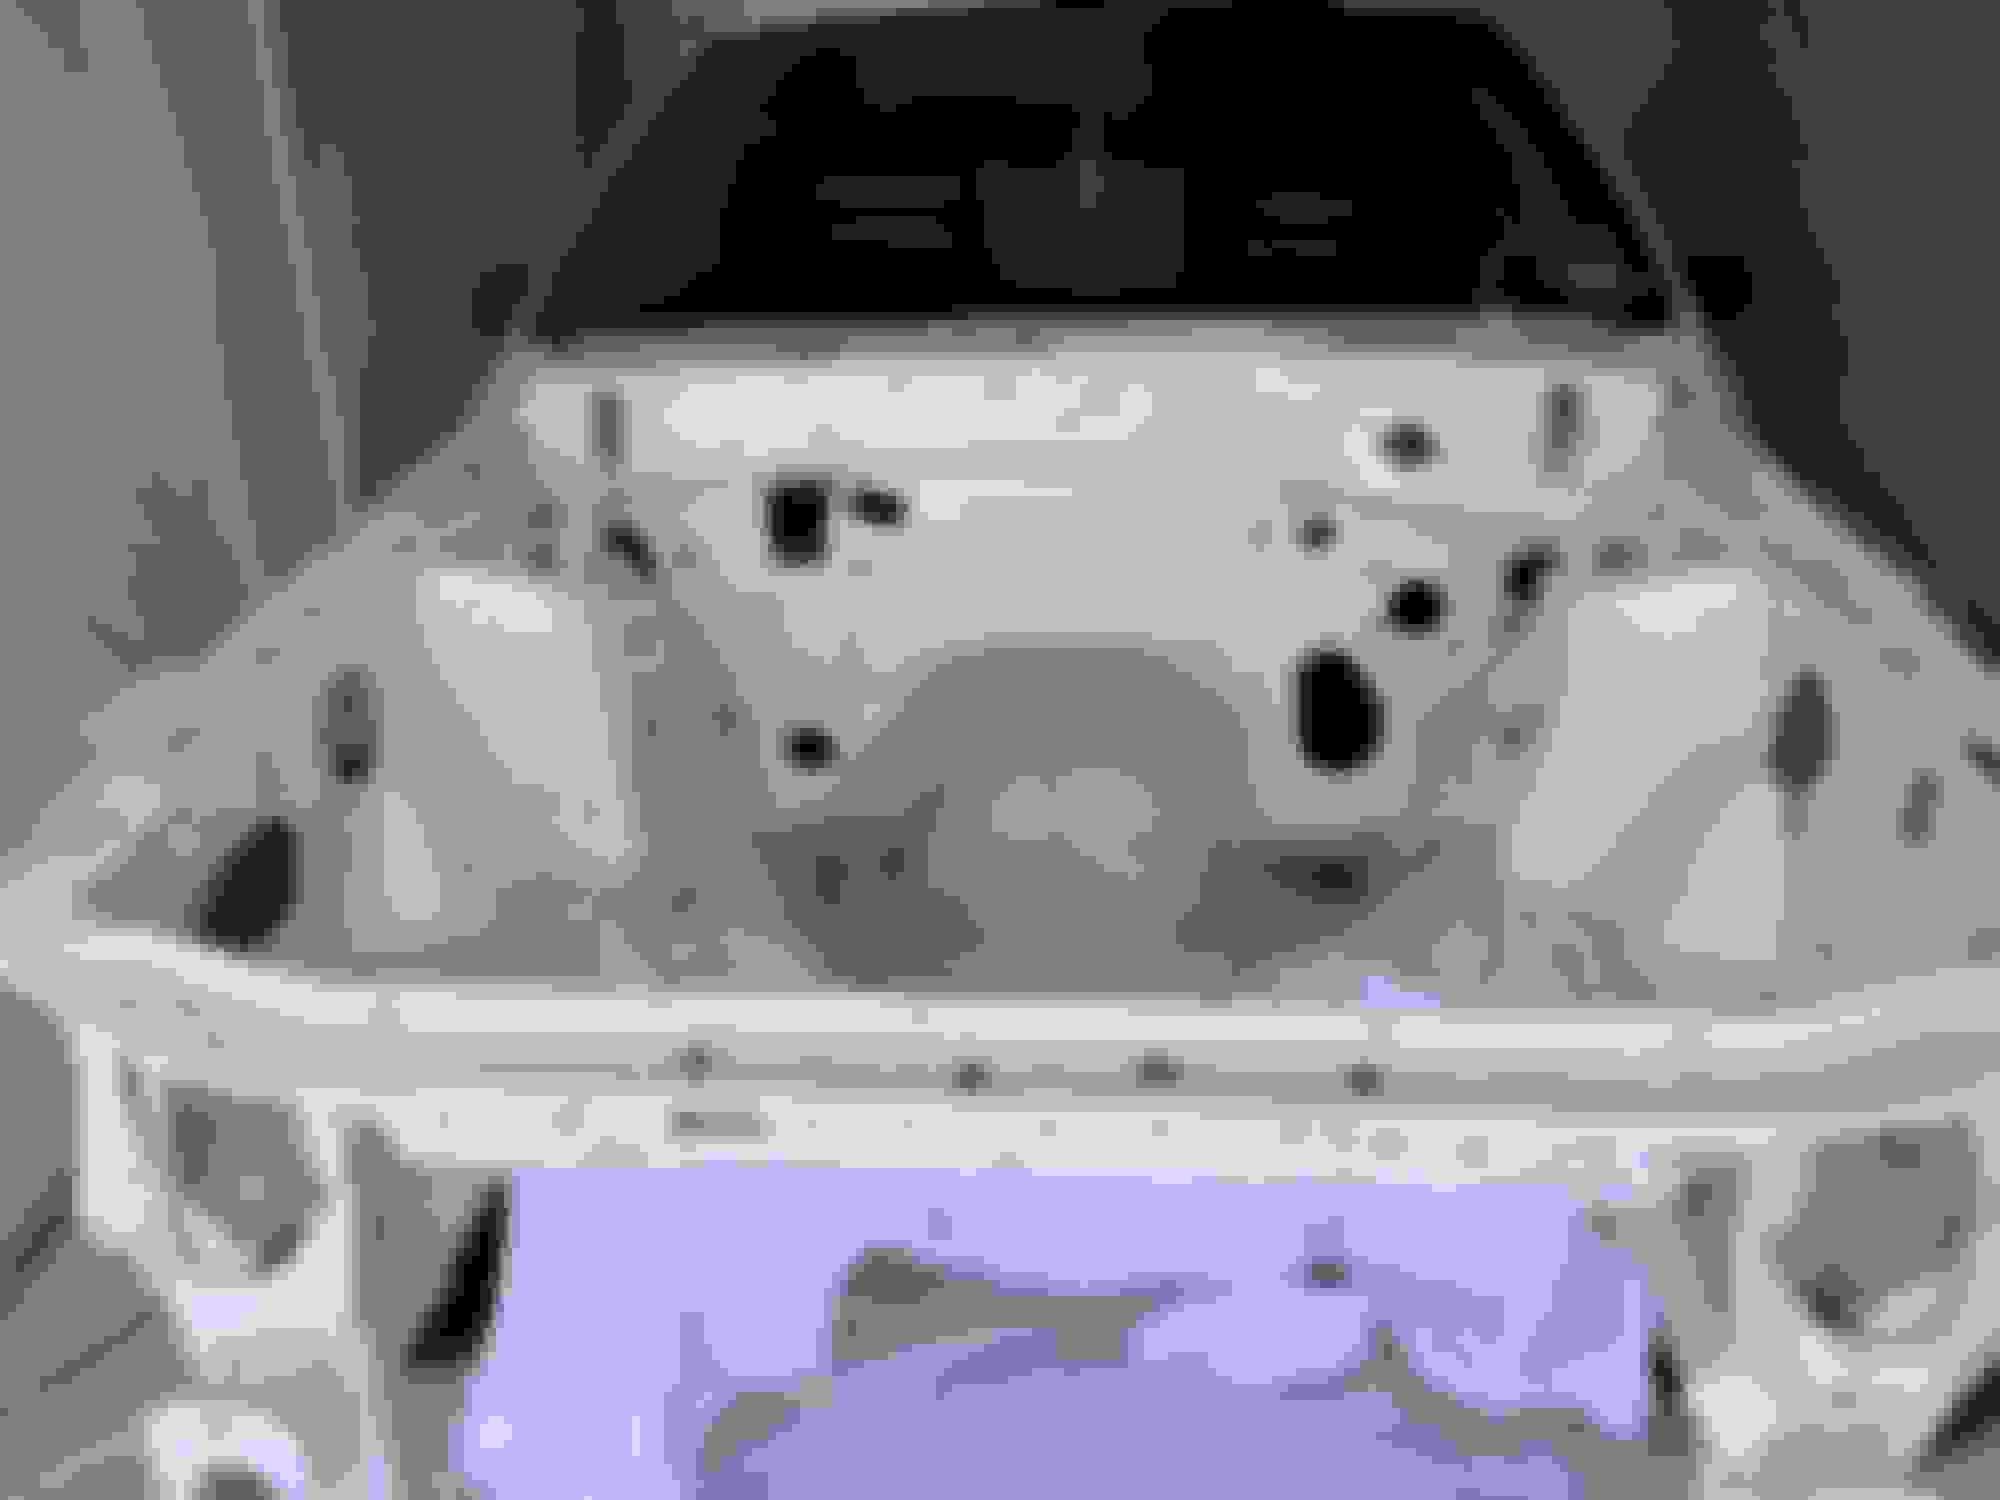
Here are some pictures of the many primed sheetmetal holes!
It's hard to really tell on a laptop screen but I have these pictures labeled as "primer." I used a light grey primer and it had enough contrast for me to see the primer vs the actual white paint but it's hard to tell the difference in the pictures. All of the above are primer pictures.
As I said in a previous post, it was 95 degreesF the day I did the paint work. I was sweating so bad in that full paint suit that sweat spilled out of one of my paint suit arm holes and onto my primer. A lot of sweat . I ended up putting on a long sleeve, cotton tee shirt underneath the paint suit to absorb up the sweat for the actual painting. It worked as I never had any more sweat spill out of the arm holes. Gross but that's what you get when it's 95F and you're working hard!
Yeah, that Houston heat is a constant here in Houston! I've realized that it's summer here 12 months out of the year. We just have occasional cold fronts that push down for a spell during the winter months. Then the heat comes back. It was 77 degrees and very humid yesterday, 23 December 2020! It was actually a good day to test out my newly replaced air conditioning system in my 2002 Trans Am but I digress. Back to the topic!
Painted Oxford White!
Driver's side
Even with that small paint gun, it was very hard to get into certain areas. Here is that ledge underneath the power brake booster that had deep surface rust. I tried and tried to get paint coverage in there. This was the best that I could do. Of course it won't be seen once the power brake components are installed.
Last edited by dannyual777; 12-24-2020 at 09:48 AM.
This is underneath the cowl where the wiper arm rods reside. This is the area that rusted out on my donor car and allowed water to run down behind the gauges and into the driver's side floorboard. I got as much paint as I could in there. It's a wonder I didn't get runs and sags but I didn't.
Unmasking
I had been working on the construction of that paint booth for so long that I was ready to have my garage back. The booth came down almost immediately. That's a Whip Industries, 4-post lift that's made up in DFW. I ordered it online about 4 years ago then drove up there and picked it up. On top of the lift is my 1973 Sanger runnerbottom V-drive drag boat. Big block Chevy powered. I've owned it since 1986. I'm embarrassed to tell people that last time it was in the water.
After painting the engine bay, I thought it was time to start removing parts from my donor car.
I�d already removed the dashboard and it was such a pain with the passenger side door that I decided to remove it. So much easier getting in and out of the car to do my work!
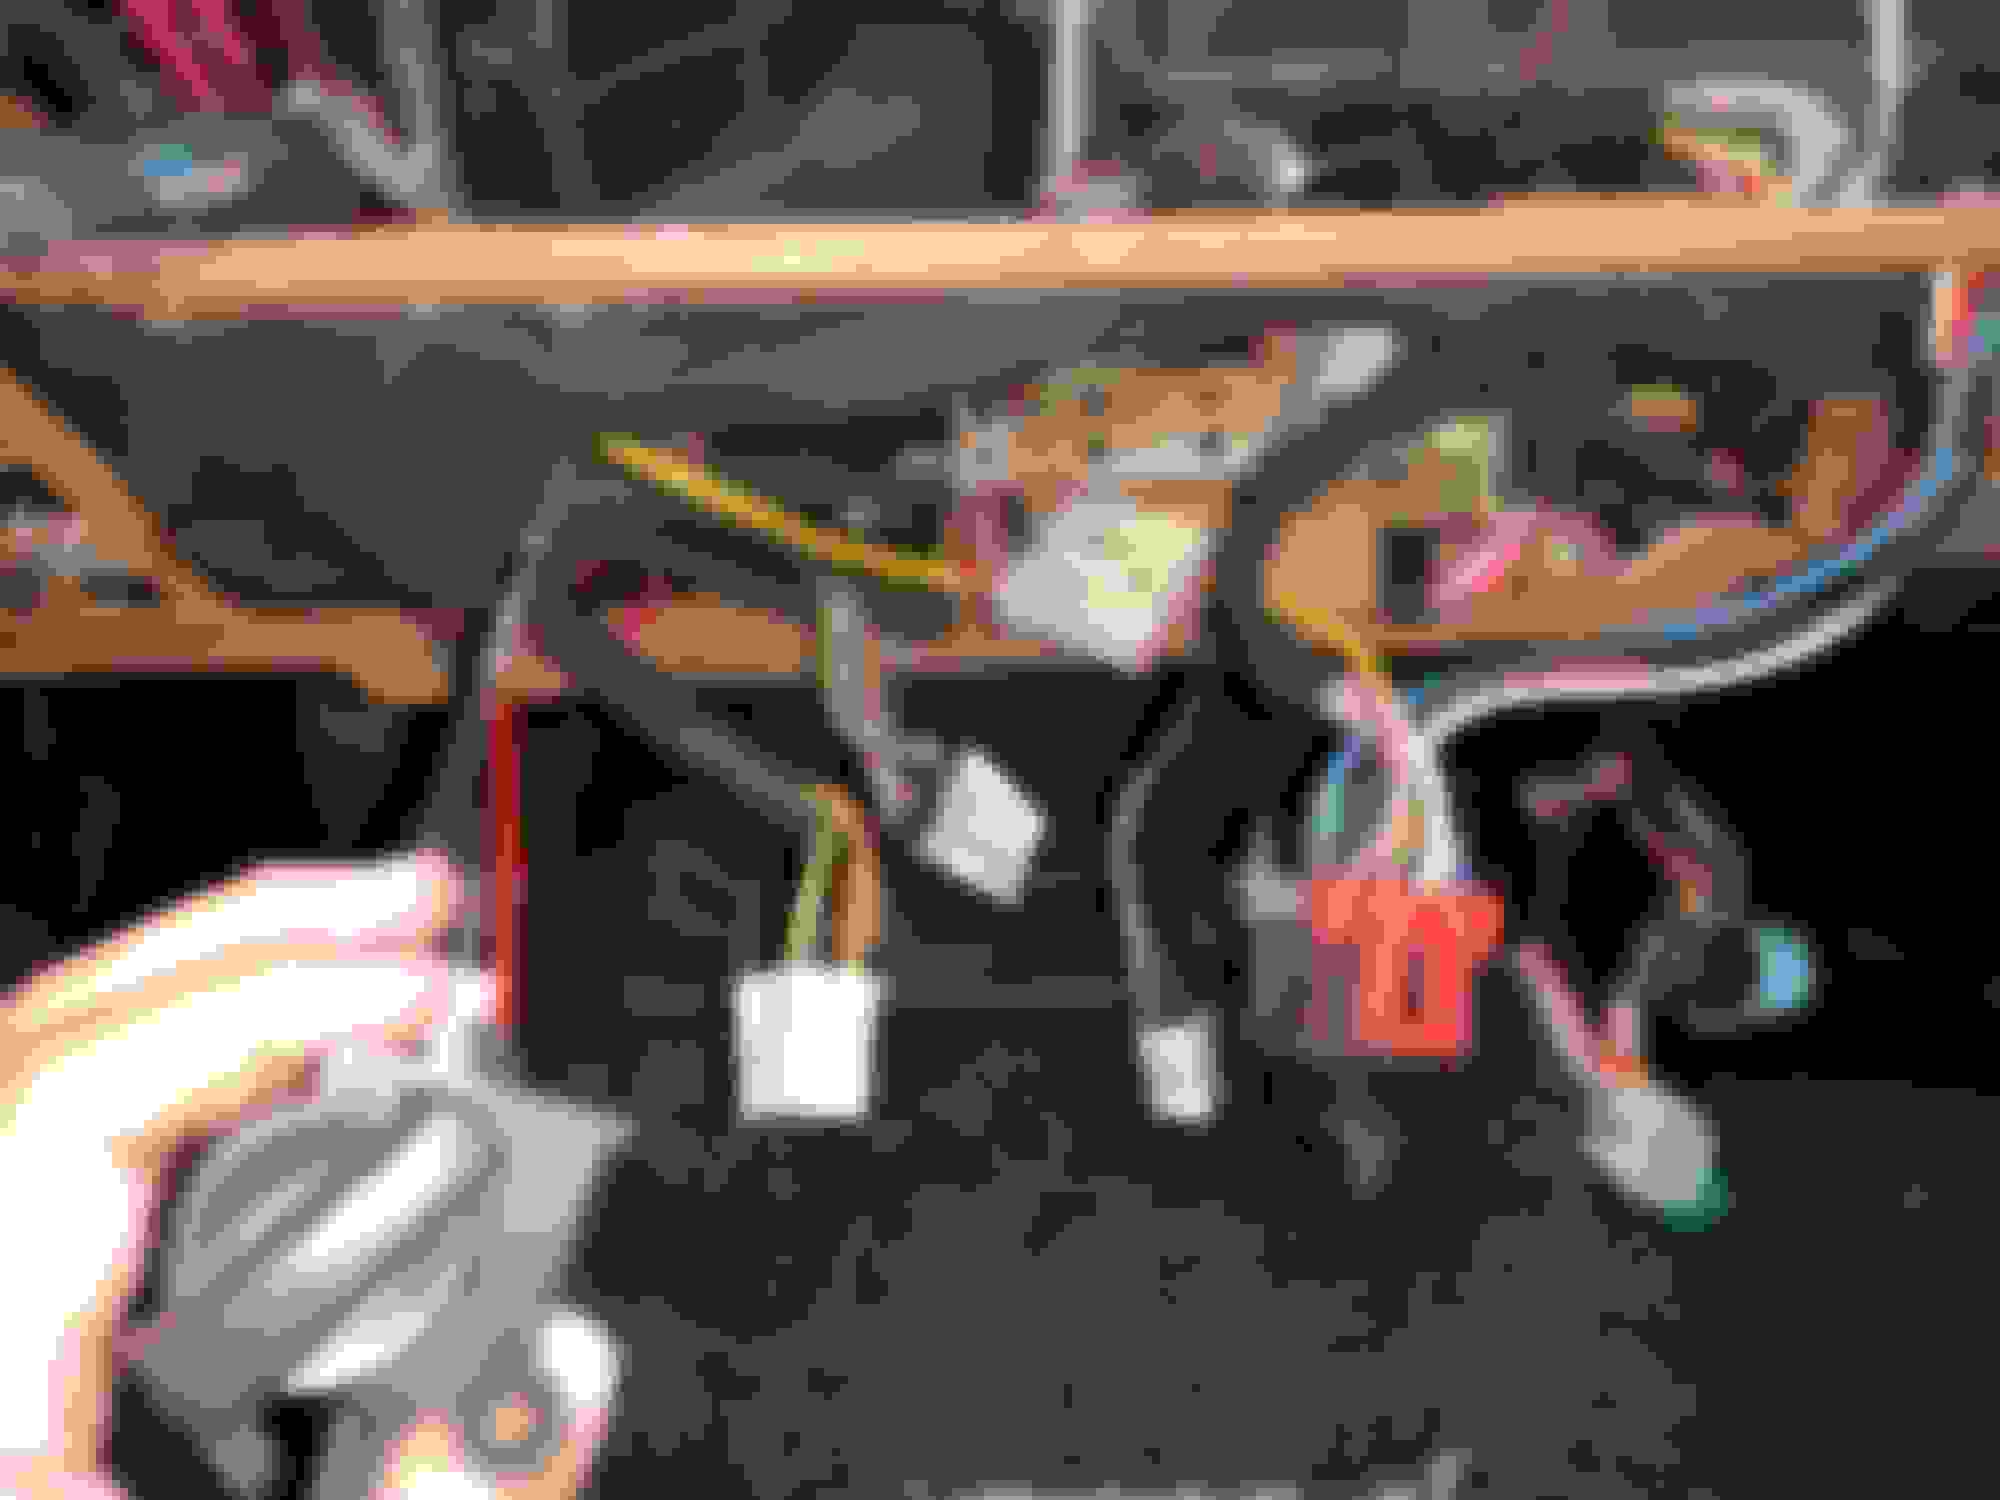
I labeled all of the many connections. My plan was to use this main harness out of the donor since I knew it�s history and it was in better shape that the coupe�s.
All of these many pictures have been quite helpful for reassembly as well.
This is my rusty ‘93 Cobra, Cardone brake booster I installed into the GT back in 2008. Wet sanding all that ugly rust off. Looked marvelous after some metallic silver paint.
GOOD job on the build so far. just started my 89 lx coupe ls build. i will be following
I'm glad to have you in the thread, Arkansas. I hope this thread will give you some ideas and maybe you can give me some ideas as well.
I'm going to kind of summarize the build at this point in the thread. The last pictures I posted were from about this time last year; December 2019. One of my goals was to use as many parts as I thought that I could use off of my red '91GT that I ordered through Ford's Military Buyer Appreciation Program right after the first Gulf War back in 1991. Many if not all of the parts from my GT are in better shape than the coupe's parts. Plus I like the idea of using some of the "soul" of the GT in the coupe! I'll be mixing pictures of those parts along with pictures of the coupe as they're both intertwined.
So the coupe's engine bay is painted and ready to have parts bolted back in. The interior firewall is stripped of everything and ready for me to start adding insulation and parts from the donor car back in. The carpet is still in but it will be removed soon so that I can clean underneath and add additional sound deadening material to mitigate NVH.
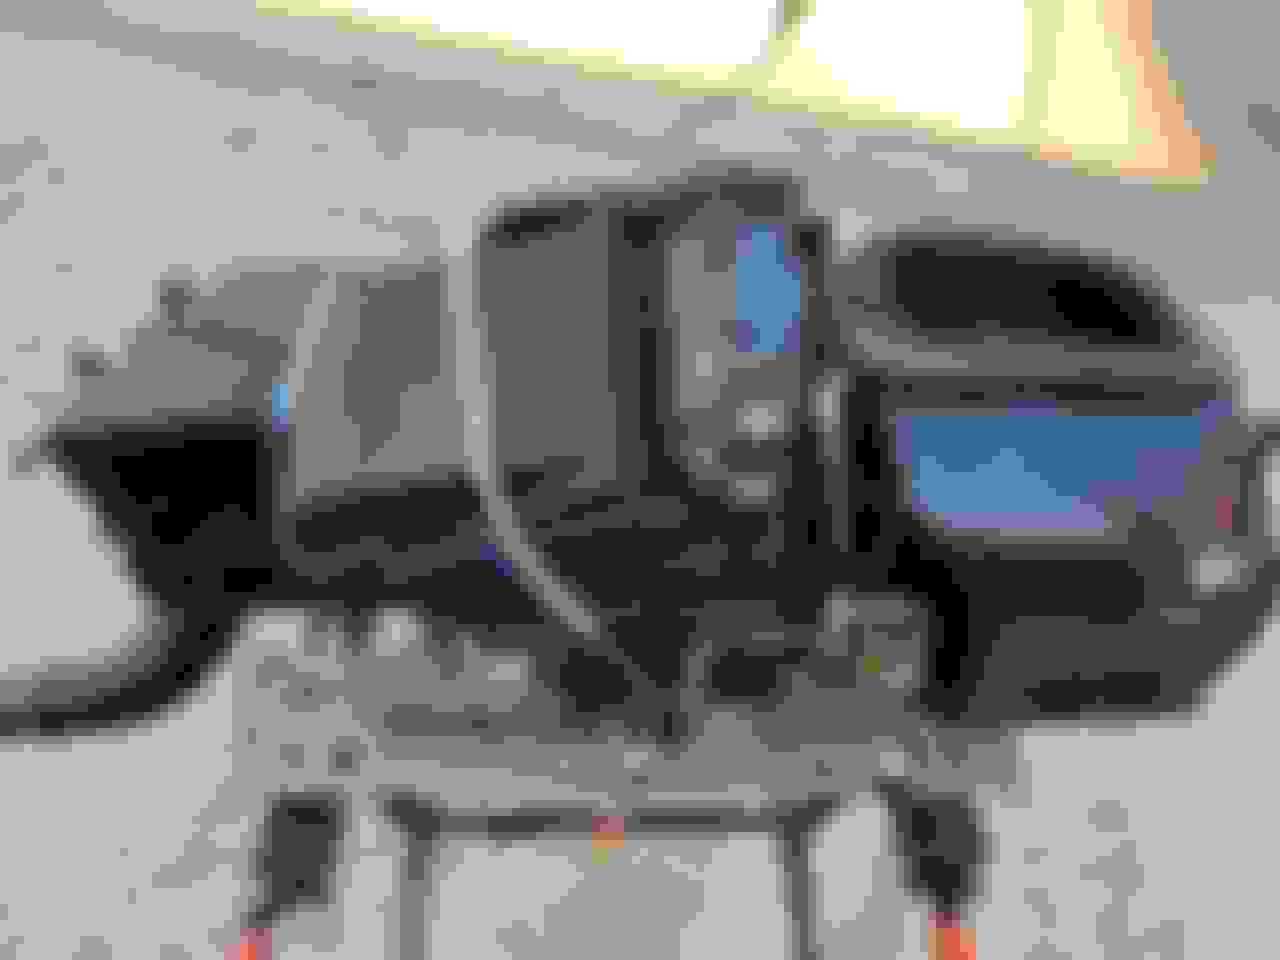
Can anyone tell me if I need to do anything special with the black tube in the second and third pictures? I think it’s a vent and it’s just rubberbanded onto the transmission. There is a bracket that is attached. Any confirmation information will be greatly appreciated!
I can’t forget the arrival of this! T56 Magnum close ratio TUET11009.
The transmission is a beauty. The shipping box was pretty mangled. I don’t know what’s up with that “666” handwritten right in the middle?! Kinda scares me.
Last edited by dannyual777; 12-26-2020 at 09:24 AM.
Reason: Added text
Deep in the winter of 2019-2020, I had parts trickling in including this:
I was very disappointed to see that it is china made but it is a good looking product.
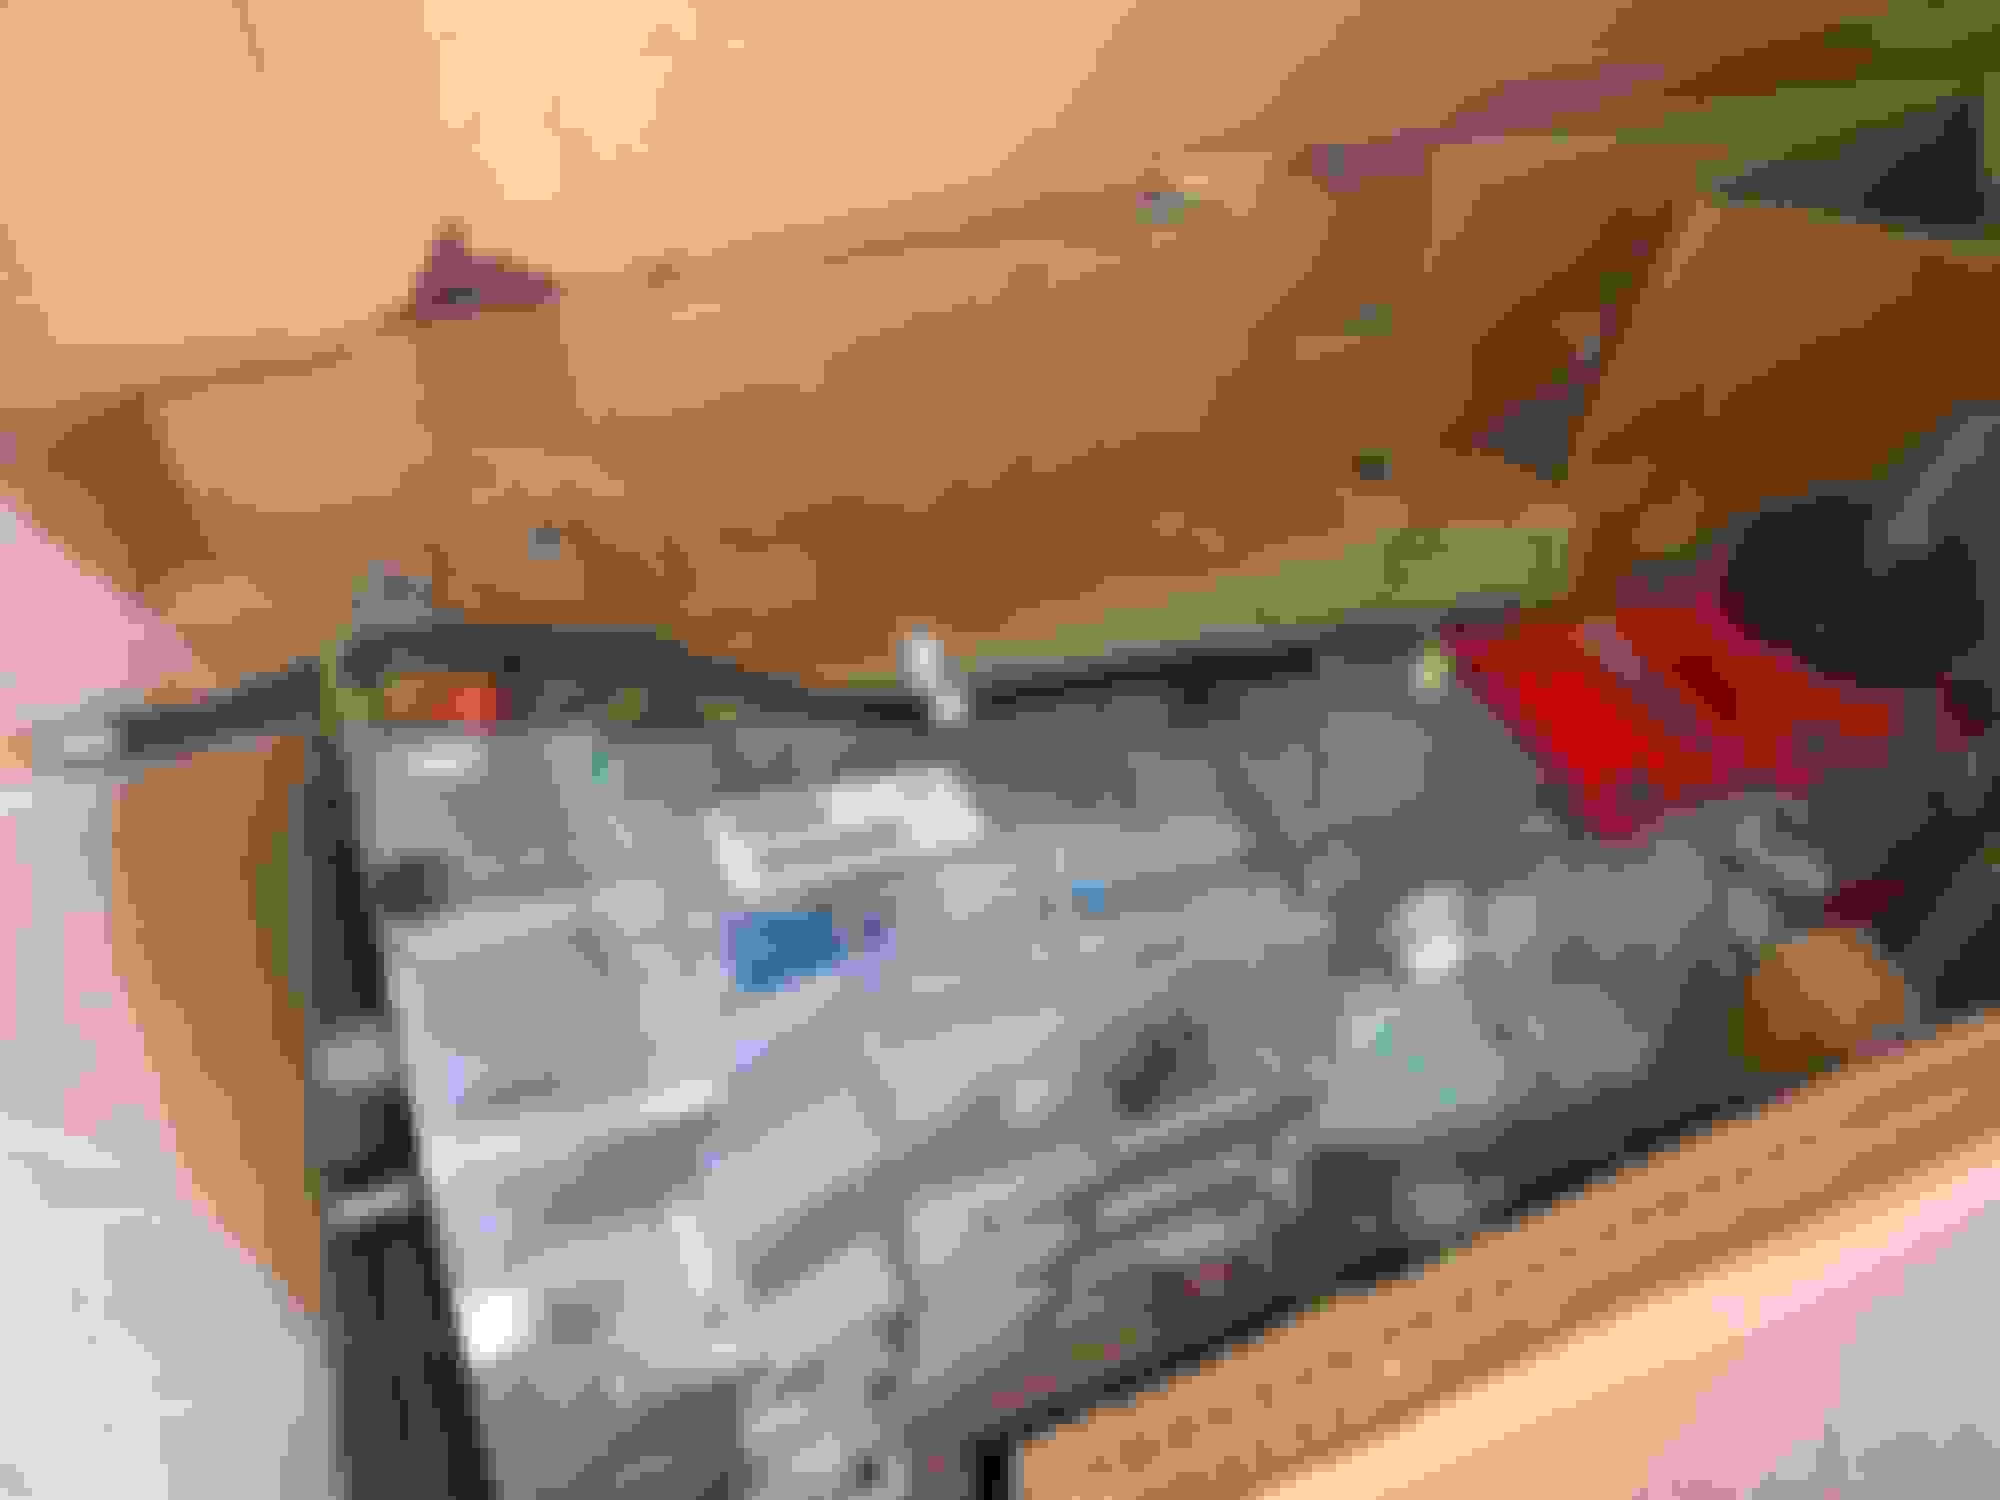
I was also working on getting more parts out of the donor car. Here is the HVAC box that I removed:
The oversized zip ties are from when I took the box apart back in the 2008 time frame to replace a leaking air conditioning evaporator. At the time, I also replaced the heater core. I was going to replace both of those parts again just because I had the entire box out of the car but all the parts are now china made. The parts inside are old but not china. I decided to stay with the older, non-china parts. The box was OEM plastic welded together and I had to cut it apart to get to the parts in 2008. I sealed it back up with silicone sealer but used the giant zip ties to make sure the box didn't come apart. When the HVAC box is installed in place, the zip ties are completely hidden from view.
Last edited by dannyual777; 12-28-2020 at 10:40 AM.
Reason: added text
Thank you, Andrew. The project is slowly coming along and I'm posting pictures daily. I'll catch up to where the project currently sits some time in January.
I'm happy with how the work is turning out but the pace of progress has been glacial.

 12-22-2020, 10:10 PM


 . I ended up putting on a long sleeve, cotton tee shirt underneath the paint suit to absorb up the sweat for the actual painting. It worked as I never had any more sweat spill out of the arm holes. Gross but that's what you get when it's 95F and you're working hard!