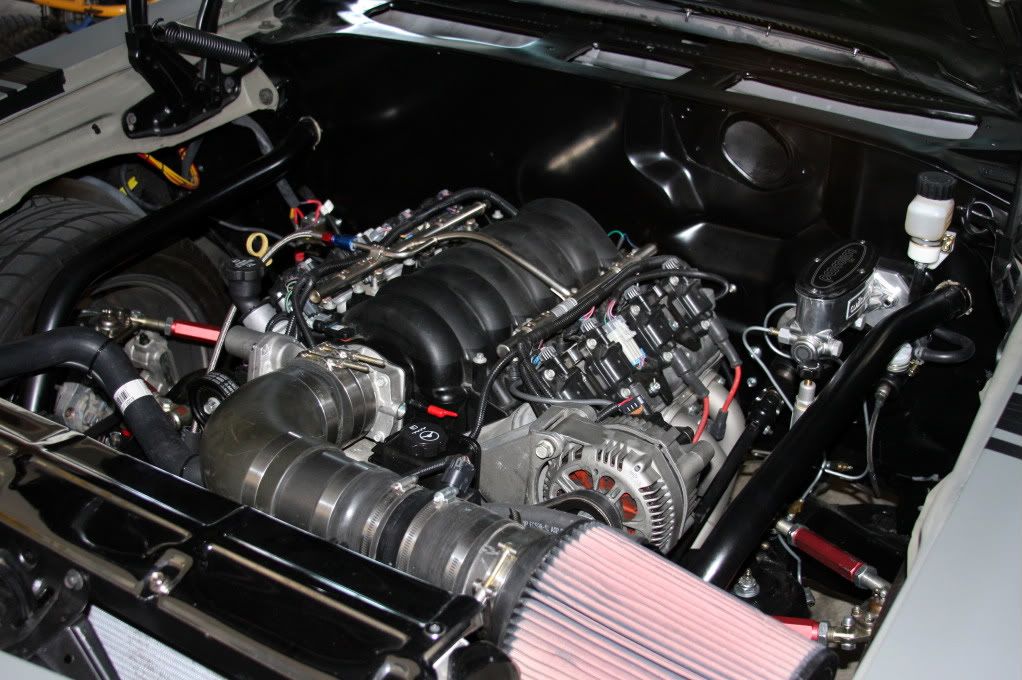
69 Chevelle with LS3
Thread Starter
On The Tree
Joined: Aug 2007
Posts: 110
Likes: 0
From: So Cal
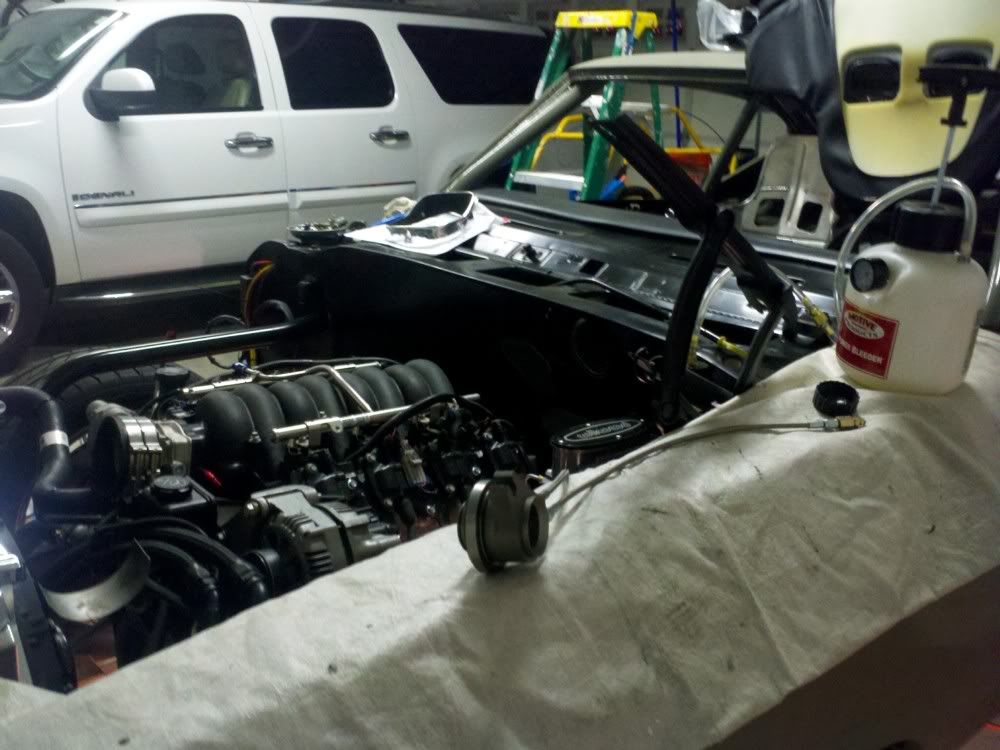
I have not been good updating this thread but I got the car fired. It runs nice and smooth just like a new car. I did however hit a snag on the hydraulic clutch which resulted in pulling the trans yesterday. More on that below.
My wife got me new doors for Christmas. I did not even put them on my list. She is a good woman.
My wife got me new doors for Christmas. I did not even put them on my list. She is a good woman.
Thread Starter
On The Tree
Joined: Aug 2007
Posts: 110
Likes: 0
From: So Cal
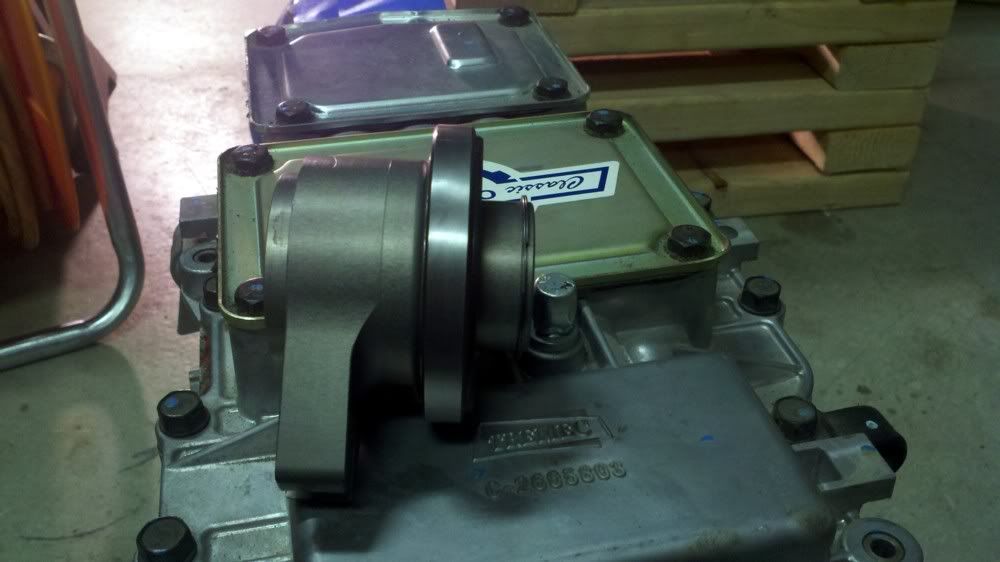
When I went to bleed the clutch I noticed the braided line leaking inside the bell housing. I am using a RAM hydraulic bearing and I was not aware I needed to use teflon tape on the bearing side. The whole hydraulic clutch is new to me so live and learn. I was also concerned that clutch was rock hard.
If I opened the bleeder the pedal would sink down to the floor. I am thinking the spacing was off but checked that tonight and I think I am good. I will check more tomorrow.
Here is a pciture of the bearing relaxed
So since pulling this thing is a big PITA I hooked up the bearing and bleed it with the Motive pressure bleeder
After bleeding I pressed the clutch in to be sure it was moving. I am also concered of over extending so I may need to add a spot on the pedal.
It moved out:
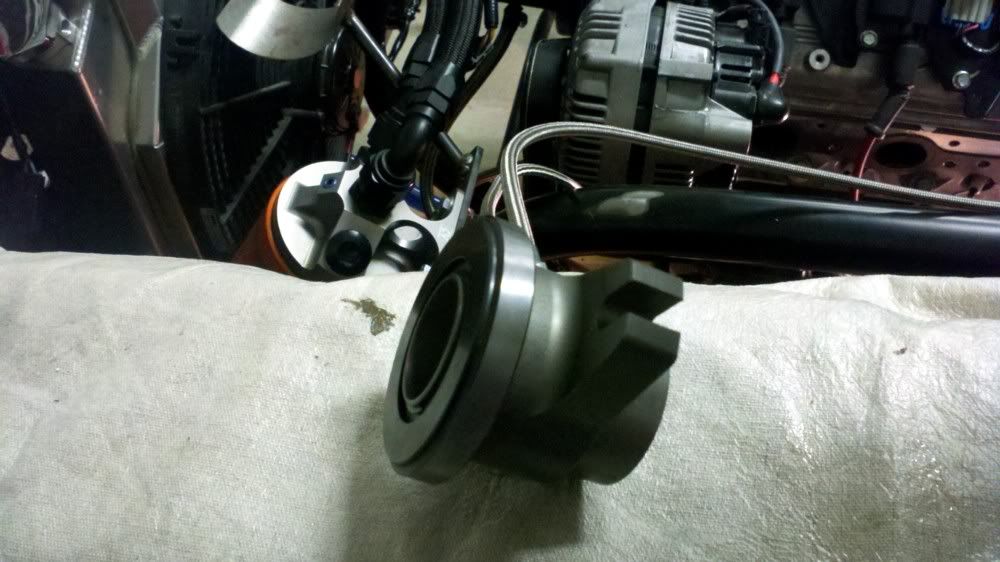
I figure I can also check for more leaks.
*Here is where I am confused. I pumped the pedal and it extended till the pedal got hard. Any additional pressure by my foot would likely damage the bearing. Should the pedal remain hard at this stage?? Does the pressure plate help return the pedal all the way up thus reliefeing the had pedal?
I must be missing something so any feedback would be helpful.
If I opened the bleeder the pedal would sink down to the floor. I am thinking the spacing was off but checked that tonight and I think I am good. I will check more tomorrow.
Here is a pciture of the bearing relaxed
So since pulling this thing is a big PITA I hooked up the bearing and bleed it with the Motive pressure bleeder
After bleeding I pressed the clutch in to be sure it was moving. I am also concered of over extending so I may need to add a spot on the pedal.
It moved out:
I figure I can also check for more leaks.
*Here is where I am confused. I pumped the pedal and it extended till the pedal got hard. Any additional pressure by my foot would likely damage the bearing. Should the pedal remain hard at this stage?? Does the pressure plate help return the pedal all the way up thus reliefeing the had pedal?
I must be missing something so any feedback would be helpful.
im running that same throwout bearing on my 75 chevy truck with no shims. ive always bleed mine installed. it gets hard because its up against that snap ring. the earlier version of that throw out bearing has no snap ring. i had one and was testing the bearing out uninstalled and blew it apart. and i put a little cut in the o ring on reinstall and resulted in a leaky slave. then i rebuilt it with a o-ring kit. and then finally upgraded to the snap ring style one you have now when the bearing was getting bad. on my GTO i added a clutch stop alot of A body guys have done that with the f body master cylinder. but on daily driver truck i do not im running a wilwood universal master on it. probably depends on the master cylinder
You guys are lucky having a built in stop on your HTOB. The one I sourced from Kesler doens't have one. When I tried bleeding it outside the trans it blew apart and had to be replaced. Once overextended mine couldn't be put together without leaking.
When I bought a replacement HTOB from Kiesler, they sent installation instructions that included a couple of measurements from the back of the bellhousing to the clutch plate fingers. Turns out I needed a half inch of spacers behind the HTOB to work with my set up. Sure would have been nice if they had included the same instructions when they sold me the trans, but whatever. At least they sent the machined spacers free. of charge.
At any rate you can measure from the back of trans to the clutch fingers, then with the bearing on the trans measure from the trans mating surface to the end of the bearing when relaxed. That should tell you if the bearing will be just off the fingers or if you need some shims. Getting the bearing to be right near the clutch fingers when relaxed should ensure you have adequate travel when fully extended.
LS1 Tech Stories
The Best V8 Stories One Small Block at Time

6 Common C5 Corvette Failures and What's Involved In Repairing Them
Pouria Savadkouei
Retro Modern Bandit Pontiac Trans AM Comes With Burt Reynolds' Autograph
Verdad Gallardo
Top 10 Greatest Cadillac V Series Performance Models Ever, Ranked
Pouria Savadkouei
Top 10 Most Powerful Chevy Trucks Ever Made!

Hennessey's New Supercharged Silverado ZR2 Has 700 HP
Verdad Gallardo
Coachbuilt N2A Anteros Is an LS2-Powered C6 Corvette In Italian Clothes
Verdad Gallardo
Awesome K5 Blazer Restomod Comes With C7 Corvette Power
Verdad Gallardo
10 Camaros You Should Never Buy

10 LS Engine Myths That Refuse to Die
Verdad Gallardo Thread Starter
On The Tree
Joined: Aug 2007
Posts: 110
Likes: 0
From: So Cal
im running that same throwout bearing on my 75 chevy truck with no shims. ive always bleed mine installed. it gets hard because its up against that snap ring. the earlier version of that throw out bearing has no snap ring. i had one and was testing the bearing out uninstalled and blew it apart. and i put a little cut in the o ring on reinstall and resulted in a leaky slave. then i rebuilt it with a o-ring kit. and then finally upgraded to the snap ring style one you have now when the bearing was getting bad. on my GTO i added a clutch stop alot of A body guys have done that with the f body master cylinder. but on daily driver truck i do not im running a wilwood universal master on it. probably depends on the master cylinder
The clutch master is a tilton and I think it was hard because I was snugged up to the snap ring because of spacing issues. I need to measure some more now that I bearing actually works.
Thread Starter
On The Tree
Joined: Aug 2007
Posts: 110
Likes: 0
From: So Cal
Sorry I never responded just saw this today. I am using a Rick's EFI Tank with walbro intank pump and a vette FFR. I used a new stock hard line and cut it just before the axle and used braided lines from there.
Thread Starter
On The Tree
Joined: Aug 2007
Posts: 110
Likes: 0
From: So Cal
Just to update. I took measurements again and needed one more spacer.
The spacers are only .100" but it made it work.
Took it for a spin...less a few pieces
http://www.youtube.com/watch?v=wwIM33SyQiA
I have found a little more motivation.
The spacers are only .100" but it made it work.
Took it for a spin...less a few pieces
http://www.youtube.com/watch?v=wwIM33SyQiA
I have found a little more motivation.
Thread Starter
On The Tree
Joined: Aug 2007
Posts: 110
Likes: 0
From: So Cal
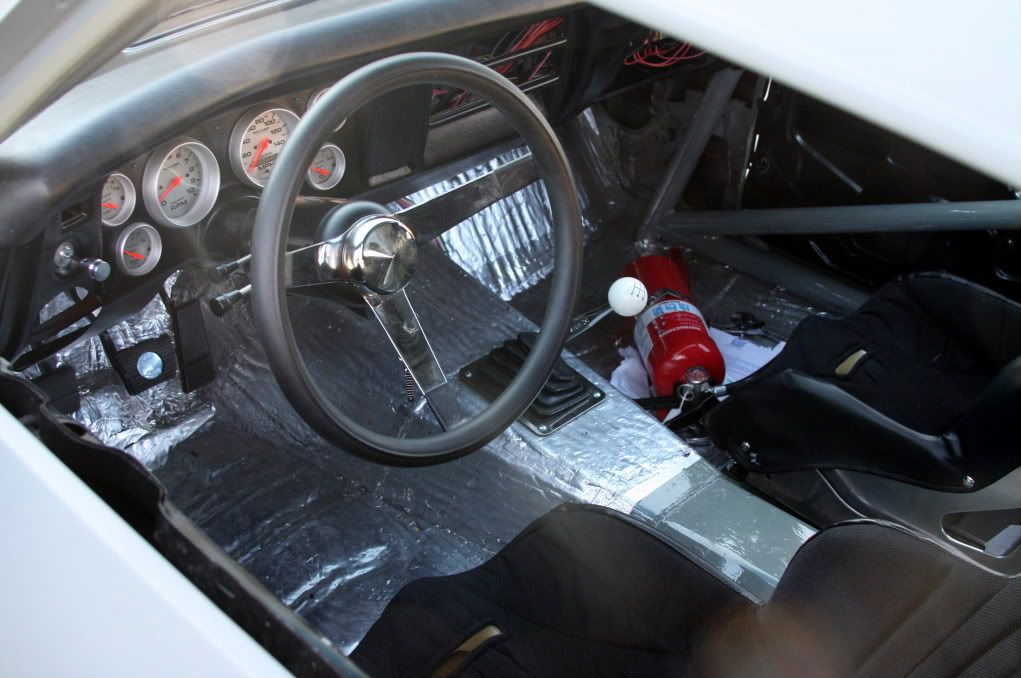
I changed my remote oil lines to XRP fittings and hose and they cured the oil line leaking. Still have a little leak somewhere but it is small. I got the front end aligned Today. Seat belts are next but I jumped on the I-10 freeway for a run through the gears on the way home. It was fun but I can't help feel a little nervous over every little noise . I think it stems from you have turned a wrench on every bolt on this car and wondered how many or what I missed The car seems real rowdy right now because of the lack of side/rear windows, carpet, door panels etc.
The valve train seems very noisy while driving but again it is hard to tell right now. Power seems to be crisp and good although it has a slight miss so I know I will need to get a tune. I am so glad I bypassed the paint part for now because the driving/running part has refueled this on & off again project for me. I still look forward to getting done with paint and all but for now I will continue to work out all the kinks. I hope to get the spotted mutt in one solid primer color in the next few weeks.
The valve train seems very noisy while driving but again it is hard to tell right now. Power seems to be crisp and good although it has a slight miss so I know I will need to get a tune. I am so glad I bypassed the paint part for now because the driving/running part has refueled this on & off again project for me. I still look forward to getting done with paint and all but for now I will continue to work out all the kinks. I hope to get the spotted mutt in one solid primer color in the next few weeks.


Teching In
Joined: Apr 2011
Posts: 3
Likes: 0
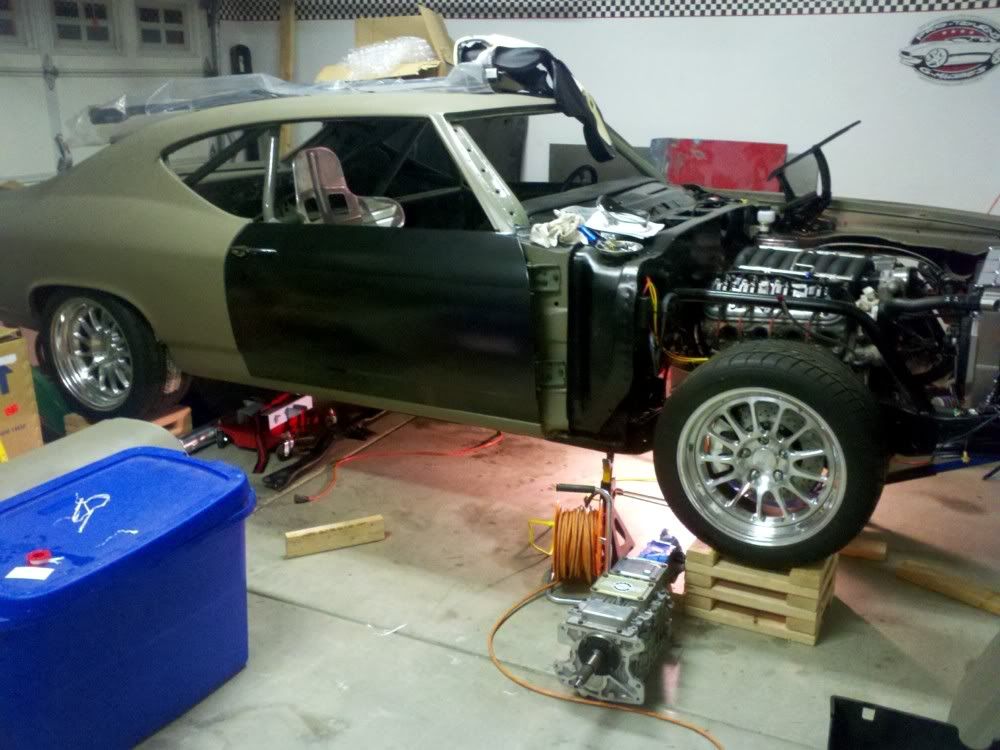
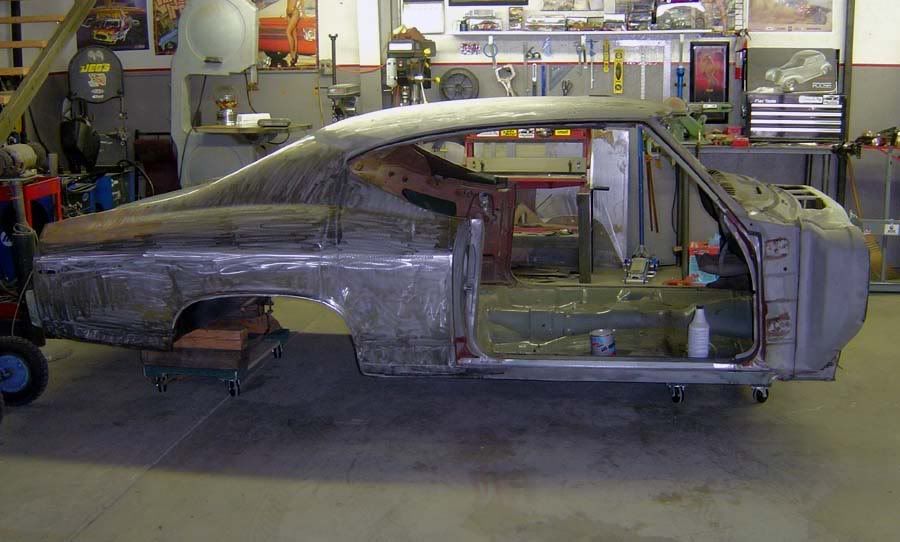
Here is a few more pictures and details. I am using a TKO600 5 Speed with Currie 9"

Body was media blasted and is slowly being worked on.
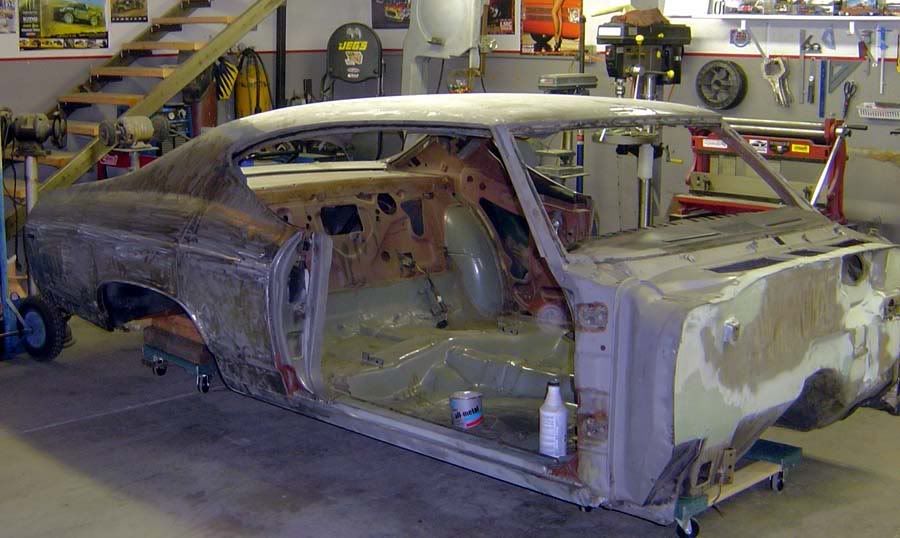
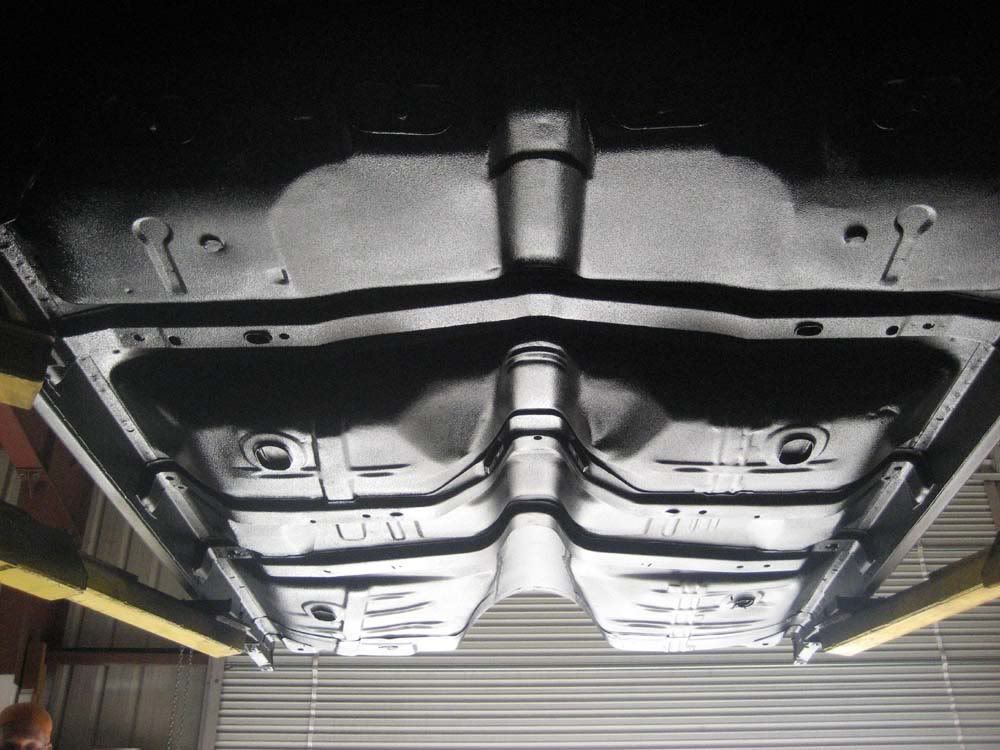
I used UPOL Raptor bed liner under the car. It was real easy to use and laid down pretty good.
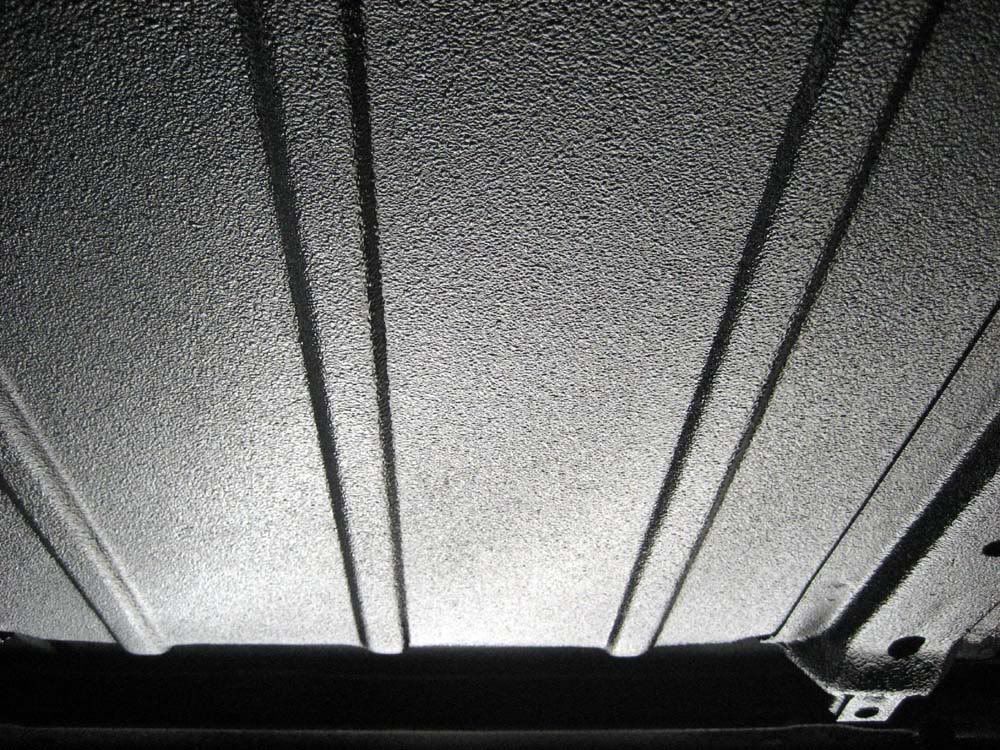
Still alot of work to do and very little free time with work and Family but someday should make for a fun car to play with.
Thanks,
Tom
Body was media blasted and is slowly being worked on.
I used UPOL Raptor bed liner under the car. It was real easy to use and laid down pretty good.
Still alot of work to do and very little free time with work and Family but someday should make for a fun car to play with.
Thanks,
Tom

Looking at this got me back to buying stuff for my 69 chevelle just got my ls3 engine in friday guess in a month or two gona start putting my build up hopefully it turns out as good looking as this one!awesome job!
Thread Starter
On The Tree
Joined: Aug 2007
Posts: 110
Likes: 0
From: So Cal
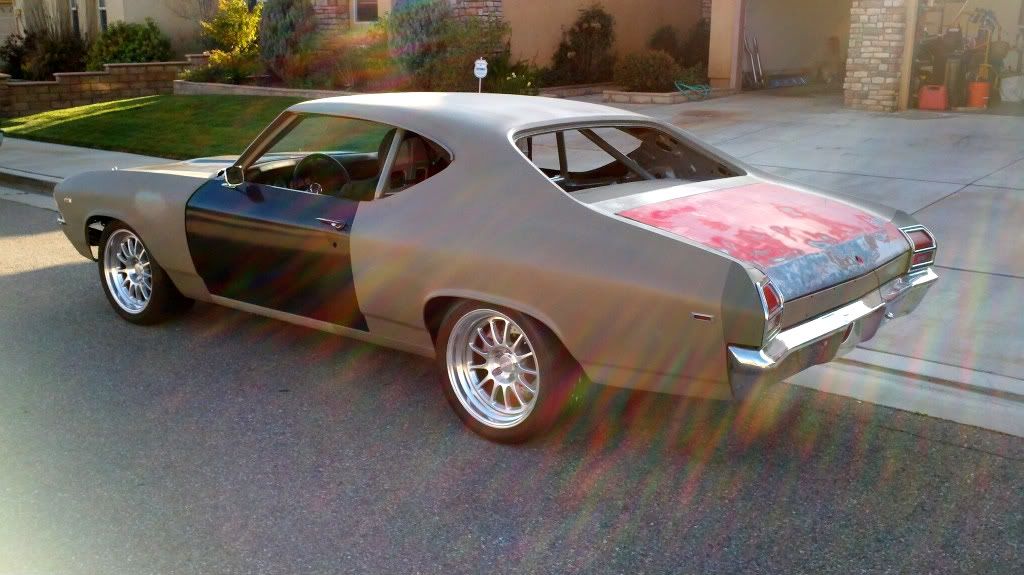
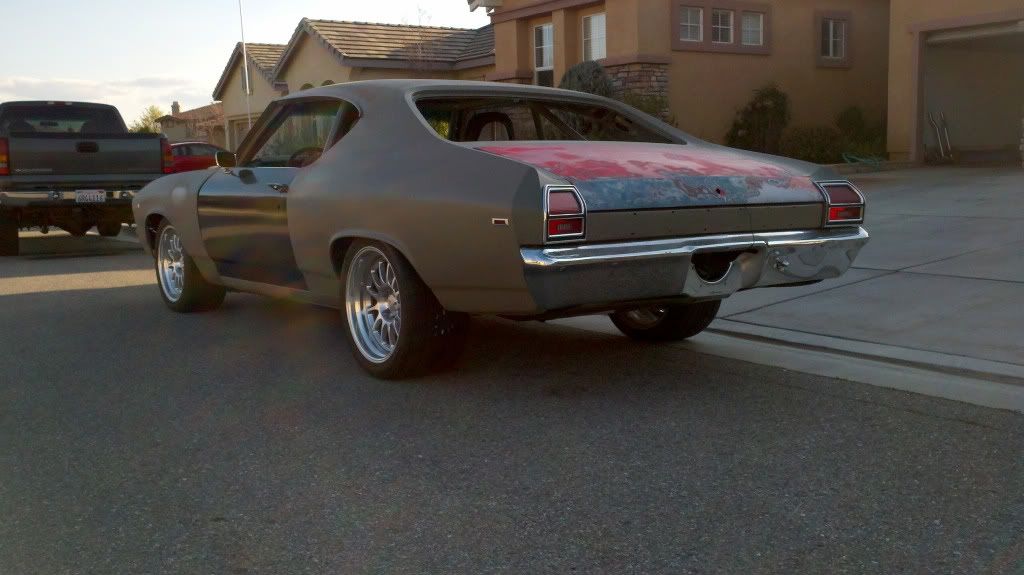
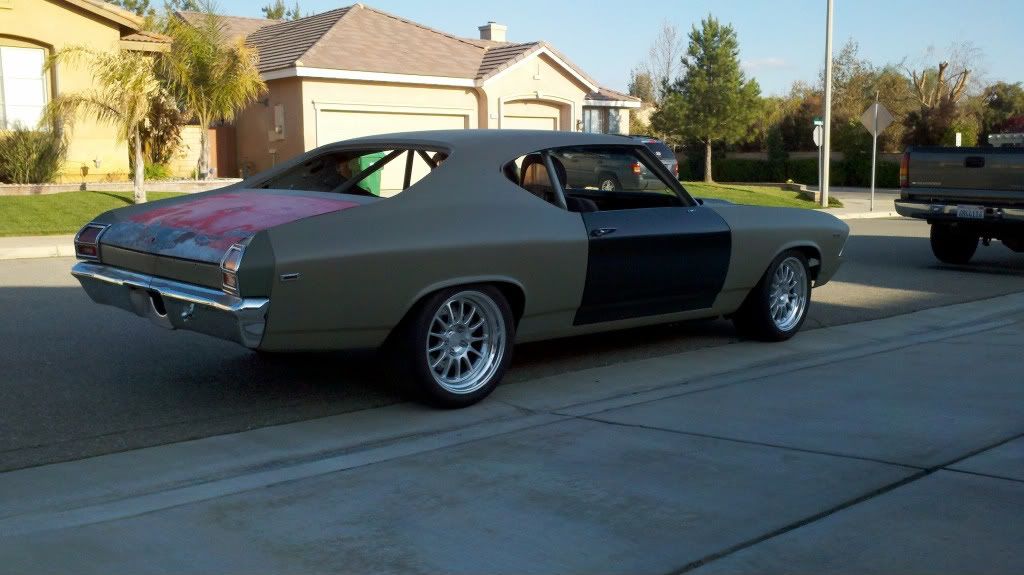
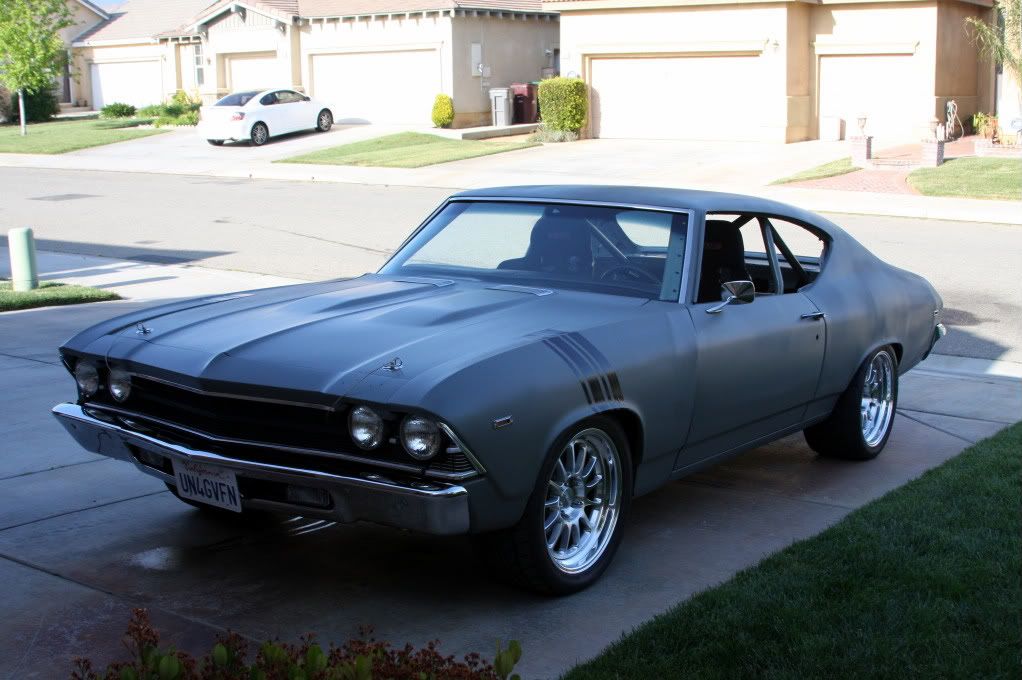
Thanks for the feedback. My email notification must be turned off on this thread. Here is an update. I have been wanting to get the car in one primer color but my brothers paint booth is always full so I bought a $39.00 gun form harbor freight and sprayed myself in my garage. Far from perfect but it will work for now.....I am just pleased that this thing finally moves under its own power

I have been working out some quirks and seems to running and driving well but I have not ventured to far from home. I need to get my seat belt harneses installed so I can do some road testing. I drop it off this Monday to get seat brackets made and tied to the cage.
Here is some more pictures.

I have been working out some quirks and seems to running and driving well but I have not ventured to far from home. I need to get my seat belt harneses installed so I can do some road testing. I drop it off this Monday to get seat brackets made and tied to the cage.
Here is some more pictures.