
LS7 Fiero swap


 06-21-2012, 12:49 PM
#467
On The Tree
iTrader: (1)

Join Date: Oct 2005
Location: pasadena california
Posts: 199
Likes: 0
Received 0 Likes
on
0 Posts
this would be perfect for one of those murcielago replicas. plus with a ls7 youd have grocery getter reliability and not to mention faster then a real lambo.
06-21-2012, 11:34 PM
#468
On The Tree
Thread Starter

Join Date: Mar 2008
Posts: 171
Likes: 0
Received 0 Likes
on
0 Posts
...............
Originally posted by Archie:
Putting things back together.....
New Screens....


New screens for new larger scoop cutouts.

And a new way to attach the end of the screen without needing a new stud fiberglassed in.

Reassembling the front compartment


New dual battery tray

New mirror material under the scoop on the hood.

Hard to see (forgot to take a pic of this before putting hood back on. This is the area between the scoops on the hood. Mirror finish with new screen over it. You'll never see this with the hood on but we know it's there. LOL

And final assembly on the sill plates & remounting the rockers.


Next, we put the engine back in for the last time.
Archie
Putting things back together.....
New Screens....
New screens for new larger scoop cutouts.
And a new way to attach the end of the screen without needing a new stud fiberglassed in.
Reassembling the front compartment
New dual battery tray
New mirror material under the scoop on the hood.
Hard to see (forgot to take a pic of this before putting hood back on. This is the area between the scoops on the hood. Mirror finish with new screen over it. You'll never see this with the hood on but we know it's there. LOL
And final assembly on the sill plates & remounting the rockers.
Next, we put the engine back in for the last time.
Archie
06-21-2012, 11:36 PM
#469
On The Tree
Thread Starter
Join Date: Mar 2008
Posts: 171
Likes: 0
Received 0 Likes
on
0 Posts
.............
Originally posted by Archie:
More progress......
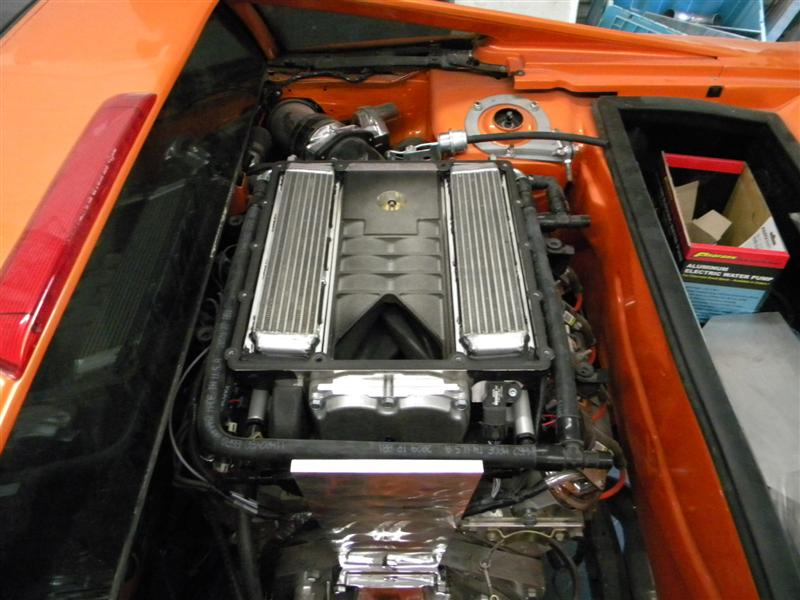
We have put in the engine for the last time.
Before we put it in we got a few pics.


You can't put the engine in with the SC on it, so we removed it & installed the engine.


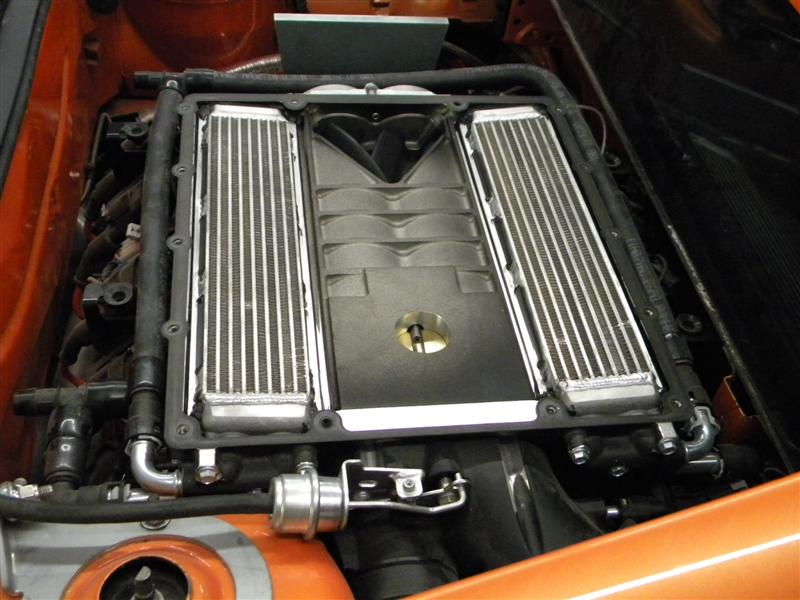
The width of the SC make it so that it is only about 2" from the rear window.

So to make enough room to bolt the SC down & install the injectors, fuel rails, the coil packs & connect the Boost gage, we have to rotate or lower the back of the cradle down to make more room.


Here it is rotated back up in position. You can see that there is a lot less room in this pic. as campared to the pic above.

Continuing to hook things up & reroute all of the wires.


Space is tight but we think we've found a place for everything to mount.

Archie
More progress......
We have put in the engine for the last time.
Before we put it in we got a few pics.
You can't put the engine in with the SC on it, so we removed it & installed the engine.
The width of the SC make it so that it is only about 2" from the rear window.
So to make enough room to bolt the SC down & install the injectors, fuel rails, the coil packs & connect the Boost gage, we have to rotate or lower the back of the cradle down to make more room.
Here it is rotated back up in position. You can see that there is a lot less room in this pic. as campared to the pic above.
Continuing to hook things up & reroute all of the wires.
Space is tight but we think we've found a place for everything to mount.
Archie
06-21-2012, 11:42 PM
#470
On The Tree
Thread Starter
Join Date: Mar 2008
Posts: 171
Likes: 0
Received 0 Likes
on
0 Posts
..........
Originally posted by Archie:
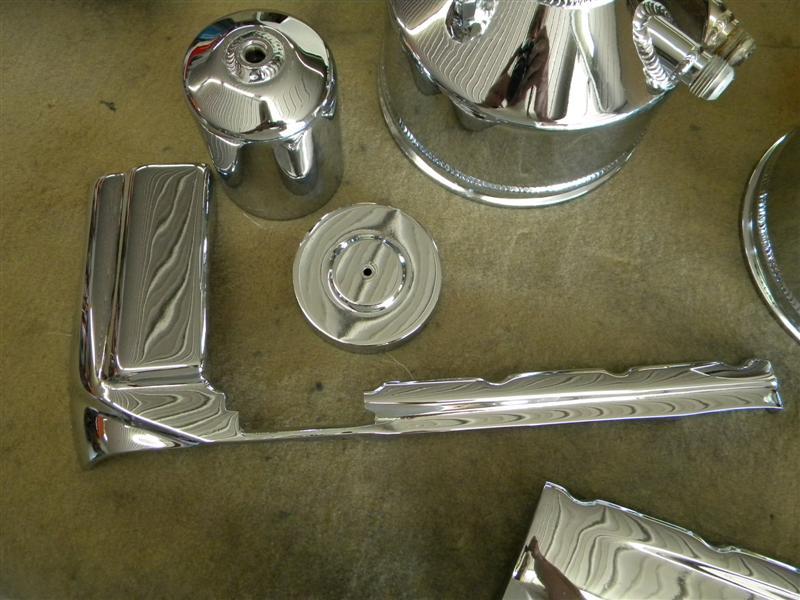
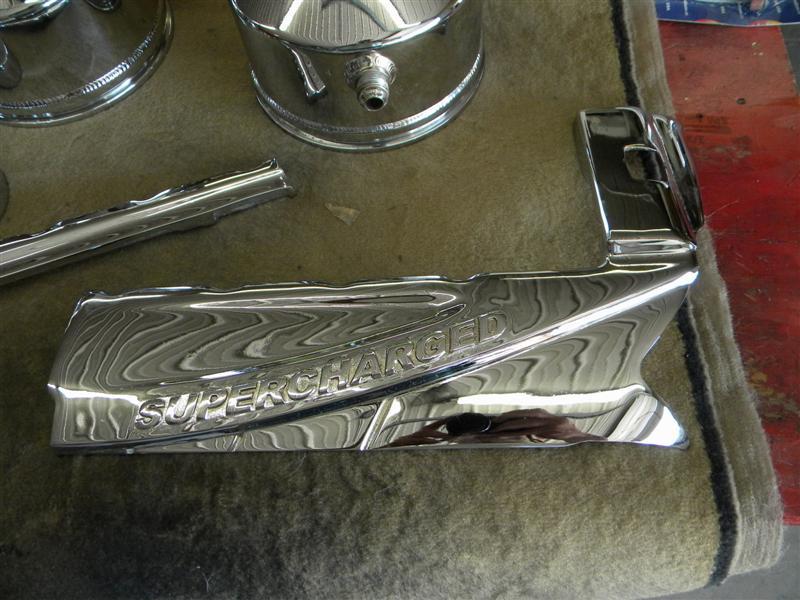
The problem is that it's so mirrorlike that reflections of everything show up in the mirror finish.
If one picture shows up good, you're lucky.


Archie
The problem is that it's so mirrorlike that reflections of everything show up in the mirror finish.
If one picture shows up good, you're lucky.
Archie
06-21-2012, 11:43 PM
#471
On The Tree
Thread Starter
Join Date: Mar 2008
Posts: 171
Likes: 0
Received 0 Likes
on
0 Posts
.........
Originally posted by Archie:
A bit of an update from the last week or so.....
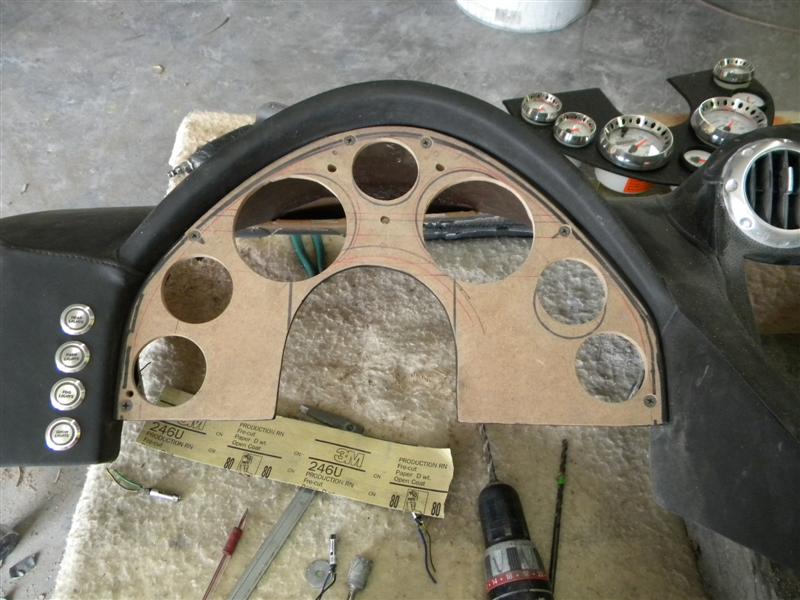
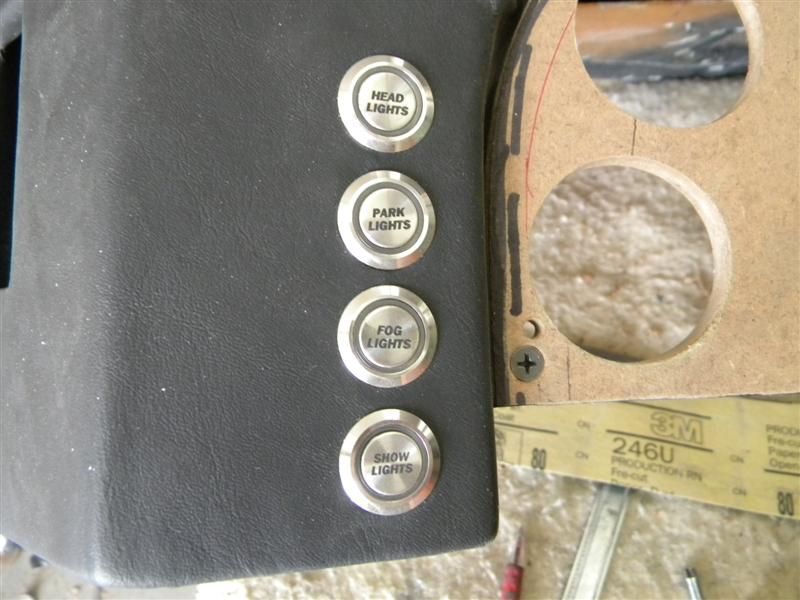
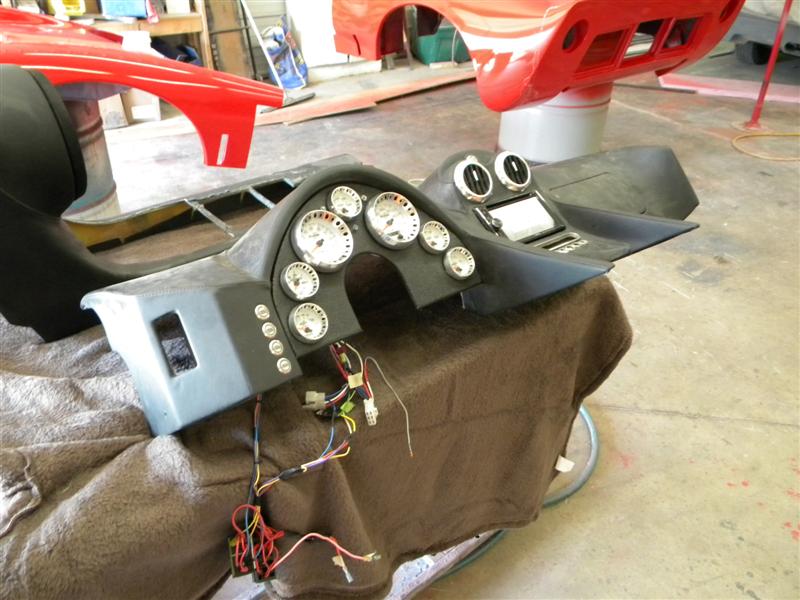
We had to move into the interior. Troy wanted to add a Boost gage to the dash board. We had to relocate the 3 buttons that were where we mounted the extra gage. They were relocated to a vertical line to the left of the gage panel. We also added another buton for his "Show Lights" including the sill plate lights.
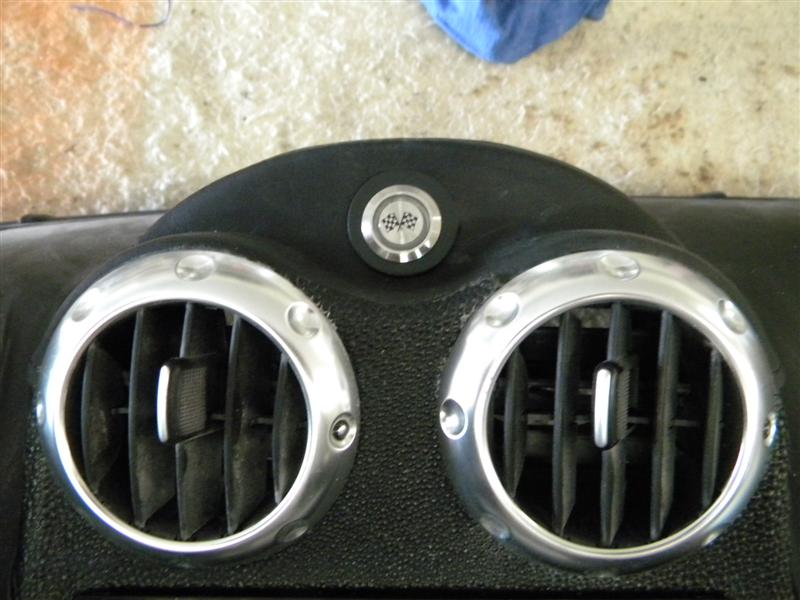
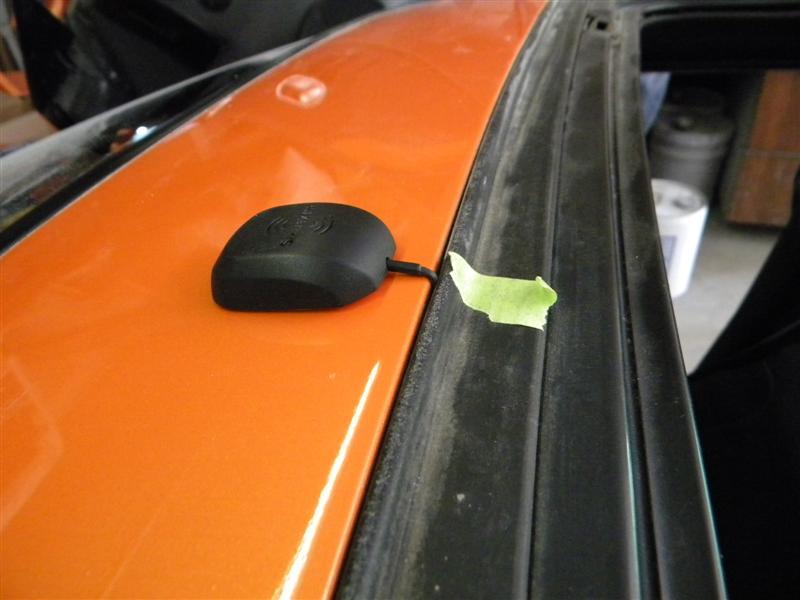
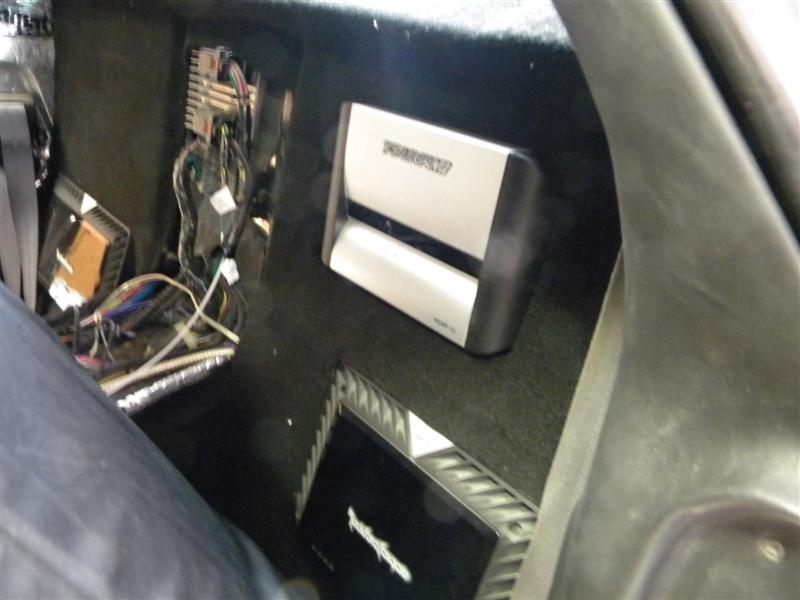
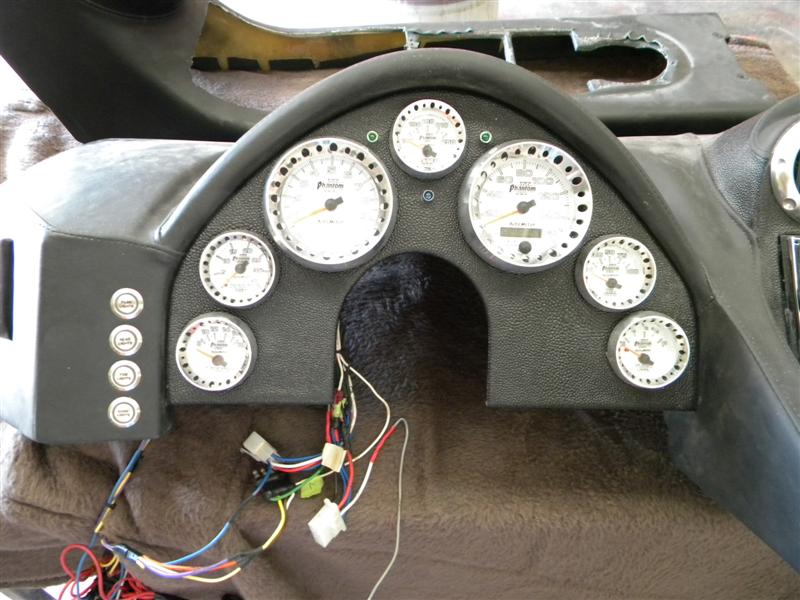
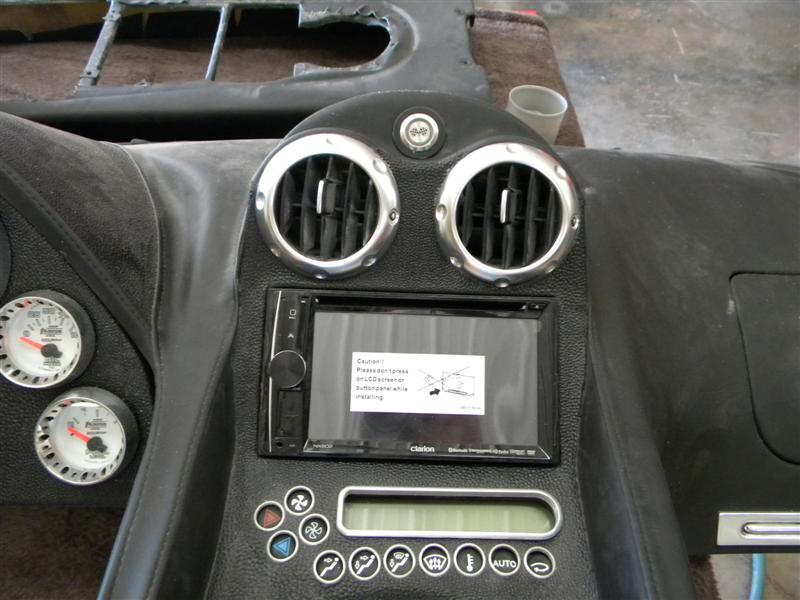
We also changed the stereo head unit, the the XM antenna had to be changed & relocated. The GPS was changed. We added a "Start" button in the center of the dash above the Vents. Troy wanted to reangle the face of the gage panel to point it up a little to make them easier to see while driving.
When the interior was upholstered thay had left some wires disconnected & a few other things had to be done.
To get this done & make everything work right is taking some time but so far so good.
A wiring nightmare?
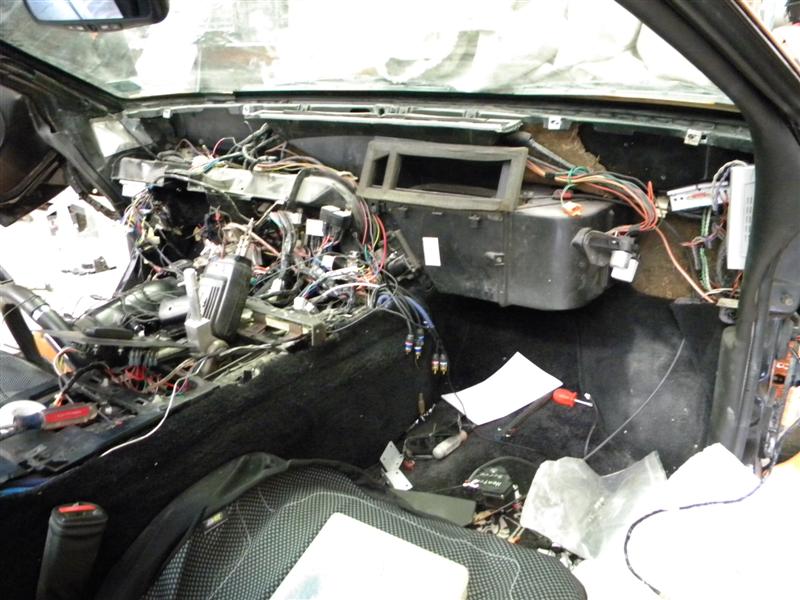
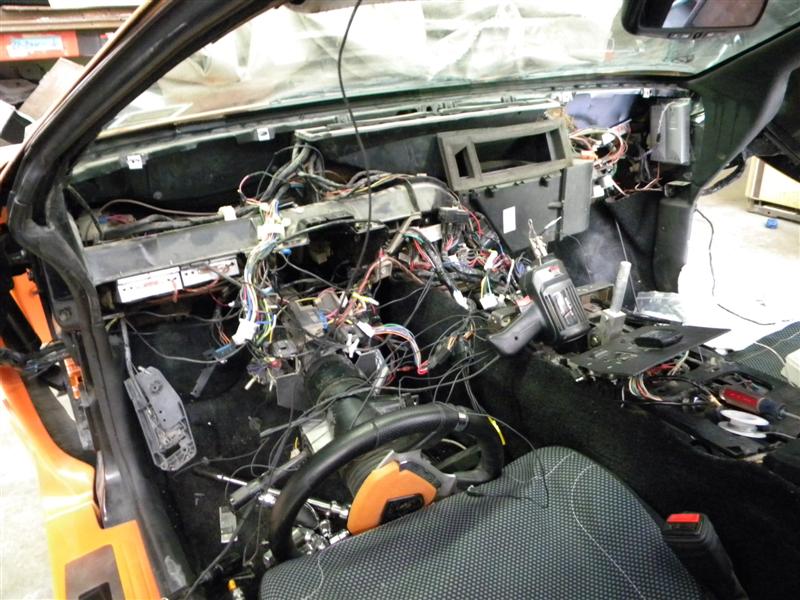
Added a gage, it would be the top left in this picture
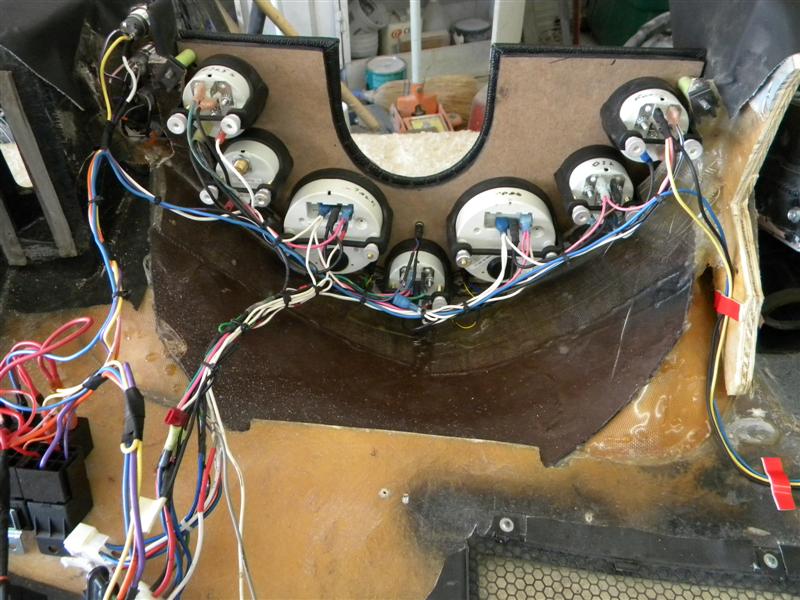
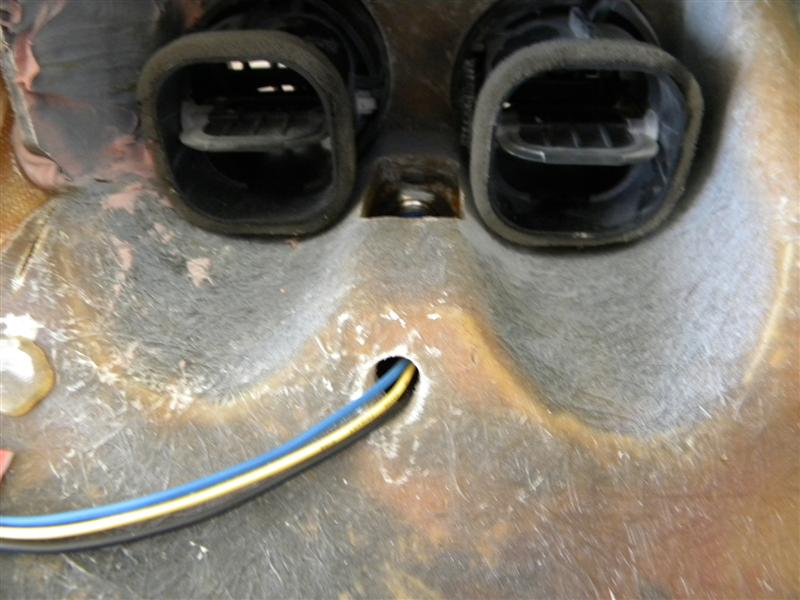
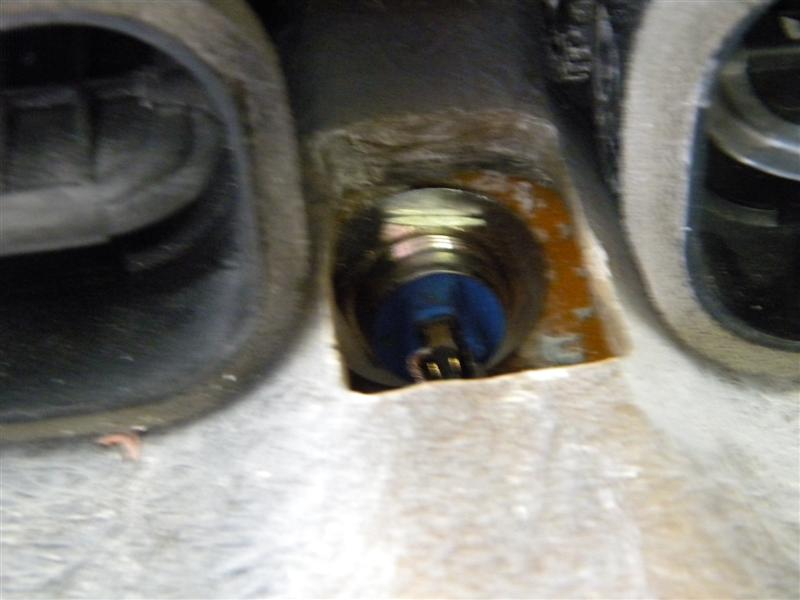
When we had originally done the dash, there was a little valley on top between the 2 center vents. When they did the upholstery, they tweeked it a bit to bridge that valley. On the underside of the dash, our valley part was still there. That was where the "Start" button had to be located. so we had to drill out & open up access to that area, so we could mount & wire the button.
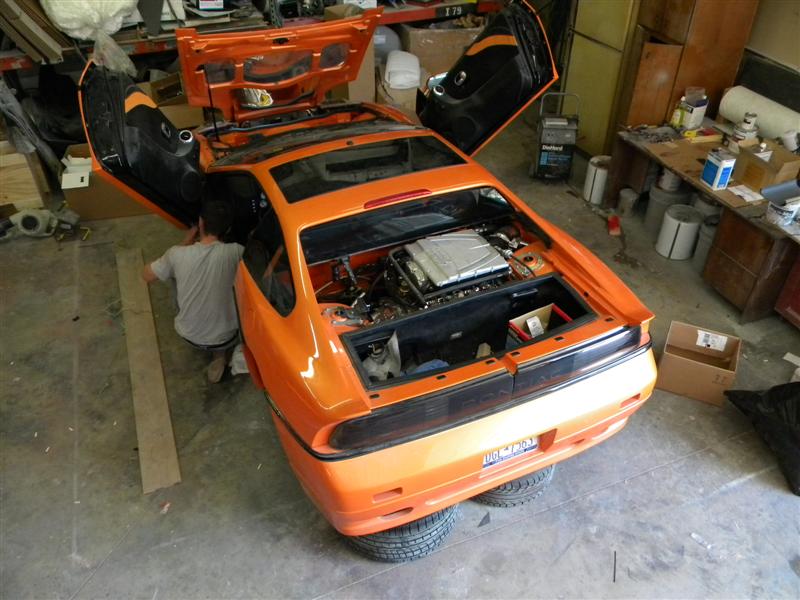
By now we were really wanting to get it back on the floor.......

Getting the dash put together far enough to begin testing to make sure things work.

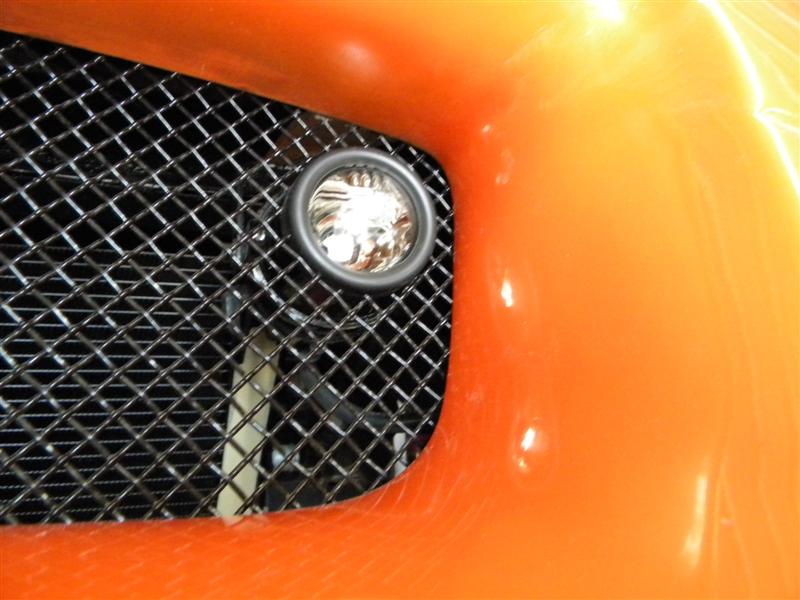
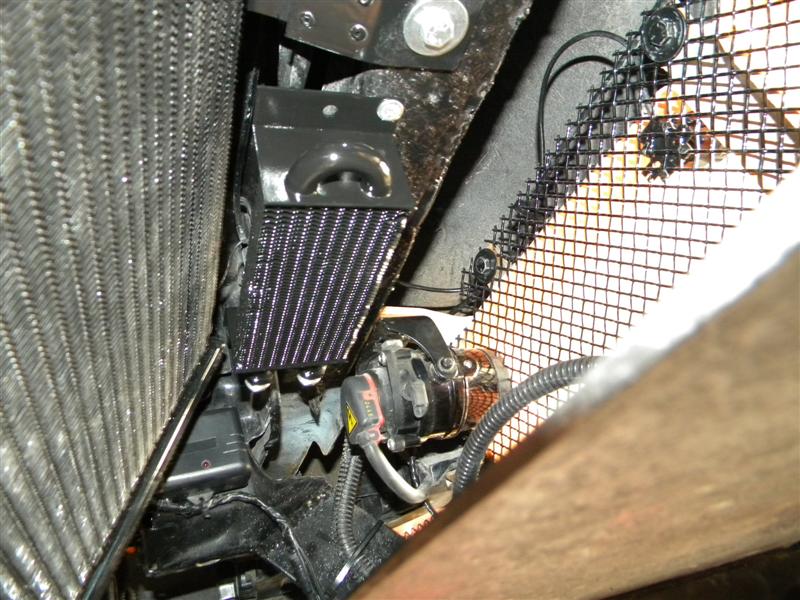
Finally we move it to the lift to get the driving lights moved a little forward to poke thru the new grill. Also mounting the camera.
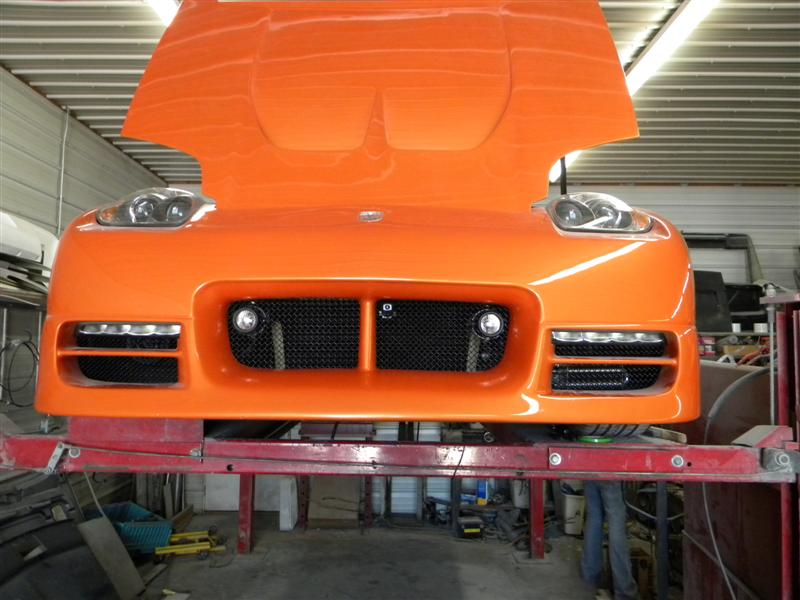

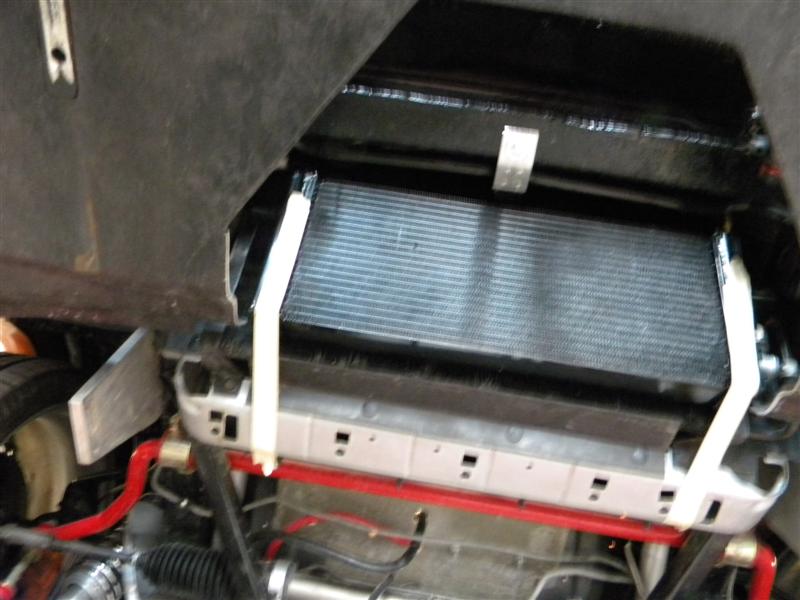
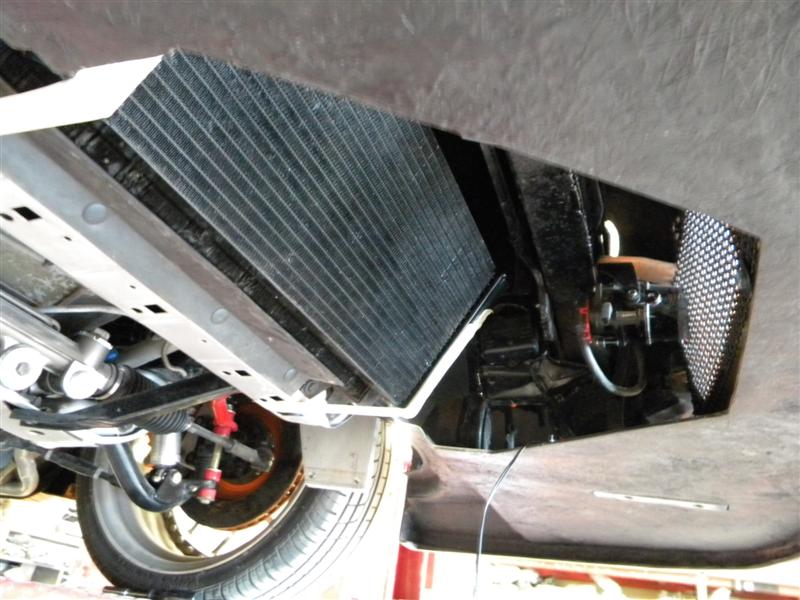
mounting the radiator for the intercooler & designing an additional scoop up under the nose.
More updates soon.
Archie
A bit of an update from the last week or so.....
We had to move into the interior. Troy wanted to add a Boost gage to the dash board. We had to relocate the 3 buttons that were where we mounted the extra gage. They were relocated to a vertical line to the left of the gage panel. We also added another buton for his "Show Lights" including the sill plate lights.
We also changed the stereo head unit, the the XM antenna had to be changed & relocated. The GPS was changed. We added a "Start" button in the center of the dash above the Vents. Troy wanted to reangle the face of the gage panel to point it up a little to make them easier to see while driving.
When the interior was upholstered thay had left some wires disconnected & a few other things had to be done.
To get this done & make everything work right is taking some time but so far so good.
A wiring nightmare?
Added a gage, it would be the top left in this picture
When we had originally done the dash, there was a little valley on top between the 2 center vents. When they did the upholstery, they tweeked it a bit to bridge that valley. On the underside of the dash, our valley part was still there. That was where the "Start" button had to be located. so we had to drill out & open up access to that area, so we could mount & wire the button.
By now we were really wanting to get it back on the floor.......
Getting the dash put together far enough to begin testing to make sure things work.
Finally we move it to the lift to get the driving lights moved a little forward to poke thru the new grill. Also mounting the camera.
mounting the radiator for the intercooler & designing an additional scoop up under the nose.
More updates soon.
Archie
 06-29-2012, 06:37 AM
#473
On The Tree
Thread Starter
Join Date: Mar 2008
Posts: 171
Likes: 0
Received 0 Likes
on
0 Posts
Originally posted by Archie:
Wow, I just typed up a big update & then lost it all........it was a good post too.....
I'll try again....
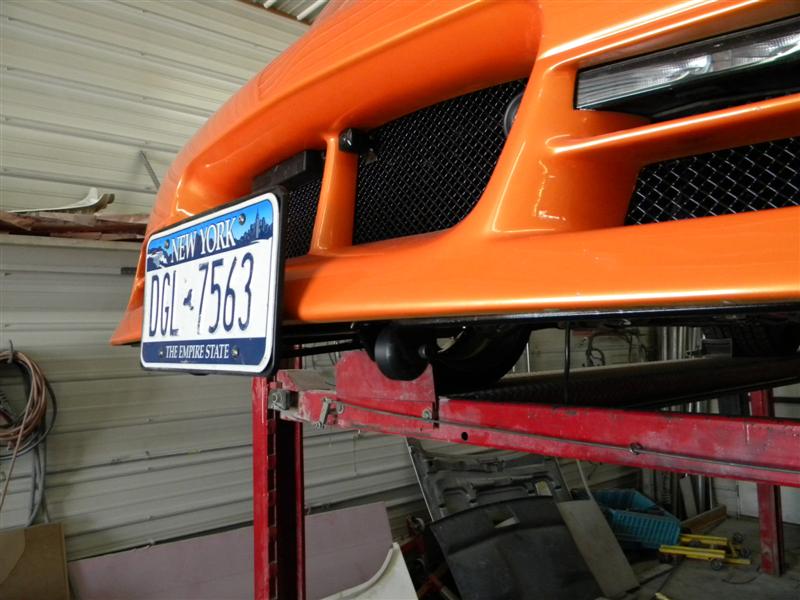
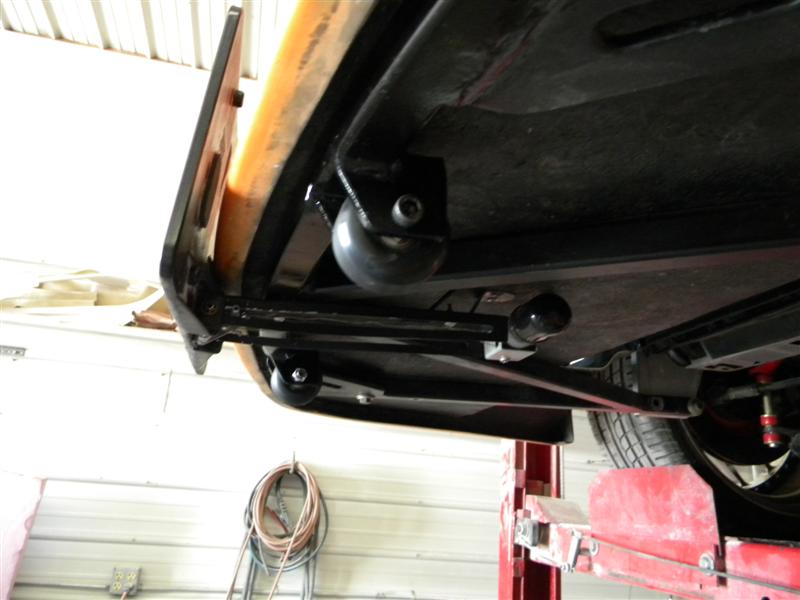
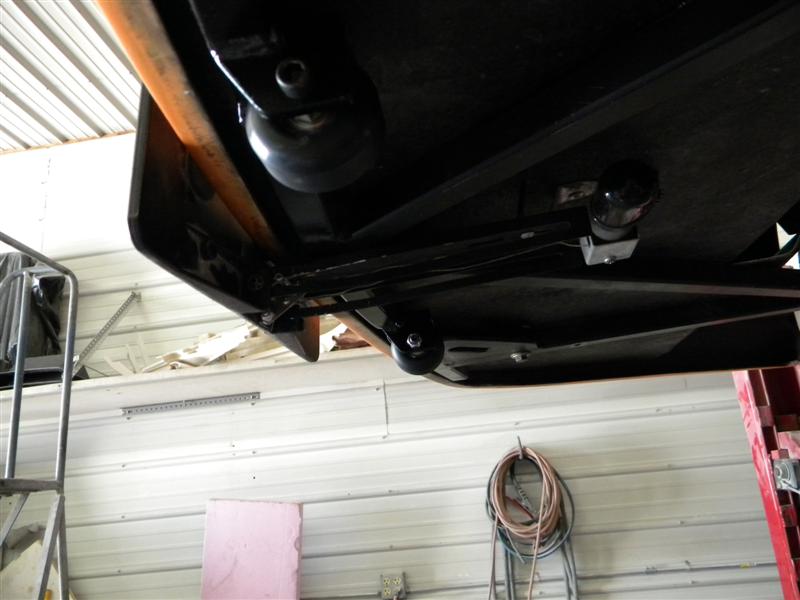
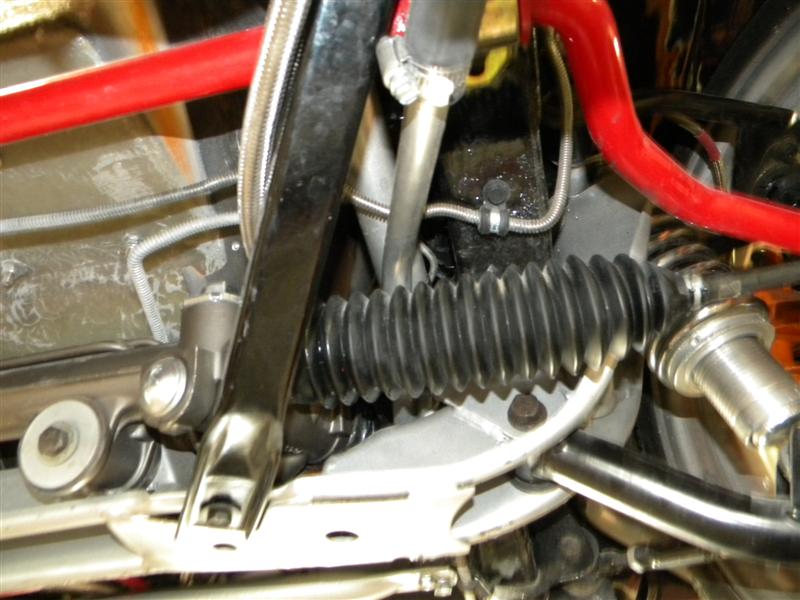
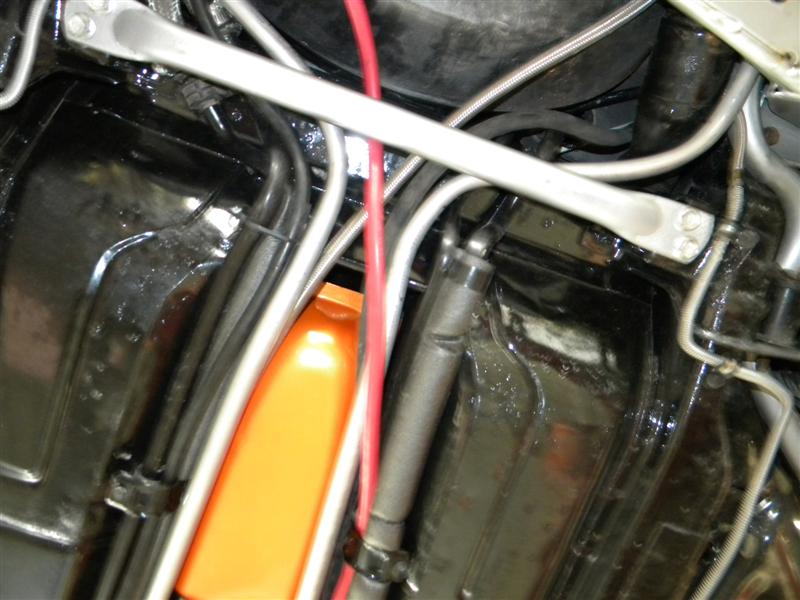
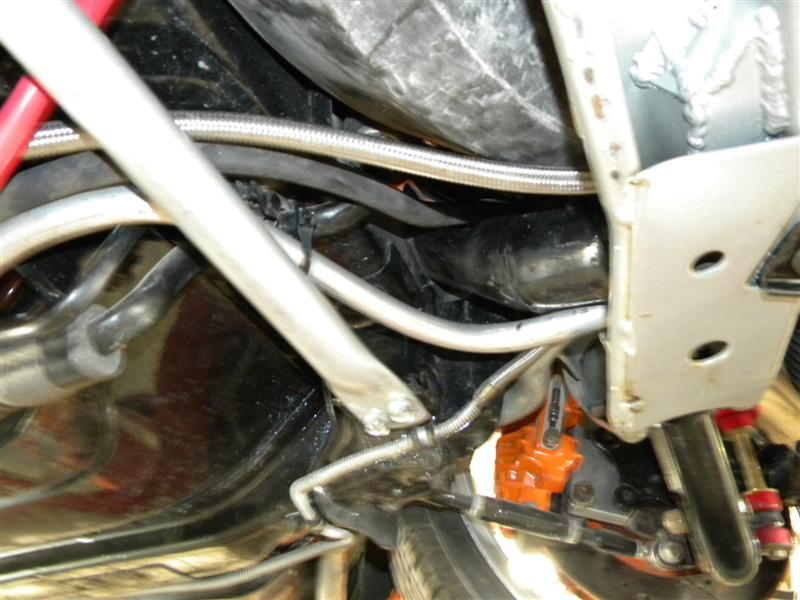
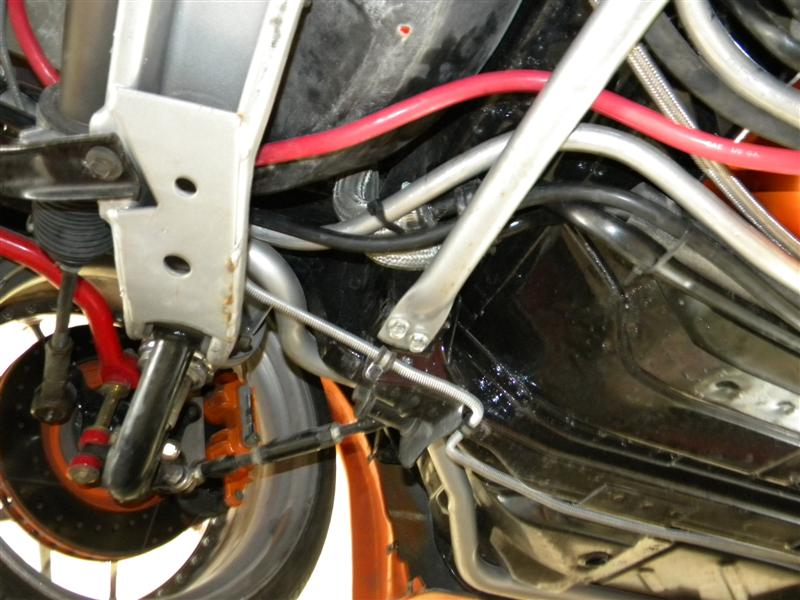
Attached to the frame we had made up under the nose of the car we used to have 2 Grade 8 bolts to protect the nose from scrapes. They worked great.... however, Troy wanted wanted something that wasn't so noisey when they touched. So Troy bought some rollers for the nose. They had very nice heavy hardware& we figures out how to mount them solidly.
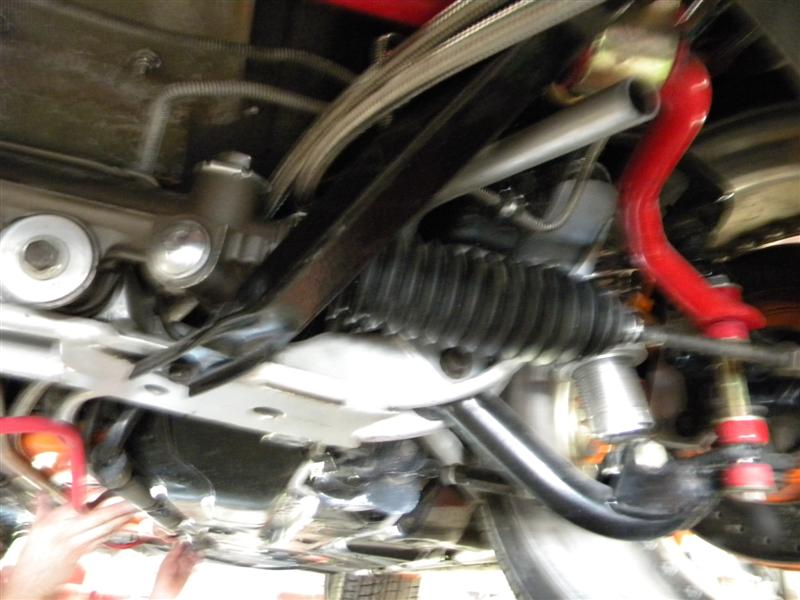
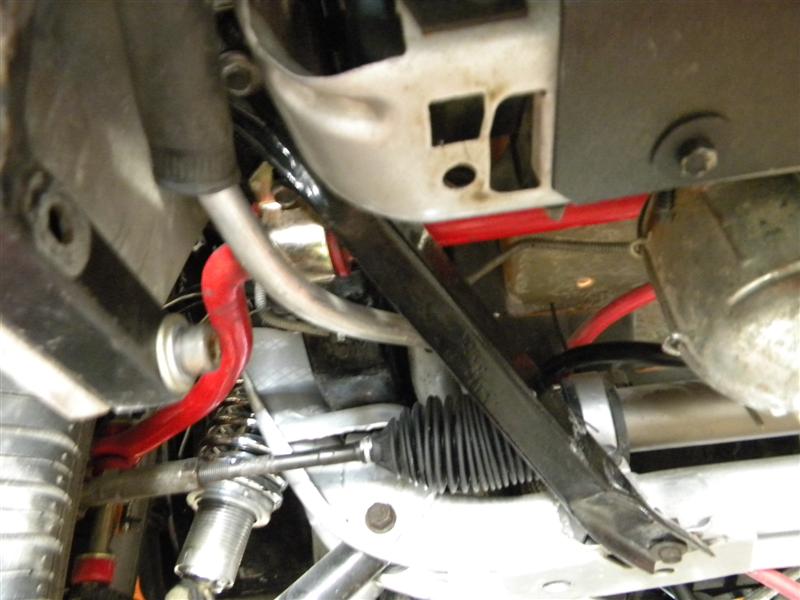
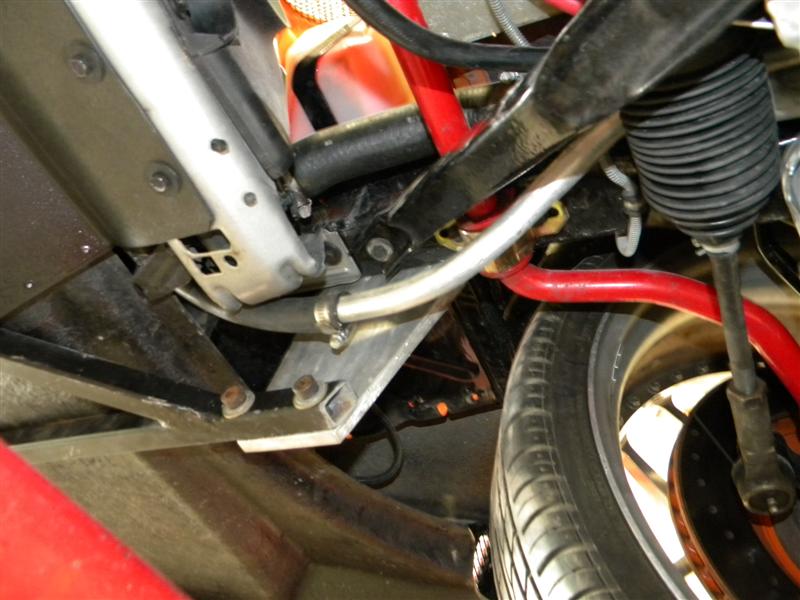
We found a suitable Power Steering fluid cooler & found a place to mount it.....
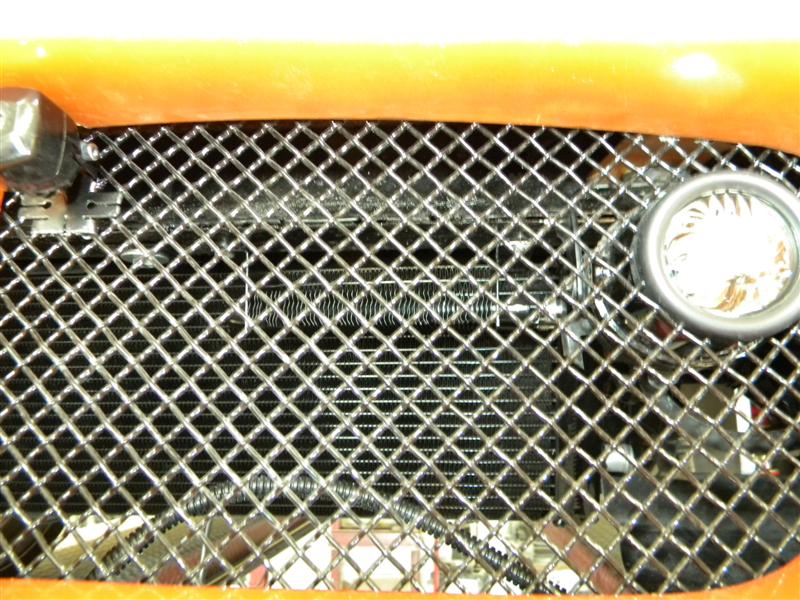
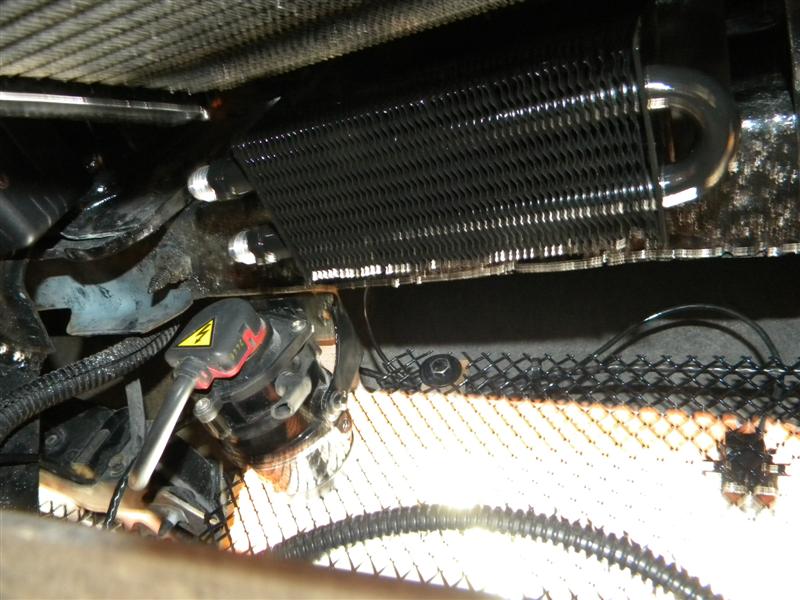
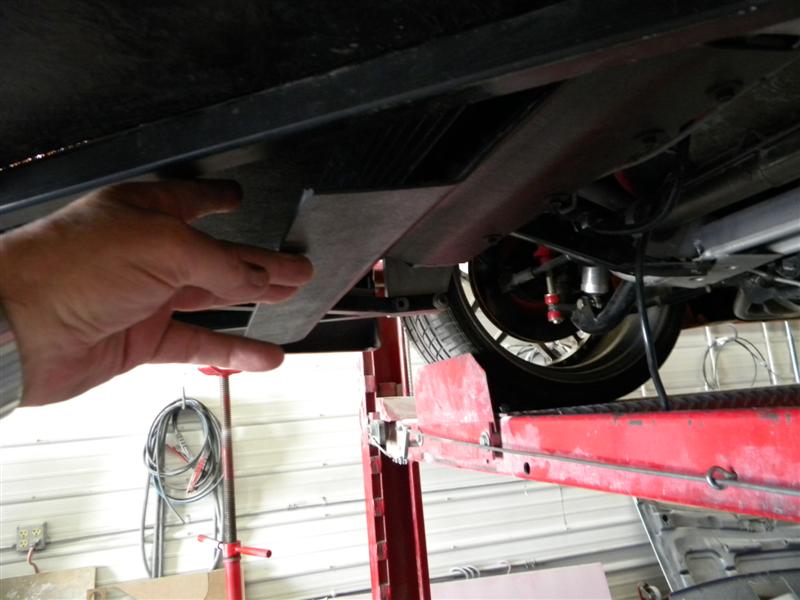
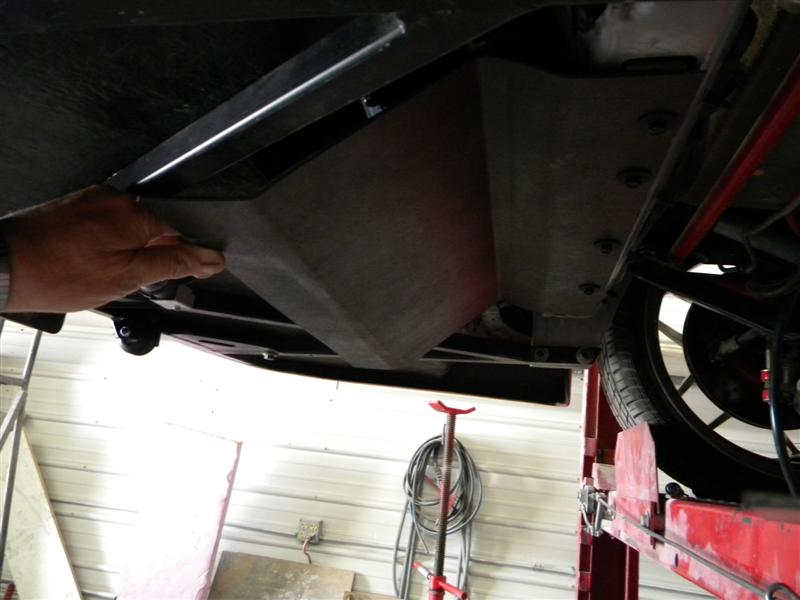
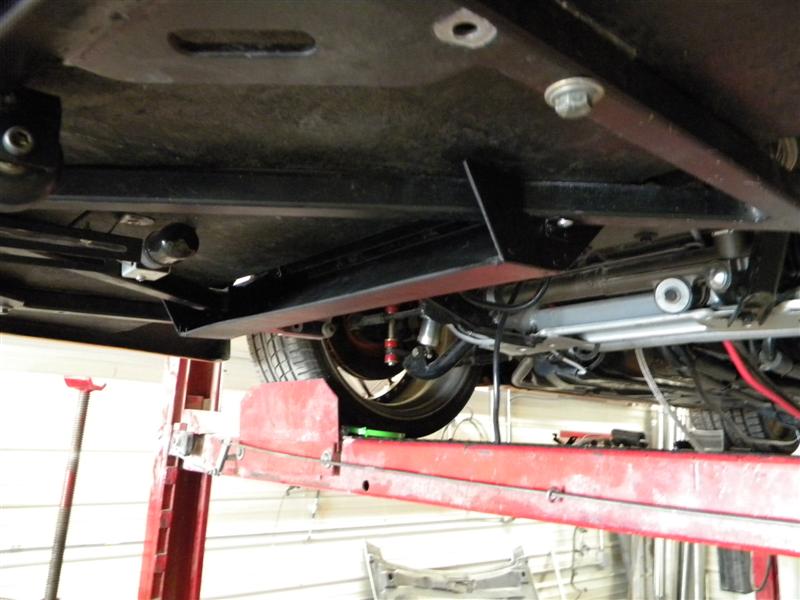
Troy & I agreed that we could make the cooling system better if we added an additional scoop up under the nose to scoop in a little more air. It's mounted directly under the Heat Exchanger.

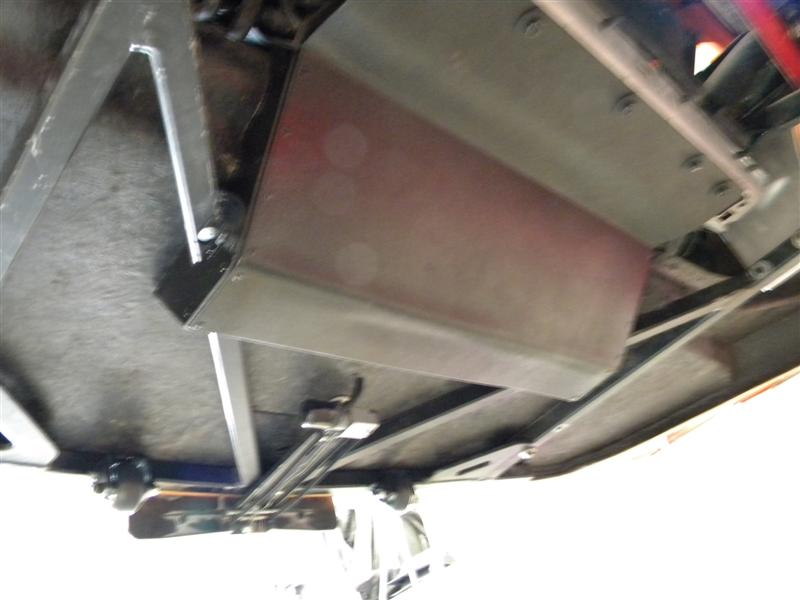
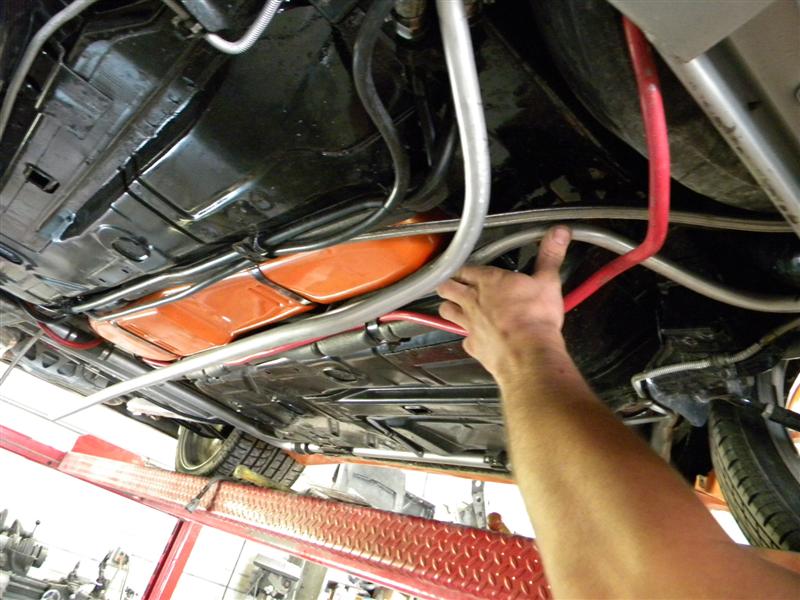
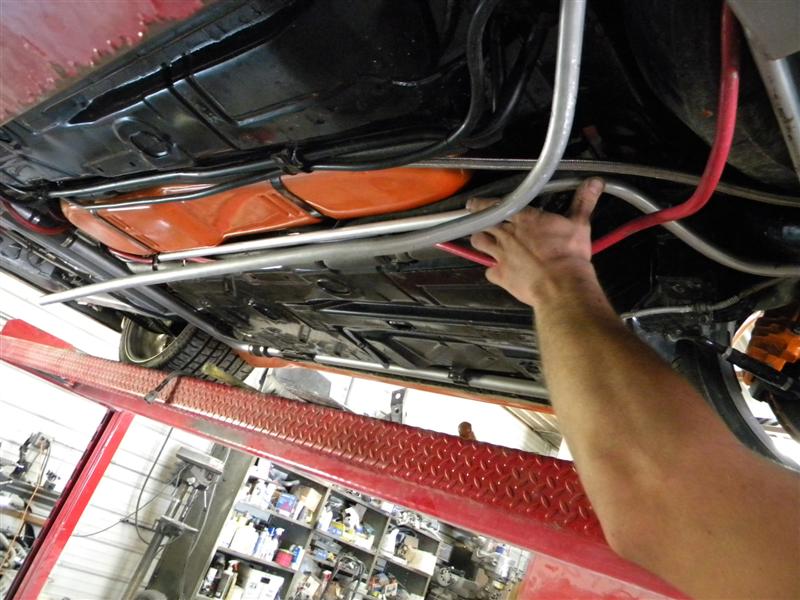
We took the fuel tank out to install the larger fuel pump. while it was out we installed the new fuel lines & Filter. We also made some 3/4" alum. coolant tubes to take the coolant from the Intercooler to the heat exchanger.
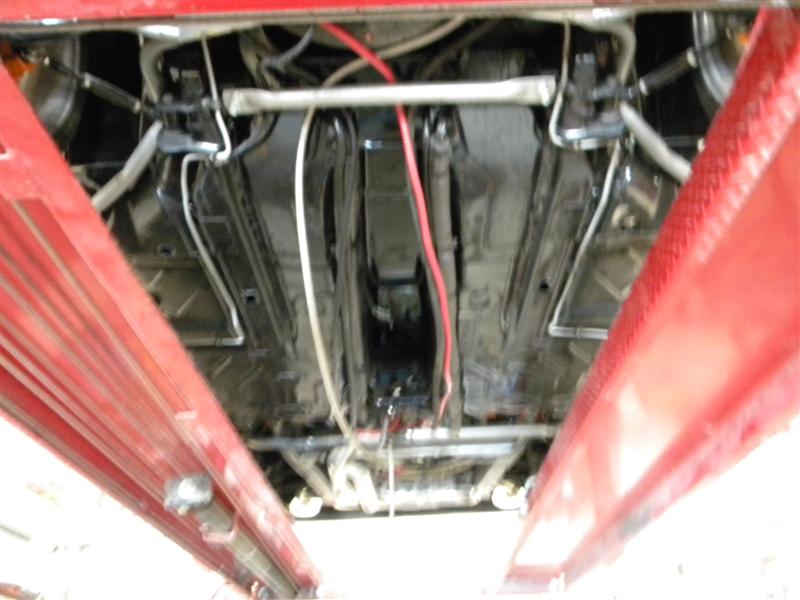
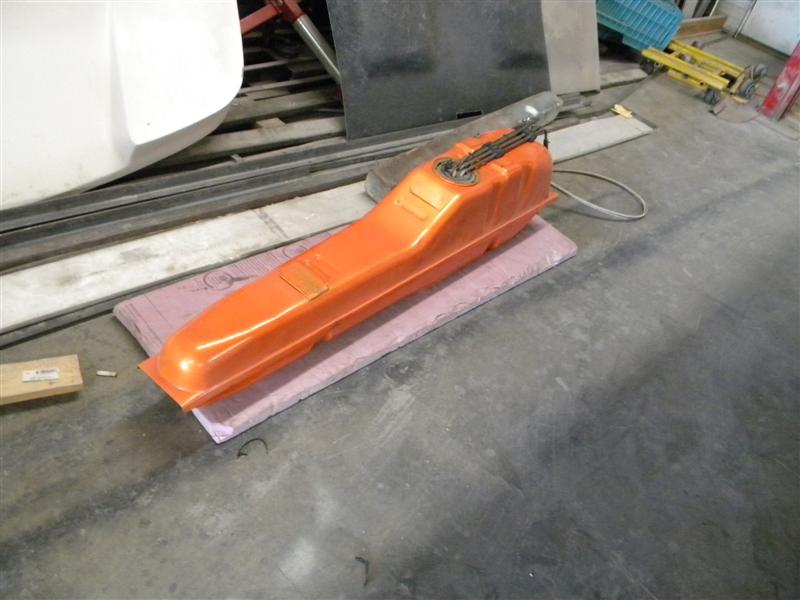
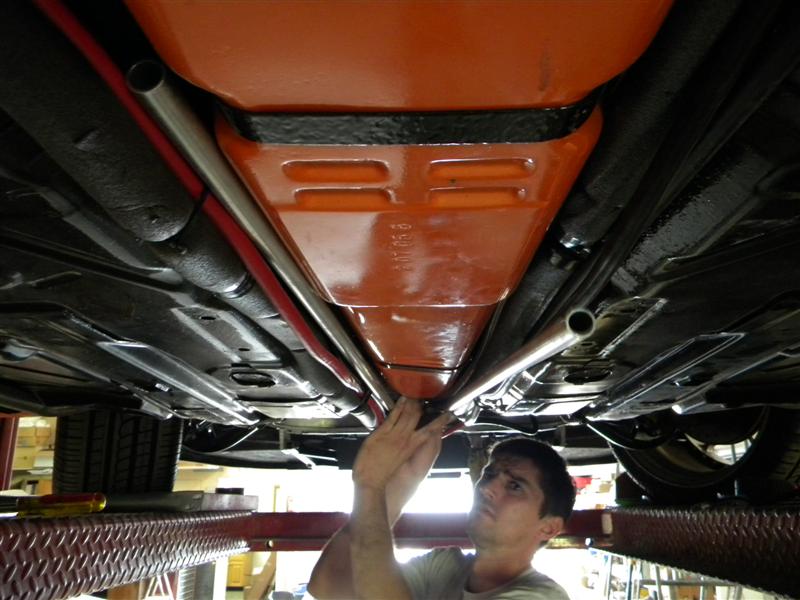
While installing all these coolers & parts, the big thing people don't think about are connecting everything like the P.S. cooler & heat exchanger.

Archie
Wow, I just typed up a big update & then lost it all........it was a good post too.....
I'll try again....
Attached to the frame we had made up under the nose of the car we used to have 2 Grade 8 bolts to protect the nose from scrapes. They worked great.... however, Troy wanted wanted something that wasn't so noisey when they touched. So Troy bought some rollers for the nose. They had very nice heavy hardware& we figures out how to mount them solidly.
We found a suitable Power Steering fluid cooler & found a place to mount it.....
Troy & I agreed that we could make the cooling system better if we added an additional scoop up under the nose to scoop in a little more air. It's mounted directly under the Heat Exchanger.
We took the fuel tank out to install the larger fuel pump. while it was out we installed the new fuel lines & Filter. We also made some 3/4" alum. coolant tubes to take the coolant from the Intercooler to the heat exchanger.
While installing all these coolers & parts, the big thing people don't think about are connecting everything like the P.S. cooler & heat exchanger.
Archie
 07-10-2012, 02:47 PM
#476
On The Tree
Thread Starter
Join Date: Mar 2008
Posts: 171
Likes: 0
Received 0 Likes
on
0 Posts
Thanks.
Now it time for more updates from Archie!
We should be ready for the dyno within the next few weeks
Now it time for more updates from Archie!
Originally posted by Archie:
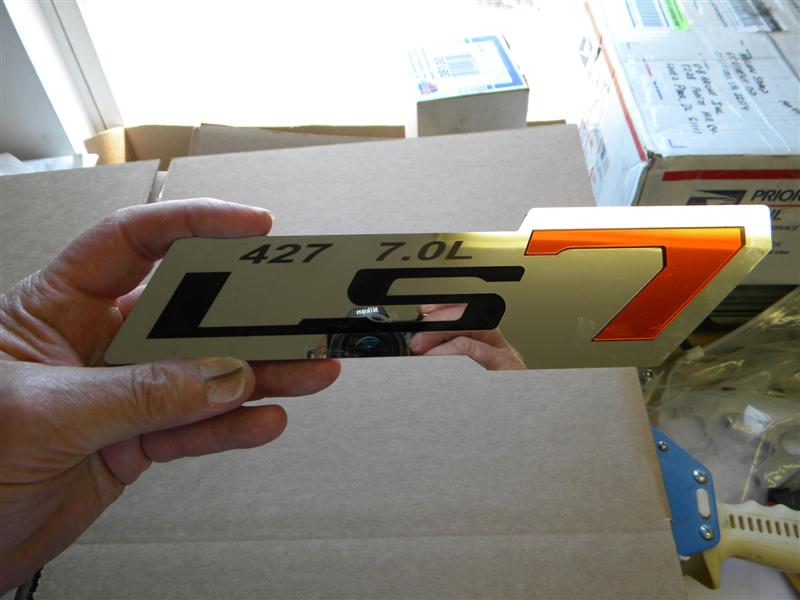
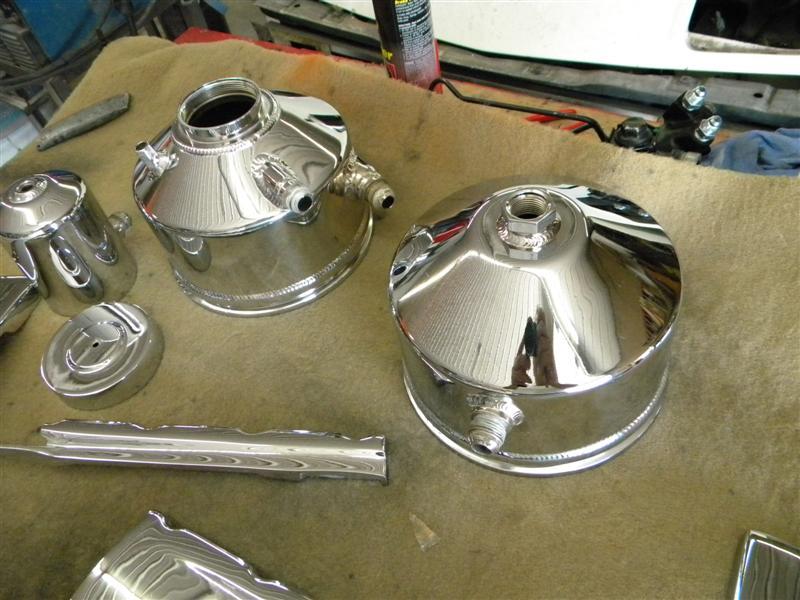
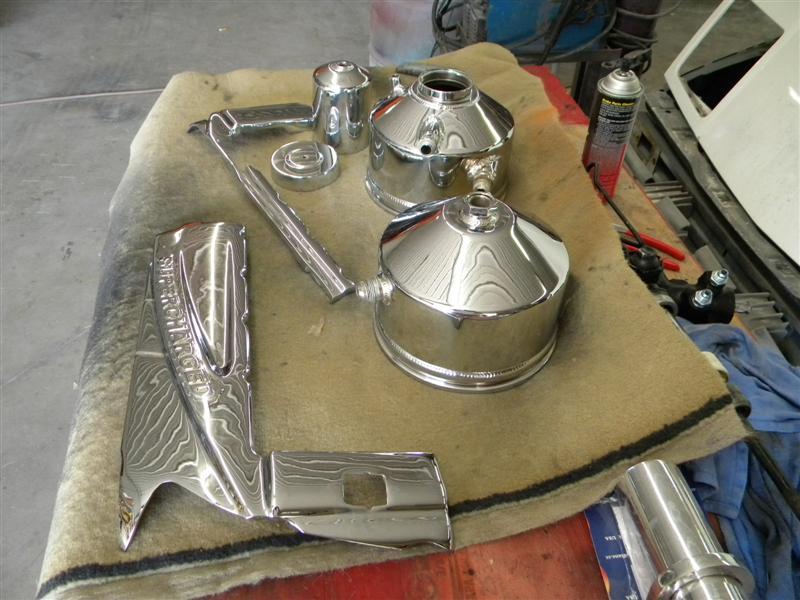
Guess what part I sent out to Chrome today?
Archie
Guess what part I sent out to Chrome today?
Archie
Originally posted by Archie:
Things are getting brighter.
Archie
Things are getting brighter.
Archie
