When you click on links to various merchants on this site and make a purchase, this can result in this site earning a commission. Affiliate programs and affiliations include, but are not limited to, the eBay Partner Network.
Next came the new Lee's steering box. I wanted to install a cooler for it to keep it as alive as possible, as well the steering box is a finger-gap away from a heat-wrapped downpipe, so wanted to keep it from superheating the steering fluid.
I had lots of Earl's -10AN UltraPro hose and hose ends left over from the twin turbo build, so decided to use that to make sure the restriction is as minimal as possible, and to have some extra steering fluid volume in the system.
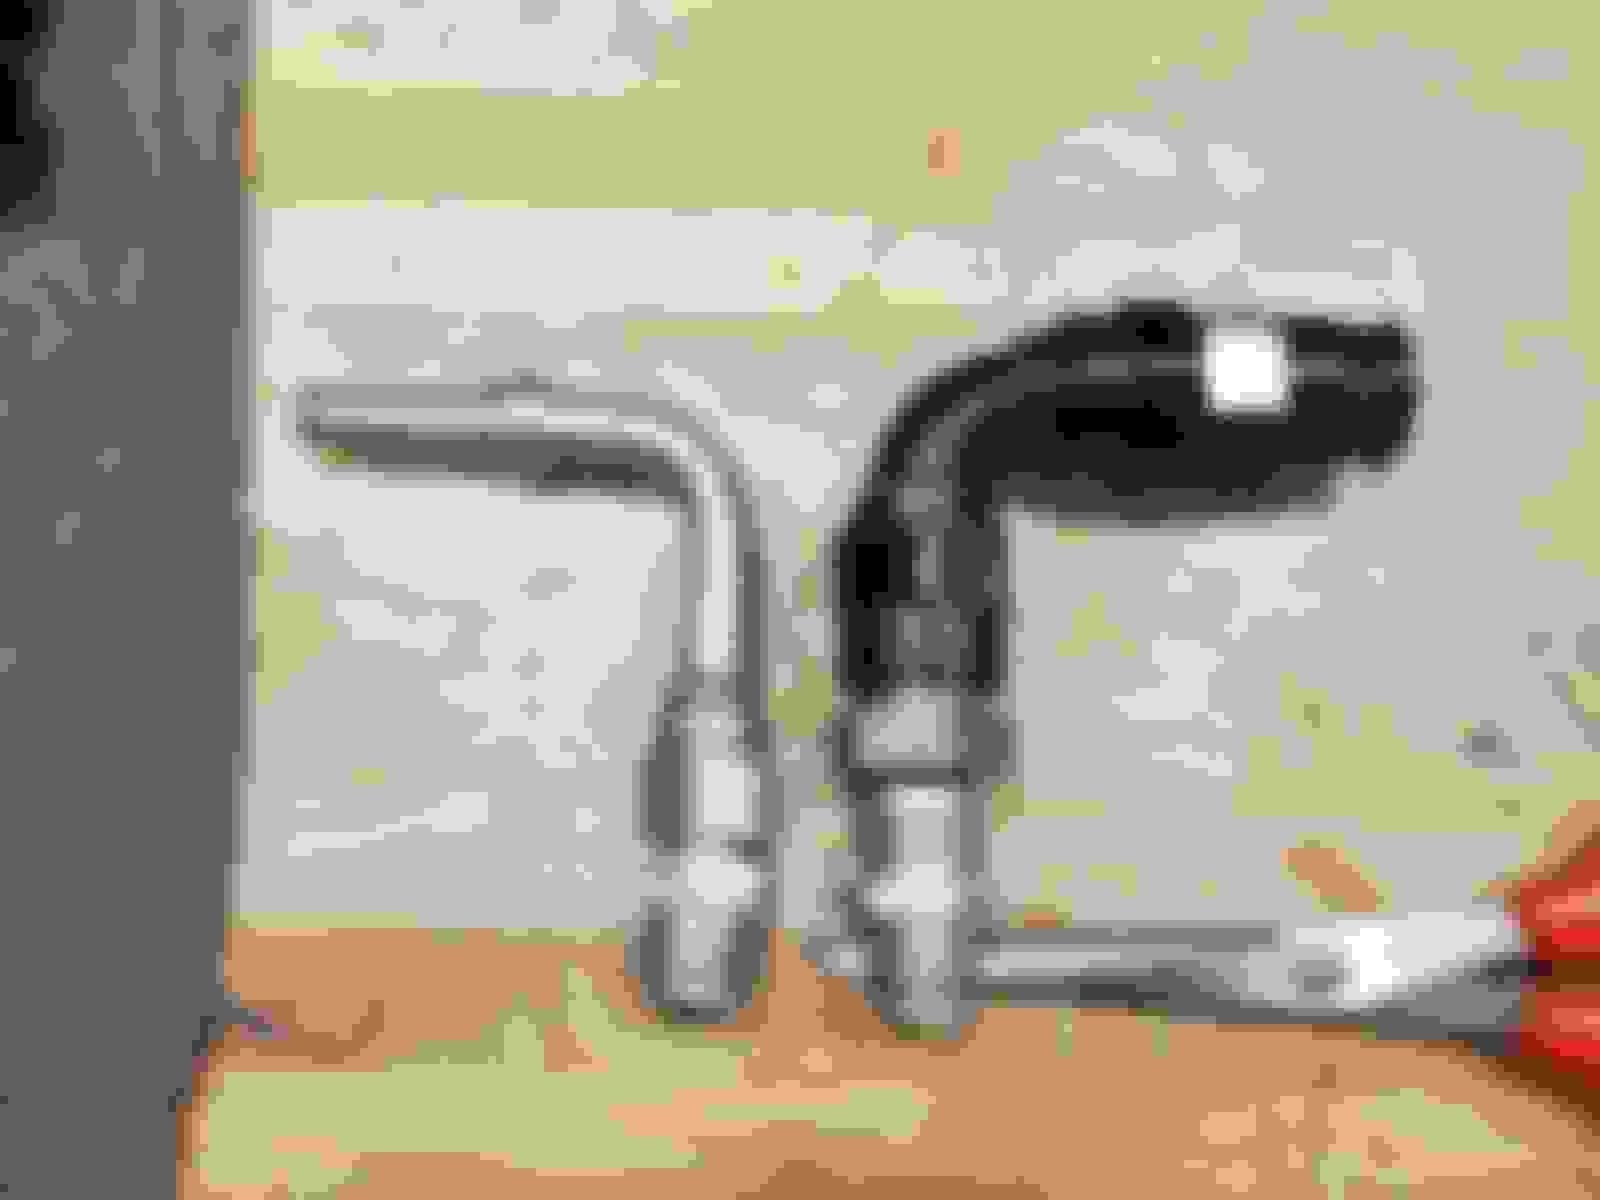
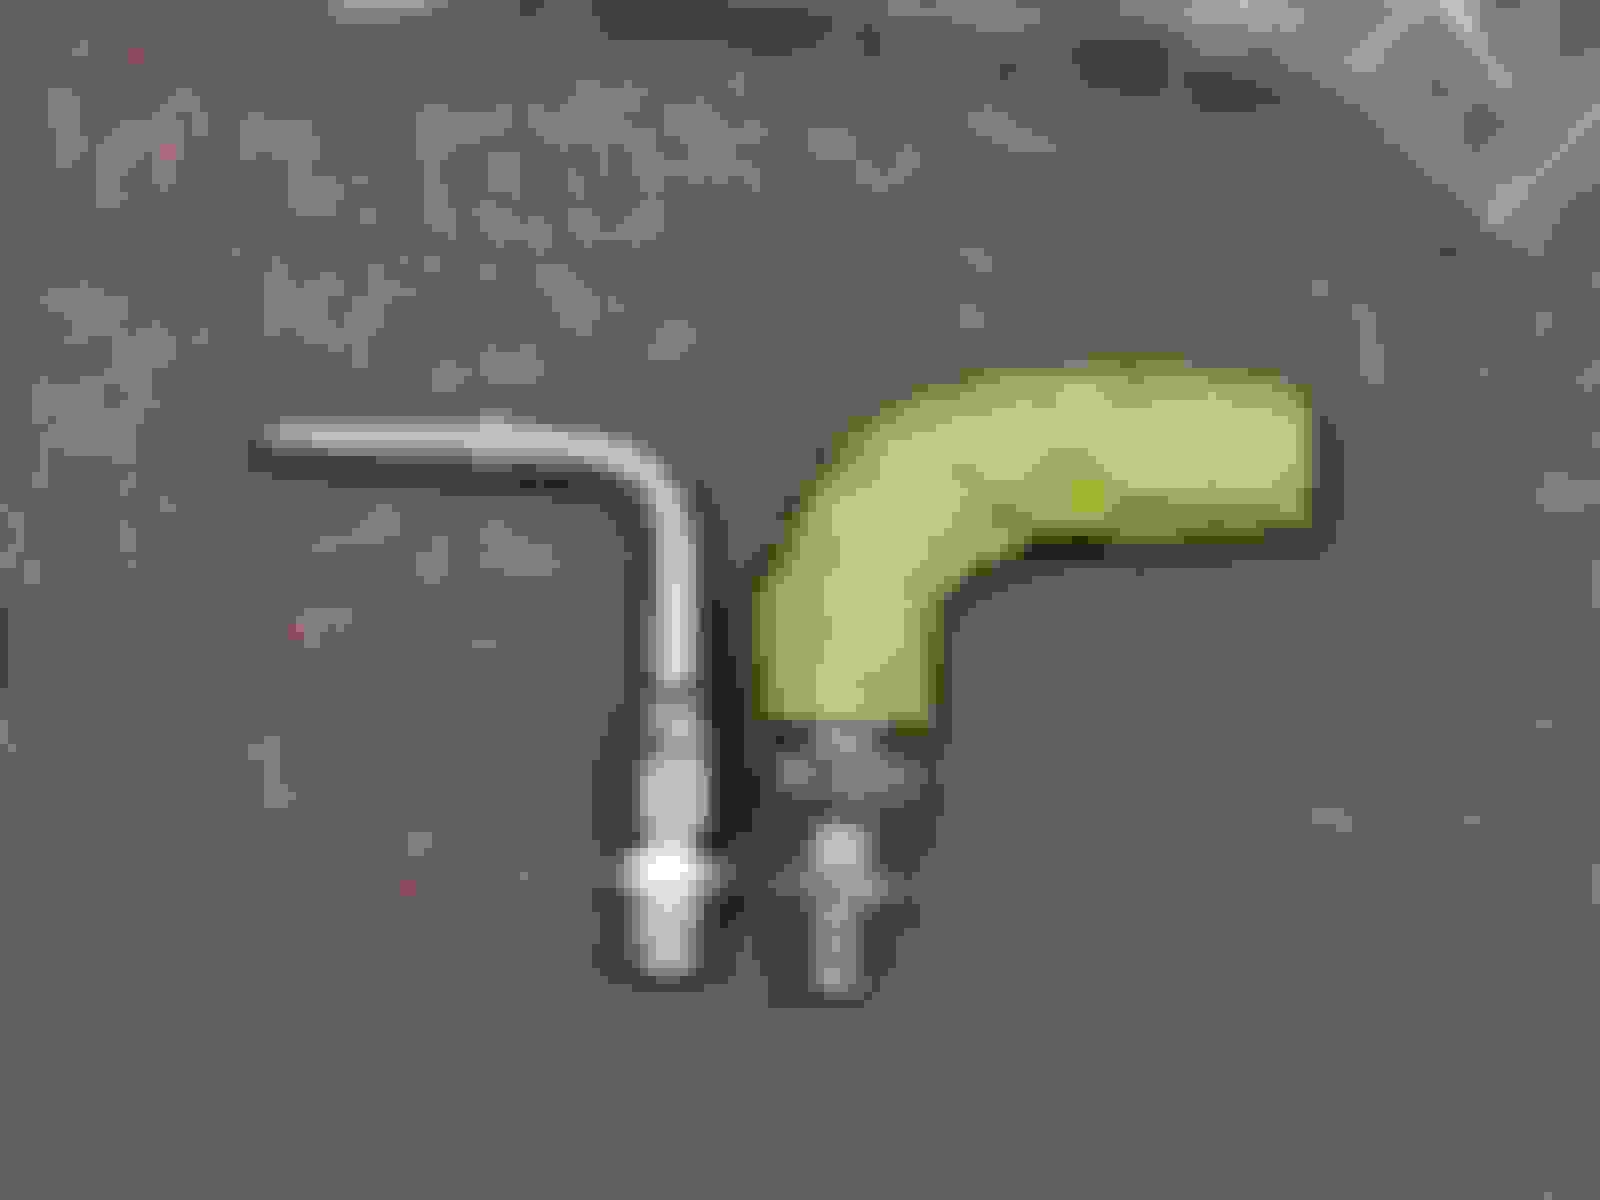
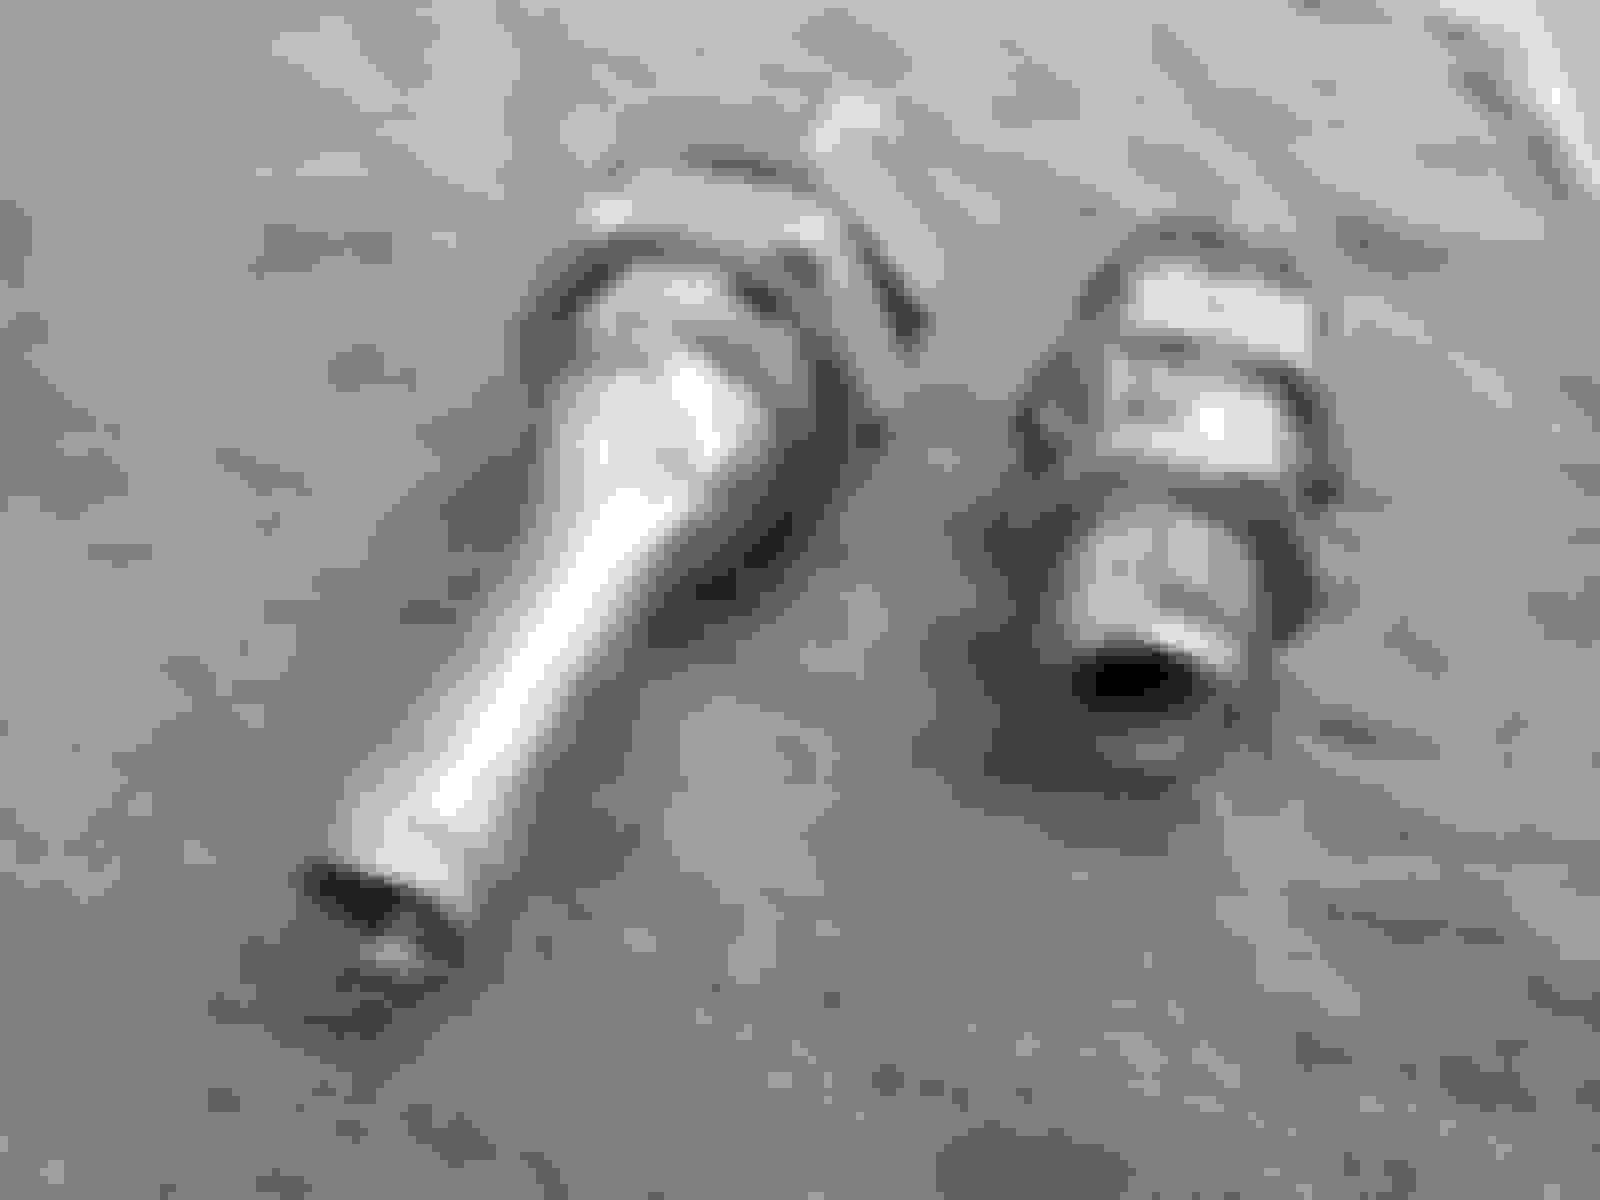
I was previously using an industrial hydraulic -6 JIC "long elbow" at the steering box, and I was going to keep the pressure hose, and I needed a way to step the inverted flare box port up to a -10 male.. so I welded an adapter fitting together...
Next, I needed a way to step the -10 cooler lines back down to the 3/8" barb that's on the steering reservoir return. I also wanted a fixture point for the cooler lines, so that there could be flex between the engine (P/S reservoir) and where the cooler lines were almost-rigidly attached to the subframe.
I decided to make a bracket using existing rivnuts in the subframe, to act as a fixturing bracket to hold a custom step-down line adapter buklhead fitting, as well as force a bend in a 3/8" rubber line linking to the reservoir return...
Here is the bracket for the line-reducing bulkhead fitting, which also acts as a hard stop to force a vibration-friendly bend in the return line heading to the engine....
The nice thing about the pressure hose being a 3500psi hydraulic line, and having a 90* end on one side but a straight end on the other, is you can pre-load the straight end with a bit of twist, to make the stiffer hydraulic hose curl or twist if you want, like I did to give it a bit more of a clearance bend above the UCA....
And the front bumper re-installed, with an extra support bracket for the left side of the cooler to the bottom of the bumper...
Thank you for documenting this build. I read through this build from start to finish and it gave me new ambition to start my project. I LOVE this car!
I have a 69 Nova I've been playing with for the last few years off and on. I am about to get serious and swap in an LQ9 with a 4L80E.
I initially wanted to go big with twin turbos like your build but I think I'll start with getting the LS in and running then see where to go from there. I like big power but the rest of the car won't handle a TT setup.
I will be referencing your build learning from your experiences. I'm no engineer so the custom work will be limited.
I think I speak for many others doing builds like this when I say Thank you so much for documenting as much of this build as you have. I will try to document my build in another thread but I doubt it will be as good as this one you did a great job.
Man I love this car, it is a work of art.....I too have a '74 that I put a '71 front clip on and a 370" lsa supercharged 11.25:1cr lq9 with 64cc ls3 heads......23 years I've owned this car and it's still a work in progress. ...... (when are they ever actually done?)...when I first LS swapped this car it was with what I was told a cammed 5.3/th350...turns out it was an angry 4.8 that revved too the moon, that motor and 3k stalled built th350 is now at home in my '73 c10 short bed fleet side and it's still N/A but with all the room those trucks have I may get one of them bolt on turbo kits in due time!!!....but over all...this has to be one of my favorite 3rd gen nova builds on ls1tech.com hands down....great job!!! This is the short bed '73 c10 fleetside it came with a granny gear 4spd and 6cyl, i had it swapped and running within a week, it was very similar to my '68 c10 swap wise , so basically a walk in the park......the bed ls from '86 so its pretty much ****, and i ordered new fenders, hood, and doors so when i paint it i should have no issues, did the same with my nova hence the '71 front end....but i painted it in that there very same garage myself! Heres a pic of mine....if anyone is wondering that is a 1st gen f-body spoiler on the rear deck lid. ...i get compliments on this thing every time i stop to get gas, which is weekly!!!
Last edited by dawgs74; 09-13-2021 at 05:54 PM.
Reason: Misspellings
Thank you for documenting this build. I read through this build from start to finish and it gave me new ambition to start my project. I LOVE this car!
I have a 69 Nova I've been playing with for the last few years off and on. I am about to get serious and swap in an LQ9 with a 4L80E.
I initially wanted to go big with twin turbos like your build but I think I'll start with getting the LS in and running then see where to go from there. I like big power but the rest of the car won't handle a TT setup.
I will be referencing your build learning from your experiences. I'm no engineer so the custom work will be limited.
I think I speak for many others doing builds like this when I say Thank you so much for documenting as much of this build as you have. I will try to document my build in another thread but I doubt it will be as good as this one you did a great job.
Thank you so much! It has been a VERY long project... 17 years... I bought it when I was 17 years old, before I graduated high school, and it got me through engineering school, countless laboratory and machine shop work terms, and the start up of this thing called "The Internet" as well as "forums" and "build threads".. damn near everything I've learned about fabricating and machining, I taught myself by working on this car. THAT said... a simpler car that is driveable that you can form memories is more desirable (in my mind) than a grand project idea that it is 10 years in the making, unless if you get an equal thrill from making stuff (like I do).
Originally Posted by dawgs74
Man I love this car, it is a work of art.....I too have a '74 that I put a '71 front clip on and a 370" lsa supercharged 11.25:1cr lq9 with 64cc ls3 heads......23 years I've owned this car and it's still a work in progress. ...... (when are they ever actually done?)...when I first LS swapped this car it was with what I was told a cammed 5.3/th350...turns out it was an angry 4.8 that revved too the moon, that motor and 3k stalled built th350 is now at home in my '73 c10 short bed fleet side and it's still N/A but with all the room those trucks have I may get one of them bolt on turbo kits in due time!!!....but over all...this has to be one of my favorite 3rd gen nova builds on ls1tech.com hands down....great job!!!
Great projects and great on you for just getting the stuff done and driveable, and enjoying them! Maaaaan I want a squarebody REAL badly.
Originally Posted by Woodylyf767
I copied your oil pan to a T, and the knowledge you shared about trans/engine location as well as other misc stuff helped me with my shitbox swap.
Appreciate it
Great that worked out for you! I've put my learnings out there with no clue if any of it would be read, or helpful to other people... but since I have zero intention of monetizing what I do/make... the least I can do is share the process to maybe help someone.. or better yet, to inspire someone!
Joe I've gone through your entire build several times over the years and love the machine work you've done.Like a lot of guys i'm eyeing up an LQ-4/LQ-9 build just looking around for a good donor engine at the moment.Keep up the great work!
I'm not sure how i've missed this thread over the past ~15 years. Read through then entire thing off and on over the past week. Your commitment, attention to detail and persistence is unreal....not to mention creativity, imagination and skills.
I'm insanely jealous of your access to tools and equipment.
Hell of a job man!
Hope to see more this year when the weather gets better
Alrighty, time for a MEGA UPDATE / 56K BEWARE!! (do kids these days even get that reference?)...
I went to drive it for the first time this season around mid-May, and had one successful drive in low boost, but it had a random cut-out of power that I assumed was just low fuel. I then filled it up and drove it the next day, and it started cutting out all over the place, boost or not, and it wasn't necessarily during cornering G's or any particular movement.. the only consistency it was that it happened during any throttle position other than just barely feathering above idle.
I figured I either had a pressure line that had come loose, or somehow had one or both internal fuel pumps dying that couldn't keep up the pressure once there was any real fuel demand. I looked under the car with the pumps running... no external leaks. I checked the fuel filter, and although it was a bit dirty, it seemed to flow air through it without issue. I also tried ramping up the fuel pressure on my Edelbrock adjustable FPR to what should have been 60-70psi.. but the static pressure at idle wouldn't increase above maybe 15-20psi (it should have been ~45psi at idle)... this is what told me that I had a fuel pressure supply issue inside the gas tank. Well.. time to drop the tank... I think for the 4th time now?
Here's the 10 micron post-fuel-tank filter I had under the car, with a spare filter for reference and to swap in during this "fuel system redo"....
When looking at the tank, I noticed the previous fuel-safe sealant was hard and cracking in some areas, and had some misting. Strange that there was wetness, considering the gas should have evaporated.. but oil could not have come from anywhere on the back of the car....
Well this would probably cause a lack in fuel supply pressure (pump #2 pressure/outlet is highlighted)....
I also didn't like how these held up.. they're plastic "adapter barbs" to make a hose fit on the standard socket inlet of an internal fuel pump. At the time, years ago.. I must have added some fuel-safe sealant as extra sealing protection, but that sure didn't hold up well....
After I had the realization that there was an issue inside the tank, and I was going to have to drop it to inspect, I told myself "this is the last time I'm dropping this damn tank to service a fuel pump".. and I started ordering parts.
Years ago I started thinking up wanting to do a fuel surge tank in the trunk, with a lift pump in the gas tank.. to ABSOLUTELY ENSURE proper fuel pressure and zero chance of starvation. Well a number of years had passed since then, and this company called Radium has come on strong and heavy, and actually has a shocking amount of universal and application-specific fuel products.
As far back as maybe 2015-2016 I had bought some large 7" aluminum tube and fully had plans to one day fabricate my own surge tank, but looking at the fit and finish of this Radium stuff versus my [non-existent] free time.. and well, it just made sense to buy.. the engineering work and troubleshooting had already been done, and it would look way better than any raw aluminum stuff I would have fabricated.
I chose the Radium MPFST (stands for "multi-pump fuel surge tank") since it has the ability to comfortably fit 2 pumps (3 possible in total), all pumps are individually wired, but they share a common single output port, and the total volume with 2 pumps inside is ~1.75qt.
For pressure pumps, I chose two TI Automotive (new owner of the old "Walbro" brand) F90000274 pumps, which are the "low pressure" 87psi capable pumps, max flow of 450lph at 0psi, but also contain a check valve for use individually in a tee'd setup, for if I want to do sequential boost-referenced pump wiring in the future. I gotta say these pumps look like badass quality... metal everywhere you look, barbs on the output fittings, and even say Made In USA..!.......
These ports on this bottom inlet screen press against the suction inlets of the pumps, so no shitty plastic socks are needed, they all share this stainless mesh inlet screen...
Nice substantial barbs on the pumps' outlet fittings....
Nice, high-quality rigid PVC hoses were a tight fit to the barbs on both the top tank side and the pump side....
Next step in this exercise of "anything worth doing, is worth overdoing" was the lift pump(s). I sure as **** did not want to drop the tank again to service a lift pump, since even though a lift pump sucking air or performing sub-optimally isn't the end of the day.. if a single lift pump dies, then the surge tank will empty in time and I'll be stuck on the side of the road somewhere.
So... external lift pump. Pumps. Dual.. but to avoid heat and excess flow, only one will run at a time. These AEM 400 lift pumps fit the bill perfectly, since it really only has to "top up" the surge tank.. and because at the 1-2psi of flow pressure on the lift side, I would have to be on a max-boost pull for literally minutes upon minutes upon minutes before the engine would eat up the flow difference between the dual 450lph pressure pumps and the single 400lph lift pump.
These AEM 400's are designed to be run externally, and have thread-in inlet and outlet ports.. which means I didn't have to risk any hose barb and hose clamp leaks and can go full hydraulic fittings. They also came with a check valve on the outlet fitting, which lets them run in parallel with only one on at a time.
While I'm at it with re-plumbing everything, I'm going to try out this ChevyII gas tank breather, and see if it performs better than my previous tank previous setup comprised of a riser-loop of rubber fuel hose, to a K&N mini breather filter. I'll mount this can alongside the surge tank in the trunk, and the highest point I can get away with...
I bracket to hold the two lift pumps together, and under the car (above the gas tank, aft of the rear axle)...
Hydraulic fittings for the win, tying them together to make them plumbed in parallel...
Now to select between the two lift pumps, I found a nice Honeywell 2-position locking toggle switch, and made a bump guard for it, to mount it near the fuel solenoid next to the battery.
There will be one "lift pump fuse" on my Blue Sea fused buss bar on the solenoid output, and this single fused wire will go into the 2-position switch and then get directed to either lift pump #1 or #2.
And next, some safety. Obviously having fuel in the trunk is an added risk, so I needed to make a firewall. I also wanted to use the new plating as a solid base to add some 1" sound insulation which seems to have also worked well underhood on my loud 24V Dodge.
When making the bracketry for the surge tank and filter+vent can, I added extra holes and rivnuts so that I can make a protective cage for the fuel surge tank assembly, to prevent something from sliding and hitting it from inside the trunk.
I made the firewall out of two pieces, so that I could have the ends extend over-width and seal above the wheel mini-tubs, which would have been an impossible size to jam behind the trunk hinge supports if made out of one piece.
To let all the hoses pass through the trunk floor (6 hoses total: 2x -8AN, 2x -6AN, and 2x 3/8" vent lines), I needed to enlarge the factory hole for the vent lines. I chose to make this hole as big as I possibly could to avoid kinking any hoses or forcing any awkward hose routing bends, and I glued split-rubber-hose to the edges to add some wear protection...
Next I had to update and simplify the gas tank part of this new system redo. I needed to seal up two holes which were previously for the individual pump wiring pass-thru grommet.
I decided to keep the Holley Hydramats.. since they work well and in the past I have literally sucked the tank dry before the engine starved of fuel. I decided to do new 3/8" rubber fuel hose to the Y-block I previously made, and then that simply goes into a single -8AN 'supply' port leaving the tank.
It was SO much easier to reinstall everything back into the tank without having to Jenga a huge mess of pumps+hoses through the access/bulkhead hole I cut in maybe 2011...
I first tried out the blue colored Permatex gasket dressing "sealant" (shown on the left, below), but after a few days it was just a bit too gummy and malleable for my liking. I then tried out the grey colored Permatex Motoseal, which ended up at a really nice consistency of form-able but pretty stiff.. not rigid, but just enough give to it, which I used on the bulkhead cover plate and all the cover plate hardware...
Now to get to some of the wiring. I don't know why everyone dreads this so much.. if you have the right stripper/crimper tools and a bit of a process, it goes quick! And looks nice and clean too, even if done in a home garage.
Keeping with the theme of future-troubleshooting ease.. I wanted the pressure pumps to have individual wires and fuses all the way up to the switch solenoid power source next to the battery, as well as separate grounds.. so that a spliced connection of multiple wires can never be the cause for diagnosing any possible future fault.
The two pink wires shown heatshrink'd together are a level switch inside the surge tank. If that level drops below "3/4 full" then the two pink wires have continuity... I'll use it to hook up a "low level warning" dash LED to let me know that the lift pump is no longer filling the surge tank to the very top... either from lift pump failure or just that the main gas tank has been sucked completely dry.
And here is the start of running the lift pump wiring to the toggle switch, and the new pressure pump wiring to the surge tank...
This Blue Sea fused buss bar provides all the power for the fuel system.. the two left 25A fuses are to the individual surge tank pressure pumps, the smaller wire is a 3A fuse to power the SpeedHut capacitance gas tank level sender, and the last big wire on the left is a 25A single supply to the toggle switch, which then delegates the power to either lift pump.
The wiring on the lift pump is the previously-existing 10ga wiring, so it's incredibly overbuilt for this new lift-pump application. The name of the game here is overbuilt with quality, trustworthy materials, redundancy when possible, and as much circuit isolation as possible for future diagnostics. On that note, the 25A fuse for the lift pump is also massively oversized, but it can then serve as a backup fuse for either of the pressure pumps if need be, since I can choose to run only 1 pressure pump.

 07-20-2021, 06:07 PM