


1SC stripper build
Thread Starter
Joined: Sep 2008
Posts: 473
Likes: 12
From: Woodinville, WA.
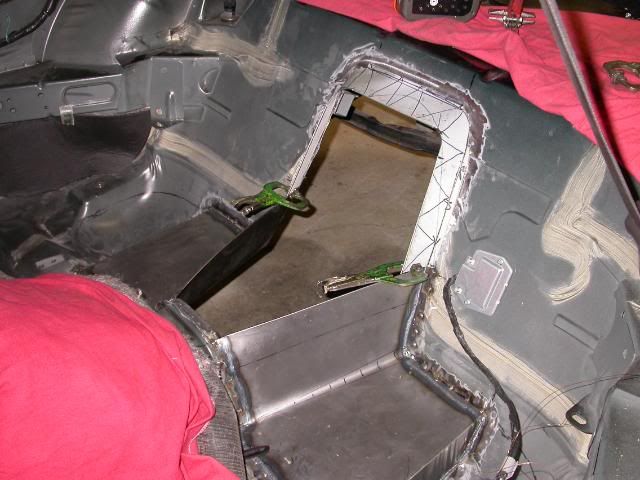
The car is getting some changes, tires, wheels, brakes, rearend and some sheetmetal work.
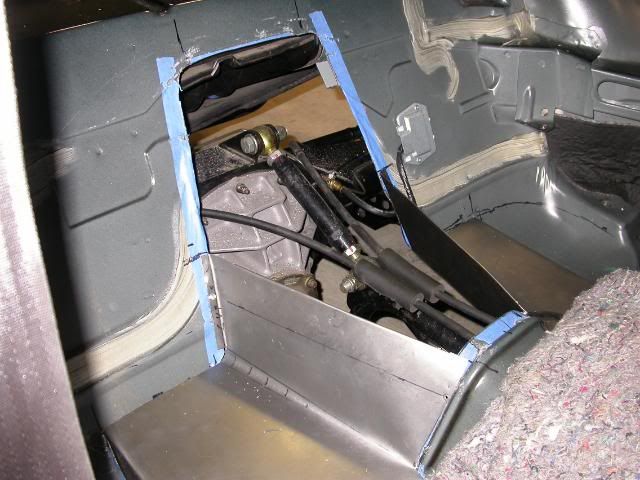
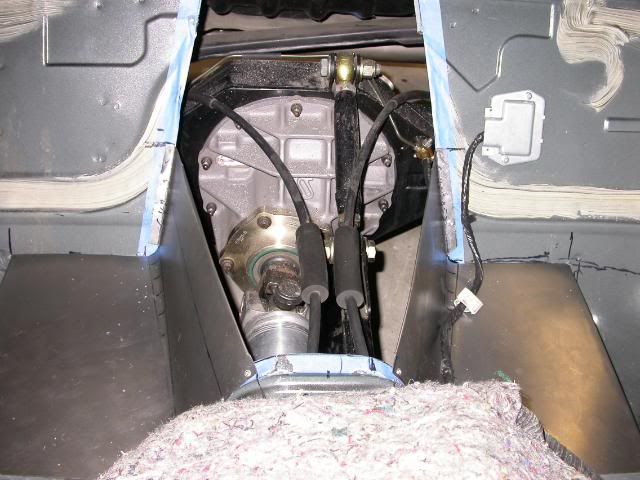
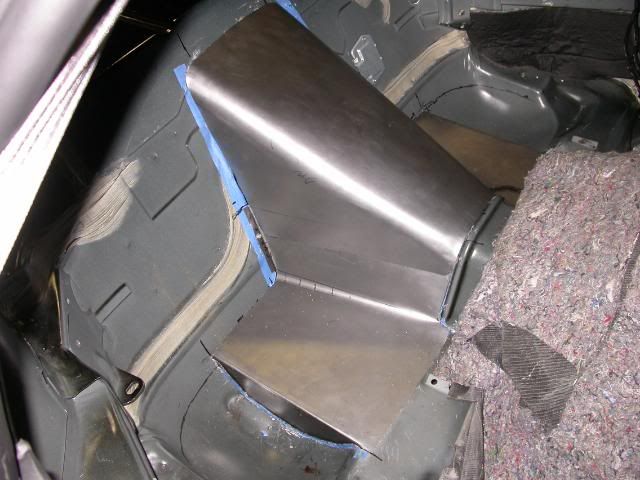
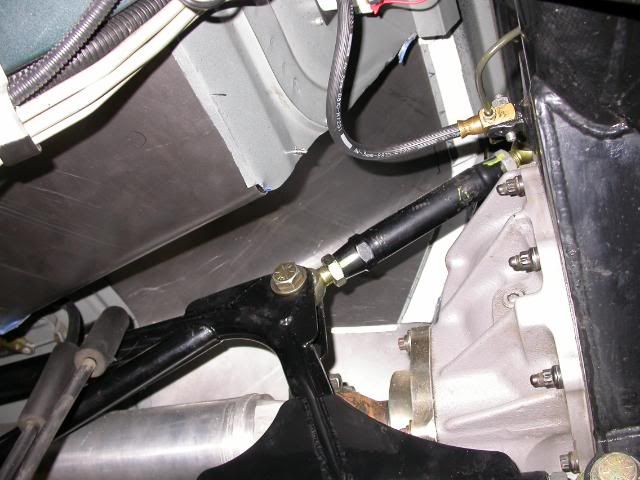
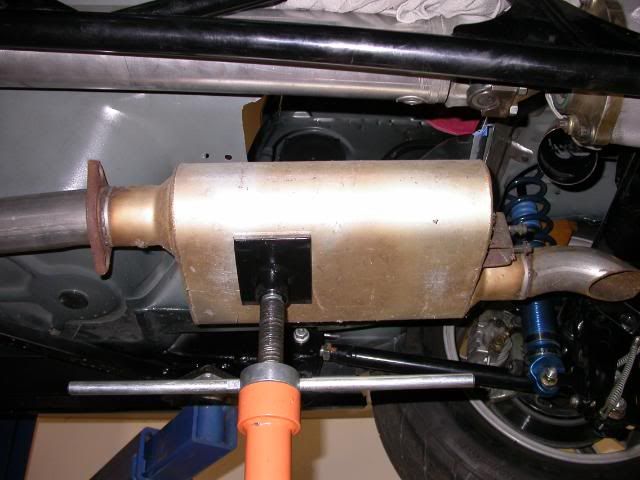
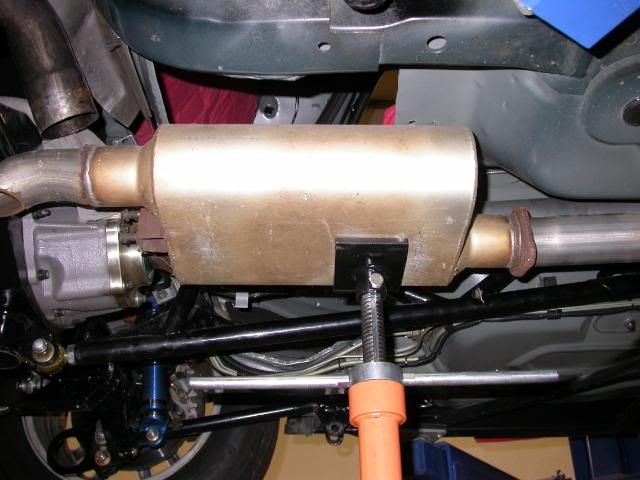
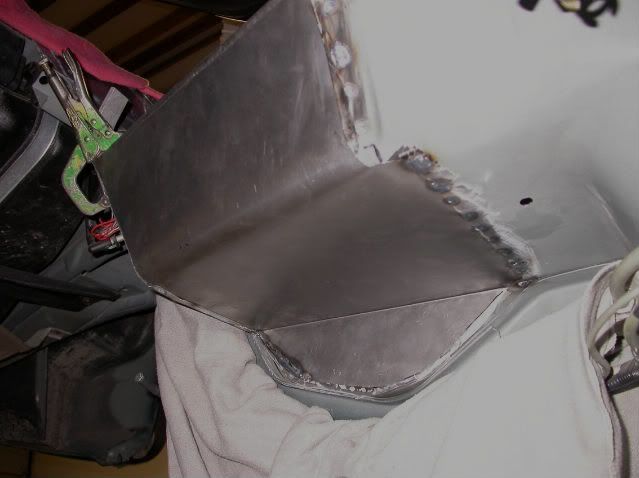
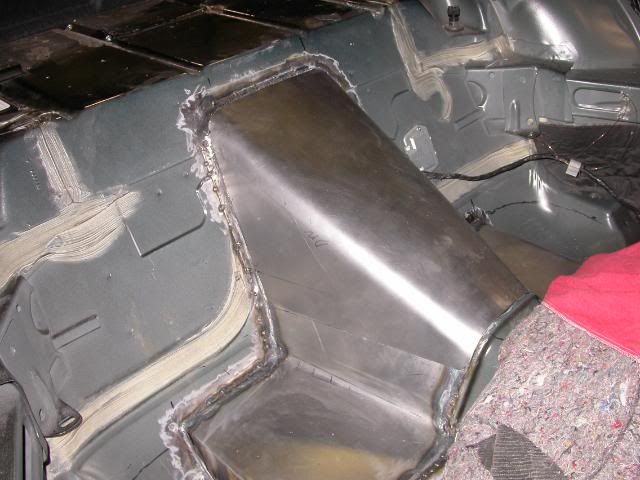
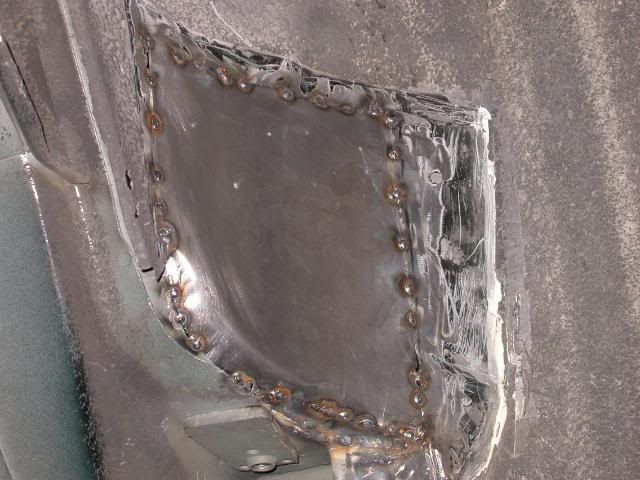
Here is some of the sheetmetal work getting done. The torque is difficult to adjust for pinion angle.
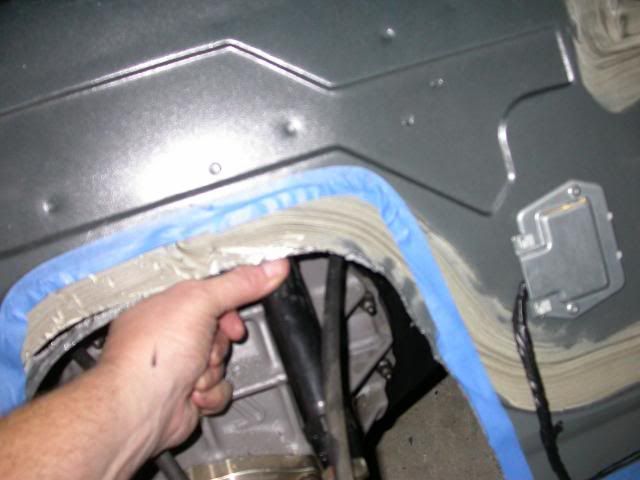

Thought I had some 20ga sheetmetal and it turned out being a sheet of aluminum. So, I did the next best thing.
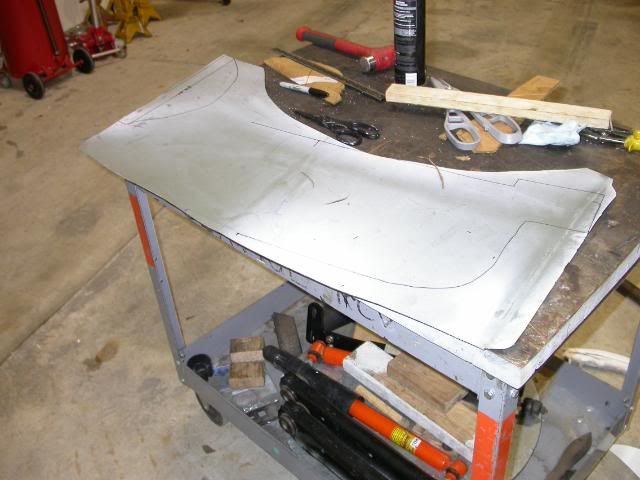
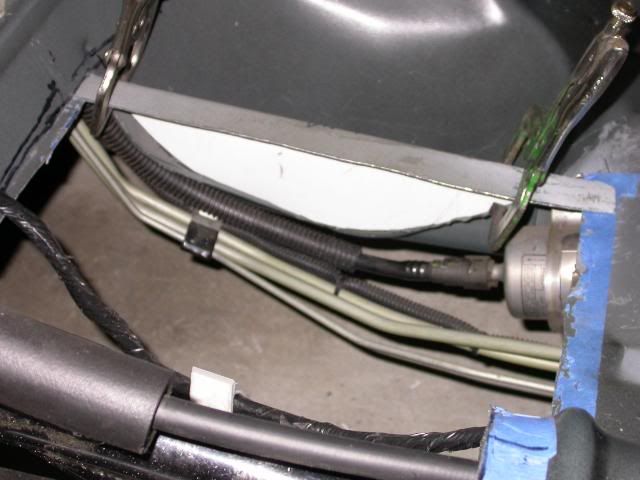
Done for today. Have to buy a sheet of metal tomorrow.
Here is some of the sheetmetal work getting done. The torque is difficult to adjust for pinion angle.
Thought I had some 20ga sheetmetal and it turned out being a sheet of aluminum. So, I did the next best thing.
Done for today. Have to buy a sheet of metal tomorrow.
Thread Starter
Joined: Sep 2008
Posts: 473
Likes: 12
From: Woodinville, WA.
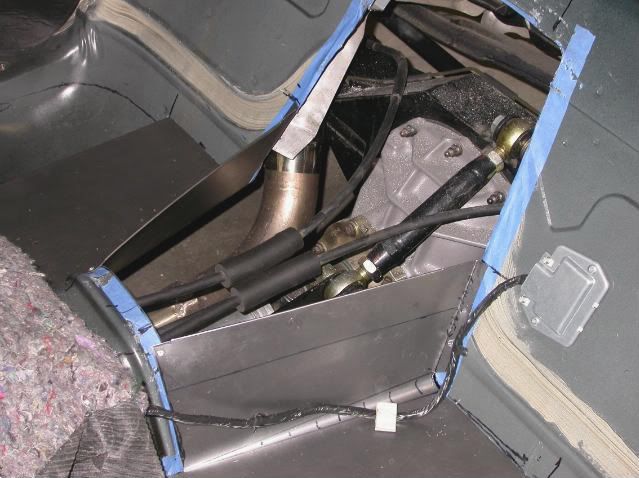
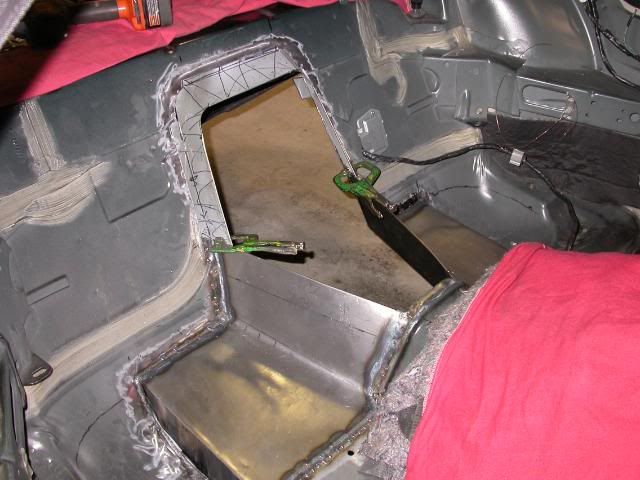
Made some headway today. First thing, went and bought a sheet of 20ga. sheetmetal.
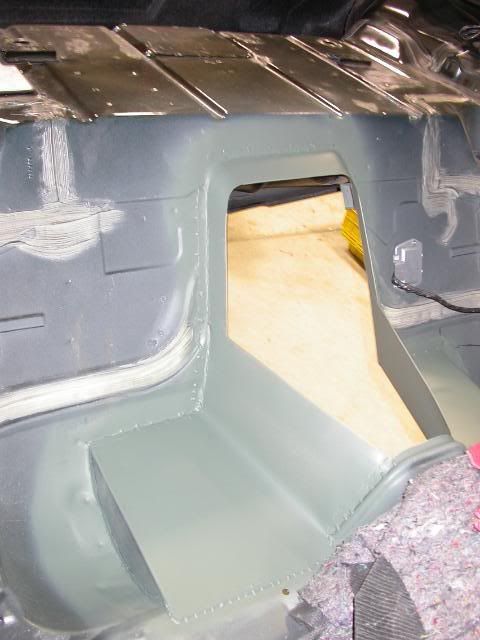
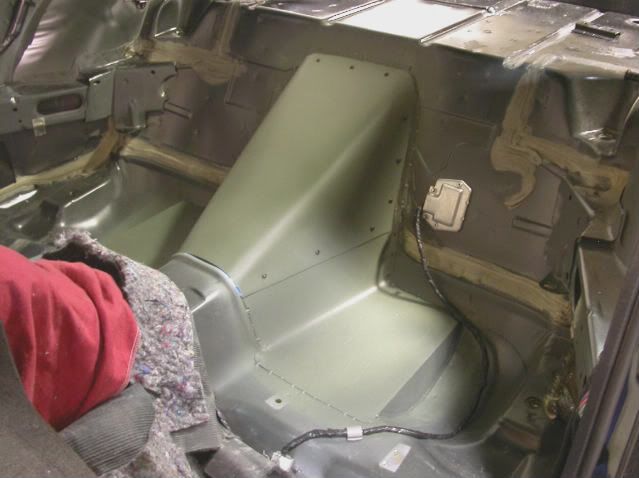
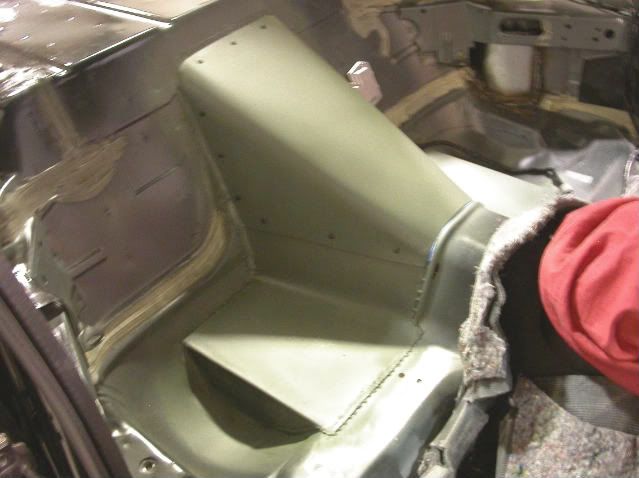
Came up with some ways to eliminate some welding. Formed the floor pieces up as one.
Before:
After:
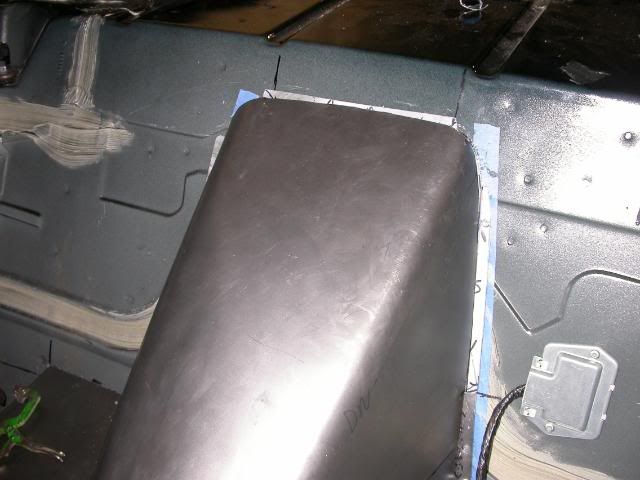
Removable tunnel:
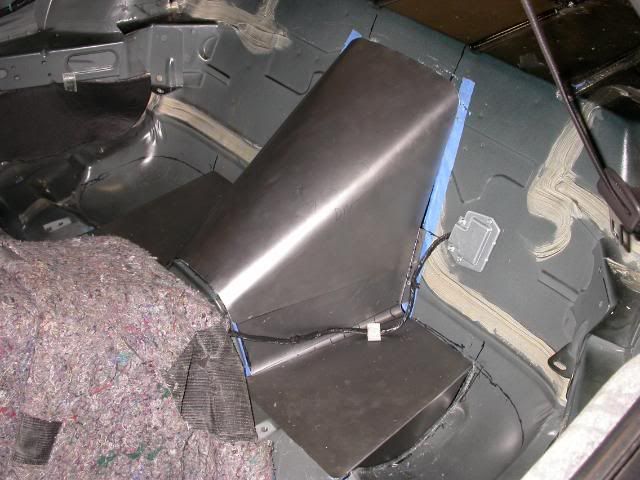
Next will be tacking the floor panels into place,getting some duz fasterners and mounting the removable tunnel.
Then, remove the rearend and fabricate a 1" flange around the cutout above the rearend so the tunnel has something to seal against.
Came up with some ways to eliminate some welding. Formed the floor pieces up as one.
Before:
After:
Removable tunnel:
Next will be tacking the floor panels into place,getting some duz fasterners and mounting the removable tunnel.
Then, remove the rearend and fabricate a 1" flange around the cutout above the rearend so the tunnel has something to seal against.
Thread Starter
Joined: Sep 2008
Posts: 473
Likes: 12
From: Woodinville, WA.
Hey wildman
I have several picked out.
http://www.mickeythompsontires.com/i...pro_5_drag.jpg
http://weldracing.com/street-performance/rt-s-15.html
http://www.radirwheels.com/wheels.htm
I have several picked out.
http://www.mickeythompsontires.com/i...pro_5_drag.jpg
http://weldracing.com/street-performance/rt-s-15.html
http://www.radirwheels.com/wheels.htm
Thread Starter
Joined: Sep 2008
Posts: 473
Likes: 12
From: Woodinville, WA.
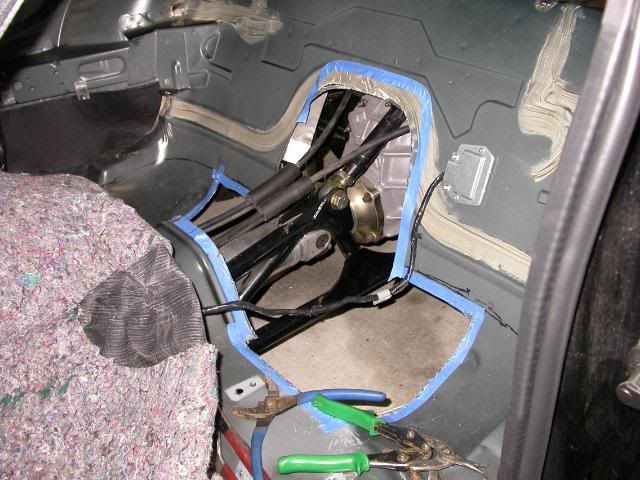
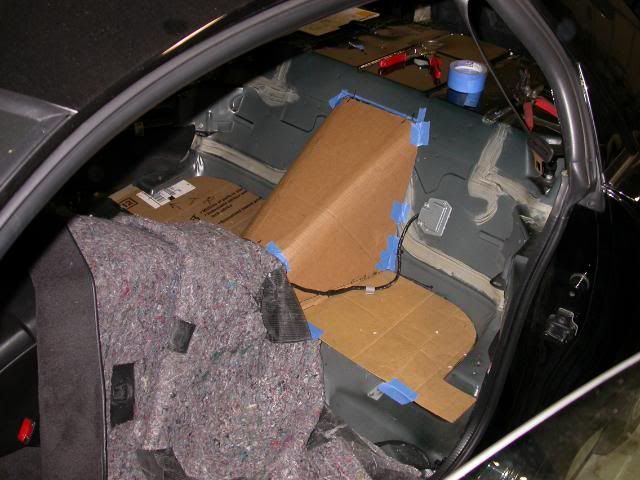
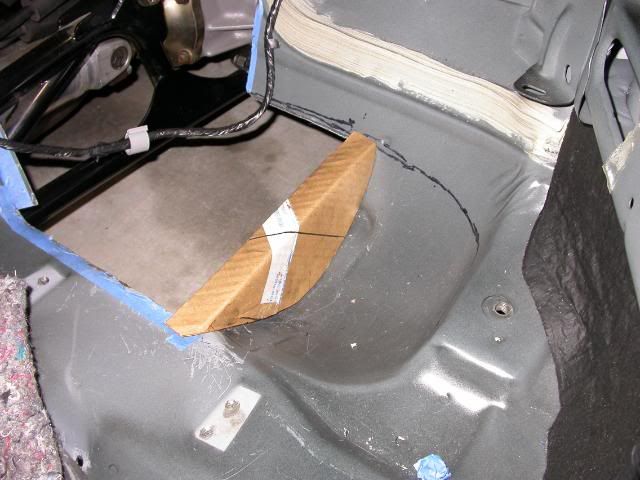
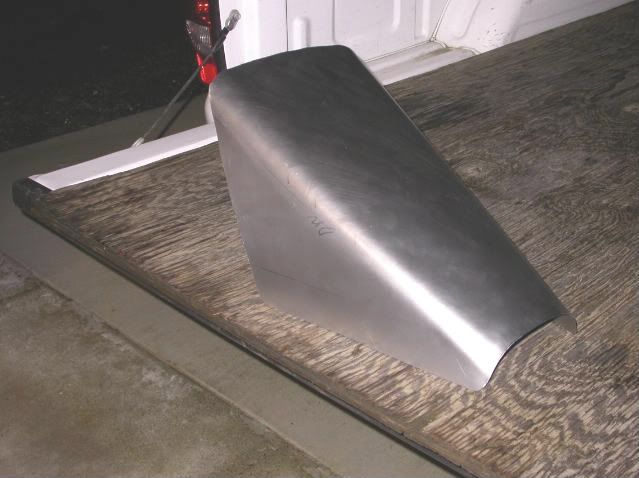
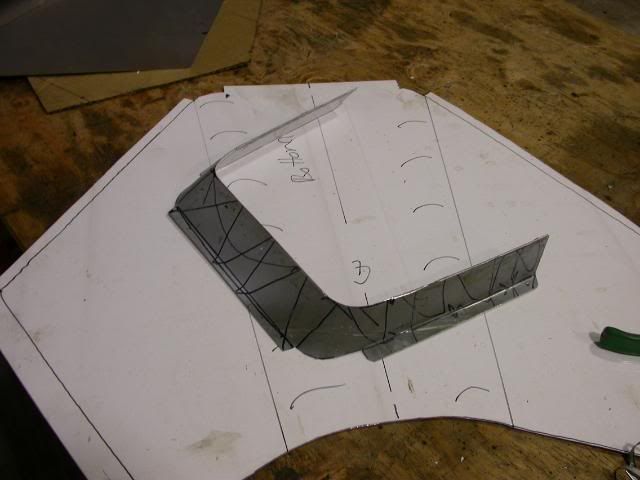
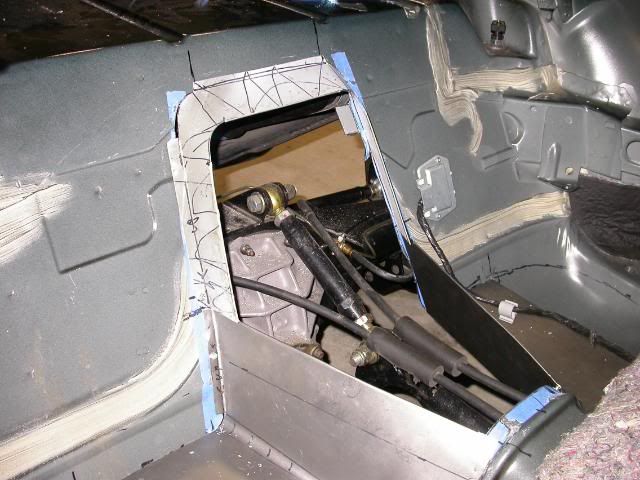
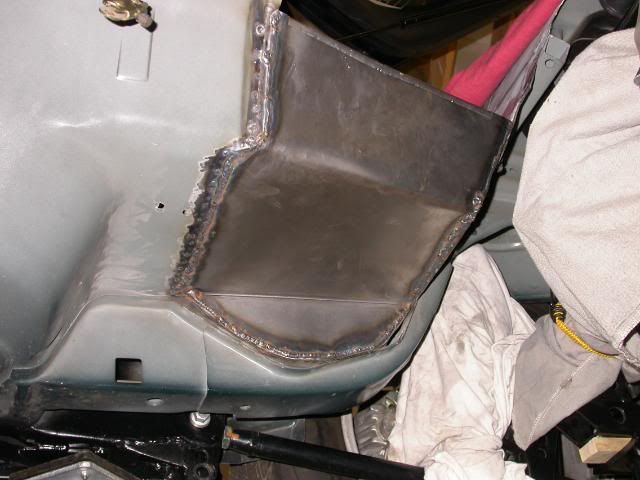
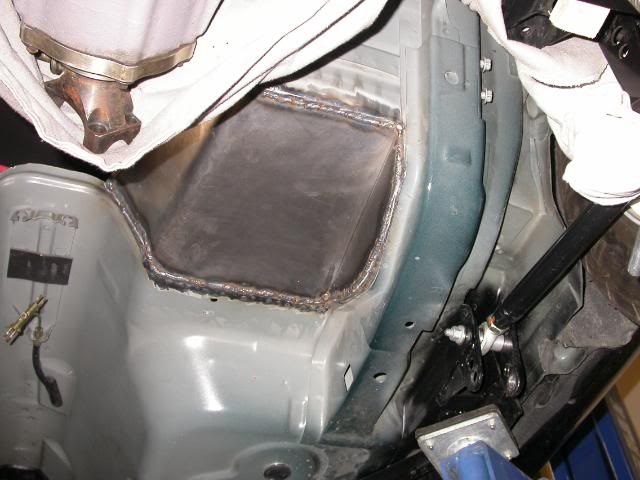
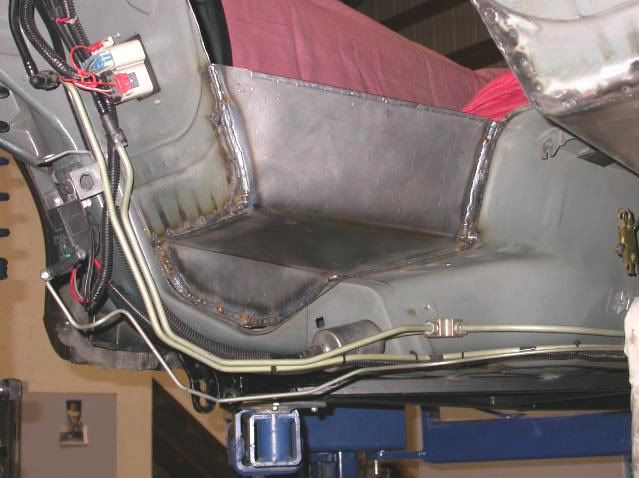
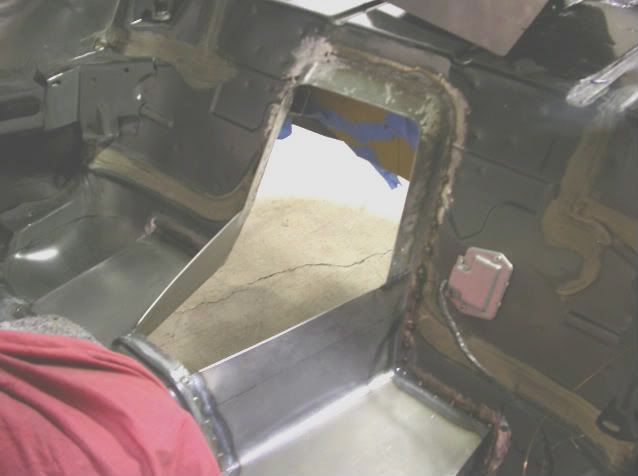
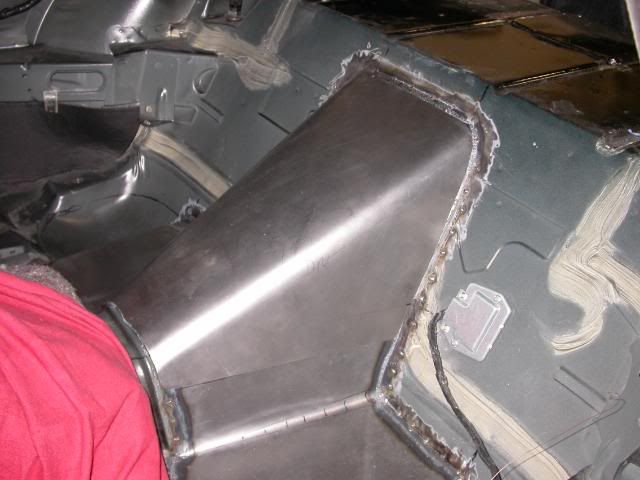
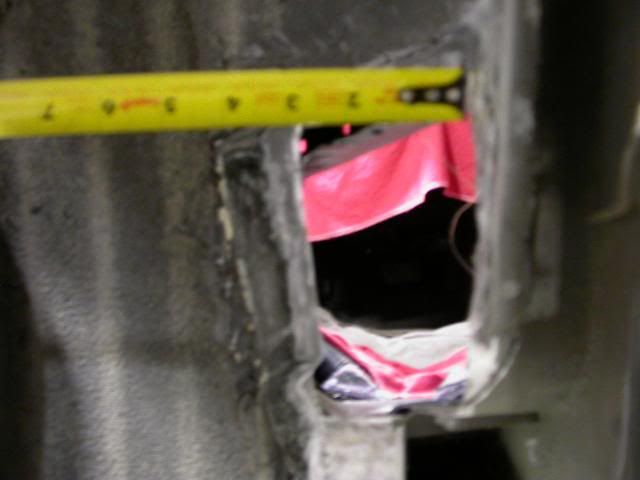
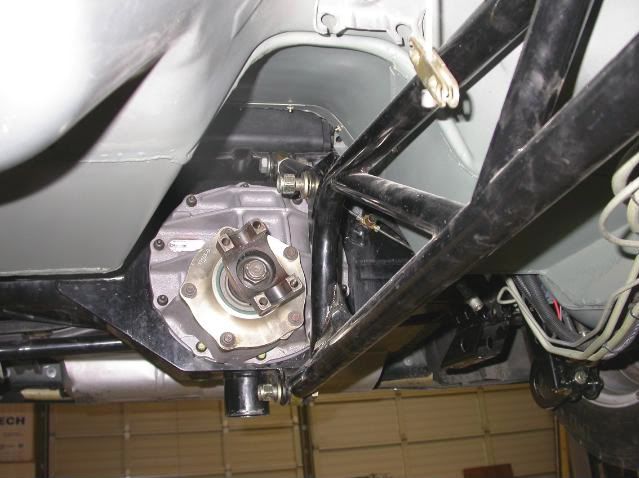
Decided to try and make a flange that goes around the cut out above the rearend, without removing the rearend.
I made a pattern to fit the removable driveline tunnel.
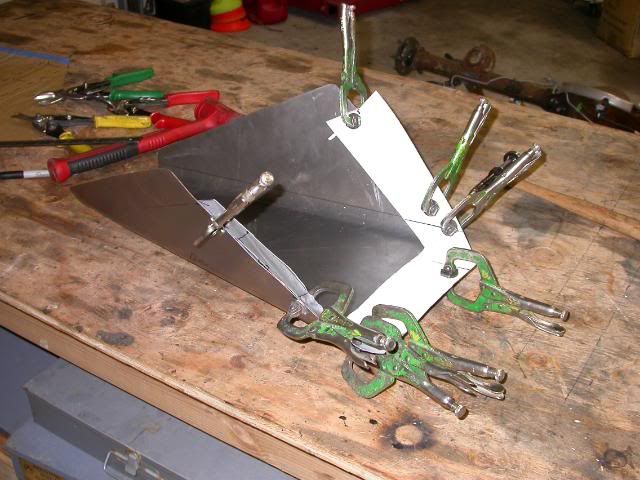
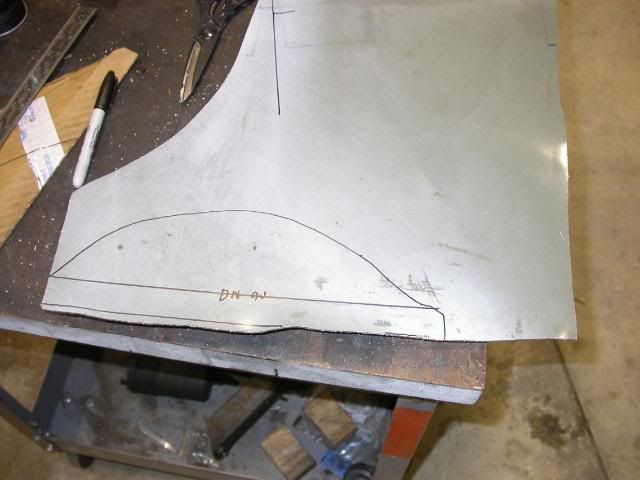
Calculated my flanges and and notched the radius because I can't bend a flange on it.
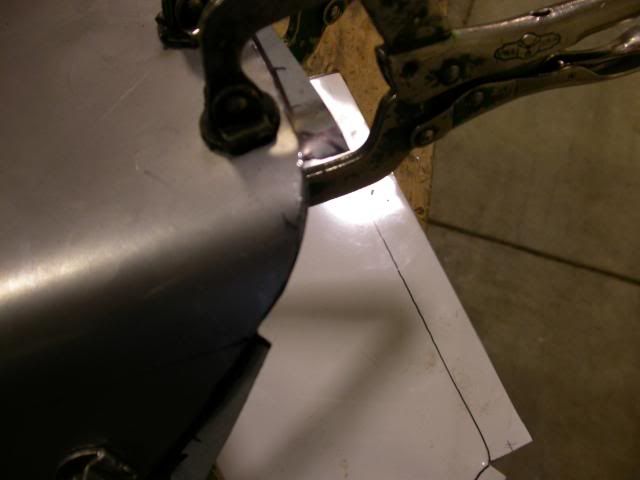
Flanges turned up.
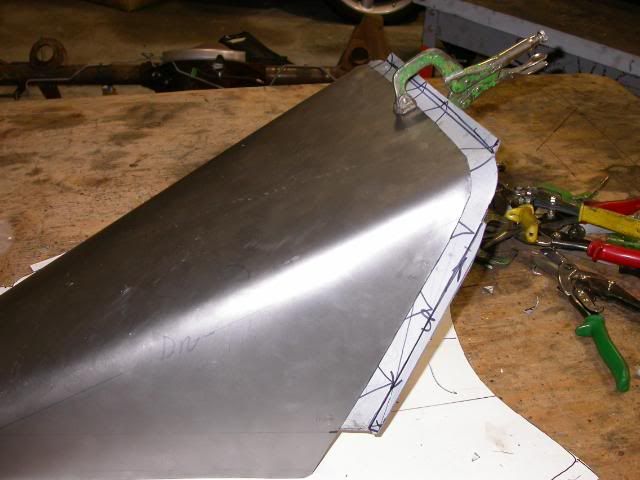
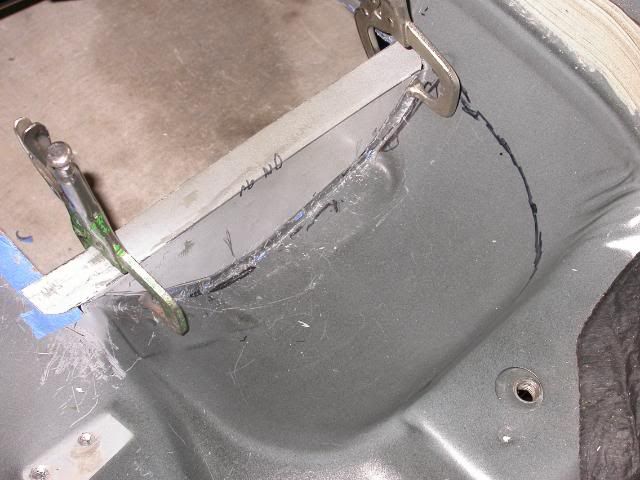
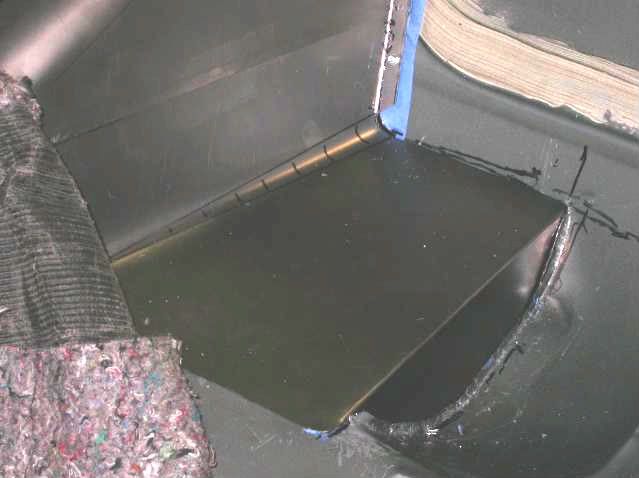
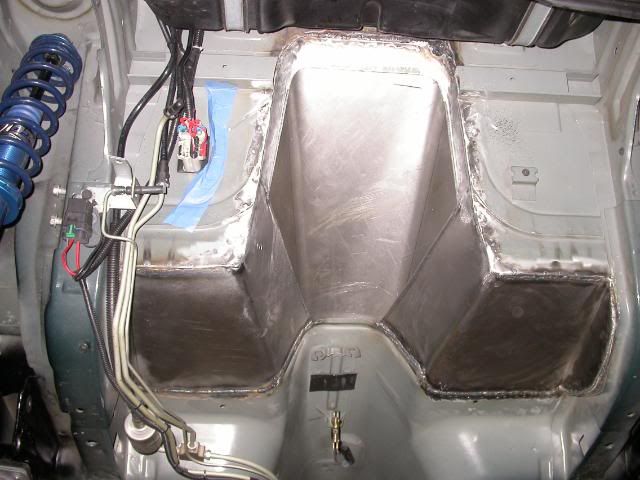
Here is the formed part.
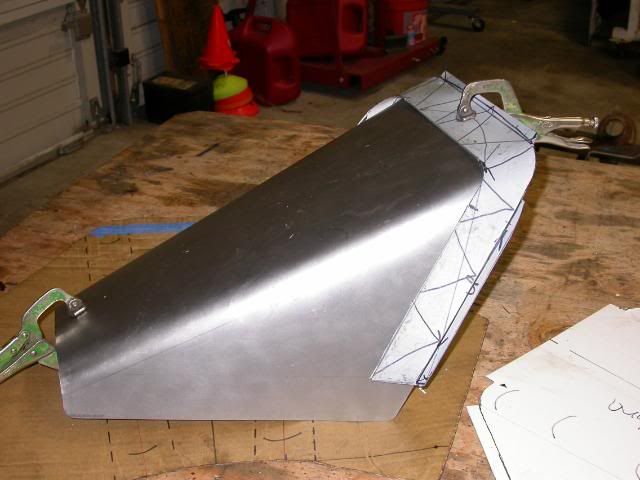
From the bottom of the car.
Need to decide on what fasteners to to use to hold the cover on, Duz or quickcert.
I made a pattern to fit the removable driveline tunnel.
Calculated my flanges and and notched the radius because I can't bend a flange on it.
Flanges turned up.
Here is the formed part.
From the bottom of the car.
Need to decide on what fasteners to to use to hold the cover on, Duz or quickcert.
12 Second Club
Joined: Feb 2006
Posts: 876
Likes: 0
From: Catlettsburg, Ky
Looks good! Very nice sheet metal work. Ive been considering cutting out the area where the rear seat bottoms were and replacing it with a flat plate across that area, in order to make room to tuck 2 full size (like a 2 chamber) mufflers under the car without dragging them everywhere. currently a pop can gets stuck on my b&m trans Pan if that tells you how low it sits.
Keep up the good work!
Keep up the good work!
LS1 Tech Stories
The Best V8 Stories One Small Block at Time

6 Common C5 Corvette Failures and What's Involved In Repairing Them
Pouria Savadkouei
Retro Modern Bandit Pontiac Trans AM Comes With Burt Reynolds' Autograph
Verdad Gallardo
Top 10 Greatest Cadillac V Series Performance Models Ever, Ranked
Pouria Savadkouei
Top 10 Most Powerful Chevy Trucks Ever Made!

Hennessey's New Supercharged Silverado ZR2 Has 700 HP
Verdad Gallardo
Coachbuilt N2A Anteros Is an LS2-Powered C6 Corvette In Italian Clothes
Verdad Gallardo
Awesome K5 Blazer Restomod Comes With C7 Corvette Power
Verdad Gallardo
10 Camaros You Should Never Buy

10 LS Engine Myths That Refuse to Die
Verdad Gallardo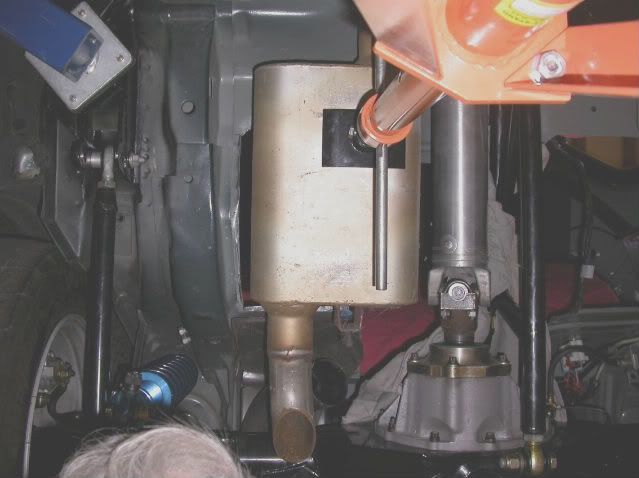
Thread Starter
Joined: Sep 2008
Posts: 473
Likes: 12
From: Woodinville, WA.
On the down hill side of the tunnel modification.
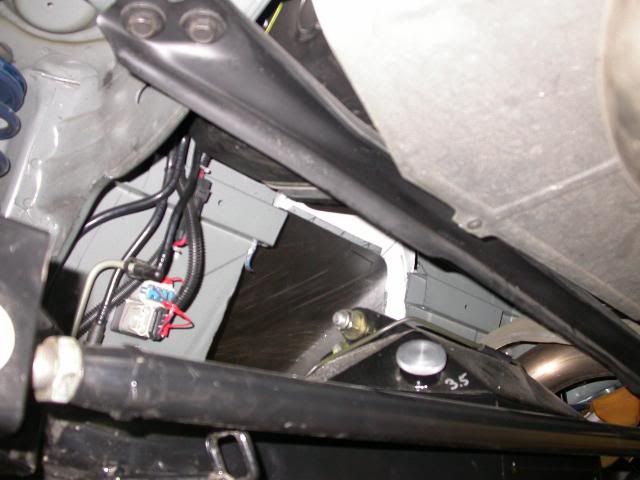
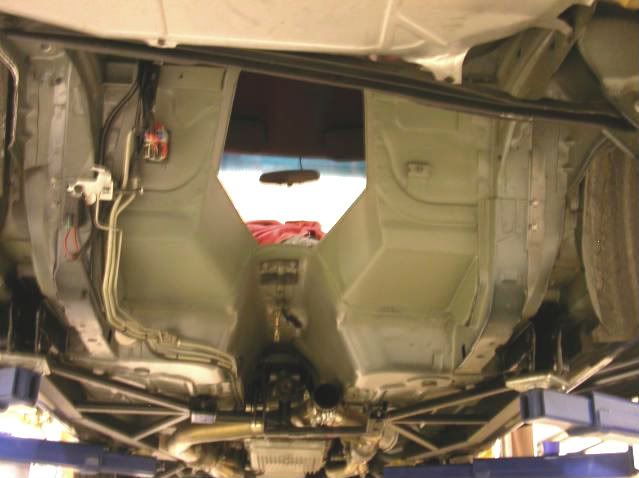
Floor panels are welded in. Pictures from the bottom of the car.
Right side:
Decided to remove the rearend to make things easier.
Left side:
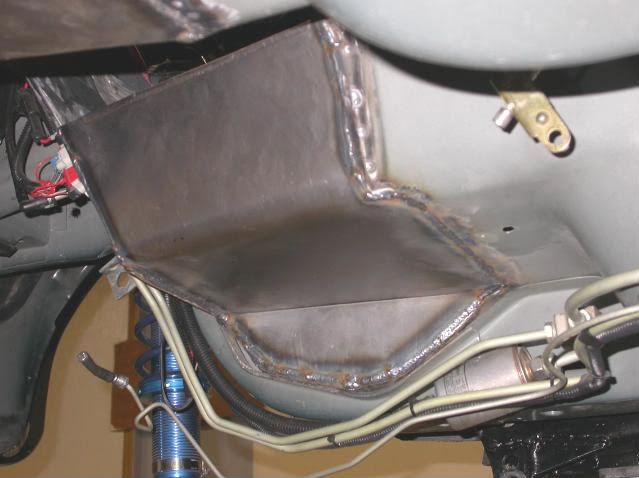
One more piece to go. Going to try and get finished up tonight.
Floor panels are welded in. Pictures from the bottom of the car.
Right side:
Decided to remove the rearend to make things easier.
Left side:
One more piece to go. Going to try and get finished up tonight.

Thread Starter
Joined: Sep 2008
Posts: 473
Likes: 12
From: Woodinville, WA.
A candy bar and cup of coffee later, I am fired up. All parts are welded in. On my last weld pass doing the passenger side radius I blew a 3/8" hole  and had to fix.
Next , clean up, decide on fastener to hold cover on, paint and seam seal.
and had to fix.Next , clean up, decide on fastener to hold cover on, paint and seam seal.

Thread Starter
Joined: Sep 2008
Posts: 473
Likes: 12
From: Woodinville, WA.
The primer sealer has been put on. Going to have to wait till spring to apply the paint, warmer weather. Ordered white seam sealer to match what is inside the car.
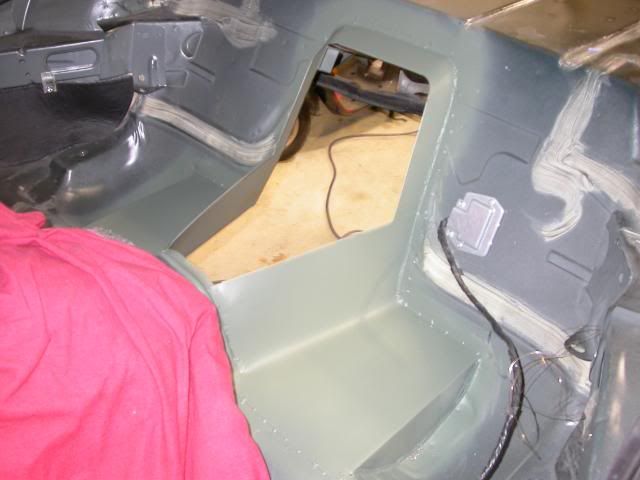
Decided to use Nutcerts to hold the cover on.
Decided to use Nutcerts to hold the cover on.
Last edited by Heyfred; Dec 22, 2011 at 08:12 PM.
Thread Starter
Joined: Sep 2008
Posts: 473
Likes: 12
From: Woodinville, WA.
Picked up a nutcert gun this afternoon, so tomorrow I should have the cover mounted.
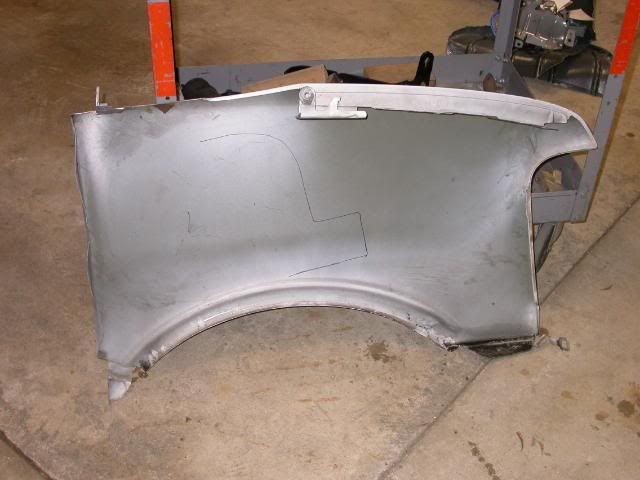
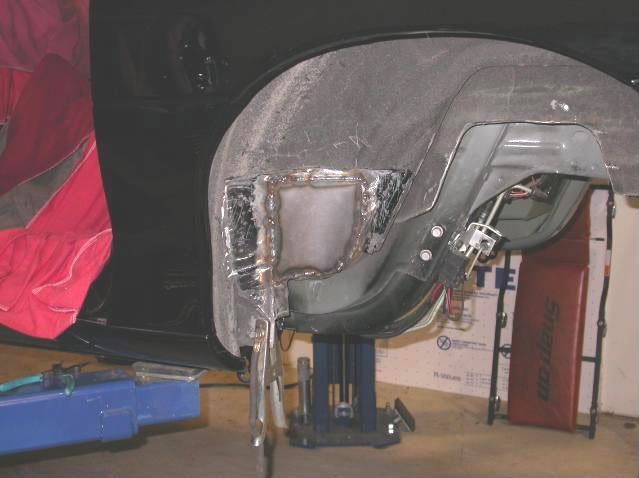
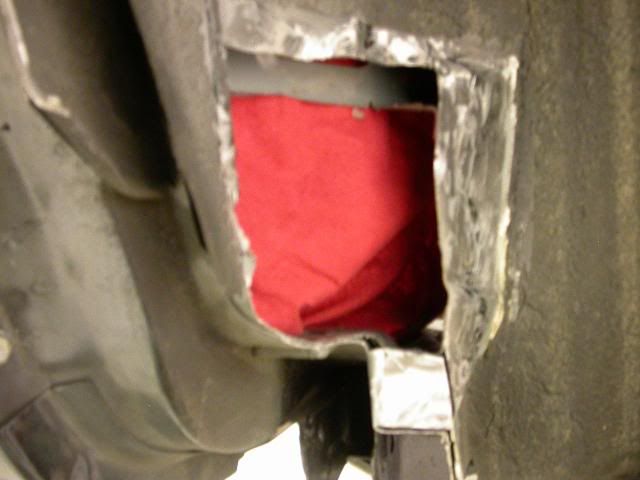
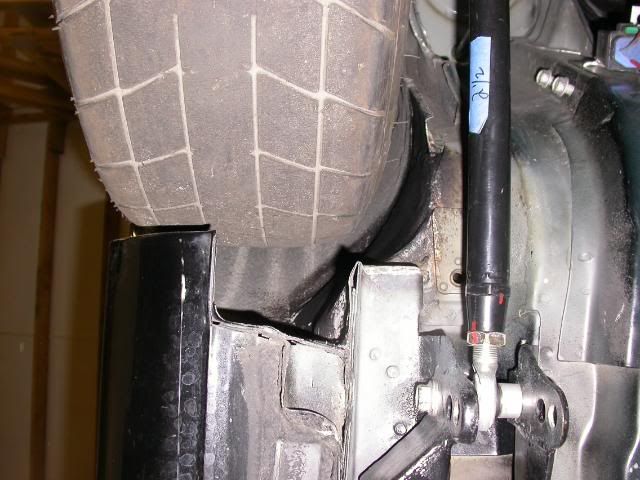
I cut out the bump stop mounts and while I was in there, I was looking at the fenderwells where alot of people have to clearance front inside of the fenderwell for tire clearance. Being in the cut and weld mode, I pulled out the sawzall and went to town.
First I decided how far forward to go. Looking into the fenderwell from the side, I sighted staight back to the inner fenderwell and determaned the starting point. Tire is not going to be any farther forward than that point.
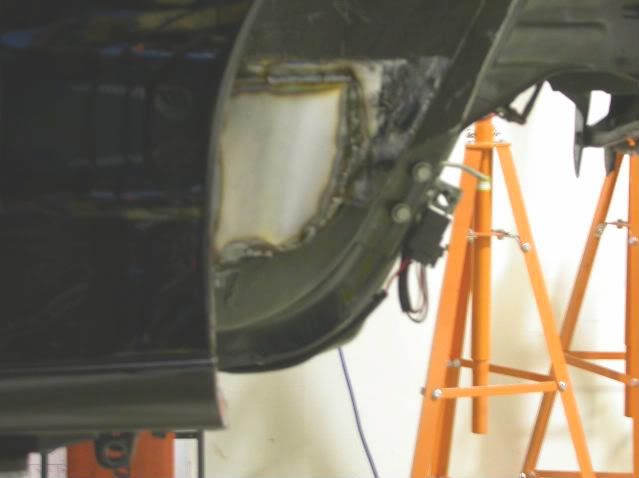
I wanted to try and follow the contour of the inner fenderwell. Decided to start cutting and made a pattern that follwed a the contour I was looking for.
Looking from the back of the car:
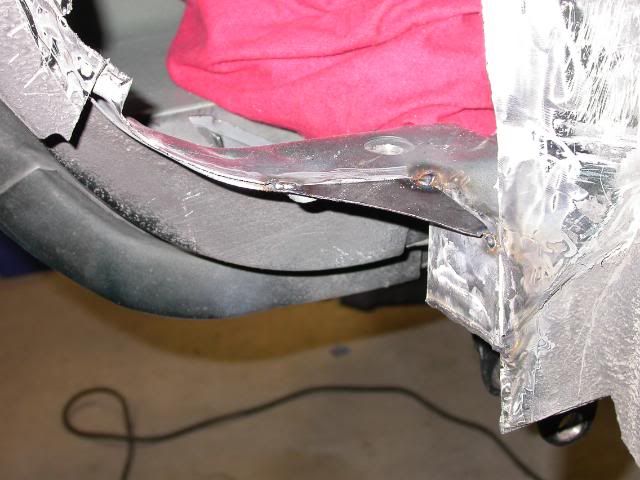
Side
Cleaned the seam sealer from behind the areas to be welded. The brace on the inside of car is still in place. Just cut away the bottom flange in the area of the brace where the new piece of sheetmetal was going to be added.
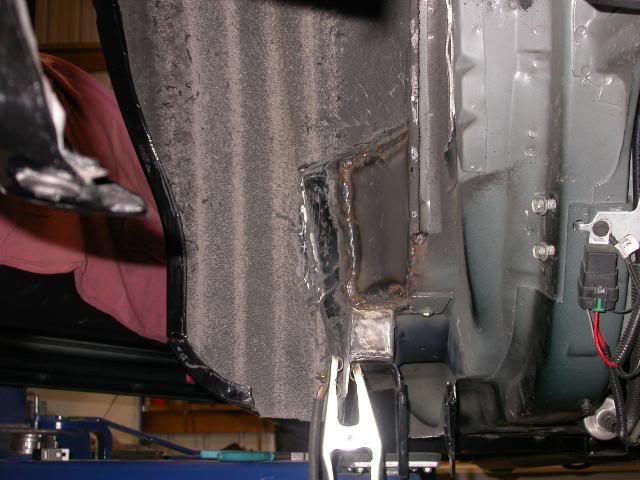
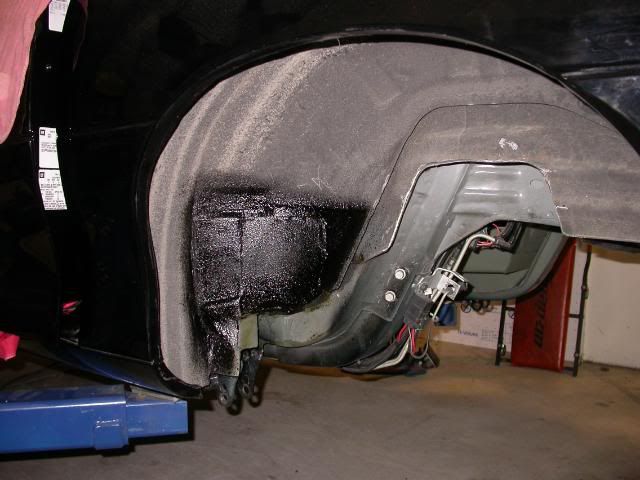
Cleaned up the welded area and sprayed with some self etching primer. once the primer dried, applied a light coat of undercoat.
I cut out the bump stop mounts and while I was in there, I was looking at the fenderwells where alot of people have to clearance front inside of the fenderwell for tire clearance. Being in the cut and weld mode, I pulled out the sawzall and went to town.
First I decided how far forward to go. Looking into the fenderwell from the side, I sighted staight back to the inner fenderwell and determaned the starting point. Tire is not going to be any farther forward than that point.
I wanted to try and follow the contour of the inner fenderwell. Decided to start cutting and made a pattern that follwed a the contour I was looking for.
Looking from the back of the car:
Side
Cleaned the seam sealer from behind the areas to be welded. The brace on the inside of car is still in place. Just cut away the bottom flange in the area of the brace where the new piece of sheetmetal was going to be added.
Cleaned up the welded area and sprayed with some self etching primer. once the primer dried, applied a light coat of undercoat.
Thread Starter
Joined: Sep 2008
Posts: 473
Likes: 12
From: Woodinville, WA.
Tunnel is done. White seam sealer came today.
Just need to paint and seam seal to be complete.

Next, will be finishing the fenderwell modification to the right side.
Just need to paint and seam seal to be complete.
Next, will be finishing the fenderwell modification to the right side.
Thread Starter
Joined: Sep 2008
Posts: 473
Likes: 12
From: Woodinville, WA.
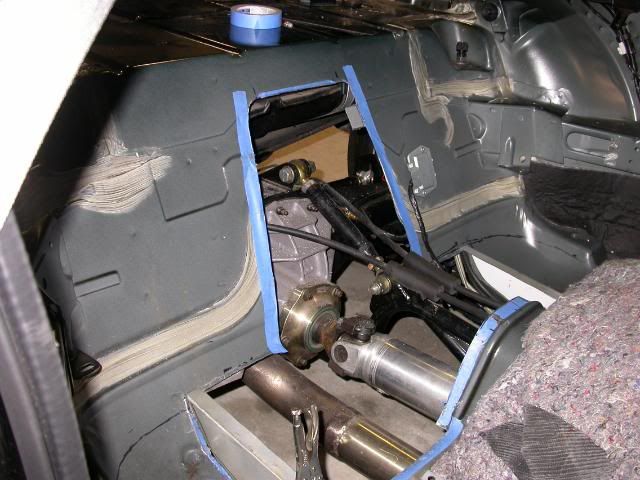
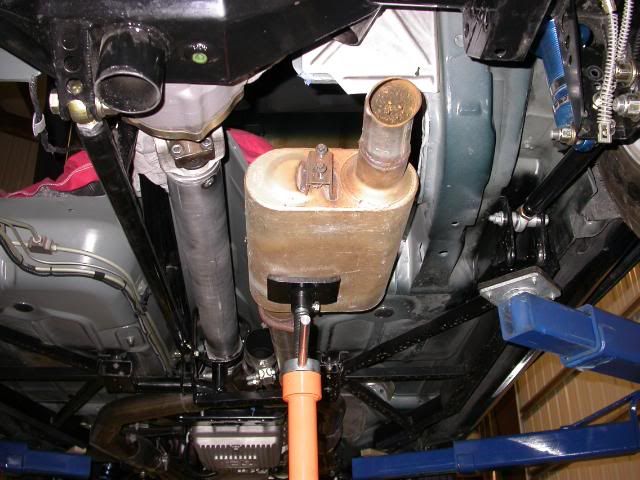
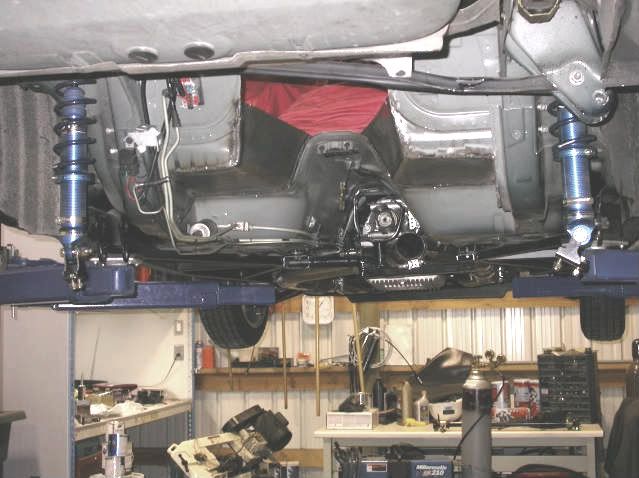
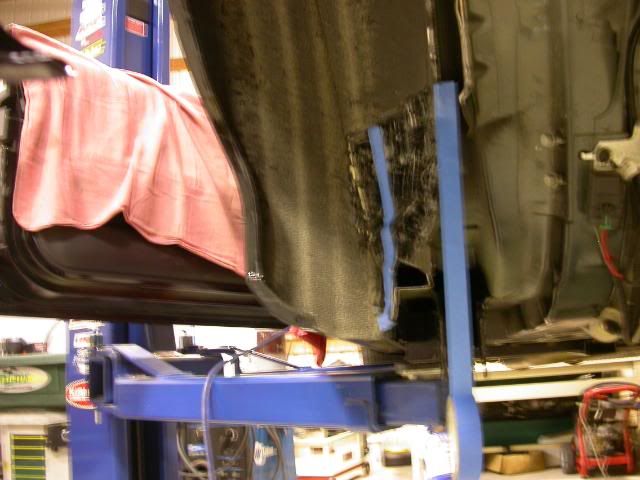
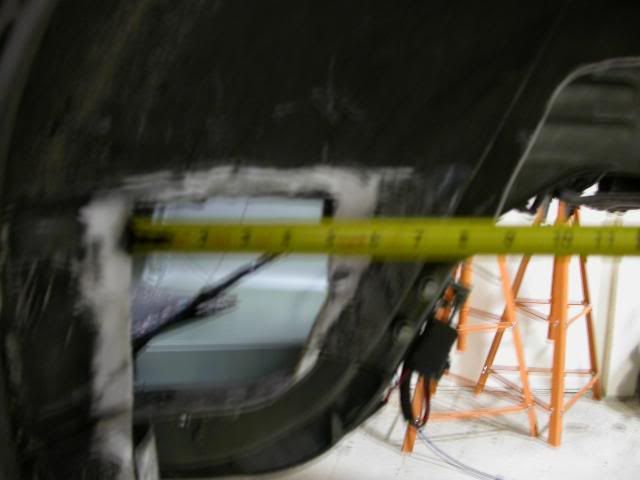
Put the rearend back in the car today to see how much more clearance I have. The car is set at an approximate ride height for the rear and the LCAs set at 19.50".
I was not able to get the torque arm level with the bottom of the the car before the modification.
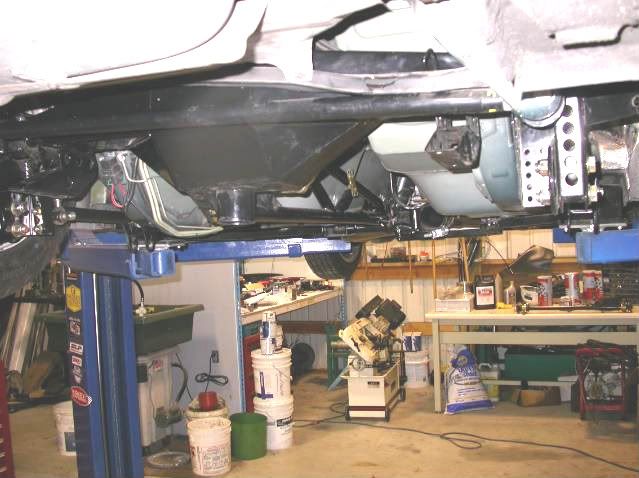
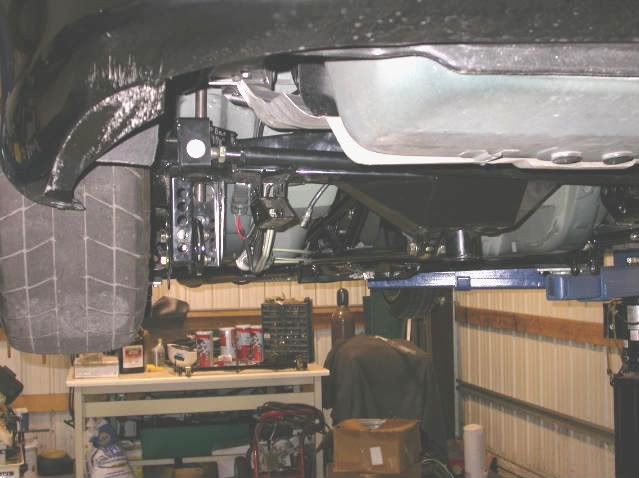
The front inner fenderwell modification for tire clearance.
I was not able to get the torque arm level with the bottom of the the car before the modification.
The front inner fenderwell modification for tire clearance.
Last edited by Heyfred; Dec 26, 2011 at 10:48 PM.