


Incon TT Master Thread (All Issues Addressed)
I installed the dual catch cans and new PCV check valve. It seems to have fixed the oiling issues. I used a 1 psi check valve from McMaster Carr. Is that the proper cracking pressure for that spot? I just don't want to have it be too restrictive.
Why do you say the catch cans are useless? I see a lot of people on here with tub setups (or power levels over about 600 rear wheel) having to run them to keep their intake clean on BOTH sides. I should be pushing well over 800 rwhp on these Stage III GT3076R turbos once I put in the bigger wastegate actuators. Better to do it right the first time than to do it over again the way I see it.
Years back it was shown the standard incon cans didn't do anything but drag on the ground 
The pcv valve is likely what cured the problem but since you changed 2 things you won't know for sure. But if the problem is resolved that's great.
The pcv valve is likely what cured the problem but since you changed 2 things you won't know for sure. But if the problem is resolved that's great.
I think you are misunderstanding what I meant by adding the catch cans. Yes, I did put the original Incon catch tanks back on the turbos and yes I did also change out the old check valve and reposition the scavenge pump bracket and yes it is hard to tell which or how many of these things actually contributed to fixing the oil buildup inside the turbos, but it does seem to be fixed non the less. What I have been talking about in my last few posts was adding catch cans to the PCV system for the motor itself. I got a check valve for it like you had suggested earlier, but with the excessive amount of oil I was seeing back in the intake after a few full throttle passes earlier on, I decided to go ahead and add the catch cans into the mix as well. I was having this issue a little before the turbo install along with some oil pressure issues so I figured it would take more than just adding a simpe check valve to totally fix the problem.
I have the LS6 valley pan going through the factory PCV valve to the top of the "dirty" side of the catch tank, then back out and through a 1 psi one-way check valve into the intake. The "clean side goes from the front nipple on the passenger side valve cover, through the tank, and back to the lower turbo intake piping. The driver side and rear passenger side valve cover nipples and TB vacuum have all been capped off. This setup should effectively keep the intake clean under high boost, full throttle blasts and also keep fresh air circulating through the system at part throttle and at idle when there is not significant boost in the turbo piping to pull vapors through. Here are some pics:
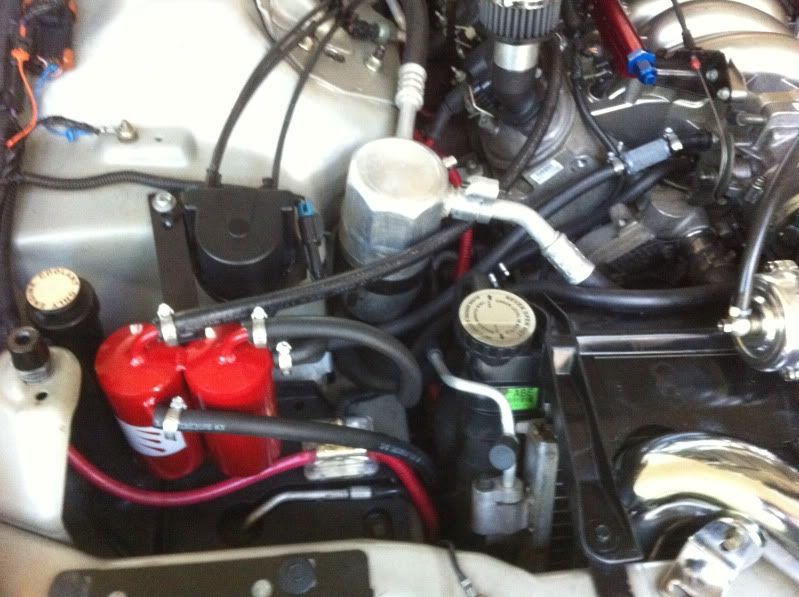
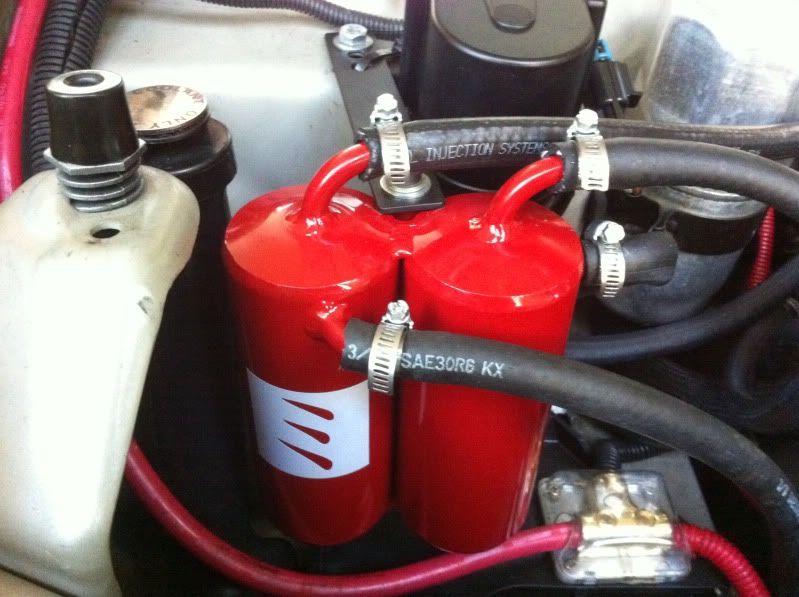
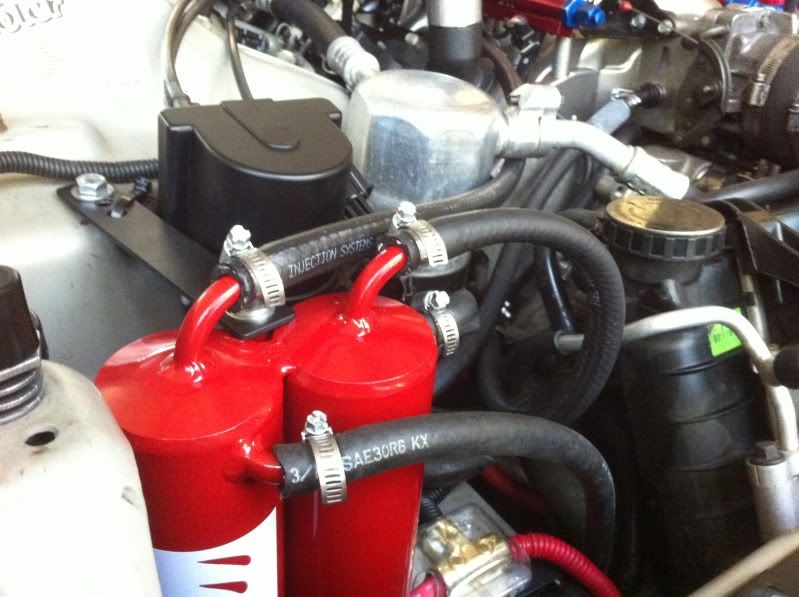
I have the LS6 valley pan going through the factory PCV valve to the top of the "dirty" side of the catch tank, then back out and through a 1 psi one-way check valve into the intake. The "clean side goes from the front nipple on the passenger side valve cover, through the tank, and back to the lower turbo intake piping. The driver side and rear passenger side valve cover nipples and TB vacuum have all been capped off. This setup should effectively keep the intake clean under high boost, full throttle blasts and also keep fresh air circulating through the system at part throttle and at idle when there is not significant boost in the turbo piping to pull vapors through. Here are some pics:
Other mods I have are a restrictor that I made by welding up the tee fitting at the check valve and drilling the weld to 0.95" (IIRC) . 60psi on the turbo at cruise can't be good when they recommend a max of 40psi for a ball bearing turbo. Also I have a check valve on the return after the scavenge pump. My return is plumbed into the front of the pan just below the harmonic balancer so it can't be a bad idea to prevent flowback when parked facing downhill. I'll try to dig up pics on that and get a part number. Also next time I do the oil I'll pull the tee and check the restriction size.
http://www.frsport.com/FRS-T3-Oil-Re...T_p_16155.html
Last edited by bluebird71; Sep 9, 2010 at 12:41 PM.
I want to move my oil return line from the side of the pan where the old level sensor was and tap into the top front. The original instructions say to put a bit of grease on the end of the drill bit and tap, but is it safe to drill into the oil pan while its still on the car? I really don't want to have to drop the whole thing if I don't need to.
LS1 Tech Stories
The Best V8 Stories One Small Block at Time

Gas Monkey Built a 6-Wheel Ferrari Testarossa With a Corvette LT4 Engine
Verdad Gallardo
7 Most Reliable High-Performance Engines GM Has Ever Built
Verdad Gallardo
Amazing '71 Camaro Restomod Is Modern Muscle Car Under the Skin
Verdad Gallardo
6 Common C5 Corvette Failures and What's Involved In Repairing Them
Pouria Savadkouei
Retro Modern Bandit Pontiac Trans AM Comes With Burt Reynolds' Autograph
Verdad Gallardo
Top 10 Greatest Cadillac V Series Performance Models Ever, Ranked
Pouria Savadkouei
Top 10 Most Powerful Chevy Trucks Ever Made!

Hennessey's New Supercharged Silverado ZR2 Has 700 HP
Verdad Gallardo
Coachbuilt N2A Anteros Is an LS2-Powered C6 Corvette In Italian Clothes
Verdad GallardoI have re-tapped a spark plug hole while the head was still on using the grease trick (another fix of a botched 'pro' install). I used plenty of grease on the tip of the die and backed it out often and replaced the grease.
Worked like a charm.
I did a search and retrieved some comments from trusted people. There are plenty more comments against this method so you should read other posts if you have any doubts:
https://ls1tech.com/forums/2295979-post6.html
https://ls1tech.com/forums/2295292-post2.html
https://ls1tech.com/forums/6156056-post3.html
Last edited by DaveSchott; Sep 13, 2010 at 06:06 PM.
Seems like the biggest issue they are concerned with is keeping the metal shavigs out of the oil pan. I figure a magnetic bit would help here as well as plenty of grease. I was wondering if I would actually have room to turn the tap with the sway bar there.

I guess I'm finally gonna go ahead and tap the front of the pan (on the car) this weekend. I have read up on it and weighed out the pros and cons and decided that given the lack of equipment I have to pretty much raise the whole engine up to remove the pan and the fact that I cant afford to pay a shop a fortune to do it right now, this is really my only option. It says to drill a 19/32" hole in the instructions. That's seems like an odd size, do they make bits that size or will I have to use a different bit and route it out a little? Also, do I need to use any kind of special bit, like a forstner, or is everyone just doing this with standard bits? Also, do most standard taps pretty much all come with NPT threads? Anyone who has done this themselves please share any knowledge of this you may have.
I was going to do it, but since it was up on a lift and I had a PA Racing K-member to put on (which doesn't work well with the passenger side turbo for the Incon kit), I decided to just pull the pan to be on the safe side. Now, I'm having trouble getting boost. I've switched actuators and springs, and I'm still only getting 4-5 lbs of boost. Why?
These are available in my local hardware store but here are the results of a couple searches. I prefer to buy this stuff at a store so can verify its exactly what is needed:
http://www.amazon.com/Quality-Speed-.../dp/B0007Q3GEY
http://www.amazon.com/High-Carbon-St.../dp/B000UE1VCM
Make sure the tpi count of the tap matches your fitting.
Drill size is always slight less than tap size so the threads can be cut. This link shows the drill bit recommended to be slightly larger, but that may have been done for a reason, like less shavings:
http://icrank.com/cgi-bin/pageman/pa...rt_npt.htm&t=2
Last edited by DaveSchott; Sep 25, 2010 at 06:56 AM.
I heard that the internal actuator flapper valves on the turbos have a bad tendency to stick when the turbos get a little older. Do you think this could be your problem? Maybe sprayin the valves with a good penetrating catalyst would help but I'm sure someone else knows more about it than me.
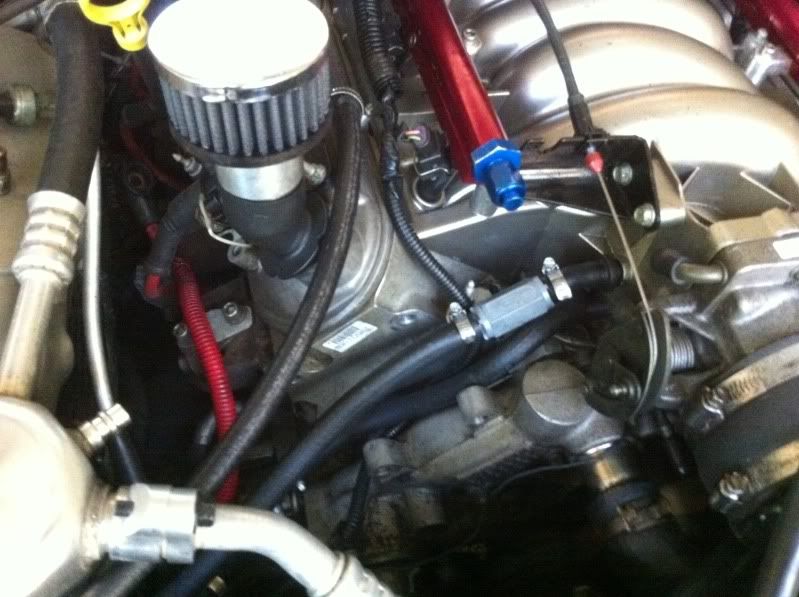
I got some bigger braided lines and a bigger Y-block for the scavenge pump and tapped the return line into the front of the pan. I also added that .65" oil restrictor right before the T-fitting on the turbo oil feed line. Here are a few pics of the scavenge setup:
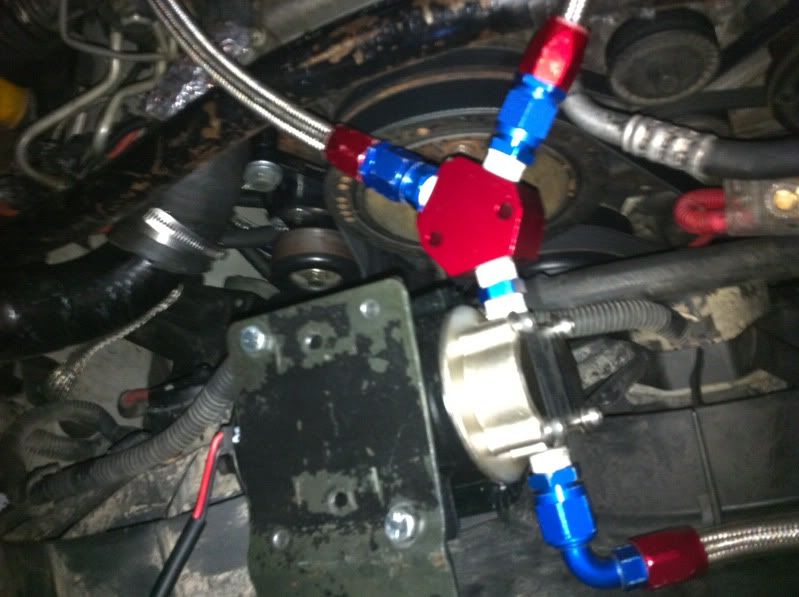
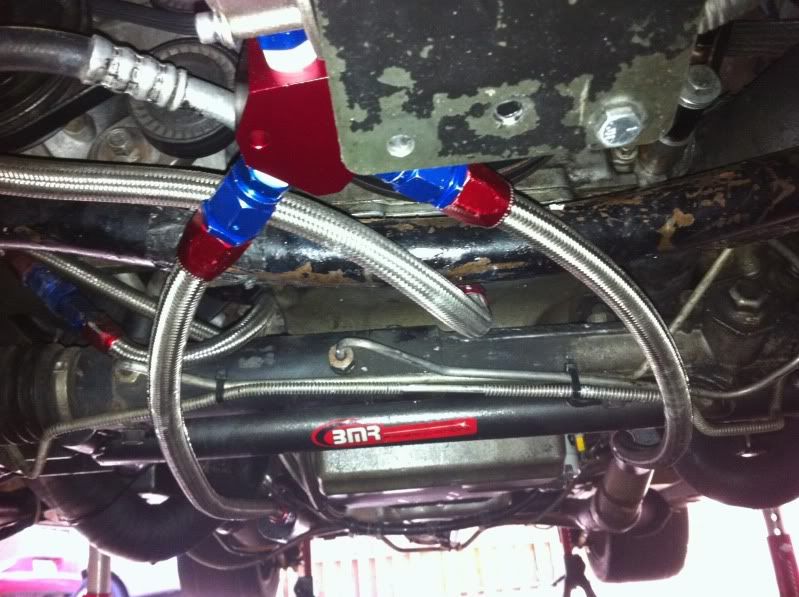
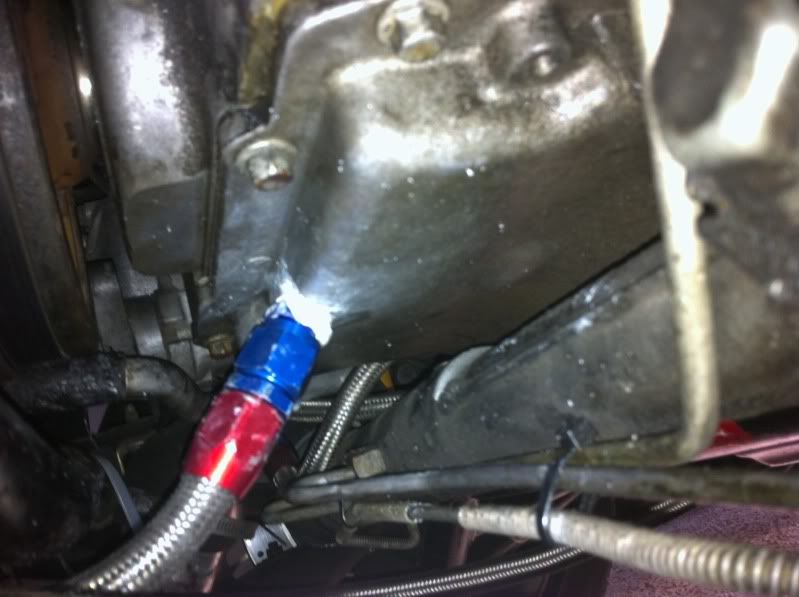
Last edited by bluebird71; Oct 12, 2010 at 09:04 AM.
Even after all this, my oil pressure is still VERY low at idle after the motor warms up and engine temps go to just over 210 and stay there. I think I need to be running something thicker then 10W30 and I may need to run an oil cooler setup as well but am afraid of what that's gonna end up costing me.


Joined: Jul 2005
Posts: 350
Likes: 2
From: Mountain Home, ID on My way to Korea!
How come you didn't tap the pan above the oil level? I'm getting ready to put my incon on here in a week or two. Just trying to get the last little bits and pieces together. As far as your oil pressure goes....thats a mystery. Have you addes the extra quart of oil?
^^^^The whole front area of the pan is above the oil level. It's very shallow right there and when I drilled through it, even with 6 quarts of oil, noting came out. That is the exact same area and angle they tell you to tap in the the original instructions. As for the low oil pressure issues, I was running 10W30 and when I drained it, even after only running it for abut a day, it dripped out like water. I switched to Mobile 1 15W50 yesterday and so far, my oil pressure is looking good even after the motor gets hot. You say to add an extra quart of oil? The original amount for an LS1 is 5.5 qrts, correct? I'm running 6 qrts now so should I go ahead and add another half qrt. as well?
Last edited by bluebird71; Oct 12, 2010 at 09:30 AM.
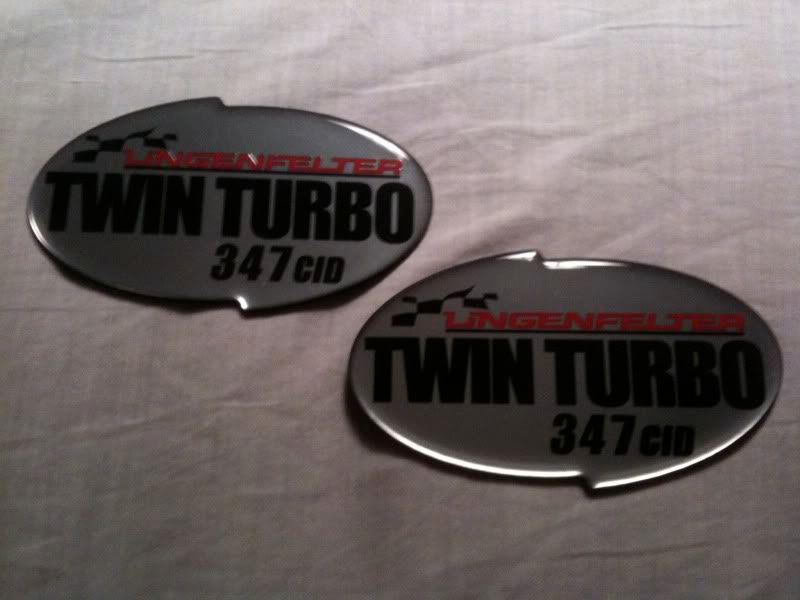
I had to end up parting my car out because I had a misfire in #8 and I had pretty much run a ground with $ on this whole turbo setup thing. Anyway, I just wanted to post up on this thread to see if any others running the Incon kit would be interested in these sweet badges I had made. As you know, the Incon kit was the kit used on the famous Lingenfelter C5 Vettes (like the one that raced the Blue Angels jet on takeoff on Car & Driver). I decided to run with that theme and after contacting Lingenfelter to see if I could buy one of their badges and getting shot down by them over and over, I went and had these made to be and exact replica of the ones on that C5 427. My motor was a bored out 346 (kinda like an LS6) so they say "347" but you get the idea. Here are some pics:
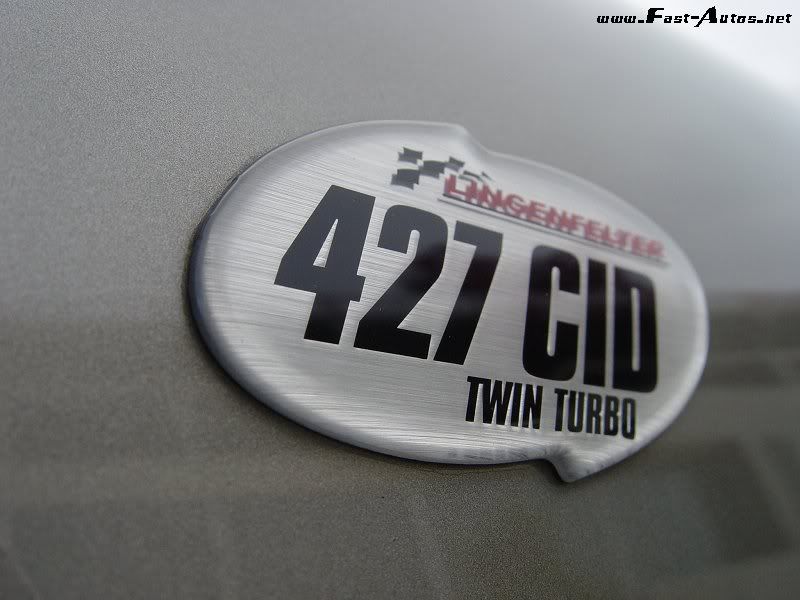
And here is a shot of the original badge off the Lingenfelter C5 that gave me the idea:

I actually think they looked better on my T/A honestly. These cost a pretty penny to have custom made and it was hard to find someone who would actually even do them. I'm asking $85 for the set if anyone is interested.
And here is a shot of the original badge off the Lingenfelter C5 that gave me the idea:
I actually think they looked better on my T/A honestly. These cost a pretty penny to have custom made and it was hard to find someone who would actually even do them. I'm asking $85 for the set if anyone is interested.