ModularTurbo/CBR F2 Twin Turbo kit install

 06-24-2012, 07:19 PM
#63
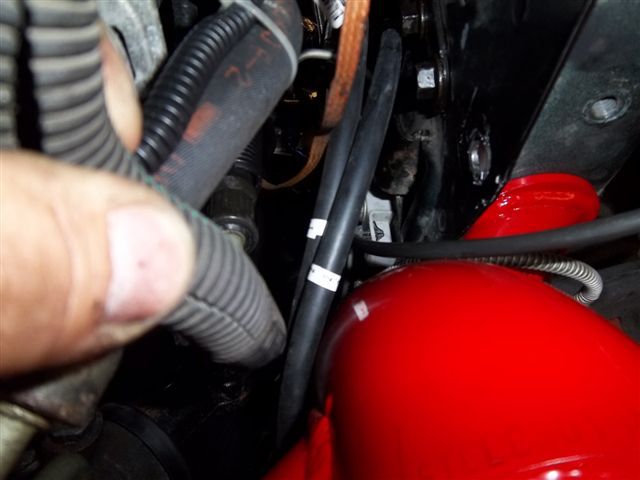
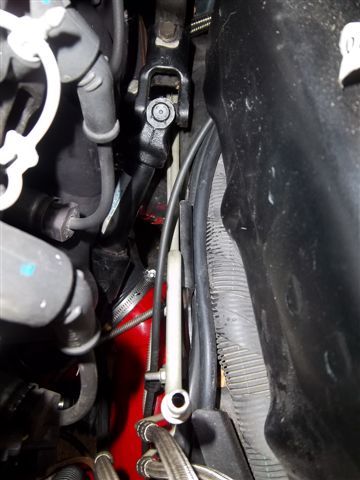
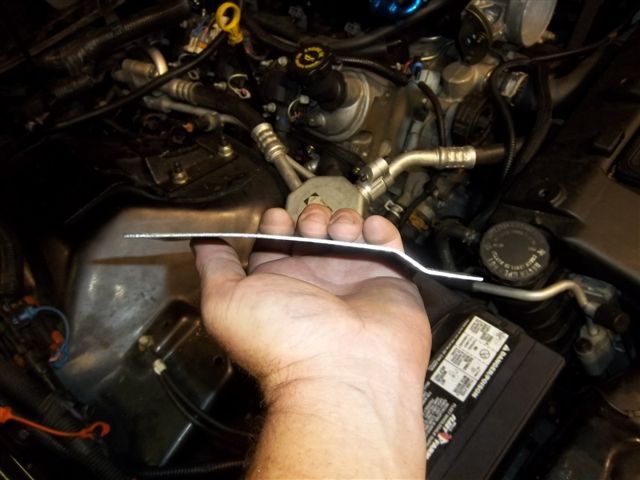
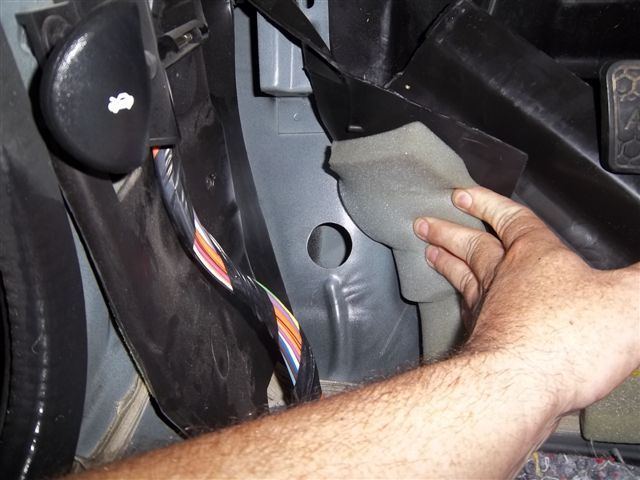
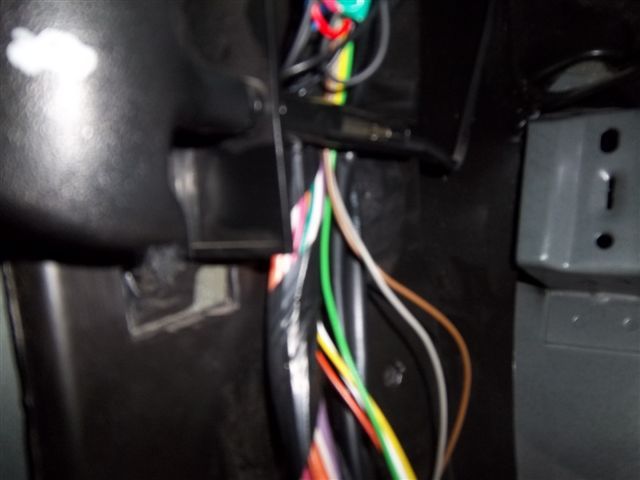
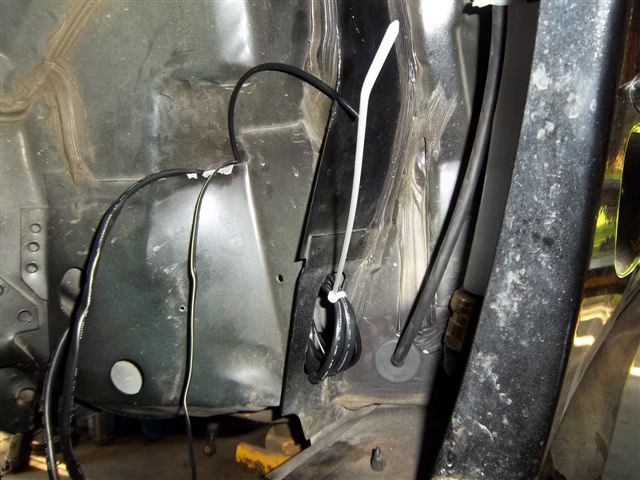
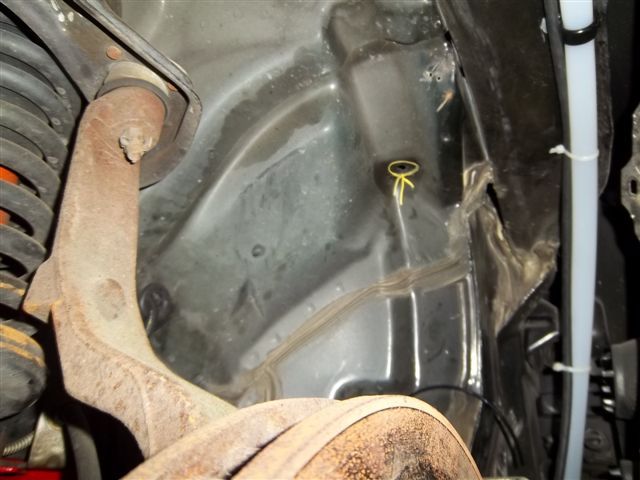
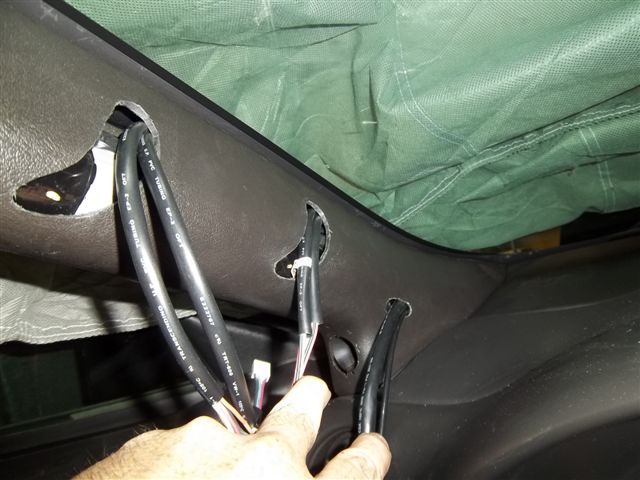
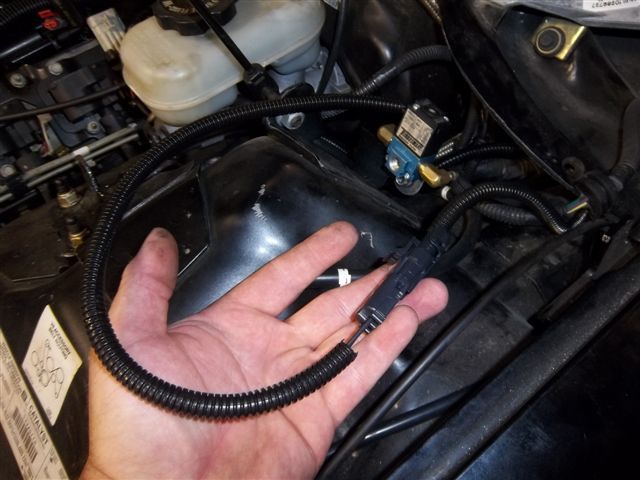
In this pic Chris has pulled the main harness out of it's holding tray.
This is done in preparation for drilling the hole in the drivers side inner.
If you don't move the harness before you drill this hole you're asking for it.
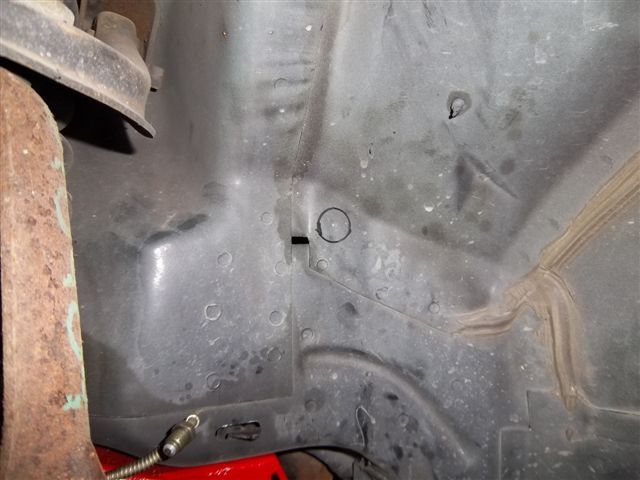
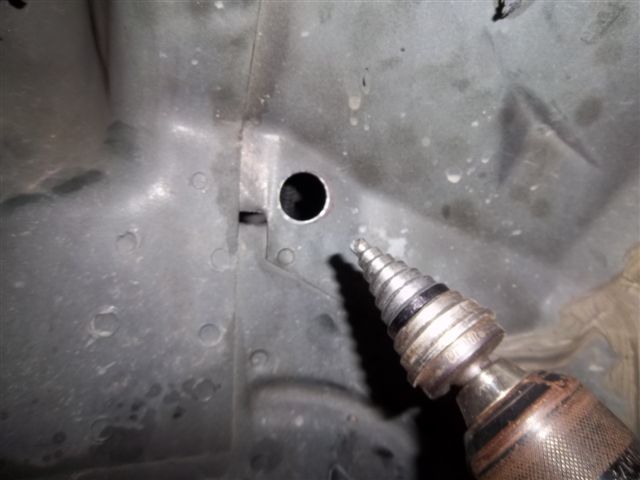
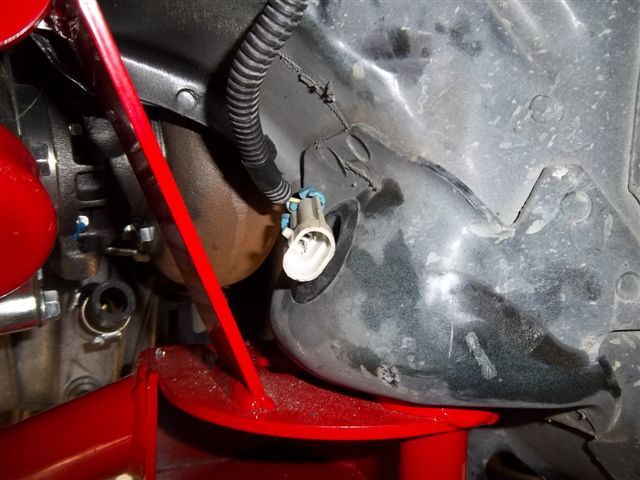
You can see that the main harness is right behind the hole that was drilled.

This is done in preparation for drilling the hole in the drivers side inner.
If you don't move the harness before you drill this hole you're asking for it.
You can see that the main harness is right behind the hole that was drilled.
Last edited by ModularTurbo; 06-26-2012 at 10:59 PM.


 06-26-2012, 04:56 PM
#68

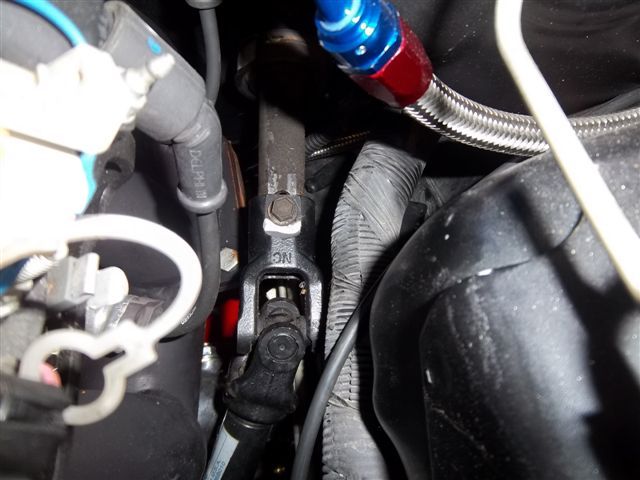
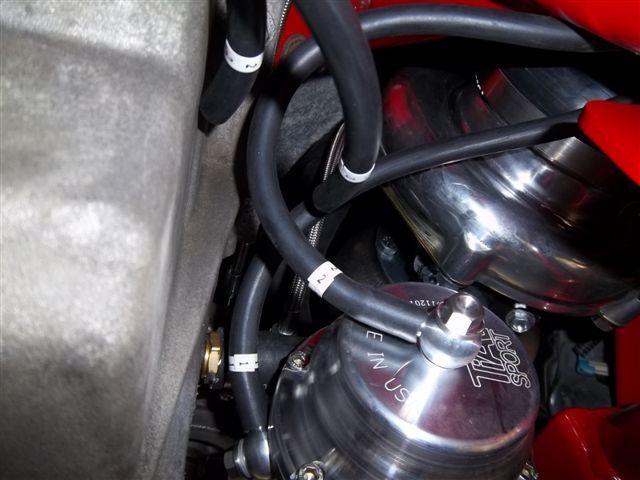
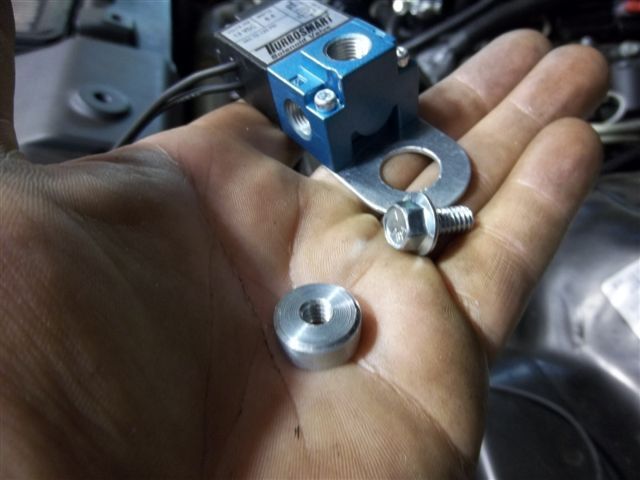
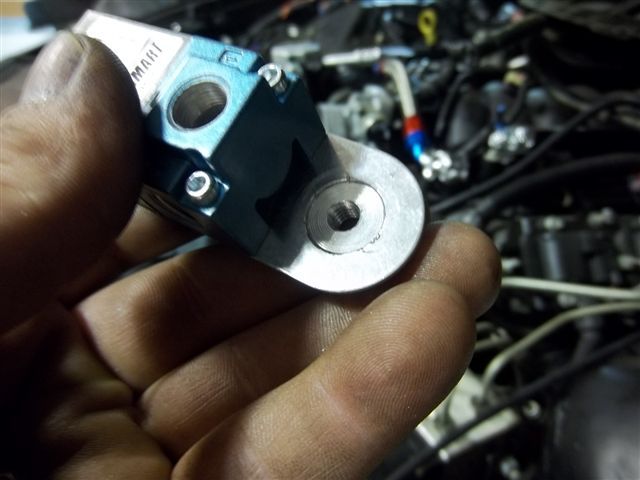
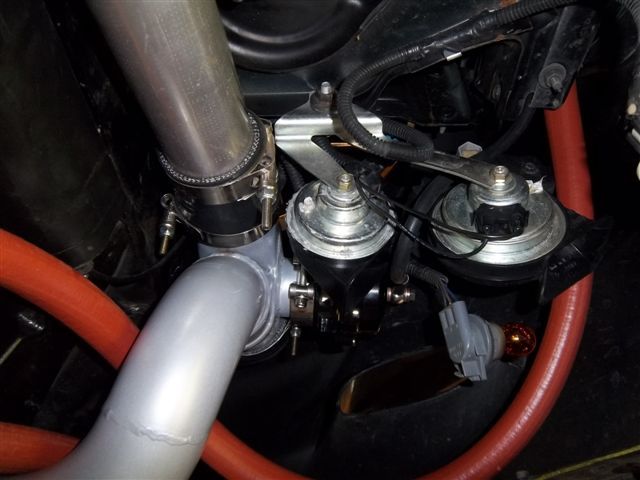
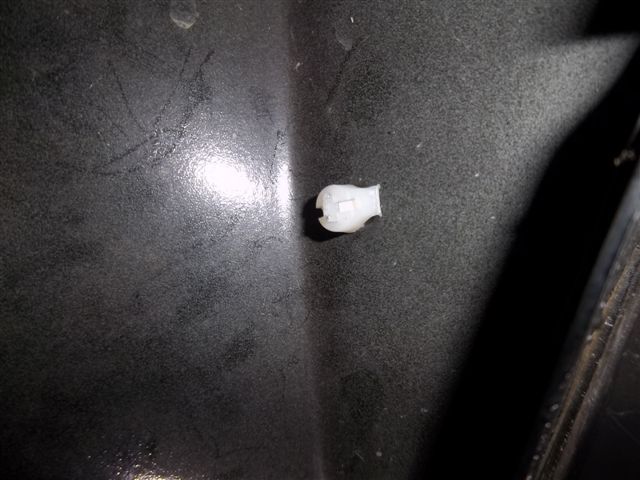
Did y'all hit the industrial parts catalog? That valve looks just like the Mac valves we use at work! Wouldn't surprise me one bit if that was a rebranded Mac valve. If it is those things are good for millions of cycles, literally! Couldn't find a much more dependable valve. Not sure what that one does LOL
 07-30-2012, 08:52 AM
#71
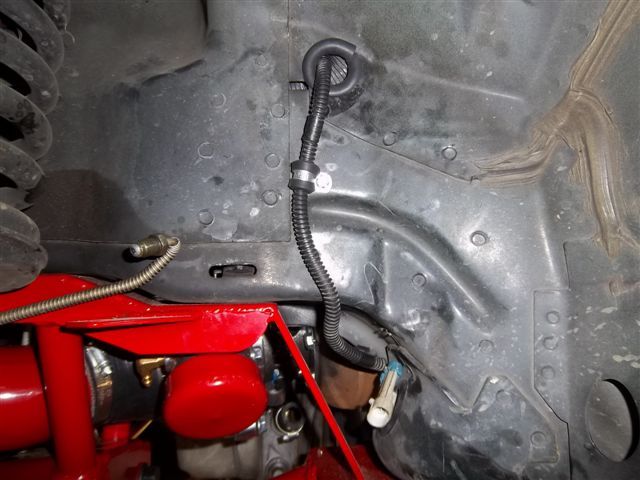
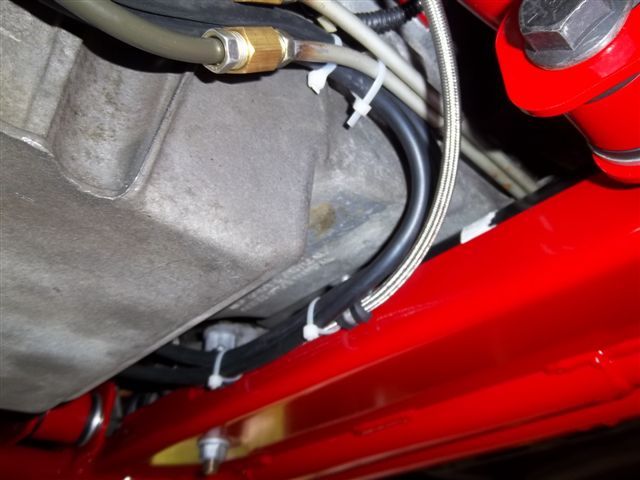
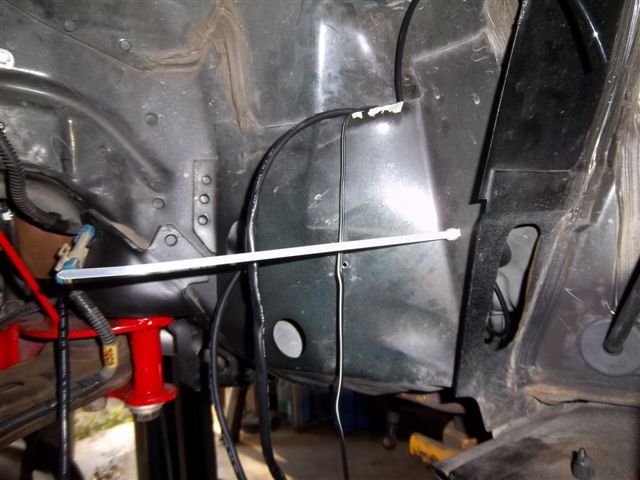
Chris fab's up a heat shield out of aluminum. It holds the harness off the header
and keeps the heat at bay. It is held in place by the same bolt that bolts the
heater hoses to the frame rail
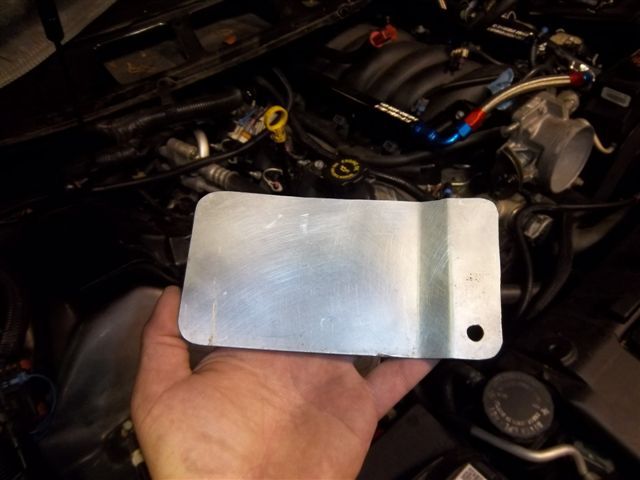
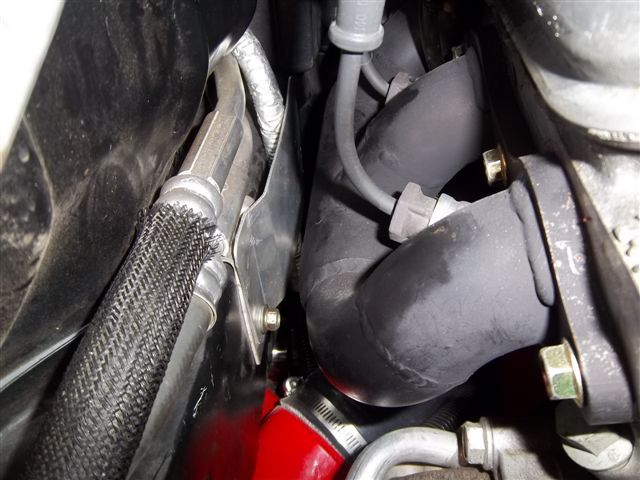

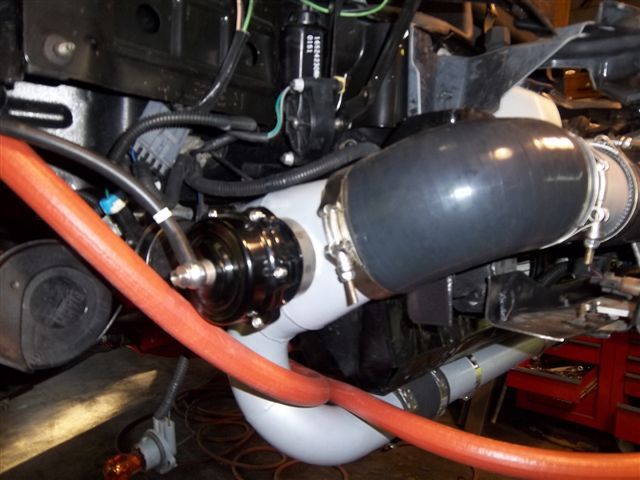
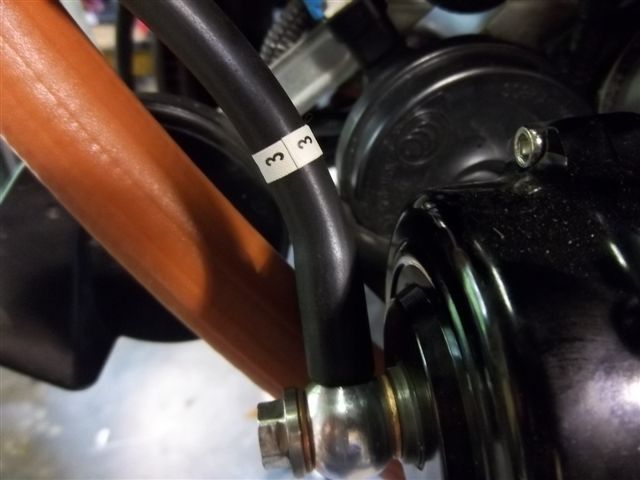
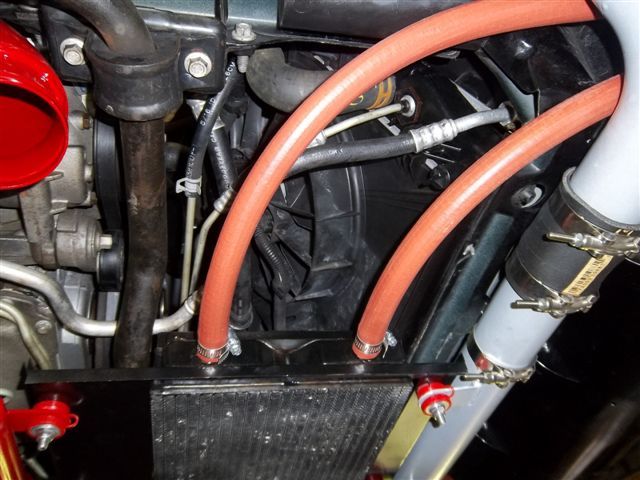
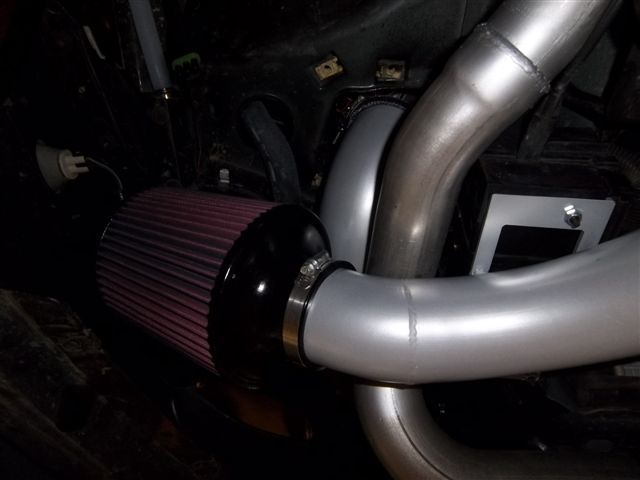
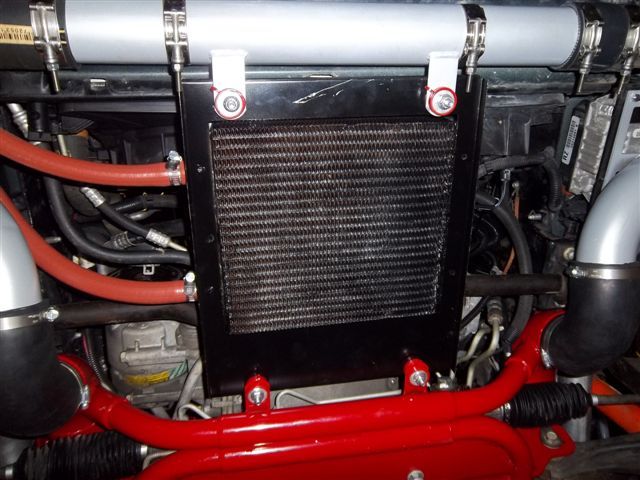
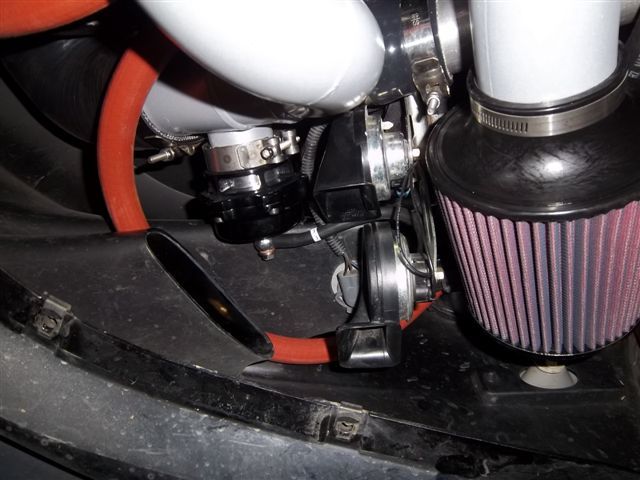
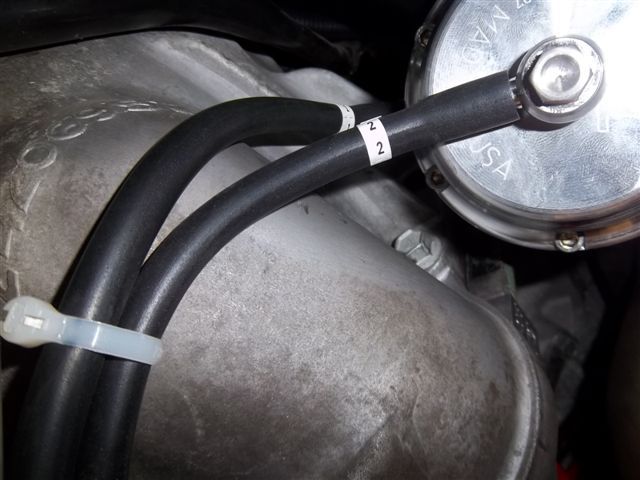
Notice the little black hose leading into the air intake tube, it's going to be part
of the crank case evac system.


and keeps the heat at bay. It is held in place by the same bolt that bolts the
heater hoses to the frame rail
Notice the little black hose leading into the air intake tube, it's going to be part
of the crank case evac system.
Last edited by ModularTurbo; 07-30-2012 at 10:28 AM.
07-30-2012, 05:17 PM
#73

Dan, you know the coolest thing about this?
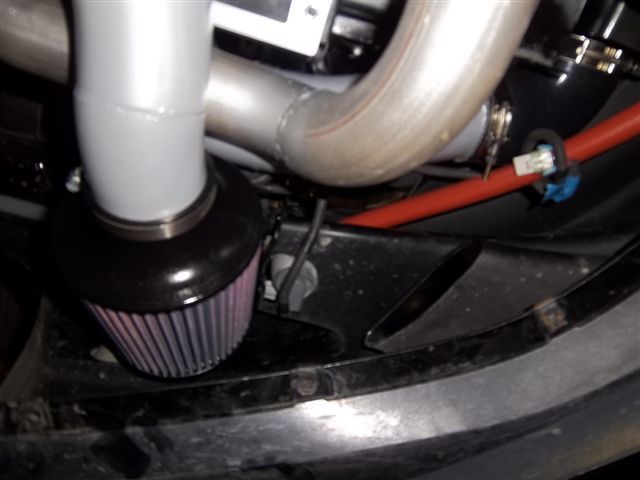
All that hard core turbo system on your car and not a sign of it under the hood!
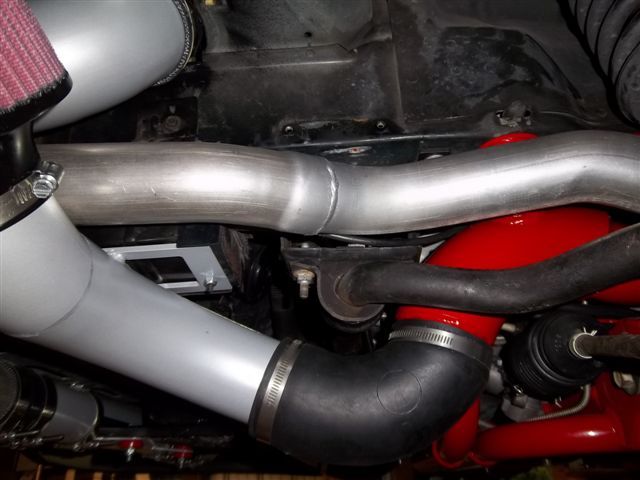
I know the charge air pipe is not in the pic's but you can pass it off as a cold air kit.
That story will hold up until you put your foot on the gas, LOL!!
All that hard core turbo system on your car and not a sign of it under the hood!
I know the charge air pipe is not in the pic's but you can pass it off as a cold air kit.
That story will hold up until you put your foot on the gas, LOL!!
07-31-2012, 06:40 PM
#74
Staging Lane
Join Date: Dec 2011
Location: Stevens Point, WI
Posts: 56
Likes: 0
Received 0 Likes
on
0 Posts
Definetly going to have that sleeper look and sound until you step on it lol. I cant wait to get it back and take it for a spin. You know the funniest thing is i'll probably tell people the exact same thing that the pipe you see is a cold air kit lol.
08-16-2012, 09:37 PM
#75
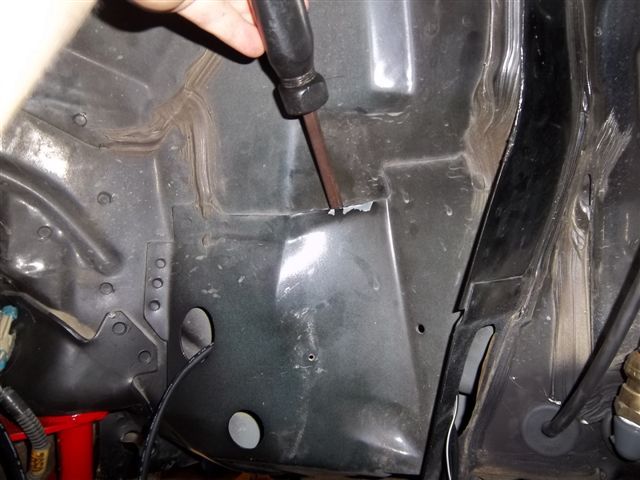
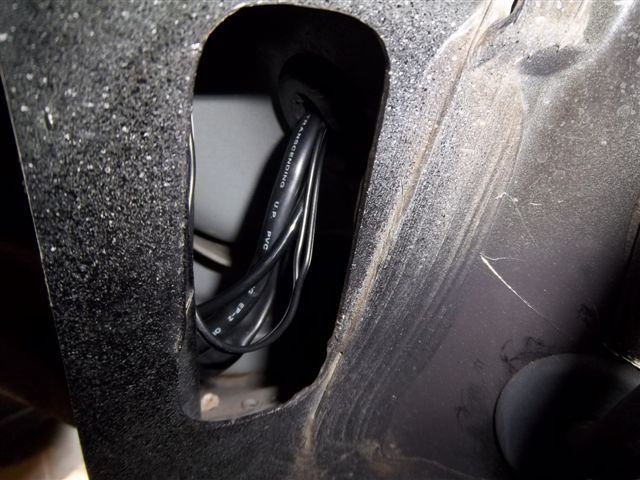
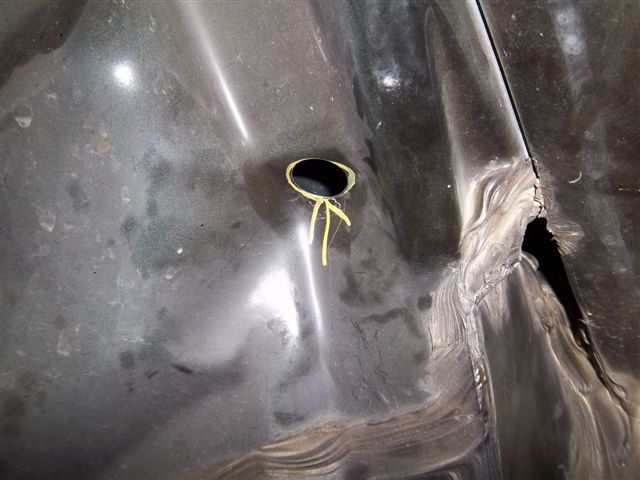
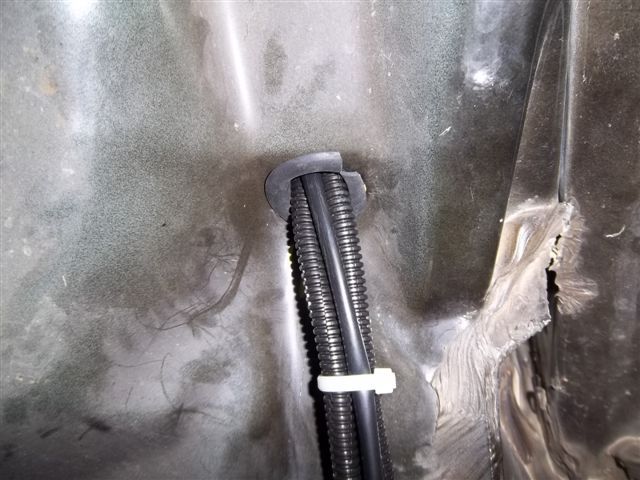
We found a slick place to run the wiring for the gauges.
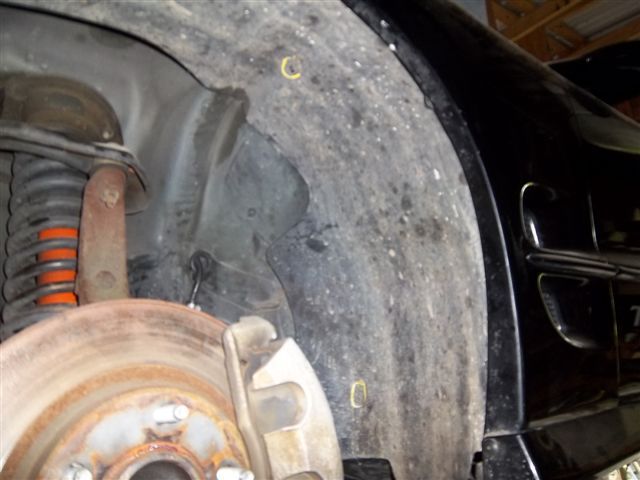
This is behind the drivers side inner fender splash shield.
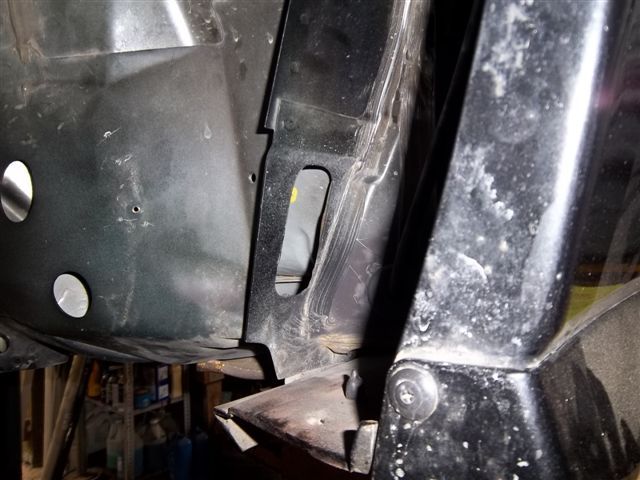
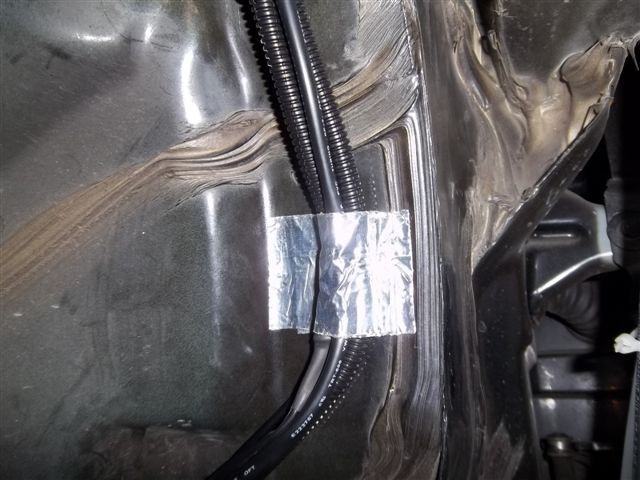
Notice that the hole is placed just above the bead roll rim in the floor pan.
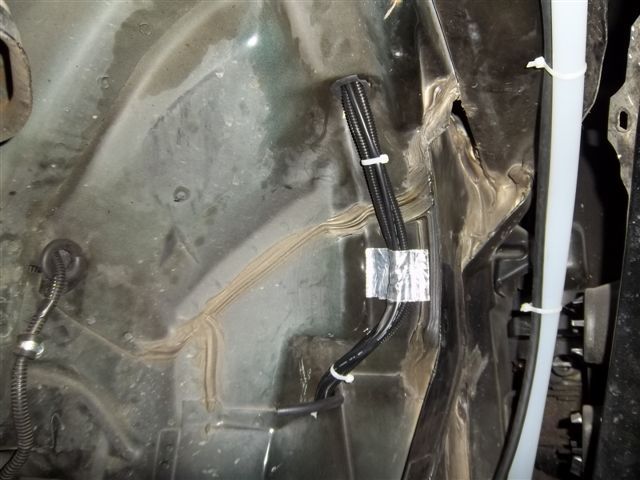
All the wires are tucked behind the hood release cable along side the stock harness.
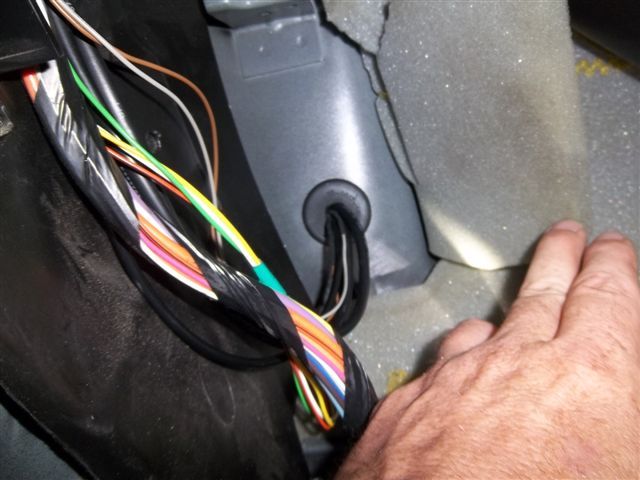
There is a nice little pocket to run wires threw, we pried it back just a little to make
room for the large wide band O2 plug
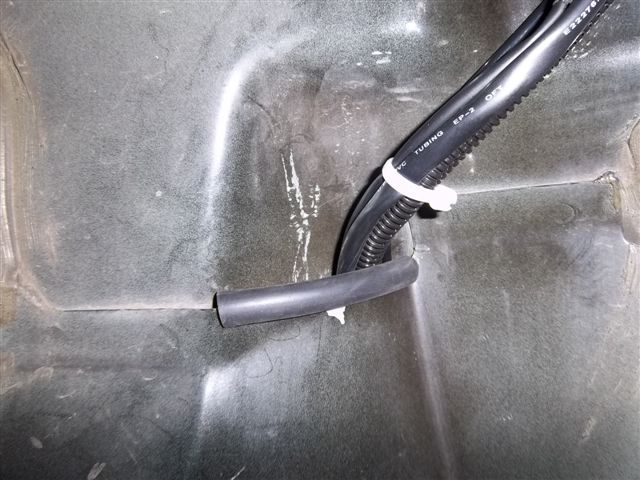
After all the wires are pulled thru we placed a zip tie on them leaving enough slack
for a "drip loop" so water can't chase the wire back into the car.
We pull the zip tie thru a hole that is all ready there and use it to secure the harness.
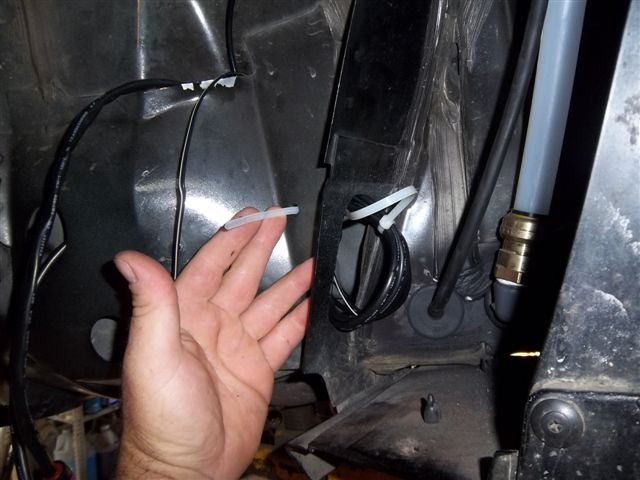
The buckle from another tie is use to make a strain relief for the harness.
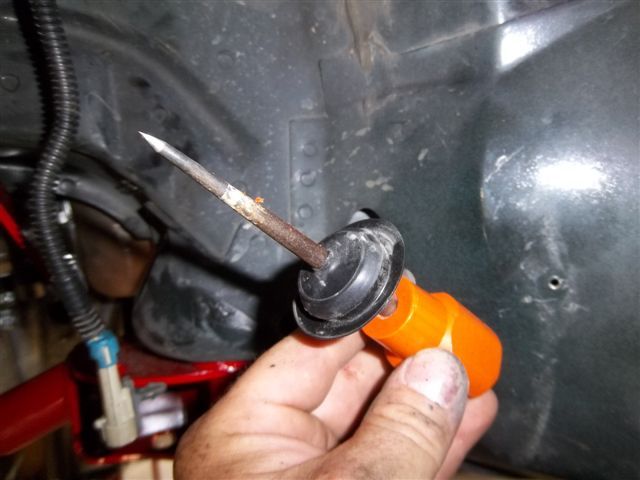
There is a hole here that we enlarged.
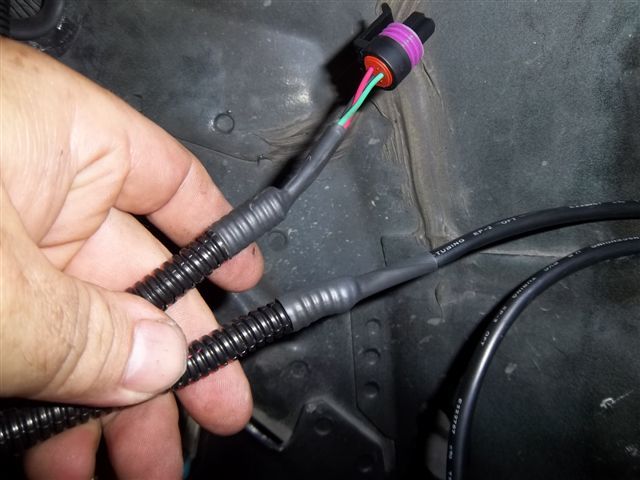
Fuel pressure gauge wires needed extending.
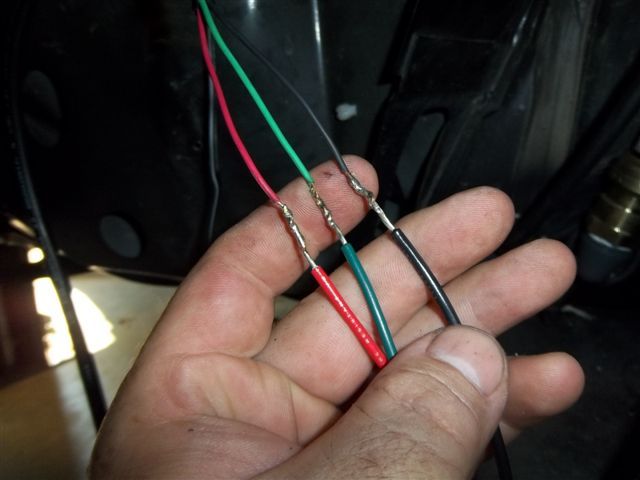
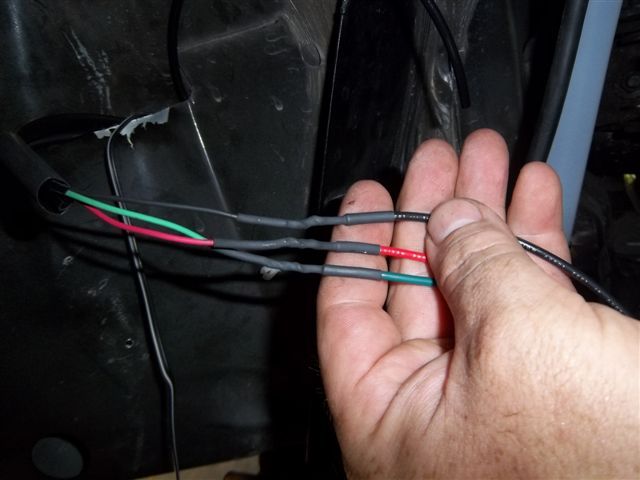
Fuel Pressure gauge harness after we loomed it up.
Splash shield installed.
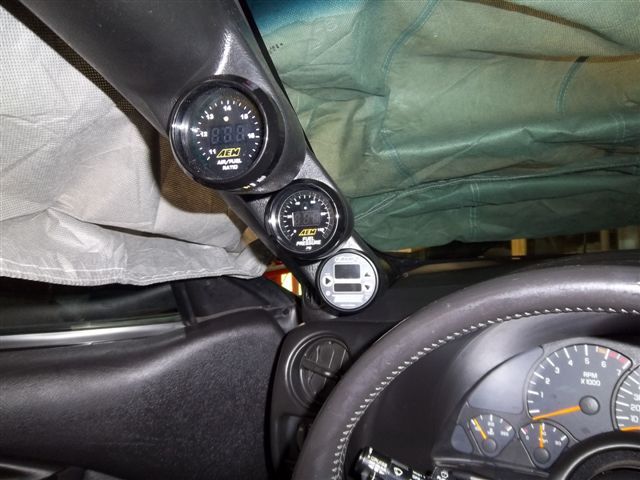
The pillar gauge mount needed a little massaging to get the E-Boost2
to fit.
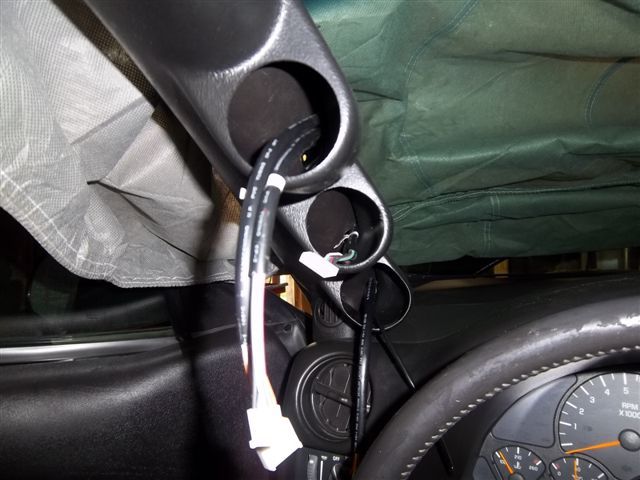
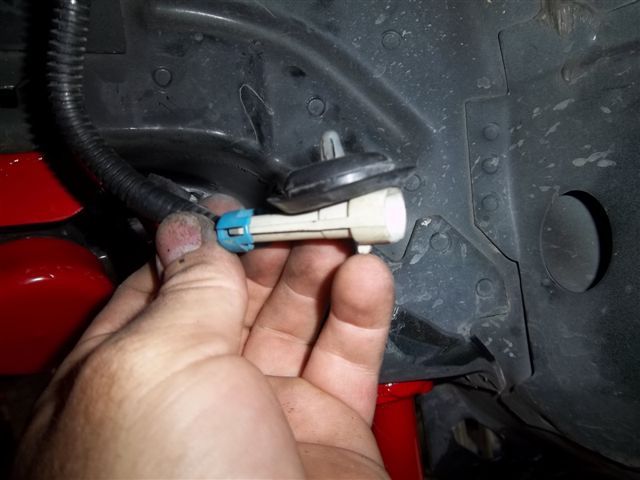
Chris put a weather pack connector on the boost controller solenoid.
This is behind the drivers side inner fender splash shield.
Notice that the hole is placed just above the bead roll rim in the floor pan.
All the wires are tucked behind the hood release cable along side the stock harness.
There is a nice little pocket to run wires threw, we pried it back just a little to make
room for the large wide band O2 plug
After all the wires are pulled thru we placed a zip tie on them leaving enough slack
for a "drip loop" so water can't chase the wire back into the car.
We pull the zip tie thru a hole that is all ready there and use it to secure the harness.
The buckle from another tie is use to make a strain relief for the harness.
There is a hole here that we enlarged.
Fuel pressure gauge wires needed extending.
Fuel Pressure gauge harness after we loomed it up.
Splash shield installed.
The pillar gauge mount needed a little massaging to get the E-Boost2
to fit.
Chris put a weather pack connector on the boost controller solenoid.
Last edited by ModularTurbo; 08-18-2012 at 05:22 PM.
The following users liked this post:
Ted Kay (07-12-2020)
 08-17-2012, 12:37 AM
#77
Staging Lane
Join Date: Dec 2011
Location: Stevens Point, WI
Posts: 56
Likes: 0
Received 0 Likes
on
0 Posts
The gauge wiring coming out of the firewall looks like a nice factory look.. i like how your taking good care of the car i see a car cover and all.. i never see that at any other performance shop.. that tells alot about ppl when they take that good of a car.. those gauges look awesome.. nice touch with the weather pack connectors..
 08-19-2012, 09:45 AM
#80
If you take your time and go over every detail and put 8-10 hours a week into it,
it will take about 4-6 weeks.
The details it what makes this kit.
You will put in the time in one way or another.
You can do on the install of you can let it bite you and fix it then.
Making power is easy, living with it in a street car is the hard part.
The details allows us to live with it.
it will take about 4-6 weeks.
The details it what makes this kit.
You will put in the time in one way or another.
You can do on the install of you can let it bite you and fix it then.
Making power is easy, living with it in a street car is the hard part.
The details allows us to live with it.