lq4 s10 + twin 70's
 02-12-2013, 09:22 PM
#181
I called a Cummins dealer today and they have some 3" in stock. The company i bought then from refunded me the money so I'm ok. but that just set me off because i hate when i plan to get things done and stupid little things hold me back. I'm going to finish up the exhaust by Friday and then I'll have sinew pics up.
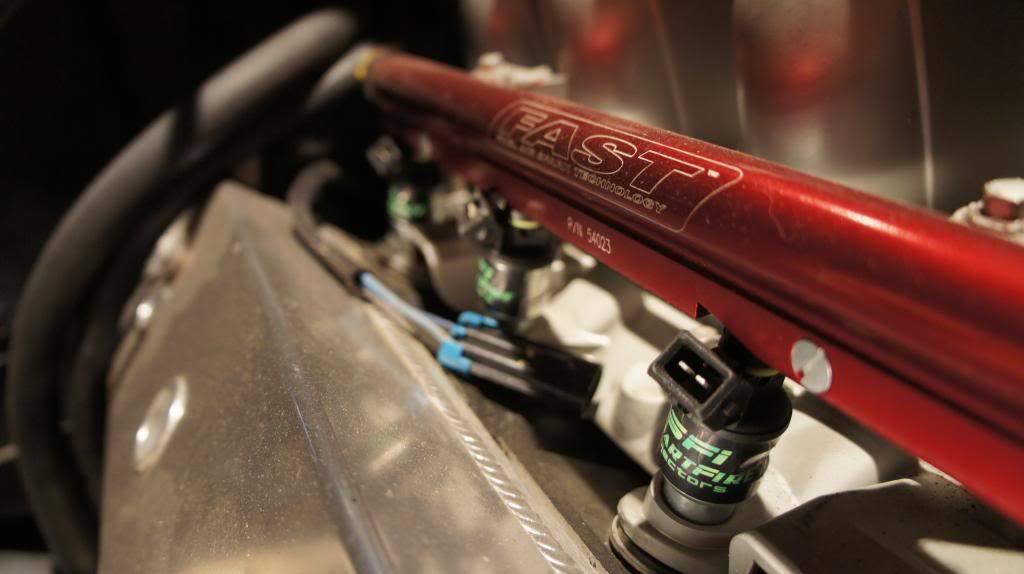
Wicked, which rails do you have? I have fast rails and need to make some brackets to work with the pro flo. You should post some pics up in my thread
Wicked, which rails do you have? I have fast rails and need to make some brackets to work with the pro flo. You should post some pics up in my thread
 02-14-2013, 10:31 PM
#183
TECH Fanatic

Join Date: Oct 2011
Posts: 1,425
Likes: 0
Received 0 Likes
on
0 Posts
I have the edelbrock fuel rails that go with the manifold. I had the rails (edelbrock) that went with the Vic Jr. and tried to make my own brackets and couldn't get them to NOT leak. Finally got the correct rails and brackets and the bitch still leaked. I had to tweak their brackets and drill holes a 1/4" below theres. Very irritating, but I finally got it to stop leaking.
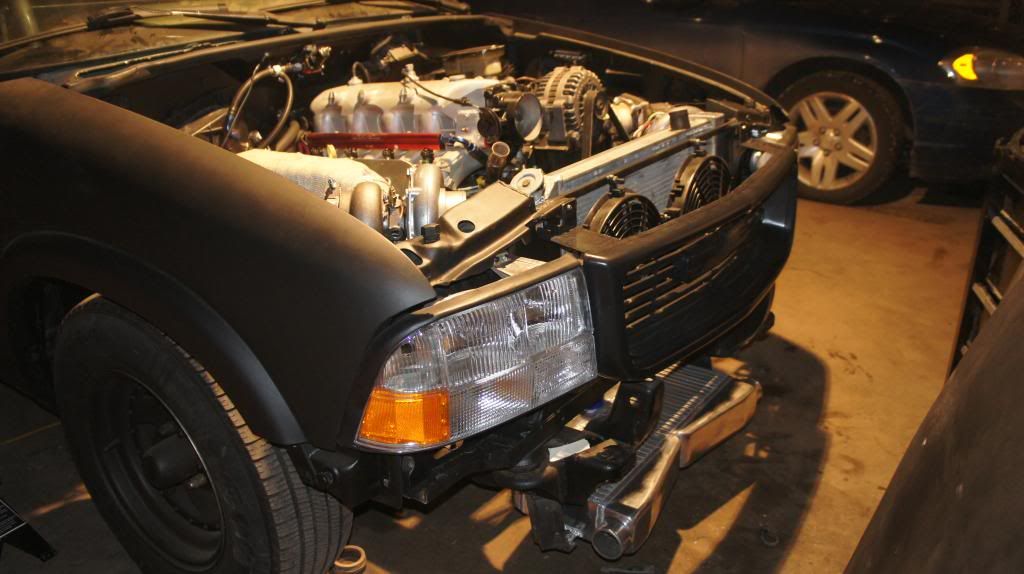
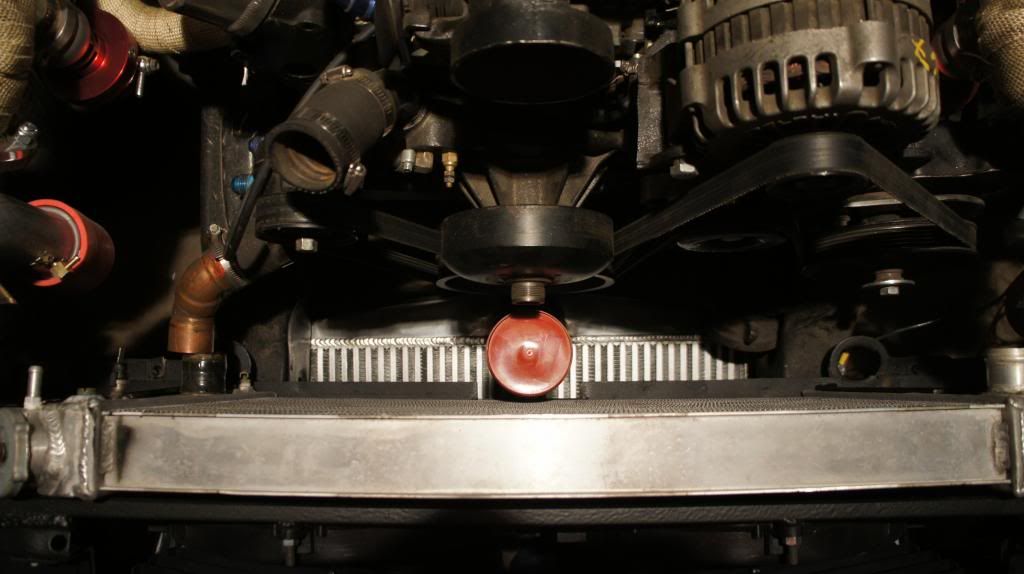
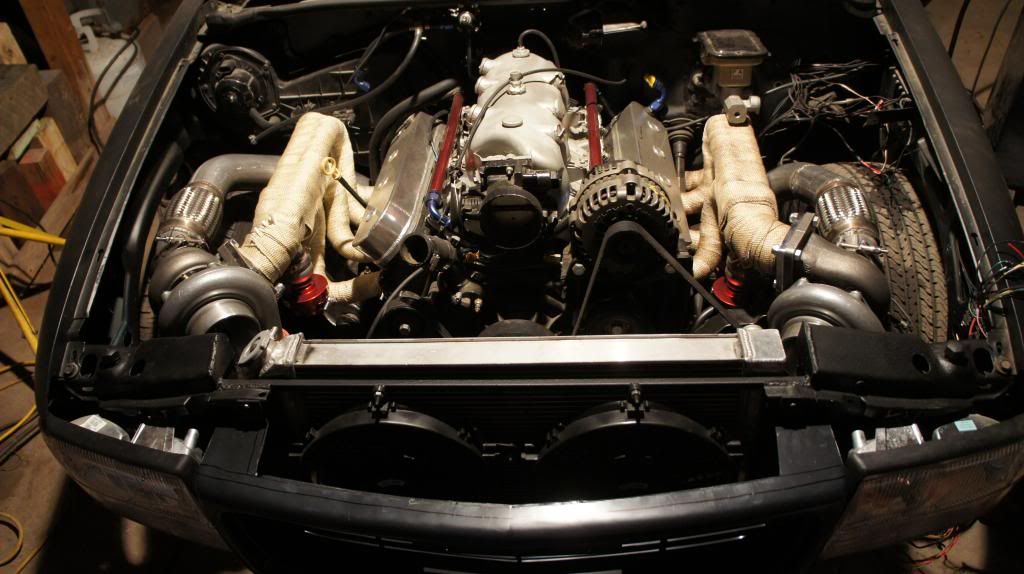
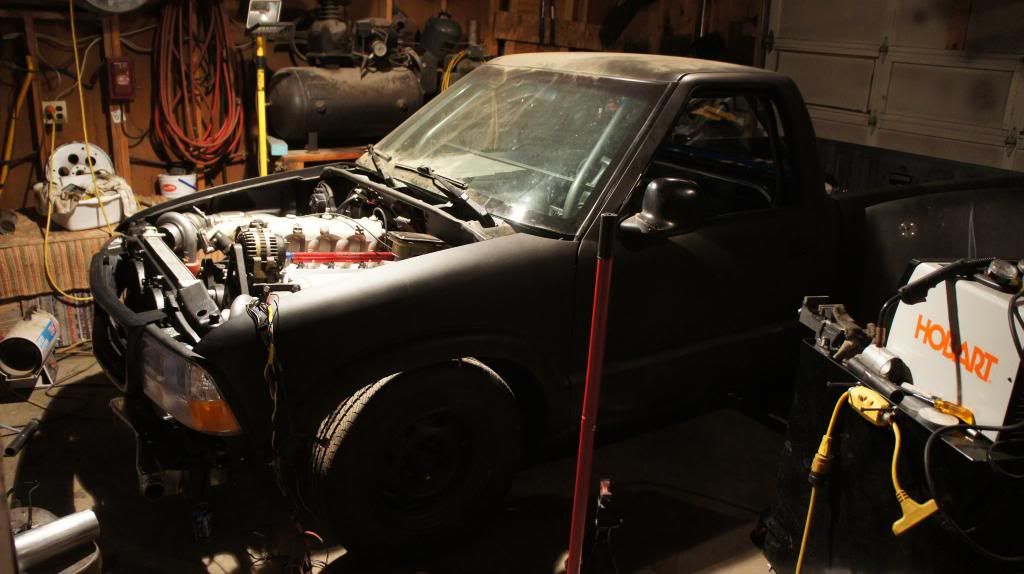
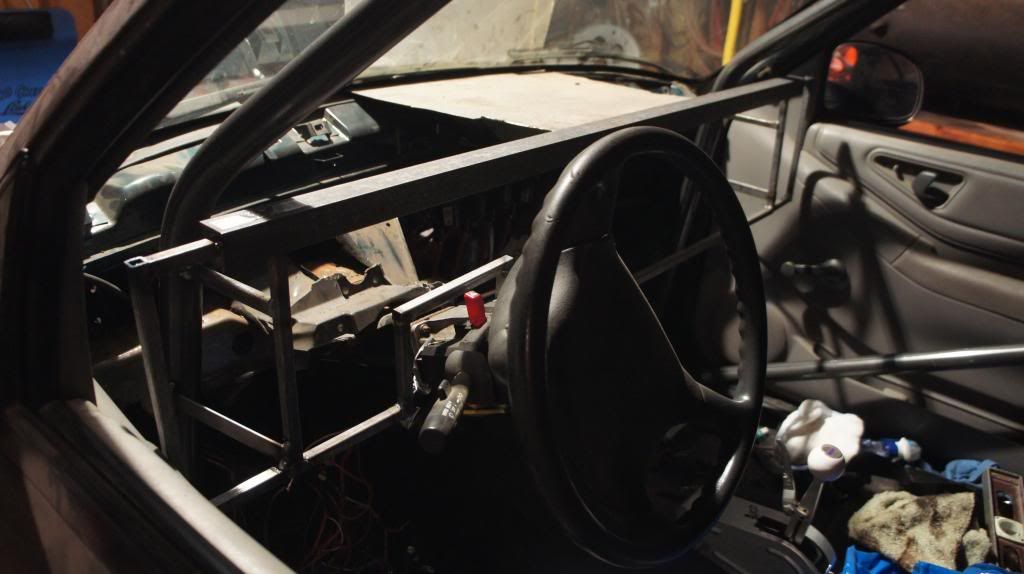
Here is a picture of my engine bay. I finally got it all done and cleaned up.
Here is a picture of my engine bay. I finally got it all done and cleaned up.
02-14-2013, 10:34 PM
#184
Teching In
Join Date: Dec 2012
Location: ohio
Posts: 29
Likes: 0
Received 0 Likes
on
0 Posts
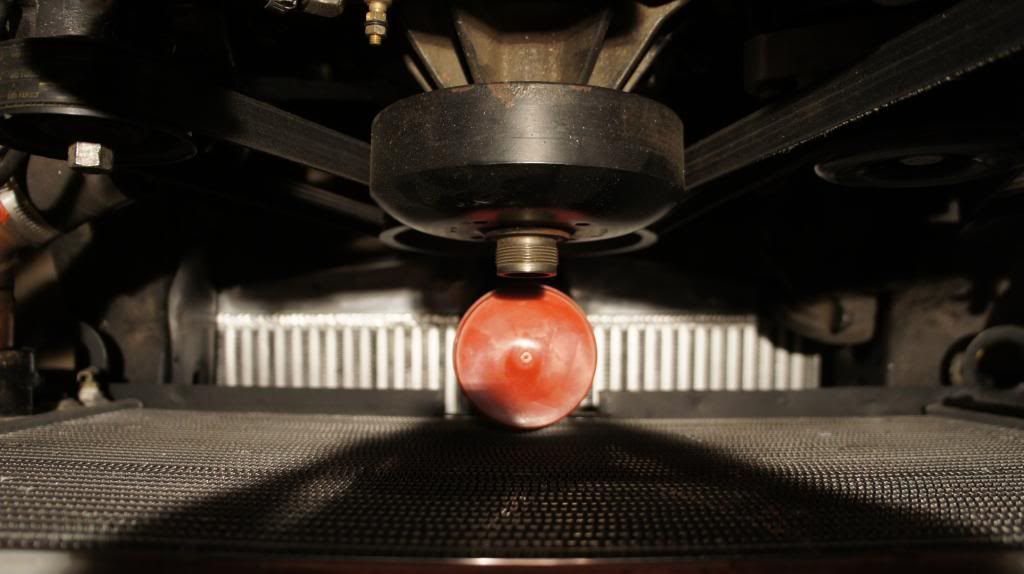
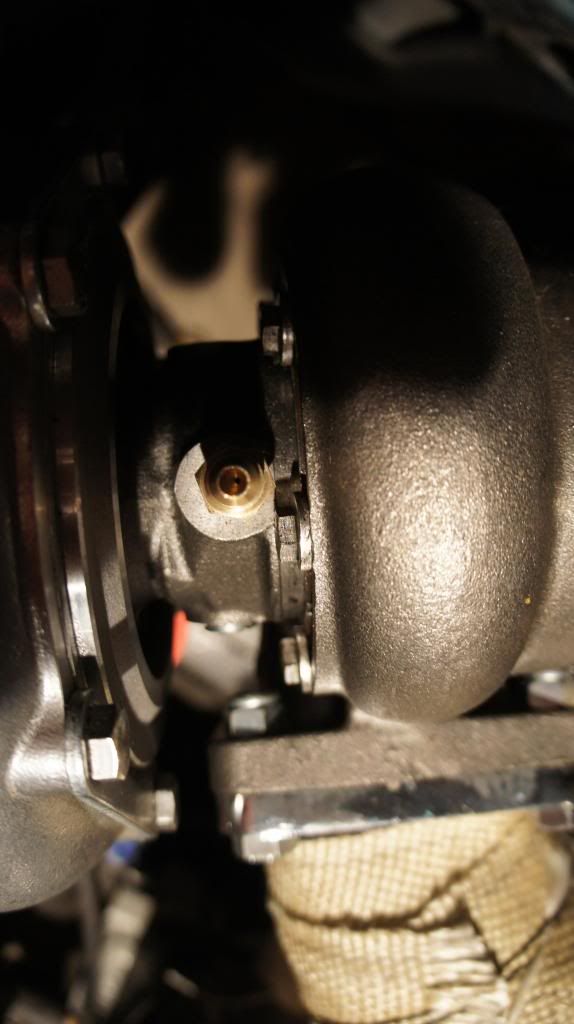
not sure if your havin any problems with this but in case u cant figure it out and its kickin yr a$$ your map sensor should be mounted with the pressure port facing downward with no more than a 15 degree angle from verticle. o and by the way those headers look incredible. very nice especially for a first header build.
02-14-2013, 11:24 PM
#185
TECH Fanatic
Join Date: Oct 2011
Posts: 1,425
Likes: 0
Received 0 Likes
on
0 Posts
not sure if your havin any problems with this but in case u cant figure it out and its kickin yr a$$ your map sensor should be mounted with the pressure port facing downward with no more than a 15 degree angle from verticle. o and by the way those headers look incredible. very nice especially for a first header build.
02-16-2013, 07:36 PM
#188
Teching In
Join Date: Dec 2012
Location: ohio
Posts: 29
Likes: 0
Received 0 Likes
on
0 Posts
the sensing mechanism must be able to travel in a smooth fashion. They are calibrated with a set amount of force to represent a given pressure. If there is friction due to gravity holding the mechanism against the body it can cause slow or even faulty readings. .
.
my bad apparently it is 30 degrees and not 15.
I work as a tech at a power plant, and you would be amazed at the diff. you see in the way a transmitter is mounted in relation to the readings given. ALso the smaller the scale the larger the diff. This is why when we bench calibrate them we always mount them perfectly verticle to get good repeatable results.
Hope this helps
02-16-2013, 10:15 PM
#192
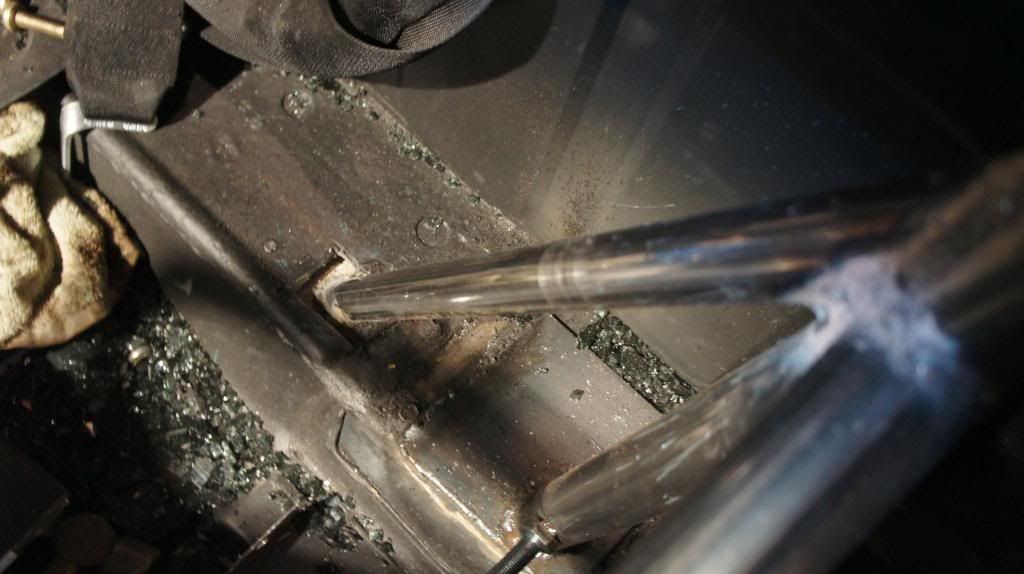
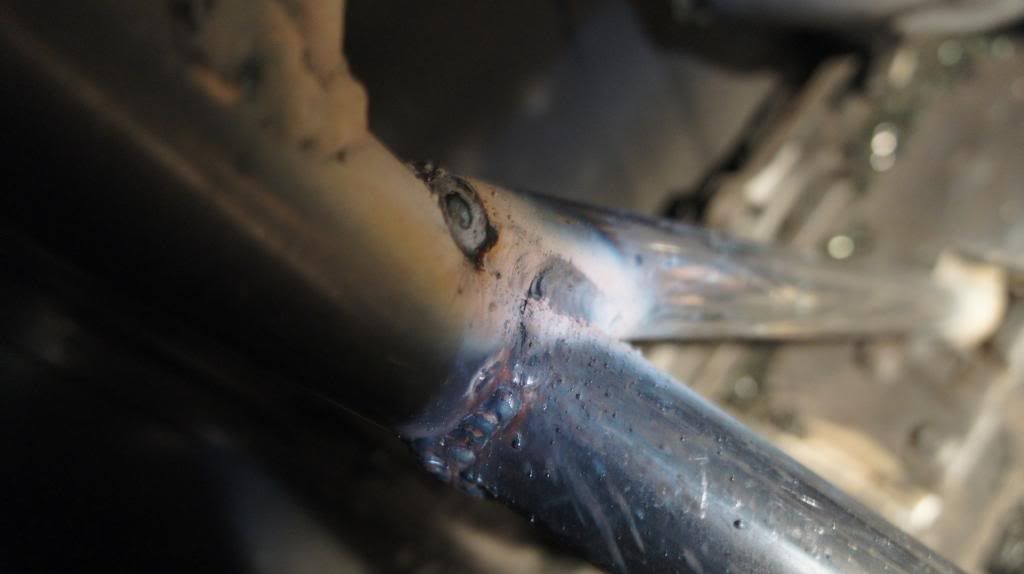
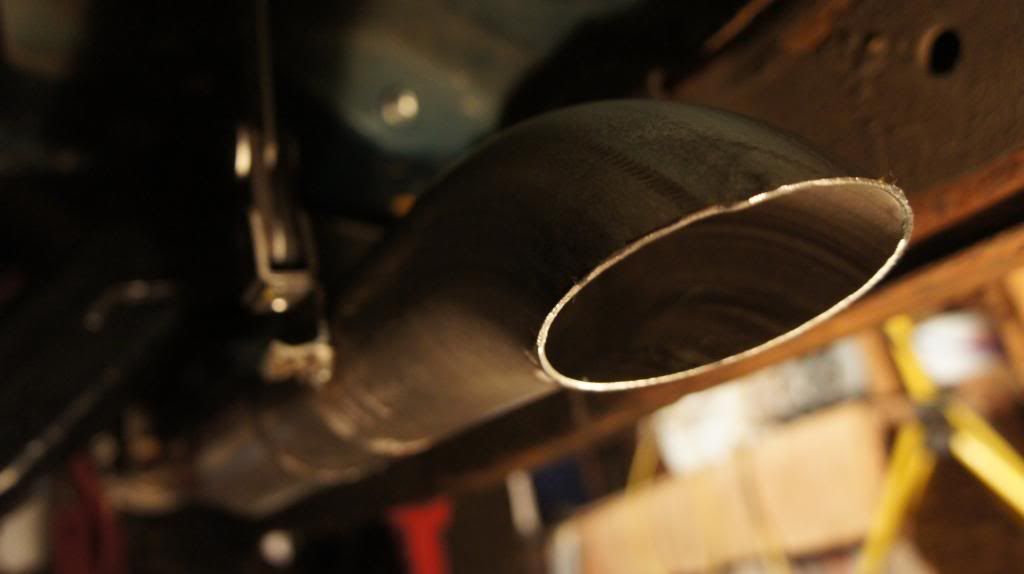
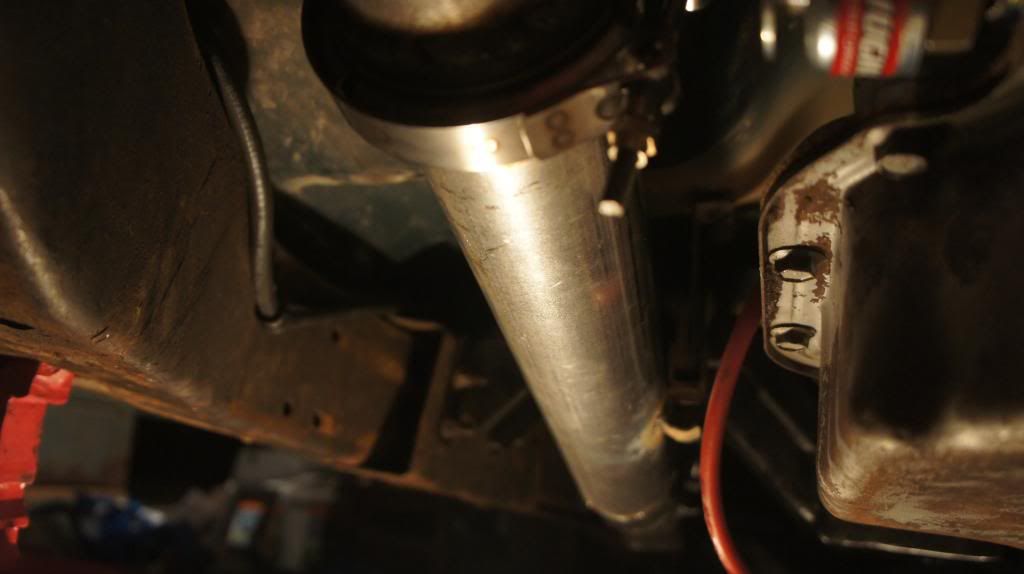
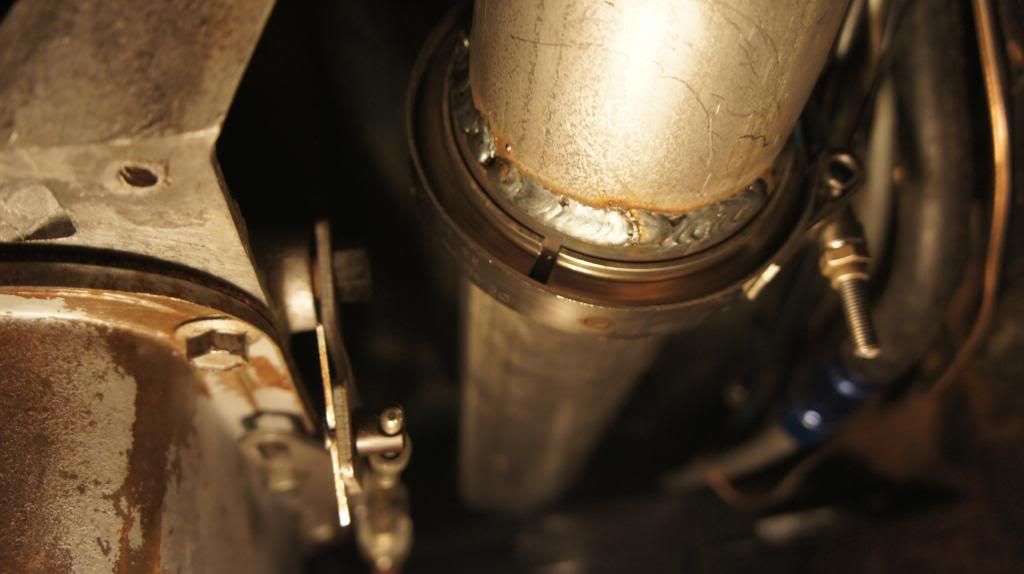
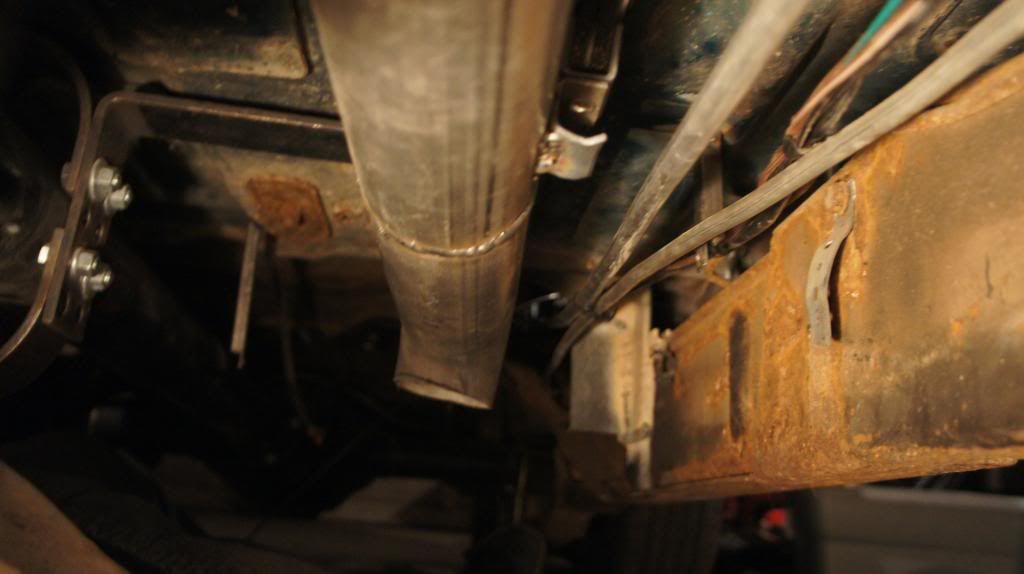
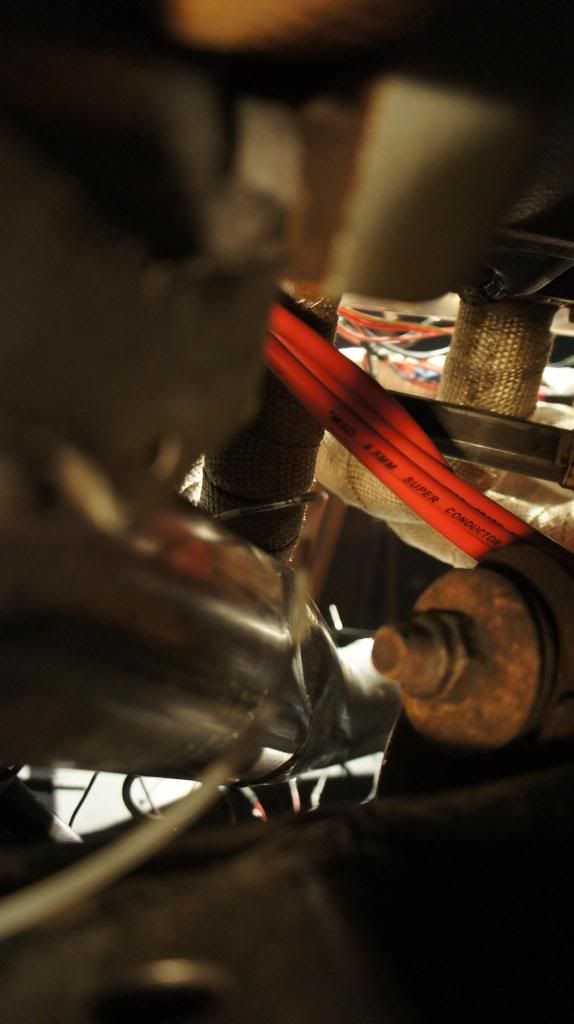
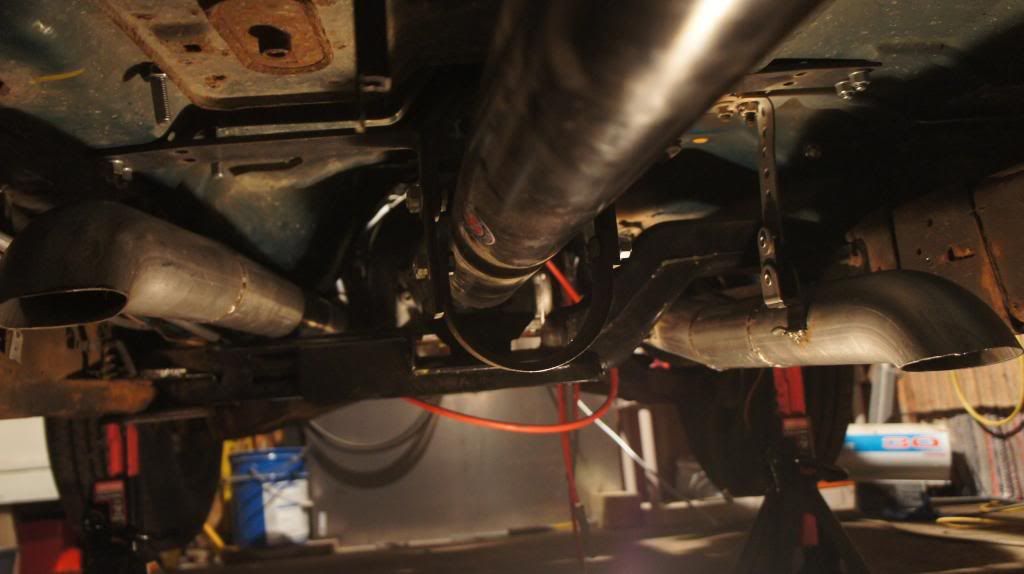
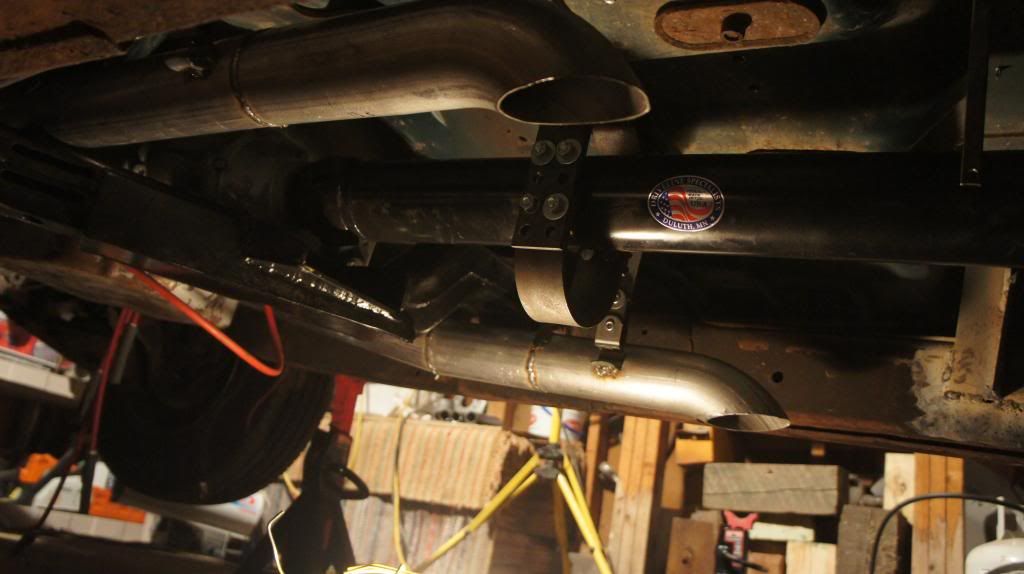
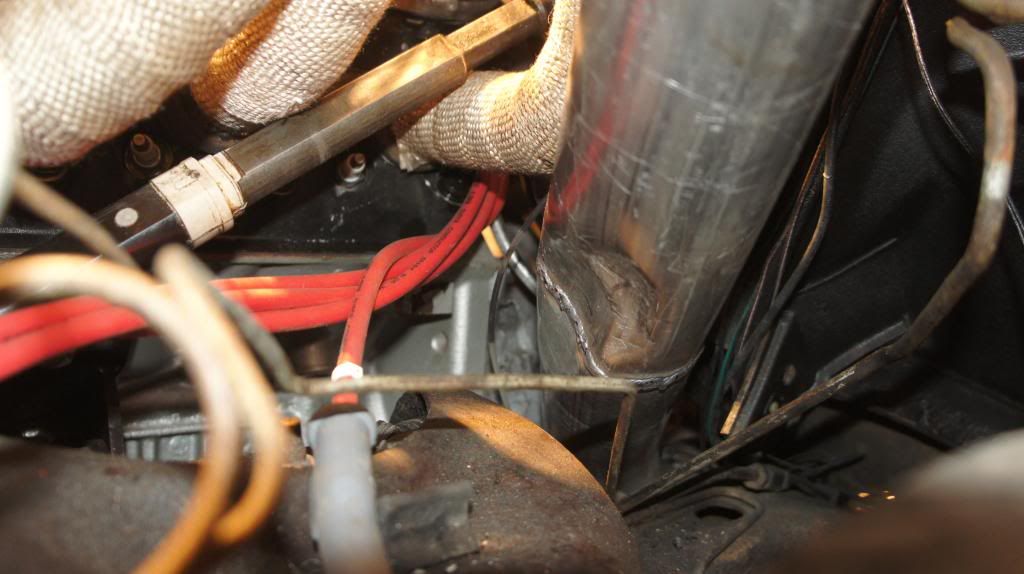
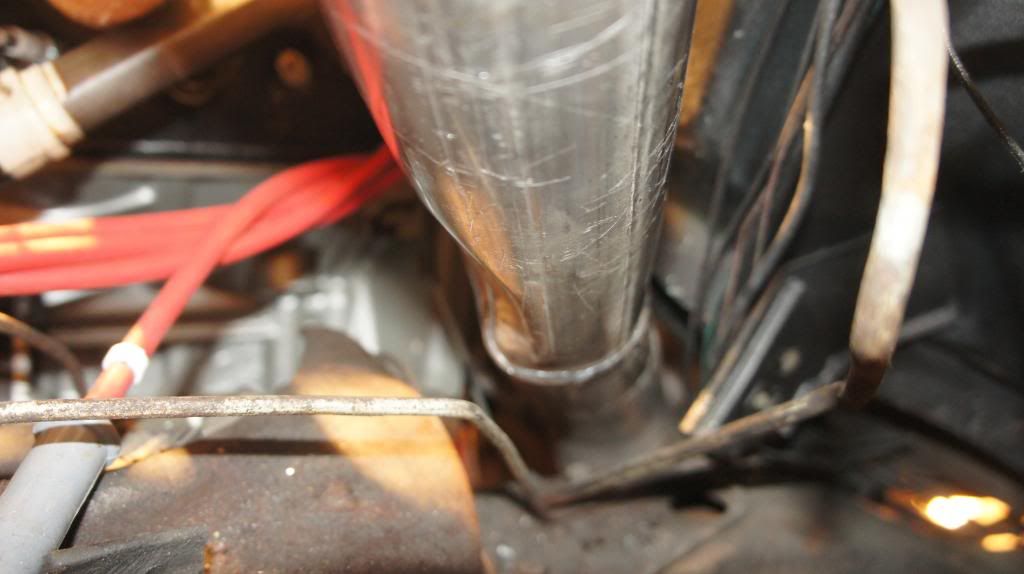
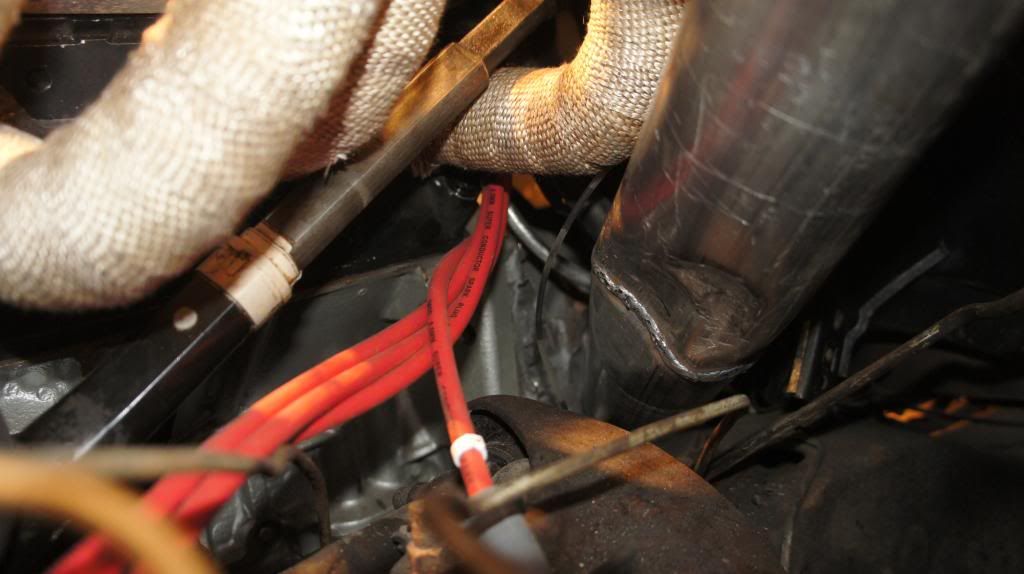
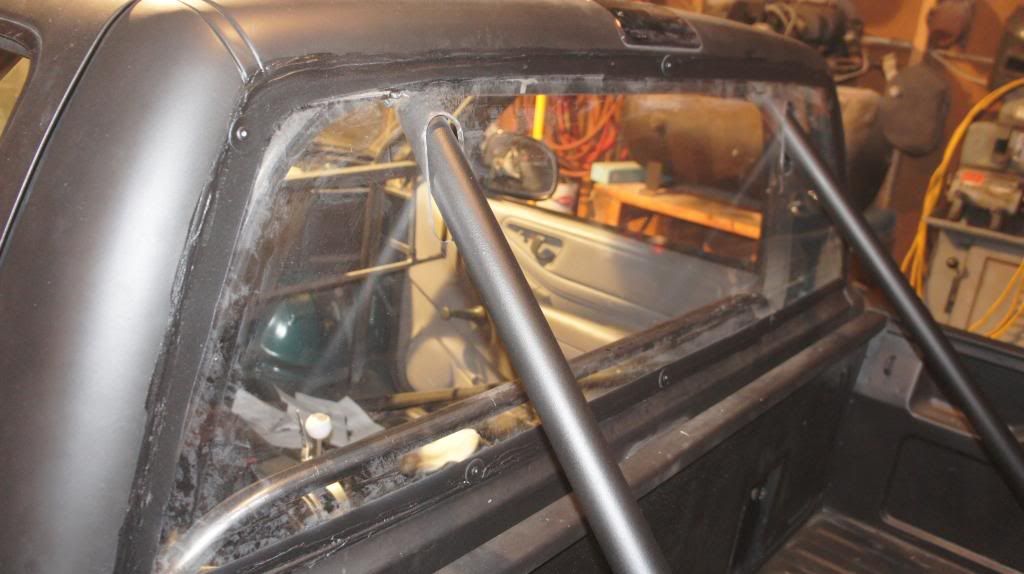
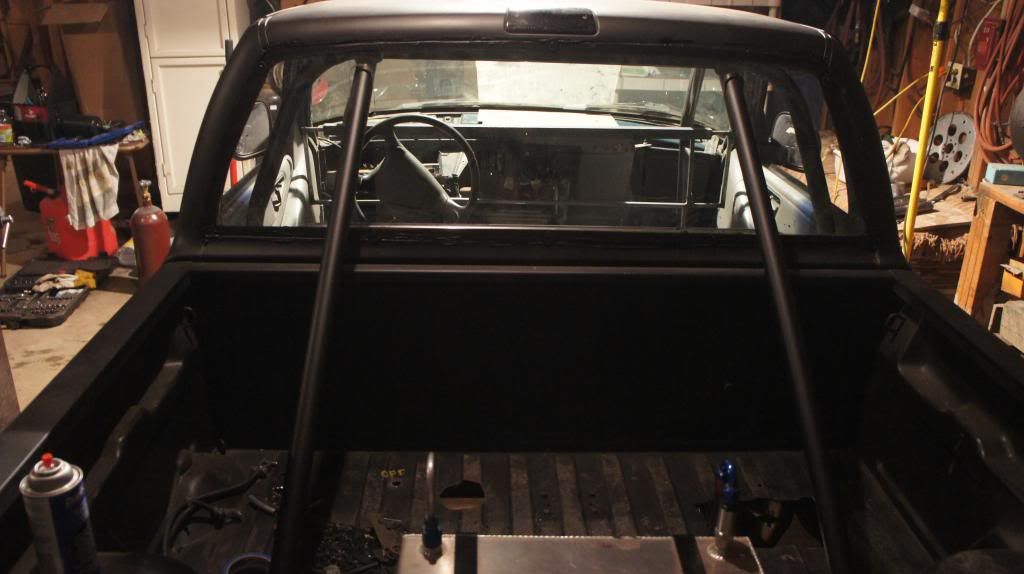
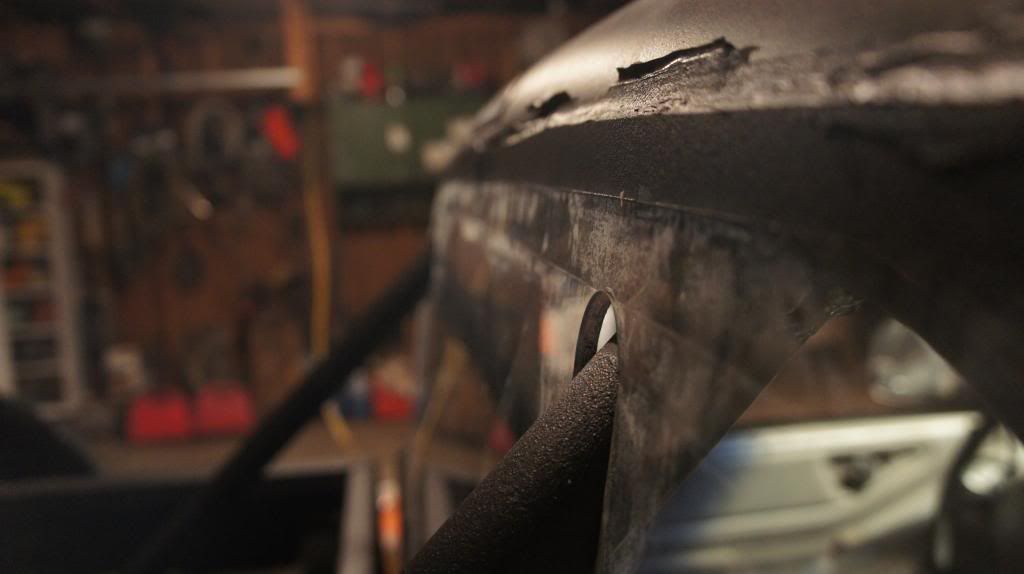
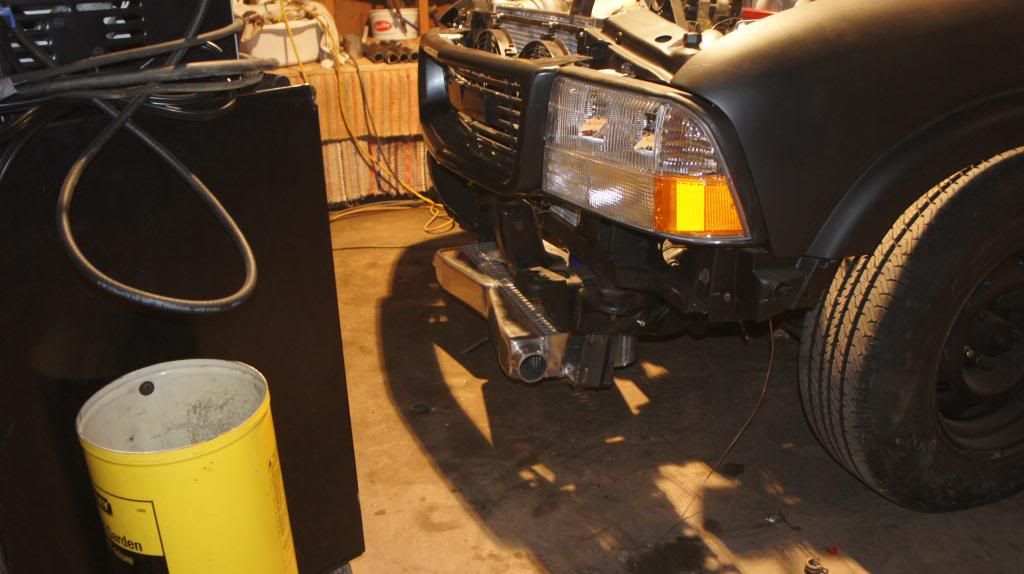
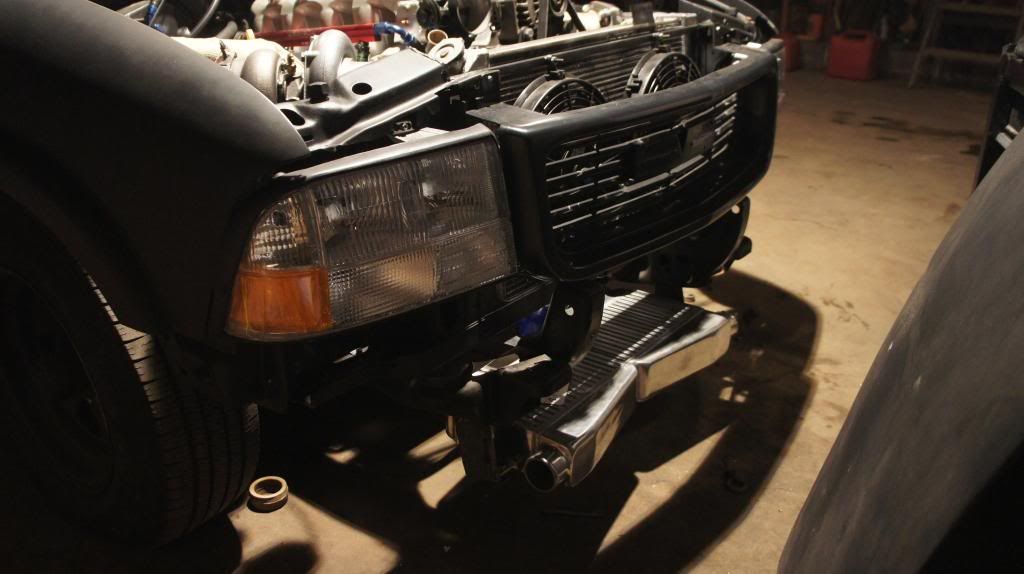
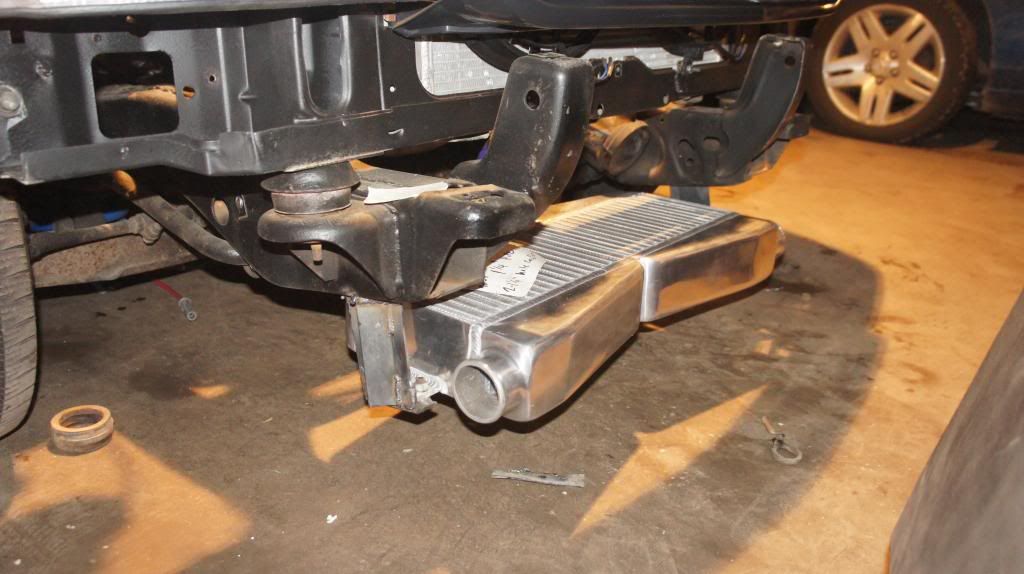
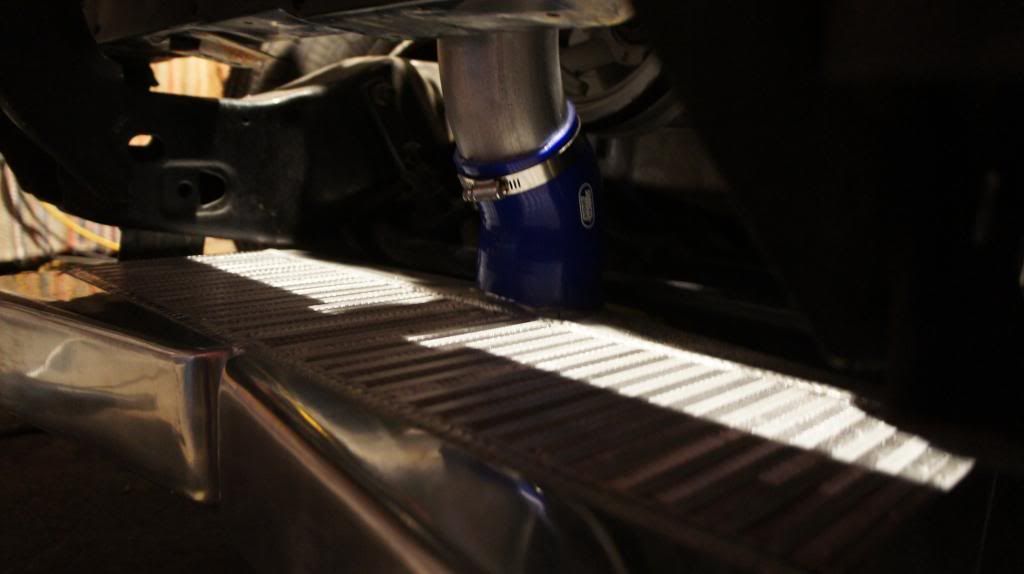
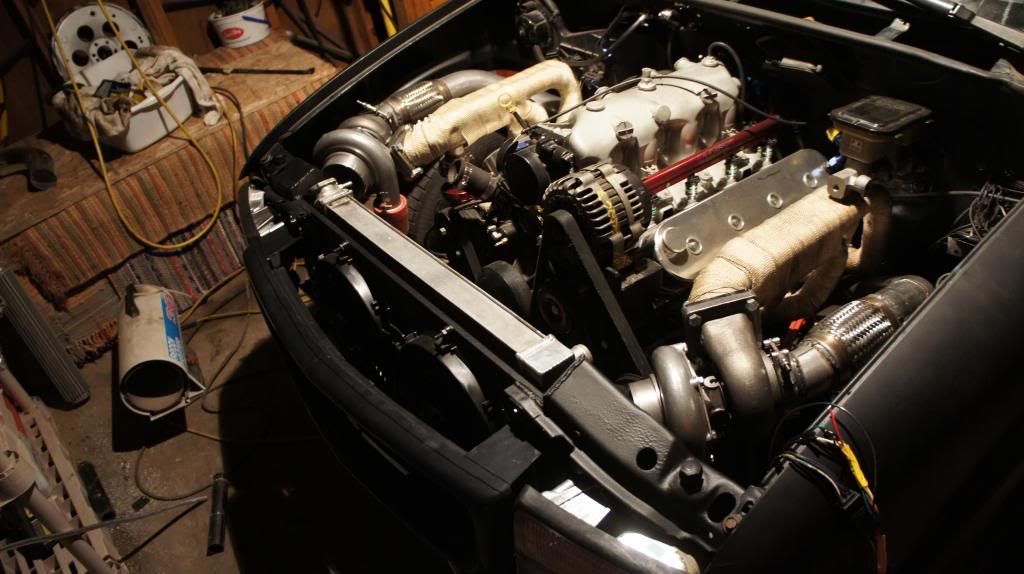
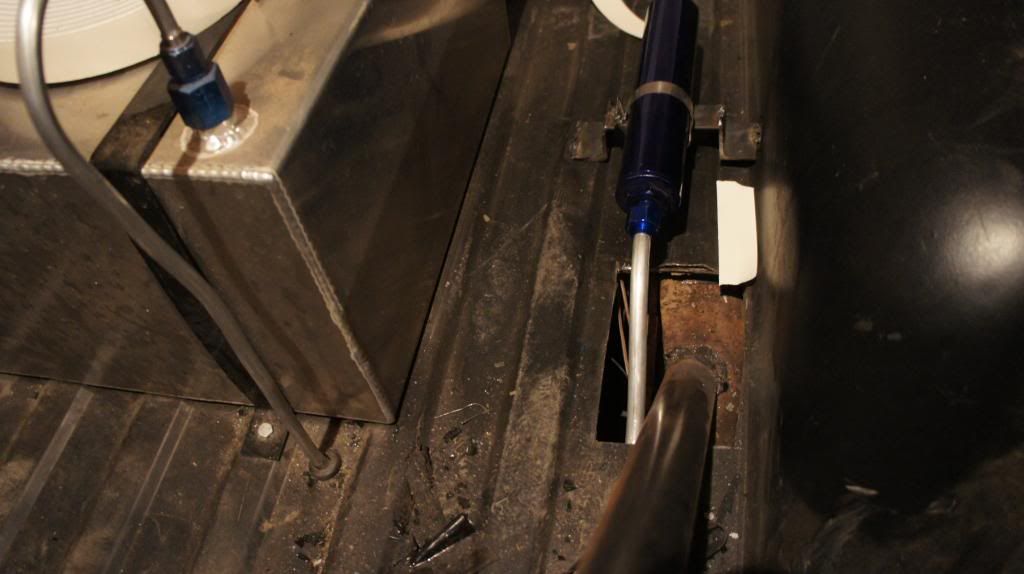
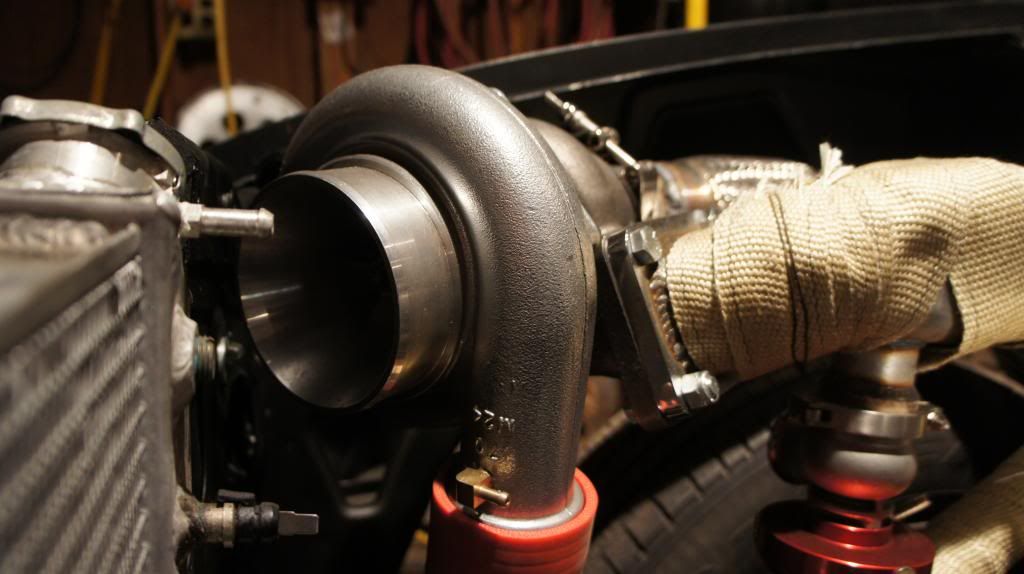
got the intercooler mounted today. this is about the only location for one besides doing water to air. figured since i had luck with a horizontal mounted intercooler in my last build ill do it again. oh yeah i borrowed my moms camera so i have alot of pics. clearance is tight but if it dont work out ill just remove the intercooler all together and either do air to water or just do non intercooled with meth.
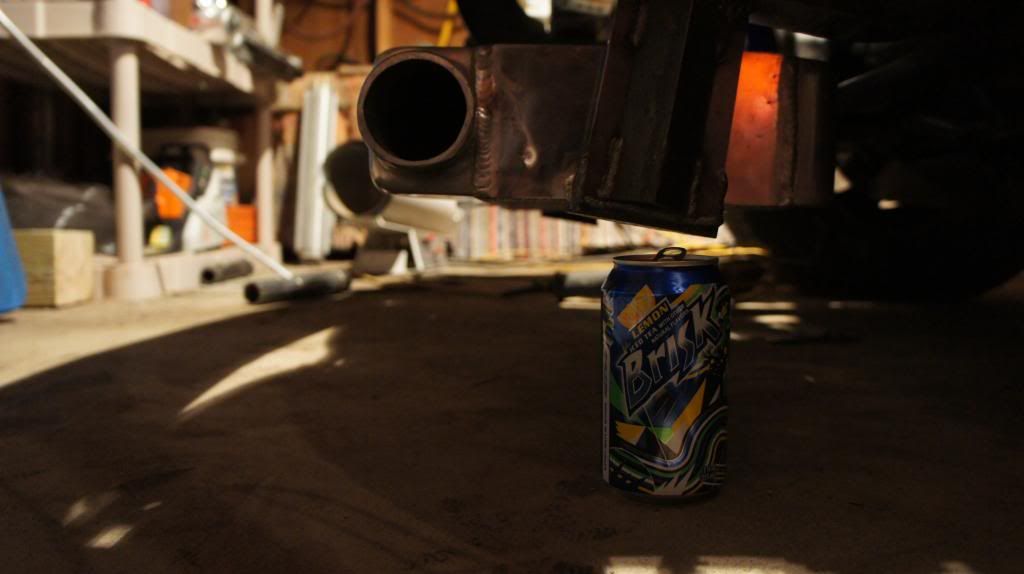
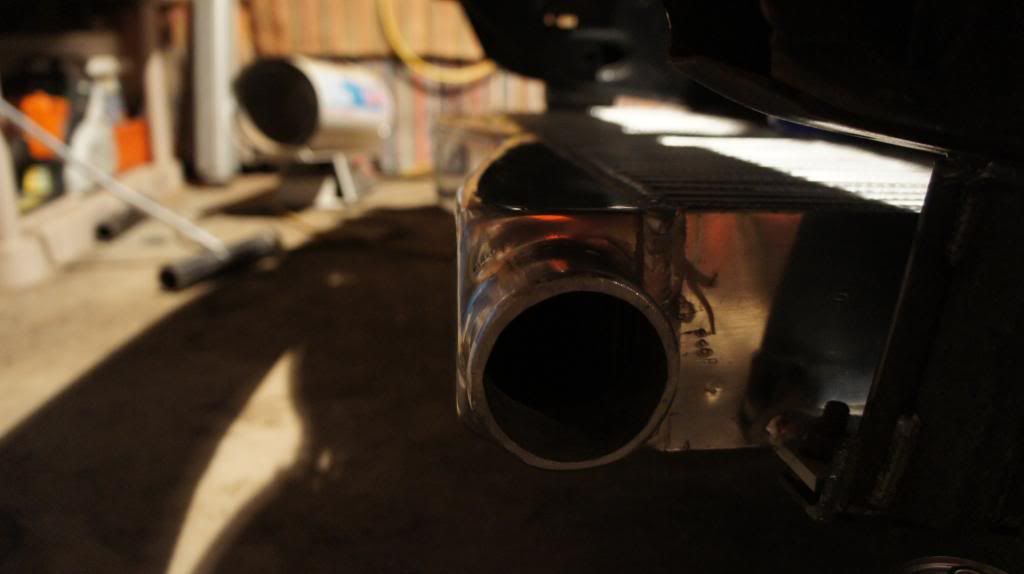
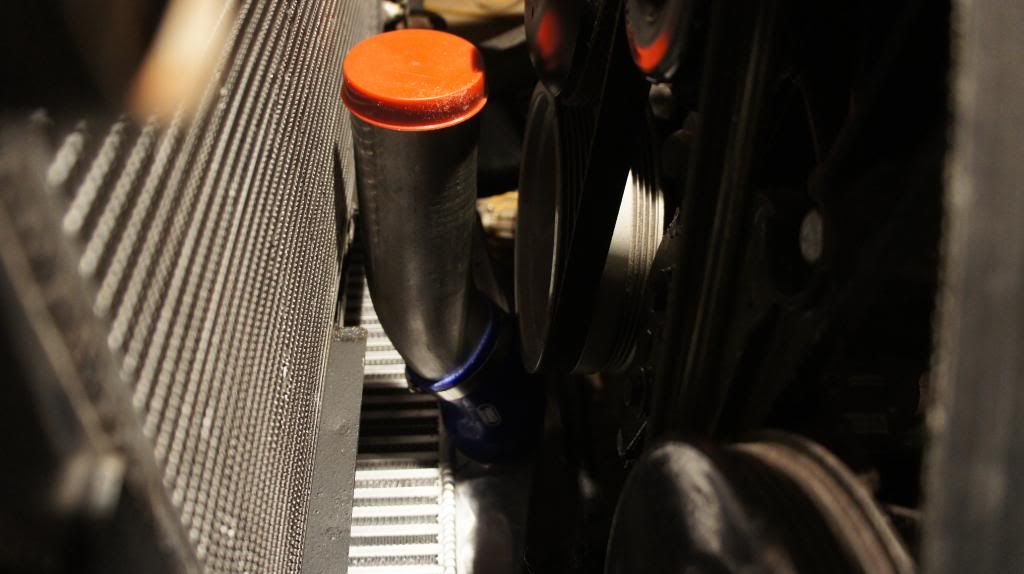
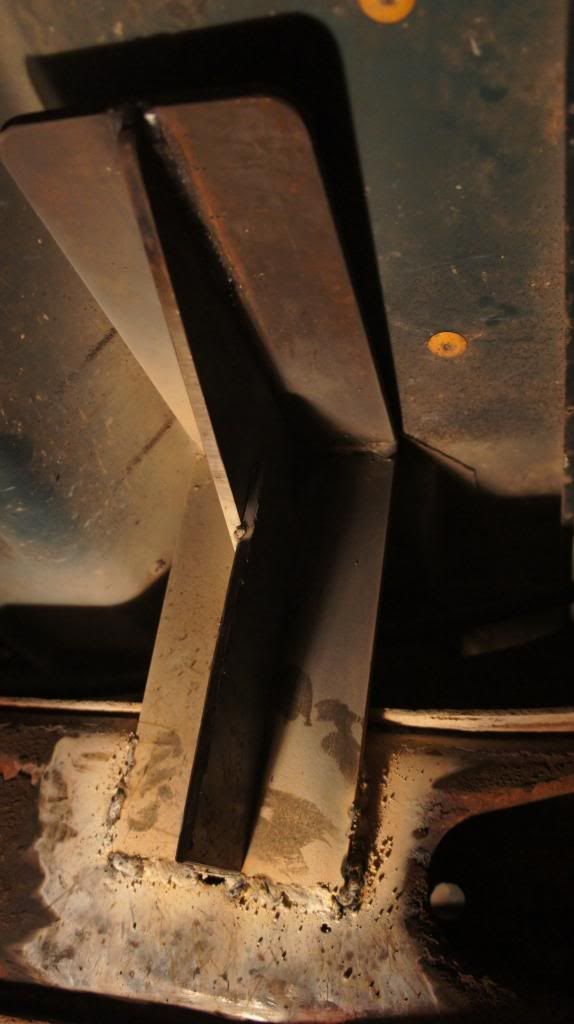
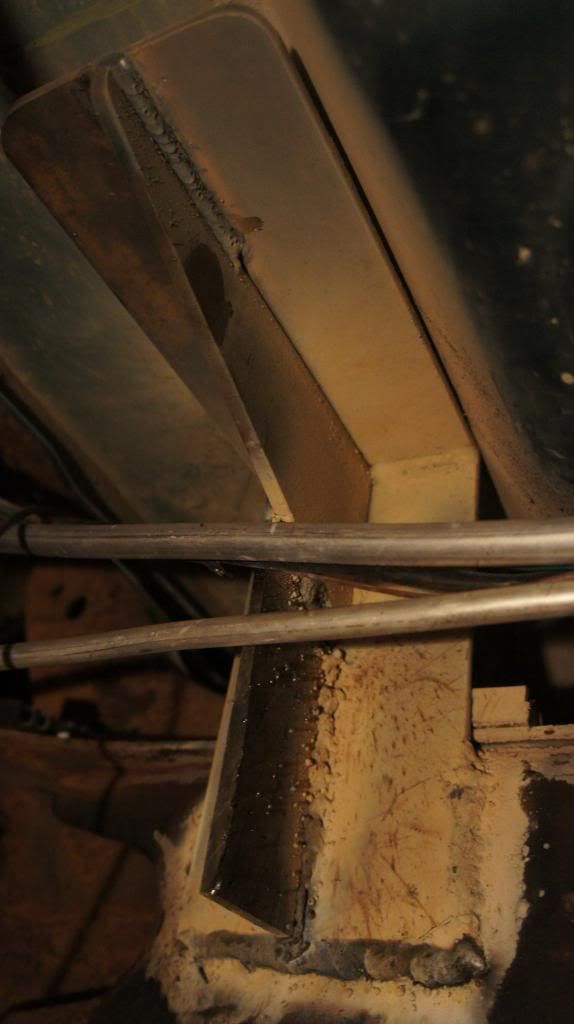
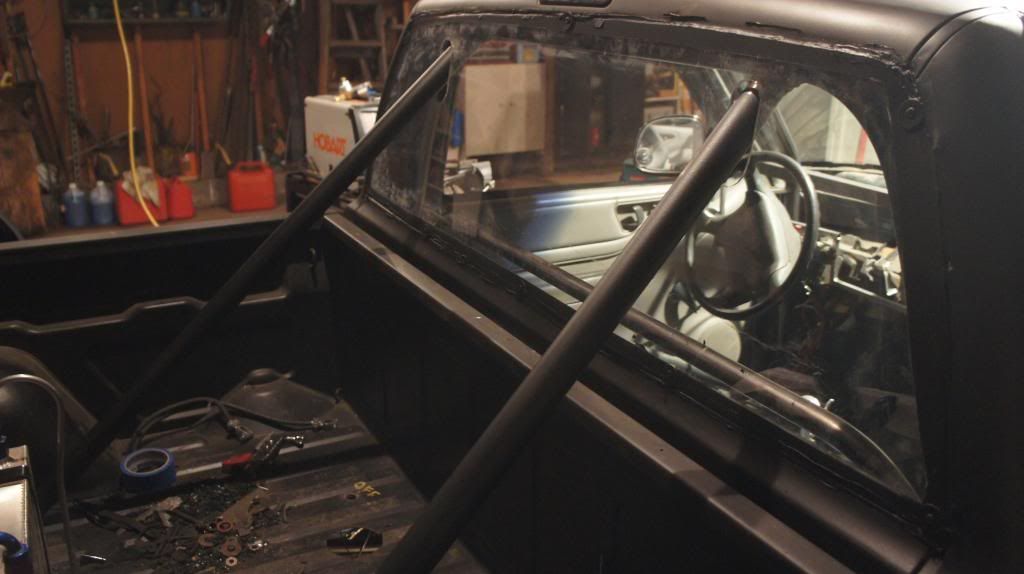
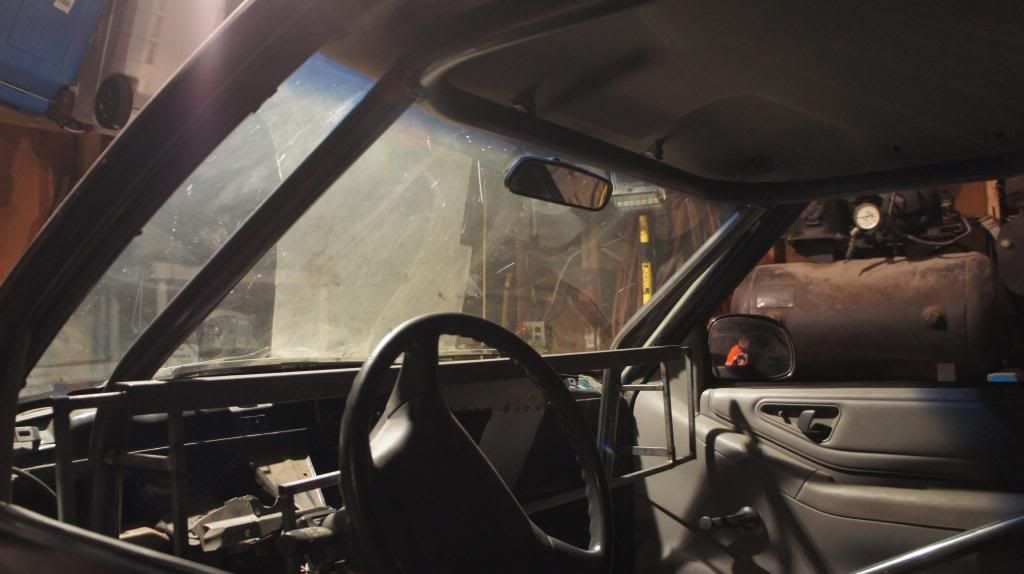
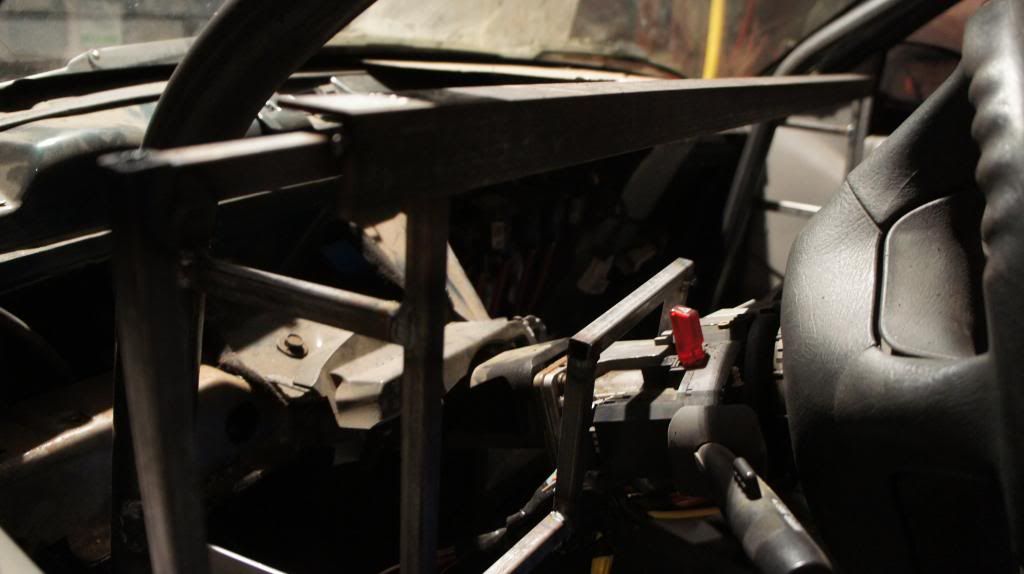
and heres more random photos
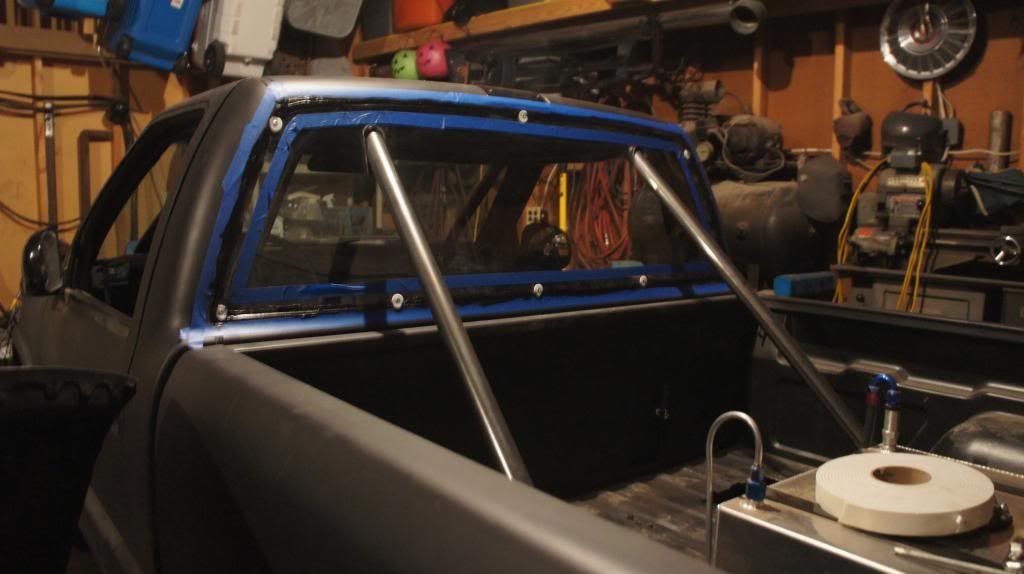
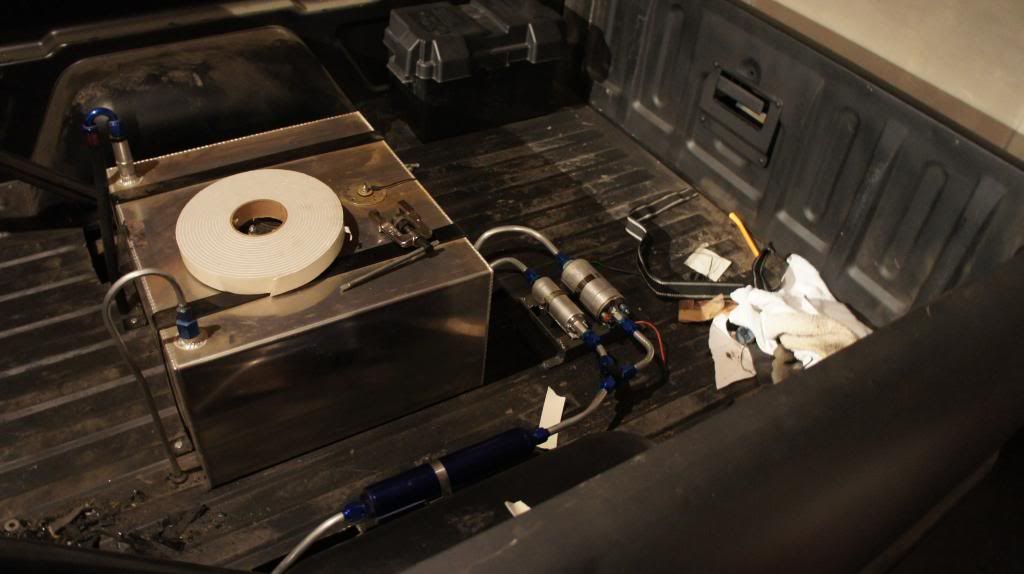
ill have more pics tomorrow after i do more work in the garage. the exhaust is totally finished but i didnt want to go underneath the truck.
and heres more random photos
ill have more pics tomorrow after i do more work in the garage. the exhaust is totally finished but i didnt want to go underneath the truck.
02-17-2013, 08:04 AM
#194
TECH Resident

Join Date: Oct 2009
Location: Michigan
Posts: 793
Likes: 0
Received 0 Likes
on
0 Posts

Wow, I never would have thought of putting the intercooler in horizontal in the front of the car.... Do you use some sort of a splitter or scoop or something to direct the airflow up through it?
Got any pics of your old setup that worked well with it? Very intriguing!
Got any pics of your old setup that worked well with it? Very intriguing!
02-17-2013, 08:53 AM
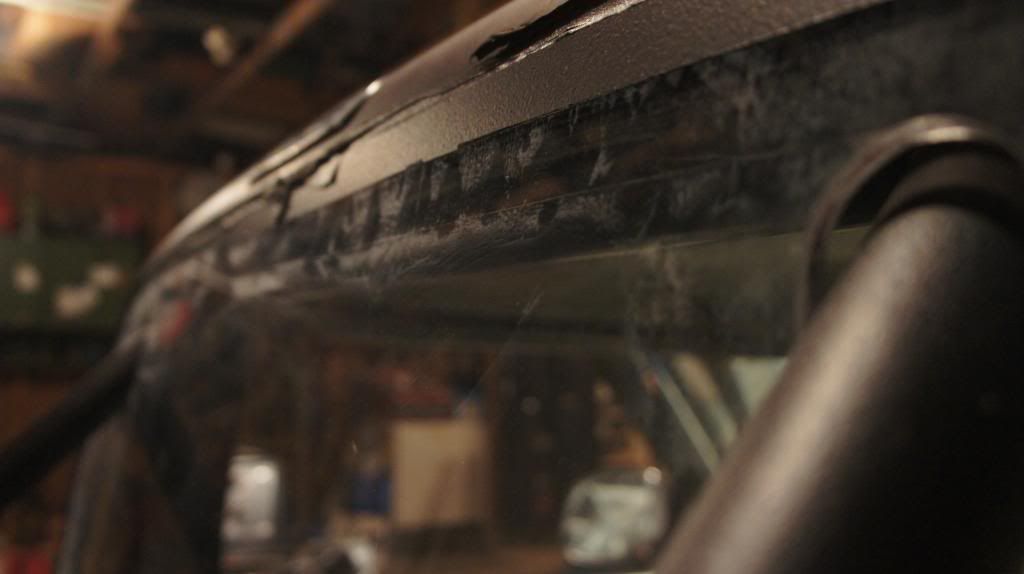
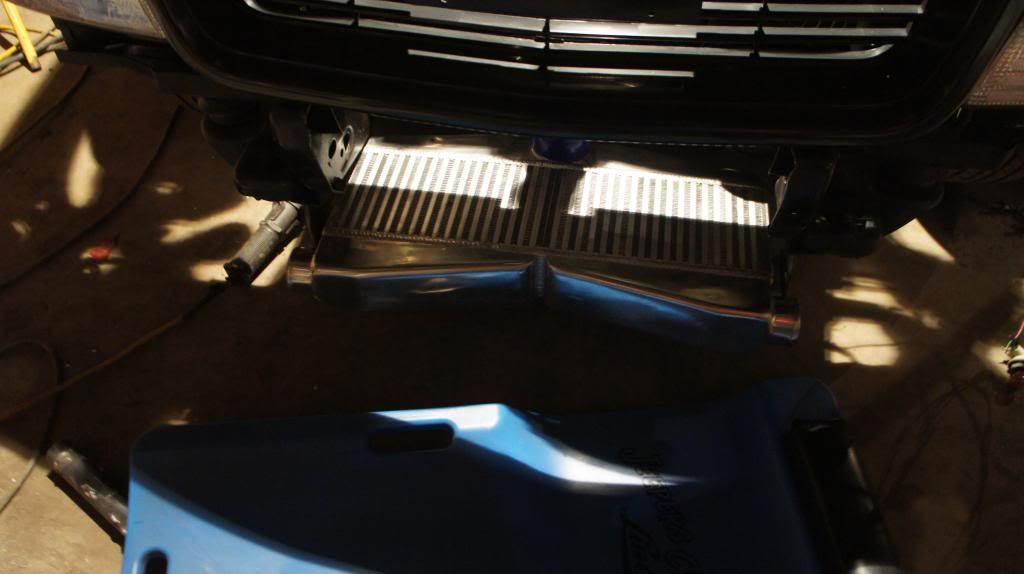
#195
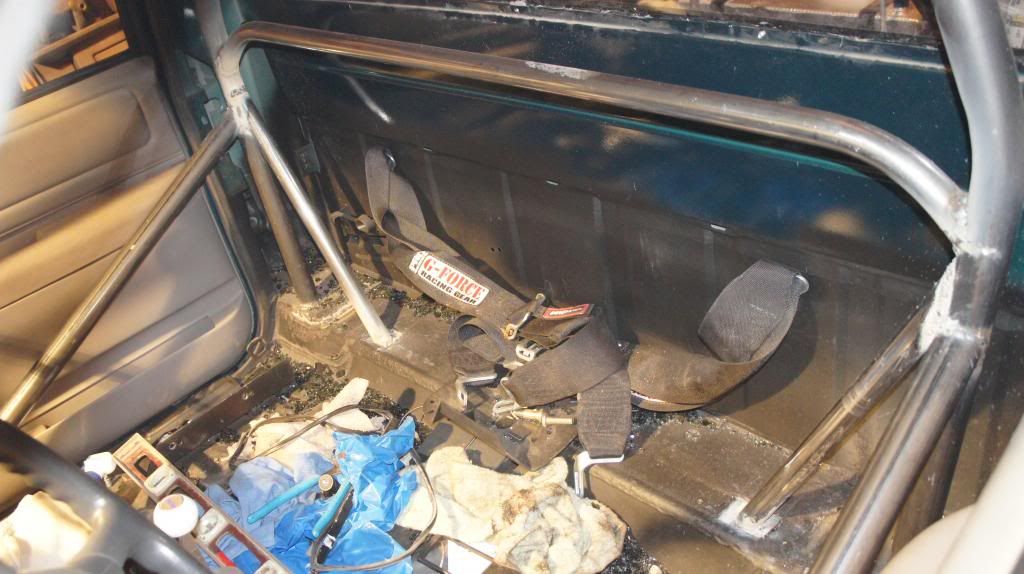
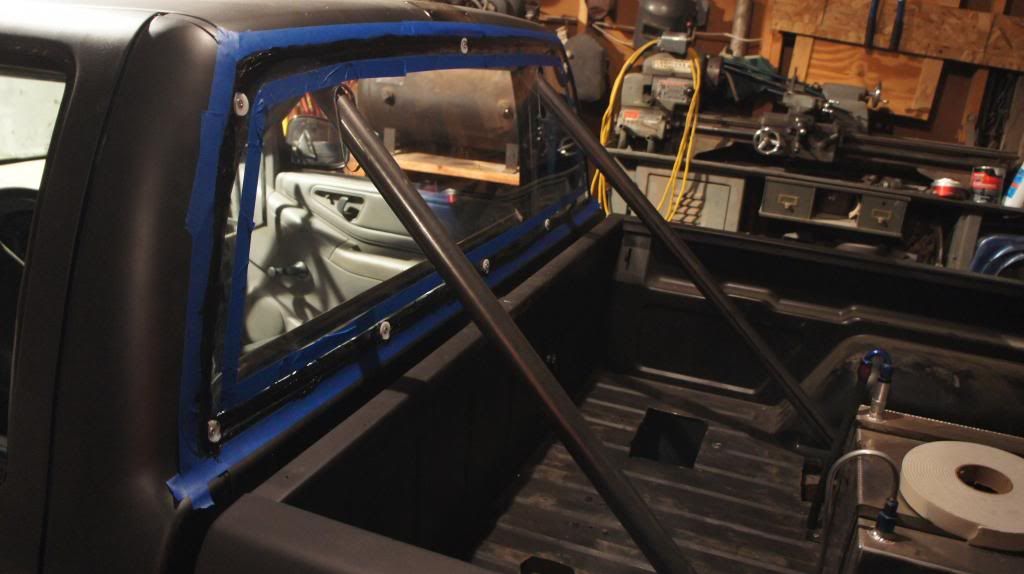
thanks guys! i cut out a template from card board then brought it to a local glass shop where they cut me a piece of 1/4" plexi for $40 then i riveted it in. i have tape on it because i need to paint a strip on the outside to clean things up a bit. i wont be using any scoop on this mainly because of ground clearance and horizontal mounted intercoolers dont need scoops anyway. it might help some but itll do the job anyway.
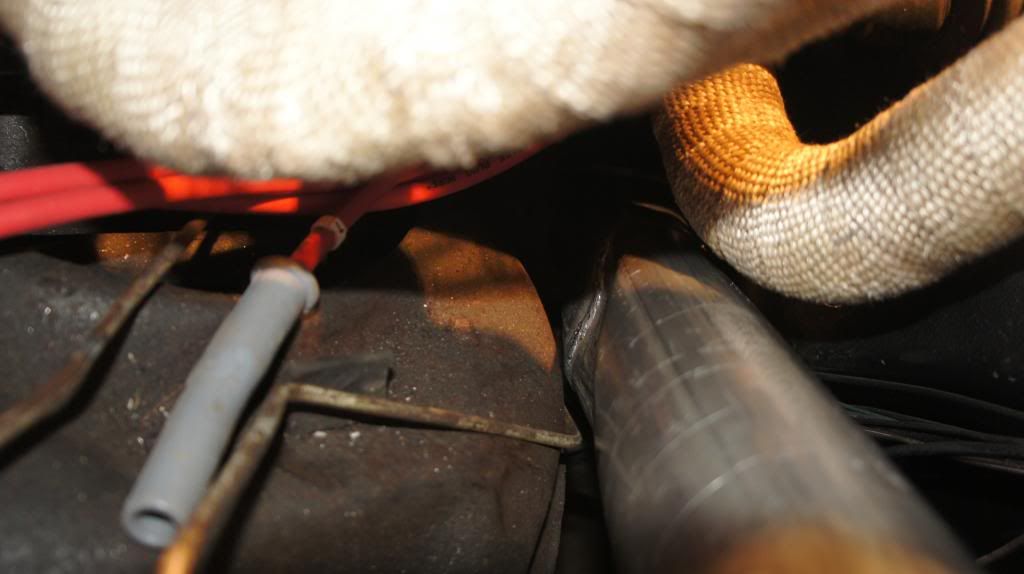
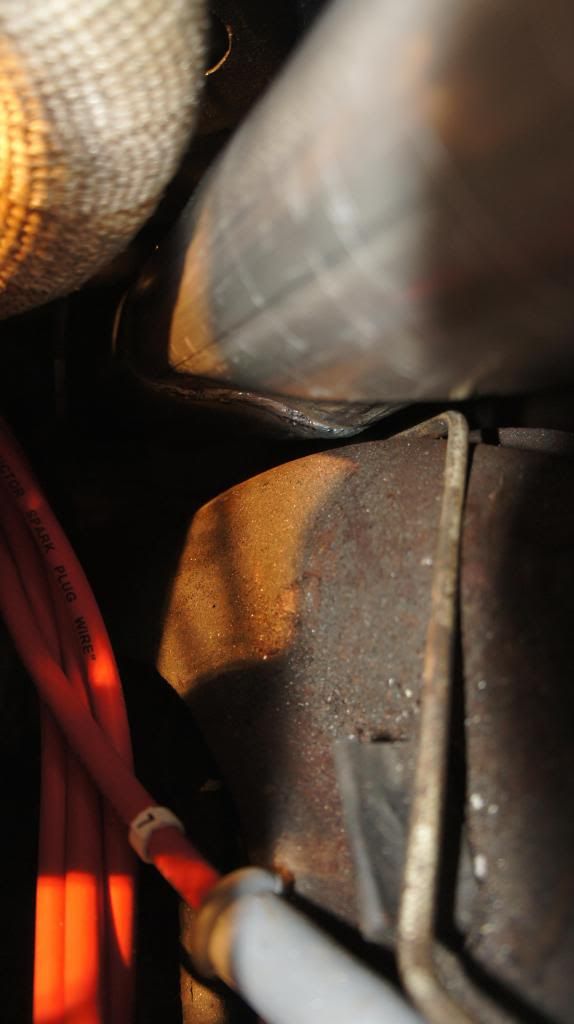
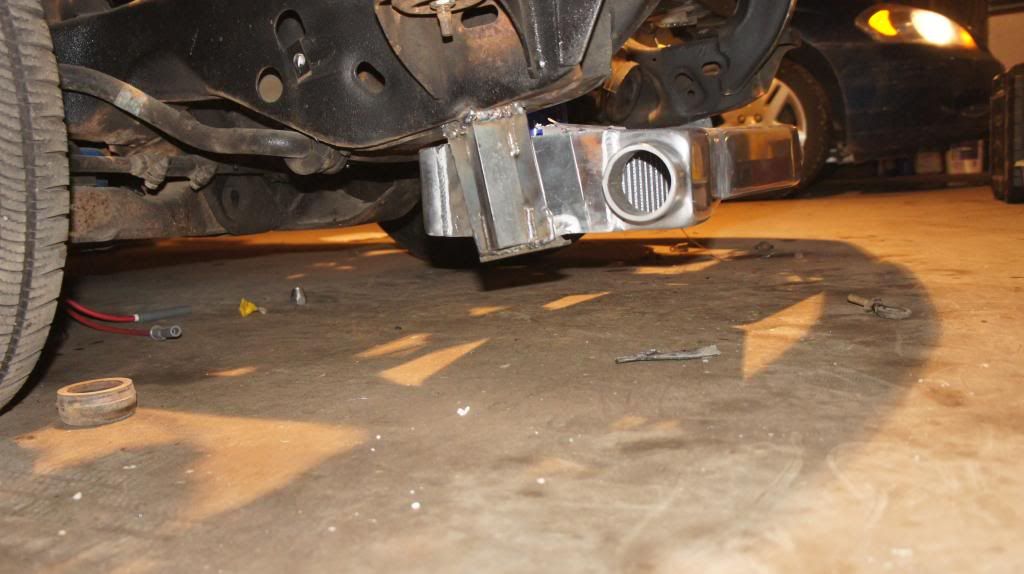
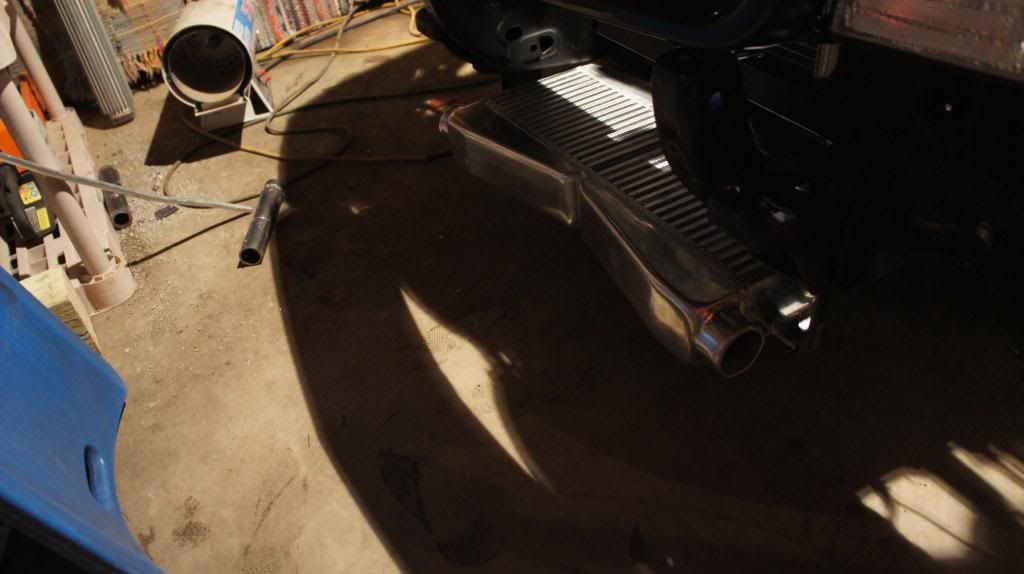
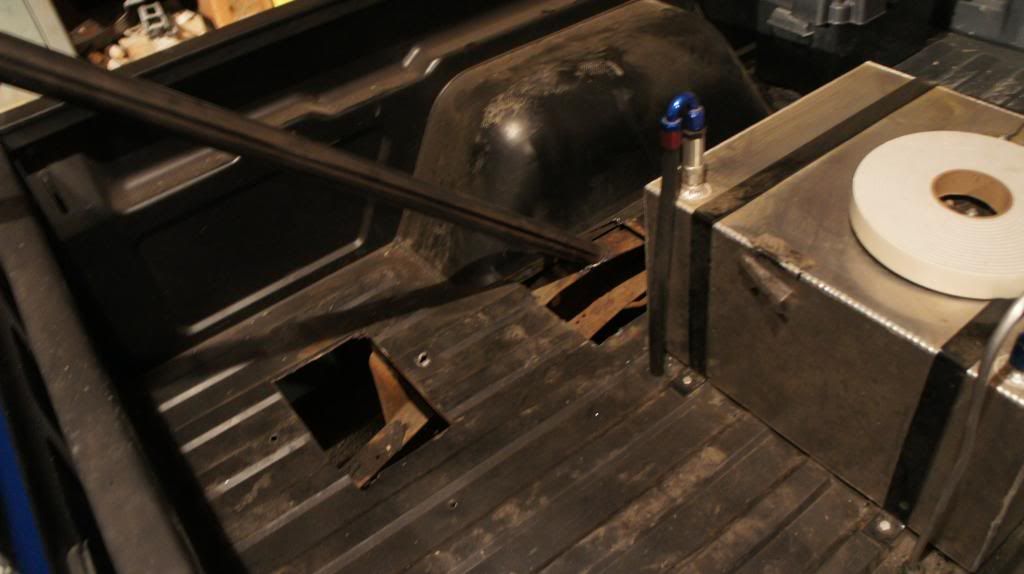
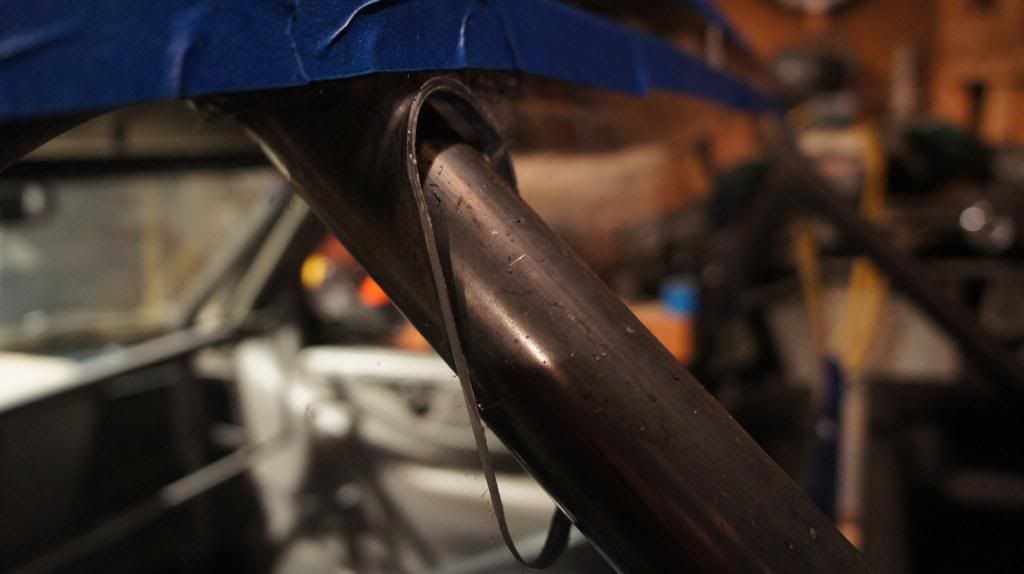
heres my last horizontal mounted intercooler
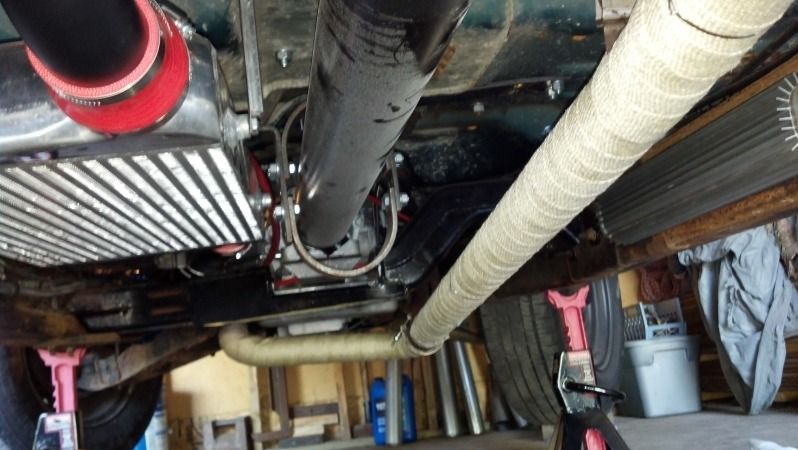
it actually had cooler iats down there then it did up front. the reason being is because when it was up front, it was so close to the radiator due to clearance that my radiator would actually heat up my intercooler really hot and my truck also had high coolant temps because of bad airflow. that was partly because of badly shrouded fans but since then i prefer to run pusher fans.
heres my last horizontal mounted intercooler
it actually had cooler iats down there then it did up front. the reason being is because when it was up front, it was so close to the radiator due to clearance that my radiator would actually heat up my intercooler really hot and my truck also had high coolant temps because of bad airflow. that was partly because of badly shrouded fans but since then i prefer to run pusher fans.
02-17-2013, 10:01 AM
#196
TECH Resident
Join Date: Oct 2009
Location: Michigan
Posts: 793
Likes: 0
Received 0 Likes
on
0 Posts
That is AWESOME info!!! I was actually thinking about doing a horizontal intercooler under the car like this for a rear mount, but I figured the heated air from the radiator and exhaust, etc., would mean that the intercooler would be getting pre-heated air and wouldn't cool well (especially with my expectation that the airflow through the IC would be minimal). Looks like maybe my idea had more merit than I thought. Lol
I take it that pic is from a rear-mount since the wrapped tube looks to be about the right size for a small exhaust tube like you would use to feed a rear-mount? Do you have a thread on that build?
Thanks!
I take it that pic is from a rear-mount since the wrapped tube looks to be about the right size for a small exhaust tube like you would use to feed a rear-mount? Do you have a thread on that build?
Thanks!
02-17-2013, 12:10 PM
#197
yep that was my bed mounted setup i had last year lol. heres a link https://ls1tech.com/forums/conversio...s10-build.html
it actually increased spool time due to less intercooler pipe and made boost pretty quick.
it actually increased spool time due to less intercooler pipe and made boost pretty quick.
02-17-2013, 04:39 PM
#199
On an 80-85 degree day cruising in town iat's were around 100 degrees and after a wide open throttle run they would reach 130-140 degrees but would cool off to 100 within a minute after i let off the throttle. I'm using e85 too this time around so I'm not really worried how high they get.