Datsun 280z Turbo Build - 5.3 / T7875 / Magnum T56 - Video on page 12!


 05-12-2014, 07:47 AM
#162
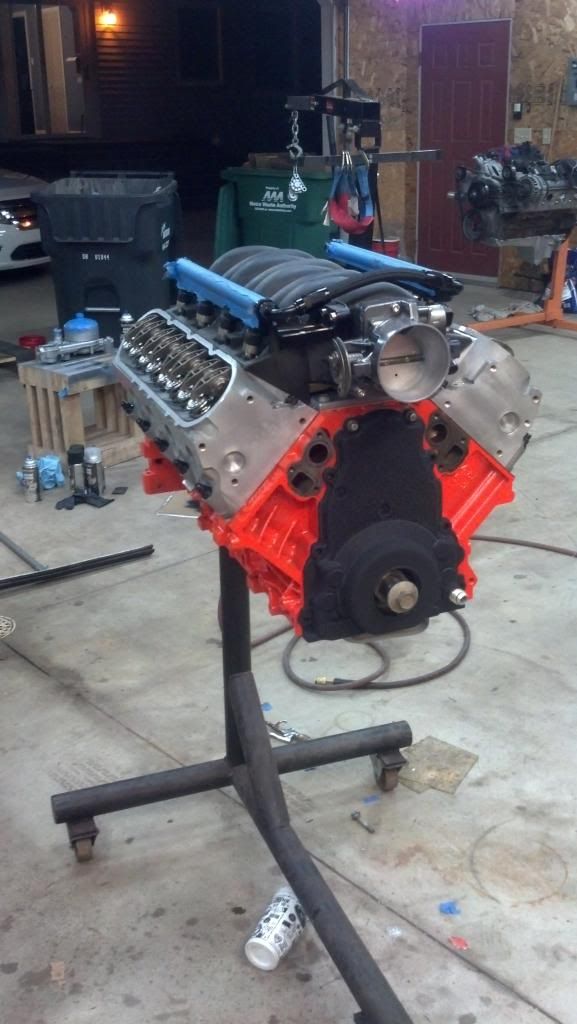
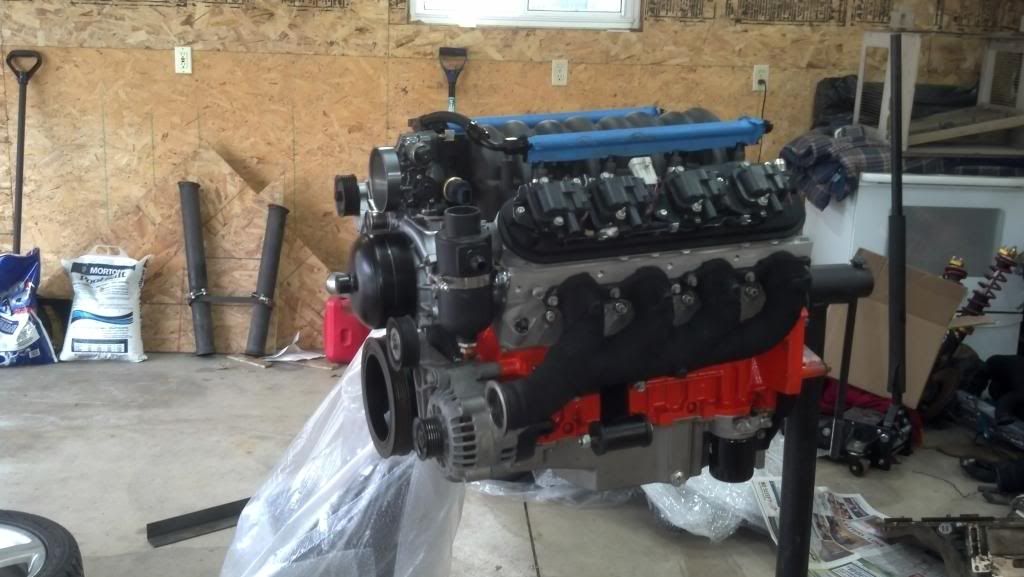
I was able to get the new timing chain tensioner on, and finish assembly of the engine.
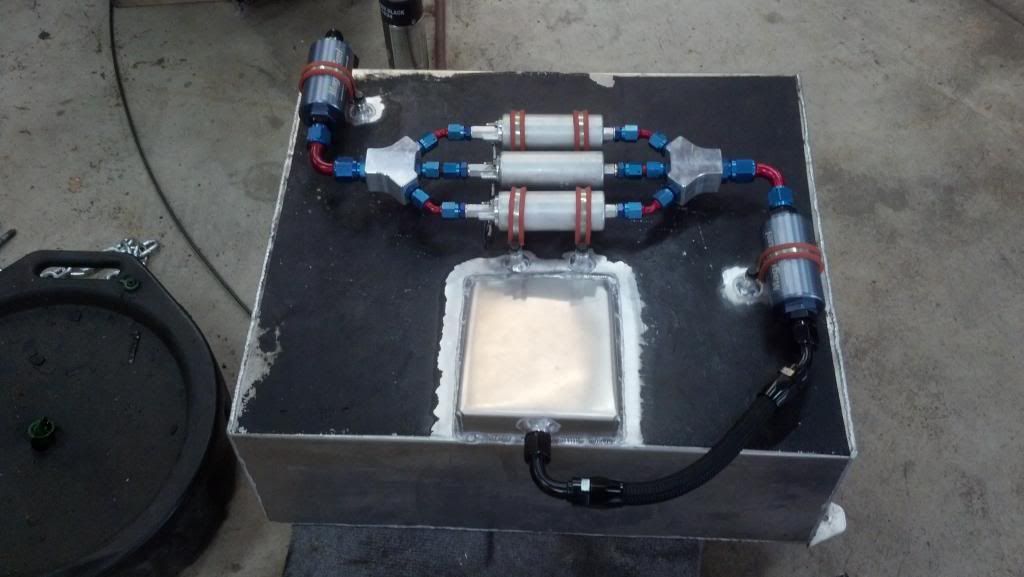
I finished the plumbing on the fuel tank and got the pumps grounded.
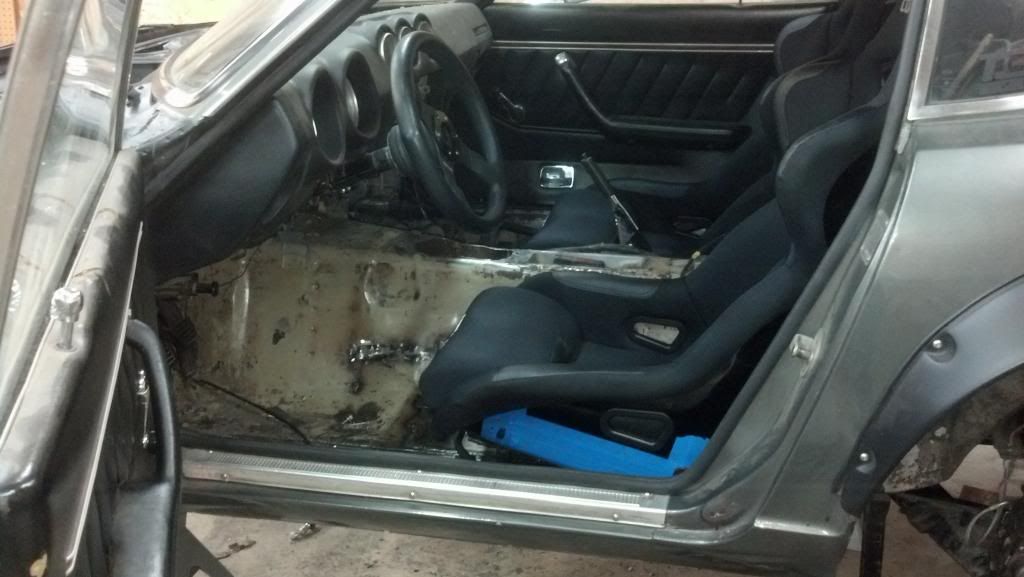
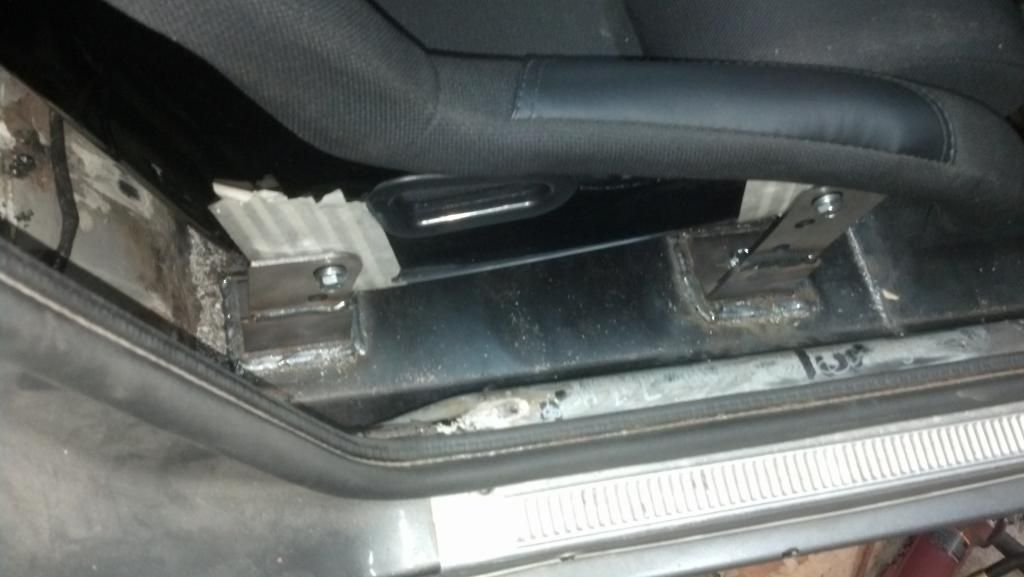
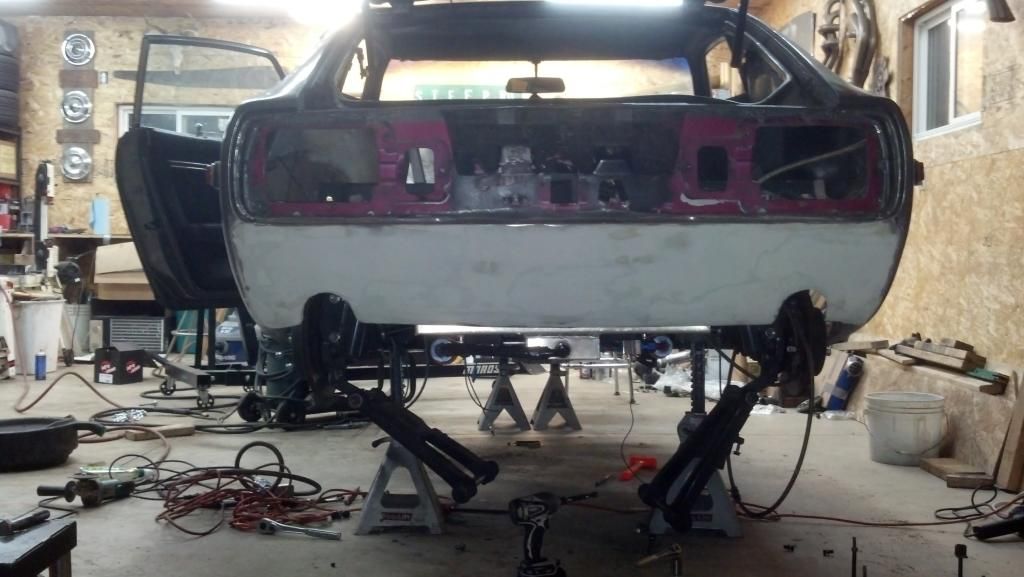
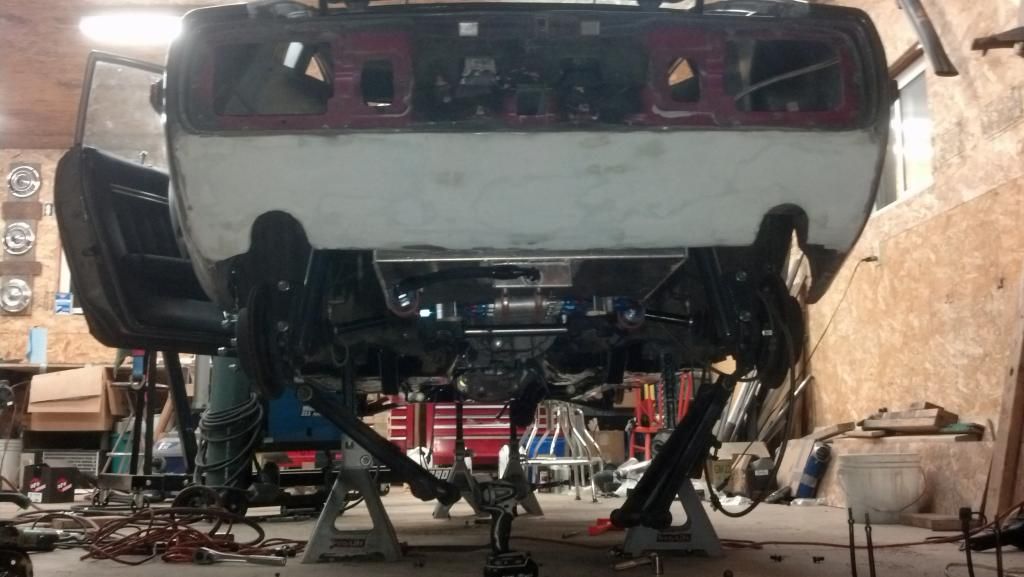
I also had to cut out the floor, and make a new section for seat clearance and weld it in.
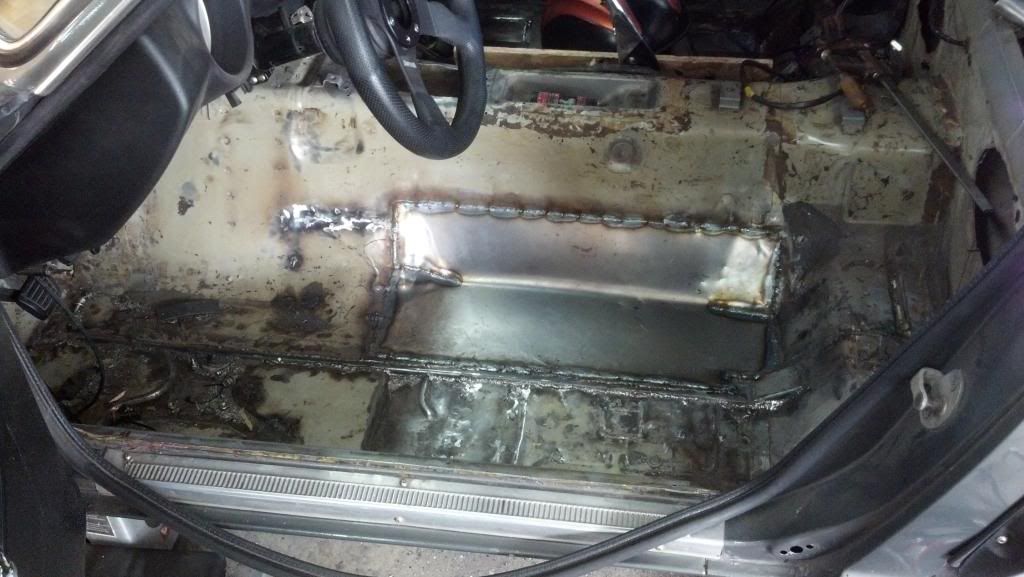
I was acually surprised with myself how well it came out lol.
I'm also about 80% done with the sliders for the drivers seat. I would have finished them, but the gf came outside made me make room in the garage for the cars. .... Something about a "tornado" and "1 inch Hail".
I finished the plumbing on the fuel tank and got the pumps grounded.
I also had to cut out the floor, and make a new section for seat clearance and weld it in.
I was acually surprised with myself how well it came out lol.
I'm also about 80% done with the sliders for the drivers seat. I would have finished them, but the gf came outside made me make room in the garage for the cars. .... Something about a "tornado" and "1 inch Hail".
05-13-2014, 07:58 AM
#163
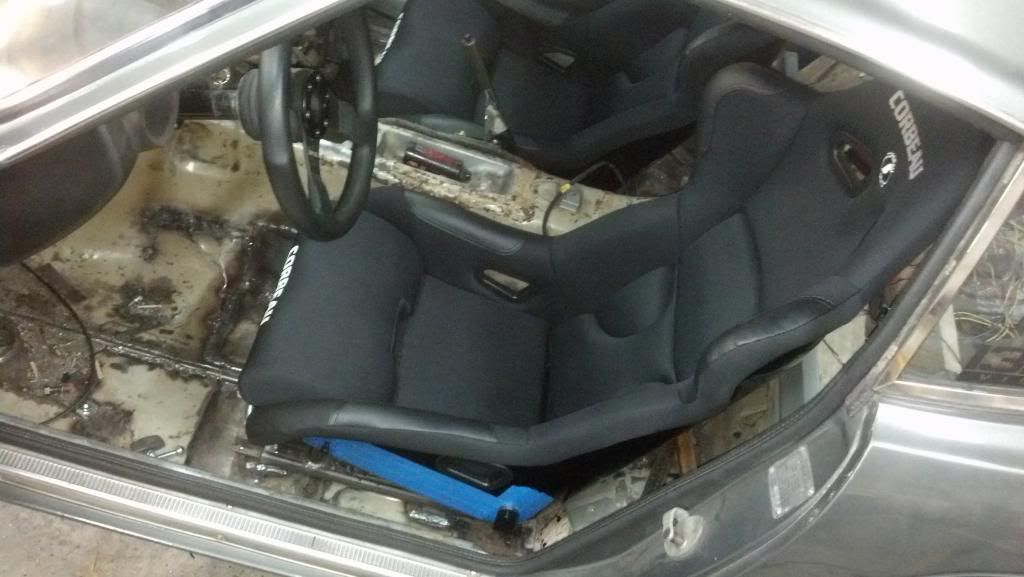
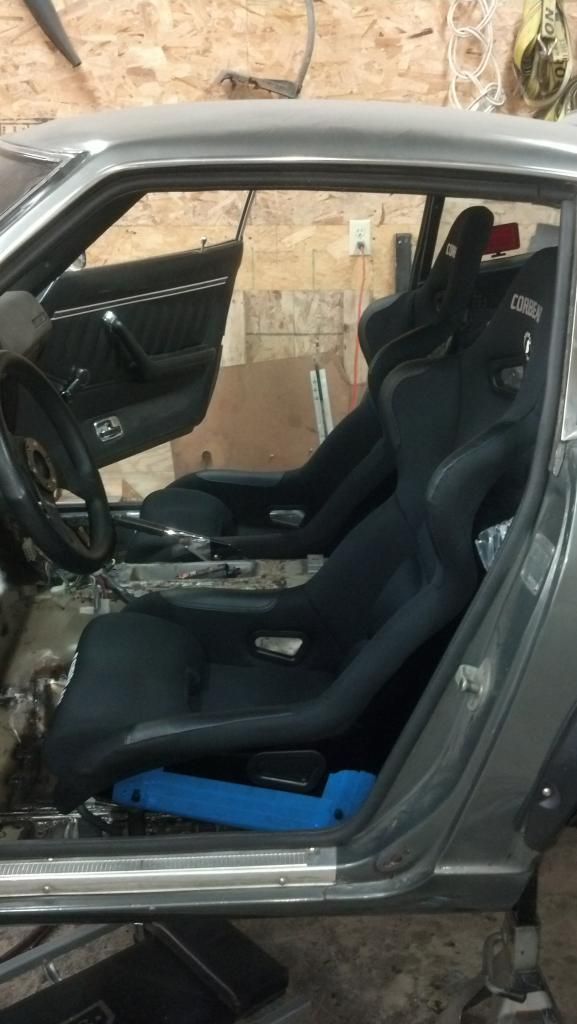
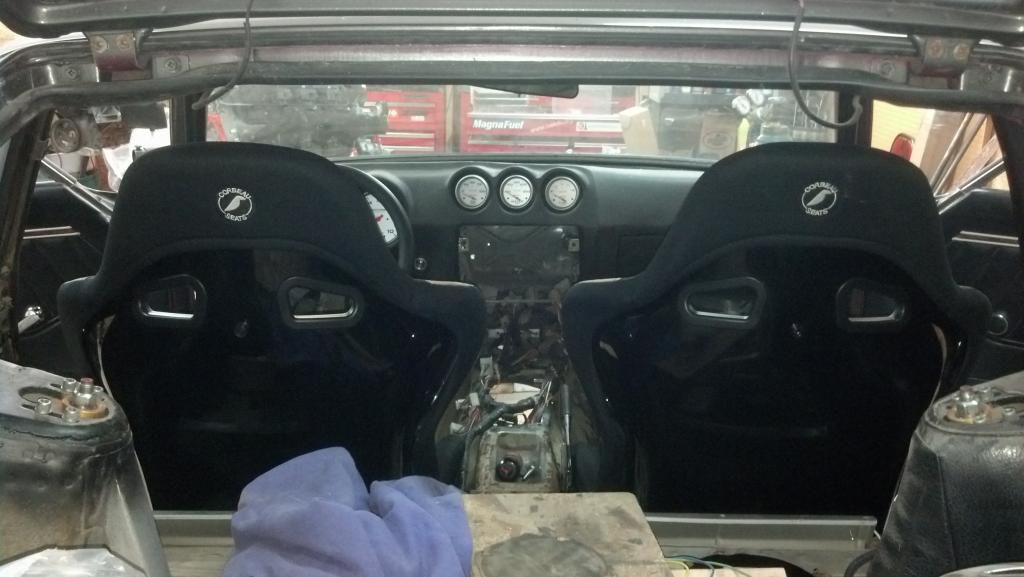
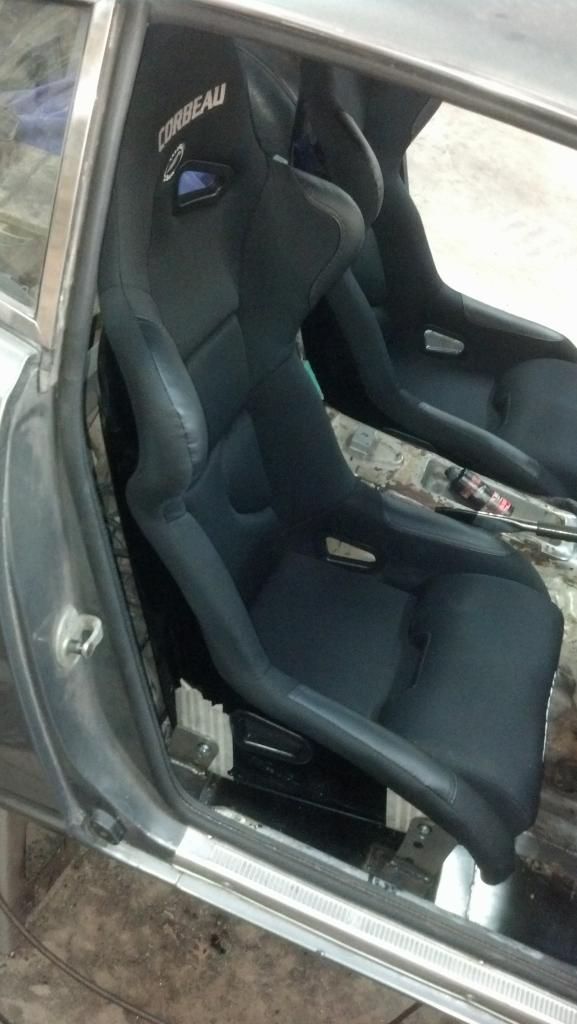
Finished the drivers seat mounts last night. I only have about 5" of movement with the sliders due to some mounting limitations, but it will be plenty to accommodate the different driving I do.
The shoulder bolsters are pretty large on this seat, but I find it very comfortable. The outer bolster is about 1/2" from the door panel when its shut.
Also, there is a surprising amount of room for door bars, traditional, or a horizontal.
FWIW, I mounted it with 15 Degrees of layback - just where I found it comfortable.
05-14-2014, 07:23 AM
#166
Started mounting the passengers seat. I have the plates welded to the floor with bolt holes, so the outside legs are in position. The inside mounts will be a little more tricky.
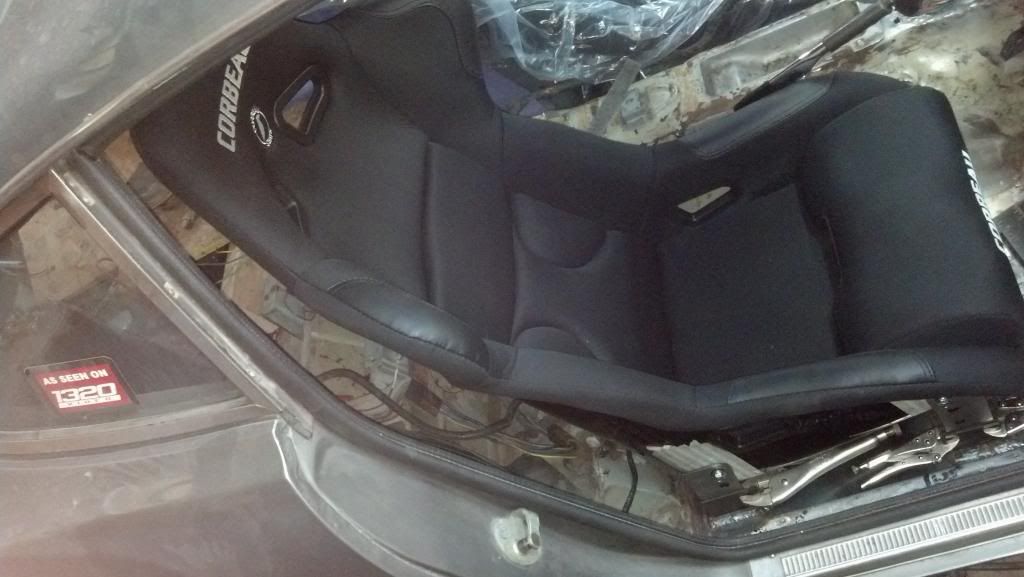
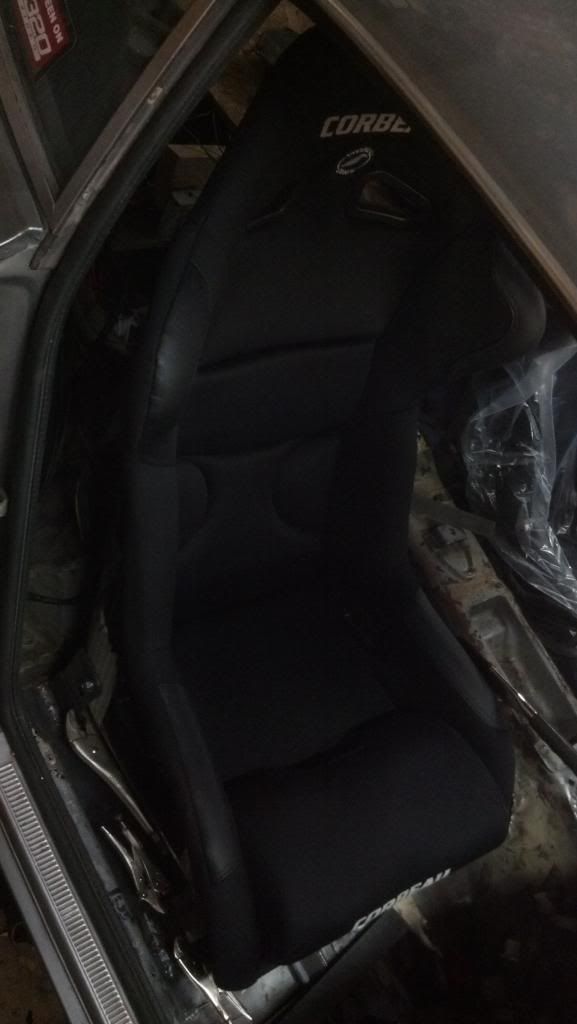
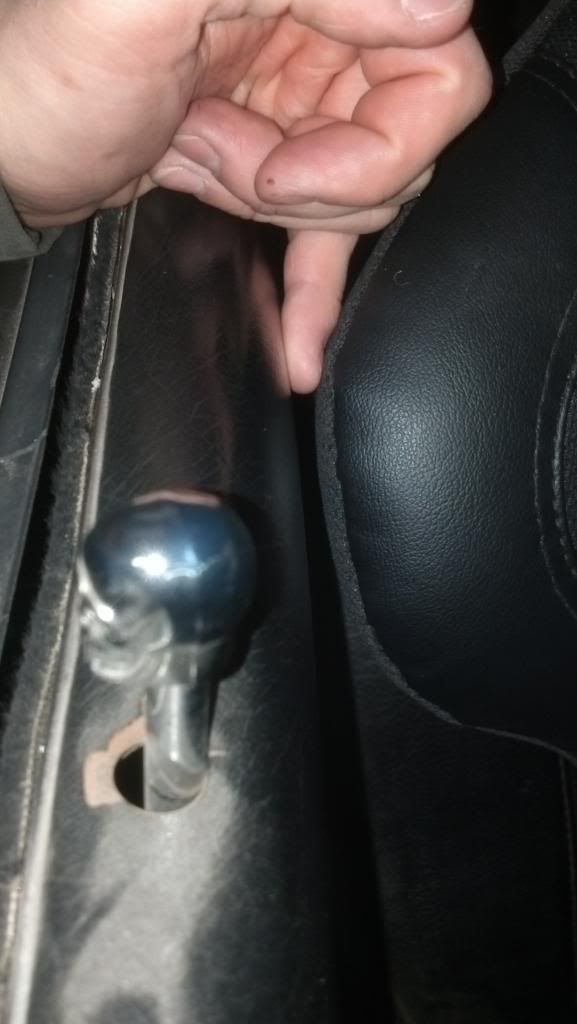
This is about where the shoulder bolster will end up. I'd like to have about 1/2" when its final mounted to keep from wearing it out. Don't mind the baller / badass skull lock pulls.
Here are the mounts. I used these brackets from speedway motors ($5 ea), with a reducer nylon bushing from 1/2" to 3/8" which is pretty close to the 8mm bolts. Also, true to form all the pretty welds will never be seen!
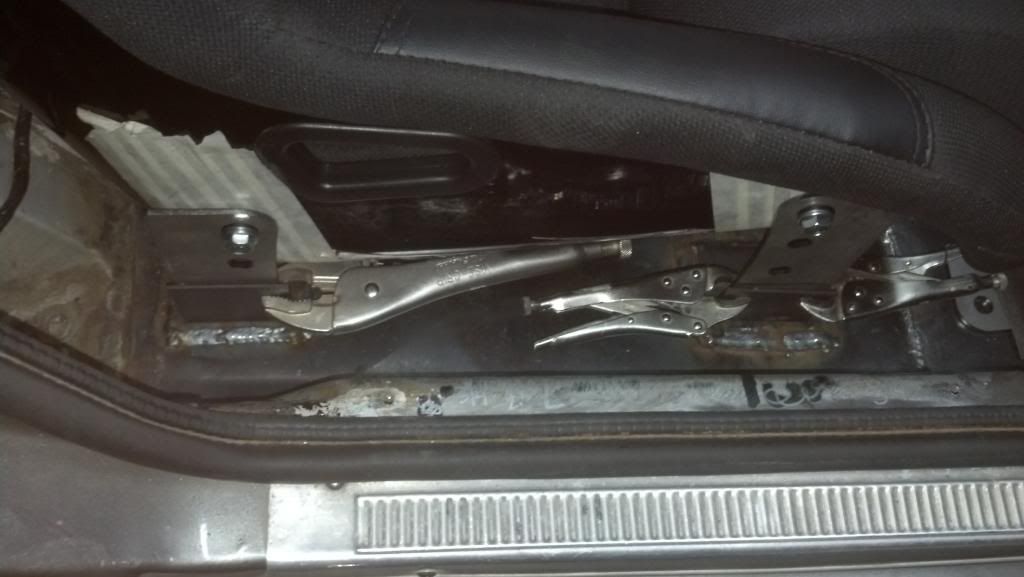
Vice grips are temporary. Disappointing, I know.
This is about where the shoulder bolster will end up. I'd like to have about 1/2" when its final mounted to keep from wearing it out. Don't mind the baller / badass skull lock pulls.
Here are the mounts. I used these brackets from speedway motors ($5 ea), with a reducer nylon bushing from 1/2" to 3/8" which is pretty close to the 8mm bolts. Also, true to form all the pretty welds will never be seen!
Vice grips are temporary. Disappointing, I know.
 05-25-2014, 10:48 PM
#173
Finished the new diff mount.
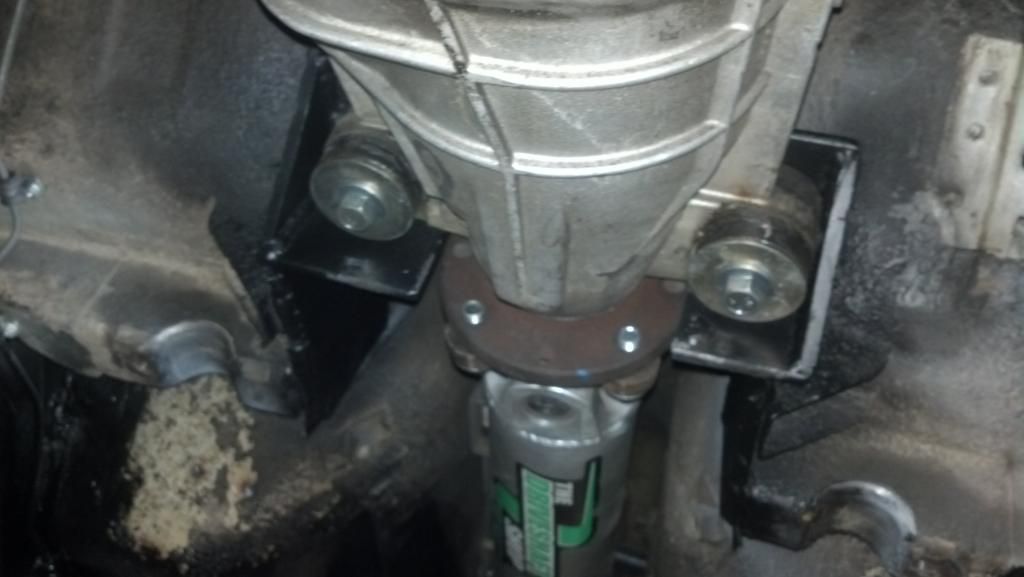
Reason for new front diff mount:
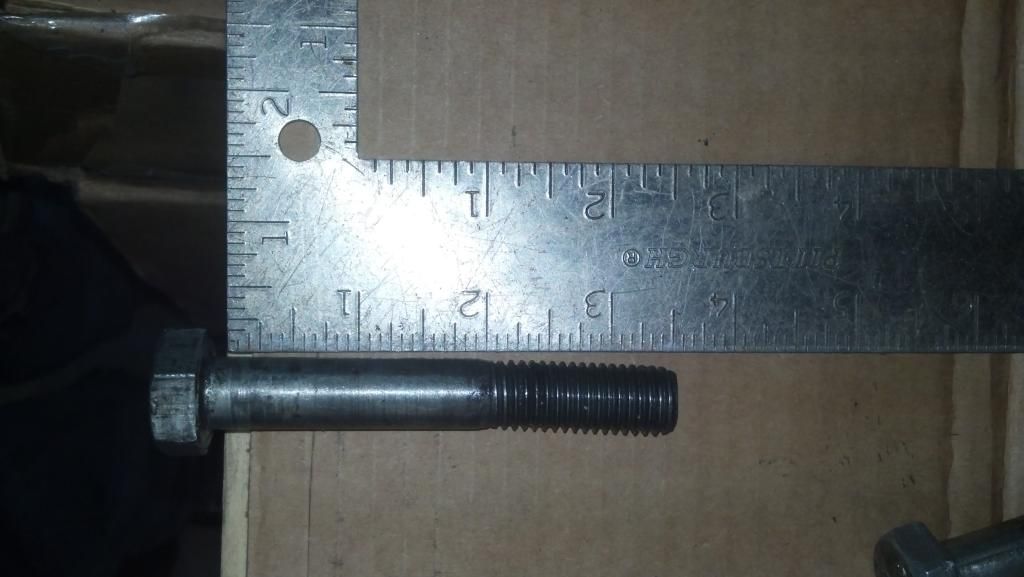
Both the 14mm bolts holding the diff to the rear mount were quite bent. I knew the old mount was letting the diff move, but I had no idea how much!!!
Also got the fuel tank back in. I really like how the sump turned out.
Reason for new front diff mount:
Both the 14mm bolts holding the diff to the rear mount were quite bent. I knew the old mount was letting the diff move, but I had no idea how much!!!
Also got the fuel tank back in. I really like how the sump turned out.
 05-27-2014, 07:56 AM
#177
Launching!
iTrader: (5)

Join Date: Aug 2012
Location: IA
Posts: 255
Likes: 0
Received 0 Likes
on
0 Posts
Related but unrelated - How close are your coils on the passenger side to the manifold? I am having issues with my setup since they are so close to my downpipe. Once the engine gets up to temp, its causing the coils to over heat and malfunction. Just giving you a heads up on something to look out for / prevent.
05-27-2014, 08:50 AM
#178
TECH Fanatic

Related but unrelated - How close are your coils on the passenger side to the manifold? I am having issues with my setup since they are so close to my downpipe. Once the engine gets up to temp, its causing the coils to over heat and malfunction. Just giving you a heads up on something to look out for / prevent.
Pics? I may have missed them.
05-27-2014, 09:50 AM
#179
Related but unrelated - How close are your coils on the passenger side to the manifold? I am having issues with my setup since they are so close to my downpipe. Once the engine gets up to temp, its causing the coils to over heat and malfunction. Just giving you a heads up on something to look out for / prevent.