My build - Lots of pics


 )
) 
 01-22-2011, 11:15 PM
#305
Well its time to get back to work! The first part of this post was posted in the drag race section last week. Second part is this weekends work.
PART 1:
We usually wait until after the holidays to really get after it and it was the same this year. We started last weekend but we weren't very motivated. The plan was to pull the trans to get the converter out. We got under the car and pulled the drive shaft, and took off the converter bolts. This gave us an opportunity to use the new BIG BOY ratchet!
Here is Chris getting it all set up
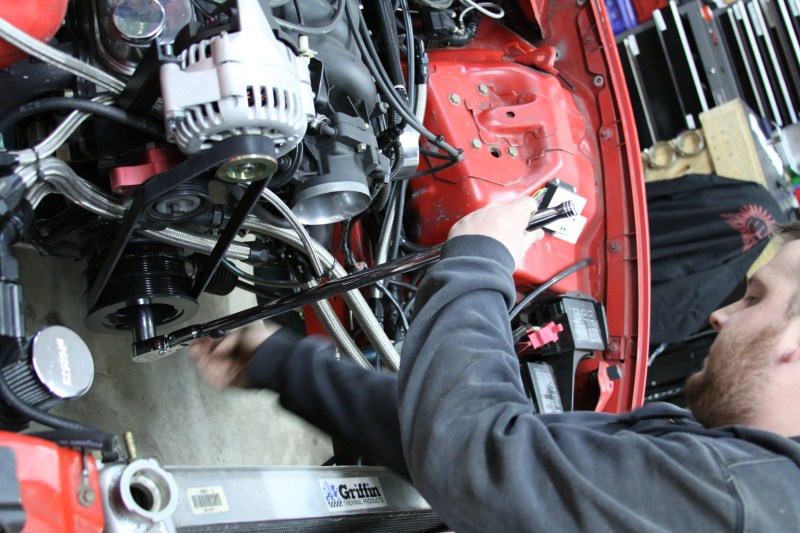
That is a Snap-On SLX-80, locking flex head, long handle 1/2 drive dual 80 ratchet. You can turn the motor so easy with it, its unreal! Having the right tool for the job makes it all so much easier.
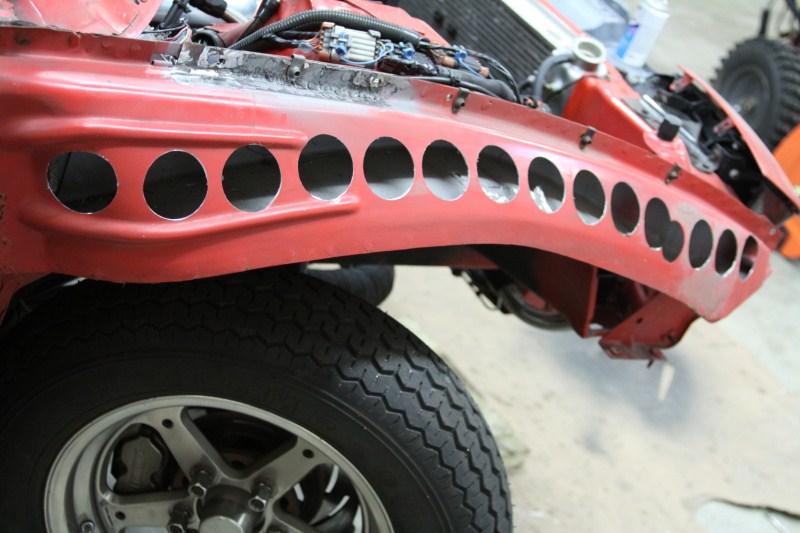
Anyway he got the converter bolts off, and then started in the trans bolts. Once we started on the trans bolts, we both remembered the top bolt that is a pain in the ***. We actually installed it when the head was off of the car. That one bolt really unmotivated us, so we stopped on the trans. While Chris was under the car working I was up top pulling off the fenders. I actually pulled them off to get the back part of the hinges off of the car since it now has a lift off hood. Once Chris decided that he didn't want to pull the trans he started to lay out the fender supports to hole saw them.

And here is the results.
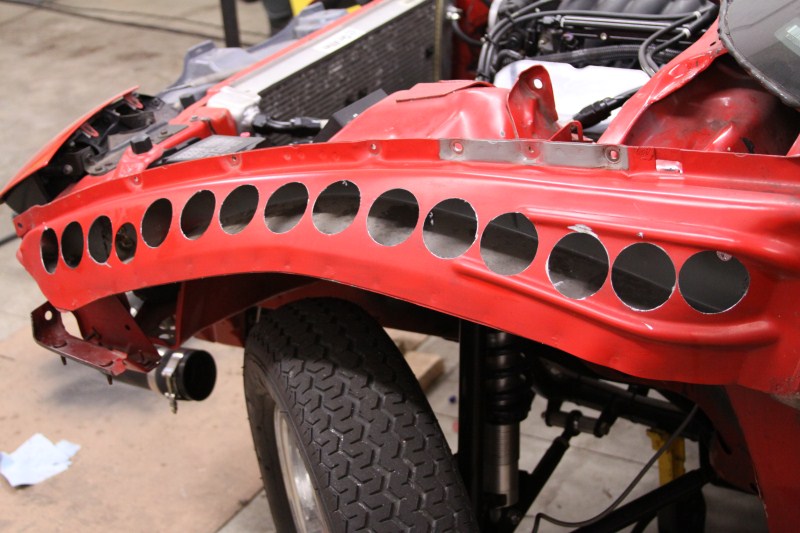
After that we gave it a quick coat of paint to stop rust, threw the fenders back on, and called it a day.
This weekend we actually tackled the trans, and got it pulled. Chris was able to get to that top bolt with the help of a long extension.
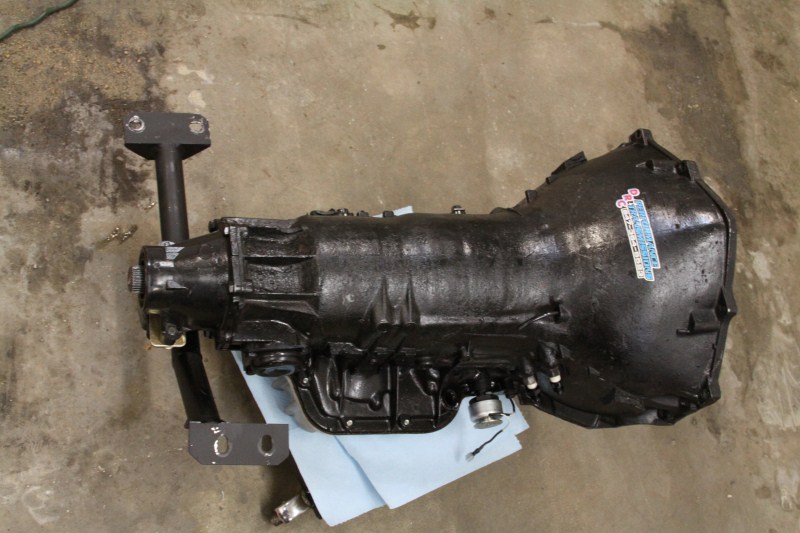
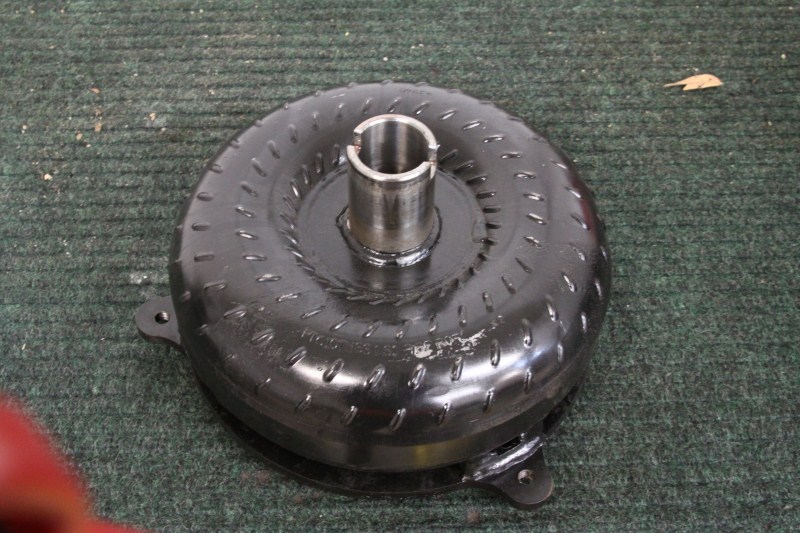
And here is the PTC converter that we are changing out. It needed to be re stalled, and after doing some research it was decided to go with a stronger unit. This converter worked great, but we are already at the limits of its power handling and we will be turning it up this year.
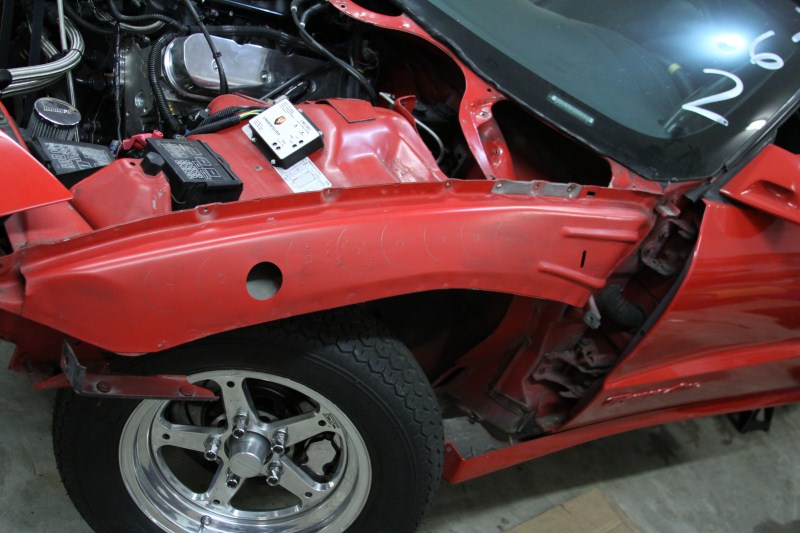
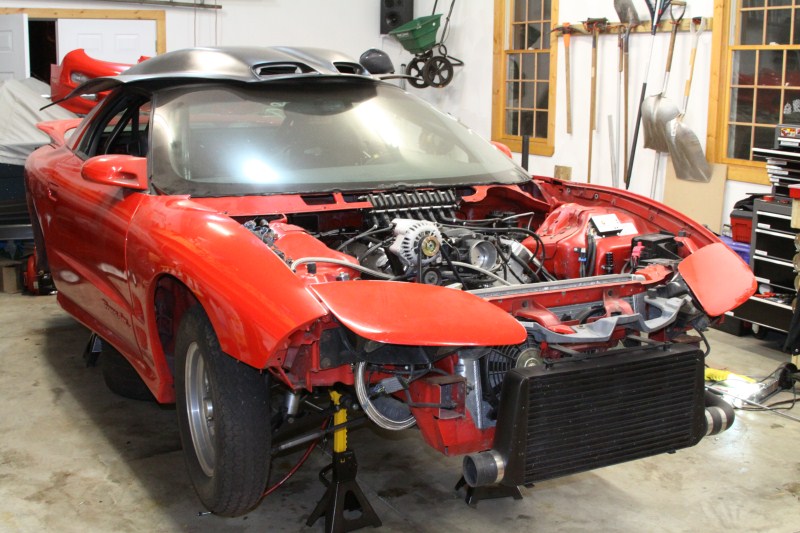
Thats actually about all we did. Chris started to run the second power wire for the fuel pumps, but that is nothing to look at. We should have more interesting updates in the next few weeks though. Here is how the car is sitting right now.
PART 2:
Well, nothing too exciting happening this weekend. We finally got all of the consumables for the TIG welder this weekend. So Friday we moved things around, got that all set up, and played with it. Chris had never TIG welded before, but he is picking it up quick considering he is being taught by someone who has VERY little TIG experience. That burned up all of Friday night really.
Saturday (afternoon) we got cracking on some actual work. I started practicing welding molly round bar to mild sheet so that I will be ready for some up coming projects. While I was doing that Chris was fitting the back "wings" around the windshield. We had the hood on and off at least 104,538 times. Once that was all done he got cracking on the hood pins.
Now, some of you may have seen us talk about our plans for the hood. We didn't want to go with dzus fasteners for a few reasons. We also didn't want to go with traditional hood pins. That left us with these Areo Catch hood pins. They are very cool, and I have never seen them on a drag car yet. When you get a chance, defiantly check them out.
Anyway, on to the work/pictures. As I said, Chis did all of this work (I didn't want to cut up the hood) so I have a lot of pictures.
What we did was put the pins on the car, then work out. Here is where we put the front pins
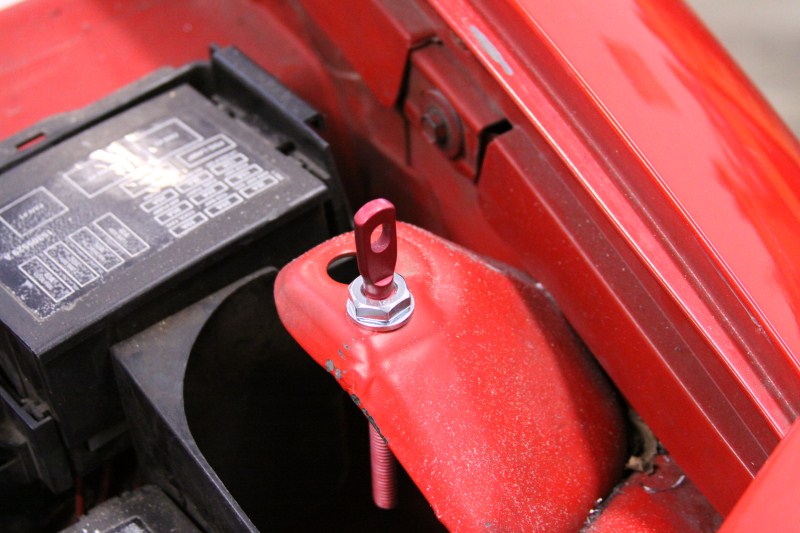
This placed the pins perfectly for us, and is plenty strong. We then set the hood on the car and marked the underside with a silver sharpie. And yes, we will trim the excess off of the pins.
Once marked Chris drilled a 1/2" hole so that the pins can come all the way though the hood.
The reason for this method is the other part of the hood pins. The Aero Catch pins are just fine the way they are, but we found a way to make them better. Chris and I both have had a few imports in the past and had know about Password JDM for a while. When Chris was looking for the best place to find the pins he found the Password JDM had an install kit for them, so he ordered them up. This kit consist of this ring (2 per kit)

As well as this template (2 per kit)
That template is the ****! From what I can tell it is laser cut plexi and makes installing the pins so much easier. As you can see there is a rectangle cut out for the pin to go into. So what we did was drill that hole so the pin came through placed the template on it, marked it, and cut away!
Chris started with a rough cut
Which left a hole like this
Then Chris sanded it to the shape needed
Leaving it looking like this
Then, because of our positioning, we had to clearance the bracing on the bottom side. This is to clear the Password JDM ring. The hood pins would normally use a small washer and nut, so you would not need as much room.
Then he taped around the hole and marked where the screw holes were needed. Then carefully drilled them all.
Leaving this
Then you put the whole deal in the hole, with the Password JDM ring on the back side, and use the supplied screws to hold it all together.
Looks like this closed
And like this open
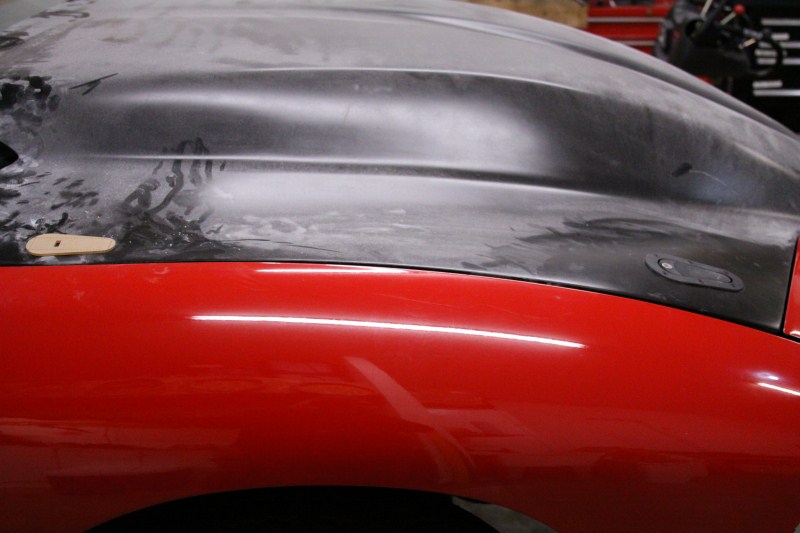
Here is the hood back on the car with both pins in place
And here is a break down of how it works.
You press down on the larger side (this set has optional locks)
When you press it, it pops up the latch part
Then you just lift up on the latch
When its lifted up, it will pull the pin out of the pin on the car. Here is a picture with the latch in the middle so you can see the movement.
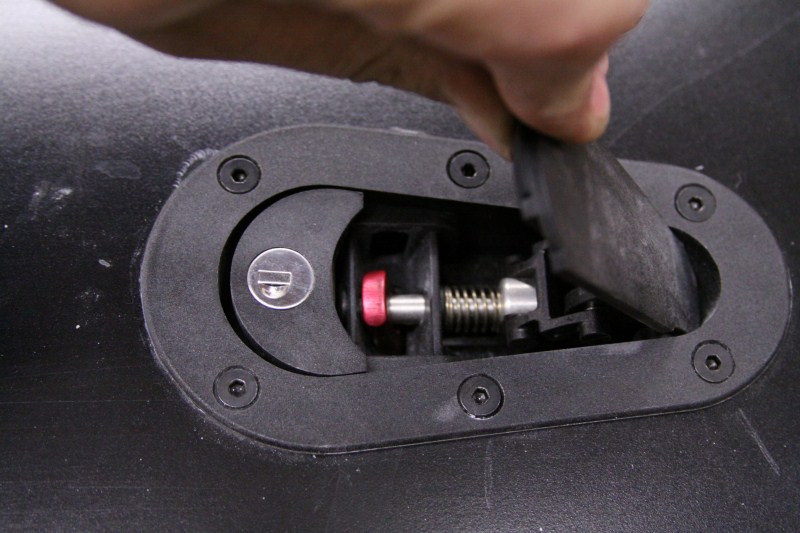
To close it you just push it down, and it snaps shut very solidly. We did not get to the back set yet, but this is more or less where it will be.
All in all this is a great product that offers a LOT of mounting options. You can get them flush mount where the assembly gets fiberglassed in from the bottom side of the hood leaving it smooth on the top side. The pin can come in from the sides, and you can even use them like a hinge.
Well, thats all for this weekend. Doesn't look like much, I know, but it was a slow process to make it right. Next up is the back two pins, which will require some fab work on the car. Anyway, as always I hope you enjoy, and thanks for following along.
Sean
PART 1:
We usually wait until after the holidays to really get after it and it was the same this year. We started last weekend but we weren't very motivated. The plan was to pull the trans to get the converter out. We got under the car and pulled the drive shaft, and took off the converter bolts. This gave us an opportunity to use the new BIG BOY ratchet!
Here is Chris getting it all set up
That is a Snap-On SLX-80, locking flex head, long handle 1/2 drive dual 80 ratchet. You can turn the motor so easy with it, its unreal! Having the right tool for the job makes it all so much easier.
Anyway he got the converter bolts off, and then started in the trans bolts. Once we started on the trans bolts, we both remembered the top bolt that is a pain in the ***. We actually installed it when the head was off of the car. That one bolt really unmotivated us, so we stopped on the trans. While Chris was under the car working I was up top pulling off the fenders. I actually pulled them off to get the back part of the hinges off of the car since it now has a lift off hood. Once Chris decided that he didn't want to pull the trans he started to lay out the fender supports to hole saw them.
And here is the results.
After that we gave it a quick coat of paint to stop rust, threw the fenders back on, and called it a day.
This weekend we actually tackled the trans, and got it pulled. Chris was able to get to that top bolt with the help of a long extension.
And here is the PTC converter that we are changing out. It needed to be re stalled, and after doing some research it was decided to go with a stronger unit. This converter worked great, but we are already at the limits of its power handling and we will be turning it up this year.
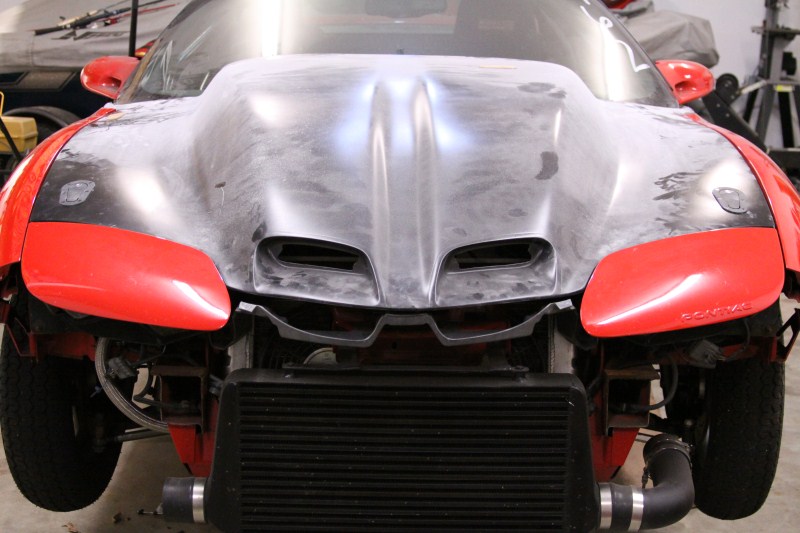
Thats actually about all we did. Chris started to run the second power wire for the fuel pumps, but that is nothing to look at. We should have more interesting updates in the next few weeks though. Here is how the car is sitting right now.
PART 2:
Well, nothing too exciting happening this weekend. We finally got all of the consumables for the TIG welder this weekend. So Friday we moved things around, got that all set up, and played with it. Chris had never TIG welded before, but he is picking it up quick considering he is being taught by someone who has VERY little TIG experience. That burned up all of Friday night really.
Saturday (afternoon) we got cracking on some actual work. I started practicing welding molly round bar to mild sheet so that I will be ready for some up coming projects. While I was doing that Chris was fitting the back "wings" around the windshield. We had the hood on and off at least 104,538 times. Once that was all done he got cracking on the hood pins.
Now, some of you may have seen us talk about our plans for the hood. We didn't want to go with dzus fasteners for a few reasons. We also didn't want to go with traditional hood pins. That left us with these Areo Catch hood pins. They are very cool, and I have never seen them on a drag car yet. When you get a chance, defiantly check them out.
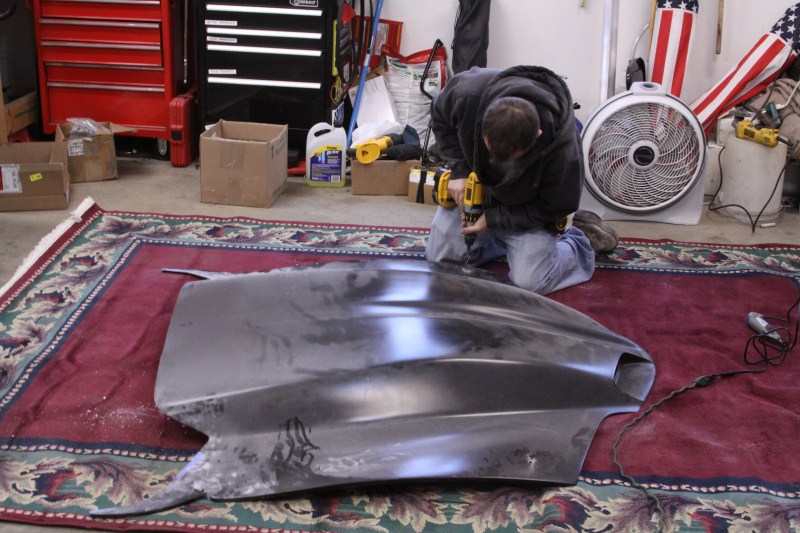
Anyway, on to the work/pictures. As I said, Chis did all of this work (I didn't want to cut up the hood) so I have a lot of pictures.
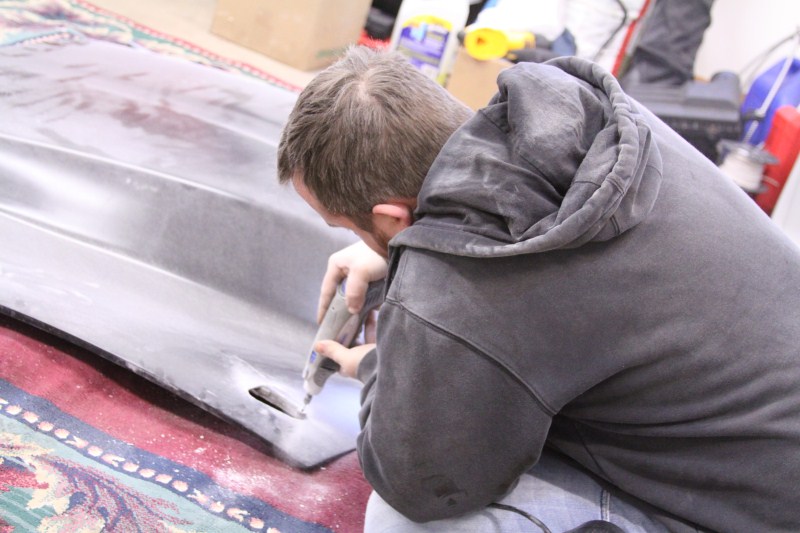
What we did was put the pins on the car, then work out. Here is where we put the front pins
This placed the pins perfectly for us, and is plenty strong. We then set the hood on the car and marked the underside with a silver sharpie. And yes, we will trim the excess off of the pins.
Once marked Chris drilled a 1/2" hole so that the pins can come all the way though the hood.
The reason for this method is the other part of the hood pins. The Aero Catch pins are just fine the way they are, but we found a way to make them better. Chris and I both have had a few imports in the past and had know about Password JDM for a while. When Chris was looking for the best place to find the pins he found the Password JDM had an install kit for them, so he ordered them up. This kit consist of this ring (2 per kit)
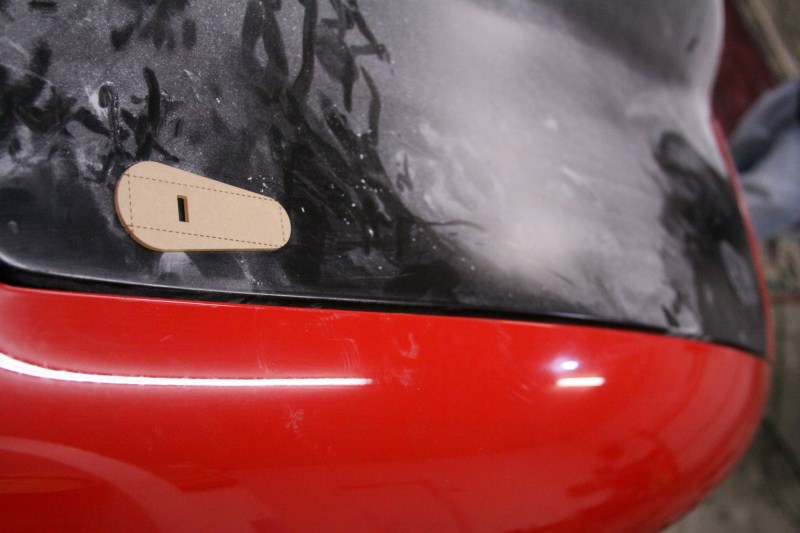
As well as this template (2 per kit)
That template is the ****! From what I can tell it is laser cut plexi and makes installing the pins so much easier. As you can see there is a rectangle cut out for the pin to go into. So what we did was drill that hole so the pin came through placed the template on it, marked it, and cut away!
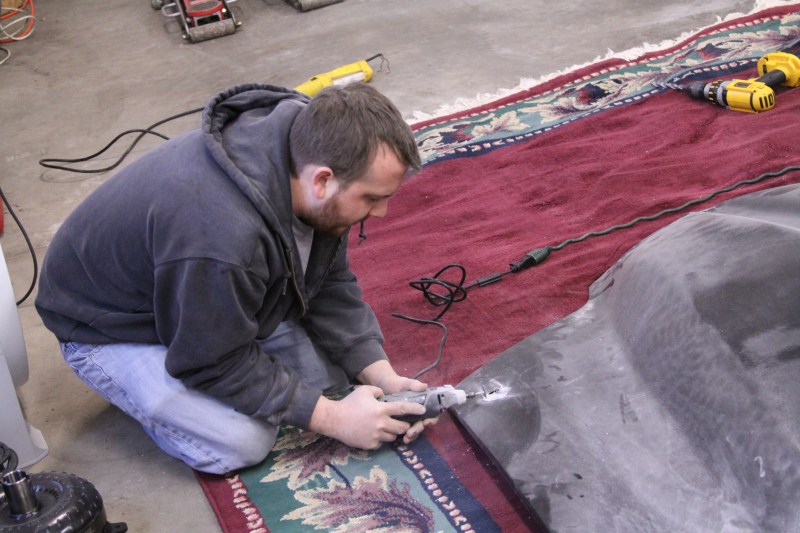
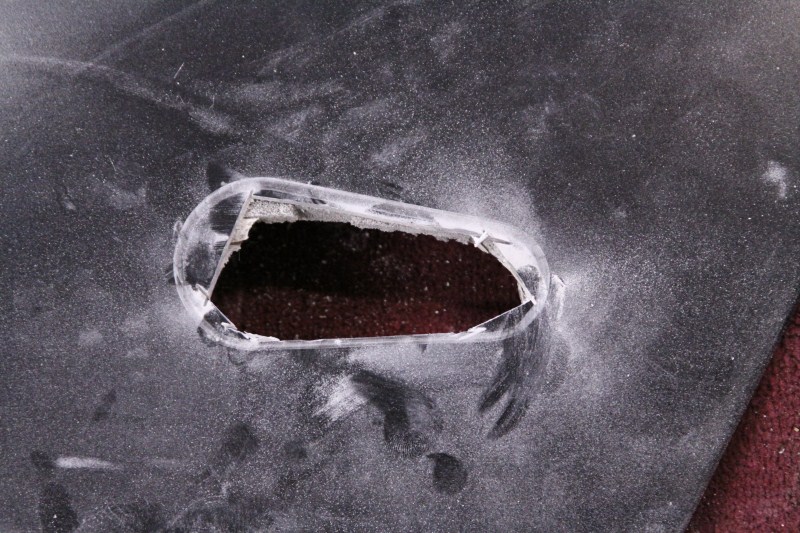
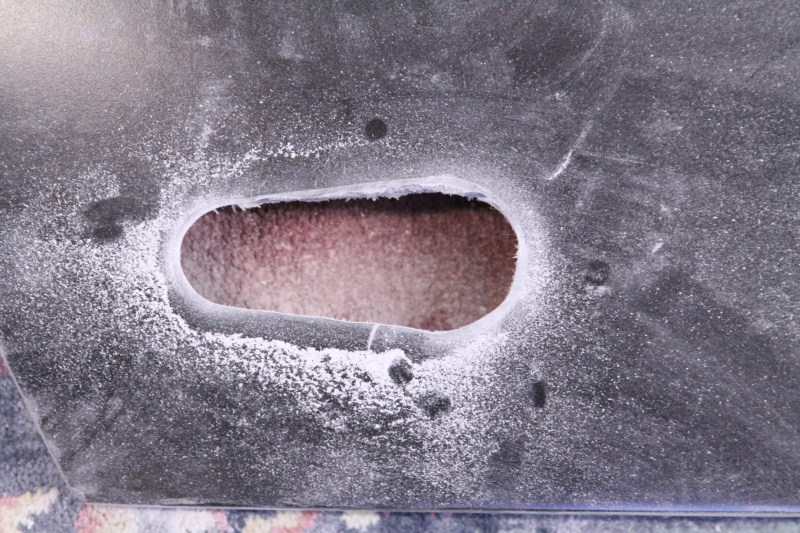
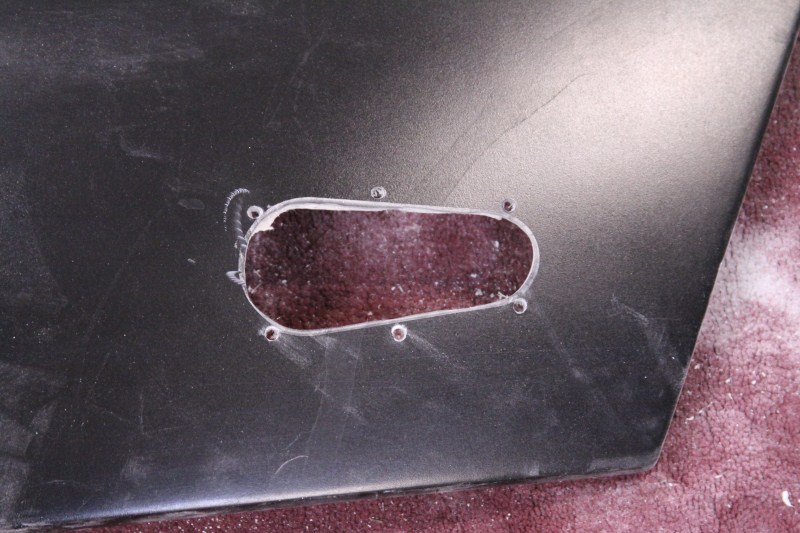
Chris started with a rough cut
Which left a hole like this
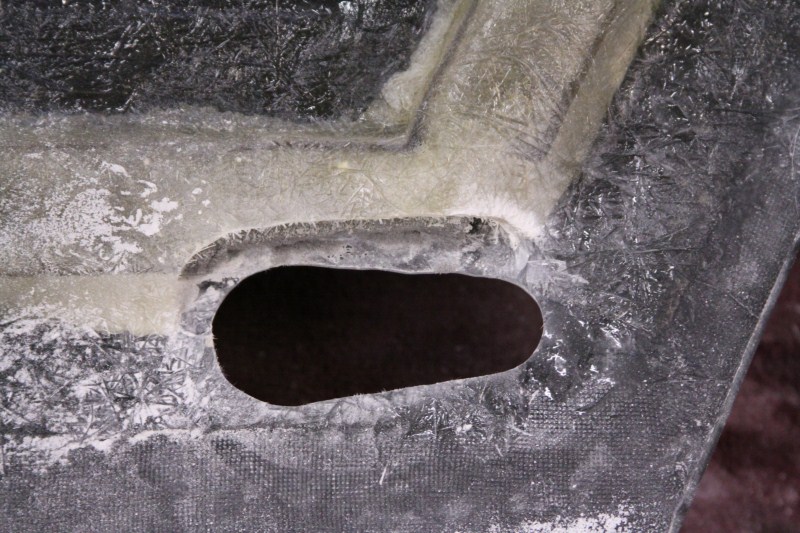
Then Chris sanded it to the shape needed
Leaving it looking like this
Then, because of our positioning, we had to clearance the bracing on the bottom side. This is to clear the Password JDM ring. The hood pins would normally use a small washer and nut, so you would not need as much room.
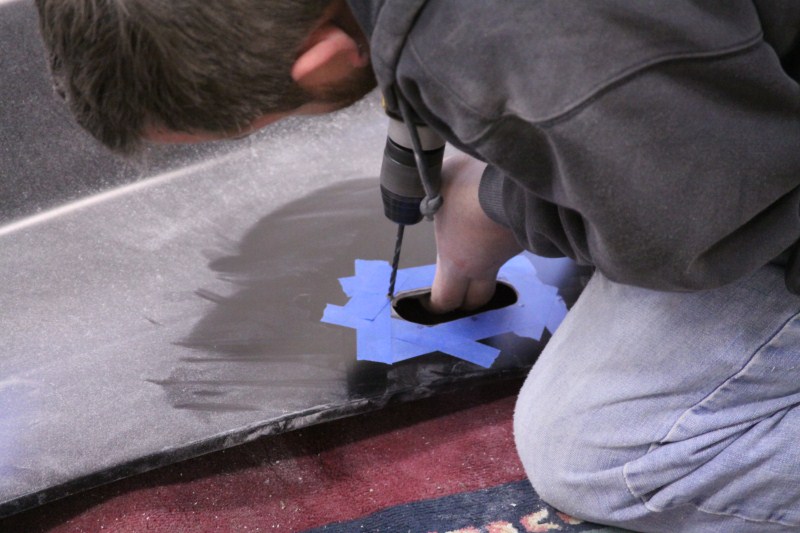
Then he taped around the hole and marked where the screw holes were needed. Then carefully drilled them all.
Leaving this
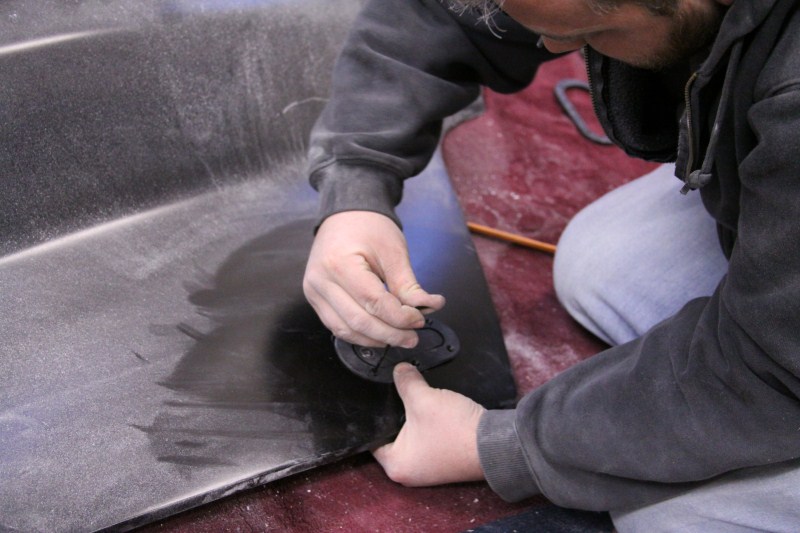
Then you put the whole deal in the hole, with the Password JDM ring on the back side, and use the supplied screws to hold it all together.
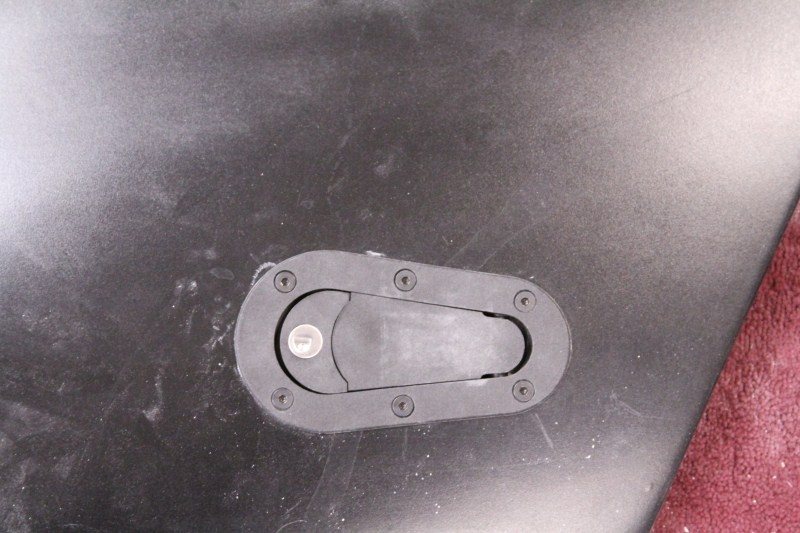
Looks like this closed
And like this open
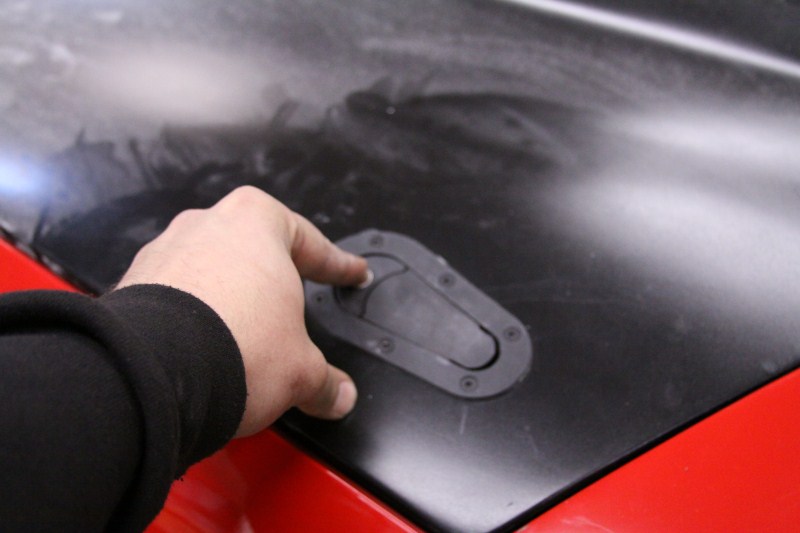
Here is the hood back on the car with both pins in place
And here is a break down of how it works.
You press down on the larger side (this set has optional locks)
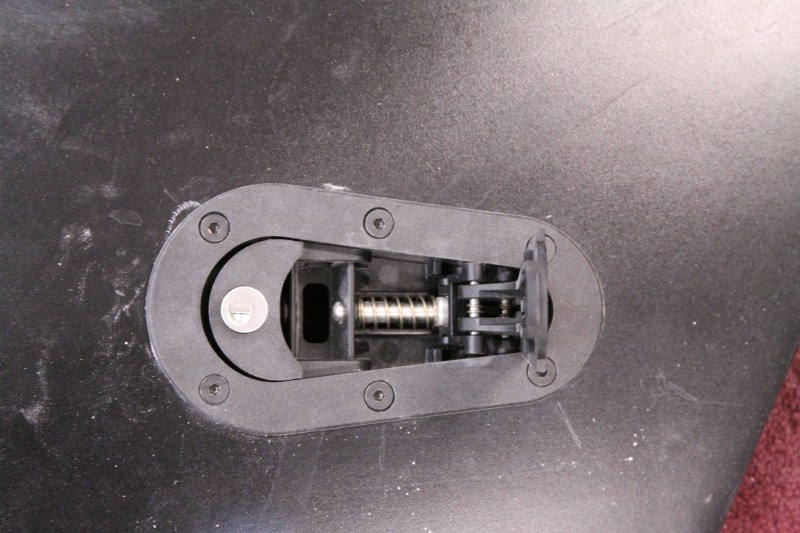
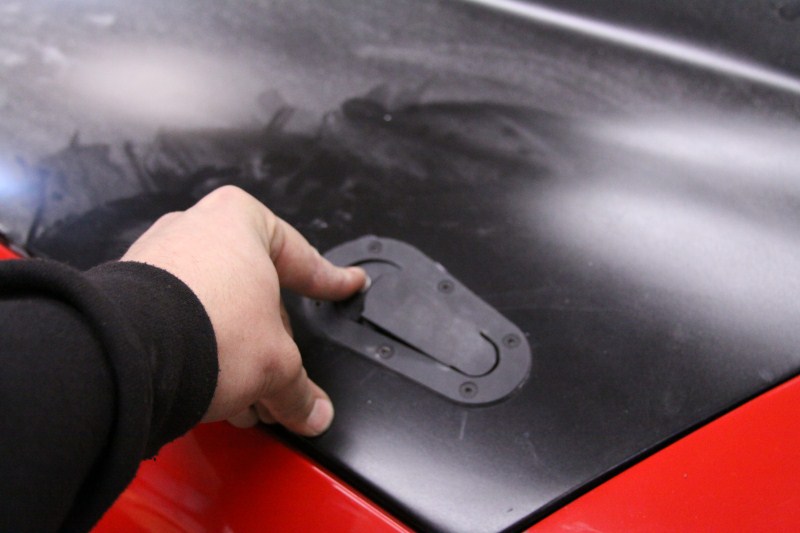
When you press it, it pops up the latch part
Then you just lift up on the latch
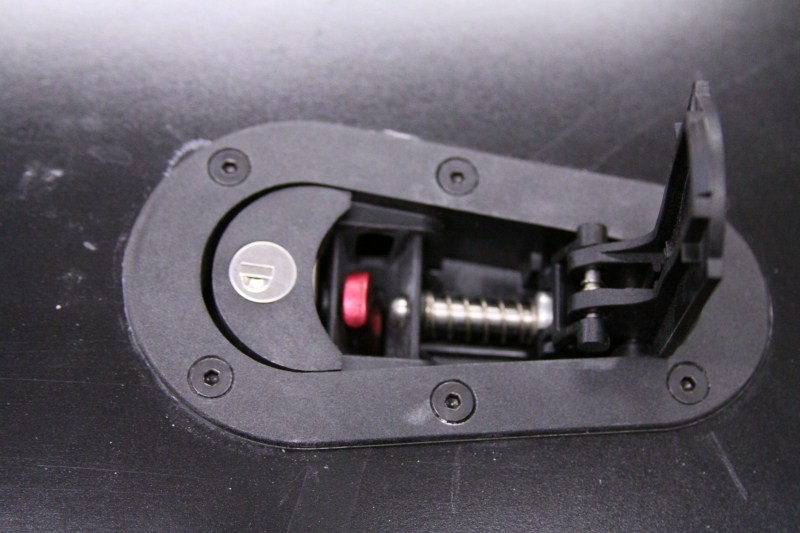
When its lifted up, it will pull the pin out of the pin on the car. Here is a picture with the latch in the middle so you can see the movement.
To close it you just push it down, and it snaps shut very solidly. We did not get to the back set yet, but this is more or less where it will be.
All in all this is a great product that offers a LOT of mounting options. You can get them flush mount where the assembly gets fiberglassed in from the bottom side of the hood leaving it smooth on the top side. The pin can come in from the sides, and you can even use them like a hinge.
Well, thats all for this weekend. Doesn't look like much, I know, but it was a slow process to make it right. Next up is the back two pins, which will require some fab work on the car. Anyway, as always I hope you enjoy, and thanks for following along.
Sean
 01-23-2011, 01:54 PM
#309
On The Tree
Join Date: Jan 2007
Location: IL
Posts: 152
Likes: 0
Received 0 Likes
on
0 Posts
your will fit the nmca real street class really nicely are you thinking about running any of the races this year
The lsx shootout is in IN this year
What kind of power and et are you hoping to get out of that turbo when you have pushed
I watched the car run at the Groove looked like its going to fly once you turn it up
The lsx shootout is in IN this year
What kind of power and et are you hoping to get out of that turbo when you have pushed
I watched the car run at the Groove looked like its going to fly once you turn it up
01-23-2011, 02:07 PM
#310
Not really planning on running a class. I went from bottom 12s to a 9 second car, so im hoping for alot of seat time, and getting it dialed in.
With the boost turned up im hoping for upper 700 to the wheels and hopefully into the high 8's
Thanks chris
With the boost turned up im hoping for upper 700 to the wheels and hopefully into the high 8's
Thanks chris
 01-23-2011, 02:35 PM
#313

I still have not figured out what the point of hole sawing your inner fenders is, when these cars are unibody, and that's where they get their stiffness, structure, and support from? Just to save a couple pounds? Defiantly not worth it to me, but to each is own. Looking good tho. Keep up the hard work!
01-24-2011, 10:20 AM
#315
Sean
 01-24-2011, 06:23 PM
#318


