When you click on links to various merchants on this site and make a purchase, this can result in this site earning a commission. Affiliate programs and affiliations include, but are not limited to, the eBay Partner Network.
I have been wanting to post a How-To of the way I did my 8.8 swap over a year and half ago. There will be gaps in the photos as I didn't photo every step, but I will try to remember and describe everything as best as I can. This was my first time dealing with rear end stuff or even welding a lot. And please disregard my mess...it's only a 2 car garage
My car is more strip oriented, but I do drive it around town now and then. I did not need abs or traction control so I figured that I did not need 10 bolt tubes, a truing bar, or adapter sleeves to go from 3.25" OD to 2.75" OD. The biggest lost here is that I won't have LS1 rear brakes...but now I can fit 15" wheels without grinding and I get to use the 31 spline axles .
I found a local explorer 8.8 with 3.73 and lsd. The brackets were already cut off. I took some measurements before I disassembled it. I had a spare 10 bolt laying around from when I swapped in a 3.42 in place of the original 2.73 and I took some measurements comparing the two. If i remember correctly, the 10 bolt was 64.5" from axle face to axle face. The 8.8 was 59.5". Most people narrow an 8.8 and use two short axles. I read that the difference between axles was 2 7/8". I took that off of the 59.5 and the 8.8 would be around 56.75" when narrowed. This would put the ends of the 8.8 right where the lca brackets are so narrowing was not an option. I called a shop that does rear ends and asked them about widening it. They laughed, said it couldn't be done, and that they have only ever narrowed read ends. Looks like I'm doing this on my own.
I figured out how to widen it to use two long axles and keep the strength then purchased a Hiltsy mount.
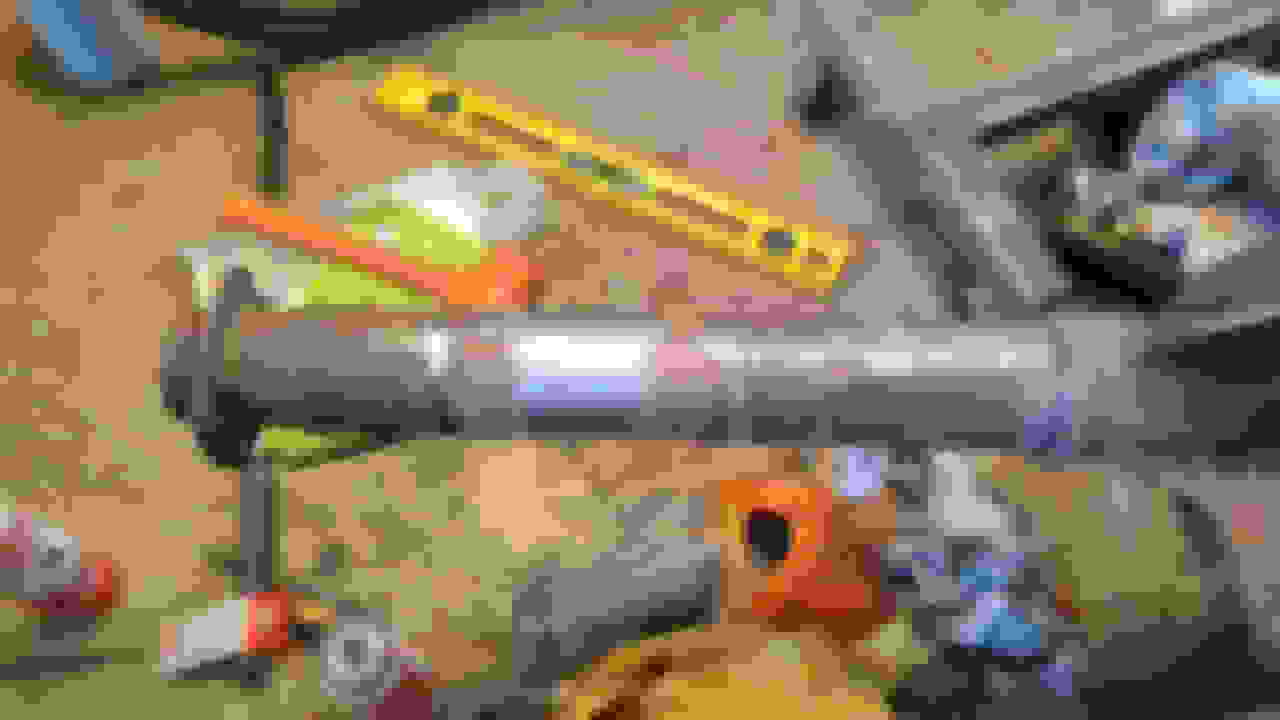
Here it is with the Hiltsy mount installed up to the point of welding it to the housing. I welded everything up and ground it down.
After a local welder tig'd the mount to the housing. I also had him tig the tubes to the housing and cover up the abs hole. He sandblasted the welding areas before welding. $140
The Hiltsy mount completed.
The Widening
Here was my plan. My 8.8 is 3.25"OD with .250" walls. I ordered a 12" piece of 3.25" OD .500" wall DOM tube. Turn down 4.5" of the ends and leave 3" not turned in the center. I went with 3" because I would lose the width of the cutting wheel when I cut the tube. As long as it stayed a press fit to the tubes, I would not need a truing bar. Use concentricity instead to keep alignment.
My friend with a lathe offered his help. I decided to cut the short side tube and take the end with me to get a perfect fit. Make sure you have at least 4.5" of the tube on each side of the cut where the tube doesn't round down to the wheel bearing or go into the housing. I found my spot, measured from the housing marking the same distance around the tube. I then taped the line using the edge of the tape as my cut line. Be sure to make a line the length of the tube to get the orientation correct when you put it back together. Once you cut the tube, you will need to grind down the seam weld in the ID so the piece will fit. I used a dremel.
The piece almost done. He would take some off, try the end piece, take a little more, try the end piece. Once it slid on with some effort, he turned the other side down to the same size. I had him 45 the edges to give more welding area.
When I got home, I put the piece in the freezer. 2 hours later, I grabbed it, ran (literally) out to the garage and tried to put it in. Apparently the other side of the tube was a little tighter (or dented) than the end I used for sizing. It went in about 1". I hurried up and grabbed a 4lb deadblow and beat it in the rest of the way:
End piece on:
Comparing the widened end to the factory end:
Factory end:
Widened end:
Only off 1/32". Not too shabby.
Before welding
After 3 passes on each seam. I preheated with a torch and went at it.
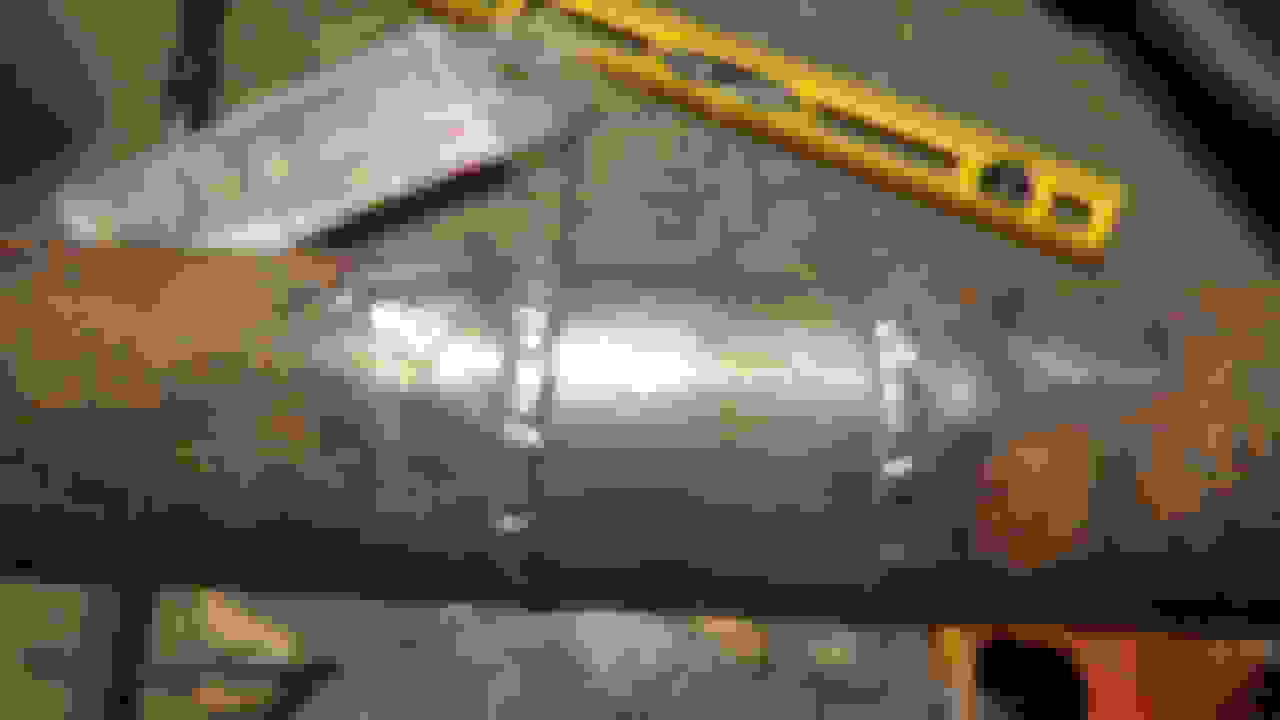
Cleaned up
Now onto brackets
Last edited by Hardtop Brian; 06-25-2017 at 04:31 PM.
Using the spare 10 bolt, I set it up on jack stands and used a jack and angle finder to get the pinion parallel to the ground and the back face perpendicular to the ground. Take your measurements and write everything down. You basically need the distance between each pair of brackets (spring perches and lca/shock brackets) and the angles at which they sit with the housing setup parallel/perpendicular. Make note of where you took your measurements! You will have to replicate these when placing them on the 8.8.
Here are my notes:
Widths:
I got 42" from outside to outside on the raised cylinder on the spring perches and 38.5" from inside to inside of the lca/shock brackets at the shock mount and 42 3/8" inside to inside on the back of the same brackets.
Angles:
I measured -5* on the flat next to the raised cylinder on the spring perch and 13* from the back of the lca/shock brackets.
The other measurements are from when I was figuring out where to place the brackets on the 8.8 from the same points that I measured for widths. To get these, I measured from backing plate face to backing plate face for an overall. I then subtracted out the width measurement for that bracket and divided the remainder by 2, voila! brackets centered.
There is a tricky spot. I took a measurement from the back of the raised cylinder on the spring perches to roughly the center of the tube. If you don't, then the springs will be pushed back at an angle due to the larger diameter of the 8.8 tubes. I did not do this with the lca/shock brackets. I'll explain later.
Cut the brackets and spring perches off. I used a combination of a dremel and an angle grinder with cut off wheel. Don't just hack them off. You need to try to preserve as much of the original surface where the bracket meets the tube. I would get them as close to off as I could, then either use a hammer or channel locks to wiggle them off.
PREPARING BRACKETS
Now we need to figure out how to take the brackets that came off a 2.75"OD tube and get them to work on a 3.25"OD tube while keeping mounting points close to factory. First, I bought a 3" wide strip of 1/8" steel and a 3.25" bi-metal hole saw. Hopefully you see where I'm going with this . I cut enough holes to make enough plates with the correct radius. I then grabbed a spray can that had an OD of 2.75", set the bracket on it where the factory mating surfaces touched, used a scale to measure the plates .25" above the can, welded the plates to the brackets, then ground out anything that wasn't 3.25" OD. No, I'm not kidding:
Worked pretty good!
Soaked the brackets in some rust stuff to clean them up before I put them on.
Since I was doing this by myself, I needed the help only a zip tie could provide. I can't remember why I pointed the housing up, but I made sure it was parallel/perpendicular on the pinion. I moved the bracket to the distance from the backing plate face that I figure out earlier, rotated it to get the angle, and tacked it. Measure everything again before final welding.
Now the spring perches. The angle is easy to get, but you'll need to remove quite a bit of material from in front of the raised cylinder to get the 3.5" from the back of the raised cylinder to the center of the tube.
This is what mine looked like:
I added a piece of metal to the side of this perch for support.
Once all the brackets are welded on, it should look something like this
Then I taped it off and painted it
Last edited by Hardtop Brian; 06-25-2017 at 05:11 PM.
I would like to note that when I disassembled it, all of the bearings looked good so I planned on reusing everything. Once it was painted, I did replace the wheels bearings and the front pinion bearing. The only reason I replaced the pinion bearing was because it had weld splatter on the race.
ASSEMBLE
Pinion in. Since I reused the bearings, I set the preload to a different spec than if you used new bearings. I'm not sure what the spec was but I think I set it to 6-8 ft/lb preload??
With the differential out, I replaced the clutches with a Cobra carbon clutch pack and also removed the S-spring. Install the differential carrier. Torque cap bolts to spec, then check for runout. With the old bearings, the pattern was fine, I had <.001" runout on the back of the ring gear, but the back lash was at the high end of the spec with .016", but still in.
AXLES
I had a friend narrowing an explorer 8.8 so I swapped him a short for a long one. At this point, I had a decision to make; keep the Ford pattern for the rear, use adapters for chevy pattern, or something else. The something else was the best option as I had found someone making drill jigs to convert the axles from Ford to GM pattern. I also had ARP extended studs laying around.
Axles in, backing plates on
62" axle face to axle face, or a narrowing of 2.5" from the 10 bolt. Now I can run normal offset wheels in the back!
This was after I decided to bring the brake calipers to the front so I didn't have to run all new brake line. I can't remember if I rotated the backing plates or had to swap sides, but I DID swap the calipers side to side so the bleeder was at the top. Drilled the new explorer rotors using the drill jig as a guide.
Used the camaro brake line and cut/welded the camaro brake line bracket. LCA Relocation brackets fit!
DRIVESHAFT
I can't remember what u-joint this is, but it's out there if you search.
Ford flange on GM driveshaft
Expensive stuff
So the rear end was done for around $900. This included new rotors, pads, paint, clutch kit $100, drill guide $100, etc. Now I need to buy adjustable everything for a chance to get the rear end correct under the car.
Adjustable Founders stuff
MW Chassis tunnel mount torque arm and true duals mount
I had to use the outer holes, not the ones used in the picture, to clear everything. I have no clearance issues.
Had to some grinding on the mount. Had to do more to move the TA in further.
Last edited by Hardtop Brian; 06-25-2017 at 05:49 PM.
All done! I used Spohn 3.25" sway bar brackets for the sway bar. I had to move the rear end back about 1" to get the driveshaft at the same spot in the transmission output.
Besides moving the torque arm in to use the outer holes and adjusting the LCA's to move the rear end back for the driveshaft, it was a pretty painless install. Got an alignment and everything came in. I do have to use a .25" spacer to run factory 16x8 wheels. Otherwise the tires rub on the inside of the wheel well.
First time at the track with it and on slicks. 1st pass on the new rear went 1.57 60' off idle. 2nd pass went 1.52 60' leaving at 3k.
Nice job man. I just did an 8.8 swap in my car. We took 2 different approaches to the swap but ended up about the same. It's crazy how much beefier everything on the 8.8 is, makes the 10 bolt look tiny.
Nice job man. I just did an 8.8 swap in my car. We took 2 different approaches to the swap but ended up about the same. It's crazy how much beefier everything on the 8.8 is, makes the 10 bolt look tiny.
Thanks! I learned a lot doing it. The 8.8 is definitely a lot beefier! I don't plan on single digit passes so I'm confident it will hold up.
1330 u joints? Why didn't you just get a set of Moser 7700 9" small ford housing ends and eliminate the all the C-clip B.S.? It would have been an extra step maybe but then you have bolt in axles. You send your brake brackets to them and the mill them ($60) so the stock brake brackets work with bolt in axles, this is the route I took for c-clip elimination.
Because i said in the first paragraph that this was my first time doing anything like this. I thought about it, but after having it consume my garage for 2 months, I just wanted it done and didn't want to spend anymore money than necessary to get it finished. I figured that I would get it in, see if there are any issues and eliminate the c clips down the road.
Because i said in the first paragraph that this was my first time doing anything like this. I thought about it, but after having it consume my garage for 2 months, I just wanted it done and didn't want to spend anymore money than necessary to get it finished. I figured that I would get it in, see if there are any issues and eliminate the c clips down the road.
It just seems like a lot of work to be stuck at square one. C-clip elimination is required at some point, good luck.
 06-25-2017, 03:21 PM


 . I cut enough holes to make enough plates with the correct radius. I then grabbed a spray can that had an OD of 2.75", set the bracket on it where the factory mating surfaces touched, used a scale to measure the plates .25" above the can, welded the plates to the brackets, then ground out anything that wasn't 3.25" OD. No, I'm not kidding: