
who like's my home made sealed WS6 air box
 02-17-2010, 11:28 AM
#1

who like's my home made sealed WS6 air box
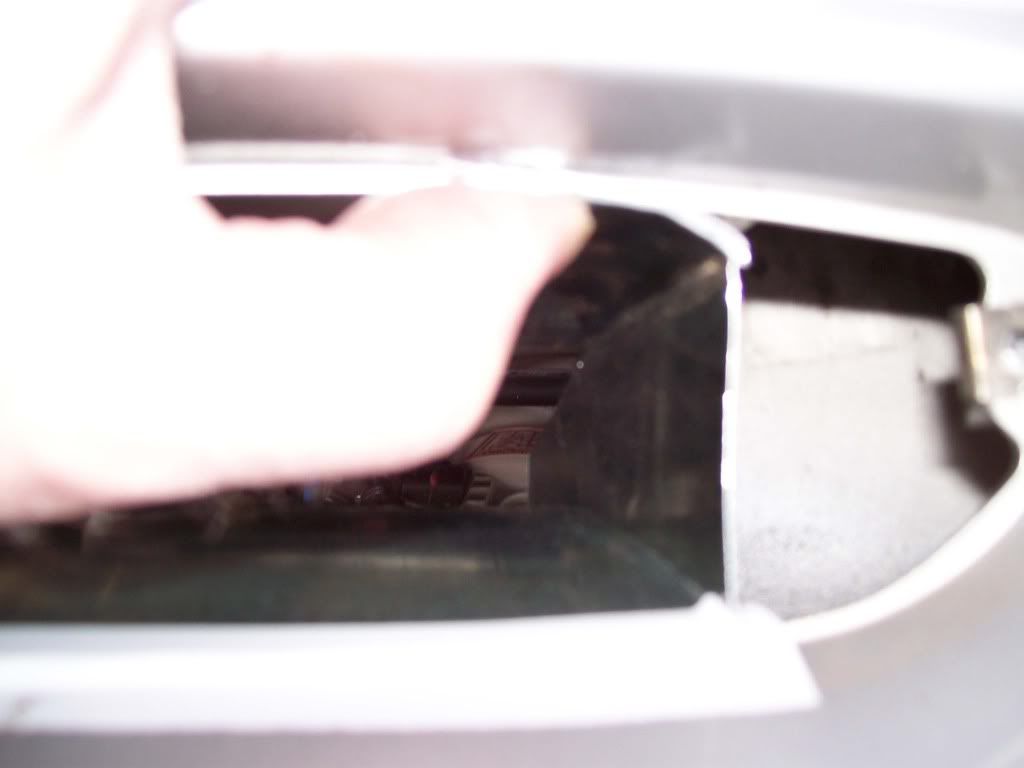
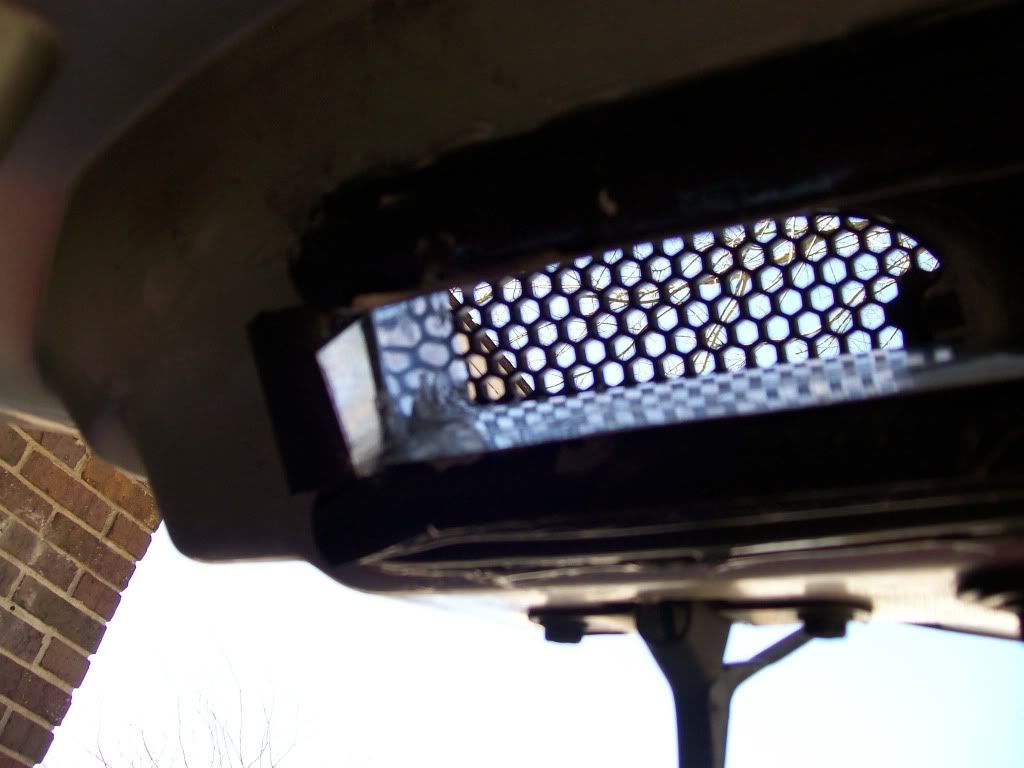
this is stage one of a 3 stage project, there's a 1/8" gap between the rubber seal and the air box.
I will update as I go.
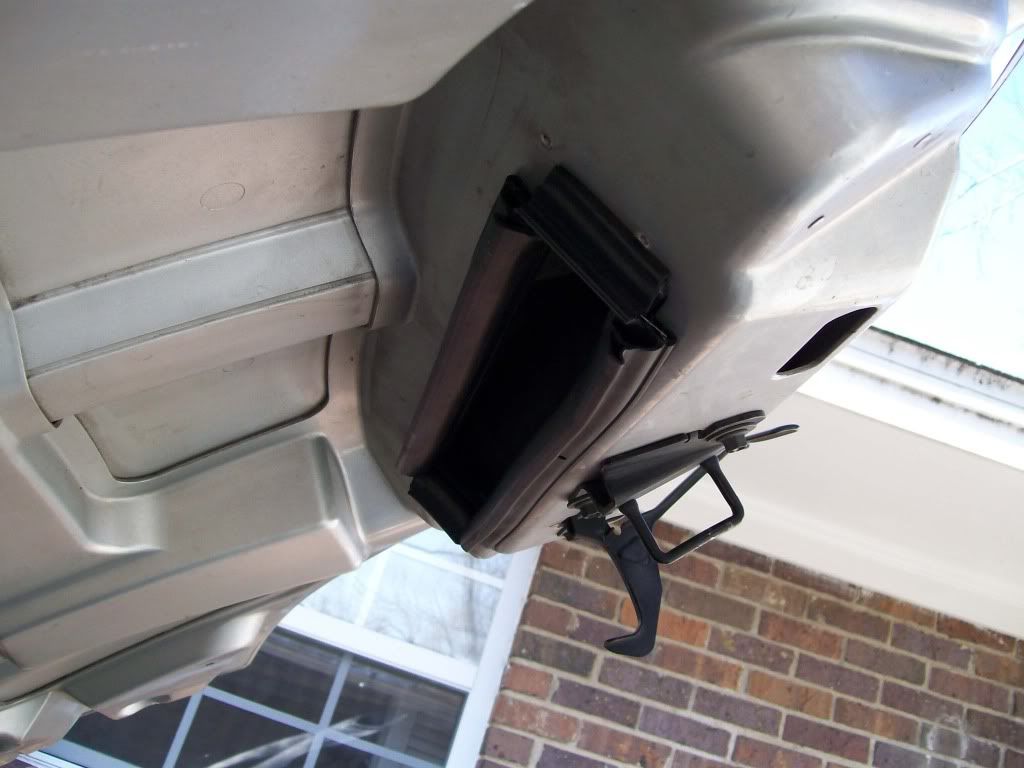
stage 2 will be adding some 1/8" weather stripping or some rubber to completely seal air box
stage 3 will be removing the nostril air blocks cutting them and us as a holder for a fabbed square tube for a striaght shot of air.
comment I like the flexable weather seal because it's durable and will not rot over time.plus it was free.
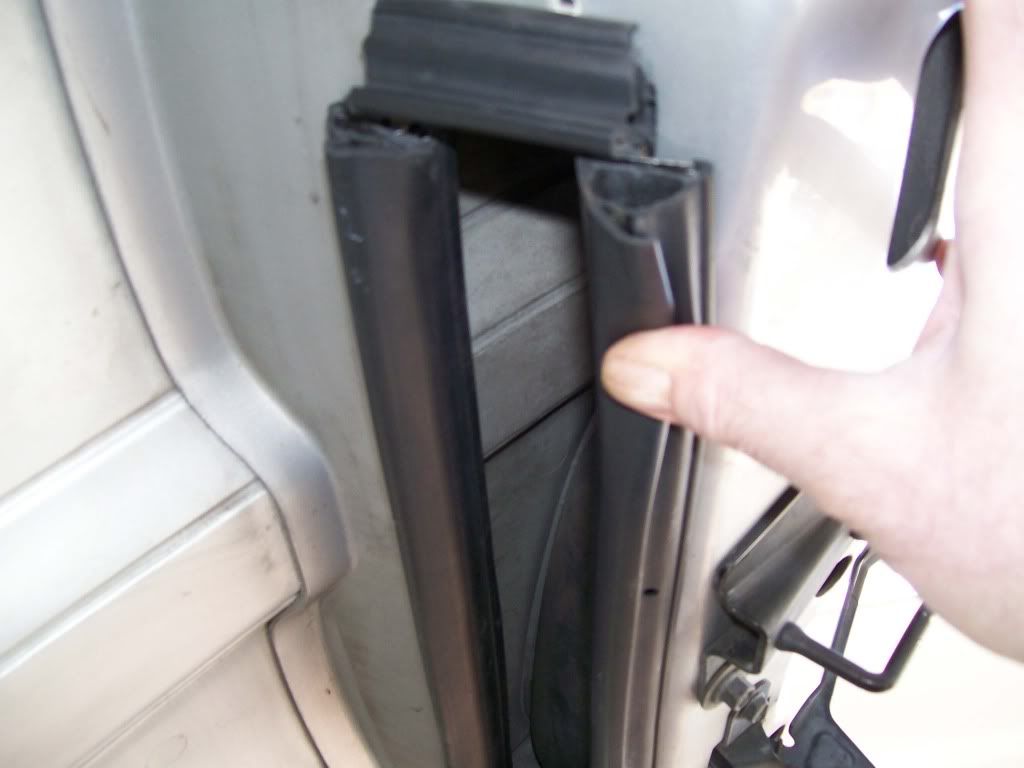
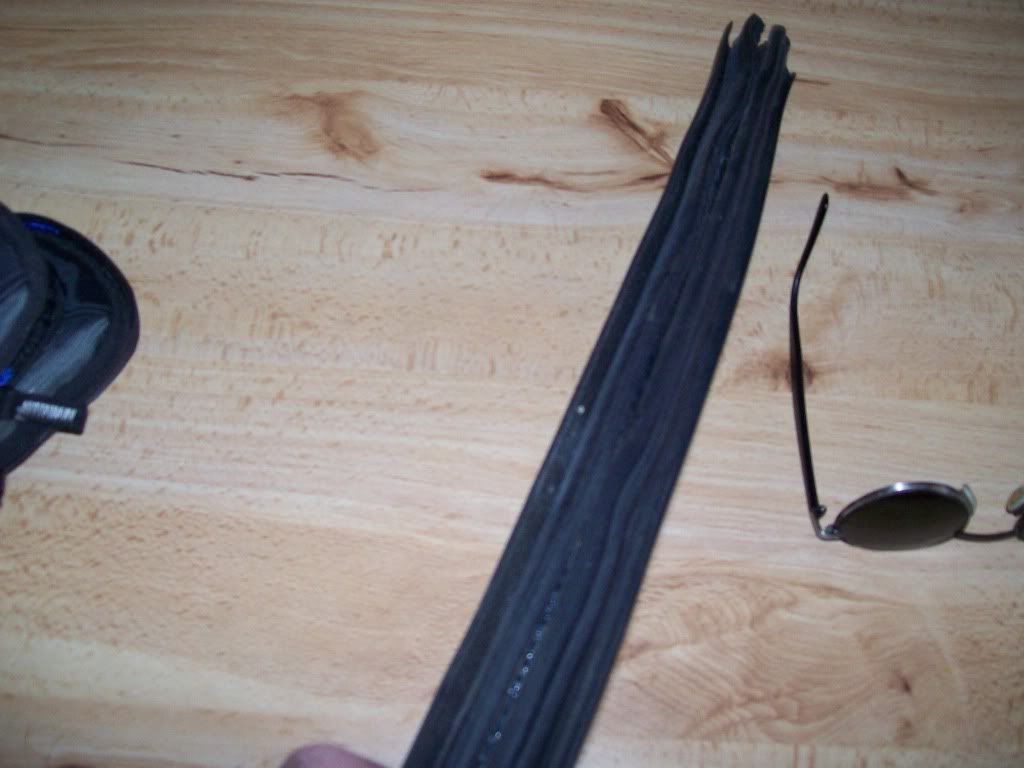
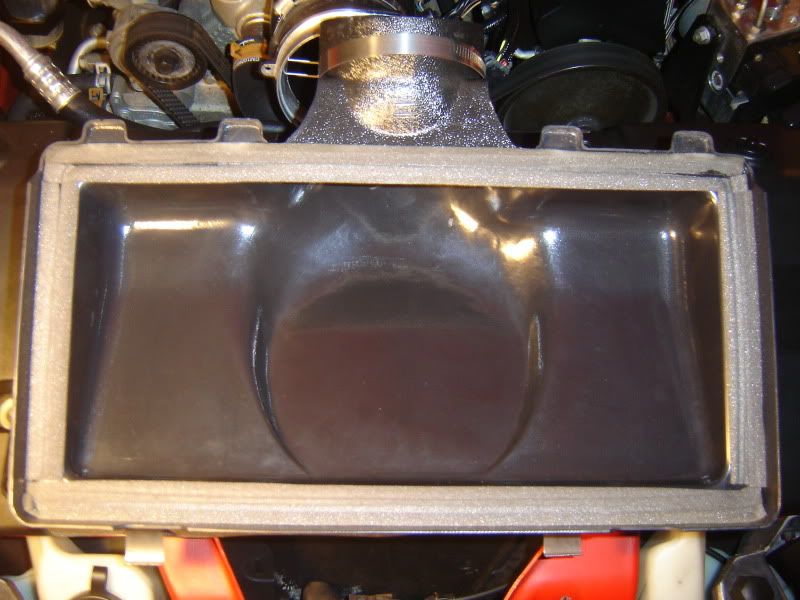
Here's the weather stripe material I used came off a 08 ford explorer it seals the rear trunk hatch has a slite and has a nice tight fit on the hood however I may just drill a few holes an secure it.
this is stage one of a 3 stage project, there's a 1/8" gap between the rubber seal and the air box.
I will update as I go.
stage 2 will be adding some 1/8" weather stripping or some rubber to completely seal air box
stage 3 will be removing the nostril air blocks cutting them and us as a holder for a fabbed square tube for a striaght shot of air.
comment I like the flexable weather seal because it's durable and will not rot over time.plus it was free.
Here's the weather stripe material I used came off a 08 ford explorer it seals the rear trunk hatch has a slite and has a nice tight fit on the hood however I may just drill a few holes an secure it.
Last edited by badmfkr; 02-17-2010 at 11:34 AM.


 02-17-2010, 07:47 PM
#6
TECH Veteran
iTrader: (14)
Join Date: Apr 2005
Location: N. Falmouth MA
Posts: 4,085
Likes: 0
Received 0 Likes
on
0 Posts

Actually not a bad idea.. use some weather strip adhesive to hold it in. Was thinkin of a way to check to see how much clearance there is between the bottom of the lid and the hood. Prolly have to have the entire radiator out and stick your head and hand under there somehow.
Trending Topics
03-03-2010, 06:58 PM
#8
Looks good man
Actually not a bad idea.. use some weather strip adhesive to hold it in. Was thinkin of a way to check to see how much clearance there is between the bottom of the lid and the hood. Prolly have to have the entire radiator out and stick your head and hand under there somehow.
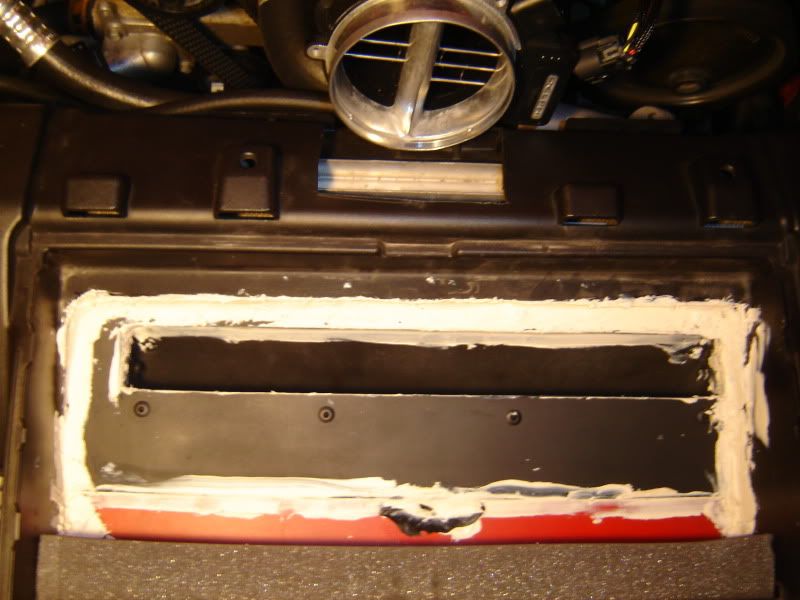
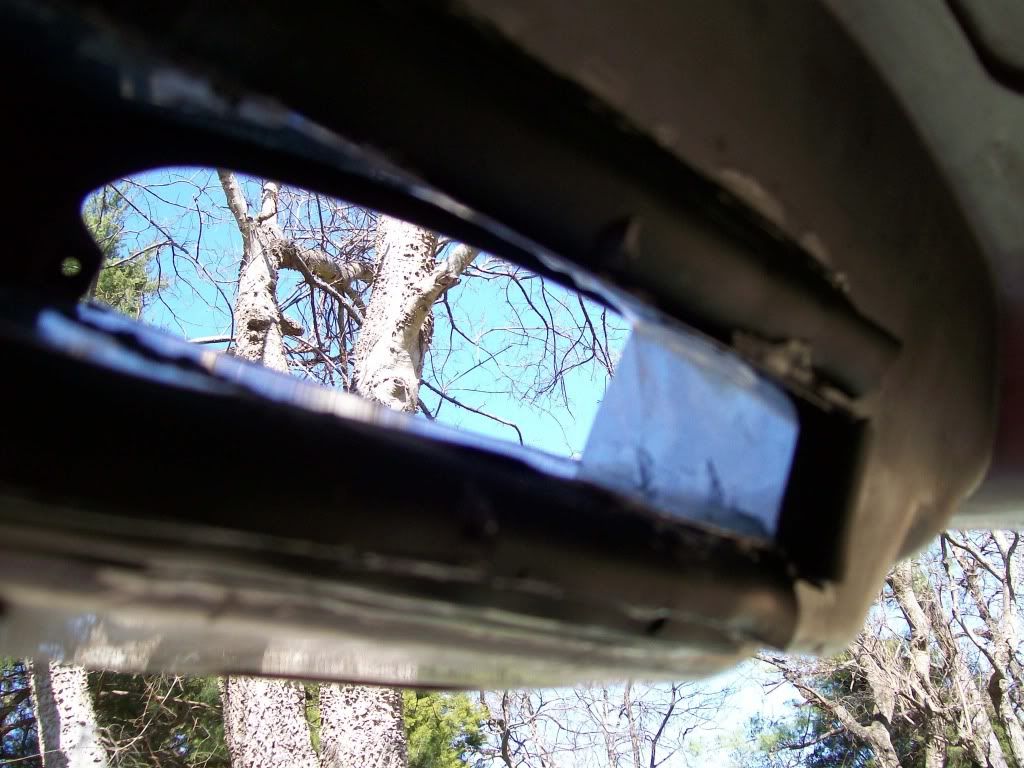
couple of updates sorry images aren't that good. here's a image of top & bottom pieces front view. (the wegde is tempary to hold stuff in place.
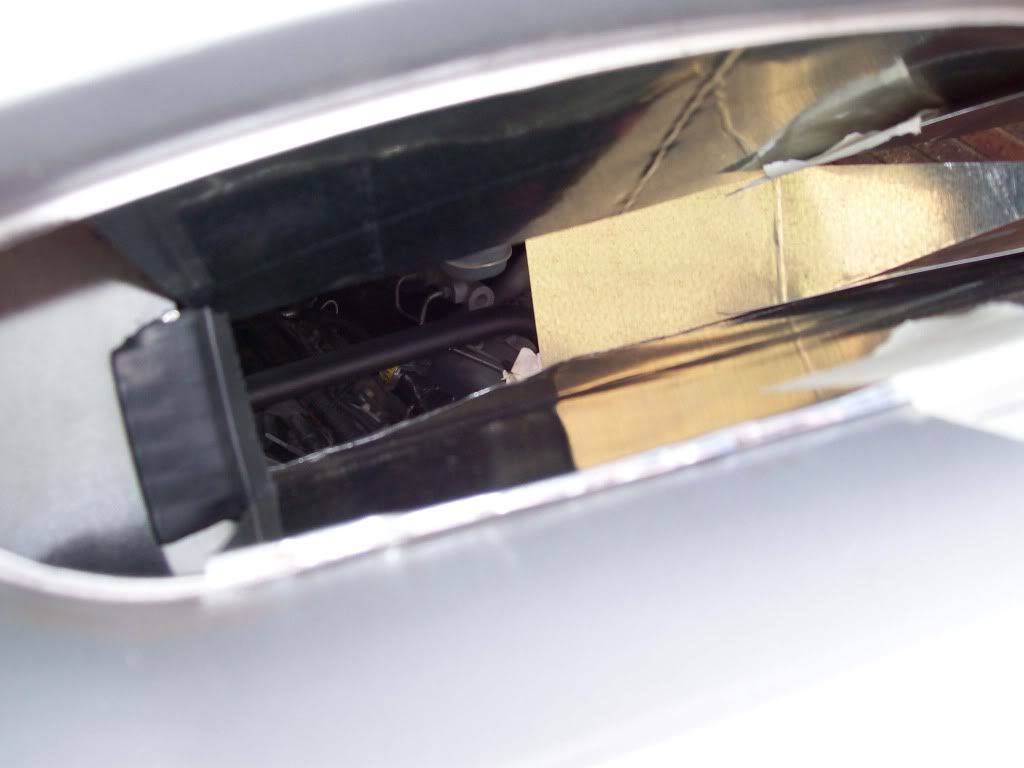
image of the front & bottom w/ side piece gluded, the top piece was real easy just jamed it into top of hood, bottom piece required a little cutting & fittting note the small flange I created the plastic nostril piece will hold it, the back of both top & bottom will be gluded to the rubber stripe.
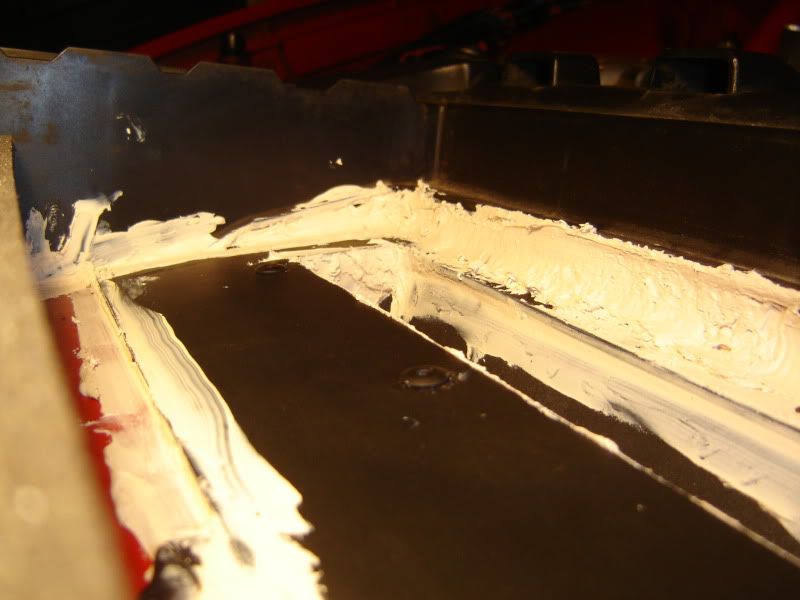
I cured the 1/8"small gap cut the front part of the weather stripe and glued it to the back =s complete seal so that give's me another excuse to stand on the gas because I'm trying out new mods .
I'll try to produce better images of this project & post any increase in 1/4 mile times & or fuel mileage.
Last edited by badmfkr; 03-03-2010 at 08:11 PM.
03-04-2010, 02:58 AM
#9
that isn't the correct way..
How I did mine was seal the peimeter of the lid itself, sealed the tray where the air filter sits, and sealed on top of the radiator support and sealed the front like you did where the air is 'ramed' in
The only place my car gets the air from is under air damn going into my home made FTRA

How I did mine was seal the peimeter of the lid itself, sealed the tray where the air filter sits, and sealed on top of the radiator support and sealed the front like you did where the air is 'ramed' in
The only place my car gets the air from is under air damn going into my home made FTRA
03-04-2010, 07:58 AM
#11
that isn't the correct way..
How I did mine was seal the peimeter of the lid itself, sealed the tray where the air filter sits, and sealed on top of the radiator support and sealed the front like you did where the air is 'ramed' in
The only place my car gets the air from is under air damn going into my home made FTRA
How I did mine was seal the peimeter of the lid itself, sealed the tray where the air filter sits, and sealed on top of the radiator support and sealed the front like you did where the air is 'ramed' in
The only place my car gets the air from is under air damn going into my home made FTRA
but don't you think a straighter shot of air could be more effeicient?
and is'nt the air being sucked into air box from in front of rad a tad warmer compared to being sucked though the ram air holes?
Thanks
Last edited by badmfkr; 03-04-2010 at 08:14 AM.
03-04-2010, 10:31 AM
#12

hate to be blunt here but i think anyone who has a ws6 ram air car and blocks off the front of the highrise air box to make the ram air from underneath is a fool. the hood and airbox were designed very well and removing those baffles does wonders to make ram air without getting dirt and possible splashes of water from under the car. i just think if you have a ram air car then put it to use otherwise just get a non-ws6 or a camaro and do your radiator ram air mod. check out the jaam ram air kit it uses all 4 nostrils. this is what i have and it was a great sotp difference from stock.
03-04-2010, 11:16 AM
#13

hate to be blunt here but i think anyone who has a ws6 ram air car and blocks off the front of the highrise air box to make the ram air from underneath is a fool. the hood and airbox were designed very well and removing those baffles does wonders to make ram air without getting dirt and possible splashes of water from under the car.
03-04-2010, 01:30 PM
#14
The problem I have with that, is the air models show air currents hit the nose of the car and then jump up and over the nostrils on the hood. The car is not designed to actually guide air into the nostrils for a "real" ram air effect, but actually sends the air up and "over" the nostrils. From what I've read, a bottom feeding ram air makes alot more sense considering the aerodynamics of the car.
03-05-2010, 02:00 PM
#16
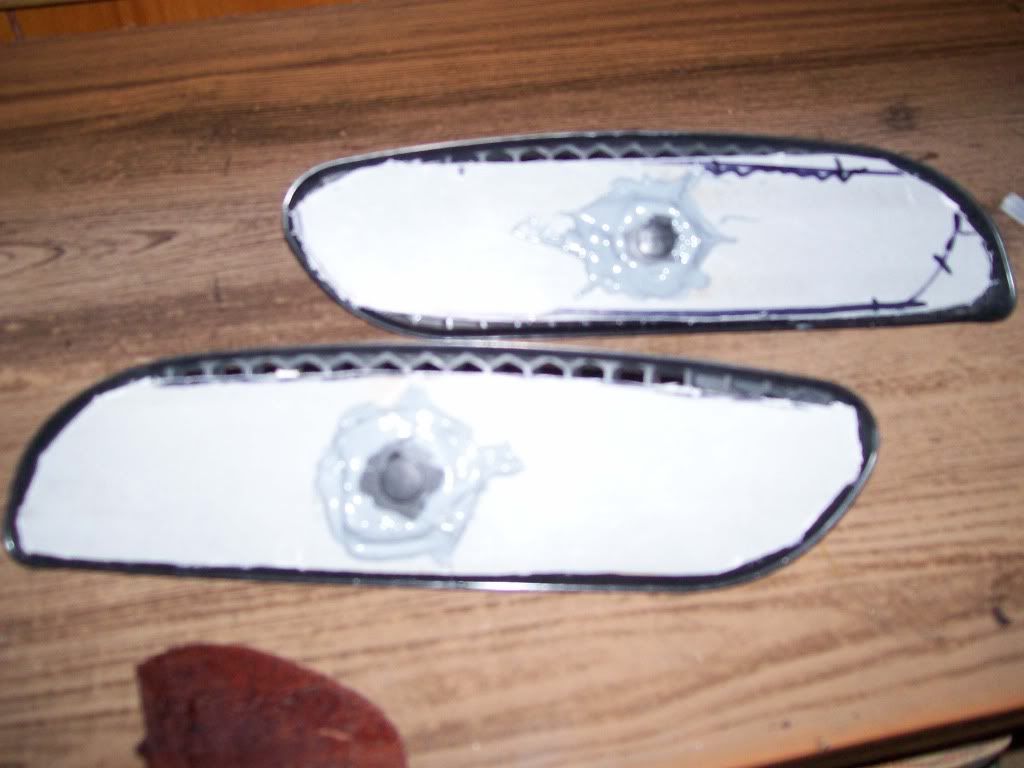
couple more images, car runs better, faster throttle response too
also the exhaust got noticeably louder guess that's a good indication of a power increase.
rubber weather stripe is gluded to the metal
also the exhaust got noticeably louder guess that's a good indication of a power increase.
rubber weather stripe is gluded to the metal
 03-08-2010, 06:59 AM
#18
you can easiely do the top vs bottom comparision w/ this hood. plus get closer to the desired race wieght harwood also makes a nice light hood.
http://www.octanemotorsports.com/pro...603#googlebase
congrates on being a ram air manufactorer good luck w/ the sales I'm sure lots of Camaro and non ram air folks will be all over this.
Currently thinking of a spong as a rain blocker any tips on this is appreciated
03-08-2010, 09:01 AM
#19
I've read about you're lower version of the FTRA and the results netted very impressive.
you can easiely do the top vs bottom comparision w/ this hood. plus get closer to the desired race wieght harwood also makes a nice light hood.
http://www.octanemotorsports.com/pro...603#googlebase
congrates on being a ram air manufactorer good luck w/ the sales I'm sure lots of Camaro and non ram air folks will be all over this.
Currently thinking of a spong as a rain blocker any tips on this is appreciated
03-26-2010, 07:46 AM
#20
update who likes my home made rain covers.
Chrs I was thinking about useing the grey heavey duty packing sponge like you used to block off the front of you're airlid these clips are definitly fingernail benders.
I used body panel attachers they expand from the rear when center button is depressed then colaspse when button pulled out.
the exposed air holes are on top

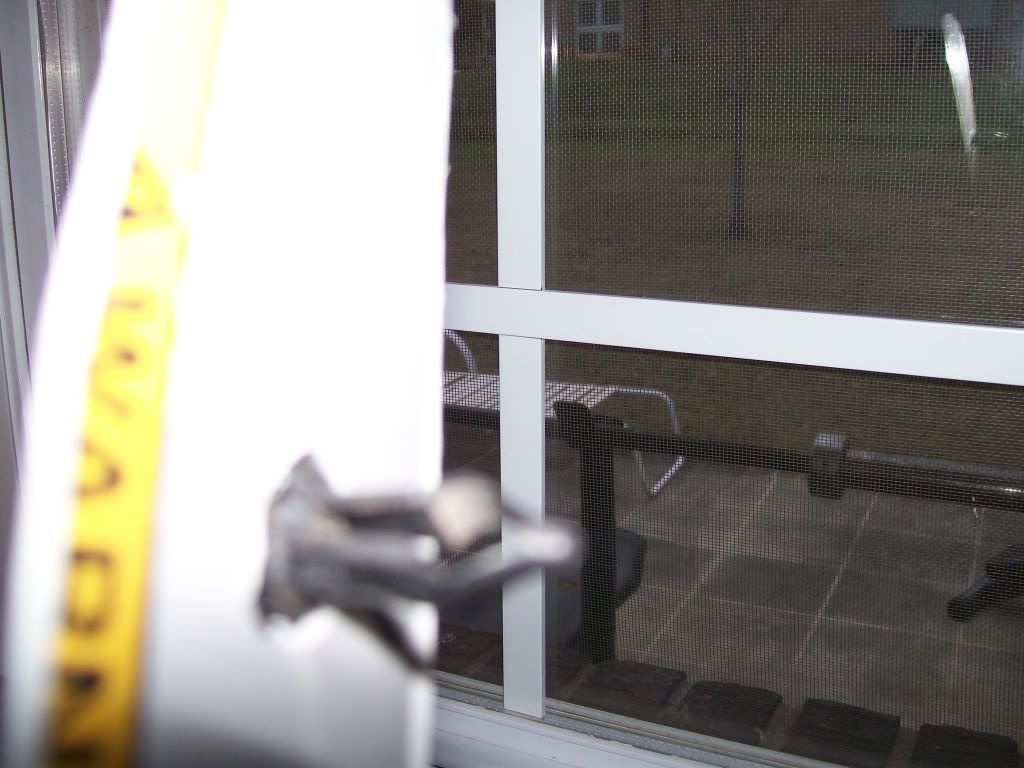
I'm not real big on cosmetics (for something like this) just so it functions.
any constructive critazian or comments are wellcome
Chrs I was thinking about useing the grey heavey duty packing sponge like you used to block off the front of you're airlid these clips are definitly fingernail benders.
I used body panel attachers they expand from the rear when center button is depressed then colaspse when button pulled out.
the exposed air holes are on top
I'm not real big on cosmetics (for something like this) just so it functions.
any constructive critazian or comments are wellcome
Last edited by badmfkr; 03-26-2010 at 07:52 AM.