


TSP Headers & Y install pics; FINALLY
Thread Starter
Joined: Apr 2009
Posts: 6,717
Likes: 24
From: Lafayette, LA
PLEASE DON'T QUOTE PICS!!!!
I wanted to post pics of my install like I said. Sorry it took a few months
to get around to it.
I had a thread started here, https://ls1tech.com/forums/generatio...ed-curtis.html
A lot of you commented and said some nice things.
I figured the least I could do is post my results.
Thanks to all the knowledge on this site, it was a truly trouble free install.
Light grinding on the K for the #5 or 7 primary (cant remember which)
and a small cut for the collector.
I'm sure polys wont have this, but I installed Spohn's.
In my mind, its a ******* pony car, not a luxury sedan, or a Corvette.
I wanted to FEEL the car. That has now been achieved.
Again, thanks for all who commented on the other thread and the
kind words.
Enough of the sappy ****. Here's the pics
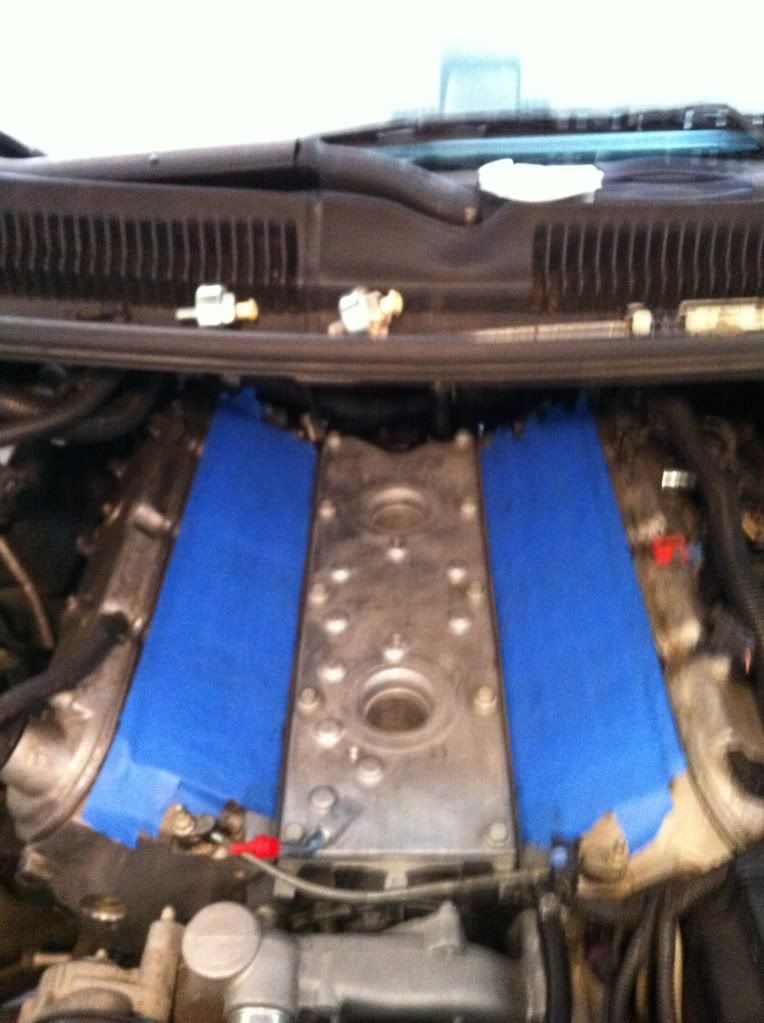
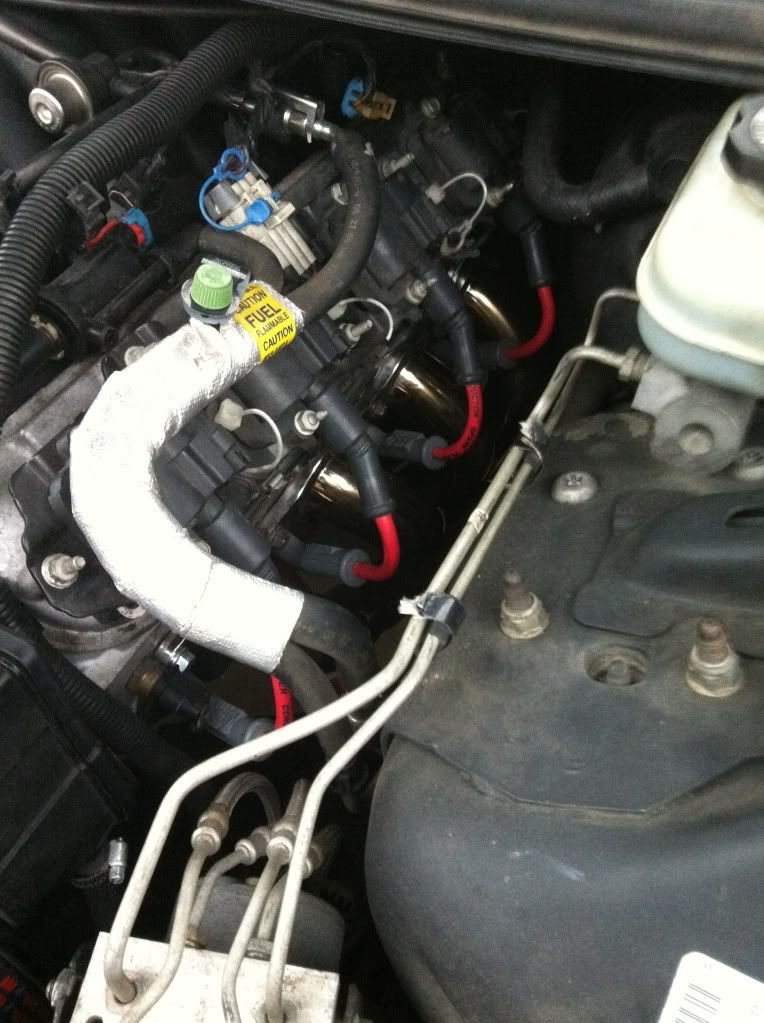
LS6 Valley was the first thing done after pulling the manifold.
Best thing I found to clean the heads and all was a small
spray bottle filled with running alcohol.
Cut that old caked oil like nothing.
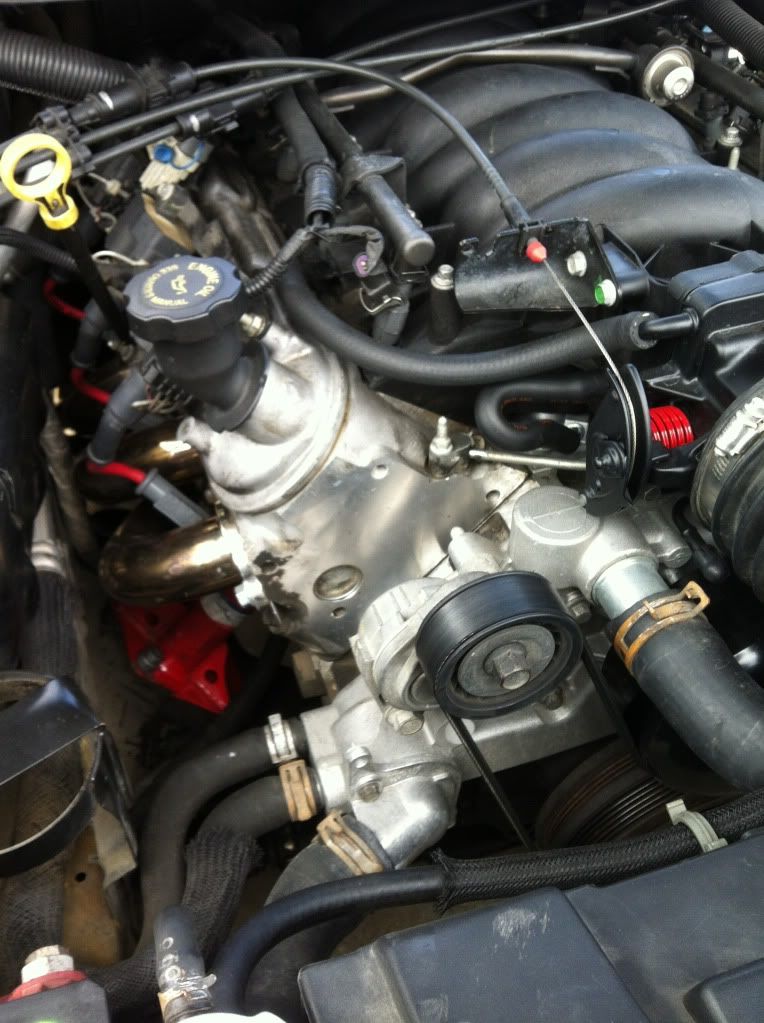
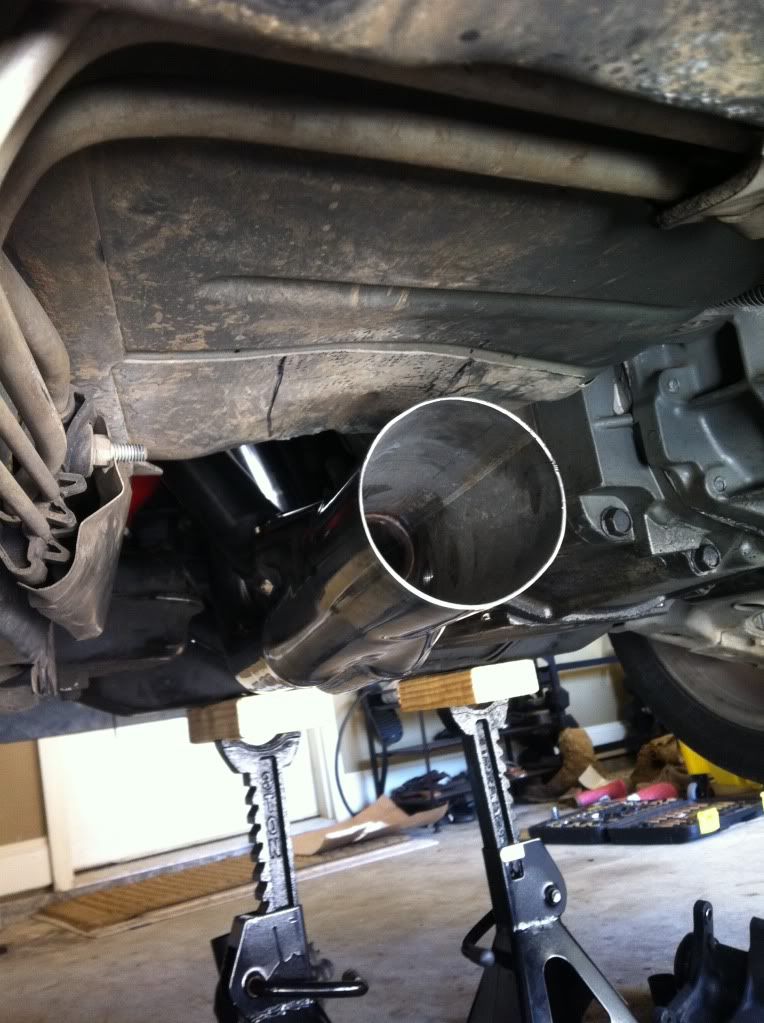
With the Spohn's raising the engine slightly, the collector was
too close to the body to slip on the first pipe of the Y. So, out
came baby Bertha, and we fixed that.
After BFH:
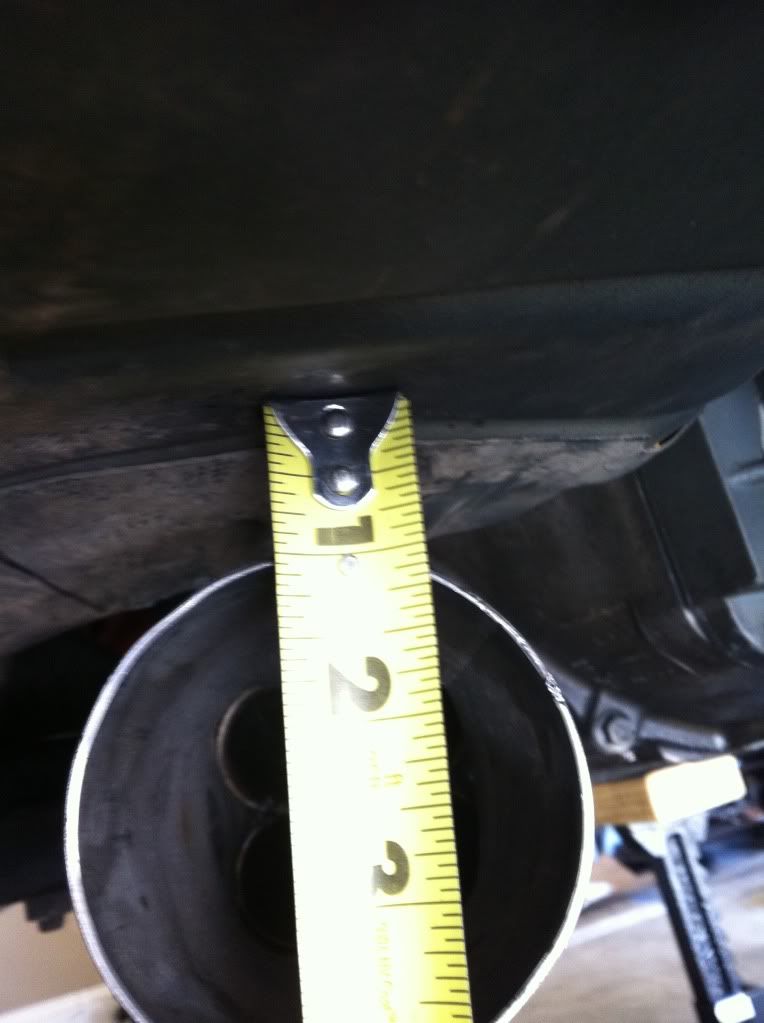
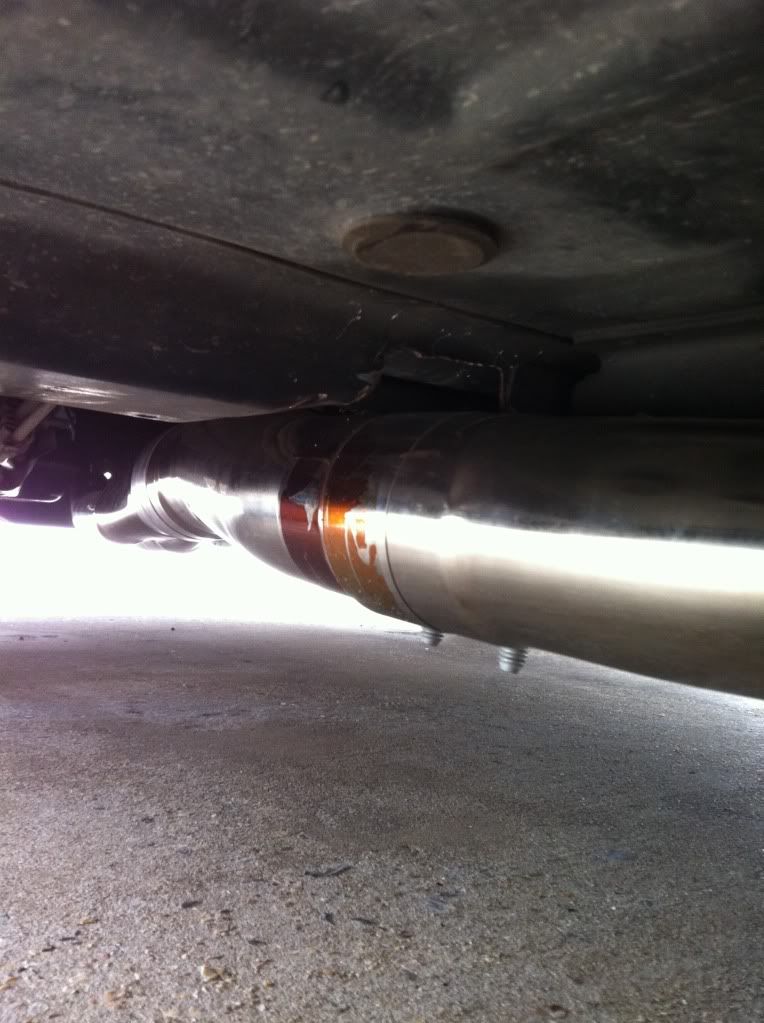
After that, the first pipe of the Y found a new place to rest against the car

Another shot of clearence, and my sweet woodland digitals
MY remedy. I'm sure not all would do this, but it's not like it's going to affect anything.
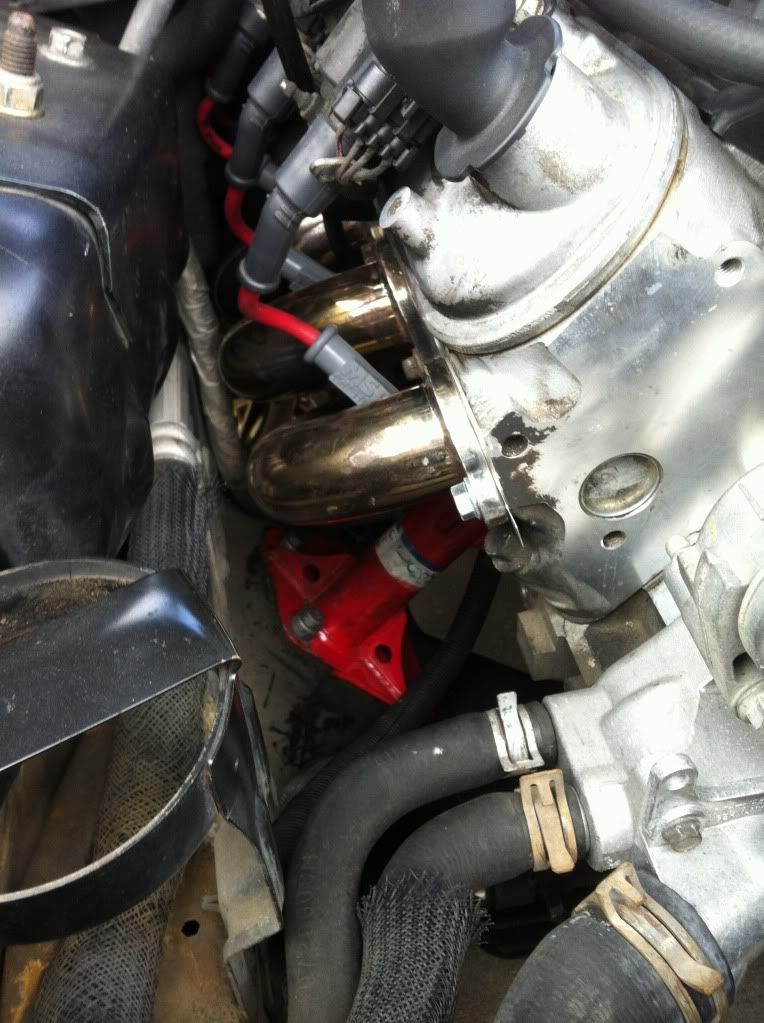
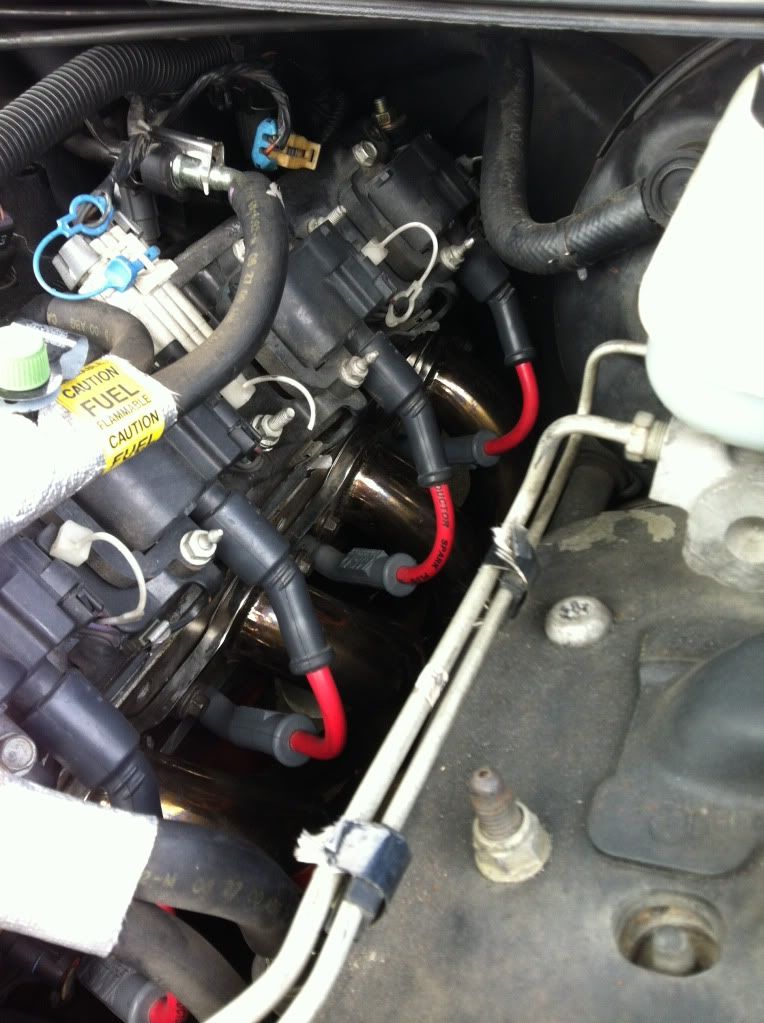
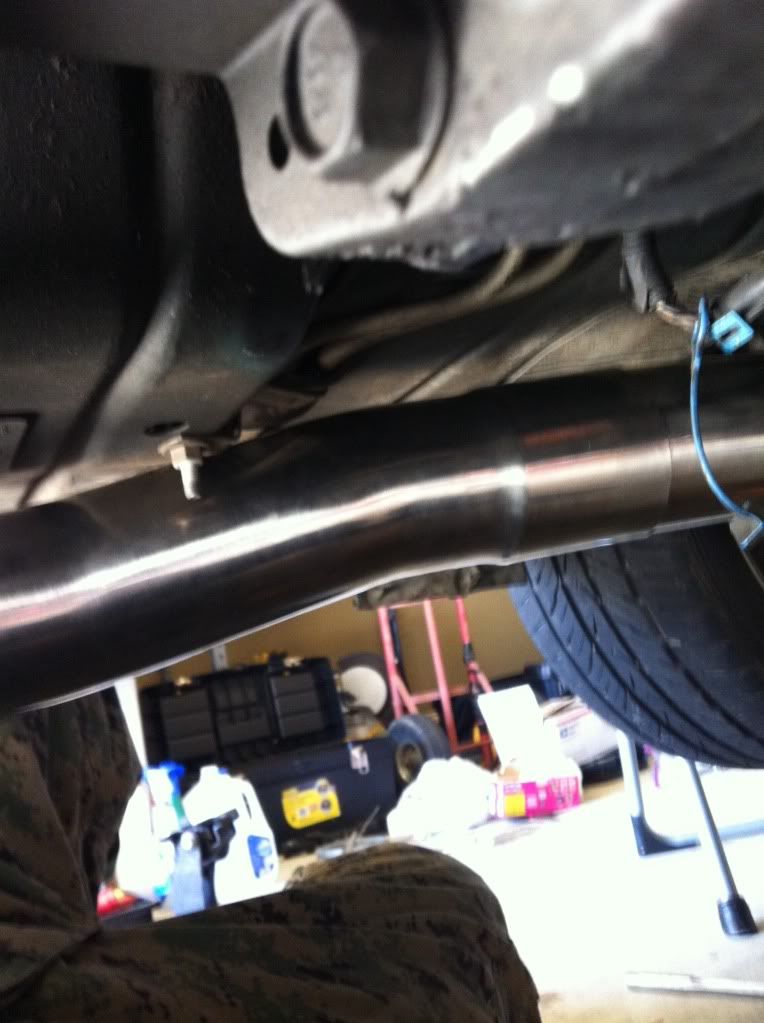
Y installed with SLP LM1
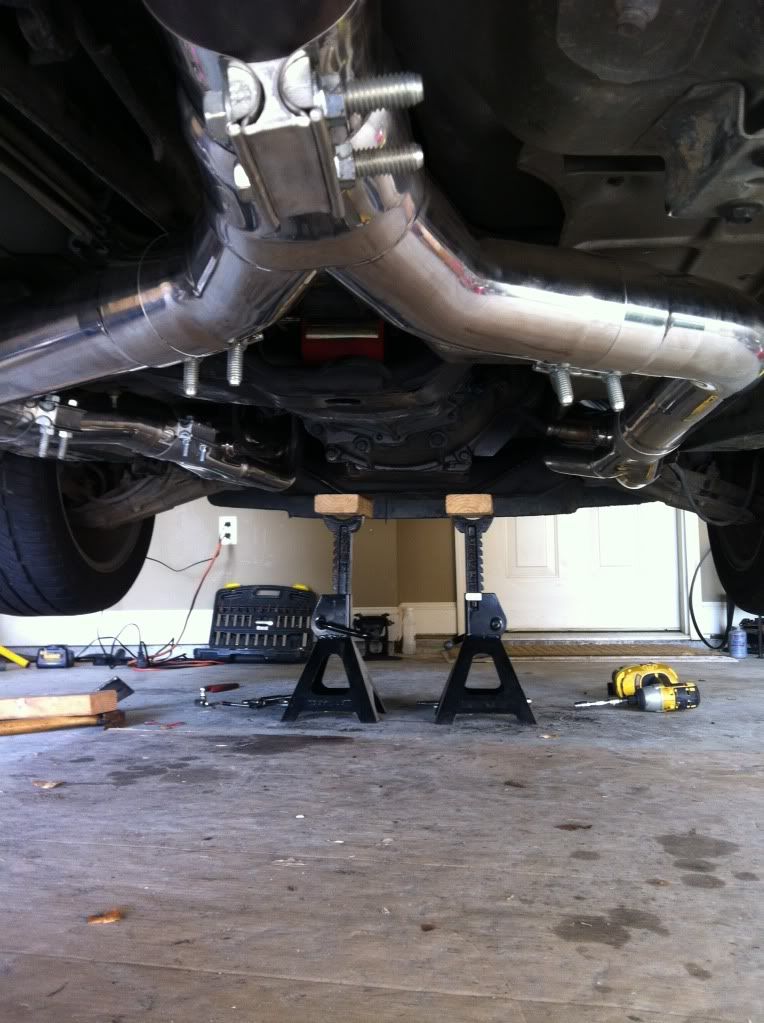
As you can see here, the resonator is actually the lowest part of the system. That's going to be remedied in due time, however....
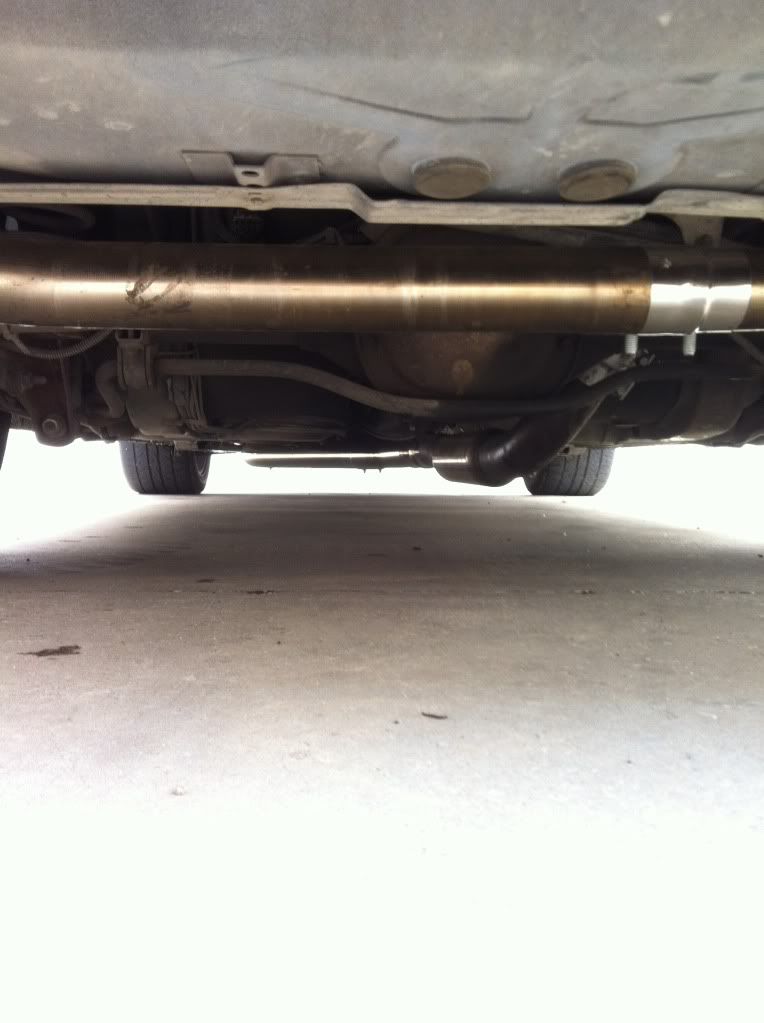
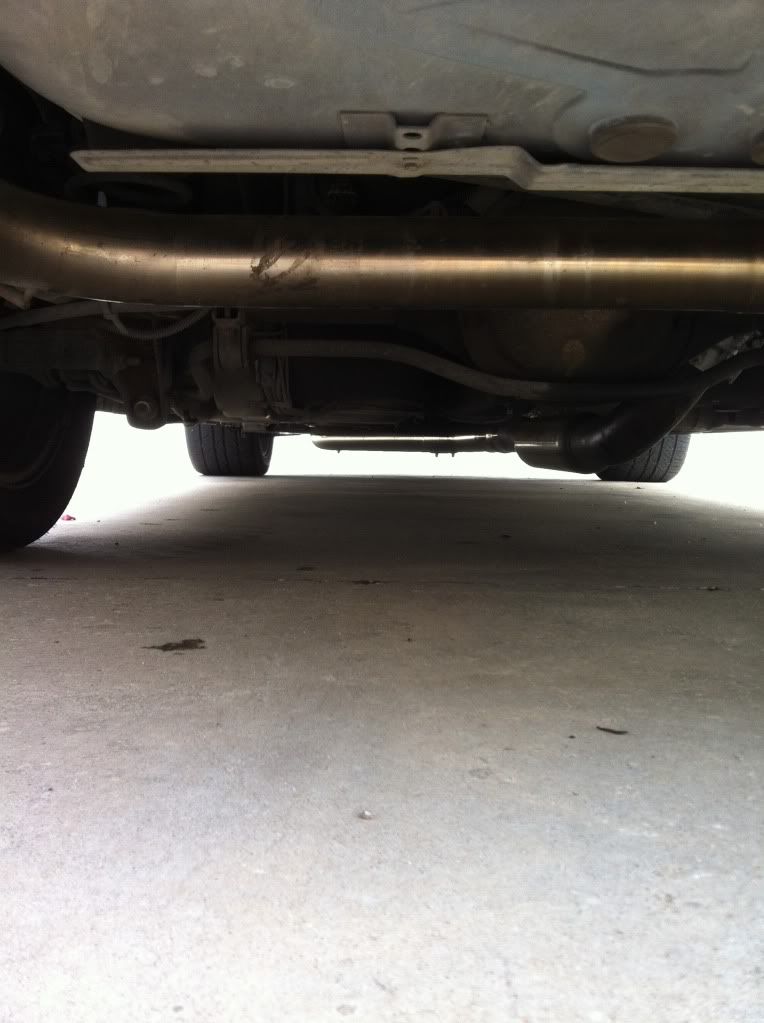
So there we have it.
PLEASE DONT QUOTE PICS!!!!
I wanted to post pics of my install like I said. Sorry it took a few months
to get around to it.
I had a thread started here, https://ls1tech.com/forums/generatio...ed-curtis.html
A lot of you commented and said some nice things.
I figured the least I could do is post my results.
Thanks to all the knowledge on this site, it was a truly trouble free install.
Light grinding on the K for the #5 or 7 primary (cant remember which)
and a small cut for the collector.
I'm sure polys wont have this, but I installed Spohn's.
In my mind, its a ******* pony car, not a luxury sedan, or a Corvette.
I wanted to FEEL the car. That has now been achieved.
Again, thanks for all who commented on the other thread and the
kind words.
Enough of the sappy ****. Here's the pics
LS6 Valley was the first thing done after pulling the manifold.
Best thing I found to clean the heads and all was a small
spray bottle filled with running alcohol.
Cut that old caked oil like nothing.
With the Spohn's raising the engine slightly, the collector was
too close to the body to slip on the first pipe of the Y. So, out
came baby Bertha, and we fixed that.
After BFH:
After that, the first pipe of the Y found a new place to rest against the car
Another shot of clearence, and my sweet woodland digitals
MY remedy. I'm sure not all would do this, but it's not like it's going to affect anything.
Y installed with SLP LM1
As you can see here, the resonator is actually the lowest part of the system. That's going to be remedied in due time, however....
So there we have it.
PLEASE DONT QUOTE PICS!!!!
I was going to buy these and install poly motor mounts but after all the cutting and banging you had to do, I think I'll spend my hard earned money on something I don't have to destroy my car to get fitted.

FormerVendor
Joined: Jun 2011
Posts: 890
Likes: 3
Keep in mind he swapped to the Spohn solid mounts that raised everything up a noticeable amount. I used solid UMI mounts on my personal build that changed the placement of the engine ever so slightly as well, but our TSP y went on without issue with that setup. My guess is Spohns raise everything considerably more from the OPs pictures and that clearance would have been tight with any exhaust setup he chose.
Last edited by Sales1@Texas-speed; Jan 28, 2012 at 01:18 AM.
Trending Topics
Thread Starter
Joined: Apr 2009
Posts: 6,717
Likes: 24
From: Lafayette, LA
Not all of us wear a skirt when we drive our cars.
I didn't really think it was all that bad guys, seriously. It's one cut in that little rail. Nothing really.
LS1 Tech Stories
The Best V8 Stories One Small Block at Time

Topdon ONE vs. Artidiag 800 BT2: Which is the Diagnostic Tablet For You?
Pouria Savadkouei
Gas Monkey Built a 6-Wheel Ferrari Testarossa With a Corvette LT4 Engine
Verdad Gallardo
7 Most Reliable High-Performance Engines GM Has Ever Built
Verdad Gallardo
Amazing '71 Camaro Restomod Is Modern Muscle Car Under the Skin
Verdad Gallardo
6 Common C5 Corvette Failures and What's Involved In Repairing Them
Pouria Savadkouei
Retro Modern Bandit Pontiac Trans AM Comes With Burt Reynolds' Autograph
Verdad Gallardo
Top 10 Greatest Cadillac V Series Performance Models Ever, Ranked
Pouria Savadkouei
Top 10 Most Powerful Chevy Trucks Ever Made!

Hennessey's New Supercharged Silverado ZR2 Has 700 HP
Verdad Gallardo I absolutely refuse to do something like that if I don't have to. Did you destroy your car? Most definitely not, but I won't be doing it. I will just continue running my Kooks.
I would rather spend 300$ more and go coated than have to do something like that. That will be there forever and I like my car looking good on a lift, not just rolling around.
I'm just picky...
TSP- Are all TSP 1 7/8s like this? I will be returning them when I purchase them if I have to cut my car, period.... Honestly, won't even bang the floor board. The normal part you bang for say a Pacesetter install, fine.. But not under the car.
FormerVendor
Joined: Jun 2011
Posts: 890
Likes: 3
I absolutely refuse to do something like that if I don't have to. Did you destroy your car? Most definitely not, but I won't be doing it. I will just continue running my Kooks.
I would rather spend 300$ more and go coated than have to do something like that. That will be there forever and I like my car looking good on a lift, not just rolling around.
I'm just picky...
TSP- Are all TSP 1 7/8s like this? I will be returning them when I purchase them if I have to cut my car, period.... Honestly, won't even bang the floor board. The normal part you bang for say a Pacesetter install, fine.. But not under the car.
Thread Starter
Joined: Apr 2009
Posts: 6,717
Likes: 24
From: Lafayette, LA
Well put Aaron.
Lemons, I assure you you won't have to do ANYTHING like I did. As said, I knew full well what I was going to have to do.
Makes you really consider how well they are made though. If I only raised my engine an inch or so, imagine how well they
will tuck for you guys running poly mounts or aftermarket K's.
Kiss clearence issues goodbye.
Not worried about clearance honestly. Car is drove 1-2 times a week max... I never have to go over a speed bump, have good roads, etc... If it scrapes its because I'm not paying attention or being an idiot (which doesn't happen in the TA).
I have never scrapped my Kooks setup I had and I'm lowered 1.25 on BMRs.
I have never scrapped my Kooks setup I had and I'm lowered 1.25 on BMRs.


Thread Starter
Joined: Apr 2009
Posts: 6,717
Likes: 24
From: Lafayette, LA
God's honest truth, just about an 8th of an inch deep, and about an inch and a half across. Just a small piece of the lip itself from the stamped steel. Didn't even penetrate into the hollow part.
Guys, I can't stress this enough, I went with the Spohn Solids. I'm telling you right now, with Poly's you won't have to do ****. With my stockers in place I test fit them and they slid in beautifully.
I did NOT have to drop my starter either.
Guys, I can't stress this enough, I went with the Spohn Solids. I'm telling you right now, with Poly's you won't have to do ****. With my stockers in place I test fit them and they slid in beautifully.
I did NOT have to drop my starter either.

As mentioned before the issue that OP was dealing with was due to raised engine placement caused by the Spohn solid mounts. I haven't personally installed the Spohn mounts and completed a before and after measurement of engine height, but when OP claims 3/4 to 1 inch difference in engine height from stock that most definitely is why he was having some issues. I also mentioned above that I personally installed the UMI solid mounts on my car that raised everything up about 1/4 inch and I still had no issues what so ever. Obviously the more the motor is raised the more clearance issues that will arise. This goes for any header setup.

Looks good, from one Marine to another please be careful using 2x4s under the K like that. If you need more lift get a 2x12 cut it down and throw one under each stand.
Now for the question, think there will be an issue running a aftermarket intake in the future because of the lost clearance?
Now for the question, think there will be an issue running a aftermarket intake in the future because of the lost clearance?


I helped a friend do his TSP 1 7/8 headers and poly mounts last week. The only problem we ran into was jacking the motor up high enough to get the headers to slide into place.
First we did the poly mounts and of course it was a bitch to get them lined up to get the bolts in. When we finally got the bolts in, there was not enough room to slide the headers. So we had to remove the motor mount bolts, jack the motor up from the oil pan, and then we were able to get the headers in place. After that, we had a hell of a time lining up the motor mounts again to get the bolts back in again. It made it worse with the headers in the way.
We already had the steering shaft off, oil filter and drain plug and starter removed so it was still a tight fit. It was cold in the garage lying on the concrete and that made things worse. A nice warm day would have made everything go a little easier. However once everything was back together, they fit and looked great with no clearance issues.