
BTR TFS 220's EPS Cam... WHOOPS!
 07-30-2018, 04:13 PM
#61
TECH Apprentice
Thread Starter

I officially have all of the parts except for the heads and intake manifold. That's no surprise as they're being hand blended and port matched. I expect to have them sometime in the next few weeks. Even without them, however, I have enough to get started.
Unfortunately I don't have photos of the new arrivals or my progress on the tear down because my phone may have had a hot tub accident. Do not fret, I will upload some good ones in the next few days. Here is what you can expect to see:
Unfortunately I don't have photos of the new arrivals or my progress on the tear down because my phone may have had a hot tub accident.
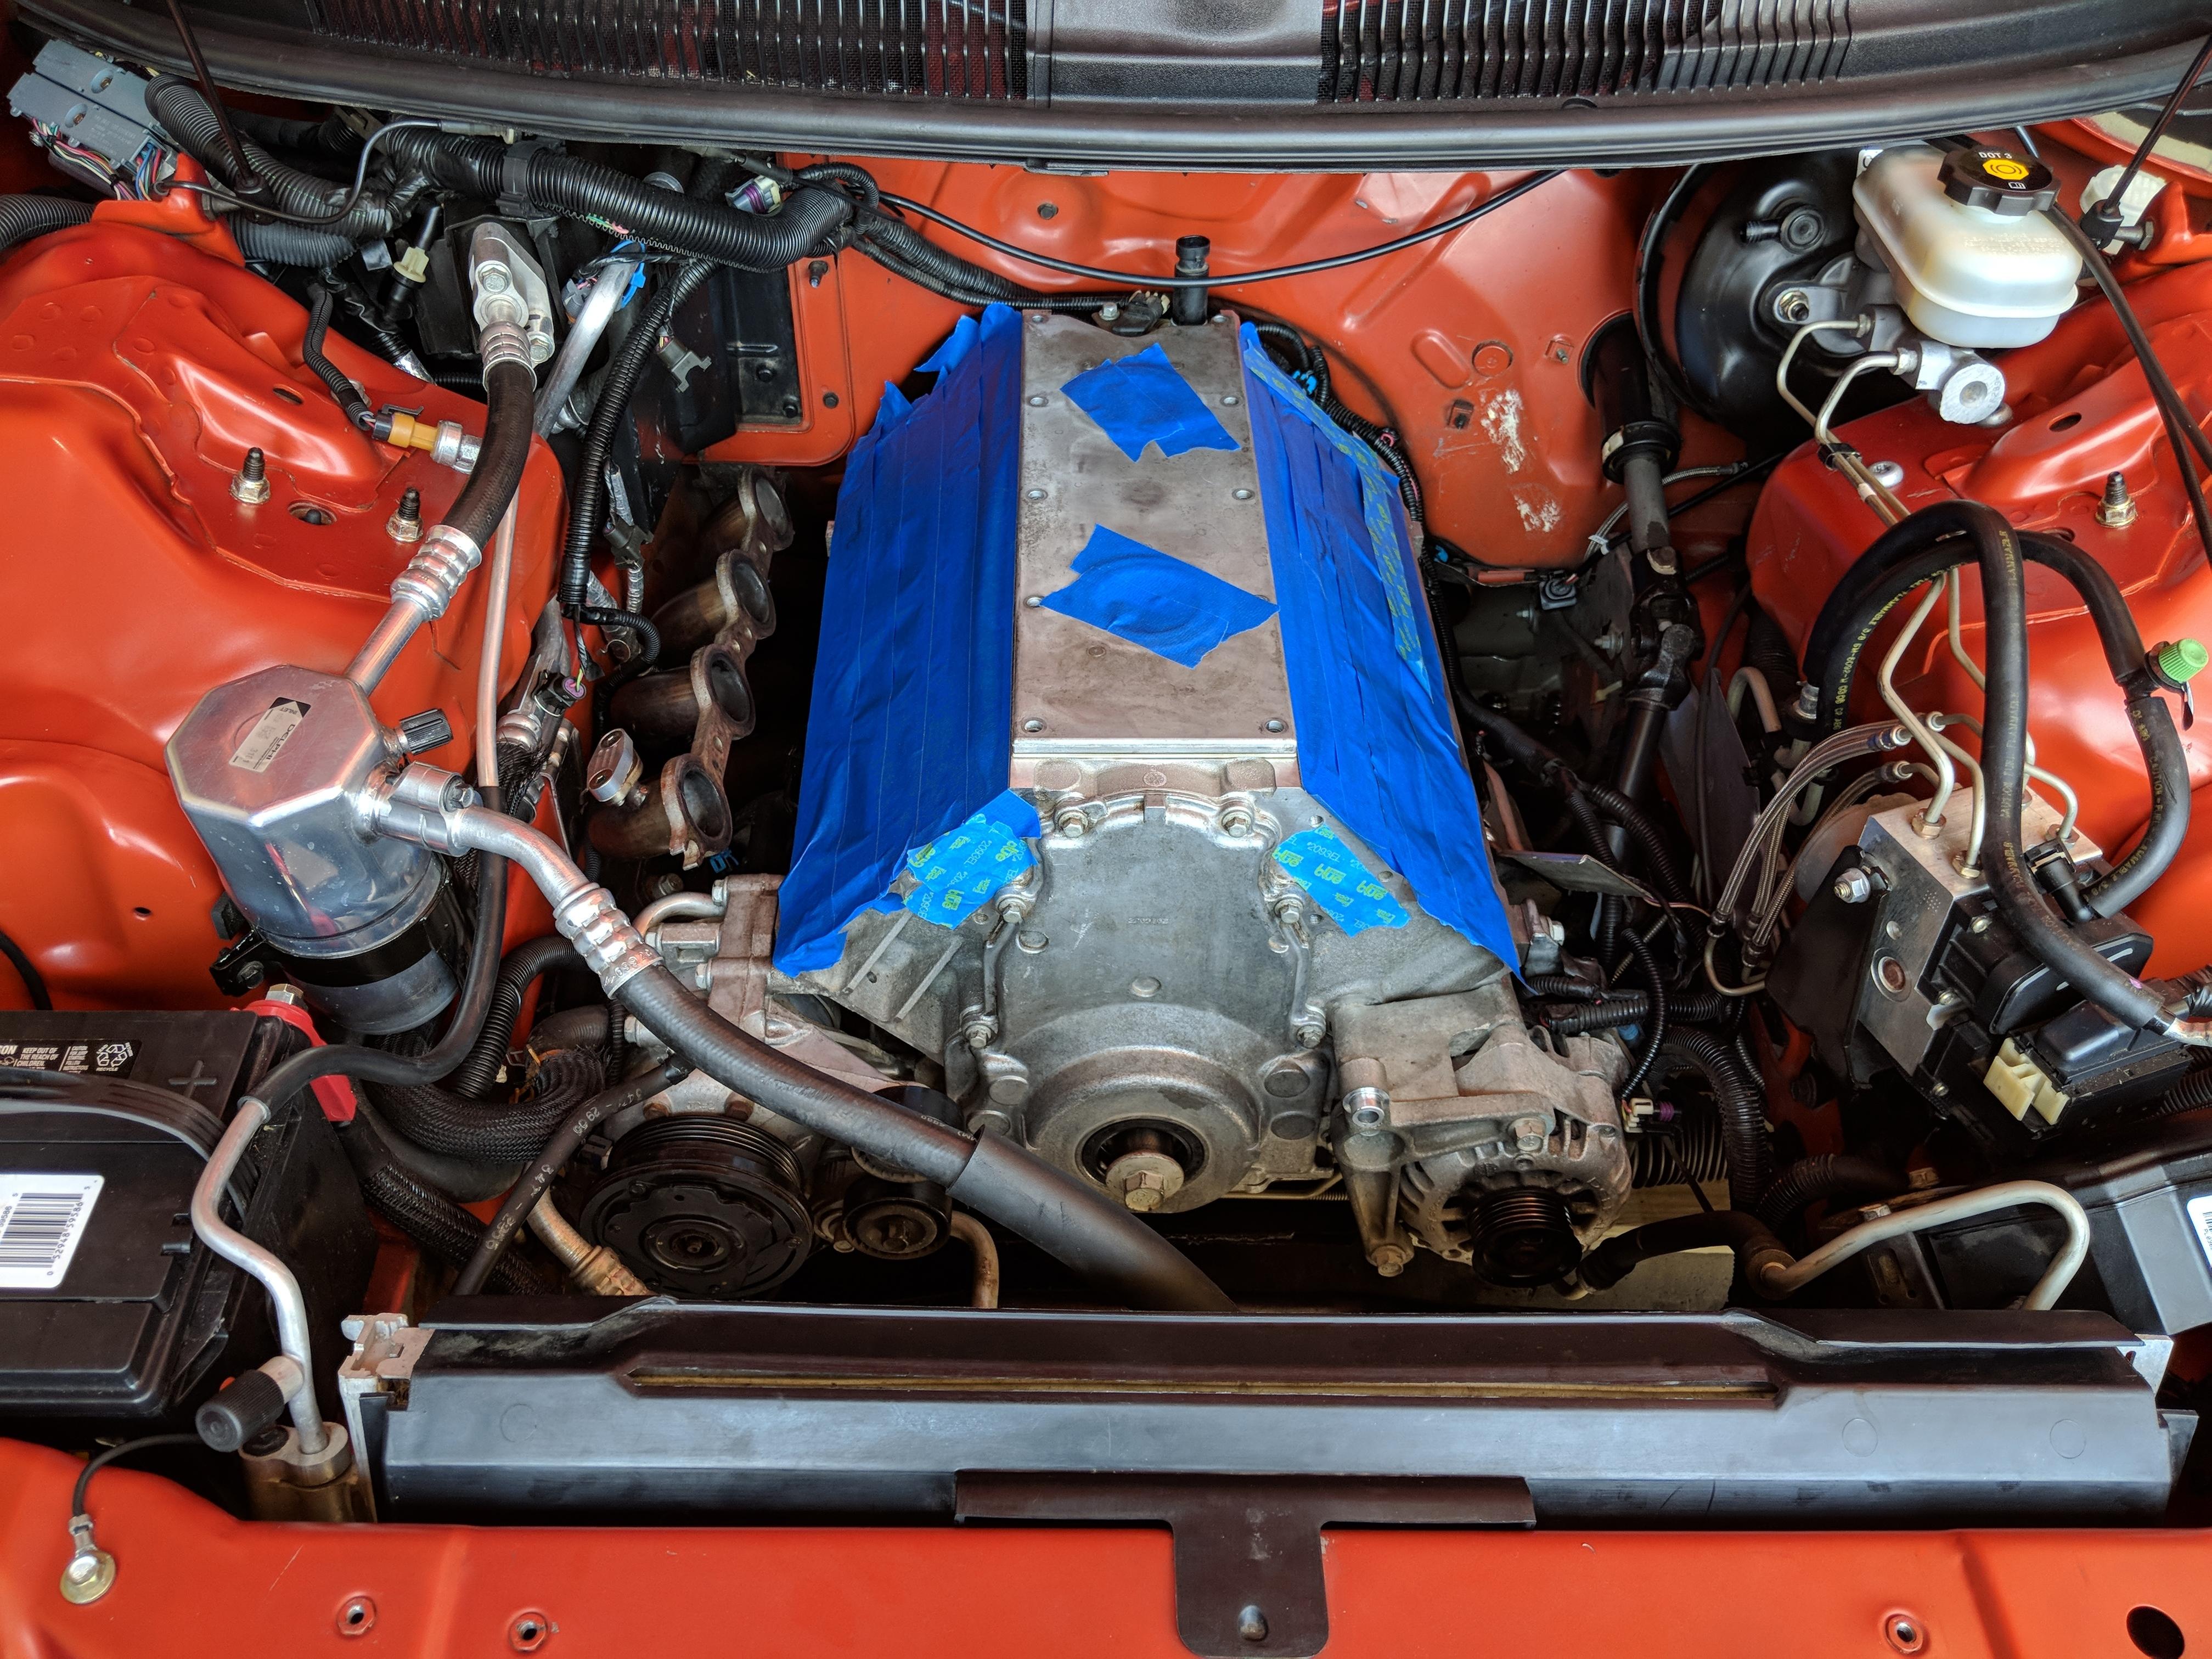
Do not fret, I will upload some good ones in the next few days. Here is what you can expect to see:- I have everything off the block except for the timing cover and the passenger cylinder head.
- While I had ported 853 heads, I expected to see that they wouldn't have the infamous "notch" since I thought they were milled enough (0.030), but I was wrong. With that came the awesome graphite head gaskets that will be a royal PITA to get off the block
- This will certainly reduce the value of the heads a bit, so someone will be getting a very good set of hand ported 5.7 heads that can support good power (420 rwhp with a 224 cam). You can now get MLS gaskets for them from WS6Store though. They are blue ones labeled as RPM I believe.
- I saw a good bit of oil in the intake ports of the heads. I was surprised by that because I never noticed that I'd lost oil level, and there is absolutely no smoke out of the pipes at startup or WOT. Perhaps it was just very small amounts over a long period of time??? Nonetheless, I have a gen 5 Mighty Mouse catch can on the way!
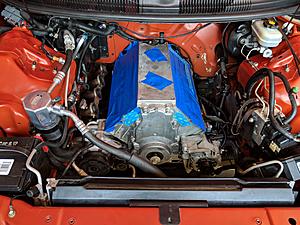
- The 102mm Nick Williams throttle body is ABSOLUTELY MASSIVE! I've read comments about that, but online photos do it no justice. I can't wait to see the FAST 102 manifold. It really is quite shocking.
- LS6 intake manifold with rails, stock 28# injectors, ported stock throttle body
- GTP (Craig Gallant) Stage 2 ported 853 heads with larger Ferrea valves and new PSI 1511 springs with titanium BTR retainers
- My cam, which I was told was a TR227. The box I have shows it as a TR224, however, so we'll see soon enough
 08-01-2018, 06:42 PM
#62
TECH Apprentice
Thread Starter
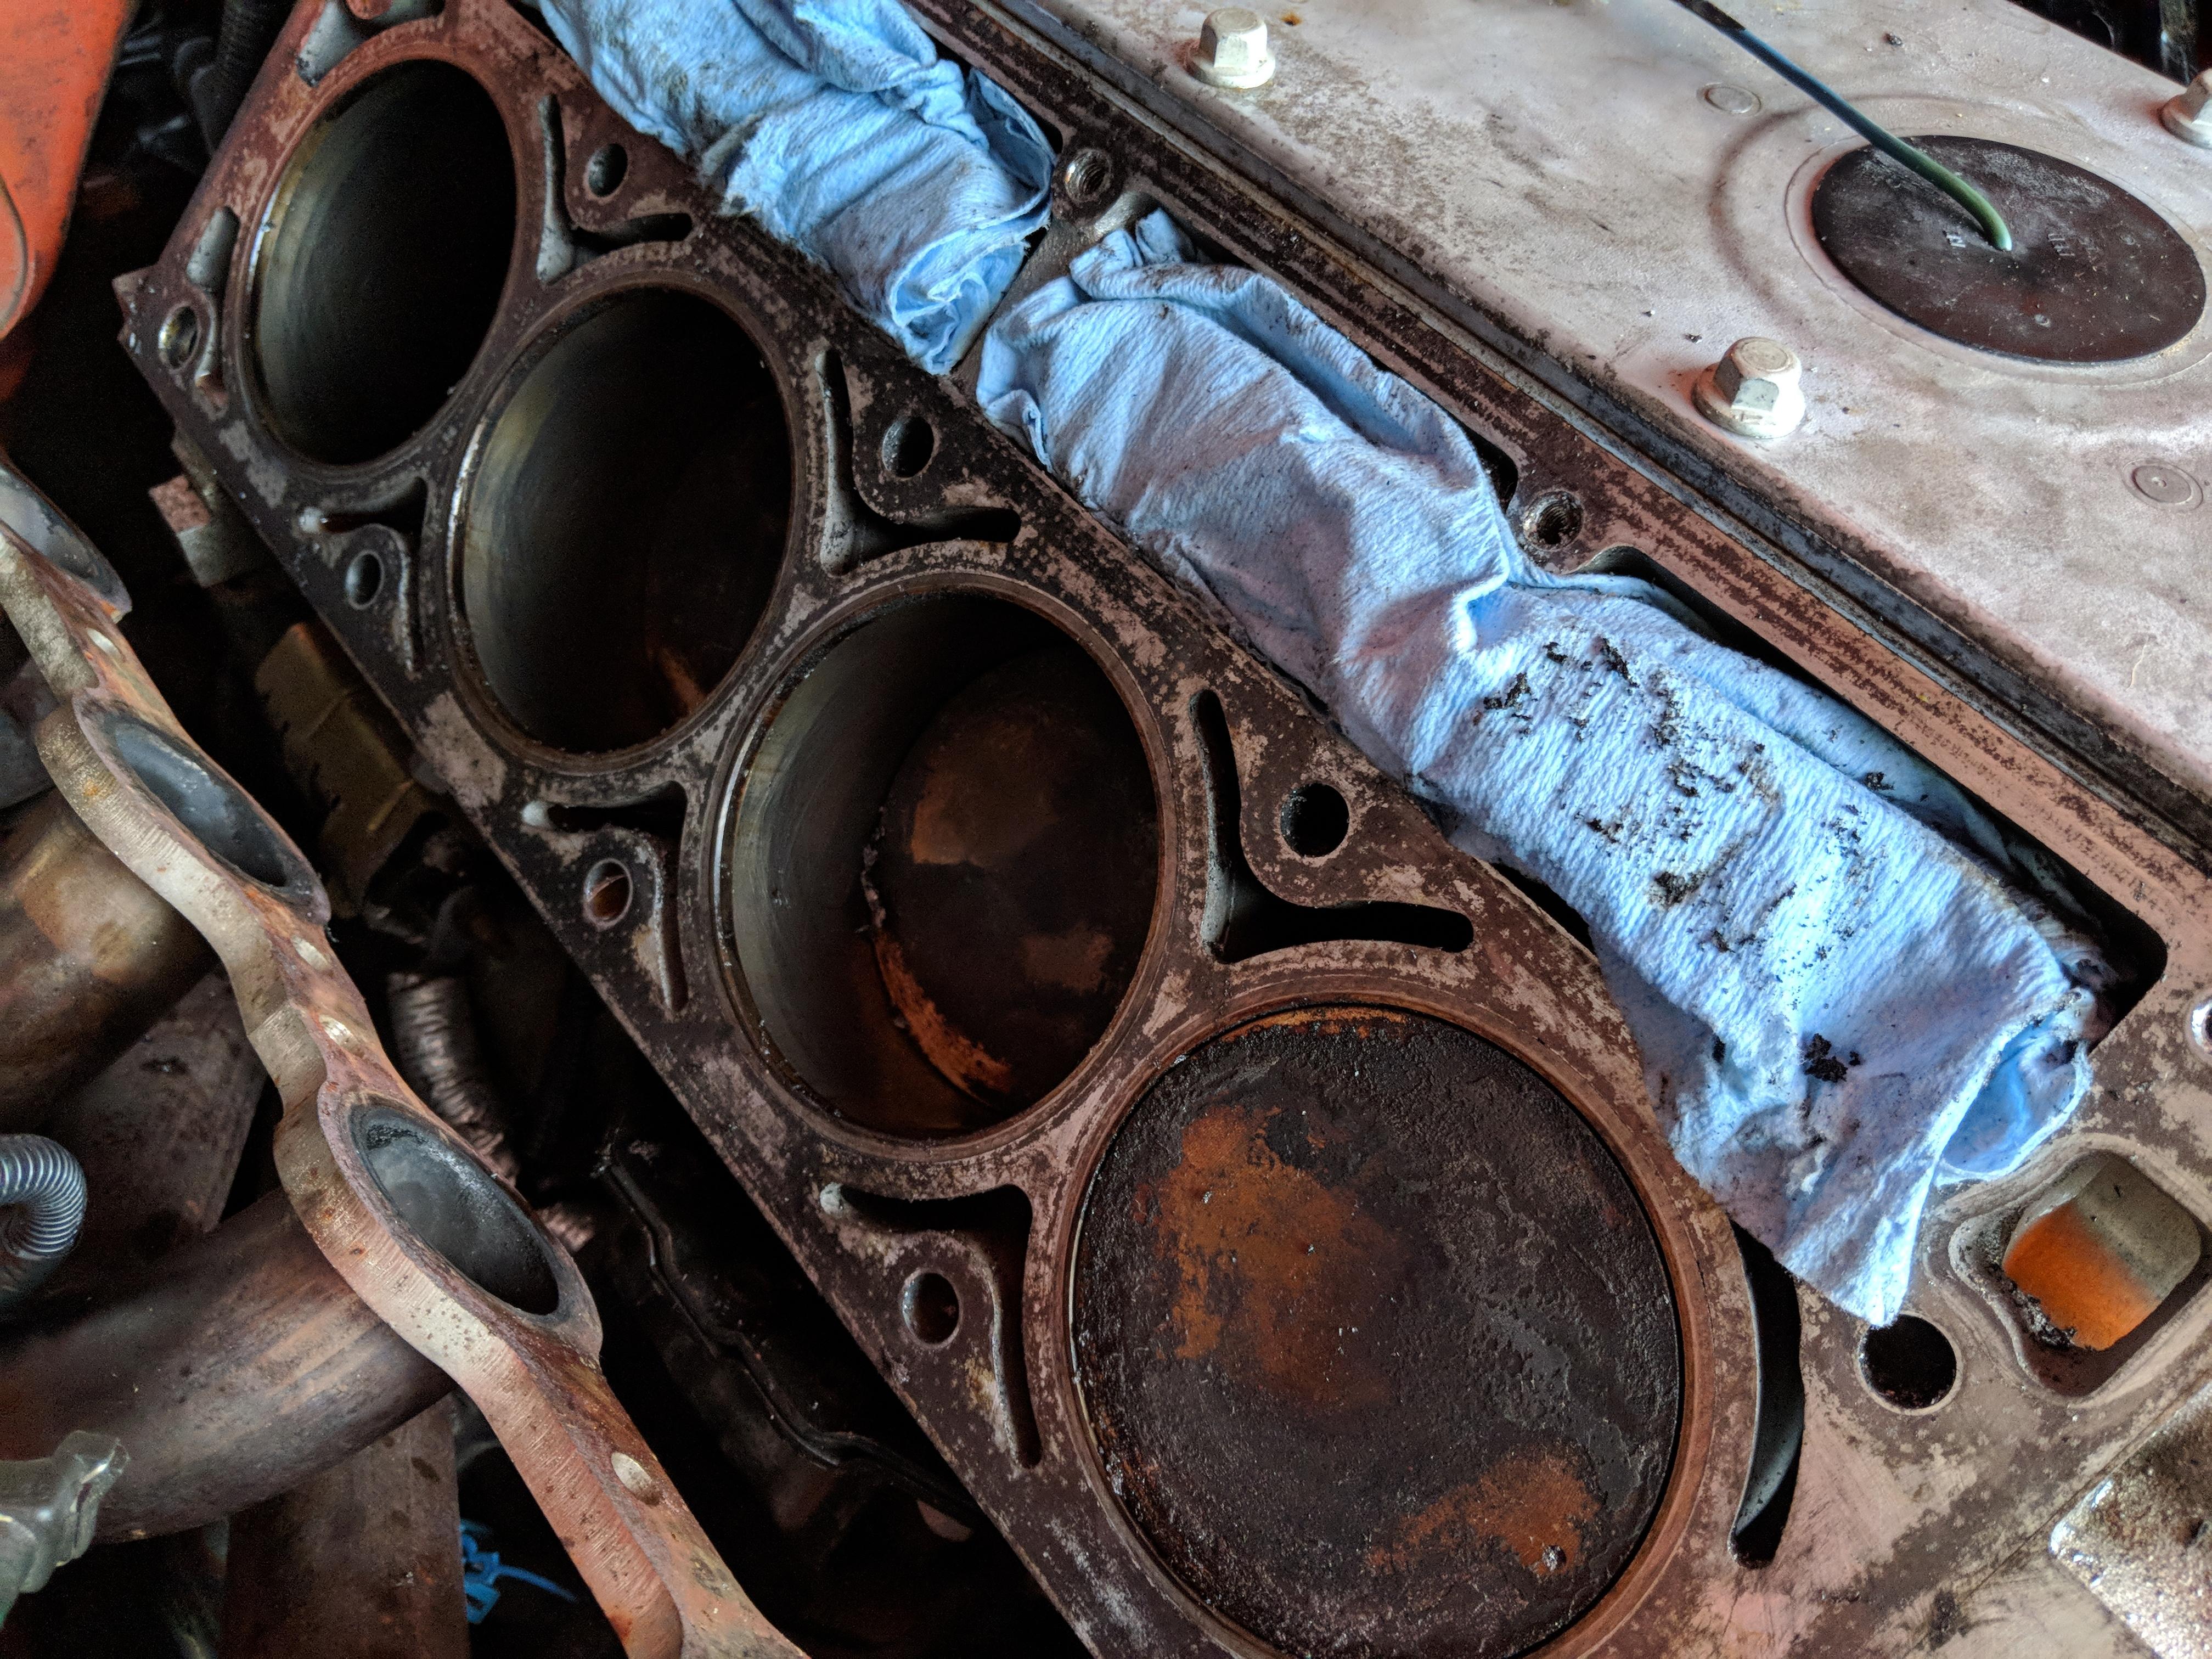
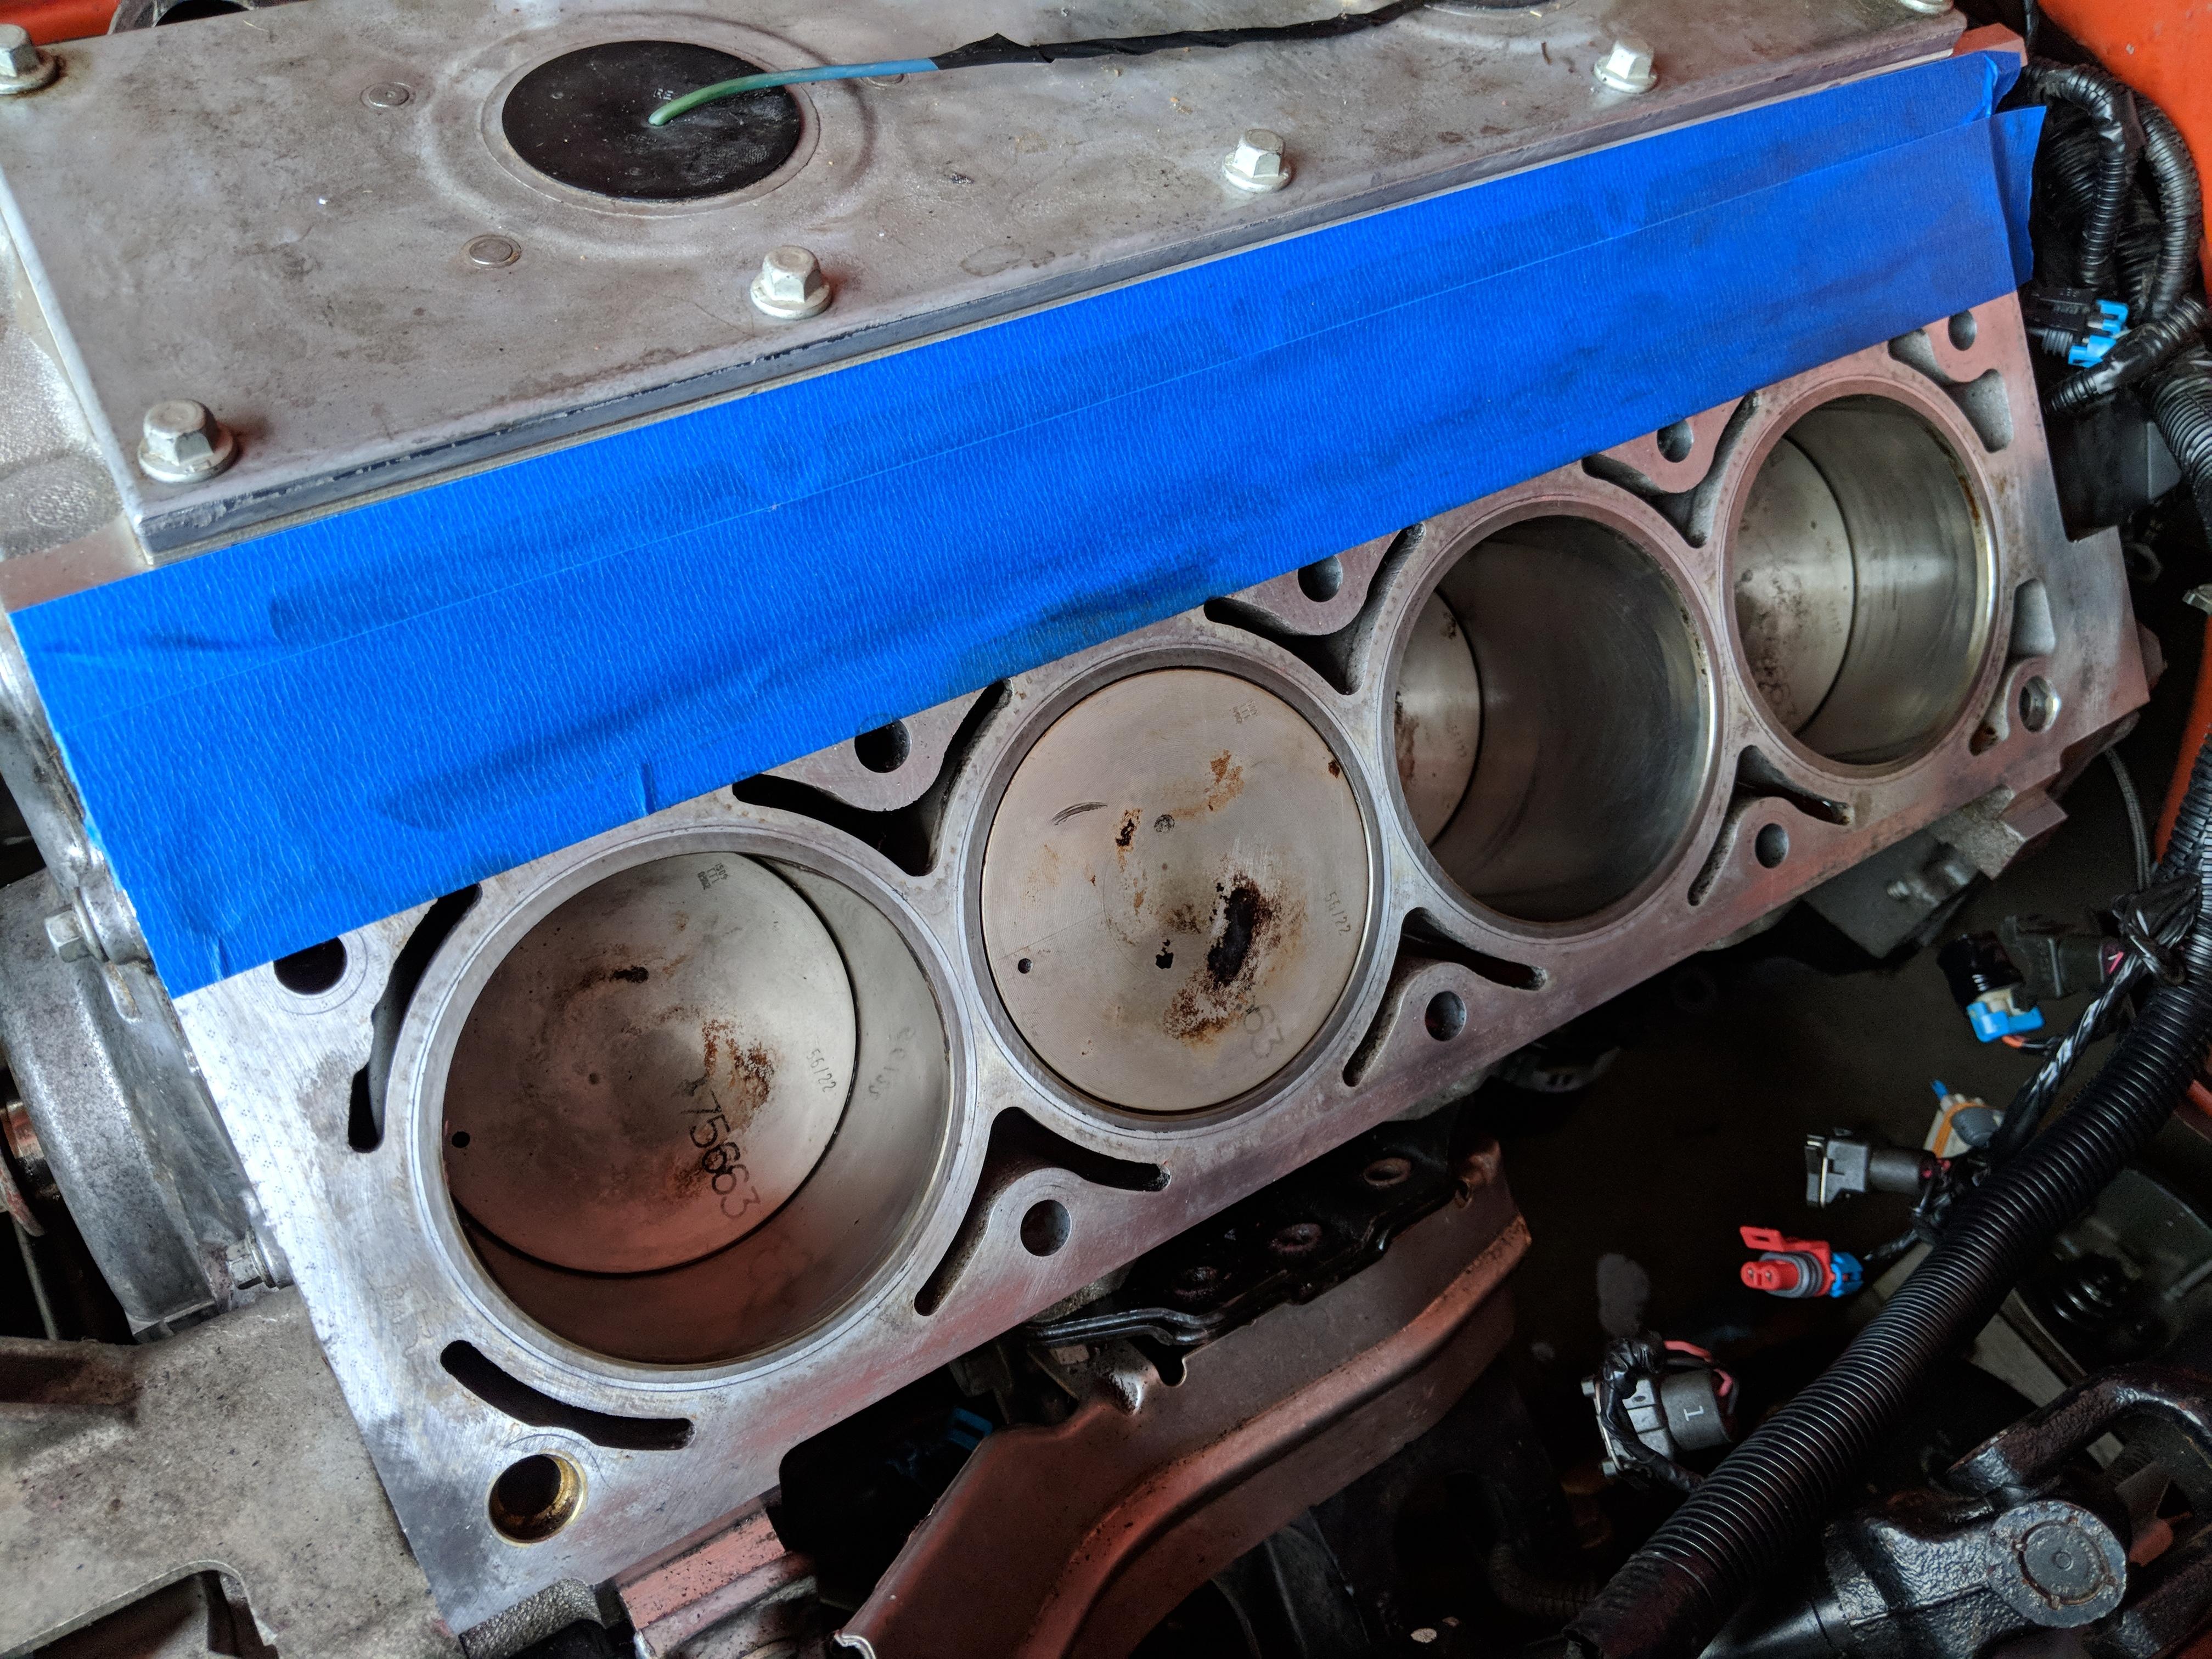
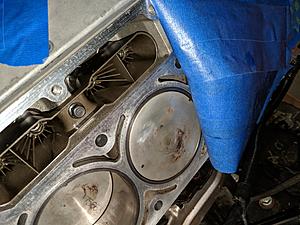
I have a busy week so I only have an hour or so each day to chip away at the block prep. When I say chip away I mean it literally too! These graphite gaskets SUCK! Below is a photo of what it looked like after pulling the head, and the other photo is a side that I almost have completed.


The prep was done using plastic razor blades and Berryman B-12 cleaner on a shop rag. Took two hours to do the one side, but it was all elbow grease. I refuse to use anything abrasive.
This photo shows one piston that that kissed an intake valve. This could have been due to some valve float I was getting from the old Computer 987's, or from an unfortunate 3-2 shift I did last fall. There's only one, and I can live with that.
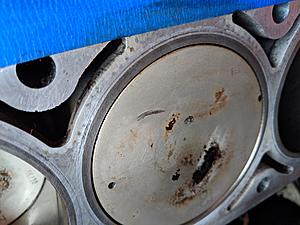
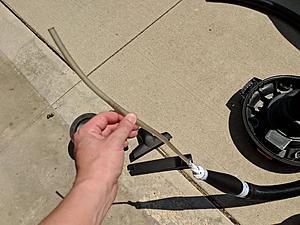
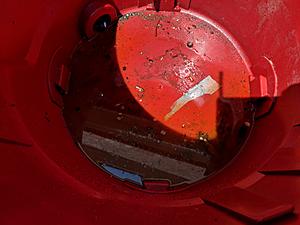
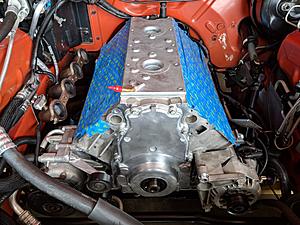
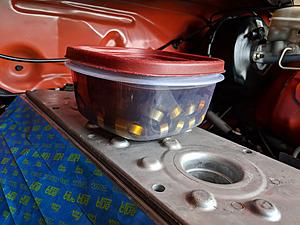
Here are a couple of photos of new arrivals. I'll take more when the heads and intake show up.
Mighty Mouse Gen 5 PCV can
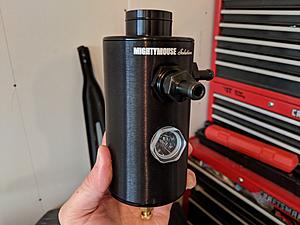
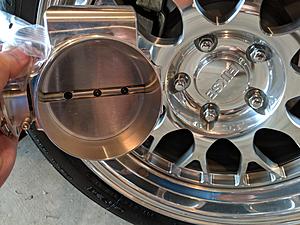
Nick Williams 102mm throttle body. It's the same diameter as the lug area on my 18" wheel!
The prep was done using plastic razor blades and Berryman B-12 cleaner on a shop rag. Took two hours to do the one side, but it was all elbow grease. I refuse to use anything abrasive.
This photo shows one piston that that kissed an intake valve. This could have been due to some valve float I was getting from the old Computer 987's, or from an unfortunate 3-2 shift I did last fall. There's only one, and I can live with that.

Here are a couple of photos of new arrivals. I'll take more when the heads and intake show up.
Mighty Mouse Gen 5 PCV can

Nick Williams 102mm throttle body. It's the same diameter as the lug area on my 18" wheel!
 08-02-2018, 06:50 AM
#63

I have a busy week so I only have an hour or so each day to chip away at the block prep. When I say chip away I mean it literally too! These graphite gaskets SUCK! Below is a photo of what it looked like after pulling the head, and the other photo is a side that I almost have completed.
Attachment 706579
Attachment 706578
The prep was done using plastic razor blades and Berryman B-12 cleaner on a shop rag. Took two hours to do the one side, but it was all elbow grease. I refuse to use anything abrasive.
This photo shows one piston that that kissed an intake valve. This could have been due to some valve float I was getting from the old Computer 987's, or from an unfortunate 3-2 shift I did last fall. There's only one, and I can live with that.
Attachment 706580
Here are a couple of photos of new arrivals. I'll take more when the heads and intake show up.
Mighty Mouse Gen 5 PCV can
Attachment 706581
Nick Williams 102mm throttle body. It's the same diameter as the lug area on my 18" wheel!
Attachment 706582


 08-04-2018, 02:14 PM
#66
TECH Apprentice
Thread Starter
Finished 90% of the block prep. I cleaned the head surfaces with a combo of B12 and WD40 with plastic razor blades and lint free rags. I then taped a clear vacuum tube to a narrowed attachment on my shop vac and sucked as much crap out of the block as I could. I was actually surprised how much coolant and random crap there was in the bolt holes. I will chase the holes before reassembly and give the surface one more good wipe down, but will wait until the heads show up. Sadly it sounds like it could be 4-6 more weeks. Thankfully I'm about to go on vacation for 10 days, which will definitely help pass the time!

Last edited by Tang2; 08-04-2018 at 02:19 PM.
08-04-2018, 04:11 PM
#67
Slot one of your old head bolts length wise a few times with a small cut off wheel. I do that every time I do heads to make my own head bolt thread cleaner/chaser. Run the bolt through a few times with some break cleaner, blow out with air, and you should be good to go.
08-04-2018, 06:10 PM
#68
TECH Apprentice
Thread Starter
Slot one of your old head bolts length wise a few times with a small cut off wheel. I do that every time I do heads to make my own head bolt thread cleaner/chaser. Run the bolt through a few times with some break cleaner, blow out with air, and you should be good to go.
08-05-2018, 04:04 PM
#71
TECH Apprentice
Thread Starter
Thanks guys, I'm excited to get it done so I can track this setup. I've driven it a fair bit this year, but most of it was break-in miles for the clutch and rear. I want to push this thing! Gotta play that waiting game now though...
08-07-2018, 07:08 PM
#72
TECH Apprentice
Thread Starter
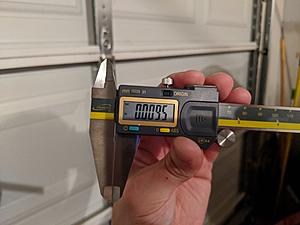
I used a digital caliper to measure the amount of travel my pistons had above the block (piston to deck clearance). I was surprised to see numbers pretty consistently between .009 and .010 at the top right of each driver's side piston. I know they are said to range between .005 and .010, regularly around .007, but I didn't think I'd see so many on the high side of that range. With that, do you think a .045 head gasket would be a better choice than the .040 in my application? I am measuring at the pistons highest point, is that the right way to do it?
**Edit** After getting some readings as high as .012 I decided to do what I should have done in the first place, do a search. I found some calculations for using multiple measurements that also looked at how the piston rocks, and I'm actually coming in around .005 now. Back to Cometic .040 head gaskets I go.
**Edit** After getting some readings as high as .012 I decided to do what I should have done in the first place, do a search. I found some calculations for using multiple measurements that also looked at how the piston rocks, and I'm actually coming in around .005 now. Back to Cometic .040 head gaskets I go.


Last edited by Tang2; 08-07-2018 at 07:55 PM.
 08-10-2018, 05:50 AM
#74
TECH Apprentice
Thread Starter
I had that cam and TFS215s. It was a great combo on the street
https://ls1tech.com/forums/dynamomet...2-updated.html
https://ls1tech.com/forums/dynamomet...2-updated.html
08-23-2018, 06:15 PM
#75
TECH Apprentice
Thread Starter
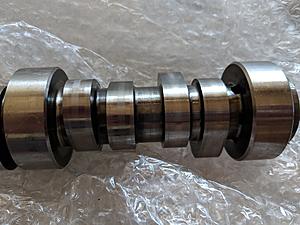
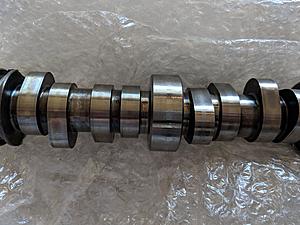
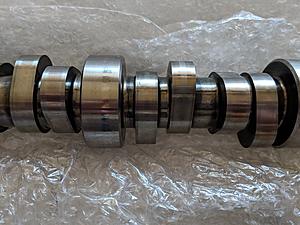
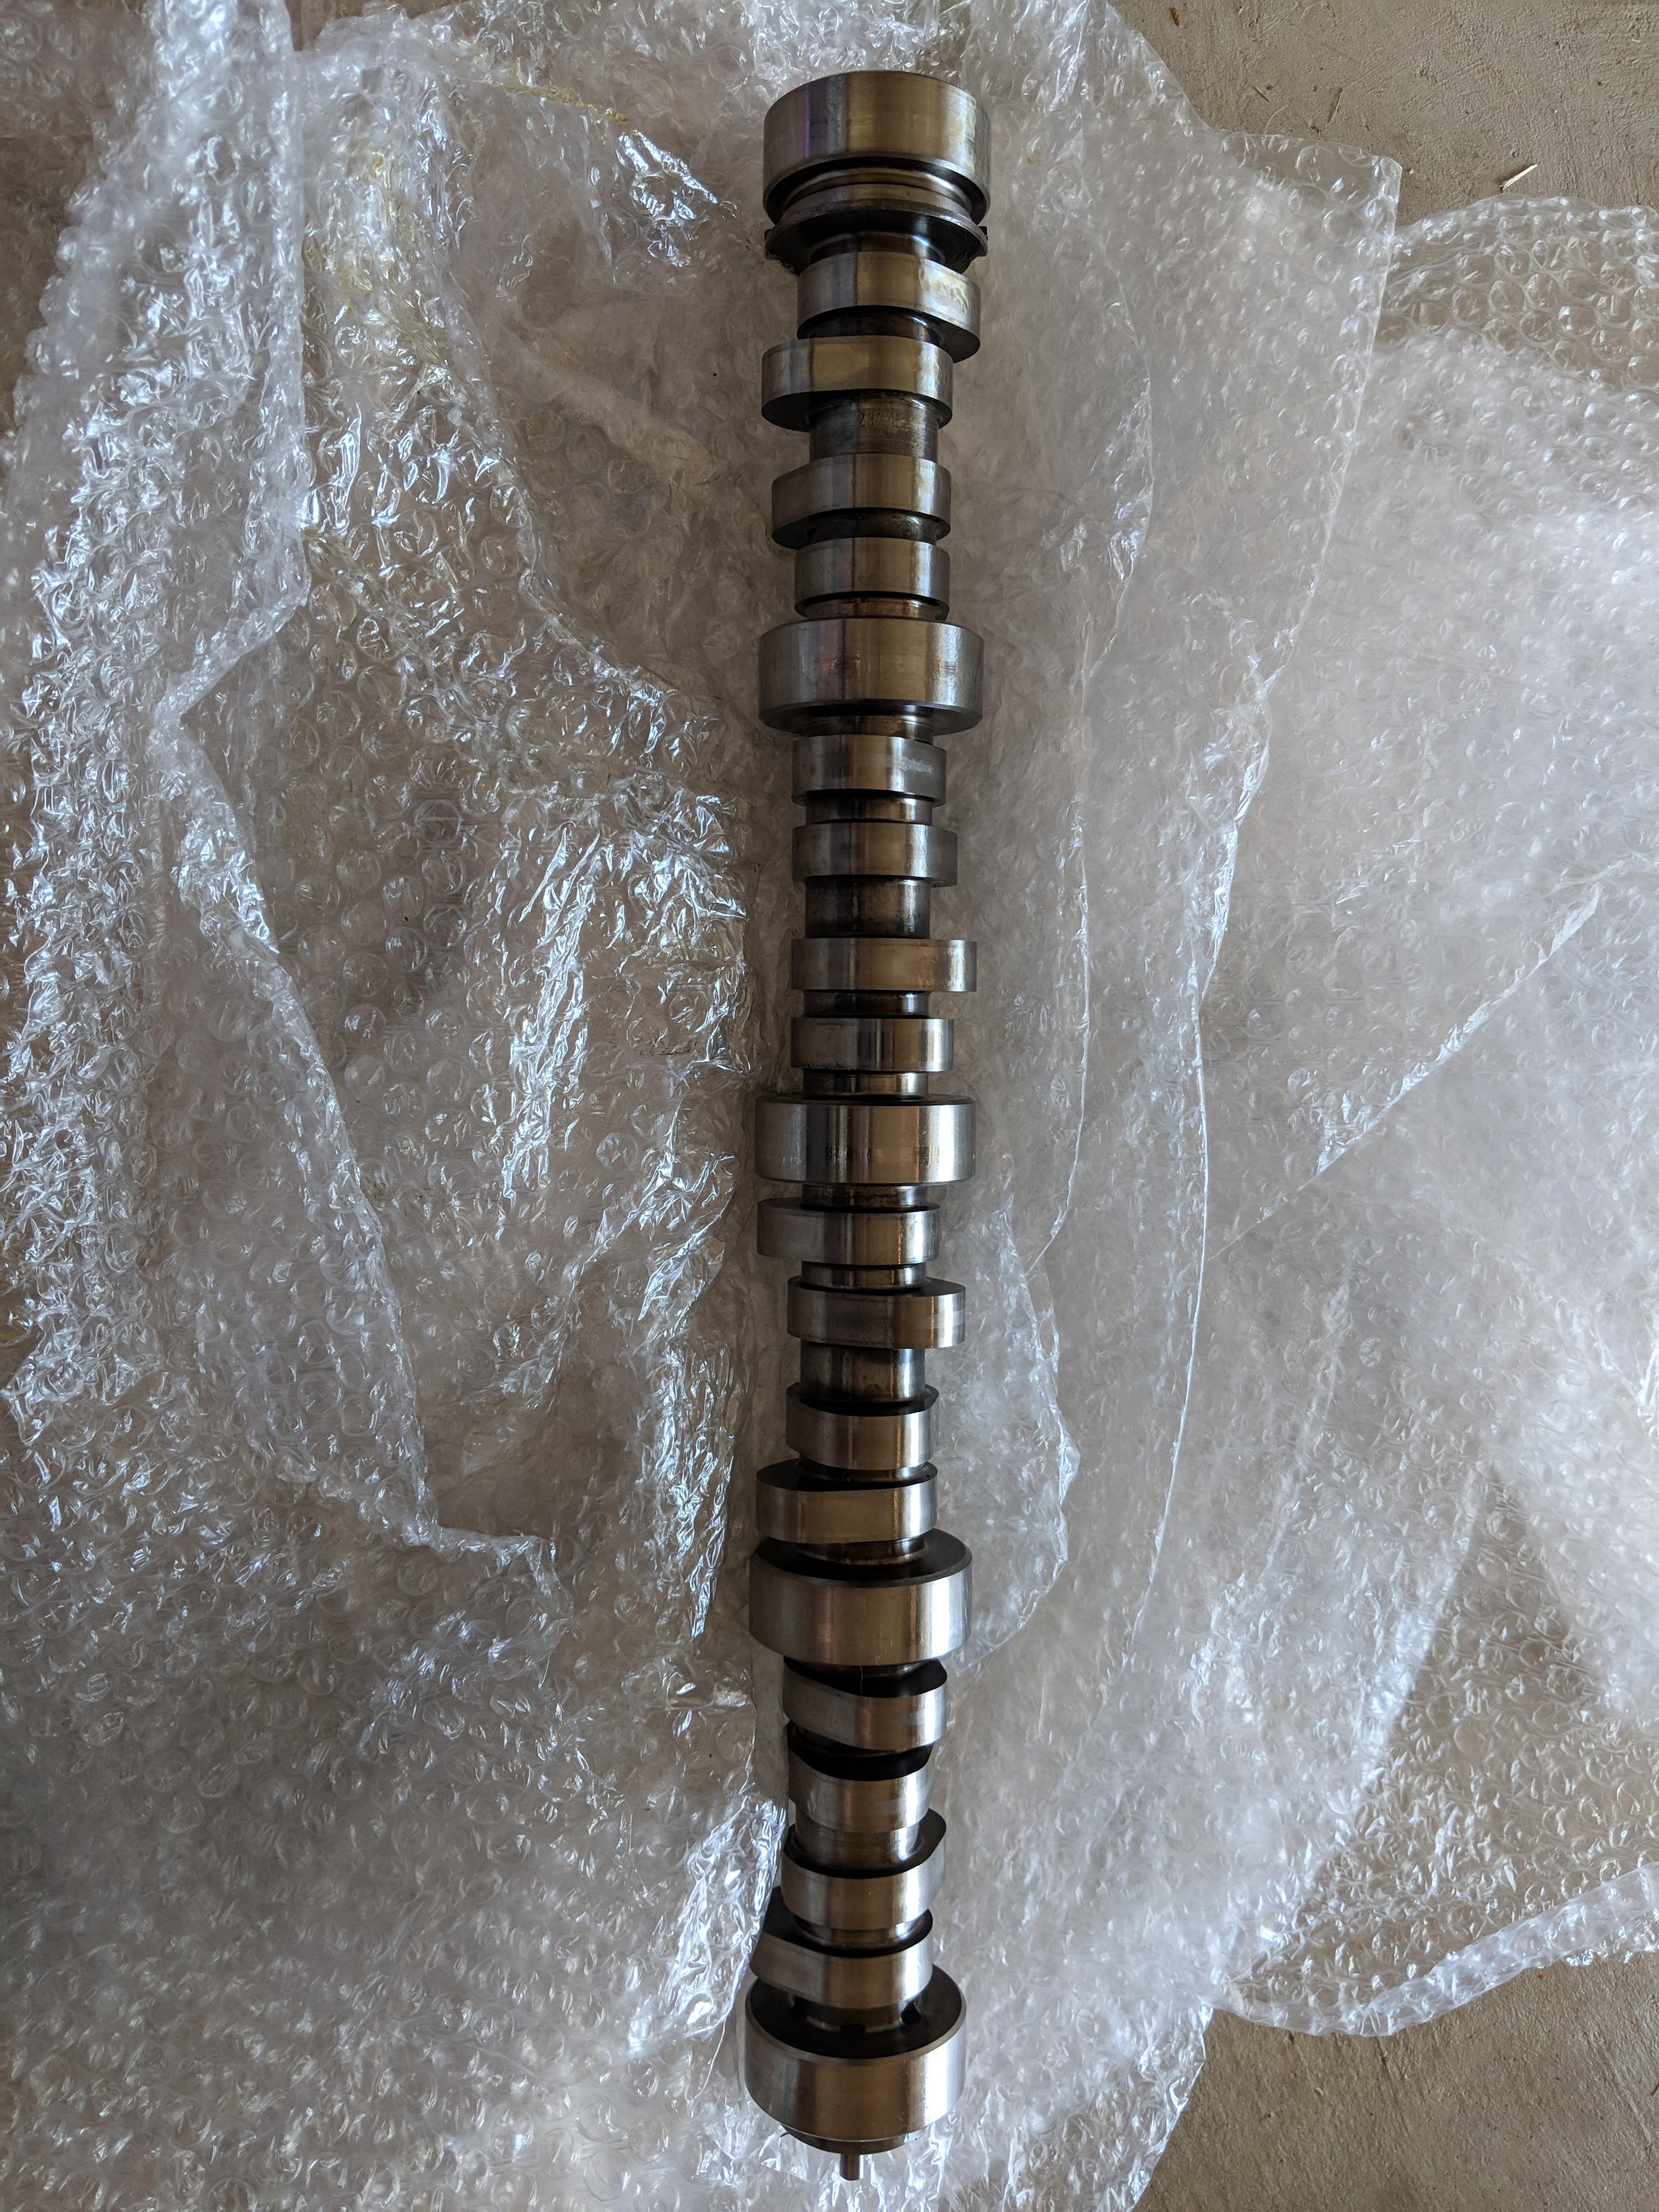
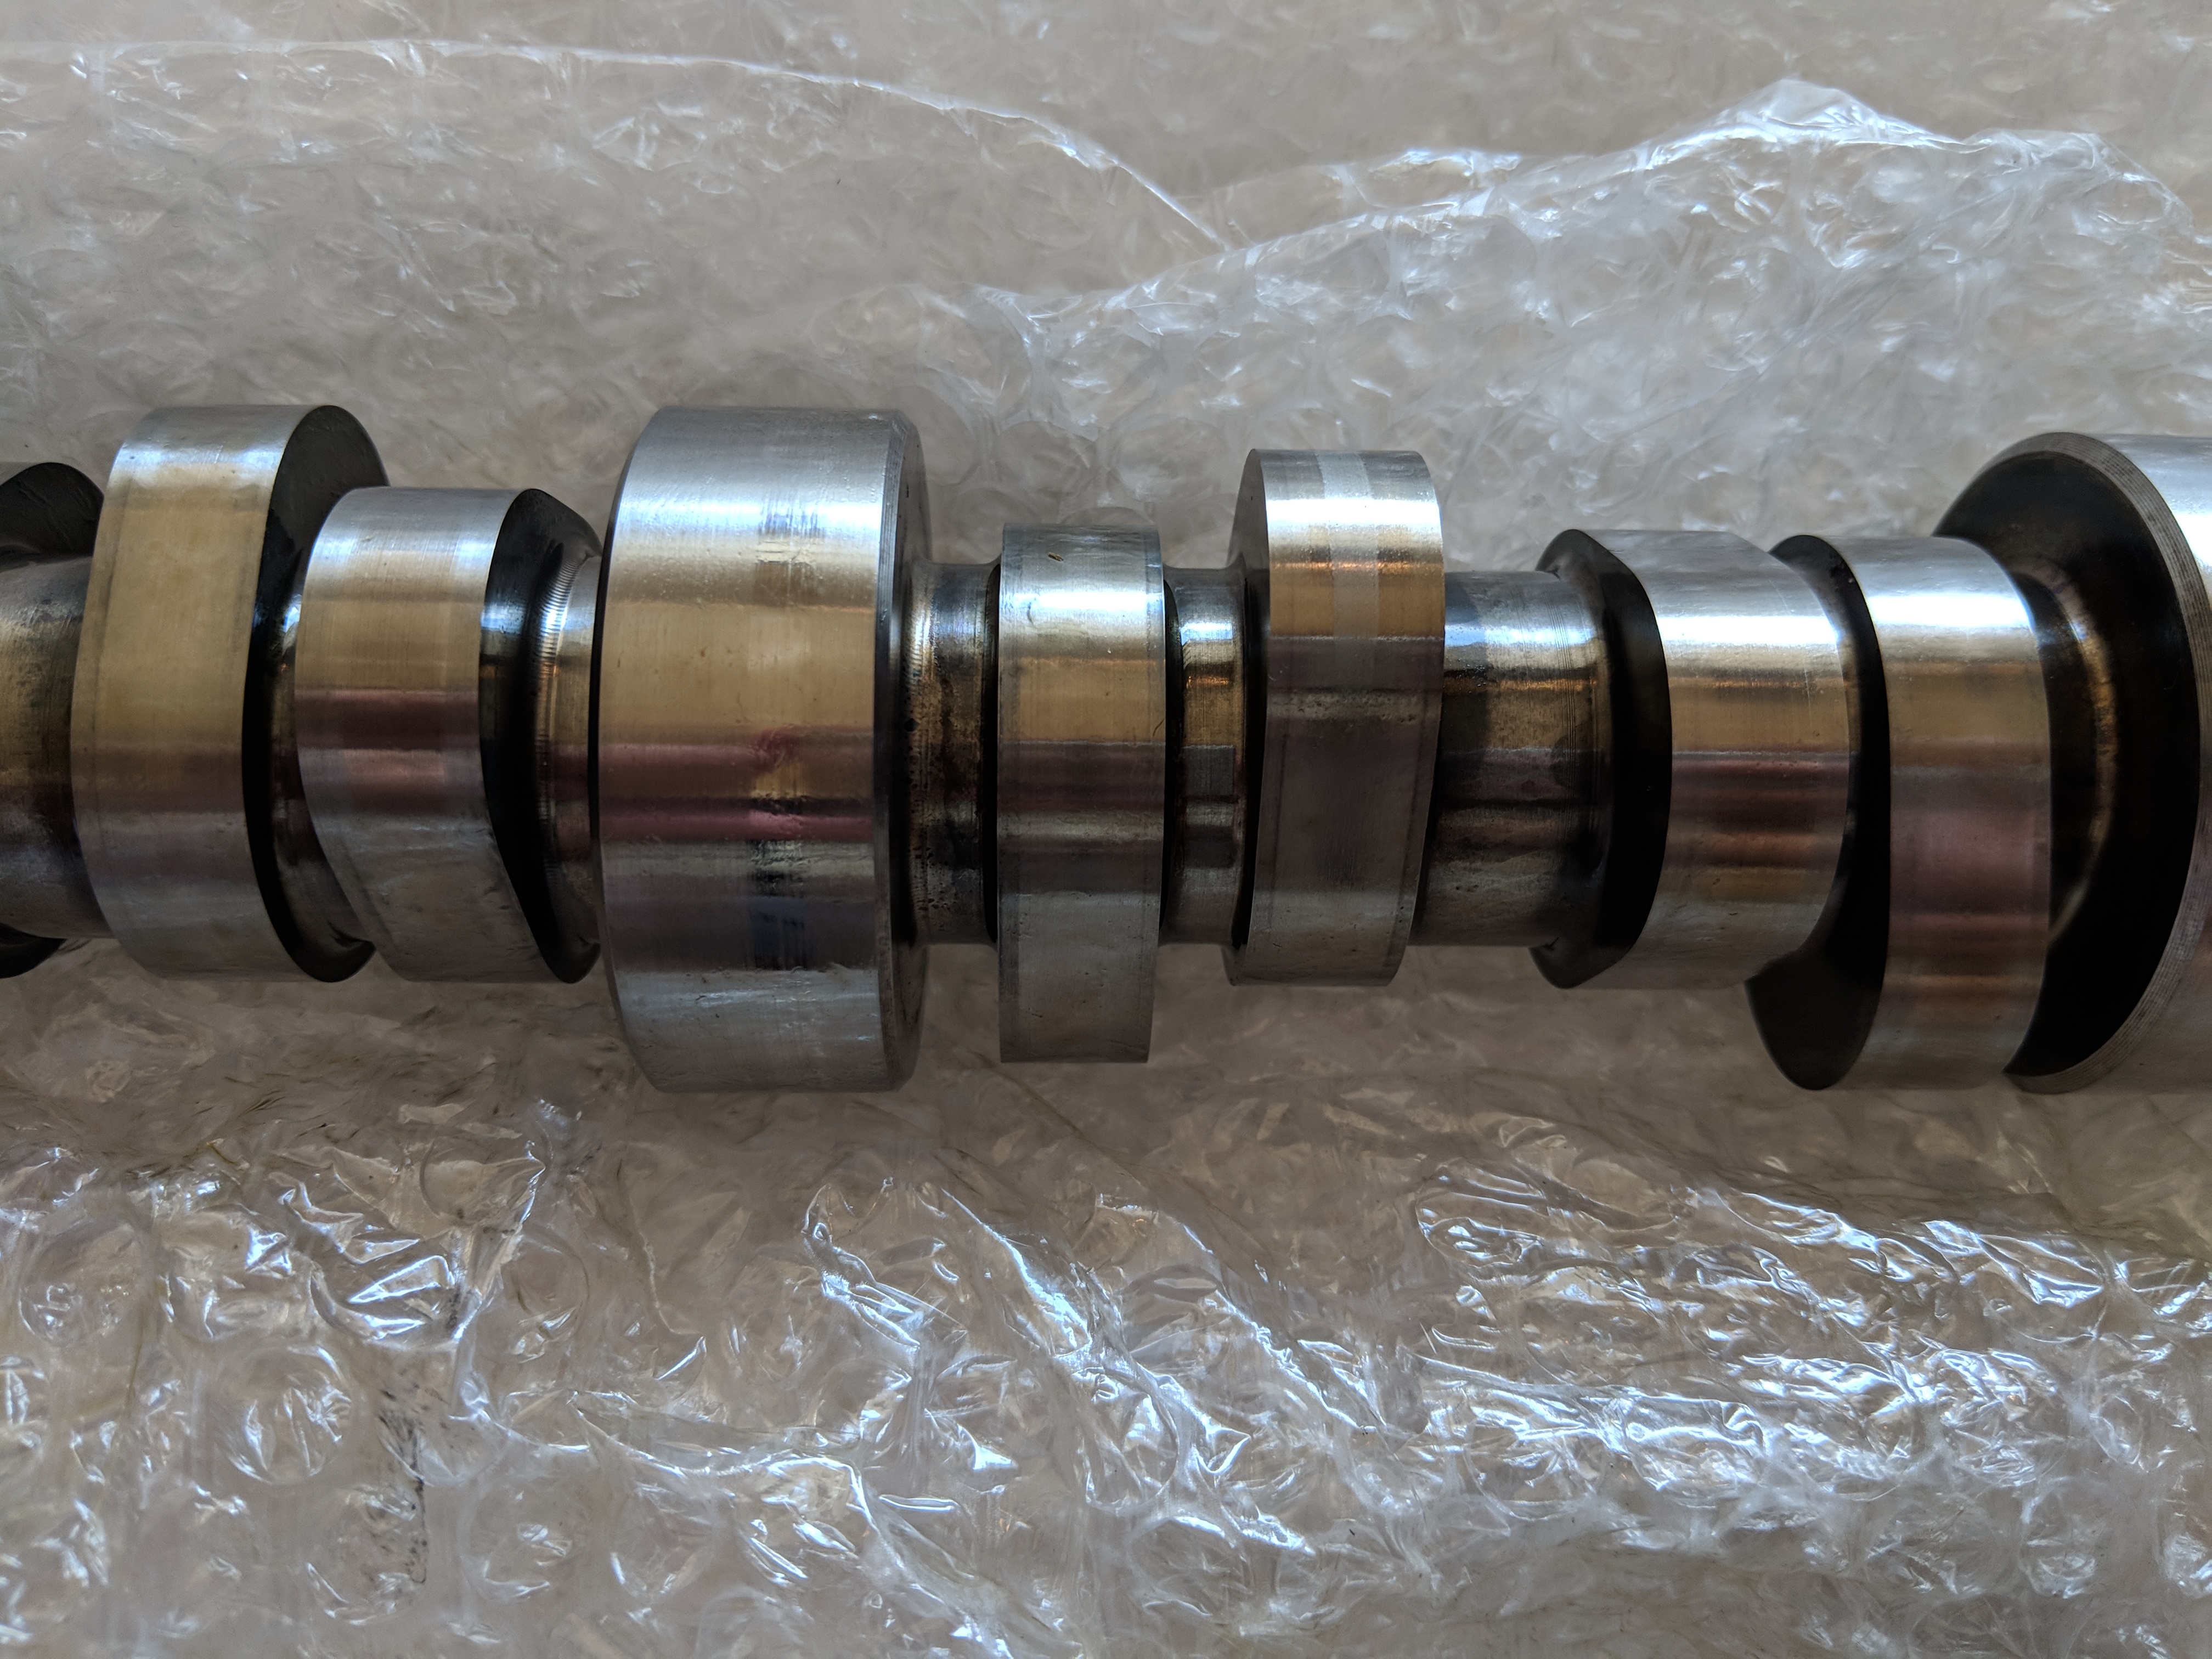
Unfortunately I don't have any exciting updates, as I'm still waiting for the heads and intake. I decided to finish disassembly today by removing the lifters and the TR227 cam. Everything appears to be in great condition, so I'm ready for the new stuff to arrive so I can get this build heading in the right direction. Here are some photos of the cam


 08-31-2018, 05:22 PM
#76
TECH Apprentice
Thread Starter
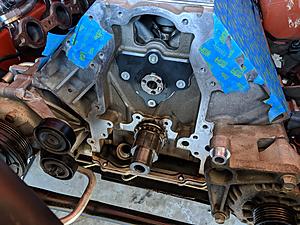
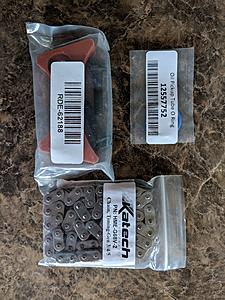
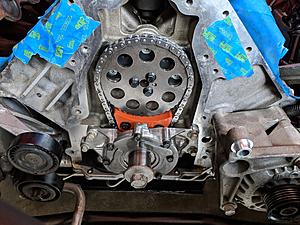
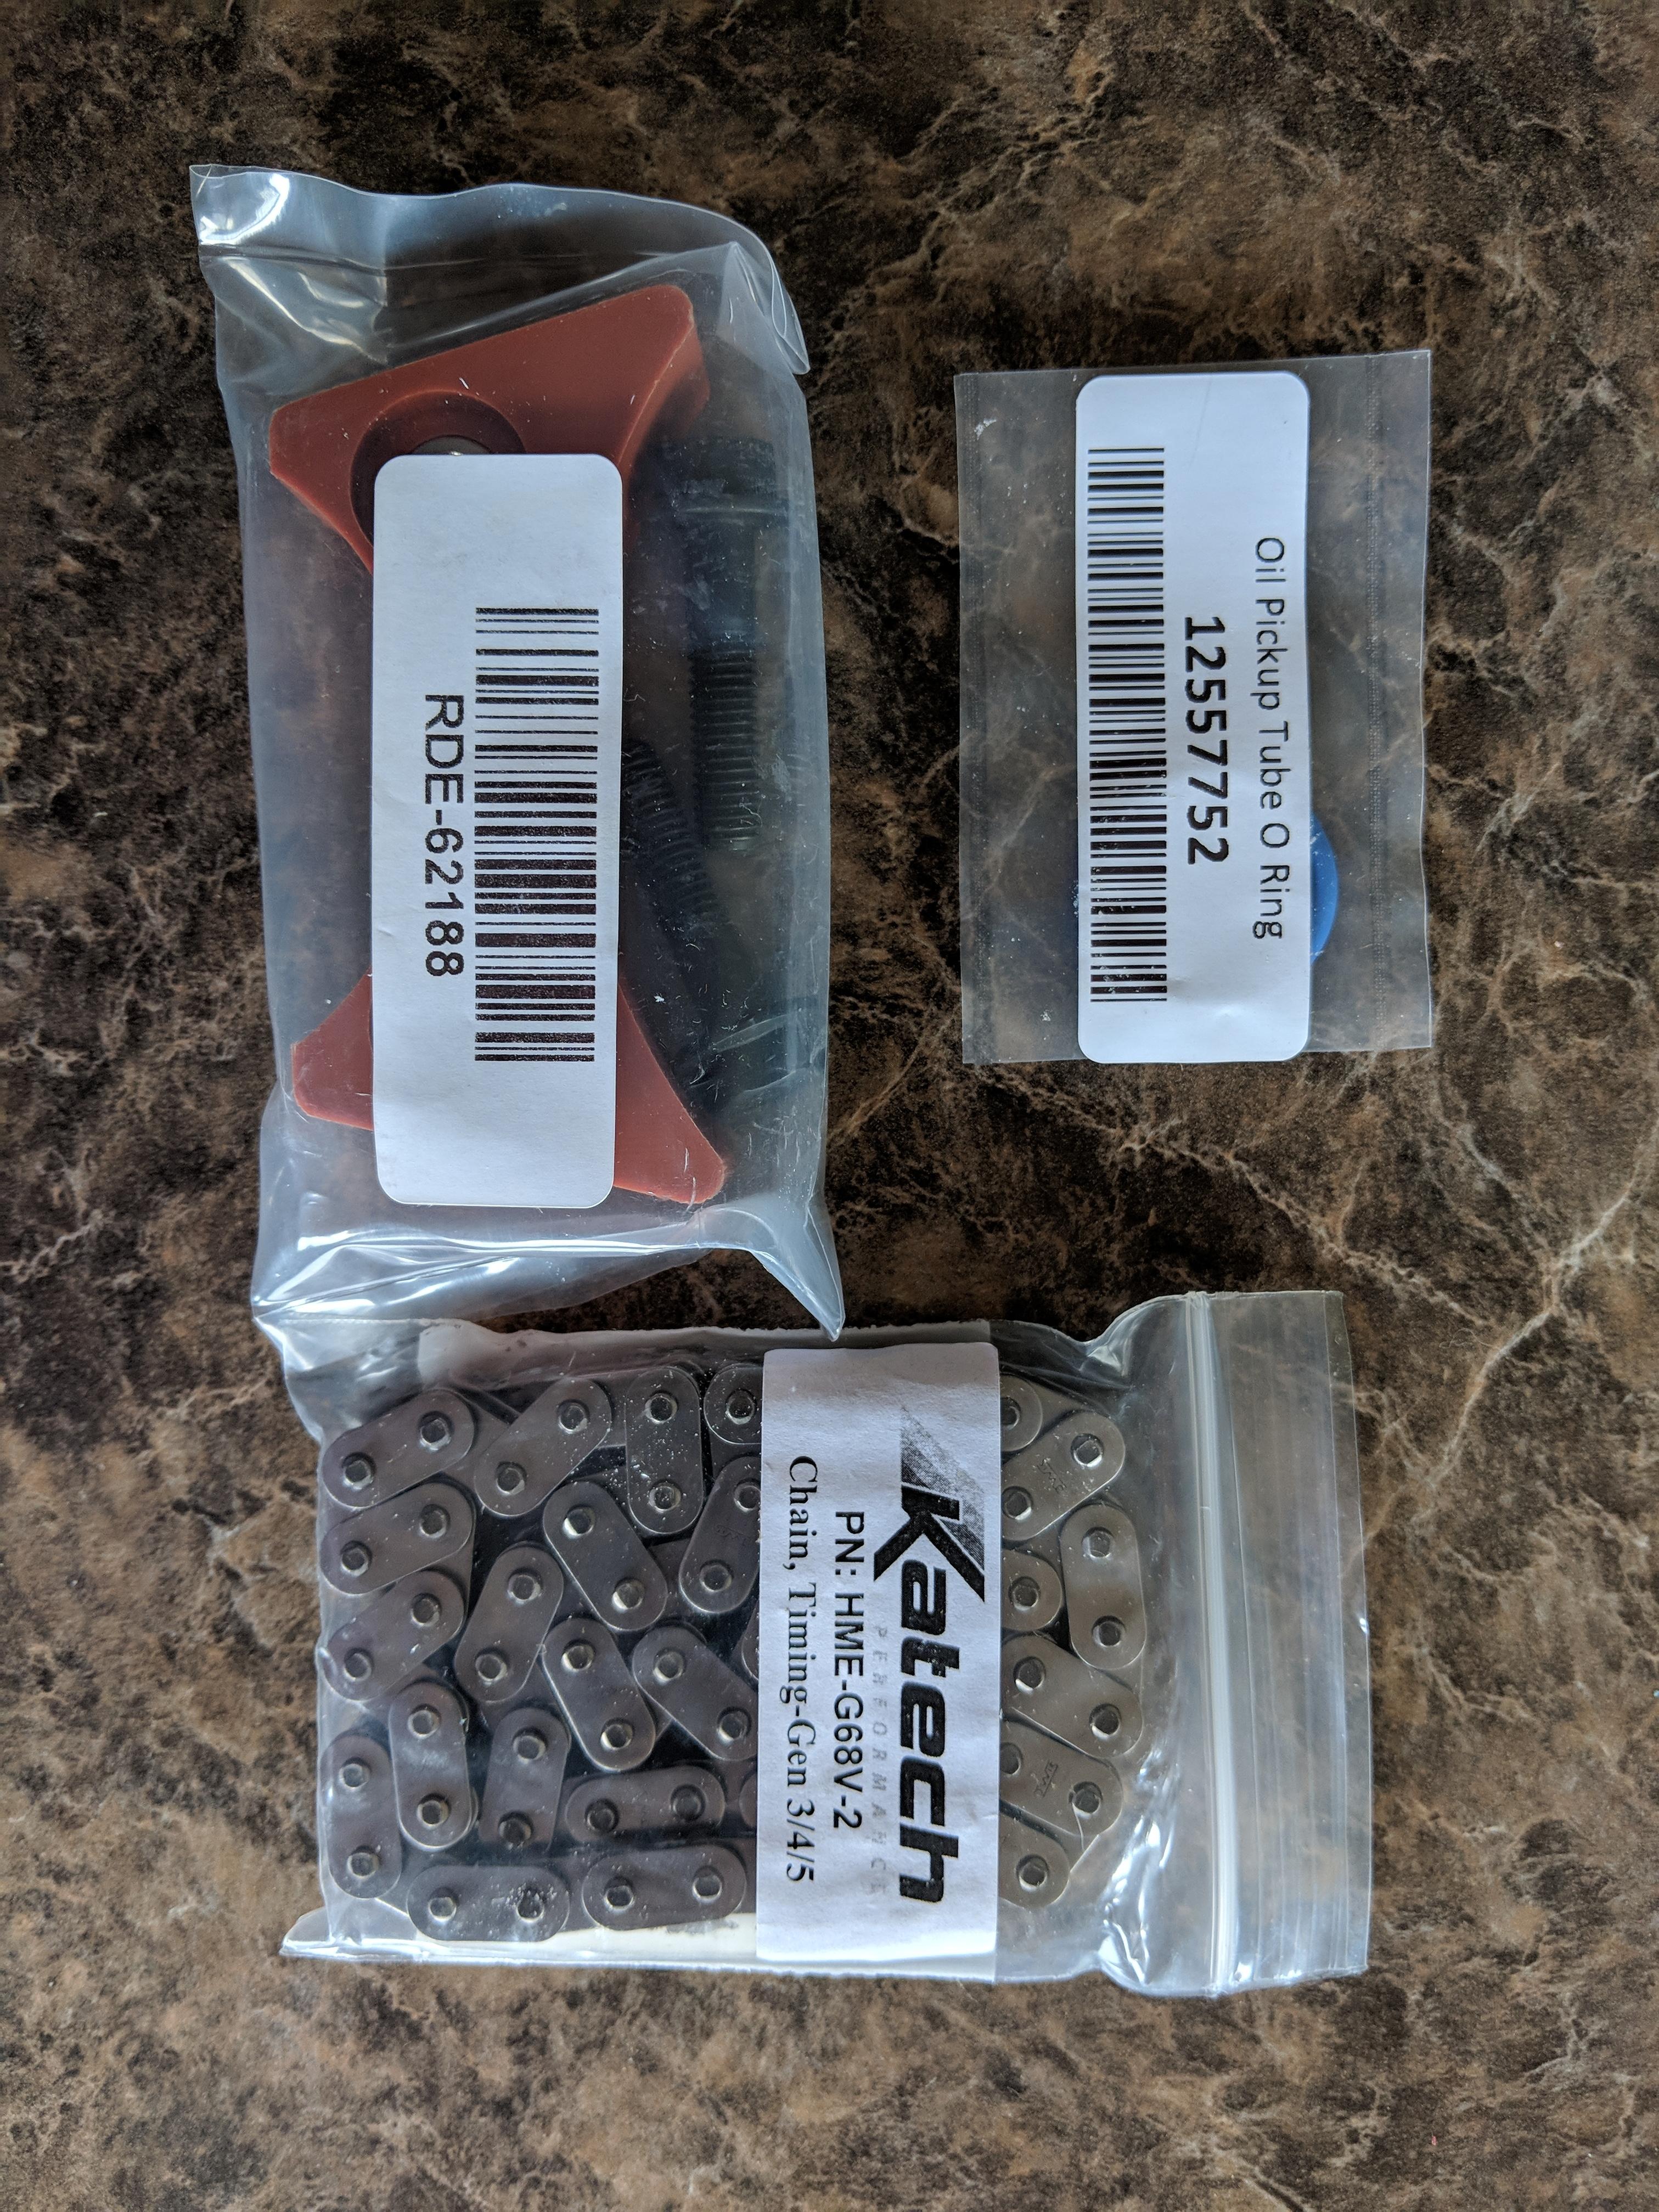
Still waiting on the heads and intake, and now a chain damper (holes were pre-drilled) and Katech C5R timing chain. Got the oil pan dropped and the pump off today. The new cam is in, and the new plate is over it. Sounds like the heads will be done in a week or so, so hopefully the next update is a more exciting one.

 09-06-2018, 05:24 PM
#77
TECH Apprentice
Thread Starter
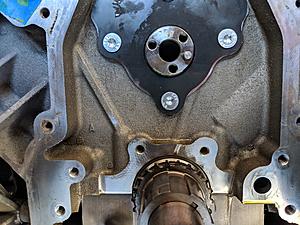
Not a big update, but progress nonetheless. I received the C5R chain and the LS6 Dampener that BTR sells. One photo as they came and the other installed.
 09-07-2018, 07:34 PM
#78
TECH Apprentice
Thread Starter
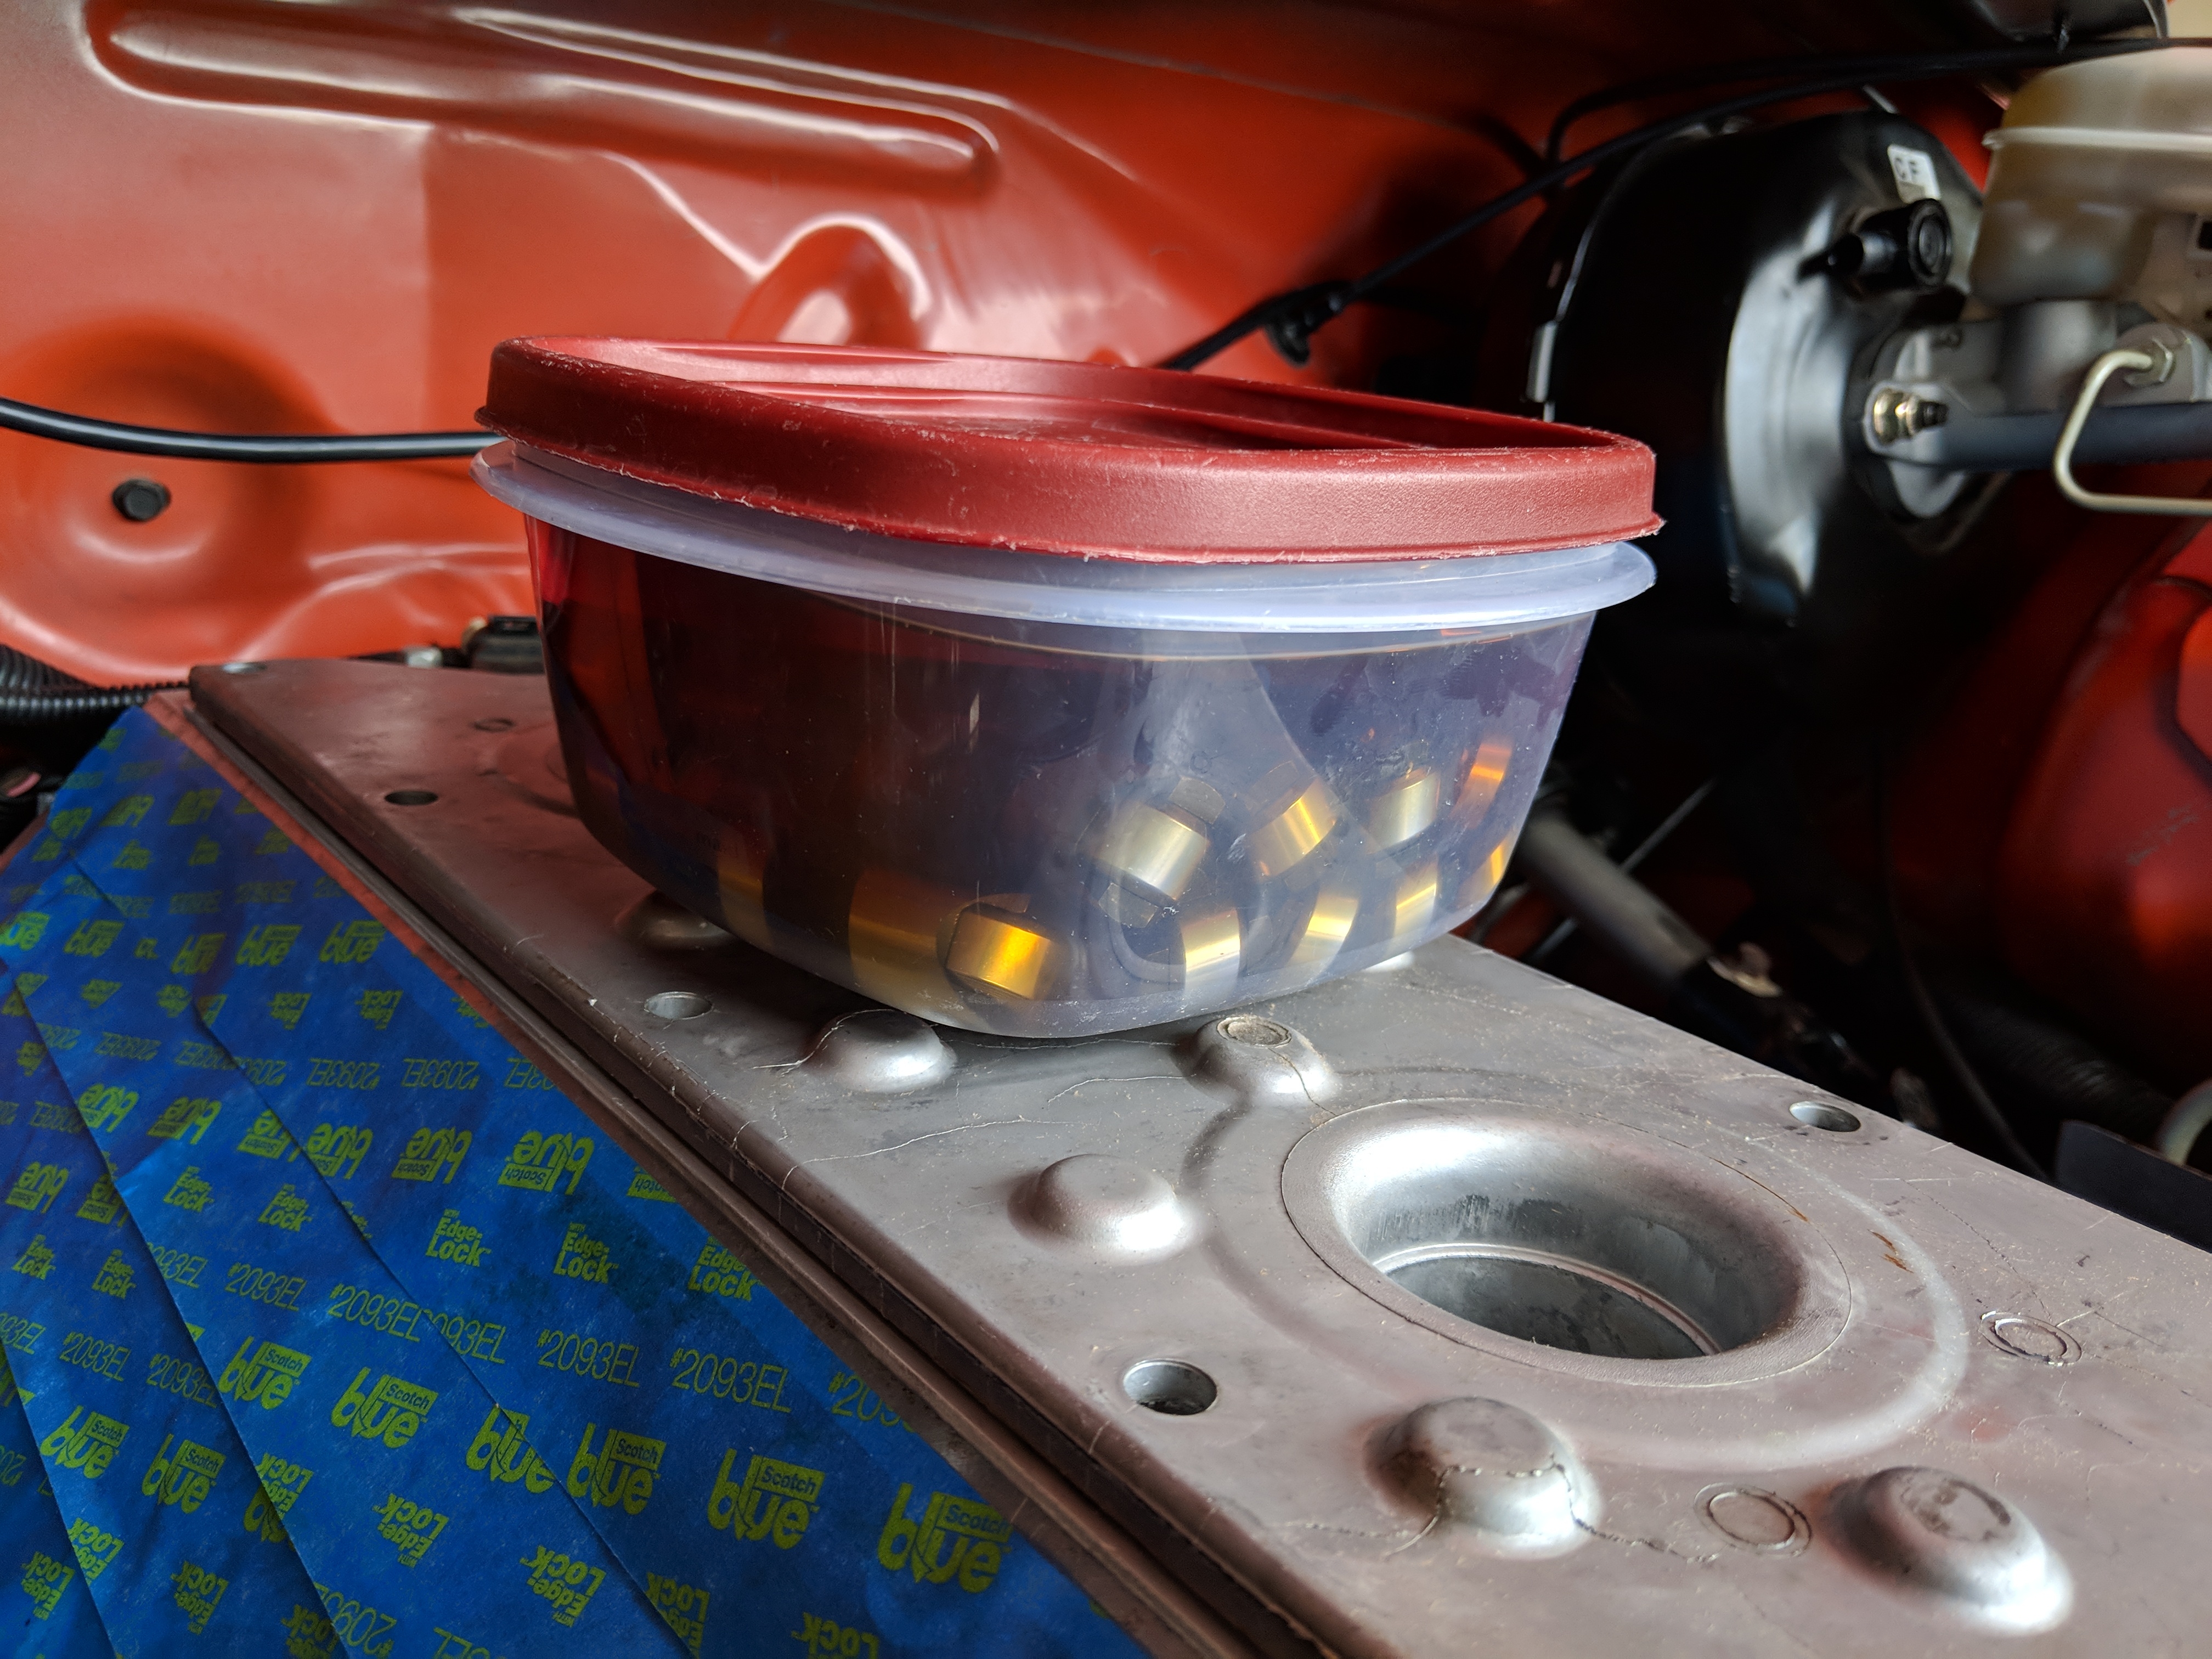
Bottom end all buttoned up. Not much else to do until the heads and intake show up. The good news is BTR said the head work is done and the intake will be port matched Monday. Should have everything by mid to end of next week!
Lifters soaking

Lifters soaking
 09-07-2018, 07:53 PM
#79
Not a big update, but progress nonetheless. I received the C5R chain and the LS6 Dampener that BTR sells. One photo as they came and the other installed.
Attachment 706795
Attachment 706794
Attachment 706795
Attachment 706794
Thanks for the explanation. I was lost at first.....
just kidding. looking good.

