
Aluminum 454 Build


 06-13-2014, 11:26 AM
#443

I've seen large gains that most would think aren't possible upping push rod diameter and wall thickness.
It kills me when guys build 10k+ engines and then scoff when I tell them their push rods are going to cost 275-350 dollars.
06-13-2014, 12:01 PM
#444
No kidding, Ive got more in my valve train than most around here at home has in there motors , Custom Jesel Mohawks shaft roller rocker arms 1.8" int & 1.75" ext. $2700.00 , Morel (HLT) roller lifters $750.00 Manton custom cut Series 5 pushrods - 3/8" X 7.202"X.120"wall $450.00 , Livernois valve spring kit .690" lift $400.00 = $4300.00 , Hell that not even including the cam lol....
Last edited by Randy WS6; 06-13-2014 at 12:43 PM.
06-13-2014, 03:59 PM
#445
TECH Enthusiast
Thread Starter
iTrader: (1)

Join Date: May 2012
Posts: 570
Likes: 0
Received 0 Likes
on
0 Posts
Man I am jealous of your rockers...I almost went that route...maybe later on down the road...I don't understand the logic some people have when it cones to where to spend money in a high end engine build...you can't fix stupid...at least I know the weak point of my engine will be my rockers...but after talking with Martin and Chris I'm confident they will hold up just fine for the amount of miles I'll be putting on them per year...
06-14-2014, 08:32 PM
#446
No kidding, Ive got more in my valve train than most around here at home has in there motors , Custom Jesel Mohawks shaft roller rocker arms 1.8" int & 1.75" ext. $2700.00 , Morel (HLT) roller lifters $750.00 Manton custom cut Series 5 pushrods - 3/8" X 7.202"X.120"wall $450.00 , Livernois valve spring kit .690" lift $400.00 = $4300.00 , Hell that not even including the cam lol....
06-14-2014, 08:50 PM
#447
No kidding, Ive got more in my valve train than most around here at home has in there motors , Custom Jesel Mohawks shaft roller rocker arms 1.8" int & 1.75" ext. $2700.00 , Morel (HLT) roller lifters $750.00 Manton custom cut Series 5 pushrods - 3/8" X 7.202"X.120"wall $450.00 , Livernois valve spring kit .690" lift $400.00 = $4300.00 , Hell that not even including the cam lol....
06-15-2014, 10:03 PM
#448
Yes I might have over did it lol...., but I just wanted the best I could buy, And that what Manton suggested for my application. I just pulled the engine and tore it down and sending the LS3 6.2L block to Livernois to have them install there custom sleeves and having it finished bored to 4.140"
06-15-2014, 10:26 PM
#449
That is very true , but there very good parts out there for a lot less and will hold most application to a point , But to me people need to set down and decide what they are building and buy the right parts for there build and what there planning to do with it. I spend weeks part matching , the right cam , springs, valves , pistons, rings, heads , head gaskets , lifter ,push rods, rocker arms, intake , throttle body, headers, flywheel, converter and so on . and I also called the manufactures on all the parts above and asked them what did they suggest for my build. To me the manufactures know best , that why they designs and test there parts for the best performance . Theres a lot of great info on here and it also can get misleading, Just because I run Manton pushrods and Jesel rockers , AFR heads don't mean that I suggest that any one should go that far with there build , just match your parts for your application. Mismatch parts cause more engine failures than any thing that ive seen and also in there tuning.
06-18-2014, 10:42 AM
#452
TECH Enthusiast
Thread Starter
iTrader: (1)
Join Date: May 2012
Posts: 570
Likes: 0
Received 0 Likes
on
0 Posts
Alright so this past saturday I got a bunch of stuff done with the engine, and some other little things.
First thing I got done was checking to make sure the drive shaft was the correct length...now I know it isn't exact, but I did the best I could under the circumstances I had...SO...What I did was, I put the trans on a jack and jacked it up into the transmission tunnel where It would be sitting when the engine is in the car, then I put in the transmission cross member so I would have the trans bolted to it in the position that it should be...then I slid in the driveshaft and lined it up with the u-joint on the rear end, and it fits perfectly....I had about 1.5" of slip yoke travel left where it goes into the transmission so I am happy with that...

After that I pulled out the rear end so next time I go home me and my buddy can switch out the rear end gears hopefully....
Once I got the rear end out it was time to switch focus back to the engine....so first thing I did was install the pushrods and degreed the cam....I don't have any pics of the degreeing process, but you will just have to take my word for it...My first measurement the cam came out to be at 110 ICL, so I used the Hex-a-Just cam gear and tried to change it one degree....The next two times I went through the degreeing process I came up with a 108.5 ICL...I am hoping that this is close enough to the 109 ICL that the cam was cut on...Hopefully Martin will chime in and let me know....
These are some beefy pushrods...


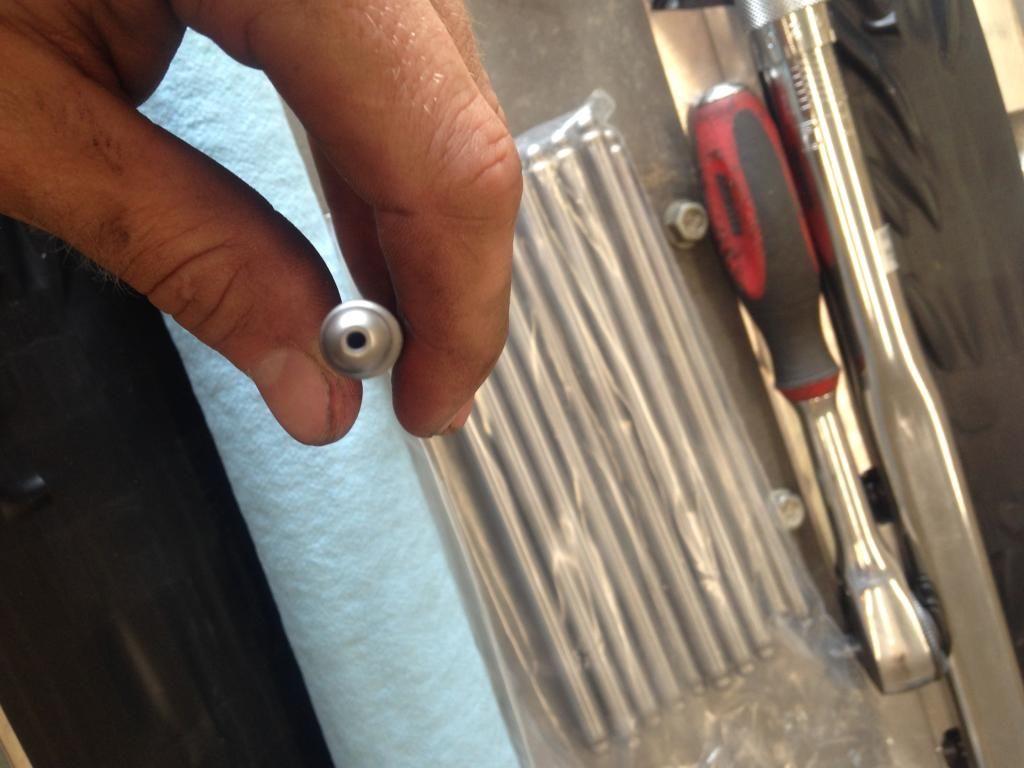
After I got the pushrods installed I went ahead and installed the front cover using the alignit tool from sac city corvettes...I had to use the oil pump alignit tool because the front cover came with the seal already in it, but it worked just fine...


Once I got the front cover on I moved onto the oil windage tray, pick up tube, and oil pan....The windage tray took some time to get it all clearanced....I ended up putting 2 washers between the main cap nuts and the bottom of the windage tray, in addition to using the hammer mod to make some more room...I also had to cut some new slit where I accidentally hammered them shut, but I think it all turned out alright...

I made sure to put some RTV at the corners where the block, oil pan, and front/rear covers meet, respectively....

I still need to test fit the lokar dip stick, and get a few oil filters for the break in process but my oiling system is pretty much done asside from that....
I also got the motor mounts re installed, along with all of the front drive accessories...now I managed to forget to check PTV clearance when I was degreeing the cam, so it is either pull the head off and check PTV using clay, or I pull all of the accessories off along with the balancer, and front cover and check PTV using the dial method....Probably just going to pull the head and check it using clay...at any rate here is how the motor mounts and accessories went on...


Now I wasn't able to torque the ARP balancer bolt to spec, due to my torque wrench only goes up to 160ft-lbs, and the ARP bolt called for an astounding 235ft-lbs.....Looks like the tool box will be getting a new torque wrench soon....

The crank pulley went on, followed by the water pump, ps pump brackets, alt. brackets, and A/C brackets....I was a little nervous that the -20AN fitting would hit the A/C bracket as it went onto the water pump, but luckily it has just enough clearance....


After all of that was installed, I turned my attention to my intake...If you remember I am using a vacuum referenced fuel pressure regulator, so I needed a vacuum sorce off of the intake....So I got in touch with kinsler and they sent me a vacuum manifold that took a reference off of each of the intake tubes after the throttle blade...I made sure to cut each of the vacuum tubes to the same length before putting them all on...

Once I got all that plumbed I threw the intake on the engine because why not? I think this thing is going to look so sick under the hood....


First thing I got done was checking to make sure the drive shaft was the correct length...now I know it isn't exact, but I did the best I could under the circumstances I had...SO...What I did was, I put the trans on a jack and jacked it up into the transmission tunnel where It would be sitting when the engine is in the car, then I put in the transmission cross member so I would have the trans bolted to it in the position that it should be...then I slid in the driveshaft and lined it up with the u-joint on the rear end, and it fits perfectly....I had about 1.5" of slip yoke travel left where it goes into the transmission so I am happy with that...

After that I pulled out the rear end so next time I go home me and my buddy can switch out the rear end gears hopefully....
Once I got the rear end out it was time to switch focus back to the engine....so first thing I did was install the pushrods and degreed the cam....I don't have any pics of the degreeing process, but you will just have to take my word for it...My first measurement the cam came out to be at 110 ICL, so I used the Hex-a-Just cam gear and tried to change it one degree....The next two times I went through the degreeing process I came up with a 108.5 ICL...I am hoping that this is close enough to the 109 ICL that the cam was cut on...Hopefully Martin will chime in and let me know....
These are some beefy pushrods...


After I got the pushrods installed I went ahead and installed the front cover using the alignit tool from sac city corvettes...I had to use the oil pump alignit tool because the front cover came with the seal already in it, but it worked just fine...


Once I got the front cover on I moved onto the oil windage tray, pick up tube, and oil pan....The windage tray took some time to get it all clearanced....I ended up putting 2 washers between the main cap nuts and the bottom of the windage tray, in addition to using the hammer mod to make some more room...I also had to cut some new slit where I accidentally hammered them shut, but I think it all turned out alright...


I made sure to put some RTV at the corners where the block, oil pan, and front/rear covers meet, respectively....

I still need to test fit the lokar dip stick, and get a few oil filters for the break in process but my oiling system is pretty much done asside from that....
I also got the motor mounts re installed, along with all of the front drive accessories...now I managed to forget to check PTV clearance when I was degreeing the cam, so it is either pull the head off and check PTV using clay, or I pull all of the accessories off along with the balancer, and front cover and check PTV using the dial method....Probably just going to pull the head and check it using clay...at any rate here is how the motor mounts and accessories went on...


Now I wasn't able to torque the ARP balancer bolt to spec, due to my torque wrench only goes up to 160ft-lbs, and the ARP bolt called for an astounding 235ft-lbs.....Looks like the tool box will be getting a new torque wrench soon....

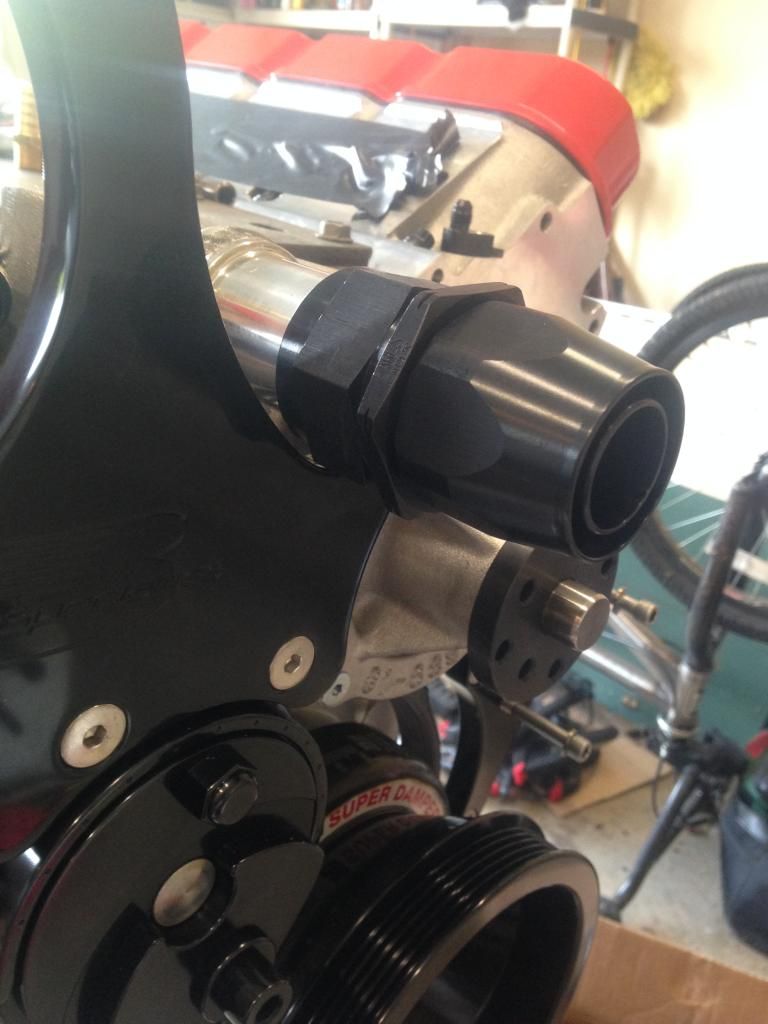
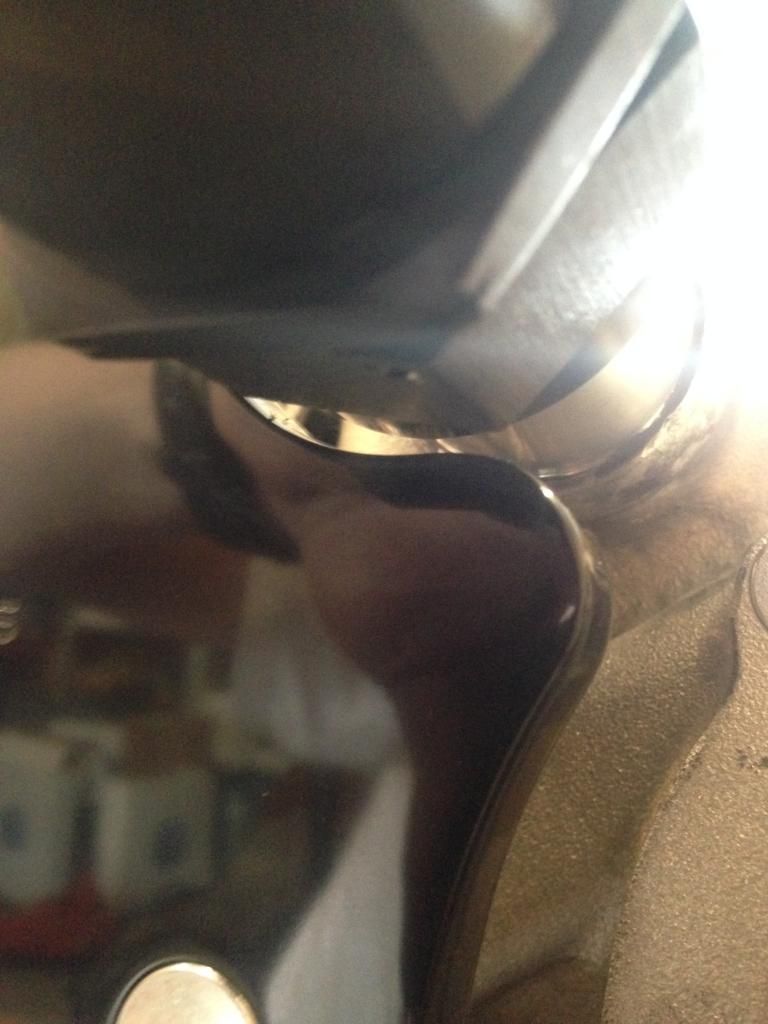
The crank pulley went on, followed by the water pump, ps pump brackets, alt. brackets, and A/C brackets....I was a little nervous that the -20AN fitting would hit the A/C bracket as it went onto the water pump, but luckily it has just enough clearance....


After all of that was installed, I turned my attention to my intake...If you remember I am using a vacuum referenced fuel pressure regulator, so I needed a vacuum sorce off of the intake....So I got in touch with kinsler and they sent me a vacuum manifold that took a reference off of each of the intake tubes after the throttle blade...I made sure to cut each of the vacuum tubes to the same length before putting them all on...

Once I got all that plumbed I threw the intake on the engine because why not? I think this thing is going to look so sick under the hood....

 06-18-2014, 11:04 AM
#453
Did you check pan to pickup clearance? If you spaced out the windage tray for the increased stroke, it's going to bring the pick up closer to the pan. If you don't have enough or too much, you're going to have oil pressure problems and could kill the engine.
Also, while the pan is off, I would test fit the dipstick. One shop I used to work at had a procedure to check the dipstick on those longer stroke engines to make sure it actually didn't go into one of the slots in the windage tray. One one occasion, I had to "adjust" the tray to keep the dipstick out of the windage tray.
Also, while the pan is off, I would test fit the dipstick. One shop I used to work at had a procedure to check the dipstick on those longer stroke engines to make sure it actually didn't go into one of the slots in the windage tray. One one occasion, I had to "adjust" the tray to keep the dipstick out of the windage tray.
06-18-2014, 11:13 AM
#454
TECH Enthusiast
Thread Starter
iTrader: (1)
Join Date: May 2012
Posts: 570
Likes: 0
Received 0 Likes
on
0 Posts
Good call on the dip stick....I will give that a look when I go home next...Also I used my bore scope to "roughly" check the pick tube to pan clearance and it is about 8mm...What should it be?
06-18-2014, 11:29 AM
#456
TECH Enthusiast
Thread Starter
iTrader: (1)
Join Date: May 2012
Posts: 570
Likes: 0
Received 0 Likes
on
0 Posts
Yeah the head of the bore scope is right at 8mm and it could just fit between the pan and the pick up tube, but if I am taking the pan off to check the dipstick then I might as well throw some clay in there and see where that gets me as far as the pick up tube clearance...
One other thing I noticed, that after I installed the pushrods the lifters seemed to leak down and bleed off the oil that they had in them when I soaked them...I am planning on using a pressurized oil primer to prime the engine, but will this take care of the lifters? Should I back off the rocker arms and pour some oil down into the lifters, and just wait until I'm ready to get the engine fired up to put the rockers back on?
One other thing I noticed, that after I installed the pushrods the lifters seemed to leak down and bleed off the oil that they had in them when I soaked them...I am planning on using a pressurized oil primer to prime the engine, but will this take care of the lifters? Should I back off the rocker arms and pour some oil down into the lifters, and just wait until I'm ready to get the engine fired up to put the rockers back on?
06-18-2014, 01:55 PM
#457

Quick question regarding pushrods. This is on an LS3 based 427 motor. Will 3/8" pushrods fit or do you have to grind some? I know the Manton 11/32" pushrods will work, just wondering about the 3/8".
06-18-2014, 02:02 PM
#458
Love those push rods. Manton is top notch.
The heads have clearance for up to a 1/2" push rod if an offset rocker and lifter is utilized.
With the factory rockers and these heads the largest push rod you can fit is a 3/8". You might be able to fit a dual tapered 7/16"-3/8", but I doubt it without an offset rocker.
The heads have clearance for up to a 1/2" push rod if an offset rocker and lifter is utilized.
With the factory rockers and these heads the largest push rod you can fit is a 3/8". You might be able to fit a dual tapered 7/16"-3/8", but I doubt it without an offset rocker.
Last edited by Sales@Tick; 06-18-2014 at 02:41 PM.
06-18-2014, 03:51 PM
#459
TECH Enthusiast
Thread Starter
iTrader: (1)
Join Date: May 2012
Posts: 570
Likes: 0
Received 0 Likes
on
0 Posts
Hey Martin, any input on the lifters leaking down? Should I take the rockers back off and pour some oil onto the lifters and just wait until I'm ready to install and fire the engine? Or will I be ok once I prime the oil system using a pressurized oil priming system like the melling set up?
Also 108.5 is as close as I could get to the 109 ICL with the hex-a-just gear...is this sufficient?
Also 108.5 is as close as I could get to the 109 ICL with the hex-a-just gear...is this sufficient?
06-18-2014, 03:52 PM
#460
TECH Enthusiast
Thread Starter
iTrader: (1)
Join Date: May 2012
Posts: 570
Likes: 0
Received 0 Likes
on
0 Posts
Hey Martin, any input on the lifters leaking down? Should I take the rockers back off and pour some oil onto the lifters and just wait until I'm ready to install and fire the engine? Or will I be ok once I prime the oil system using a pressurized oil priming system like the melling set up?
Also 108.5 is as close as I could get to the 109 ICL with the hex-a-just gear...is this sufficient?
Also 108.5 is as close as I could get to the 109 ICL with the hex-a-just gear...is this sufficient?