


Operation Engine Bay of Pigs
EDIT 12/31/09:
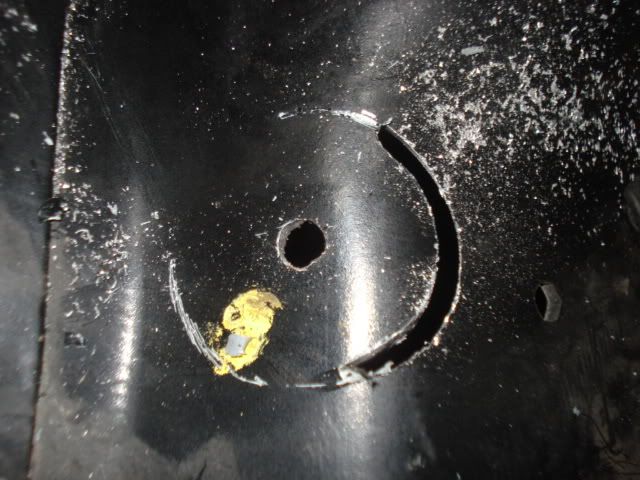
If I cut a piece of metal into the shape of the fuel line hole in the shocktower, is there a way for me to stick in in there and hold? And then smooth it out w/ body filler? This is because the car is obviously immobile and I can't have it welded on. Additionally, I want to paint the bay while the heads/IM are off and have more space to work/paint. Just so you know why I'm thinking of doing that to the fuel line hole.
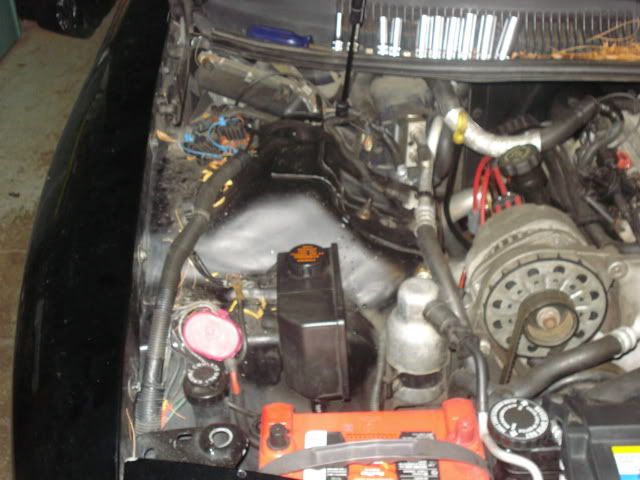
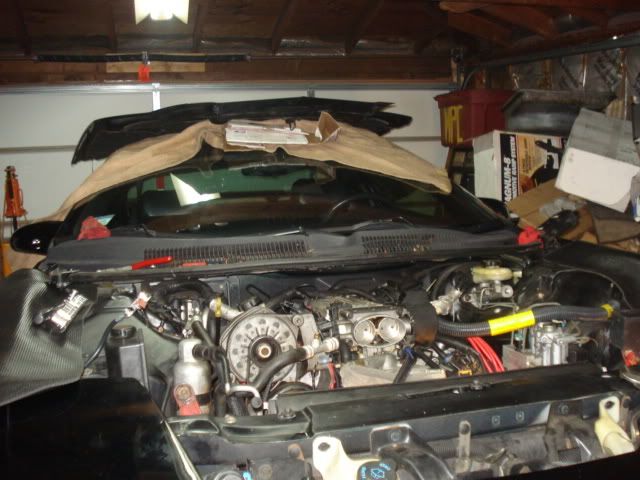
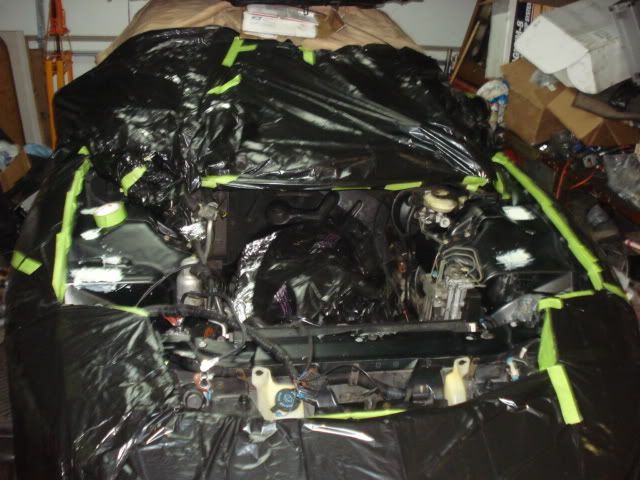
This thread is a little documentation of my process in the clean up of my engine bay.
This all started with me blowing my headgasket and overheating the car on a couple of occasions (long story, temp gauge sensor not working after header install )
)
Do do:
!Wire Mod
!Fuel lines Mod
Wire harness rerouting/tuck (minor)
Paint engine bay (engine still inside using DuPont Spray Paint)
I already started the wire mod but did not finish it entirely. I haven't wrapped them up entirely.
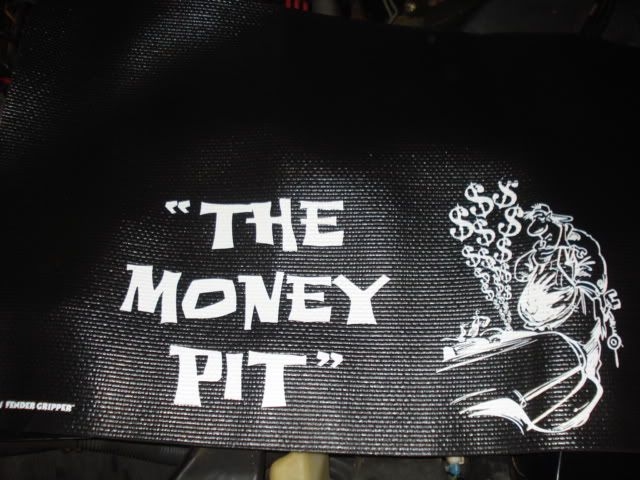
The Money Pit:

The Engine Bay of Pigs
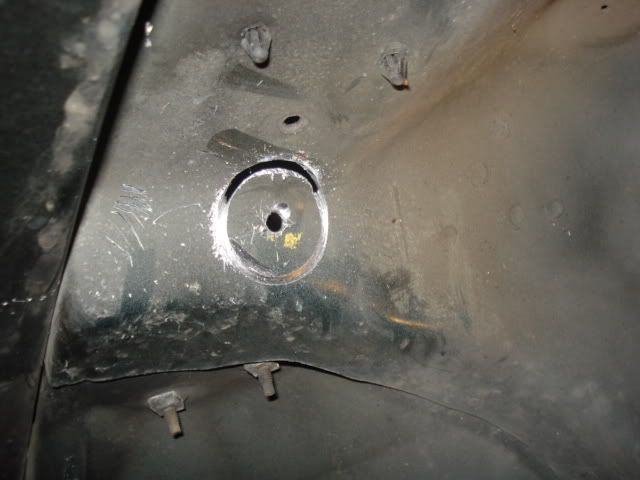
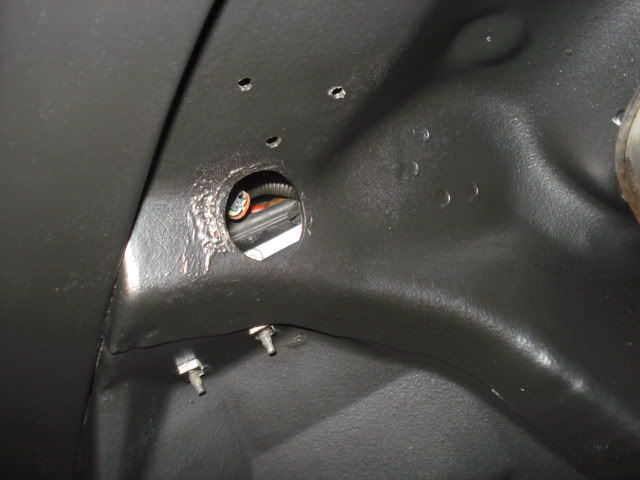
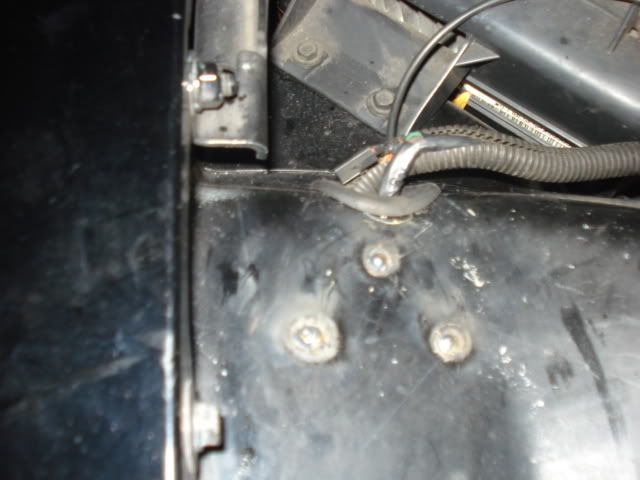
****, I drilled too high. You can see where I initially meant to drill.
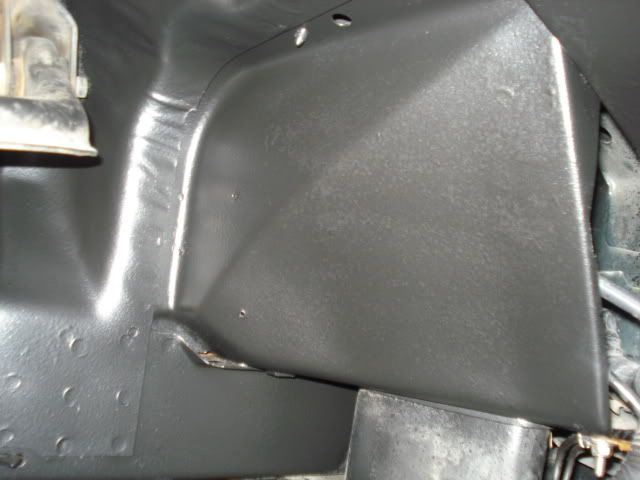
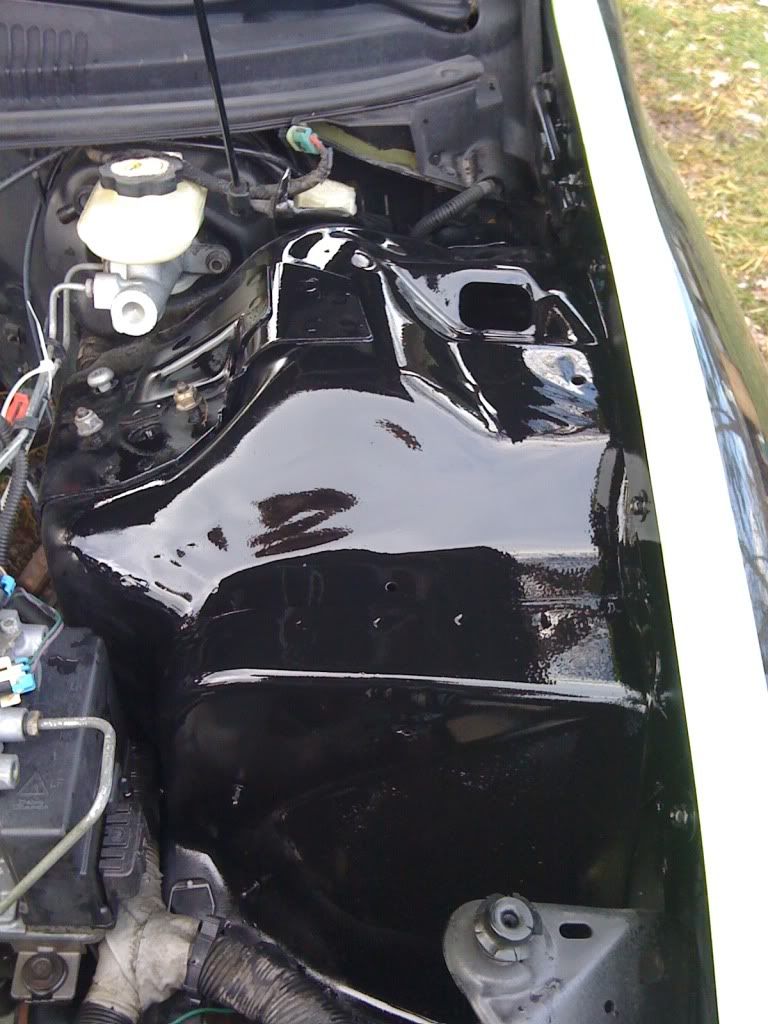
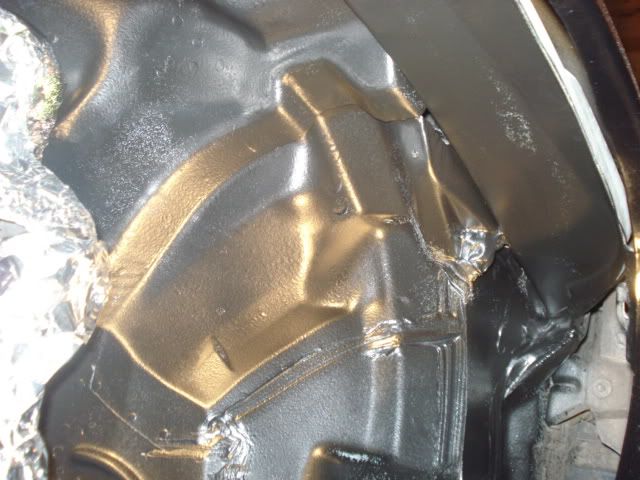
Decided to coat the wheel well w/ truck bed liner coating from DuPont from the aerosol can.
Time for a break, here's a pic of my dog:

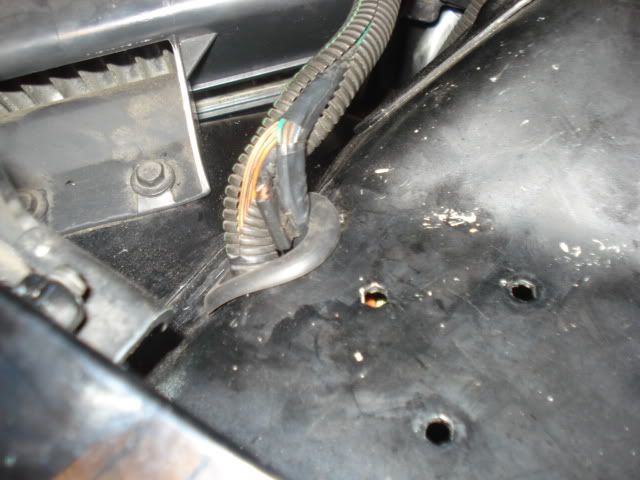
I didn't finish wrapping them up, because I had to get out of the garage and I intend to wrap the grounds in some other stuff you'll see later. Plus I had to take the car to my usual muffler shop to get this done:
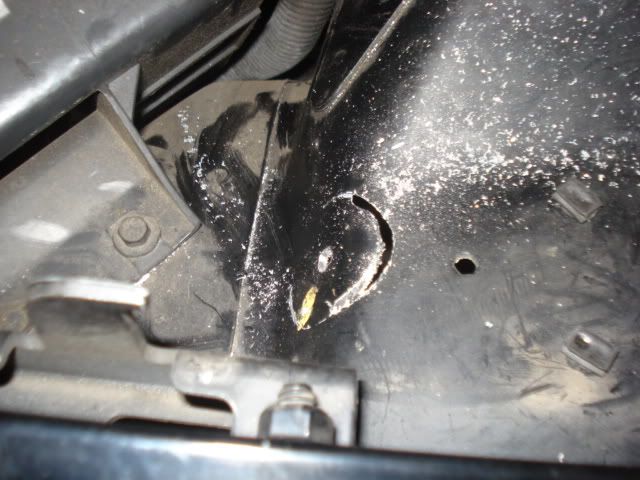
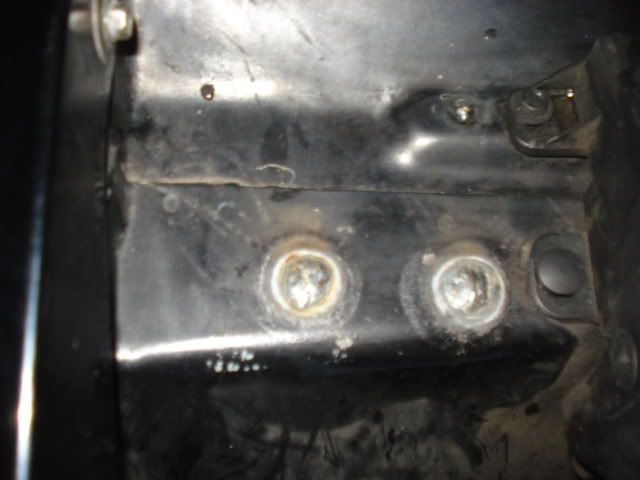
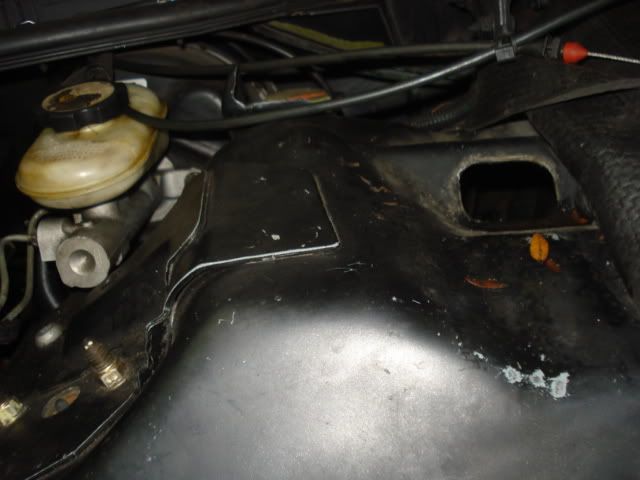
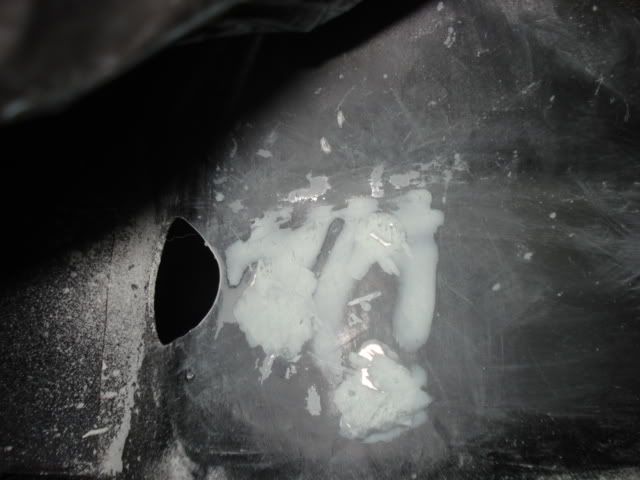
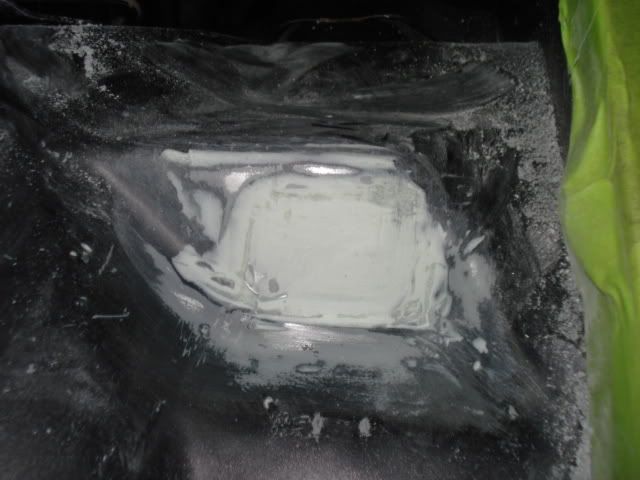
Under the fuel lines
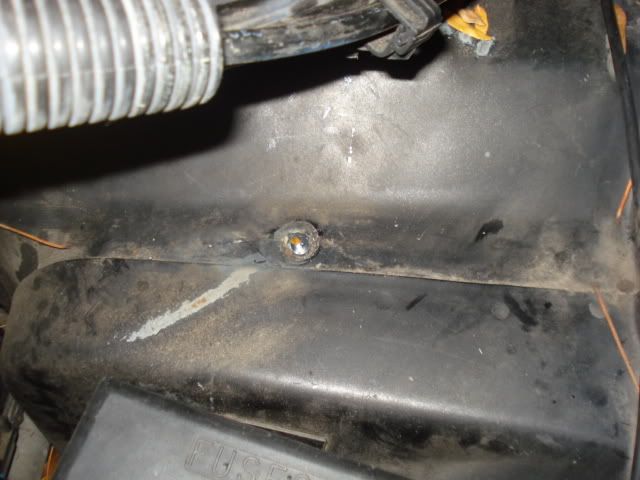
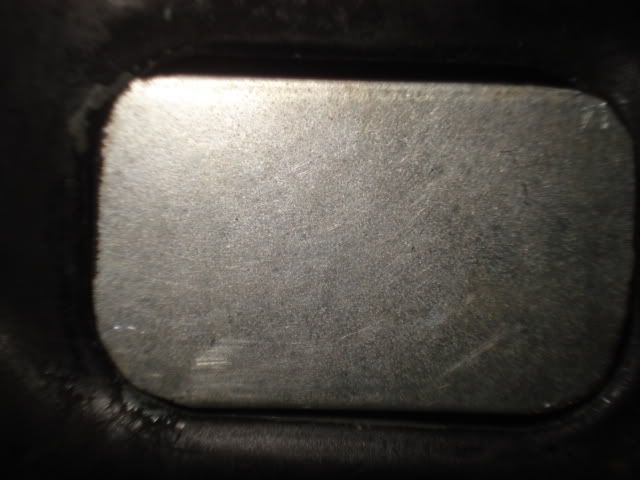
The holes that hold the junction box
More to come:
If I cut a piece of metal into the shape of the fuel line hole in the shocktower, is there a way for me to stick in in there and hold? And then smooth it out w/ body filler? This is because the car is obviously immobile and I can't have it welded on. Additionally, I want to paint the bay while the heads/IM are off and have more space to work/paint. Just so you know why I'm thinking of doing that to the fuel line hole.
This thread is a little documentation of my process in the clean up of my engine bay.
This all started with me blowing my headgasket and overheating the car on a couple of occasions (long story, temp gauge sensor not working after header install
)Do do:
!Wire Mod
!Fuel lines Mod
Wire harness rerouting/tuck (minor)
Paint engine bay (engine still inside using DuPont Spray Paint)
I already started the wire mod but did not finish it entirely. I haven't wrapped them up entirely.
The Money Pit:
The Engine Bay of Pigs
****, I drilled too high. You can see where I initially meant to drill.
Decided to coat the wheel well w/ truck bed liner coating from DuPont from the aerosol can.
Time for a break, here's a pic of my dog:
I didn't finish wrapping them up, because I had to get out of the garage and I intend to wrap the grounds in some other stuff you'll see later. Plus I had to take the car to my usual muffler shop to get this done:
Under the fuel lines
The holes that hold the junction box
More to come:
Last edited by Torque Fiend; Dec 31, 2009 at 05:32 PM.
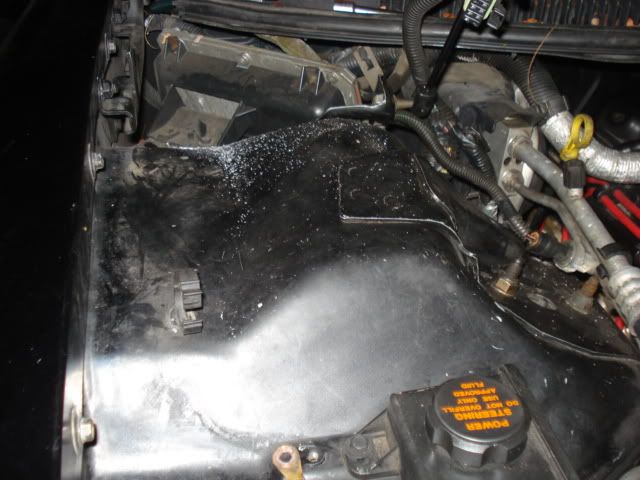
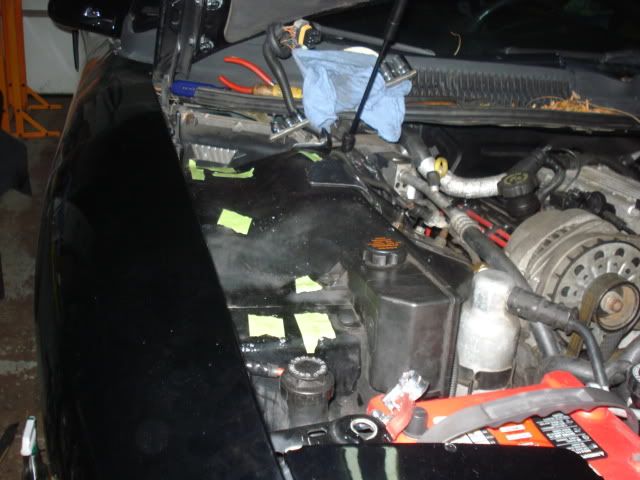
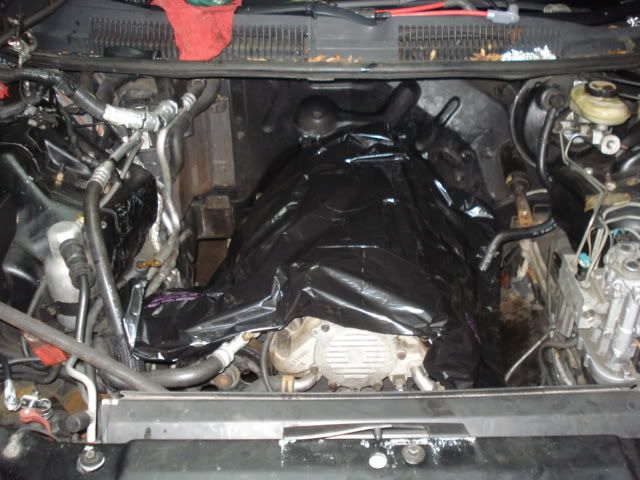
Finally started the tear down:
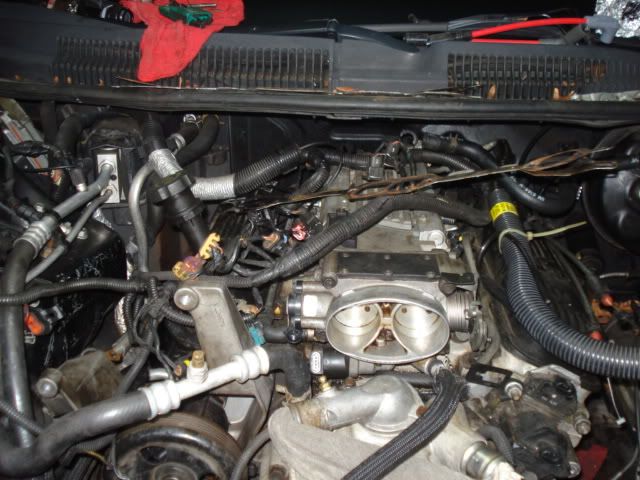
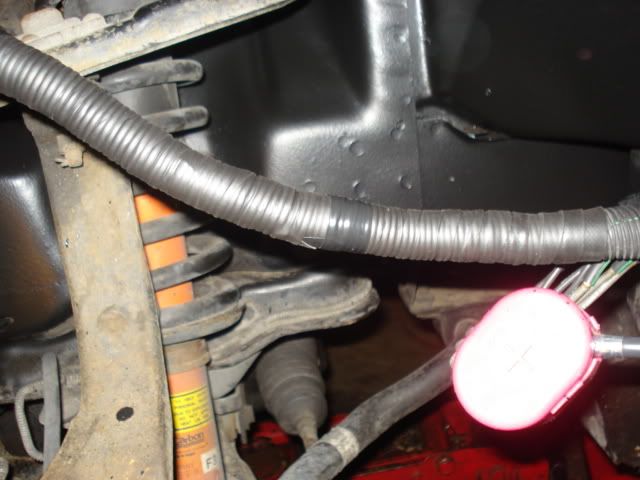
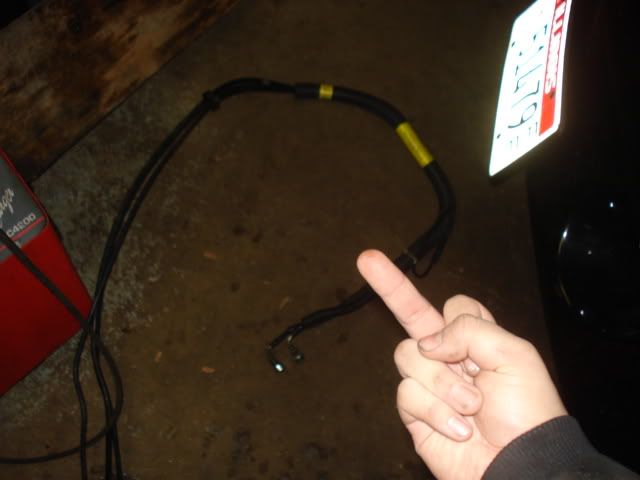
**** You, ugly *** fuel lines, replacing w/ braided teflon hose and -6an fittings
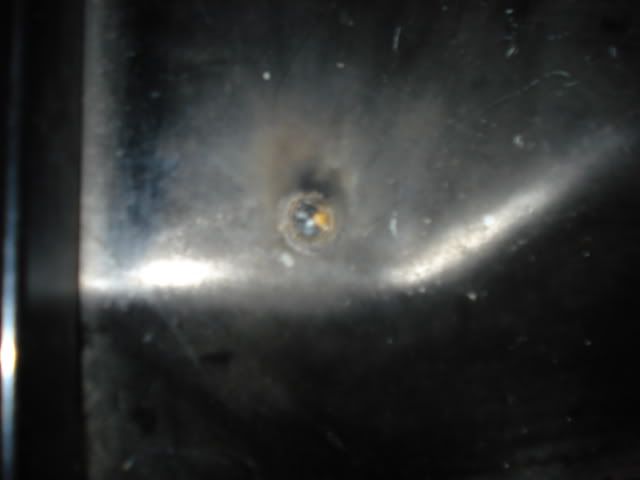
I forgot to get this taken care of:
I'll just have to put the rubber plug back in, maybe I'll paint it?
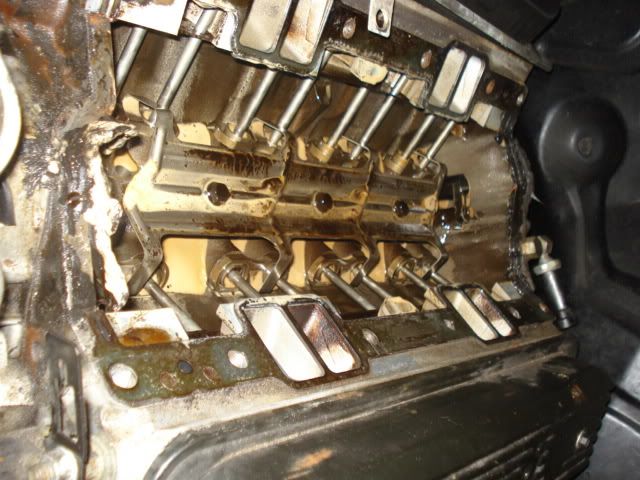
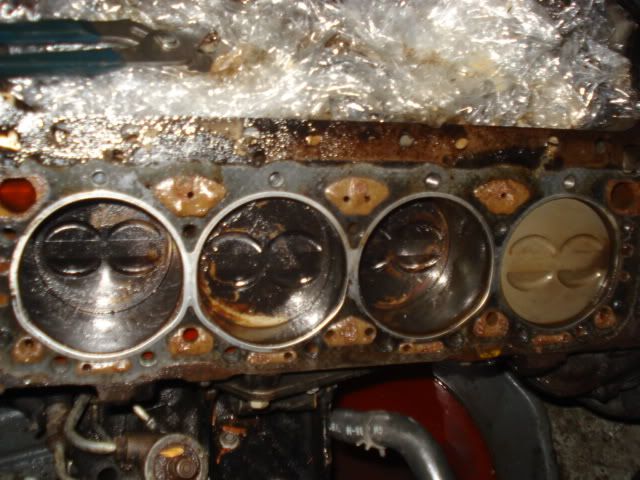
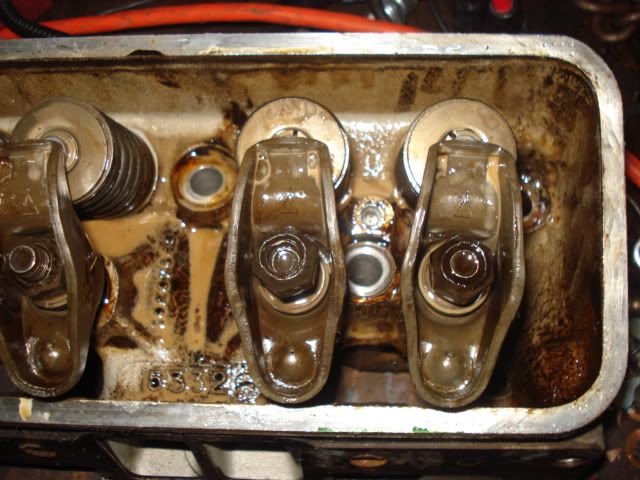
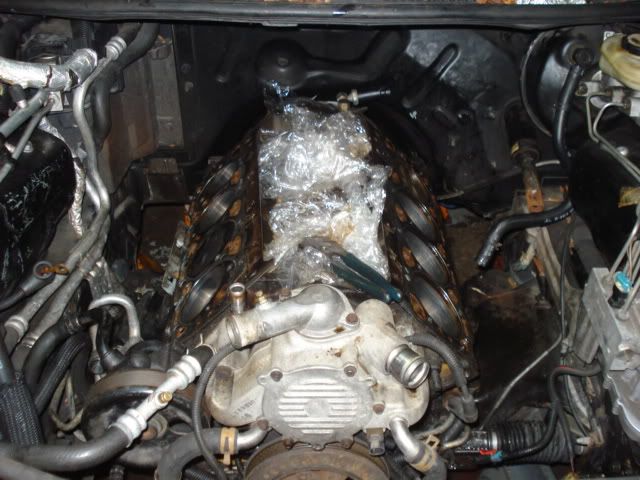
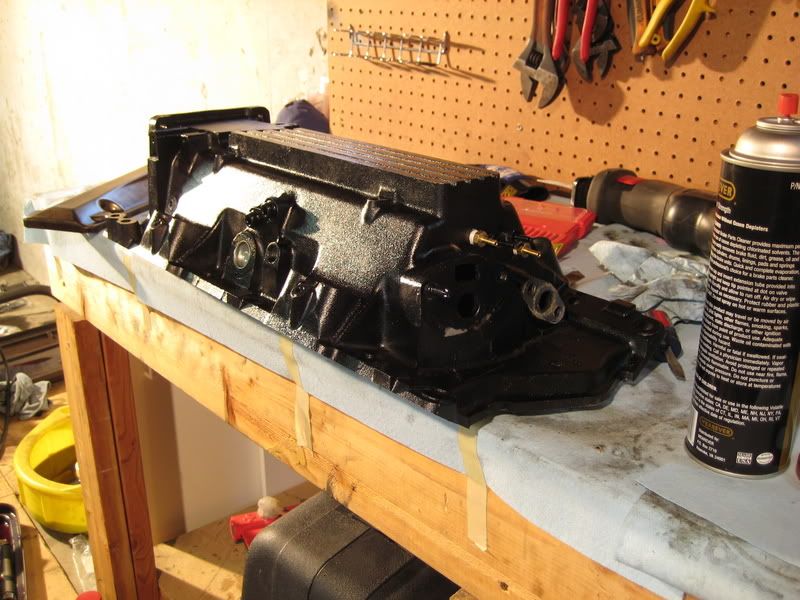
Intake Manifold off, the carnage:
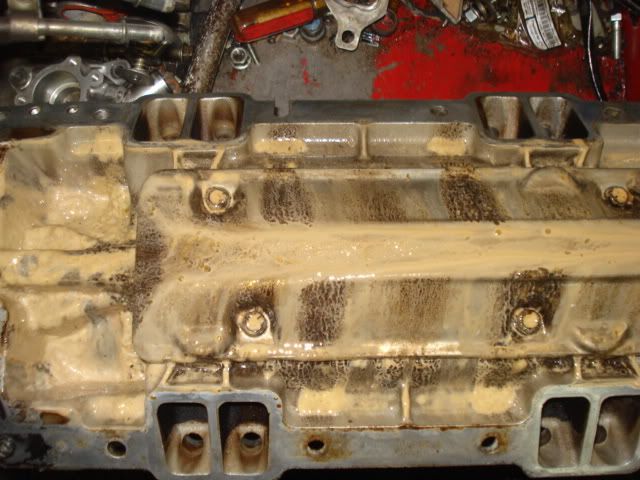
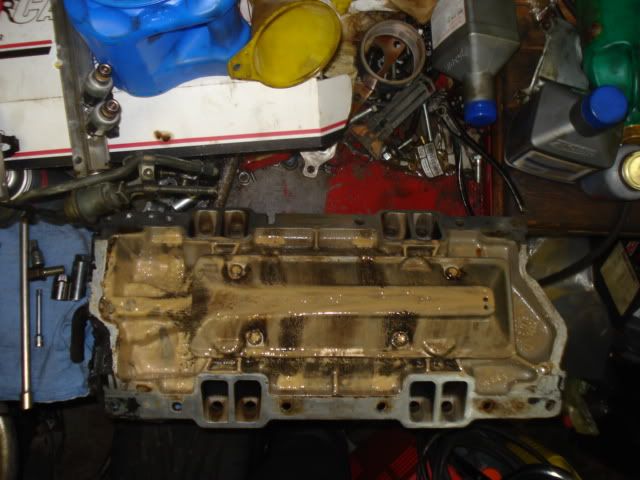
Valley:
That's all I have done.
In the next few days, I'll be finishing up the driver side whell well and coating it also.
I'll relocate the hood latch cable and run the fuel lines. I'll prep the bay, grind the welds, sand the shock towers and paint.
It's going to take me awhile, this is my first time doing all of this. Oh, and I work slow
So follow along.
**** You, ugly *** fuel lines, replacing w/ braided teflon hose and -6an fittings
I forgot to get this taken care of:
I'll just have to put the rubber plug back in, maybe I'll paint it?
Intake Manifold off, the carnage:
Valley:
That's all I have done.
In the next few days, I'll be finishing up the driver side whell well and coating it also.
I'll relocate the hood latch cable and run the fuel lines. I'll prep the bay, grind the welds, sand the shock towers and paint.
It's going to take me awhile, this is my first time doing all of this. Oh, and I work slow
So follow along.
Last edited by Torque Fiend; Dec 28, 2009 at 11:55 PM.
im ok with everything except replacing stock fuel lines with stainless braided. thats an expensive option that is less reliable and heavier than the stock stuff. less reliable not because of the hose itself, but you will now have several hose ends that could fail or just come unscrewed.
VERY NICE thread and lots of pics, seems like a bad *** build u have going on there. My favorite pic was **** you ugly *** fuel lines lmao
Want a milk shake, lol damn ur engine is milky as hell, whats the plan for the top end?
Want a milk shake, lol damn ur engine is milky as hell, whats the plan for the top end?
I wish I could say heads and cam, but no. I contemplated it, but decided against using my credit cards. Purely cash on this one.
So, I'm just going to get the heads cleaned and milled (hope they're not warped), change anything that needs to be changed, new seals.
Going to get the intake manifold cleaned up, relocate the side vacuum ports(pass. side) to back of the intake to clean that stuff up, just like 'Skinnies" did.
Paint the IM (Ford Red, hey I like the color).
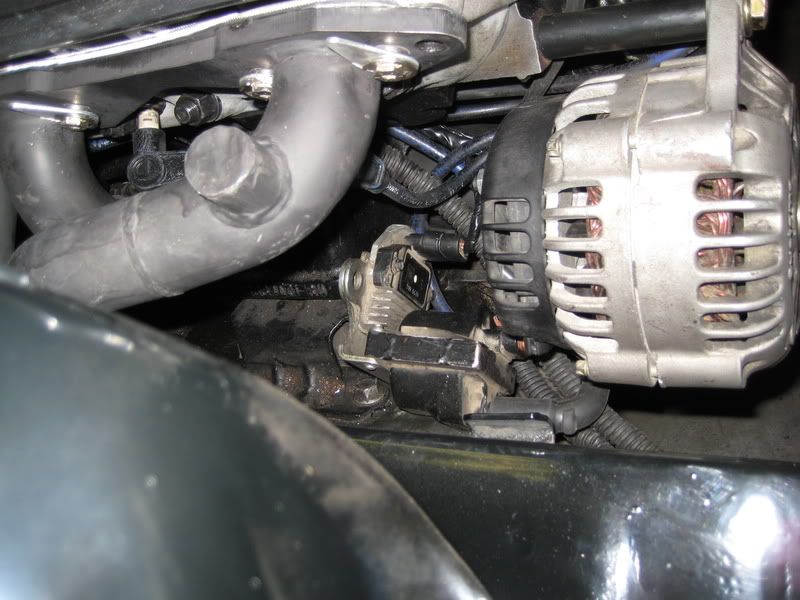
I wish I could get rid of the AC, but I think I want it. Eventually, I'll get the SpeedInc relocation bracket, and clean up that ugly alternator and keep the AC.
The bay would be much cleaner w/o it though.
So, I'm just going to get the heads cleaned and milled (hope they're not warped), change anything that needs to be changed, new seals.
Going to get the intake manifold cleaned up, relocate the side vacuum ports(pass. side) to back of the intake to clean that stuff up, just like 'Skinnies" did.
Paint the IM (Ford Red, hey I like the color).
I wish I could get rid of the AC, but I think I want it. Eventually, I'll get the SpeedInc relocation bracket, and clean up that ugly alternator and keep the AC.
The bay would be much cleaner w/o it though.
im ok with everything except replacing stock fuel lines with stainless braided. thats an expensive option that is less reliable and heavier than the stock stuff. less reliable not because of the hose itself, but you will now have several hose ends that could fail or just come unscrewed.
I'm not too worried about it, but if it happens I'm gonna be pissed.
Plus it looks so good.

Trending Topics
Going to get the intake manifold cleaned up, relocate the side vacuum ports(pass. side) to back of the intake to clean that stuff up, just like 'Skinnies" did.
What is the process in relocating those ports? Just drill and tap?
I wish I could get rid of the AC, but I think I want it. Eventually, I'll get the SpeedInc relocation bracket, and clean up that ugly alternator and keep the AC.
The less clutter the better, but like you, getting rid of the AC on a street car isn't worth it.
The bay would be much cleaner w/o it though.
LS1 Tech Stories
The Best V8 Stories One Small Block at Time

Topdon ONE vs. Artidiag 800 BT2: Which is the Diagnostic Tablet For You?
Pouria Savadkouei
Gas Monkey Built a 6-Wheel Ferrari Testarossa With a Corvette LT4 Engine
Verdad Gallardo
7 Most Reliable High-Performance Engines GM Has Ever Built
Verdad Gallardo
Amazing '71 Camaro Restomod Is Modern Muscle Car Under the Skin
Verdad Gallardo
6 Common C5 Corvette Failures and What's Involved In Repairing Them
Pouria Savadkouei
Retro Modern Bandit Pontiac Trans AM Comes With Burt Reynolds' Autograph
Verdad Gallardo
Top 10 Greatest Cadillac V Series Performance Models Ever, Ranked
Pouria Savadkouei
Top 10 Most Powerful Chevy Trucks Ever Made!

Hennessey's New Supercharged Silverado ZR2 Has 700 HP
Verdad Gallardo

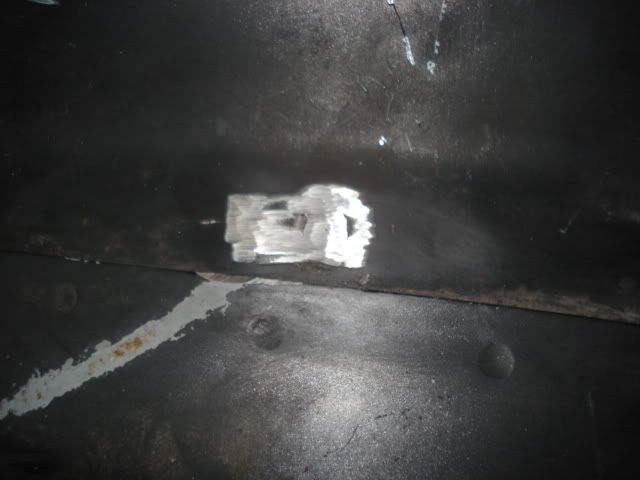
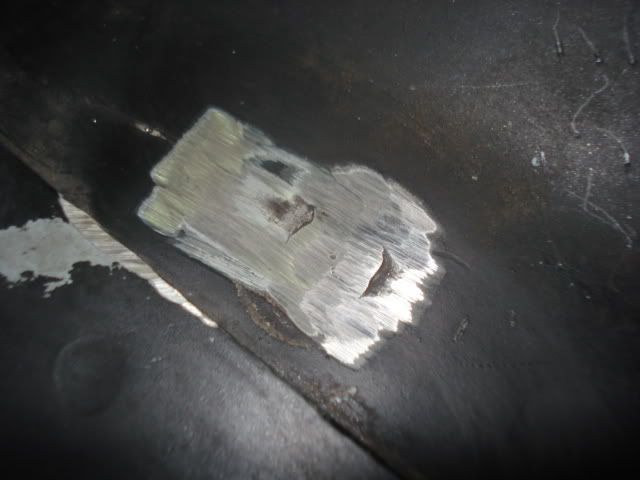
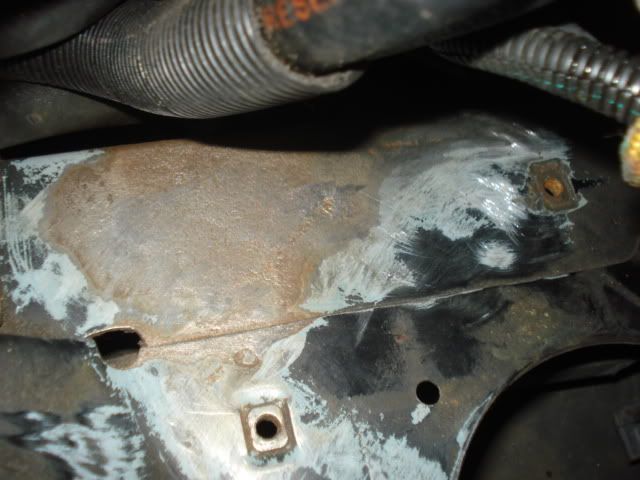
Welds I did not do myself. That's why I was saying, I messed up in not getting a piece of metal welded on there to shut it down. But I hadn't done the lines, so I couldn't drive the car over to the shop.
What I should have done was relocate, then take to get welded. Just find some metal as thick as the hole, weld around it, and grind is the best thing to do.
So, I'll just leave it with the rubber piece that was on there.
Originally Posted by thomas89xj
im working on the same thing right now!
Originally Posted by halucinator
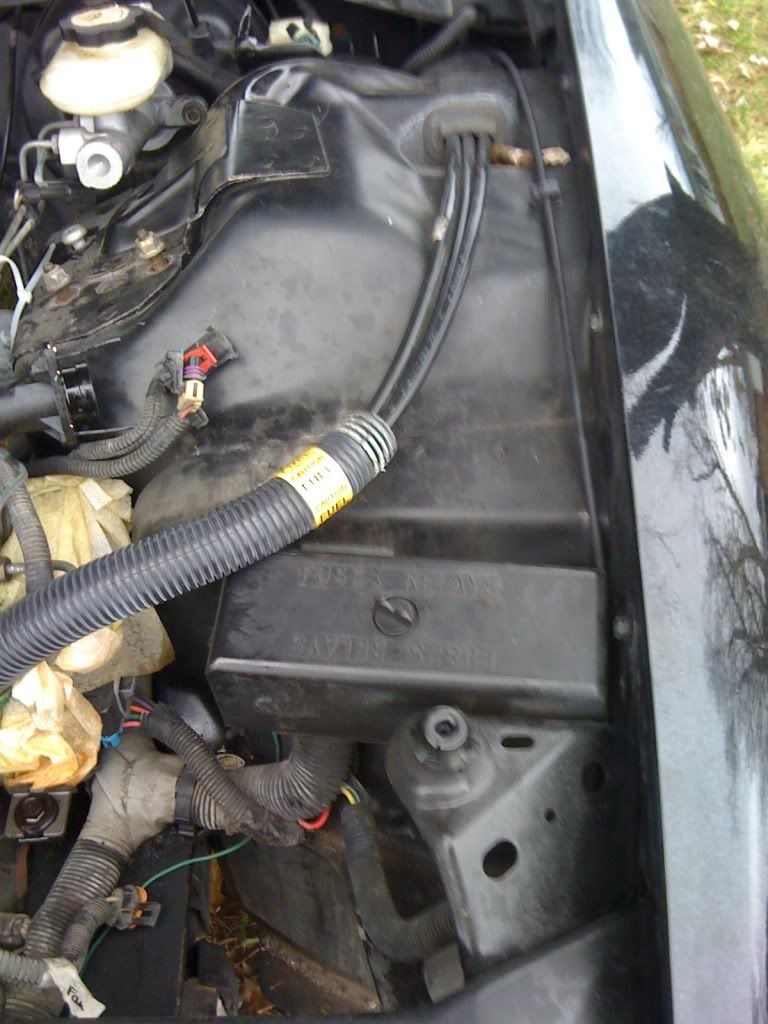
Where do you guys like to relocate the fuse/relay box?
I should relocate mine, but there is no way I'm putting mine down there. If, I did it I would have to extend wires and i would likely relocate in cabin.
On a side note:
Eventually I plan on relocating the battery to the back where the spare goes.
Last edited by Torque Fiend; Dec 28, 2009 at 11:56 PM.

Here is how I did my intake...
Yes the injectors are wired, the wiring runs under the rails and you can see I have all side ports blocked off, along with the map sensor hole plugged, I relocated it to the back of the intake also.
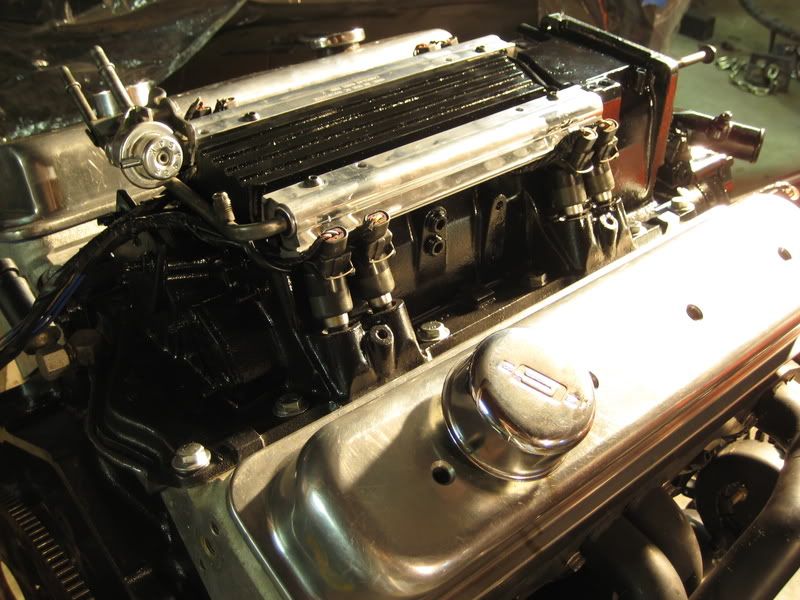
Yes the injectors are wired, the wiring runs under the rails and you can see I have all side ports blocked off, along with the map sensor hole plugged, I relocated it to the back of the intake also.
Few more pics...
Where I relocated my coil...
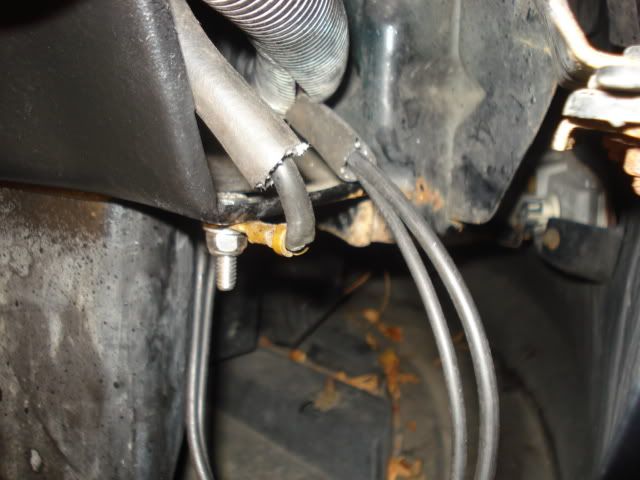
Fuse box and wiring all relocated underneath...

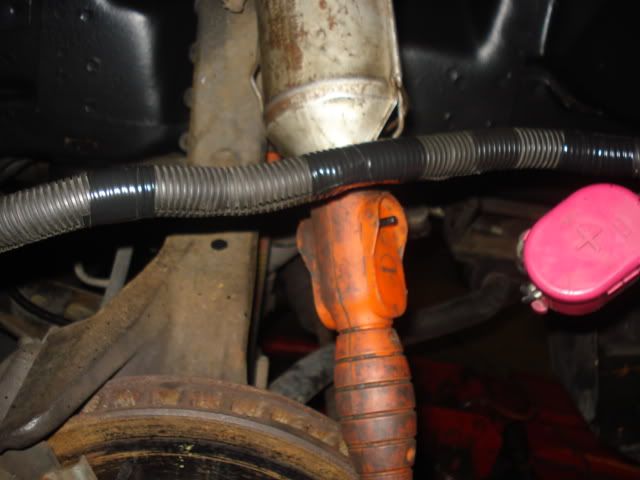
Fuel lines relocated and all holes filled and painted(including the fuel line hole and cai hole) and also radiator stood up with slim fans. Also all wiring for tb/iat/etc are routed below the motor by the oil pan then behind the water pump.
Another pic..
Where I relocated my coil...
Fuse box and wiring all relocated underneath...
Fuel lines relocated and all holes filled and painted(including the fuel line hole and cai hole) and also radiator stood up with slim fans. Also all wiring for tb/iat/etc are routed below the motor by the oil pan then behind the water pump.
Another pic..
 . Where do you guys relocate the fuel lines too?
 update 1/8/10
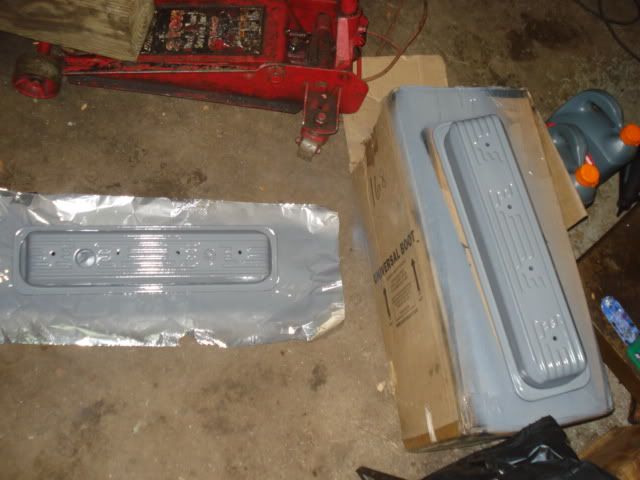
Finally, I've been doing some noticeable progress. I was slowed down by an order of paints that I placed just before Christmas. With all the holidays, and the place not having everything in stock, it took longer than I wanted.
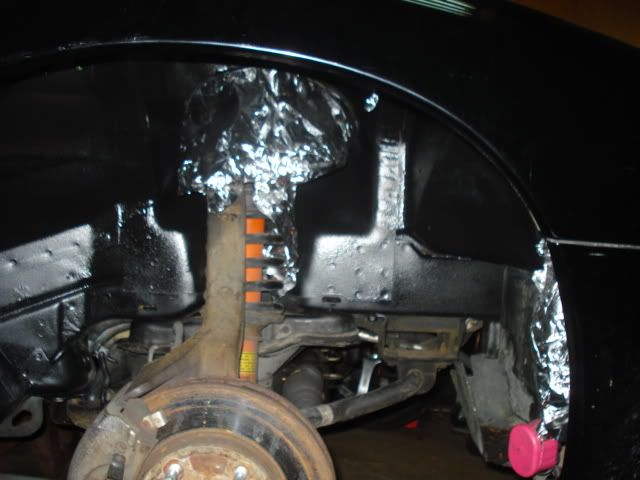
In the mean time, I drill holes for the fuel line relocation and painted the driver wheel well w/ truck bed liner.
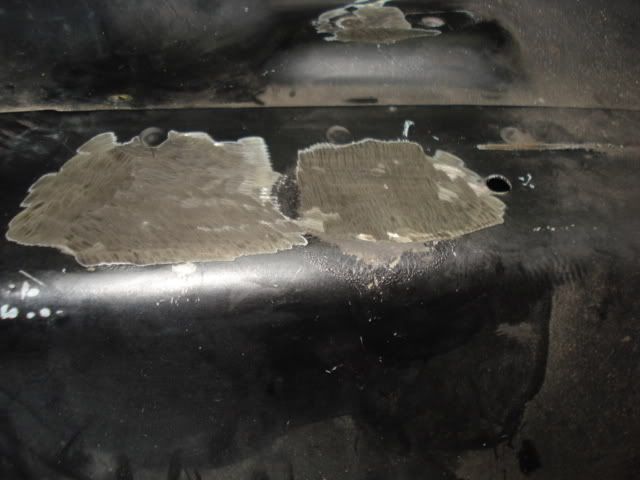
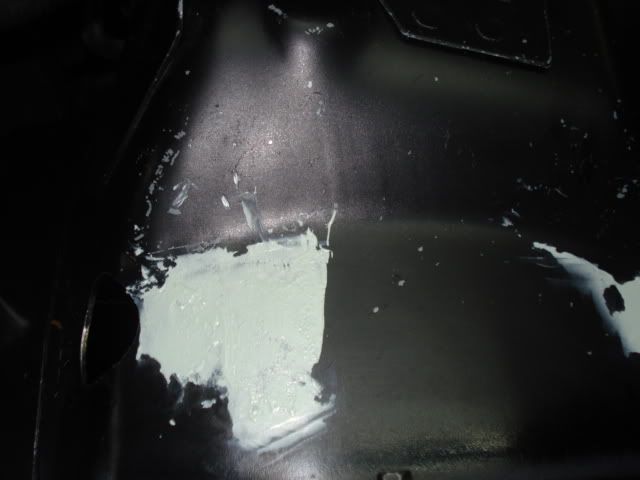
I also closed up the old hole where the lines came from.
Ground down the welds to fill the vacant holes, used body filler and just sanded them down tonight.

Time for the dirty work
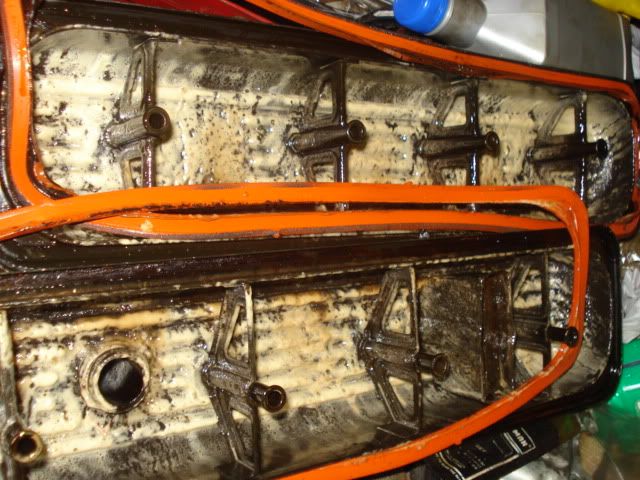
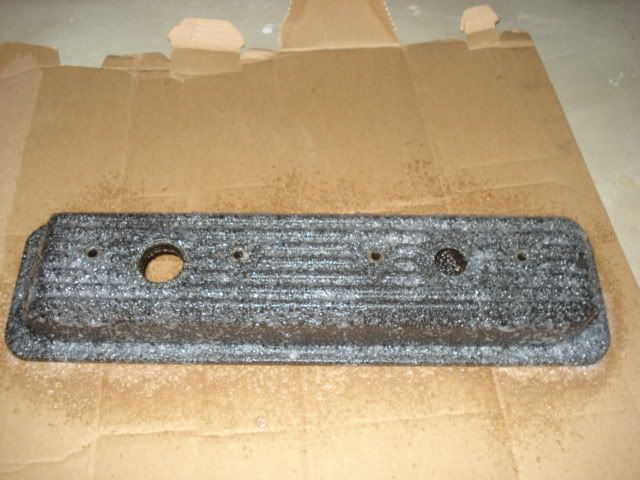
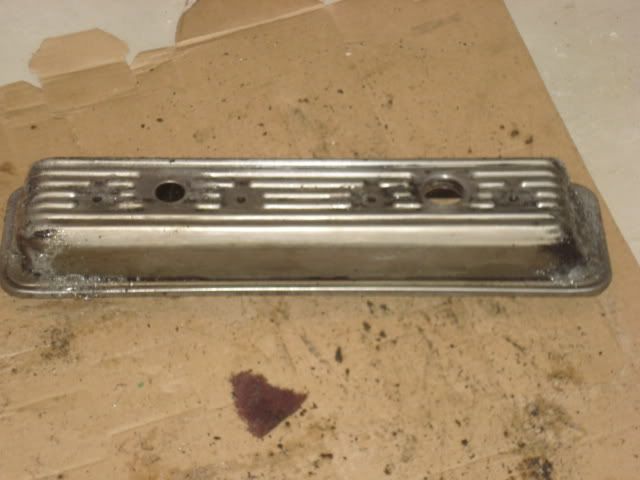
Aircraft Paint remover used on the valve covers.
Grinded the rust that's formed below the battery tray. I used to have some battery corrosion, that may have been a big cause. Got the most I could get off. Threw some of that rust killer stuff from the auto parts store.
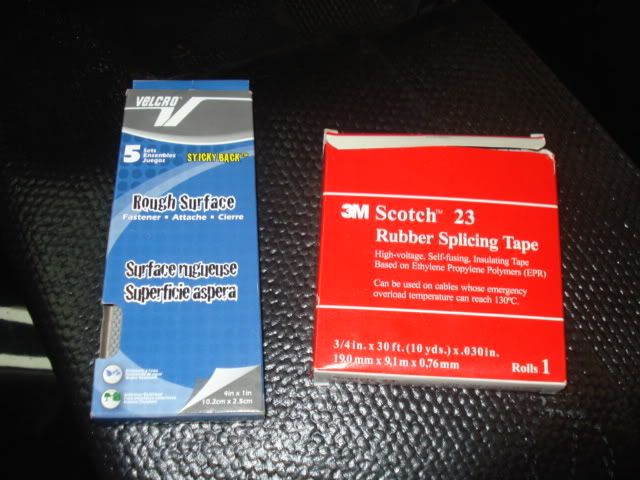
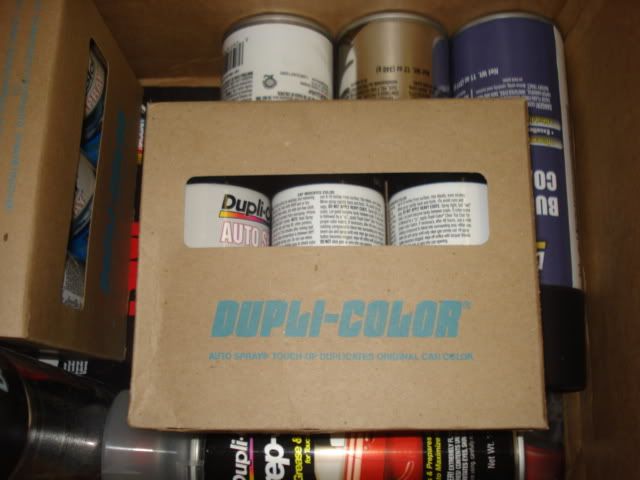
Supplies:
I might do the CETA w/ the Bumper coating, I'll be using it first on the cowl cover (the piece that lines the bottom of the windshield)
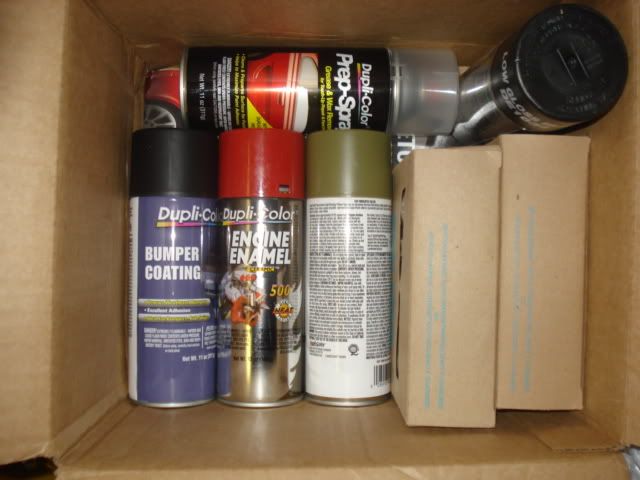
Duplicolor to match GM Paint
Finally, I've been doing some noticeable progress. I was slowed down by an order of paints that I placed just before Christmas. With all the holidays, and the place not having everything in stock, it took longer than I wanted.
In the mean time, I drill holes for the fuel line relocation and painted the driver wheel well w/ truck bed liner.
I also closed up the old hole where the lines came from.
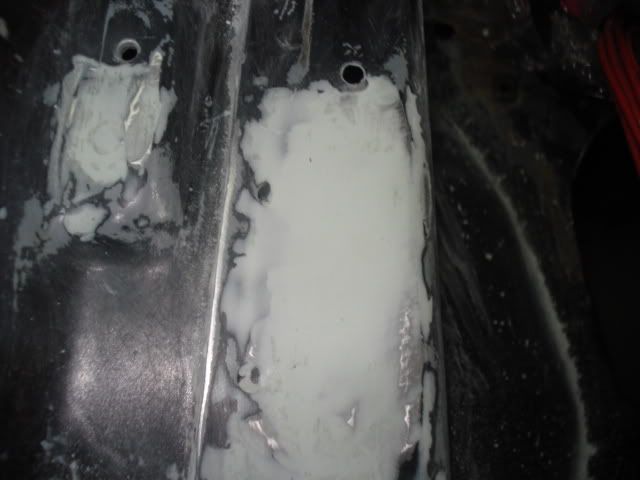
Ground down the welds to fill the vacant holes, used body filler and just sanded them down tonight.
Time for the dirty work
Aircraft Paint remover used on the valve covers.
Grinded the rust that's formed below the battery tray. I used to have some battery corrosion, that may have been a big cause. Got the most I could get off. Threw some of that rust killer stuff from the auto parts store.
Supplies:
I might do the CETA w/ the Bumper coating, I'll be using it first on the cowl cover (the piece that lines the bottom of the windshield)
Duplicolor to match GM Paint
Last edited by Torque Fiend; Jan 9, 2010 at 12:29 AM.
Hey guys,
Help me out here with this compression ratio calc.
Can, I safely run the thinner MR. Gasket head gaskets?
I took my heads into to the shop. I finally got them back and the machinist said he had to take .012 off the heads.
So they were pretty warped.
Does anyone know where that now leaves me? Everything is stock.
keep up the great work! I am impressed...in the beginning it kind of looked sloppy, but it's coming along nicely. and that pic of all your spray cans together made me laugh, cause I own every single one of those cans. My basement has like 30 spray paint cans that I've collected over the years.