When you click on links to various merchants on this site and make a purchase, this can result in this site earning a commission. Affiliate programs and affiliations include, but are not limited to, the eBay Partner Network.
I have no personal experience with the OBD1.5 LT1 PCM which I ASSume is what you have. With that said, I would not hesitate to wire it as you've described. My older ECM does fine with no VSS input, I would think yours would as well being a manual.
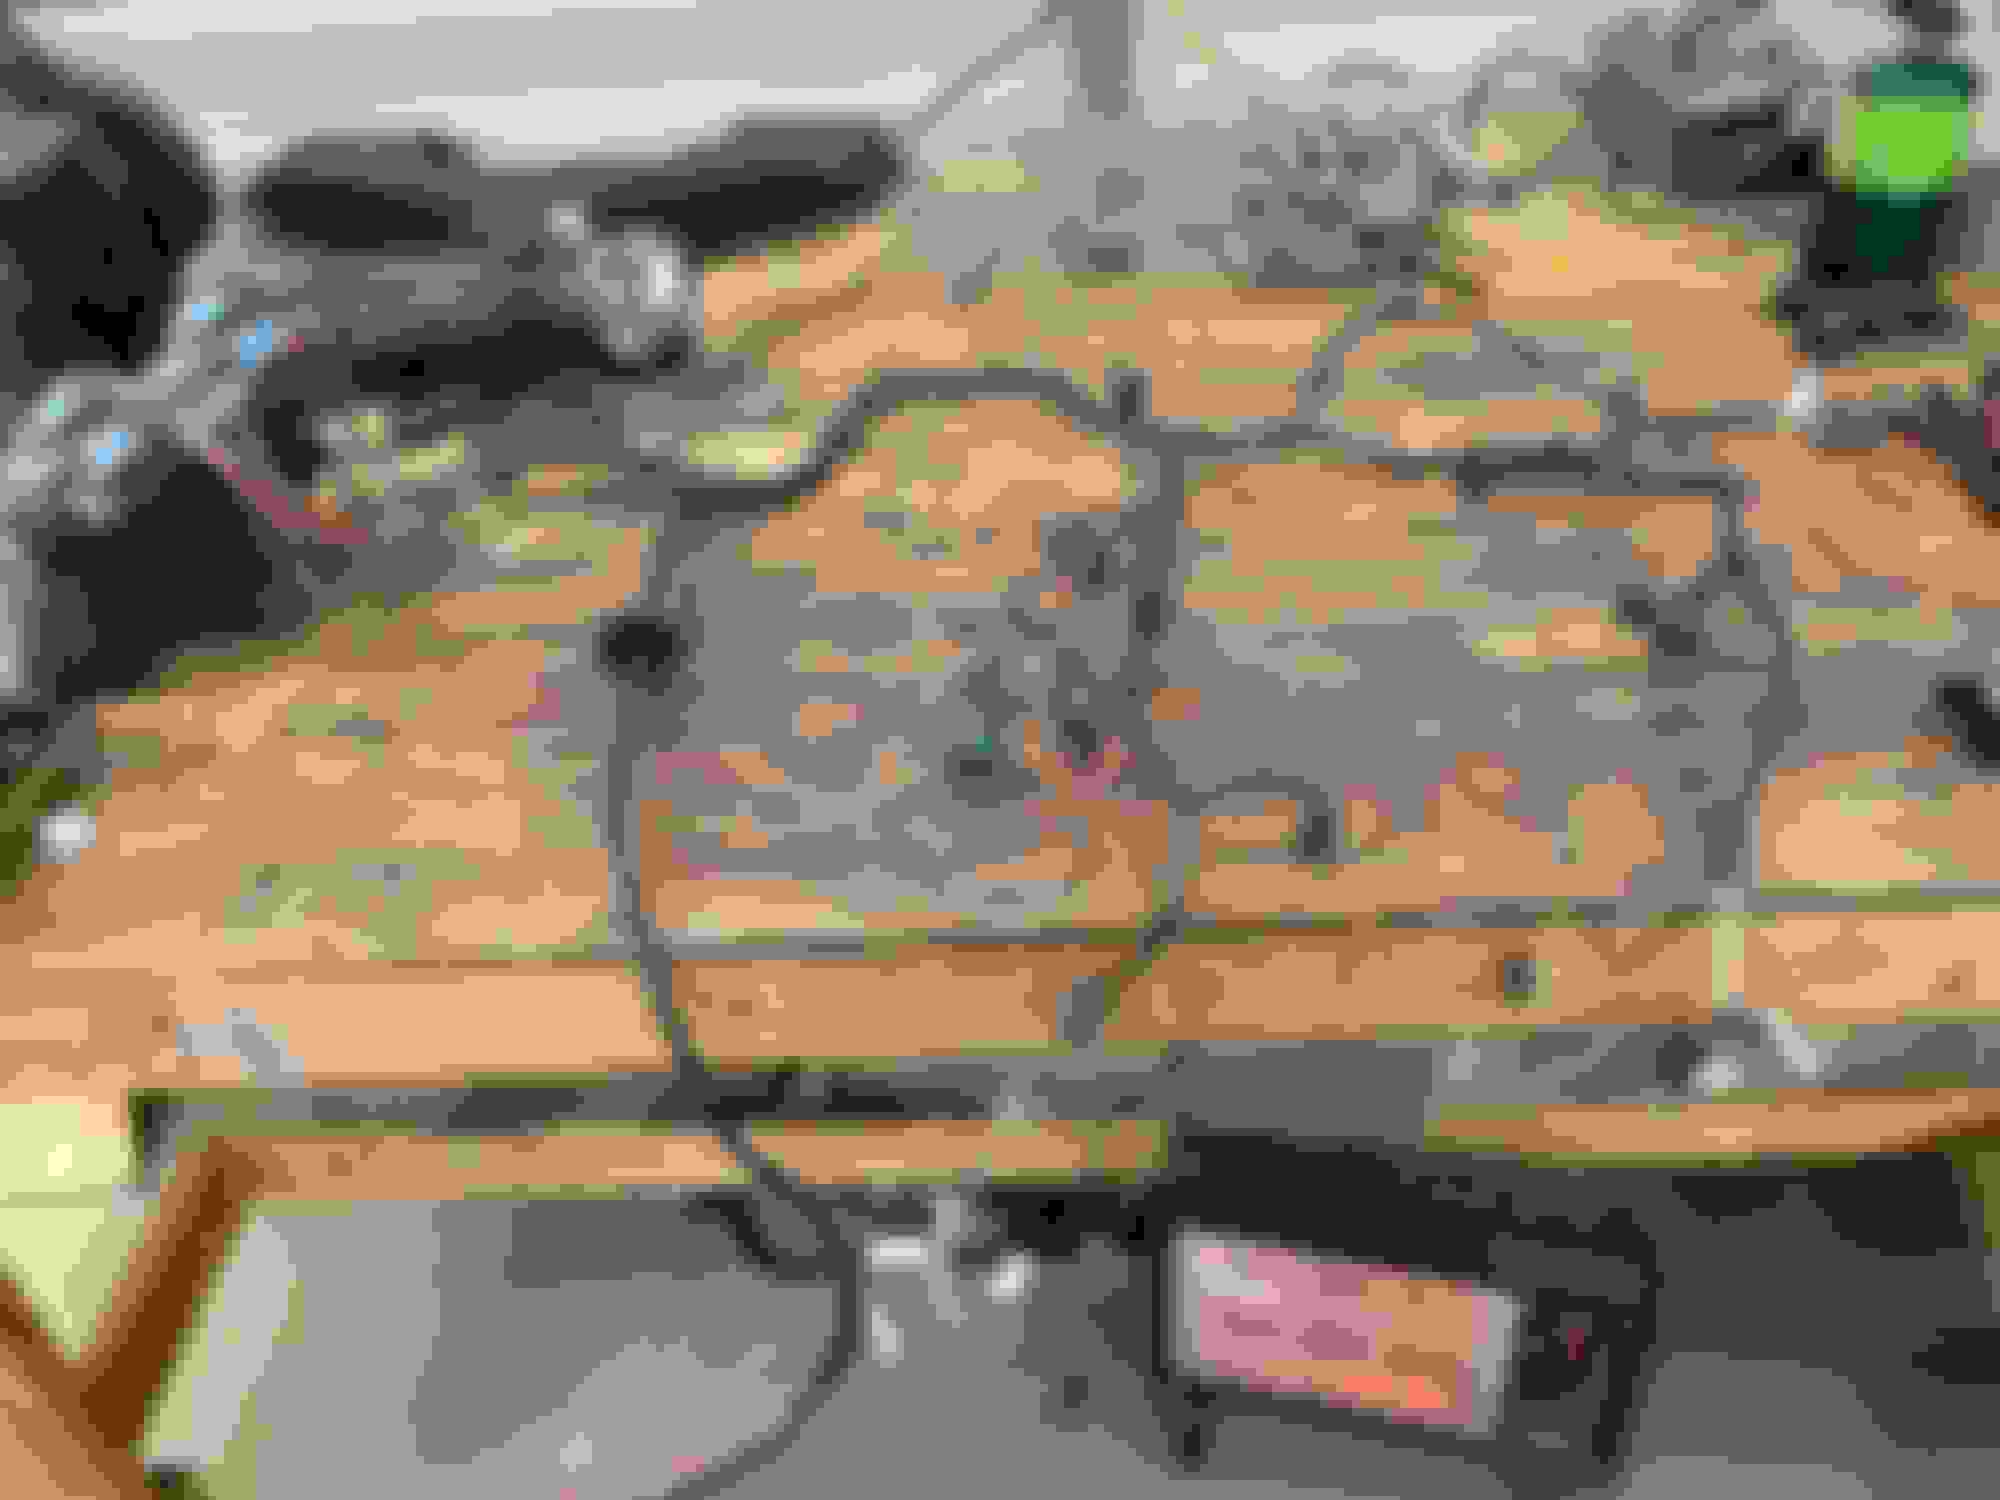
Harness tear down. I�ve only ever bought ready made plug n play harnesses before so I�ve never messed with a factory one before. Just taking all the tape and crap off is a big chore. Removing A/C, and emissions circuits. Also electric oil psi, oils level, coolant temp gauge circuits. Got my own senders and mechanical gauges. Traced, identified, and labeled all external circuits. Went ahead and kept the VSS and trans wiring. I read somewhere it helps prevent stalling when coming to a sudden stop. ECM adds 200 rpm above idle when greater than 12mph��.idk whatever. After removing circuits and labeling external connections, i laid the bare harness on the engine. Then removed to cover it all up. Wrapped up with silicone tape. Soft installed. Will wrap with braided spiral loom. This was as far as I could get today. Hope I did it all right. It all made sense when I did it according to shbox and lt1swap.com guides. Getting closer.
Silicone tape? Gee, I wonder where that could have come from. . . Oh, and the stall prevention thing on a 411 PCM would be throttle cracker/throttle follower. Likely the same on the old LT-Juan unit.
Silicone tape? Gee, I wonder where that could have come from. . . Oh, and the stall prevention thing on a 411 PCM would be throttle cracker/throttle follower. Likely the same on the old LT-Juan unit.
Shoosh! Ok idk what kinda tape it is�but it�s not taxpayer funded.
This project has been way more labor intensive than I ever imagined. I did not expect to have to rewire the entire car bumper to bumper. At least now I know my car inside and out and I get the basics of GM harness modification.
I hope she provides me with some trouble free performance. Should be ready for first start in a day or two.
Some updates:
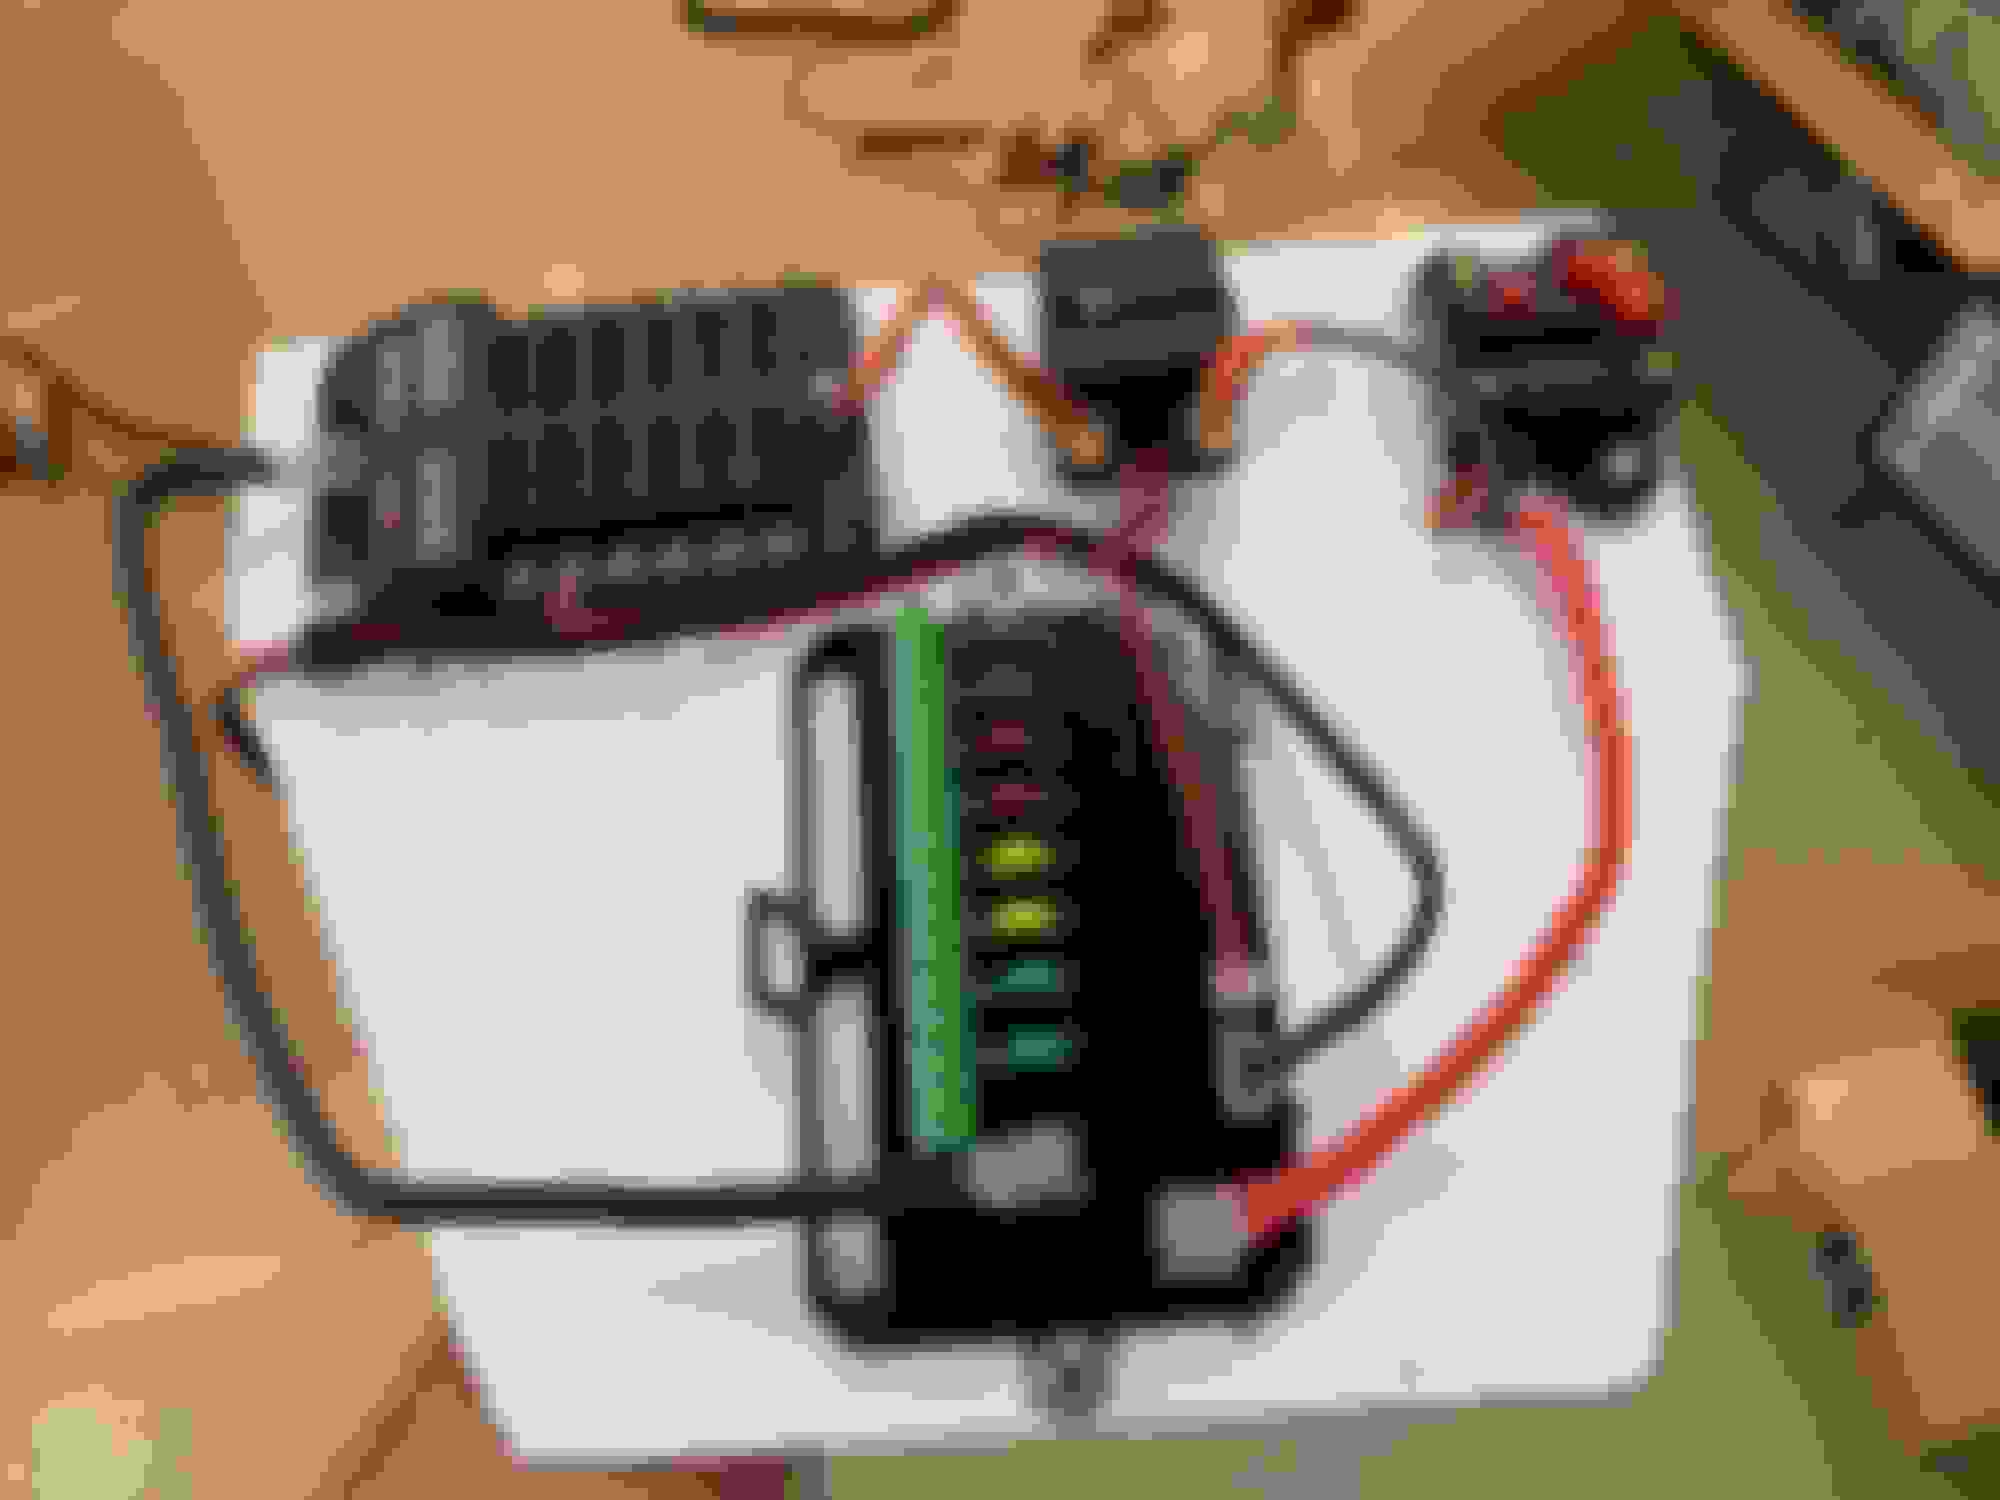
My homemade circuit panel. Using a solid state relay system from Auxbeam for fuel pump, rad fan, my piezo oil psi and coolant alarms, and some other stuff. The only real relay I�m running is a master ignition relay. Panel location installed with standoffs behind it.
Spent the last two days under the dash upside down in many contorted positions. Hope I never have to do any of this for a long time! Gittin er dun!
Last edited by 64GunPilot; 11-30-2022 at 08:23 PM.
Shoosh! Ok idk what kinda tape it is�but it�s not taxpayer funded.
This project has been way more labor intensive than I ever imagined. I did not expect to have to rewire the entire car bumper to bumper. At least now I know my car inside and out and I get the basics of GM harness modification.
I hope she provides me with some trouble free performance. Should be ready for first start in a day or two.
Some updates:
My homemade circuit panel. Using a solid state relay system from Auxbeam for fuel pump, rad fan, my piezo oil psi and coolant alarms, and some other stuff. The only real relay I�m running is a master ignition relay. Panel location installed with standoffs behind it.
Spent the last two days under the dash upside down in many contorted positions. Hope I never have to do any of this for a long time! Gittin er dun!
Looks like loads of fun. I can relate to having to work under the dash. I re-loomed the engine harness and remove a dead alarm under the steering column area on the van before the 383 went into it. I discovered that I am going to have to pull head bolts and re-seal them yesterday when I started swapping the L31 Marine intake on to it. Not looking forward to that job. Plan to tackle it on Friday and finish the intake swap after. First engine I have ever re-torqued the head bolts on after the initial run on the stand. Used the same Permetex Teflon sealer I always do. It is the first engine I have built that has ever had head bolts leak. Go figure. I may go back to my old way of wrapping head bolts with about 5 wraps of teflon tape. It worked on cleaned used or uncoated new bolts and never gave me an issue in the ~20 times I have done it. New factory coated GM or Felpro head bolts have worked too for me. Have also considered getting a set of TPI, ZZ4, LT1 bolts with washers under the heads with sealer already applied. The bolts are Jegs brand in this engine.
Looks like loads of fun. I can relate to having to work under the dash. I re-loomed the engine harness and remove a dead alarm under the steering column area on the van before the 383 went into it. I discovered that I am going to have to pull head bolts and re-seal them yesterday when I started swapping the L31 Marine intake on to it. Not looking forward to that job. Plan to tackle it on Friday and finish the intake swap after. First engine I have ever re-torqued the head bolts on after the initial run on the stand. Used the same Permetex Teflon sealer I always do. It is the first engine I have built that has ever had head bolts leak. Go figure. I may go back to my old way of wrapping head bolts with about 5 wraps of teflon tape. It worked on cleaned used or uncoated new bolts and never gave me an issue in the ~20 times I have done it. New factory coated GM or Felpro head bolts have worked too for me. Have also considered getting a set of TPI, ZZ4, LT1 bolts with washers under the heads with sealer already applied. The bolts are Jegs brand in this engine.
I used ARP PTFE thread sealer. Hope it holds.
This is day three of nothing but bending my body into positions it wasn�t meant to bend. Sometimes I�m forced to do things so close to my face my eyes can�t focus and sometimes my hands or legs cramp up. This is probably the worst part of it all.
just got the engine to spin over. Now just connecting the last few circuits.
I�m a little autistic. I could have started the engine with bare minimum connections not all crimped and covered and all the other wiring done up. But I have been waiting til I�m done with everything before 1st crank. My way is the wrong way. I realize troubleshooting with the wires all covered up will be much harder. Oh well. I�m a gluten for punishment.
I coulda attempted to start it up today but decided to shore up all the smaller to-do items.
Things accomplished today:
1.Finished 99.9% all wiring tasks. Still gotta put some protective loom in some places and mount the AUXBEAM switch panel. Will do later.
2. Received and installed the cheap eBay CAI. Fits good but I need to braze in a fitting between throttle body and MAF for the opti vent. Also for you performance folks, the pipes are smaller than the factory MAF. Ok for me since I gotta put in a restrictors anyways.
3. Tested the fuel pump and checked for fuel leaks. No smells or hints of a leak. I will be turning off the fuel pump with the Auxbeam switch panel. Not controlled by PCM. It will have a FORD inertia cutoff switch wired in next to my seat within reach. Will do that later.
4. Filled engine, transmission and power steering with proper fluids. Tested the starter circuit out and then proceeded to turn it over until oil pressure built on the gauge (with no fuel or engine fuses installed). Was surprised it took a long time on starter to build oil pressure but when it did it went to 55psi. Wow.
5. Still looking everything over, checking and rechecking all my connections, spark plug wiring is correct, and gonna get the fire extinguisher ready. Tomorrow first thing, gonna fire it up.
There is no exhaust whatsoever so no O2 sensors so it�s gonna sound like crap and maybe won�t run right, but hopefully it runs. I am biting my nails thinking I missed the cam timing marks or something silly like that. But so far so good.
She is alive. Was a long crank to get it to run on its own, but eventually it did. It�s missing on cylinders 4,6,&8. I confirmed by pulling the fuel injector connectors while it was running. Verified voltage was present. I think the injectors are either clogged or inoperative. In a few hours I will fire it up again and then pull the spark plugs to see if they are wet. I�ll ground them and see if we are getting spark.
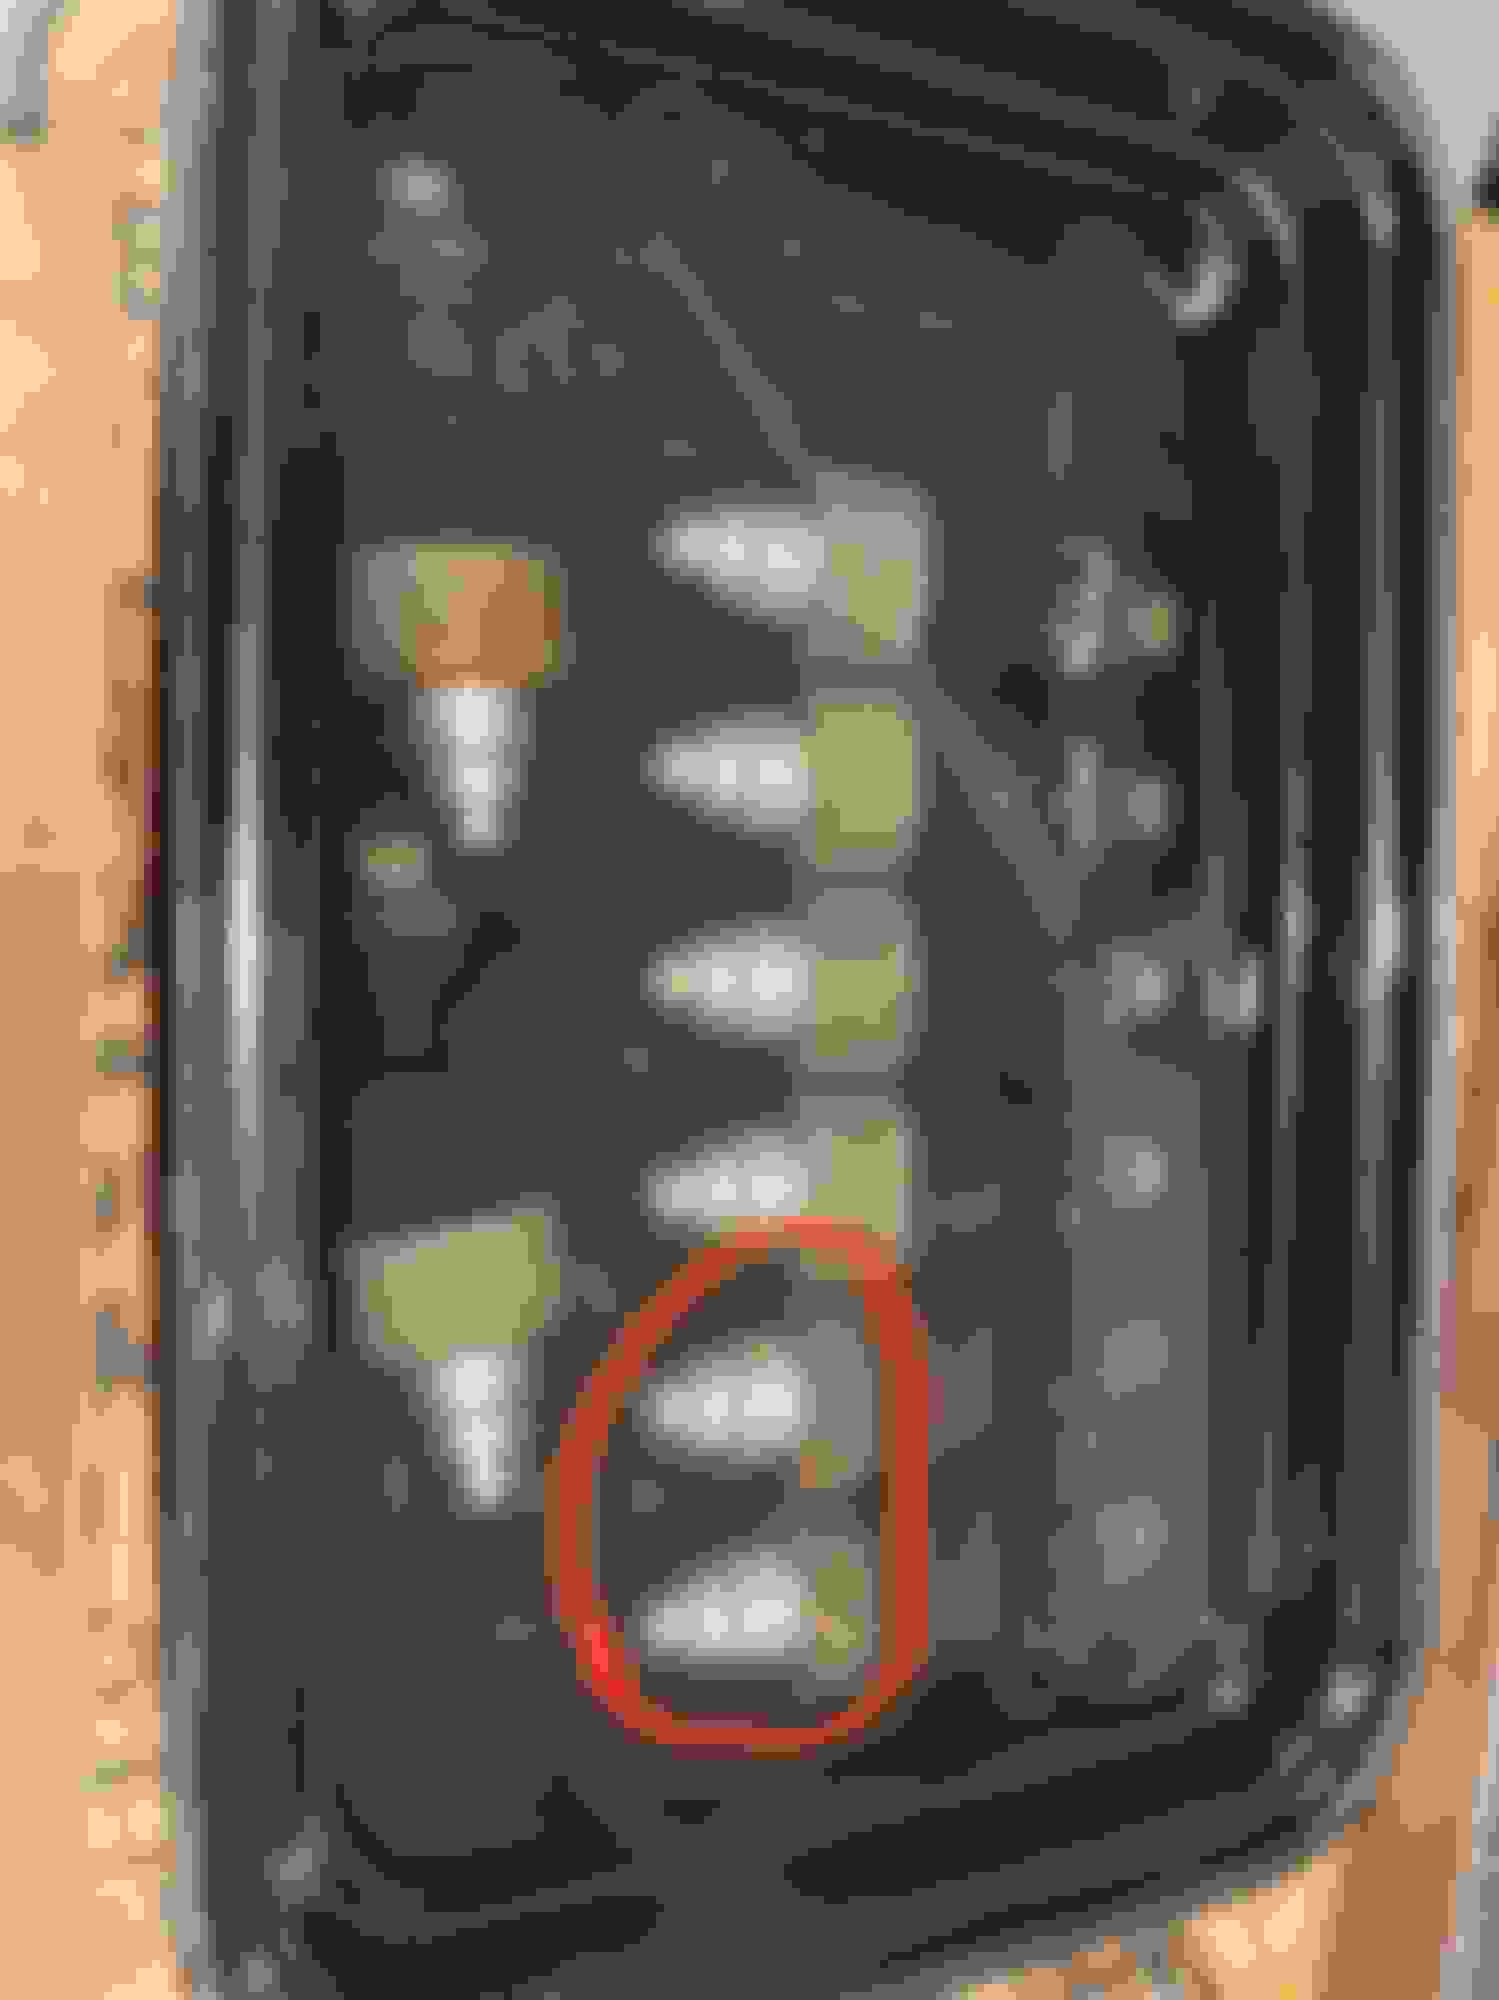
Think I found the problem. Still cannot rule out the opti. I haven�t check for spark yet. Gonna clean this up and put a whole set of spare injectors with new orings in and install. Then we�ll see if she runs better.
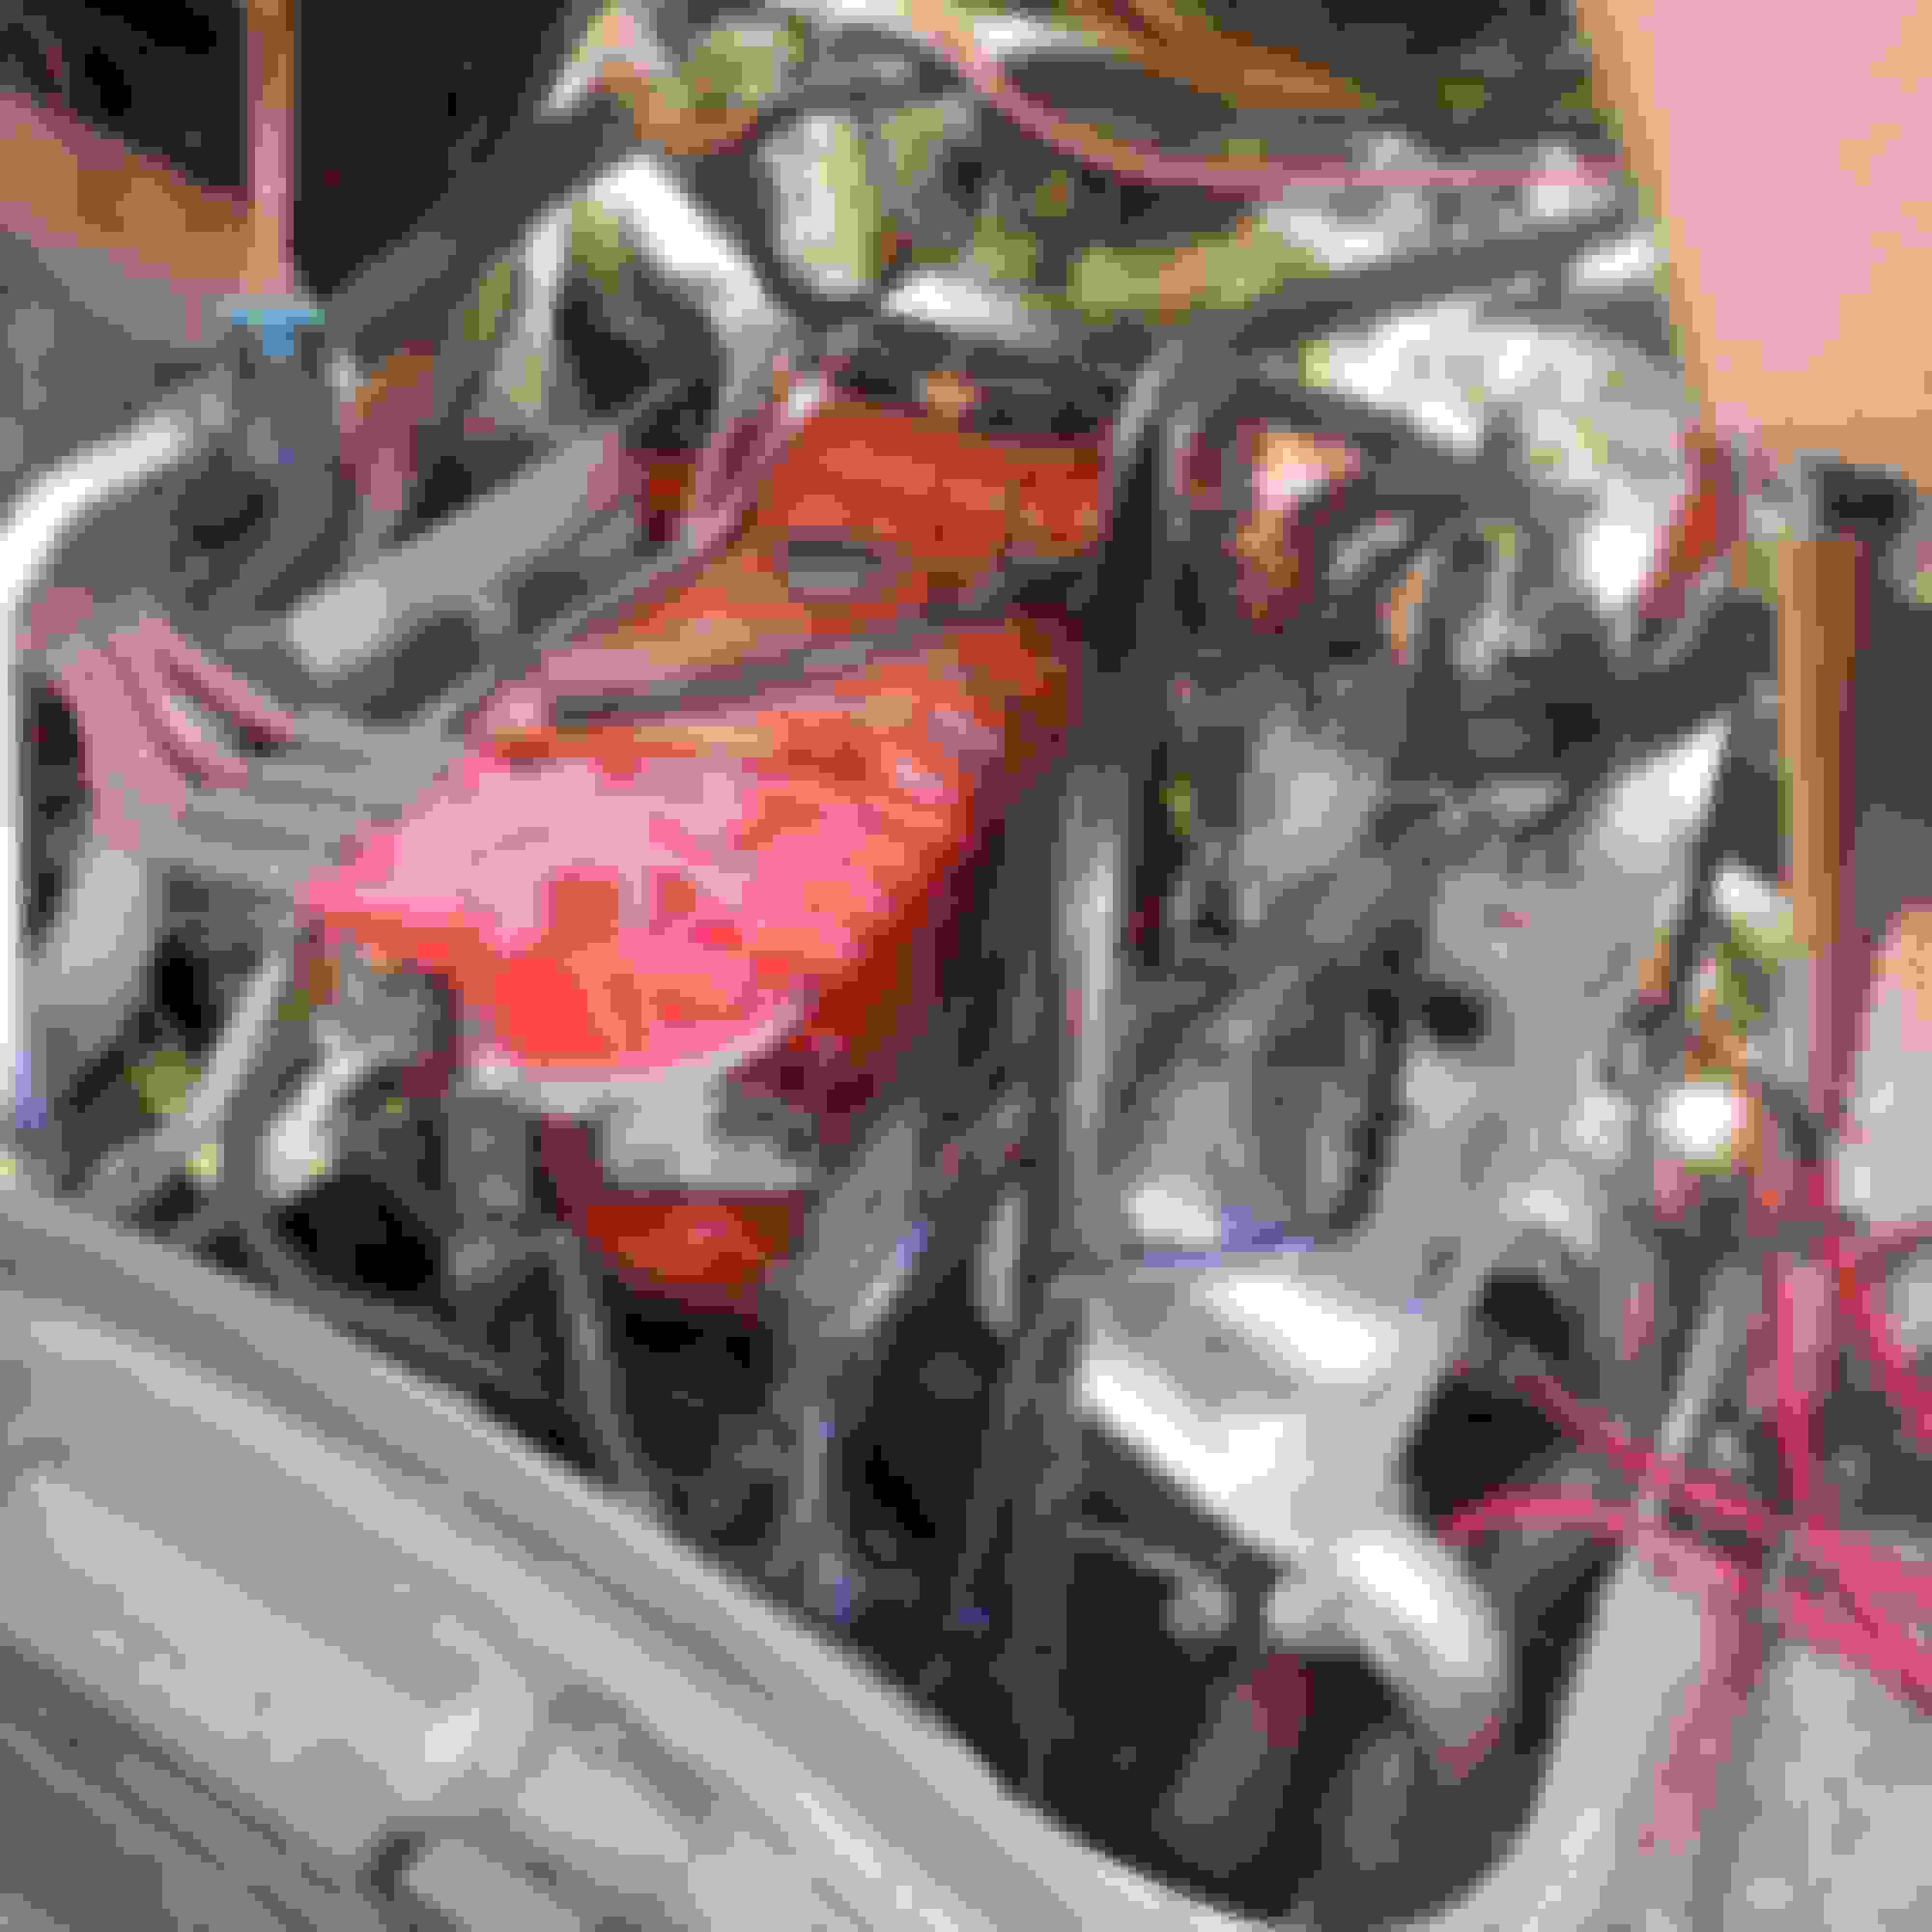
These ran but man they are nasty. These were on the cylinders that were missing Regulator All injectors getting 12+ volts
#8
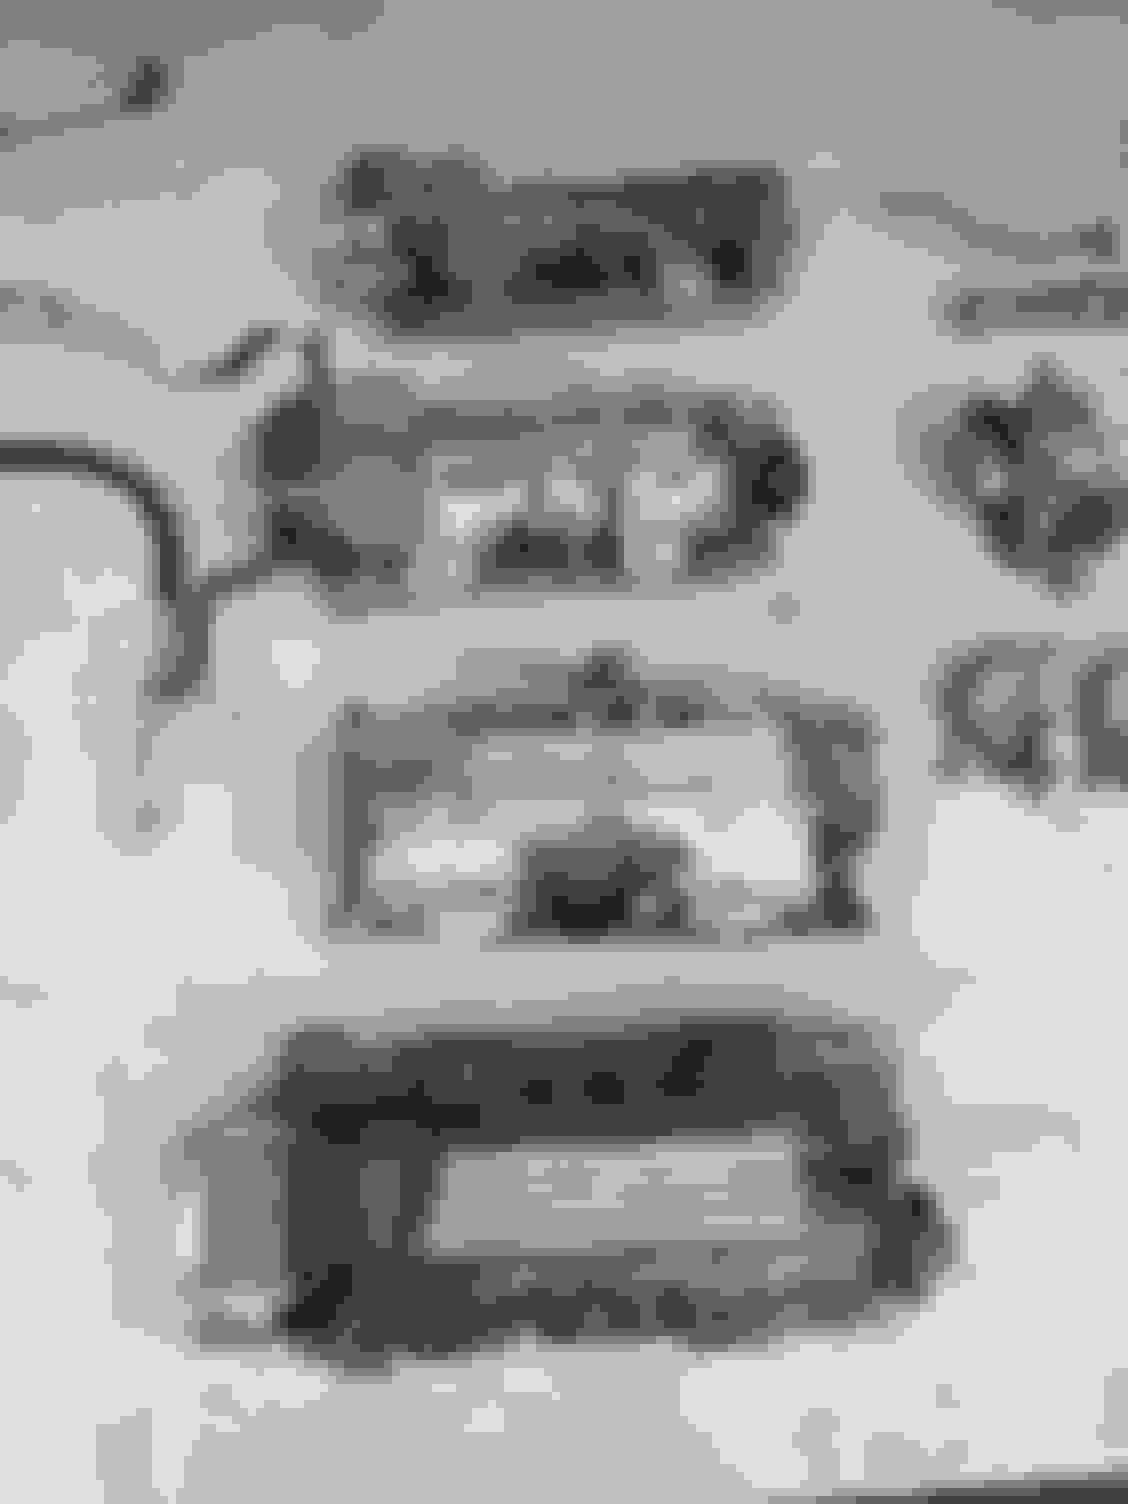
I have several OE original LT1 injectors. Some of them are slightly different from each other. Anyone know if these are all 24lb injectors?
Soaking overnight in solvent. Notice these two are different. These are the best ones I could find. The others were either badly corroded or had cracked plastic bodies.
I'm not sure I'd soak them overnight. The reason professionals won't clean them is that the solvent eats the insulation on the windings and shorts them out. At least the solvent they use does. Since you have multiple sets, no harm no foul if these get destroyed. They look like any other LT1 injectors I've ever seen.
I'm not sure I'd soak them overnight. The reason professionals won't clean them is that the solvent eats the insulation on the windings and shorts them out. At least the solvent they use does. Since you have multiple sets, no harm no foul if these get destroyed. They look like any other LT1 injectors I've ever seen.
Mmm. Too late for that. At least it was electrical solvent. I�m gonna make a little makeshift backflush / solenoid checker and ensure they are working and as clean as I can get them. Then they�ll go back in and we�ll see how well it runs then.
Probably a good idea to clip them all into the rail without seating into the intake, cycle the pump, and see if there are any dribblers. I should follow my own advice. . .
Probably a good idea to clip them all into the rail without seating into the intake, cycle the pump, and see if there are any dribblers. I should follow my own advice. . .
Yes great idea. Maybe even one step further�..put them in upside down run the fuel pump and actuate them one at a time with the test clips and switch I�ve made. This would reverse flush each injector. My fuel hoses would allow me to easy do this outside the engine bay. And would be a final leak test too. But without the upper clip would probably have to zip tie each injector to the rail. Well see. Will have a fire extinguisher nearby.
Ok�..so�.either soaking them overnight or back flushing them ruined them. Or they were ruined to begin with. These injectors and rails have been sitting around for years. Thought maybe they could be cleaned up but no. Dribble? Uh how about full blast. All of them but one.
Gonna buy some new ones and be done with this crap. Anyone know of the cheapo-eBay injectors for $40-60 a set are any good? Also heard the Ford Bosch gen3 4 hole injectors also work well.
You don't want new cheapo injectors, you'll have nothing but trouble.The yellow Ford injectors are 19# at Ford's pressure spec which is 39psi I think. Not sure what they become at GM pressure, but those are a good quality injector and can be plucked from modular V8s at the boneyard.
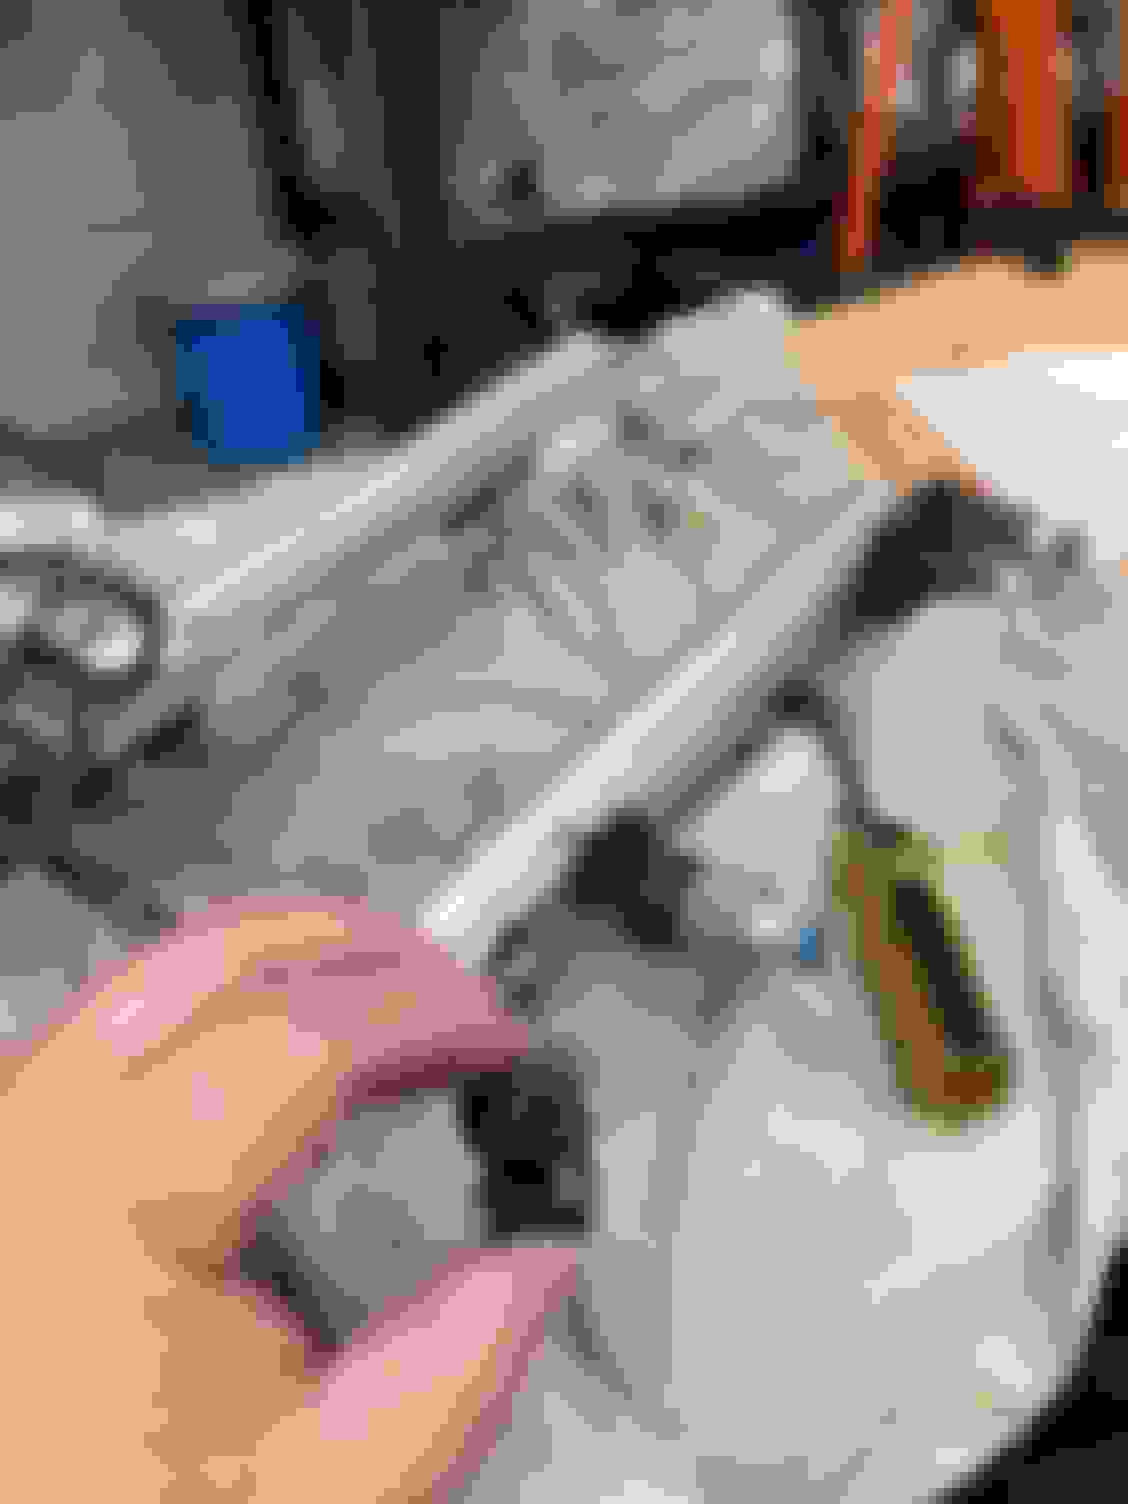
Ordered the cheap fuel injector pulse tester on Amazon and received today. Also went to my fav salvage yard and scored the whole fuel rail and injectors off that same 1995 TA for $28. Brought them home cleaned and tested them out.
None of them even dripped a single drop and they all pulsed and fired through all the modes perfectly. So I�m gonna send it.
You can check out the video I made. Here on YouTube:
Ok. So she is running great. After installing the injectors, it roared to life. All the gauges were working, and even the tachometer worked after this video. Funny how the tach only works when you hook up the signal wire to it properly. Anyways. Seems to be running flawlessly. Tomorrow, its shop cleanup, and then finalize everything. Loom the wires, ventilation, Pwr Str Reservoir replacement (the reservoir is leaking badly), shifter install and sheet metal work to cover the hole, and some other odds and ends. Then its off to the muffler shop and then next door to the dyno.
Good work, now to tie up all those other loose ends. On the plus side you can go straight to the Dyno, no need to horse around with breaking it in. That injector tester is cool too.
Is any of this worth anything? Cleaning shop and getting rid of crap I don�t need. Willing to practically give this stuff away. Will post in the classified section.
Three of these intakes can go. I gotta keep one for a future LT1 swap into my 1971 Cutlass. 4th T56 Trans Mount, engine mounts, oil cooler, and ABS. AC hose, AIR pump, heater tube.

 11-27-2022, 11:48 AM