When you click on links to various merchants on this site and make a purchase, this can result in this site earning a commission. Affiliate programs and affiliations include, but are not limited to, the eBay Partner Network.
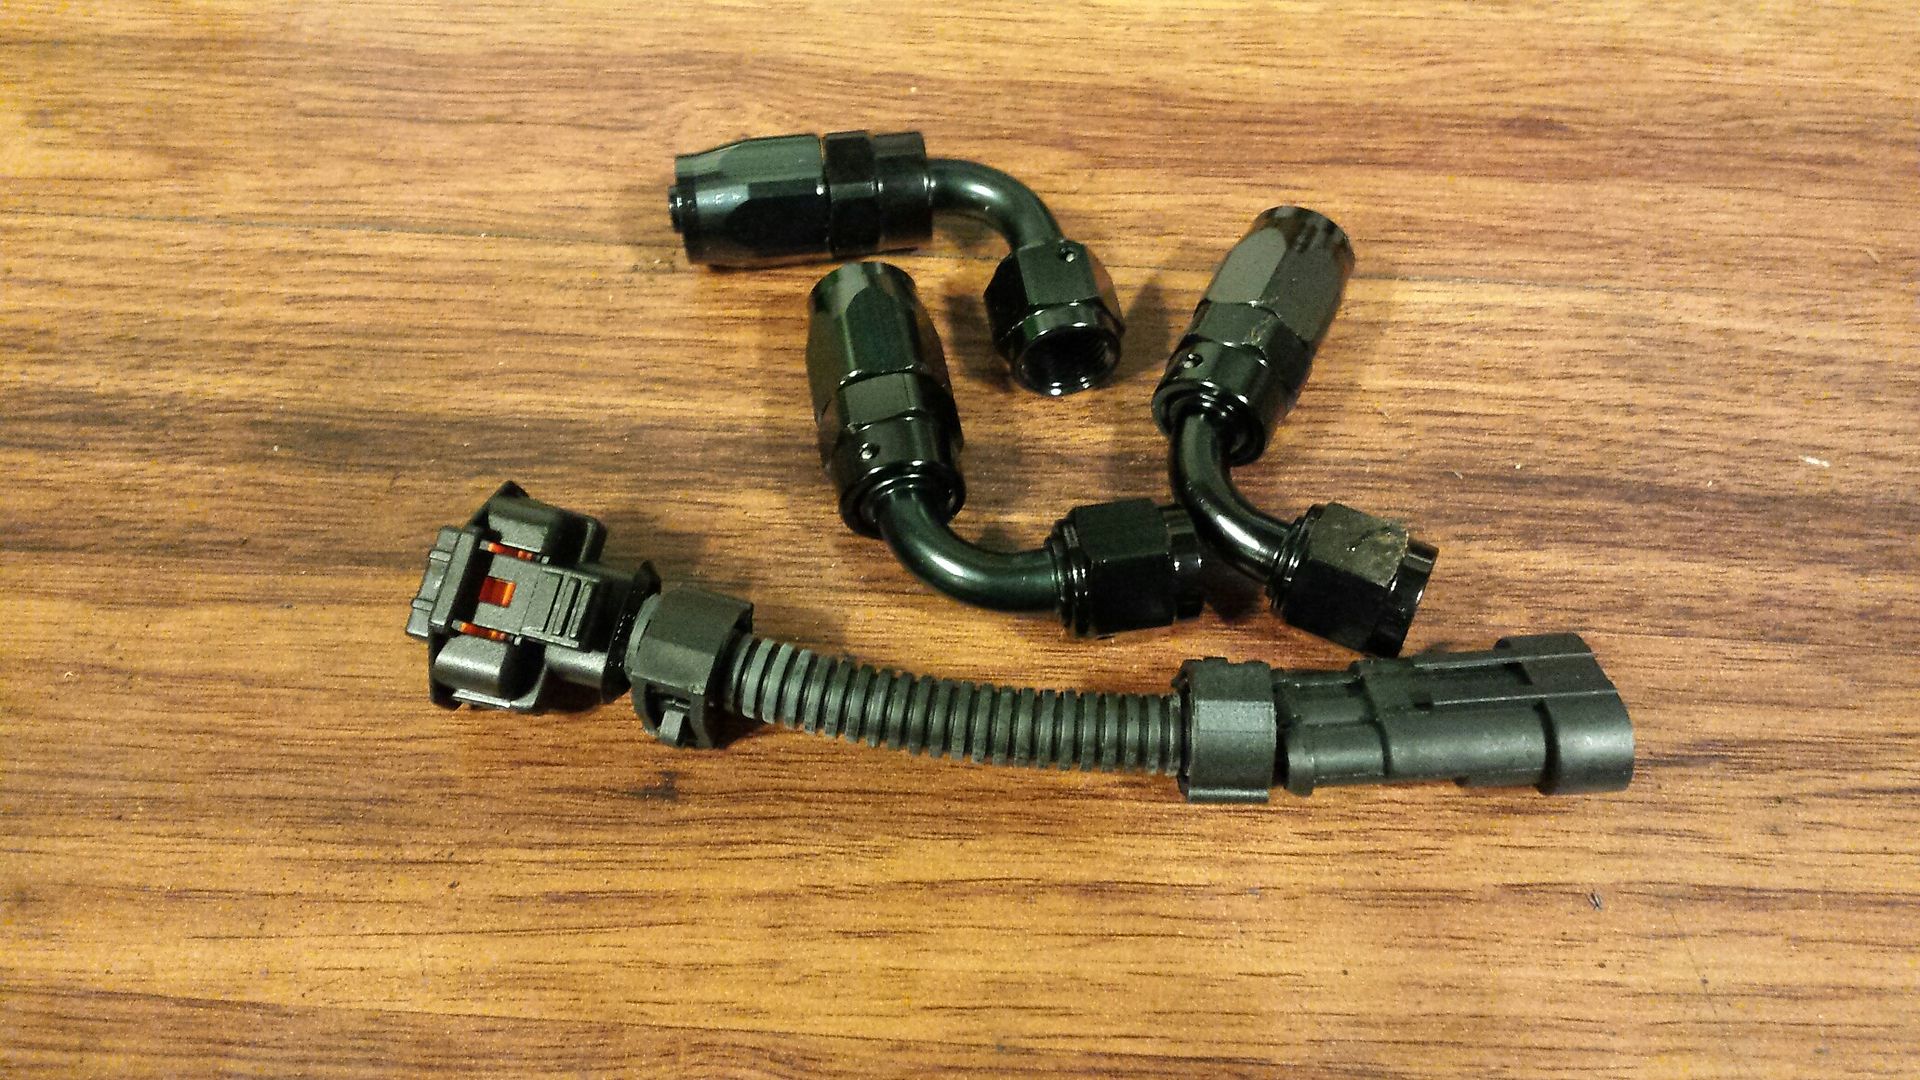
Got the AN hose ends in, and the MAP sensor pigtail installed. When I cranked the car it was idling at 16.5 AFR so i threw some fuel at it in HPTuners and realized I'm probably starting over from scratch retuning the car. Not super thrilled about that.
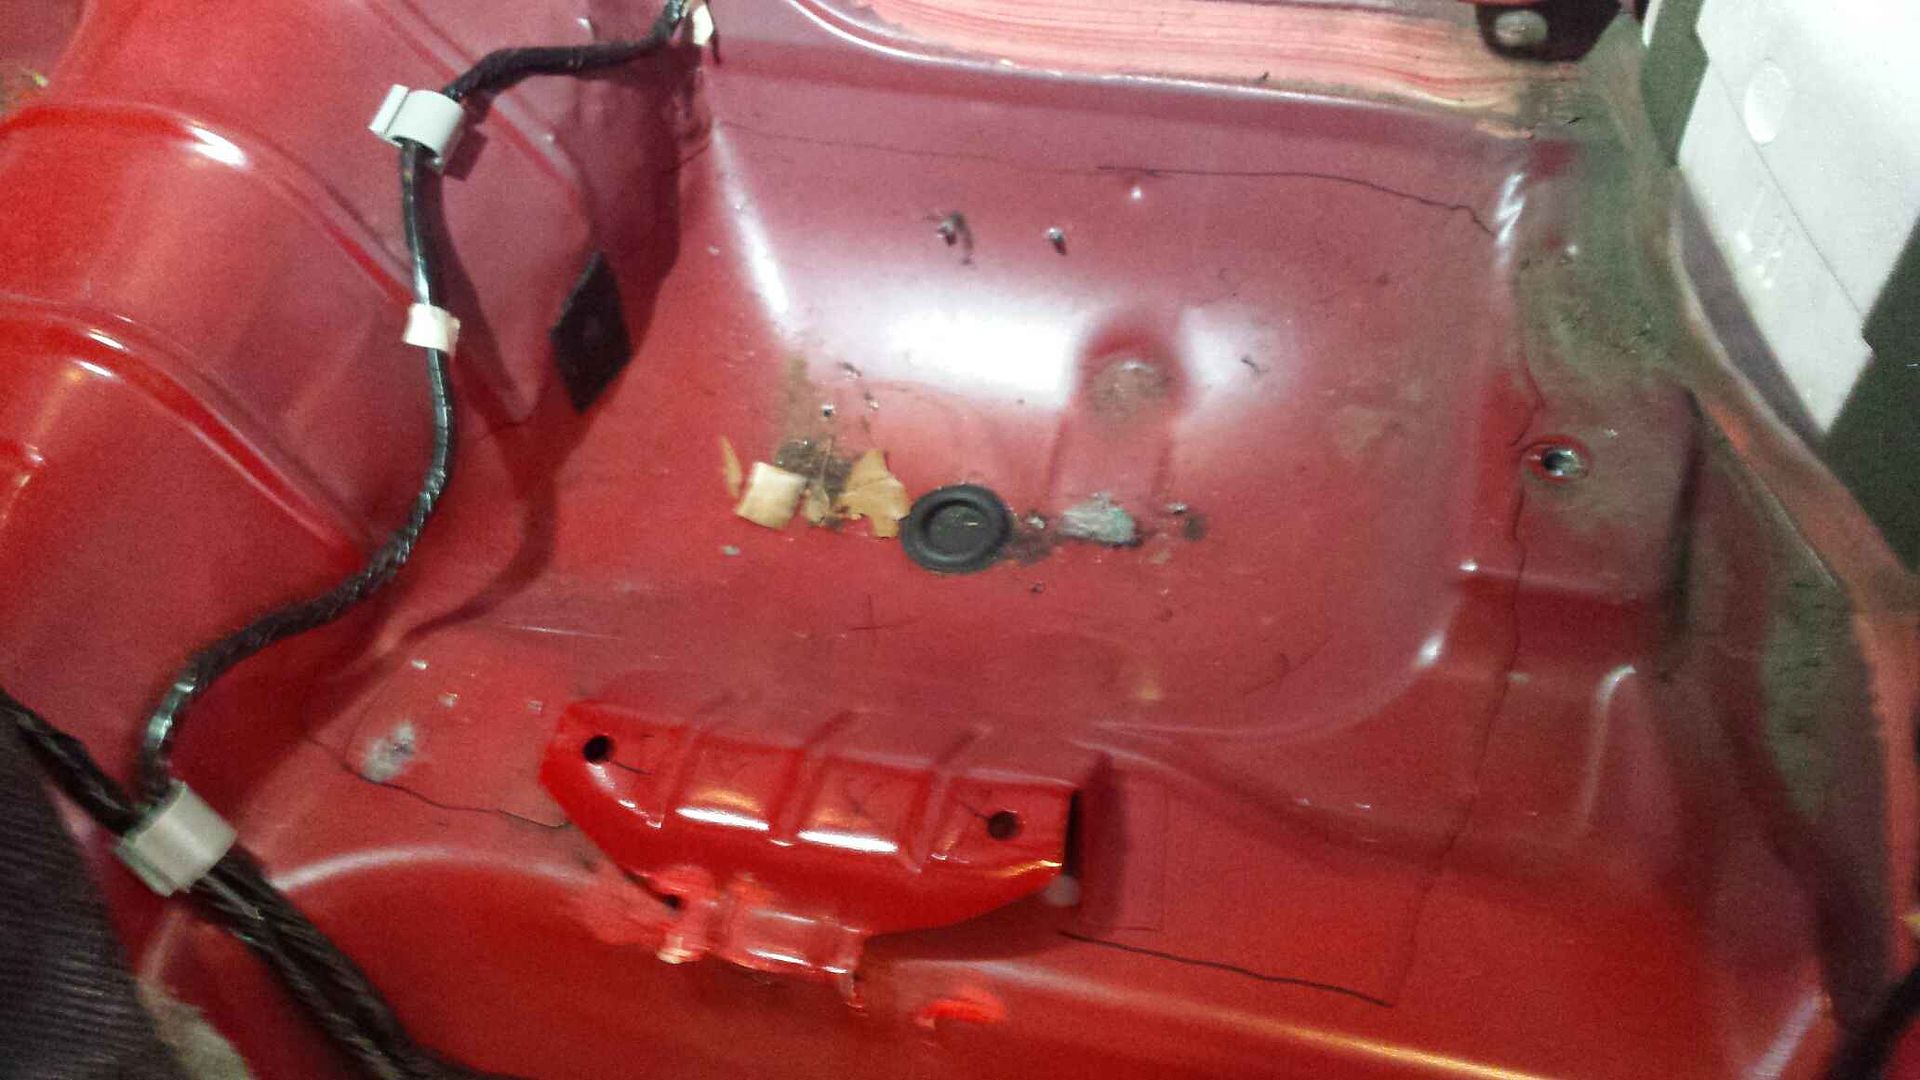
Got to play with the cutoff wheel a little today. Here's our specimen. After lowering the fuel lines away from the floor I drew out a basic line about where i thought the patch panel would go. Front seat bracket is going bye bye.
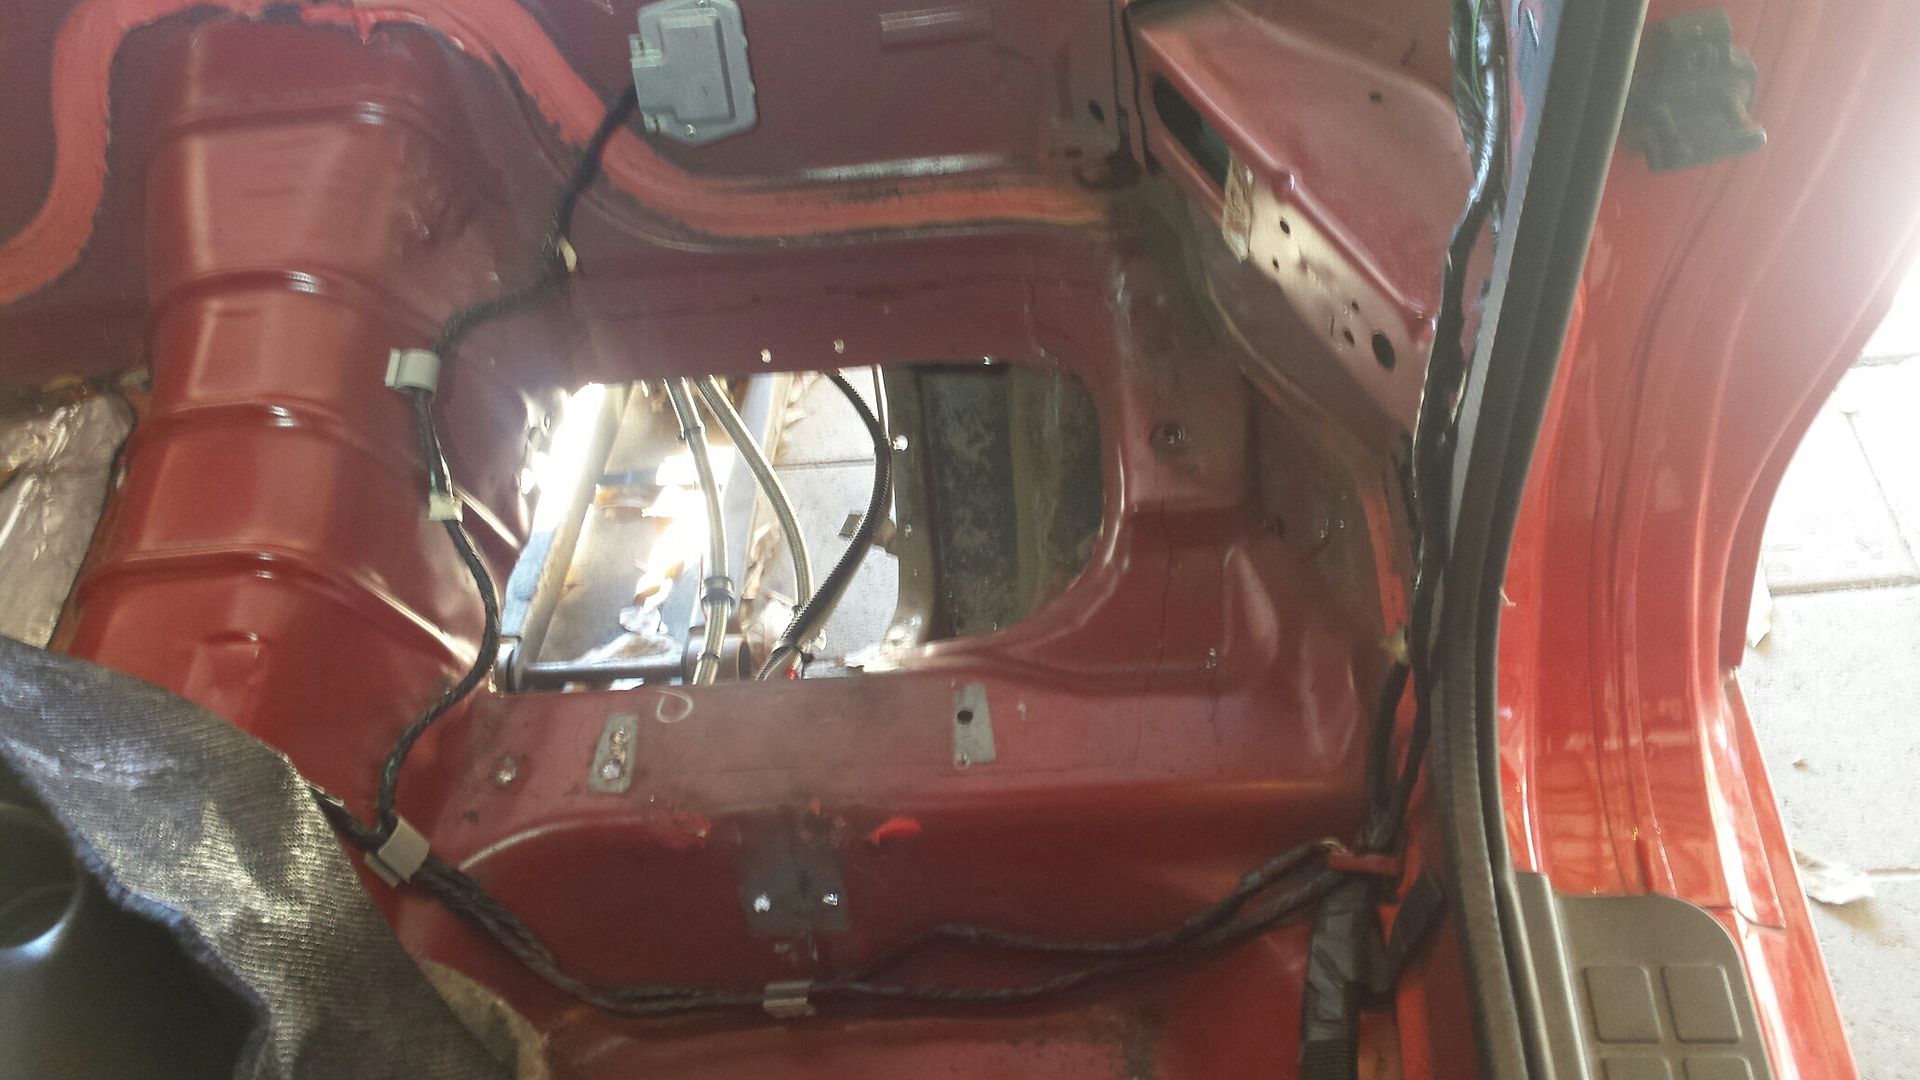
This was my first initial cut. I ended up trimming more out of the back, tunnel side, and front edge.
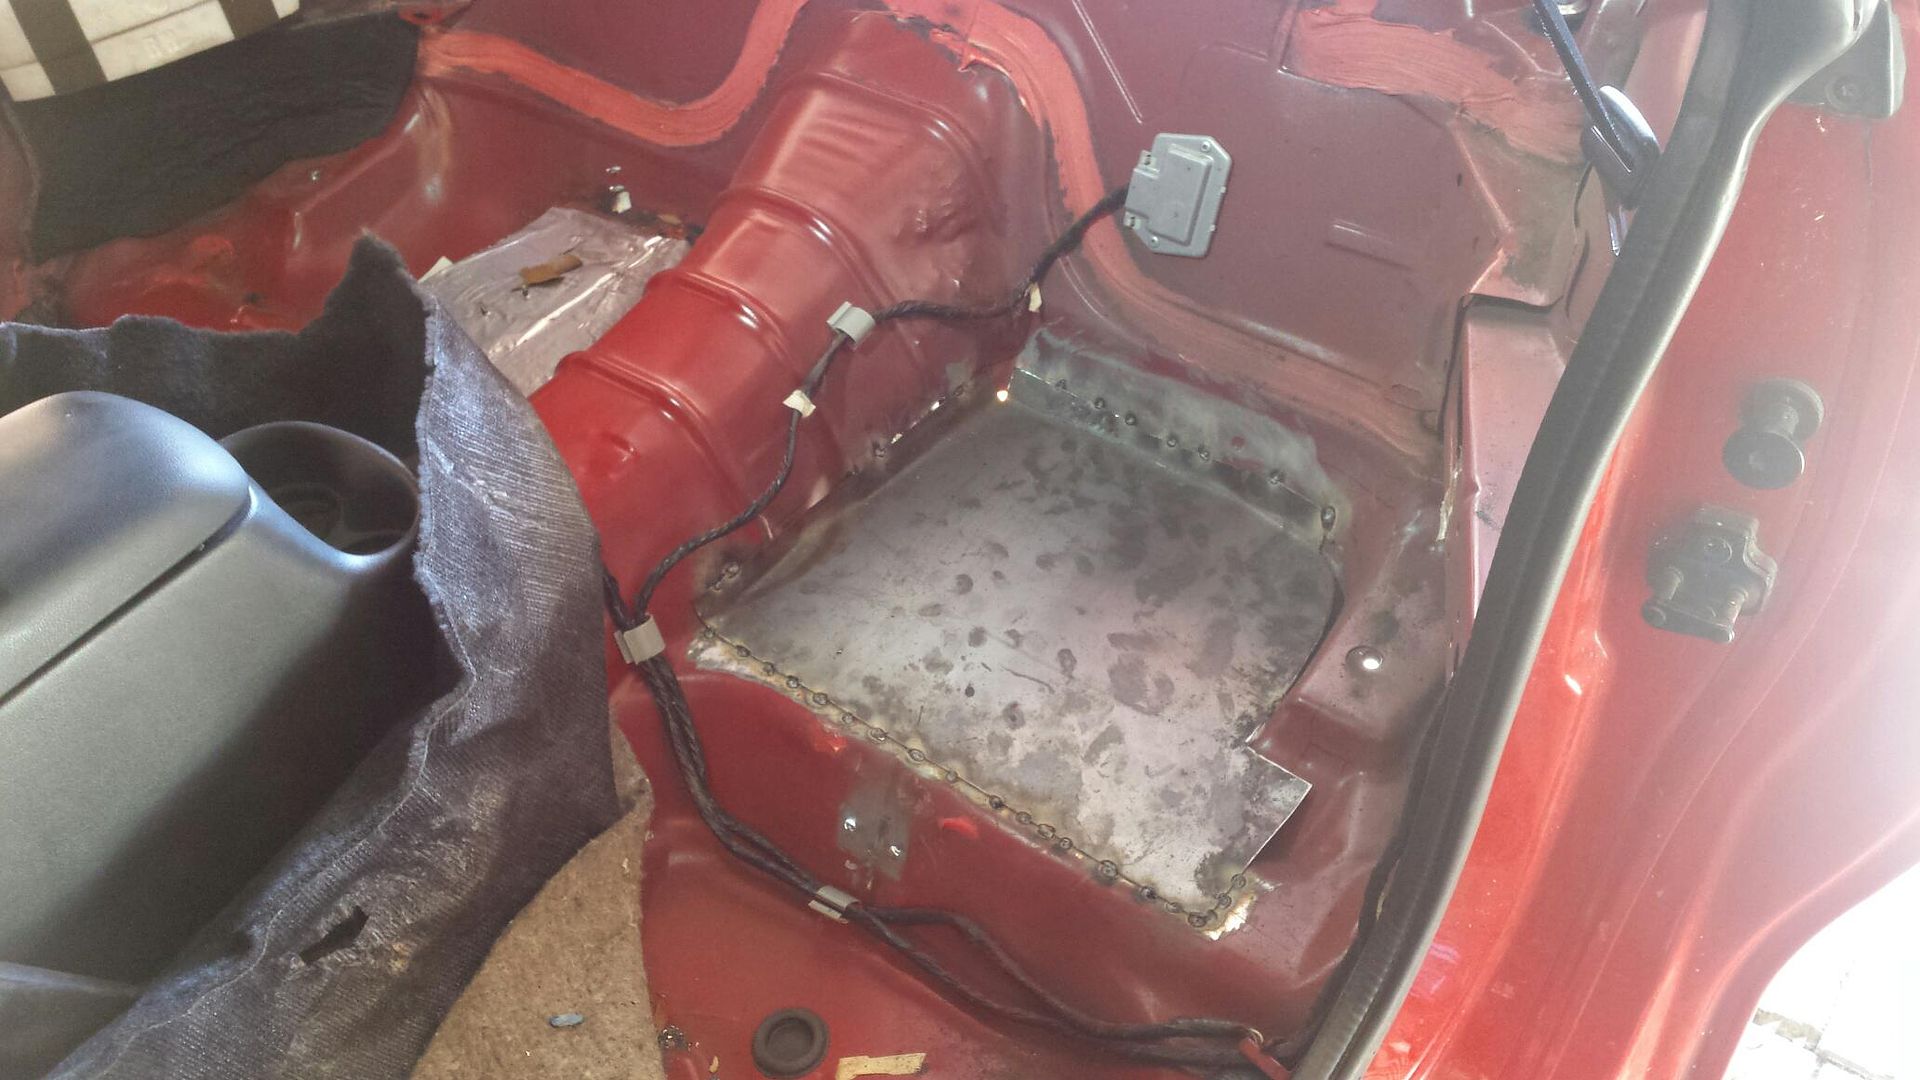
Here's the patch panel being tacked in place. Its 16g (pretty stout), the tunnel and rear edge have bent edges
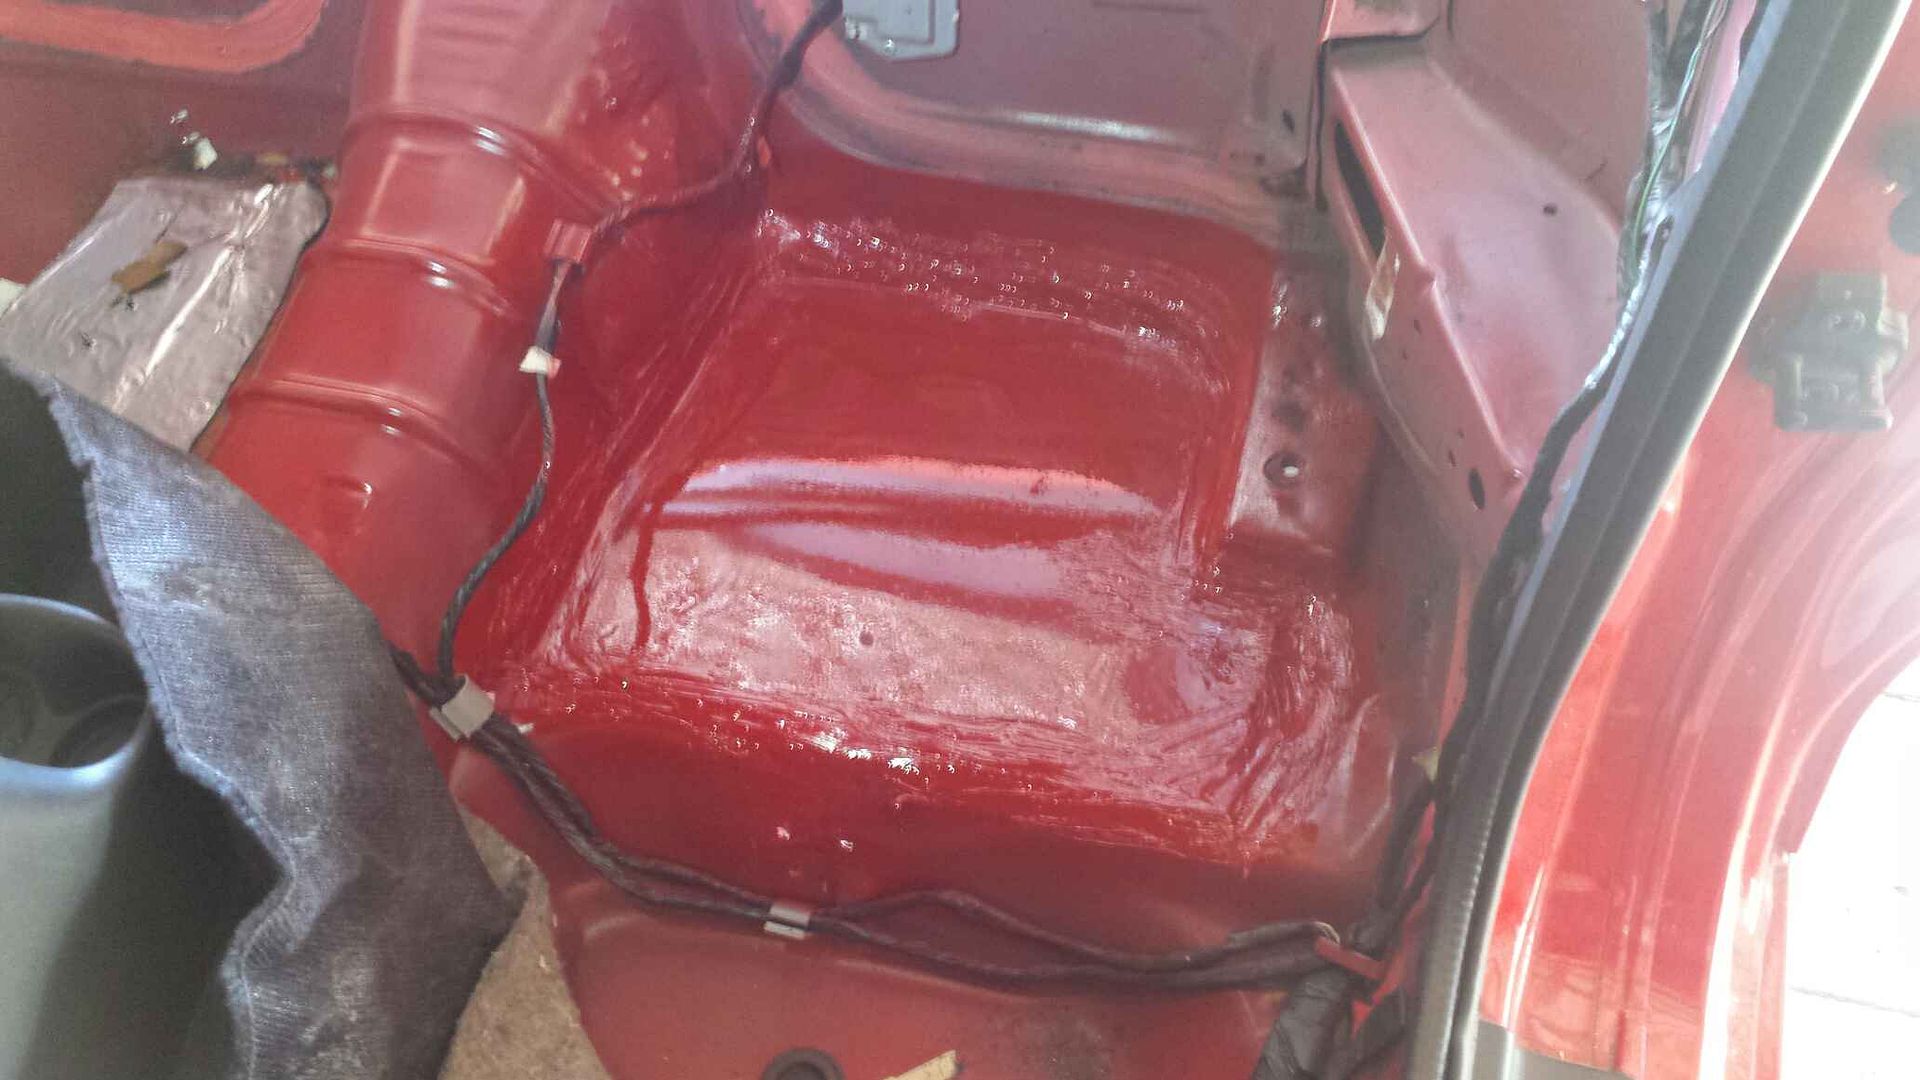
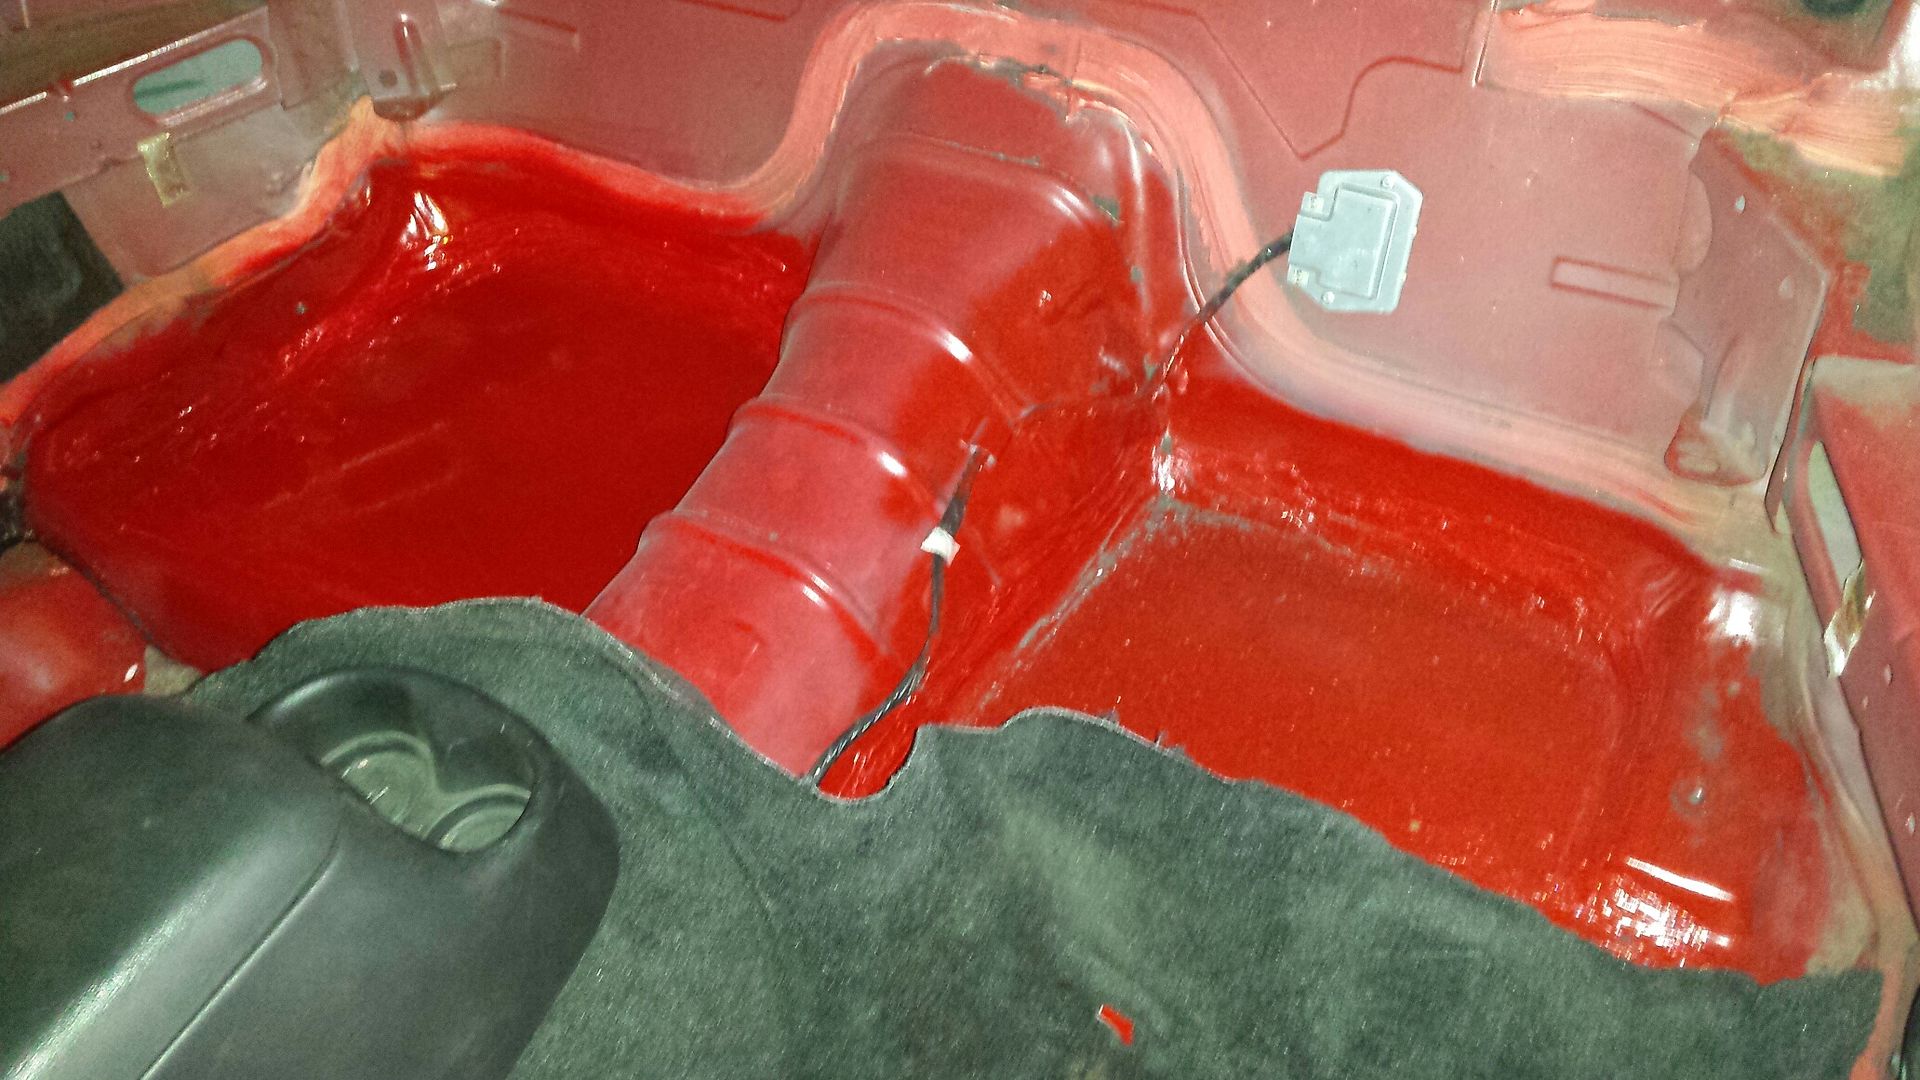
I generally go overboard with seam sealer. If you're worried about looks, you can putty knife it while its still wet, or sand it after its dry. I didnt do either bc there will be carpet covering it.
I hit it with some red paint. Its a little glossy but again no one will see it, really just did it for rust prevention on the steel panel. The color variation in the center that makes it look wavy is just a reflection off the roof of the garage. The back hatch was open. Panel going in vs metal cut out was about a wash weight wise.
I have a tracking number on the Wolfe door panels, should be here today, I ordered a big piece of black carpet to cover the entire rear section of the car. I also realized i forgot to order two of the steering adapters I need to make the hoses so I did that. Hope to get the passenger rear floor to match this side this weekend and onto the door panels. There are also about 6 rear brackets that can be removed (rear seats and belts etc) so Im deciding whether i want to drill all those spot welds. I estimate all 6 brackets would be 15ish pounds maybe. Decisions decisions.
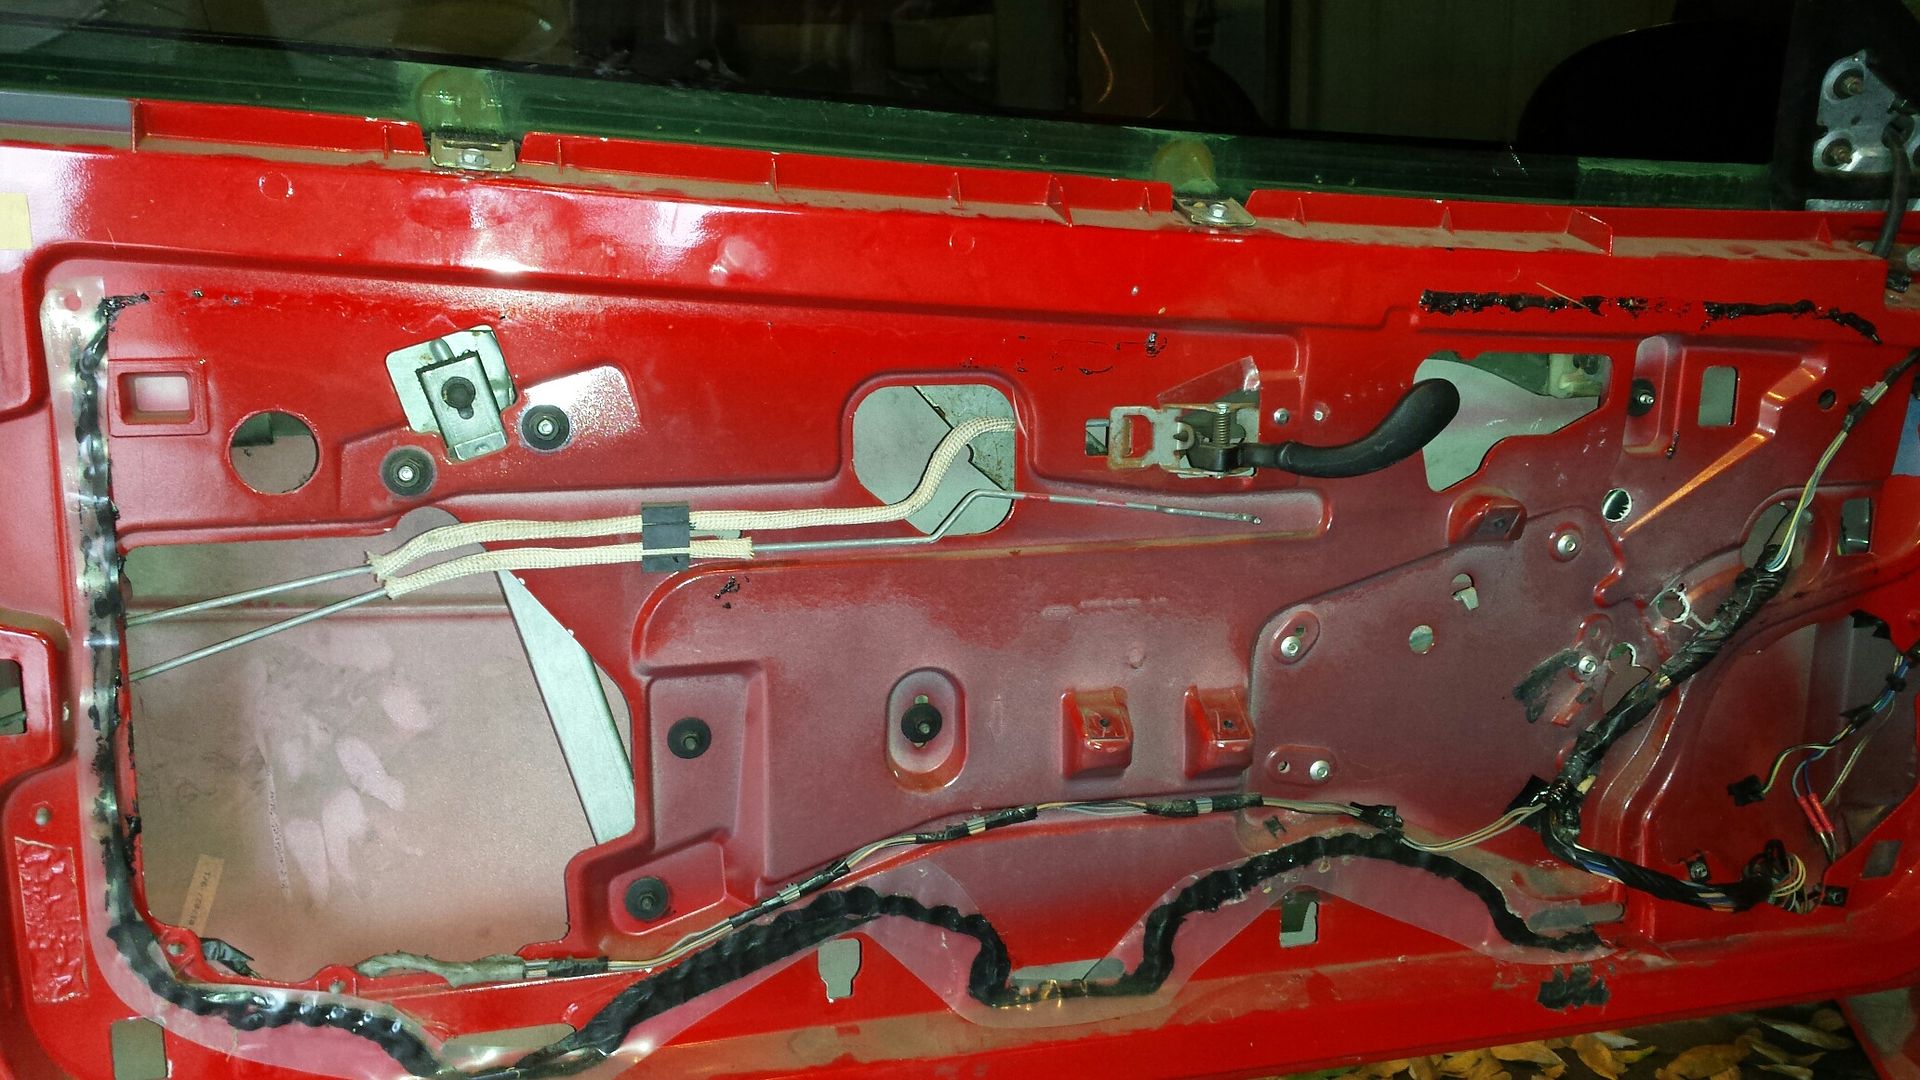
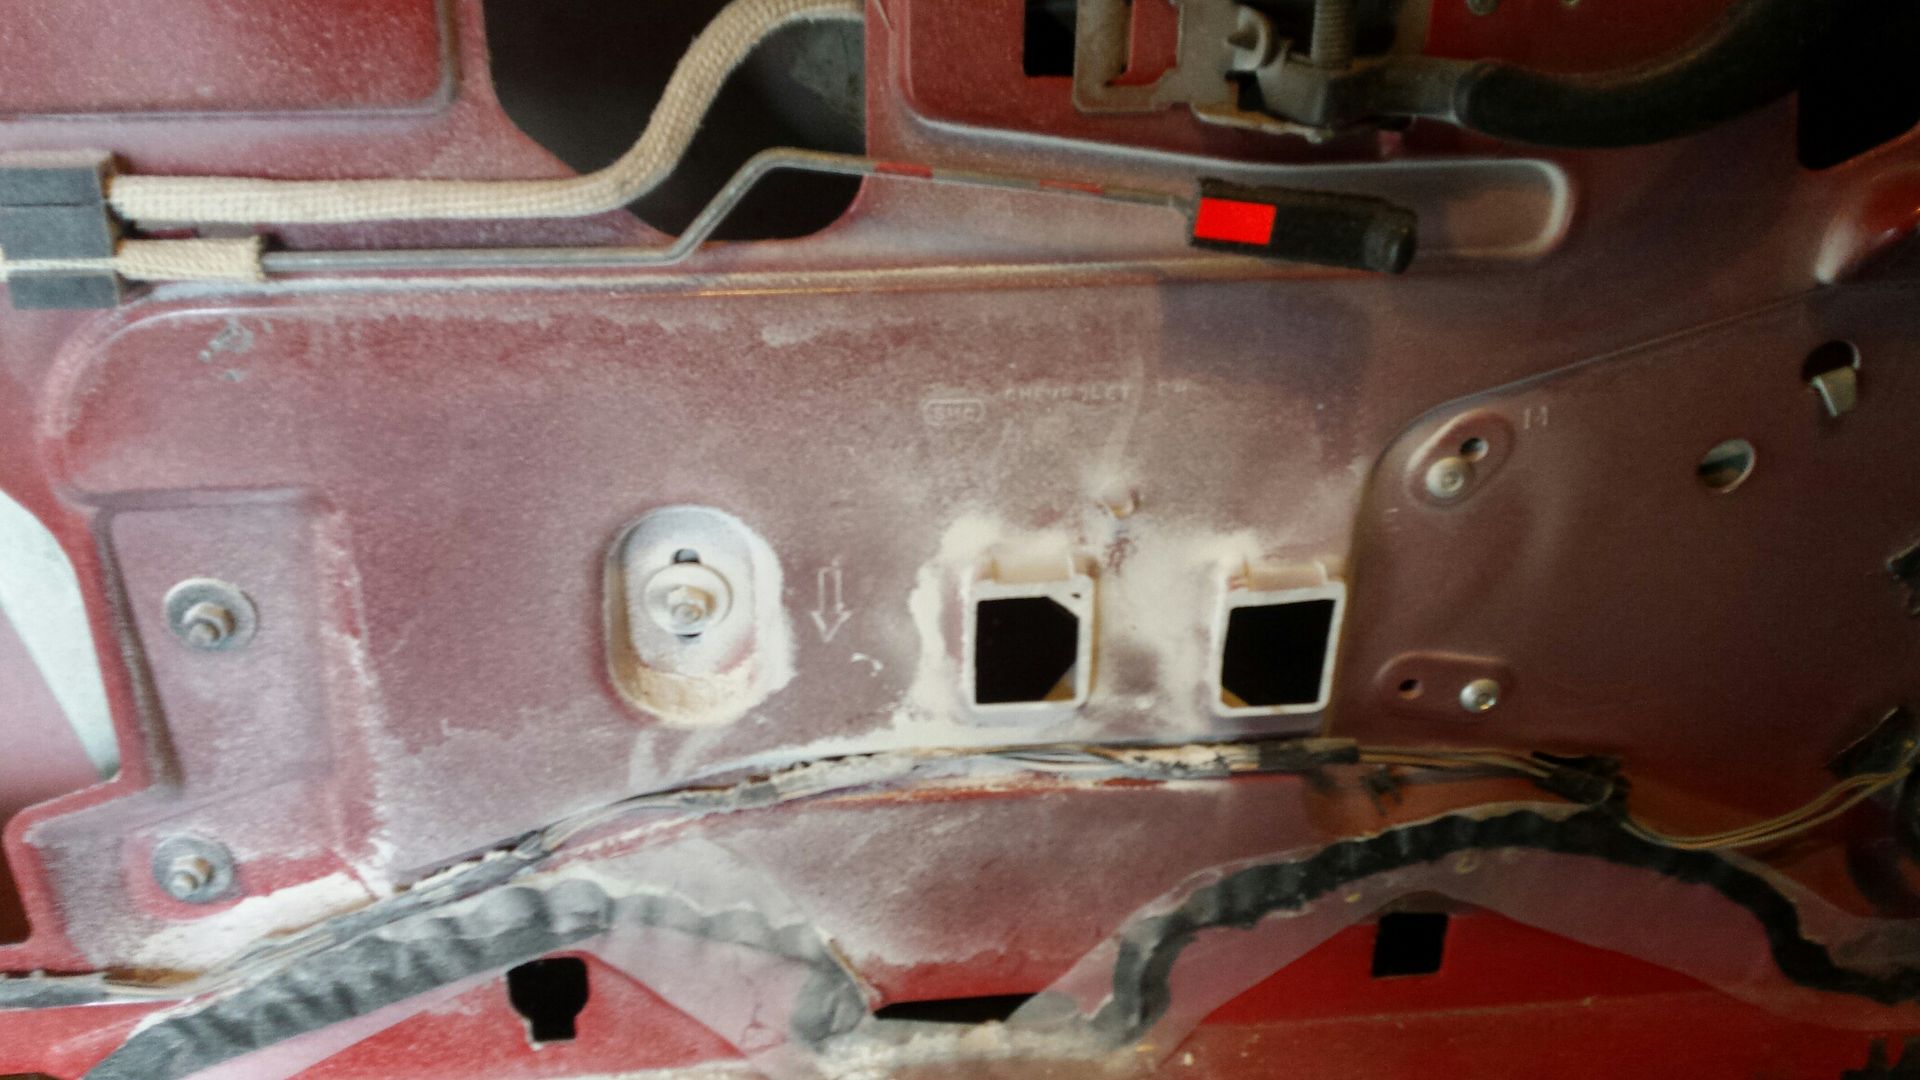
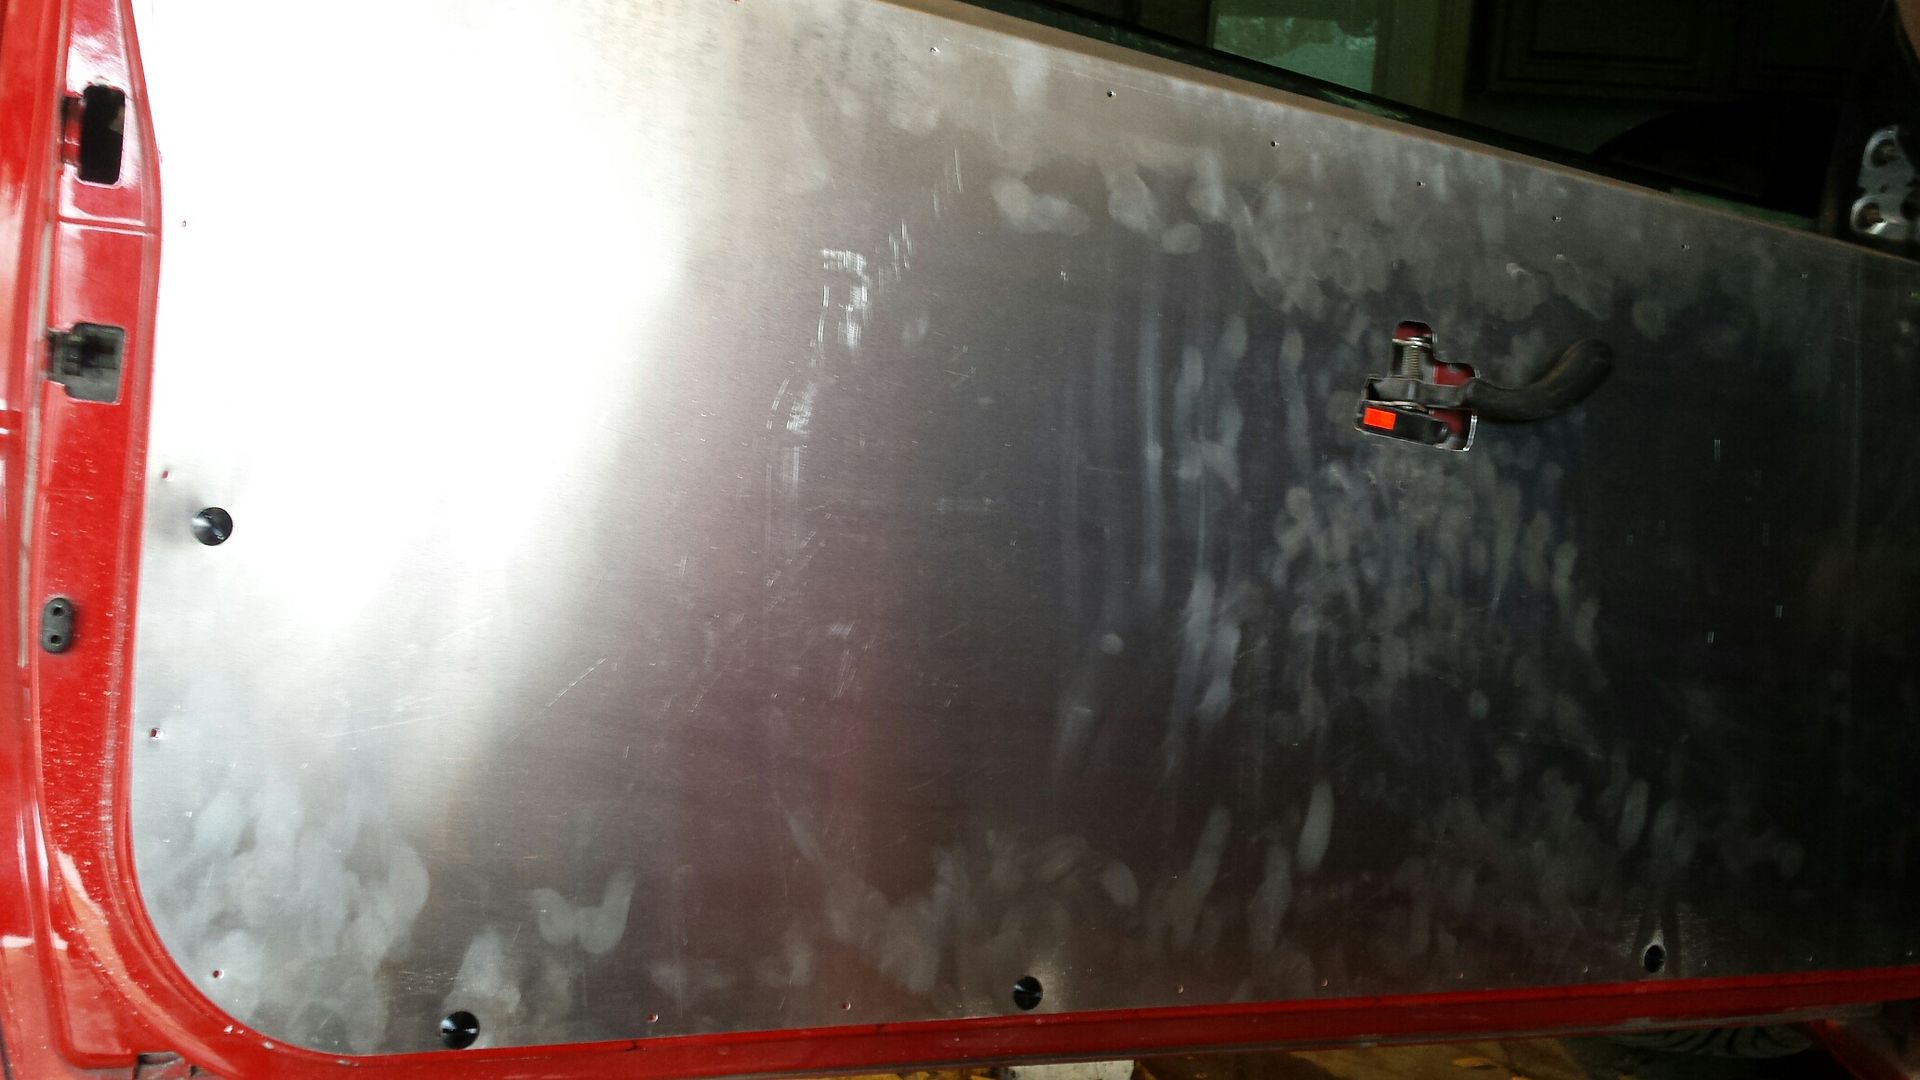
Got a little done this weekend. Basically started with this:
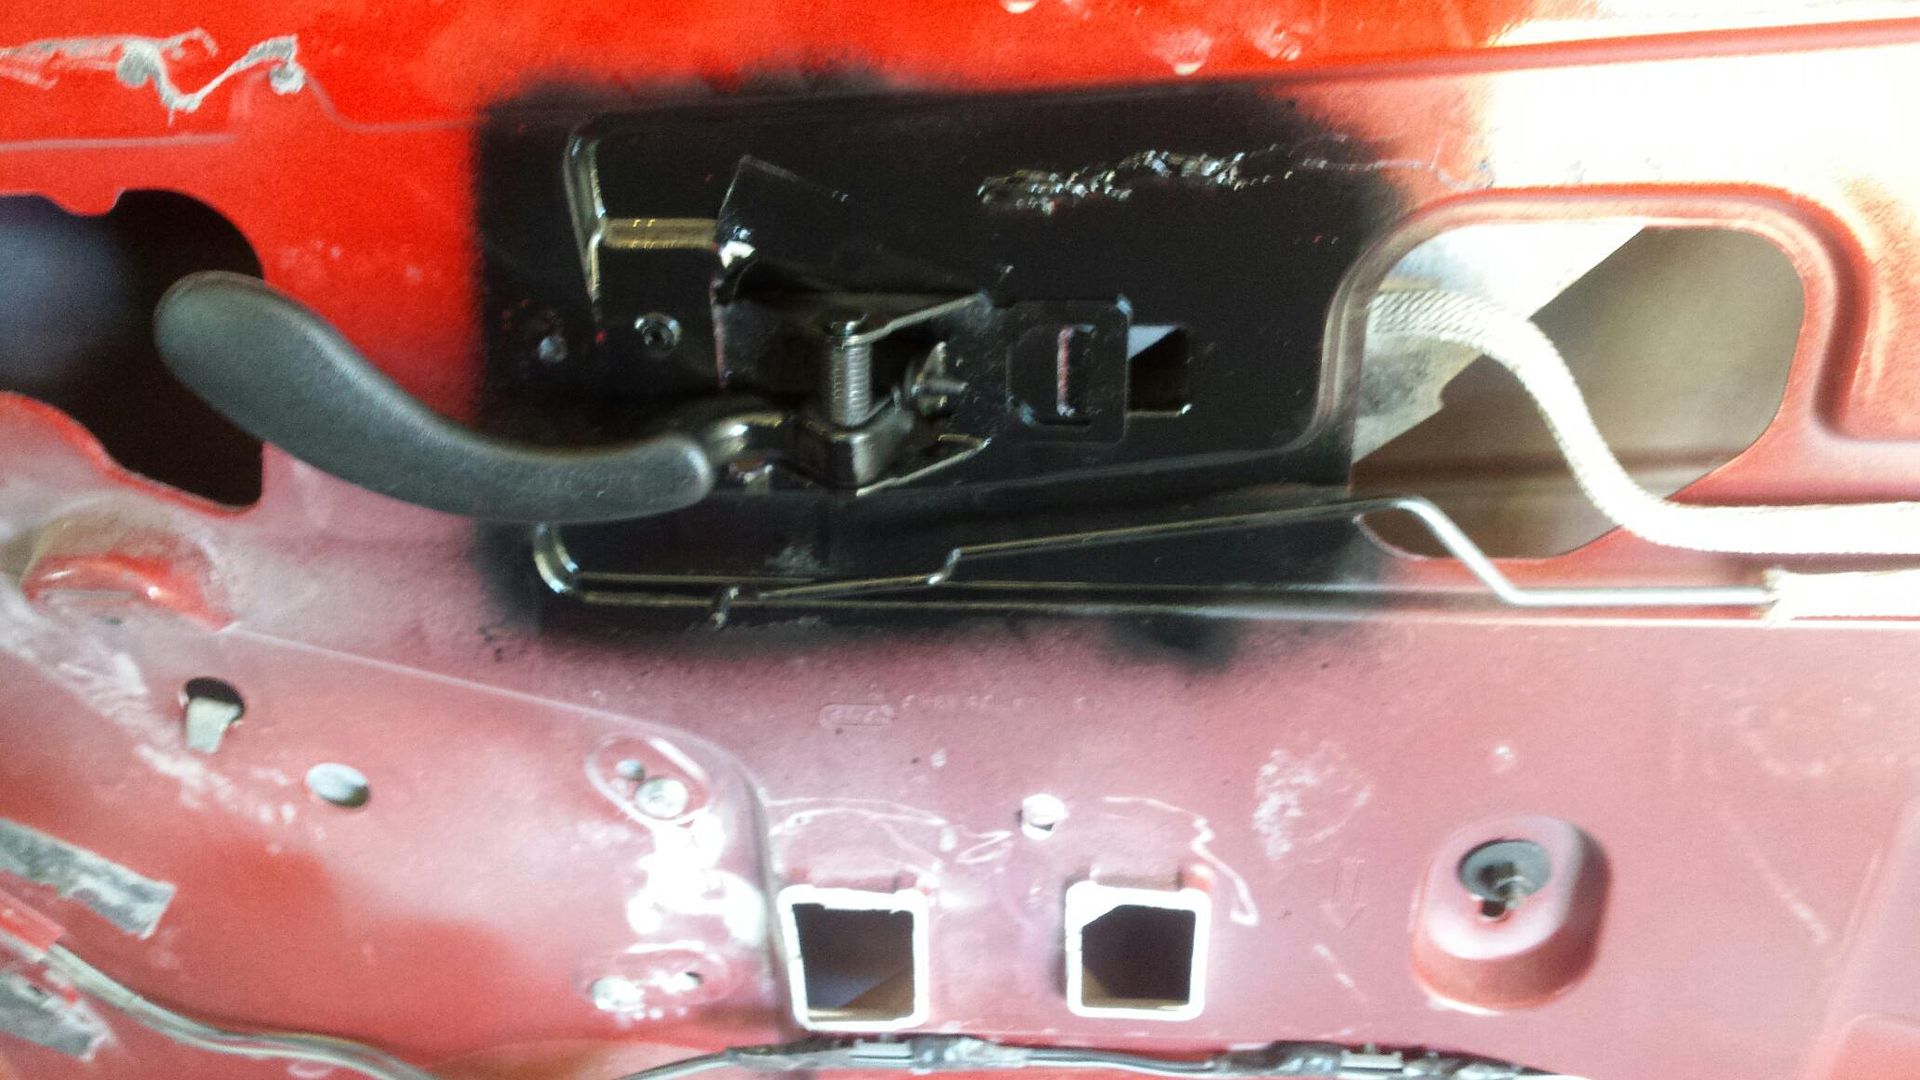
Realized right off the bat, the hole they cut for the door handle was a courtesy cut, and nowhere near correct for install.
This was my initial thinking, but ended up about doubling it due to me wanting the lock lever to be exposed.
The original mounts for the stock door panel need to go bye bye.
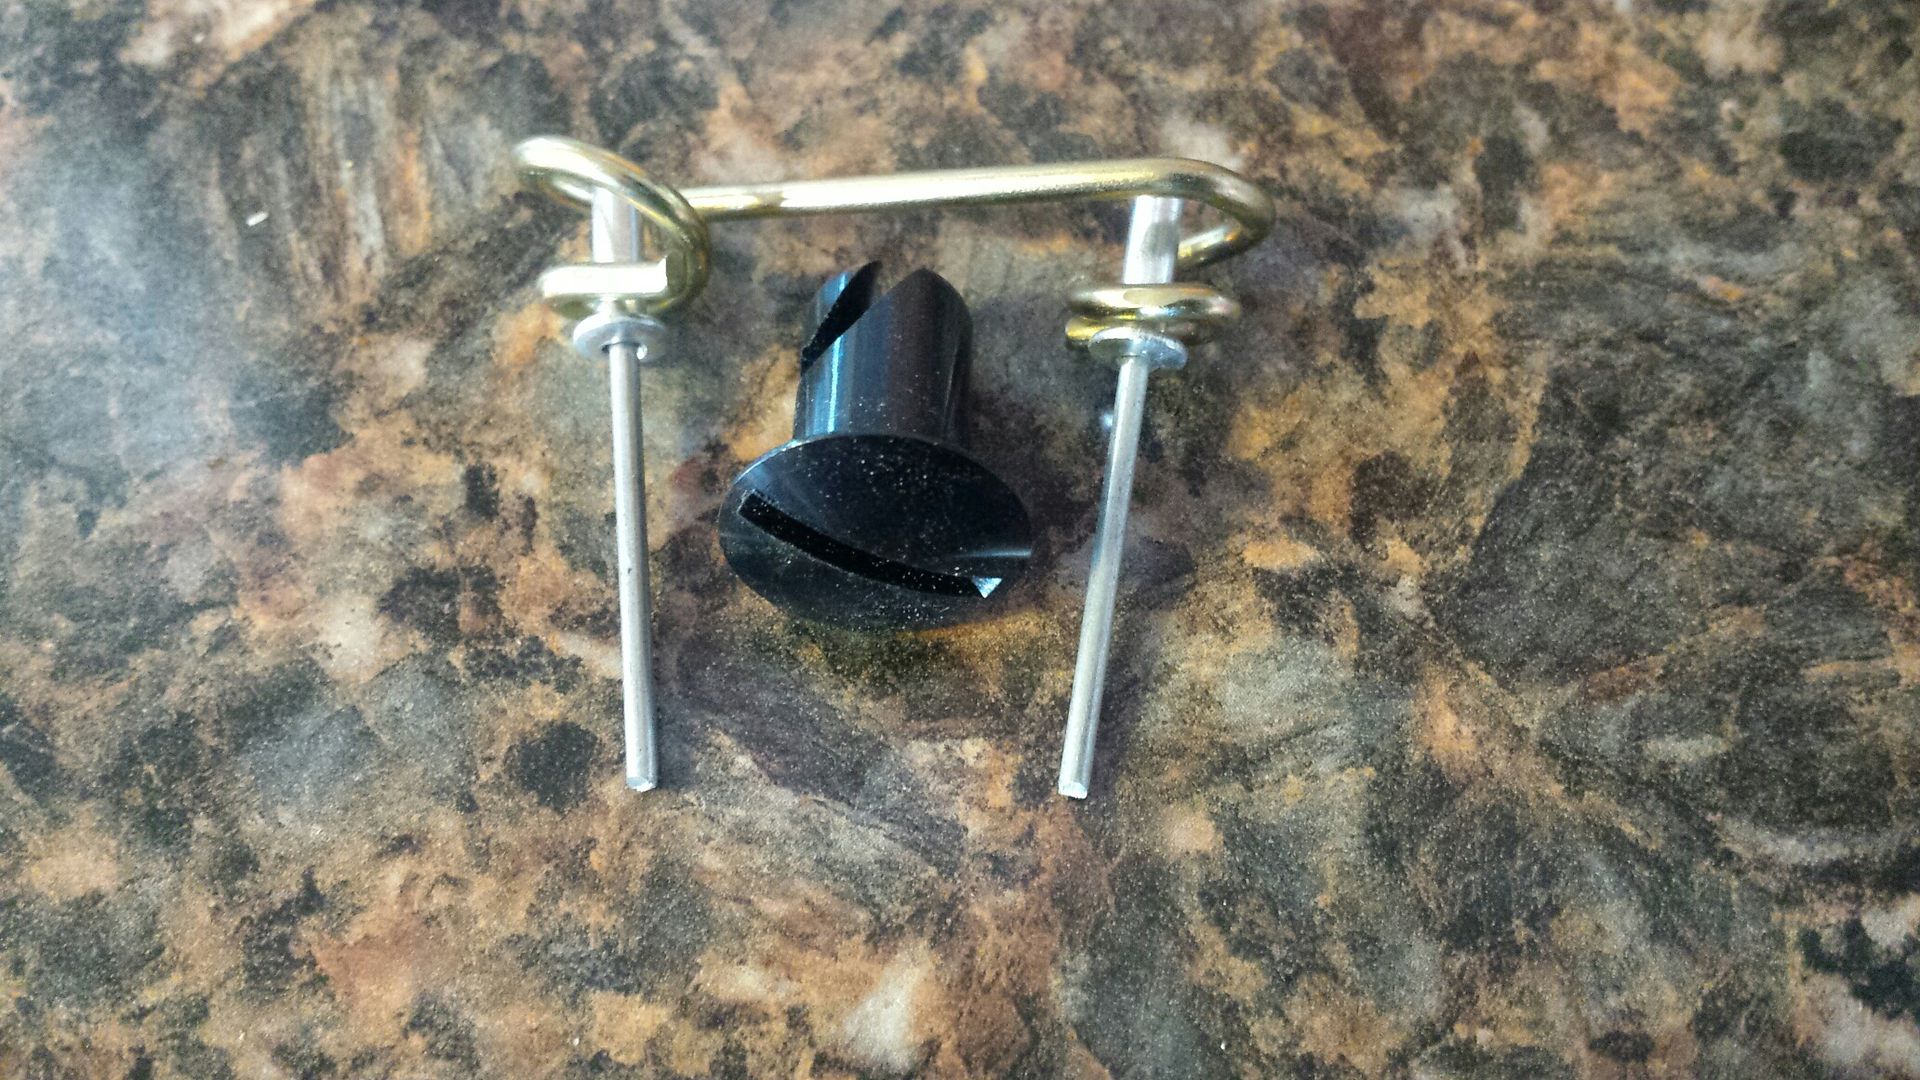
The plan is to use dsus or 1/4 turn fasteners, I want to be able to easily remove the panel if needed. Here's how they go together, the gold spring goes inside the door, riveted, and the black fastener is what you see on the outside of the door panel.
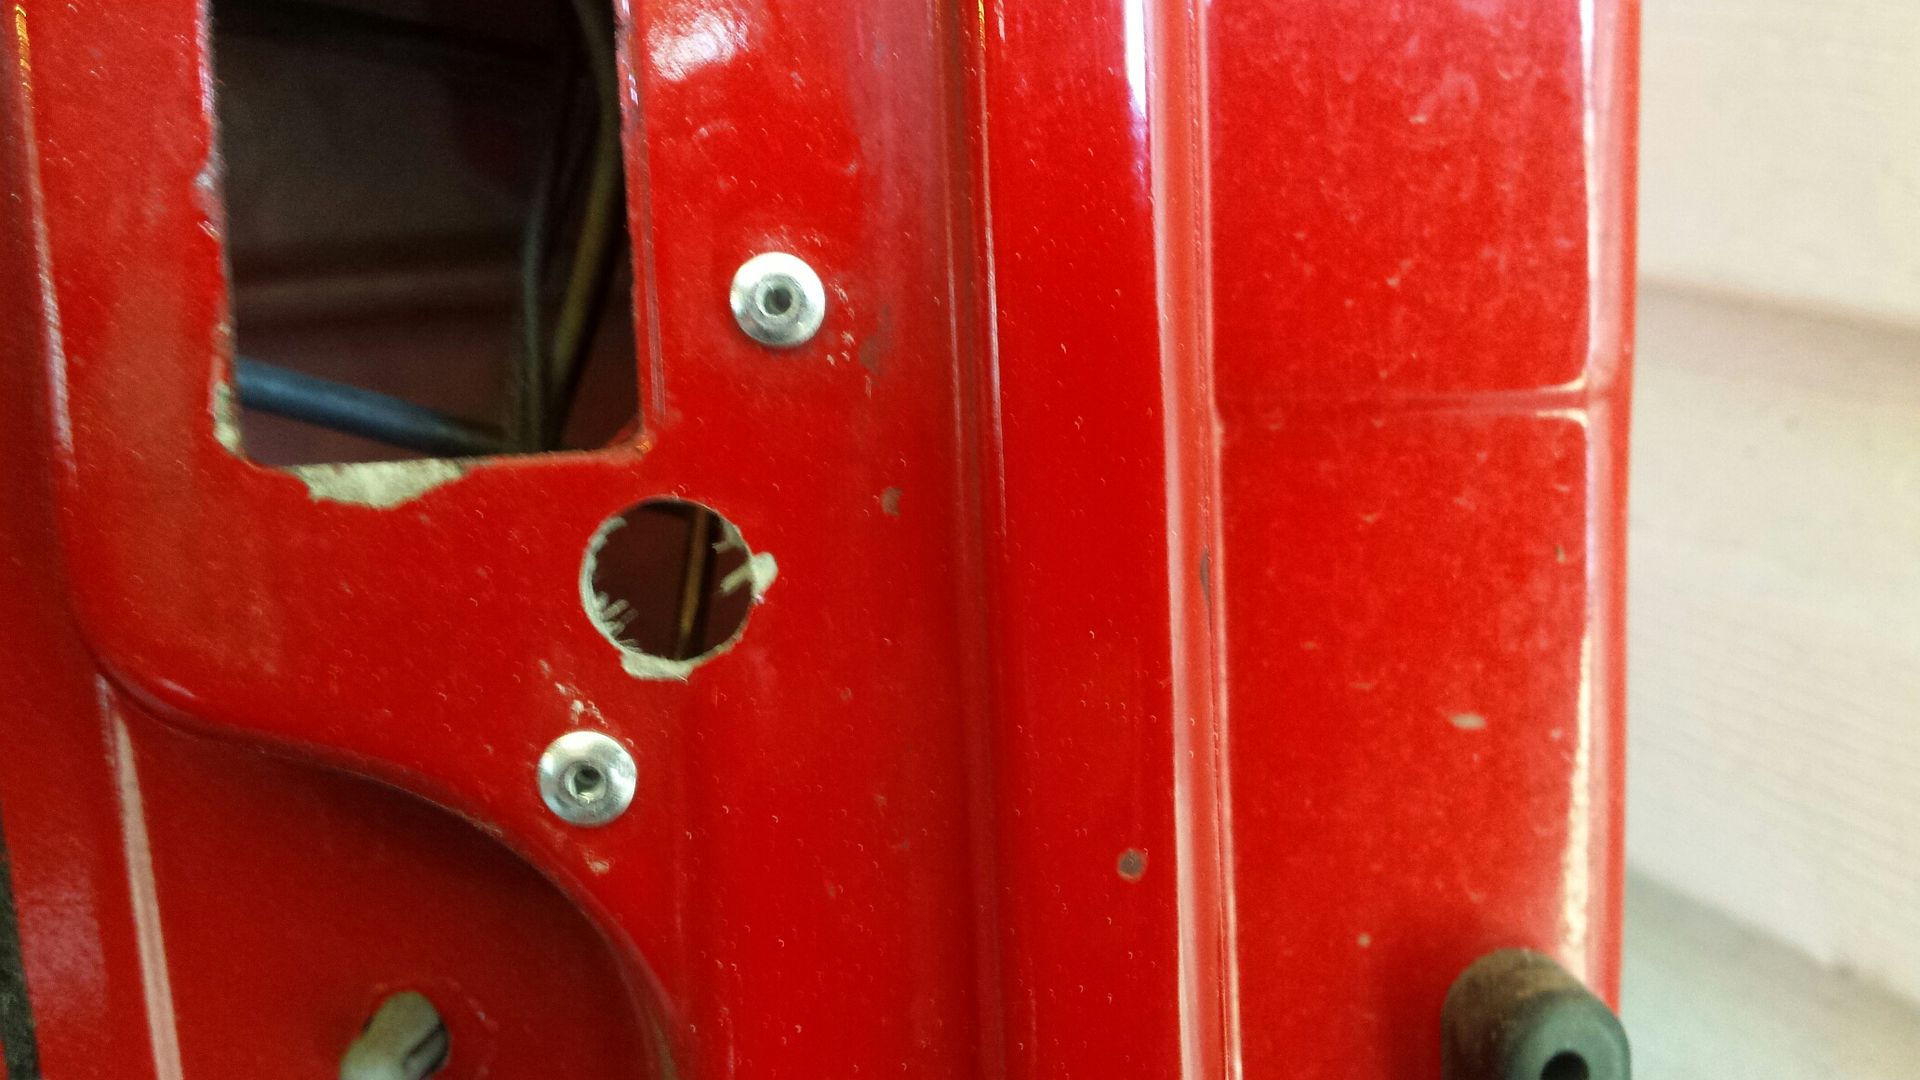
Here's one installed:
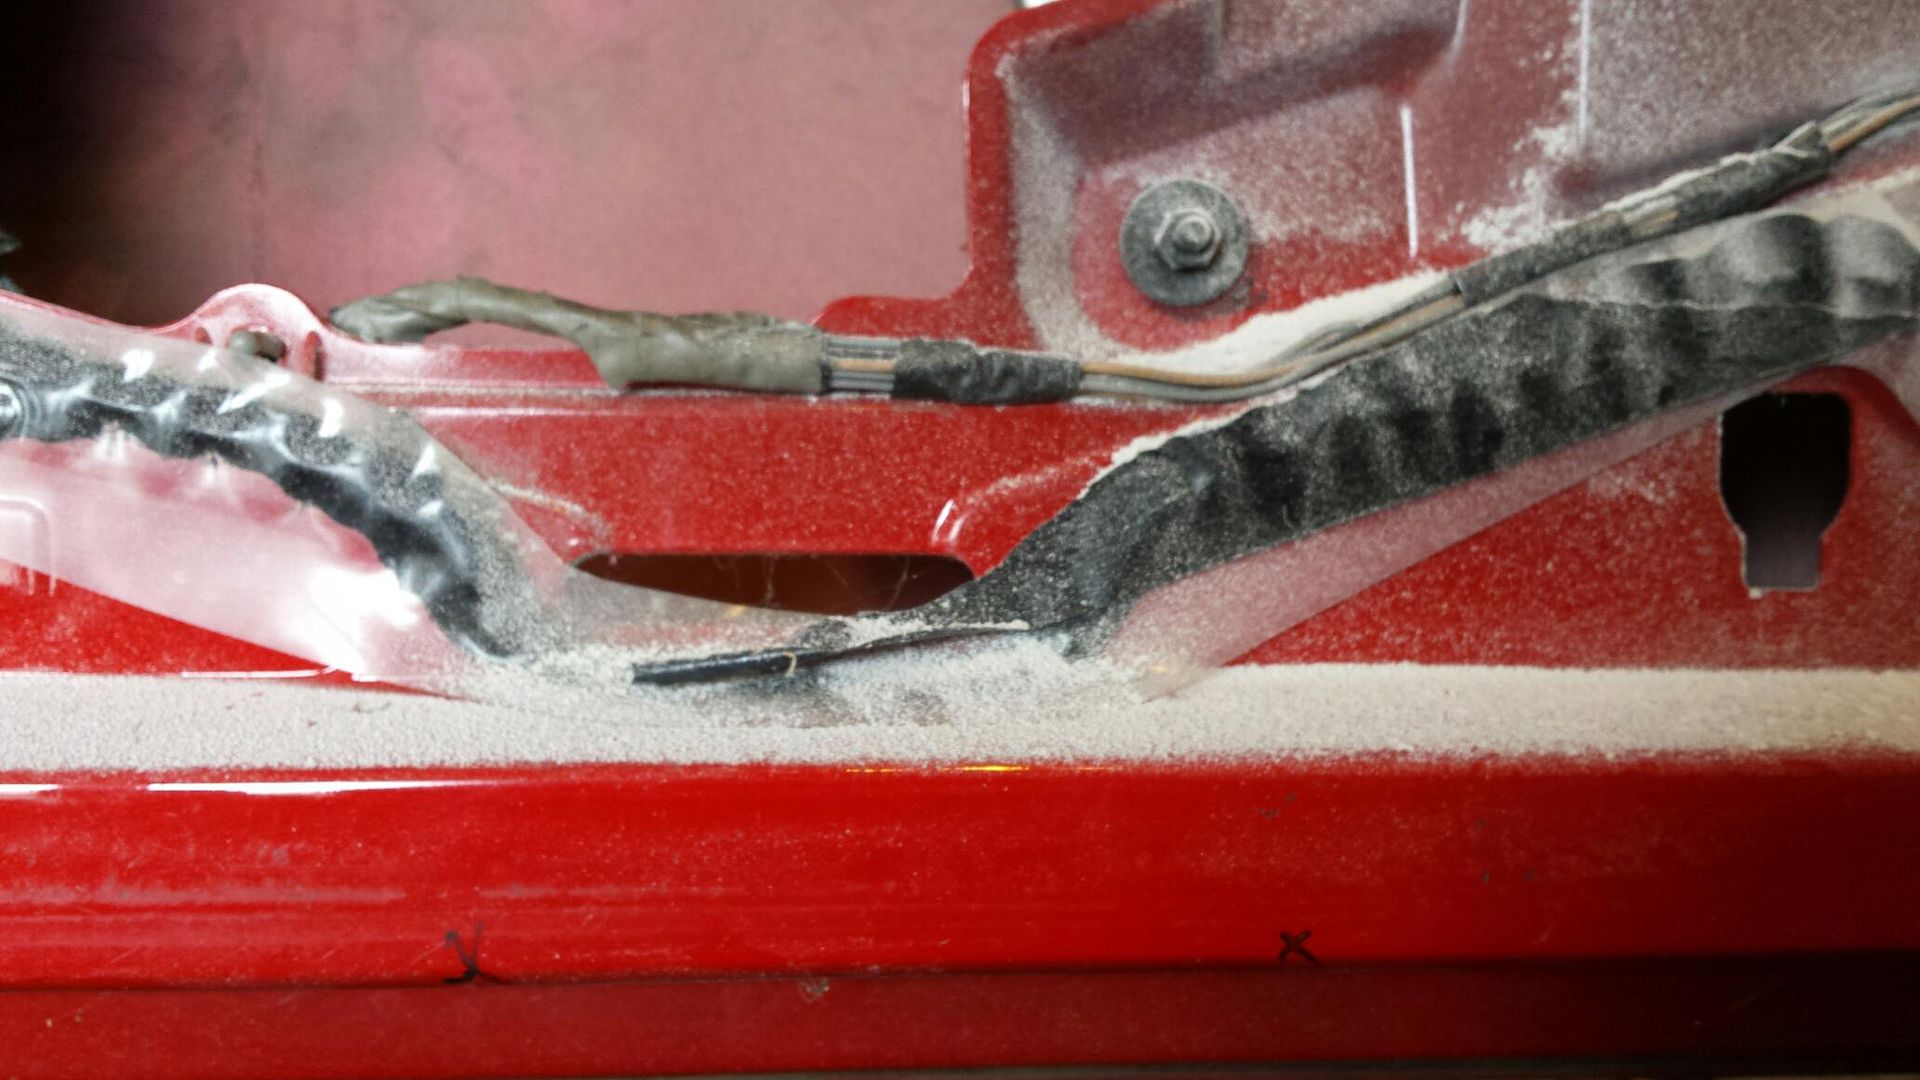
There are lots of things around the perimeter of the door that will obstruct placing your springs inside. I went around the door and marked Xs anywhere where there was something in the way. Along the bottom of the door there is ribbing/reinforcement every few inches.
Here's where i selected the 5 could go with the least amount of issue:
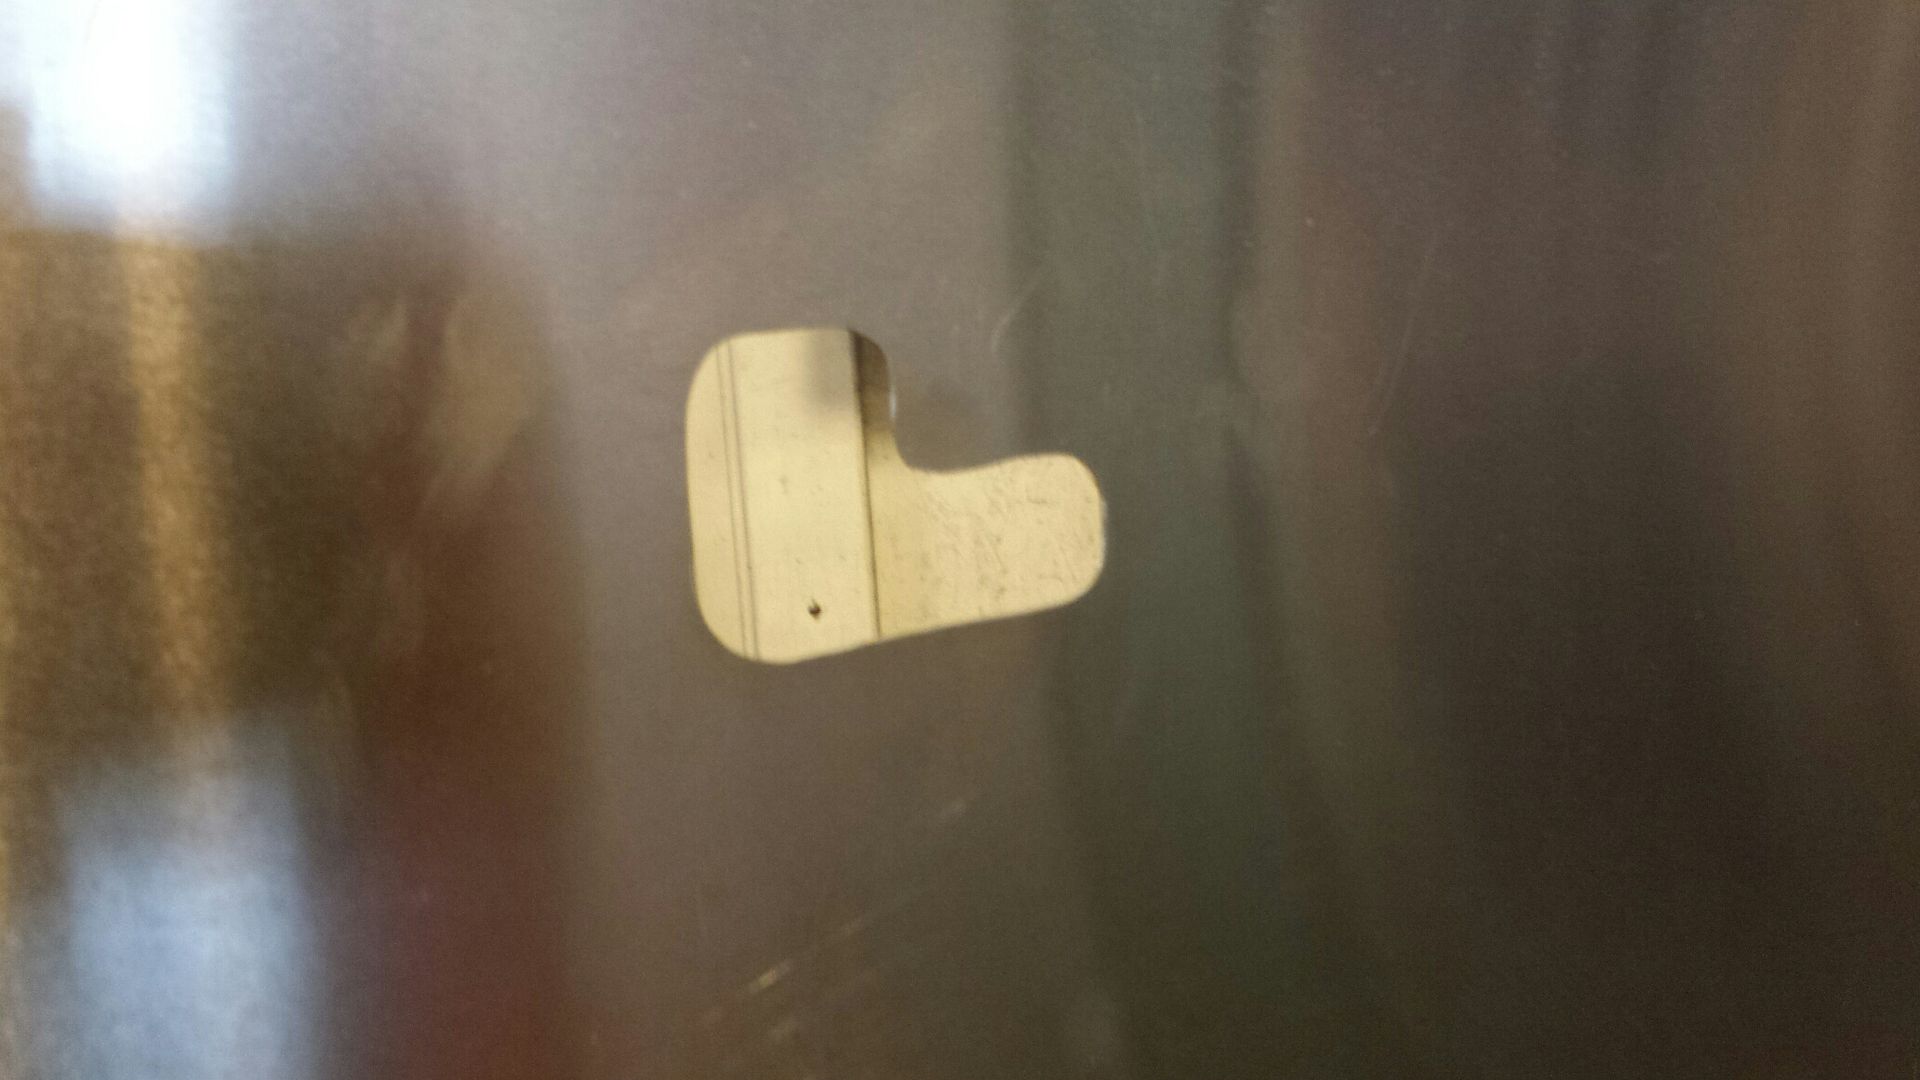
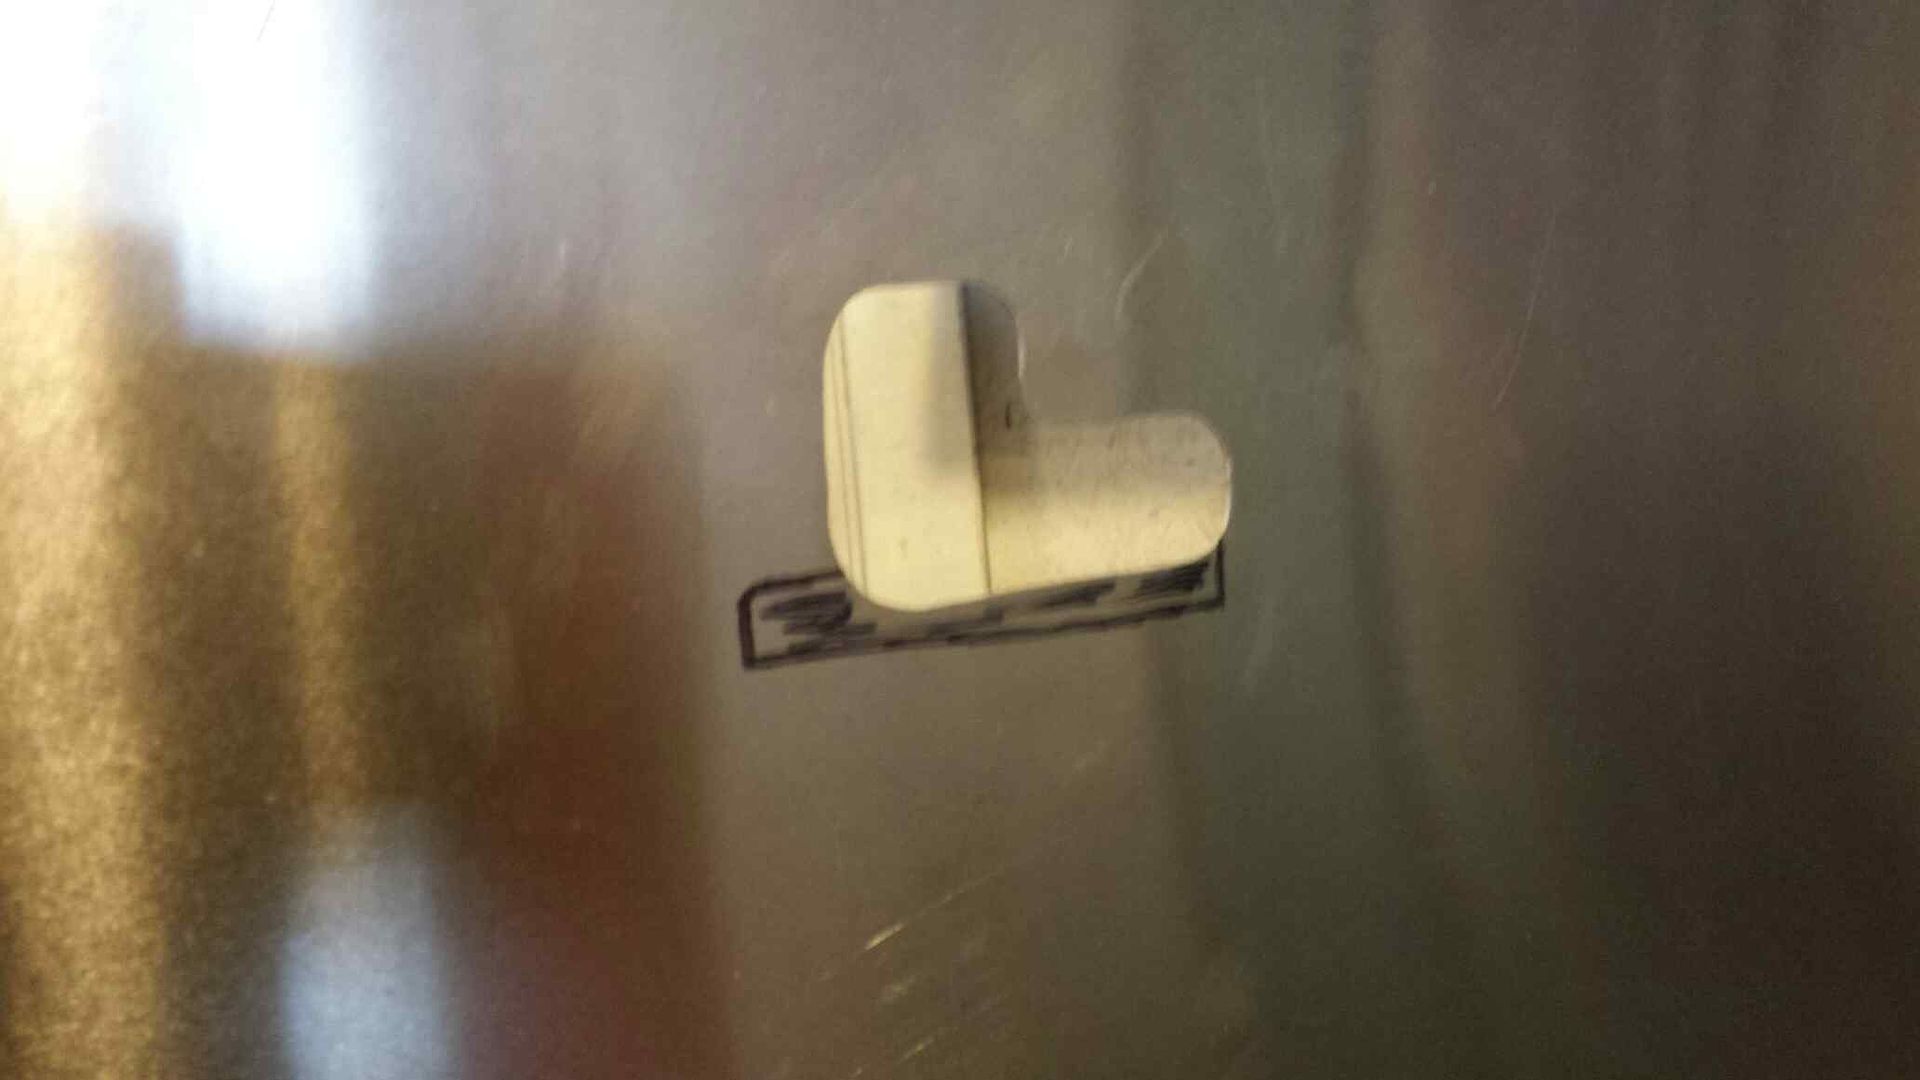
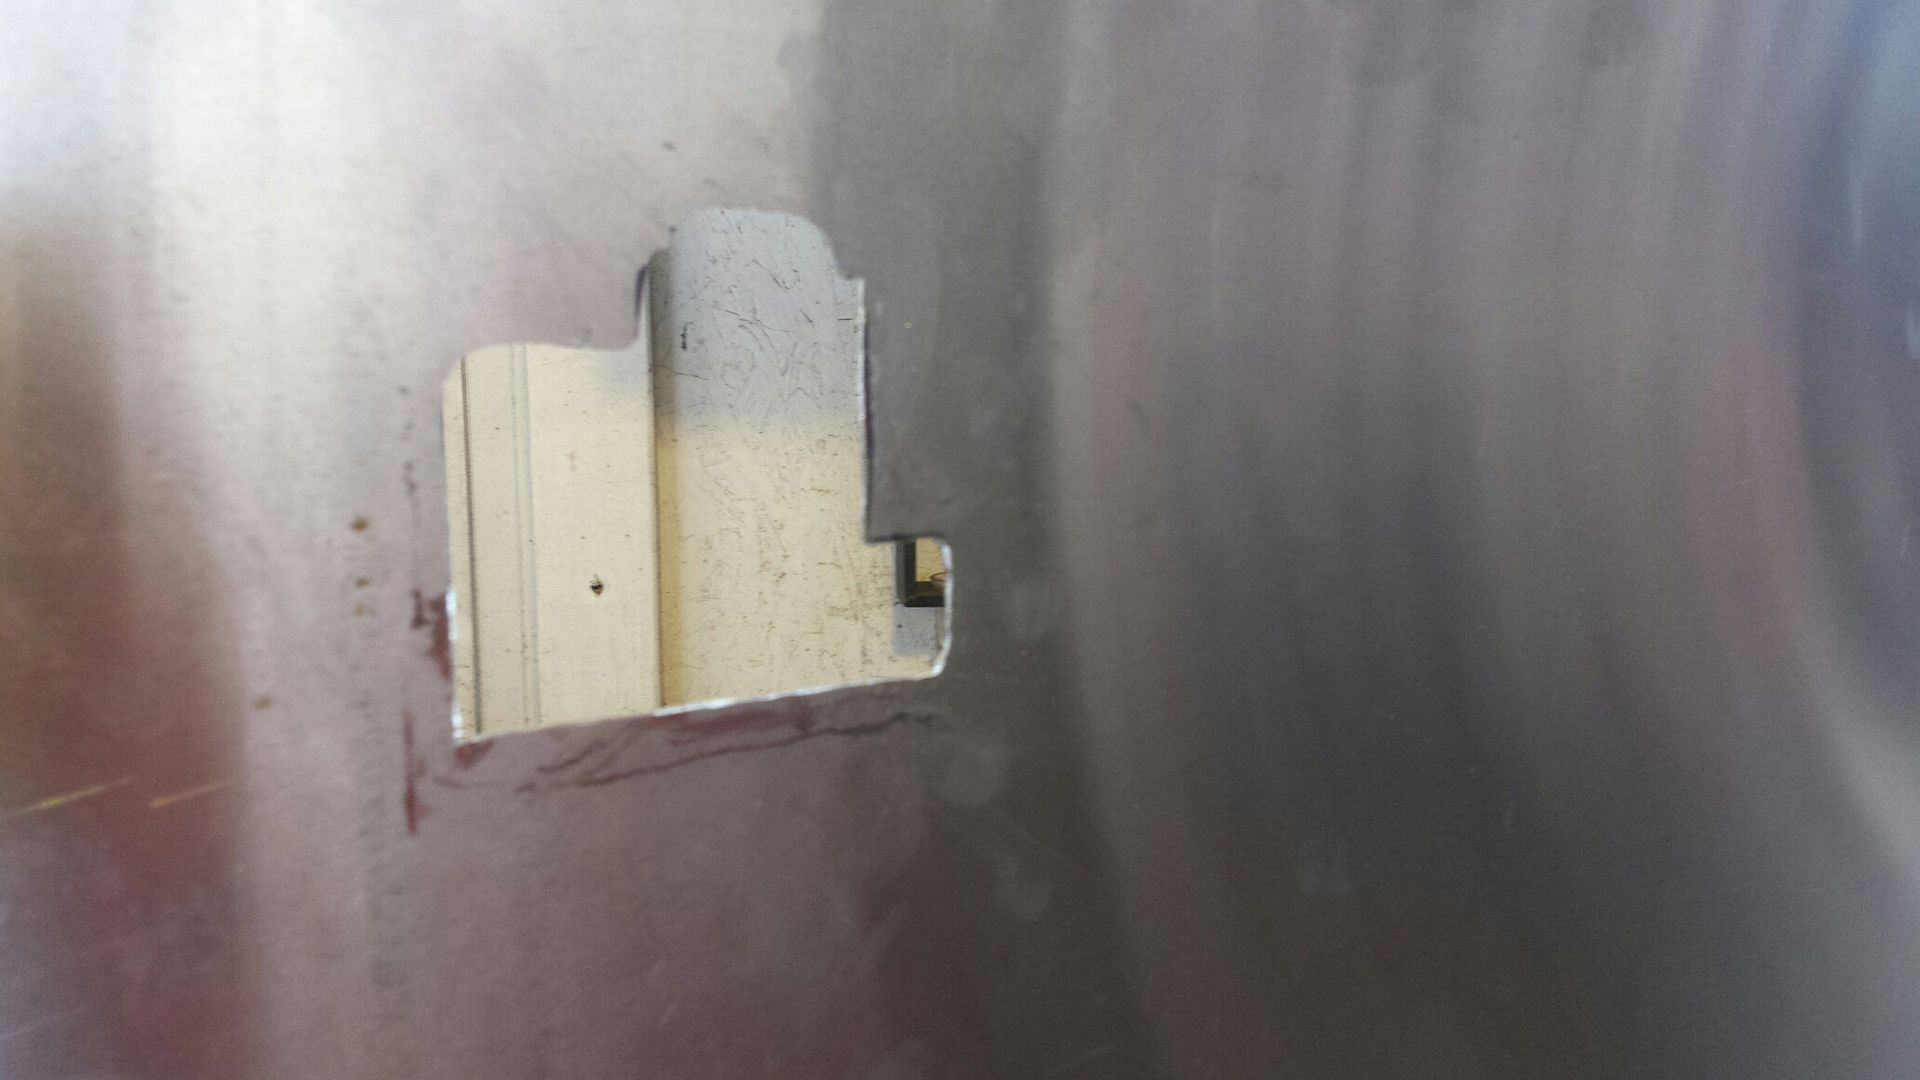
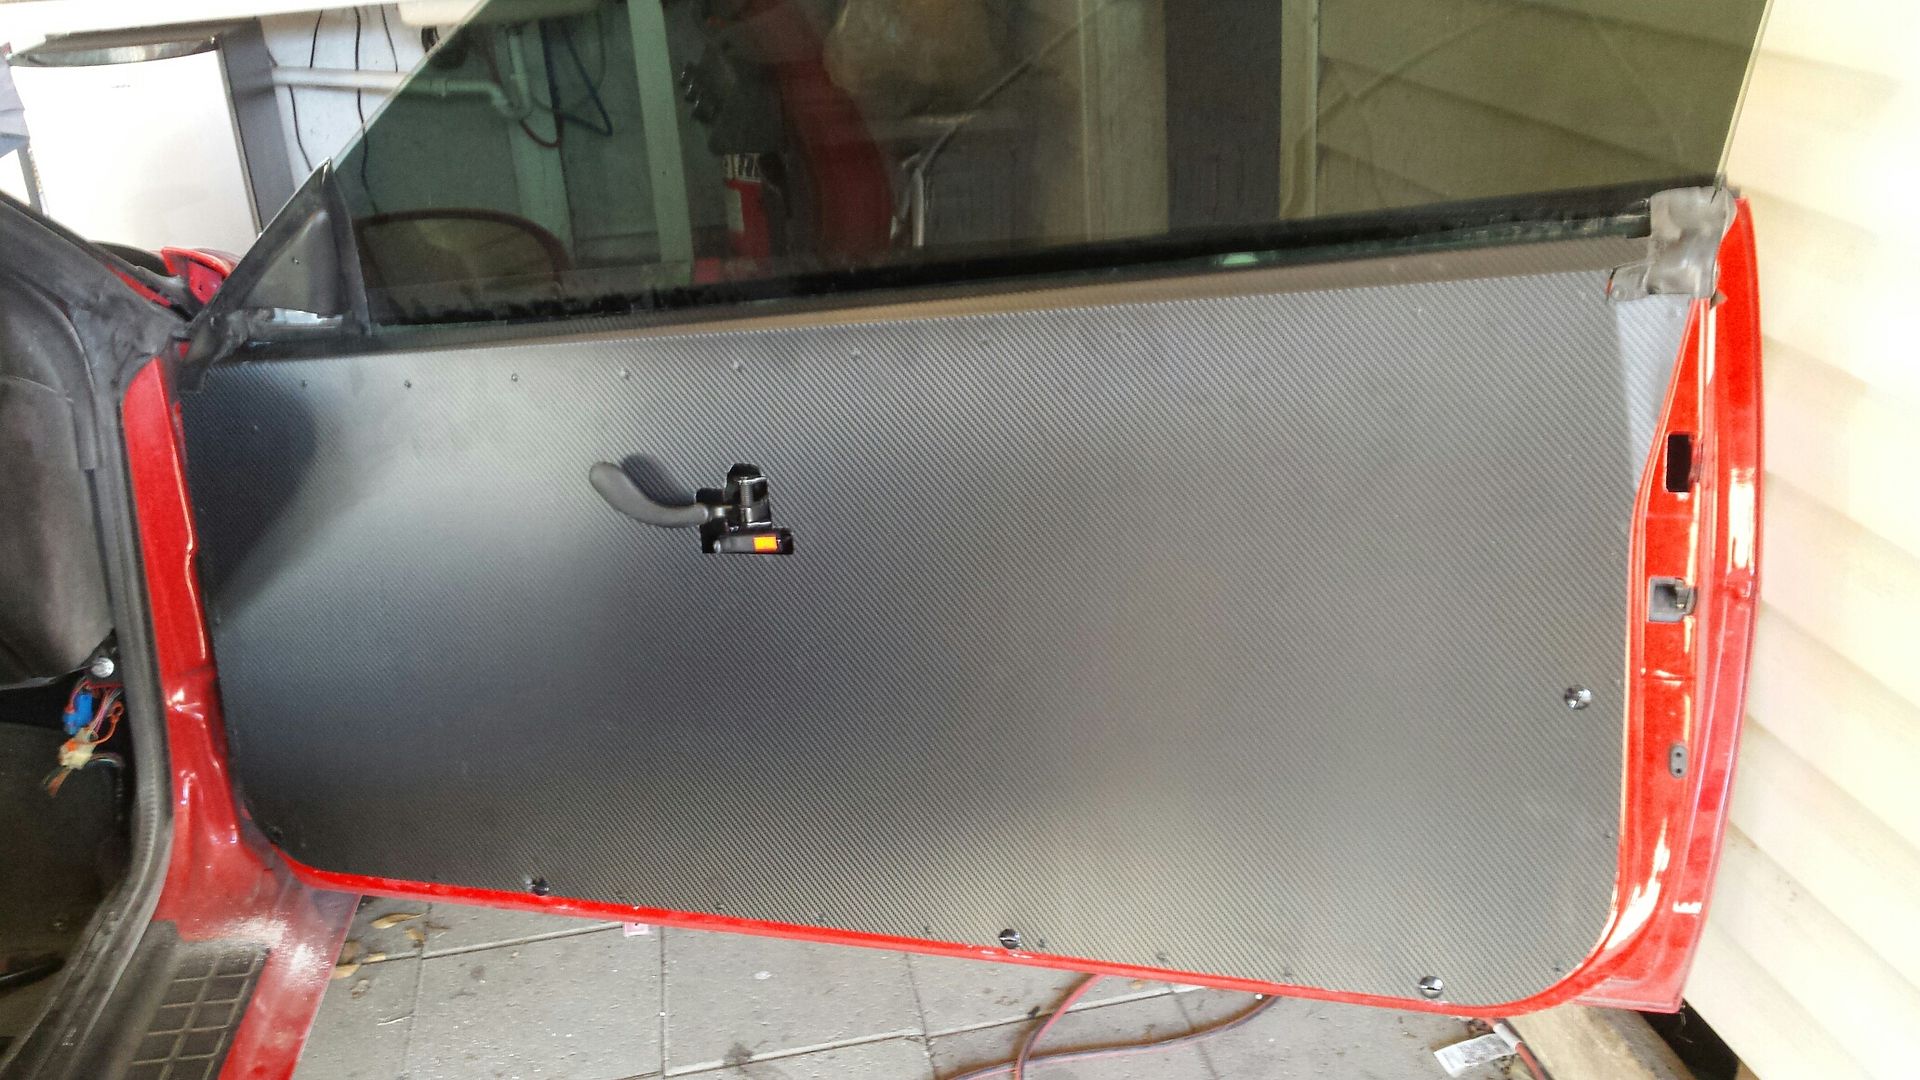
Here is my final passenger door cut for the handle and the lock lever:
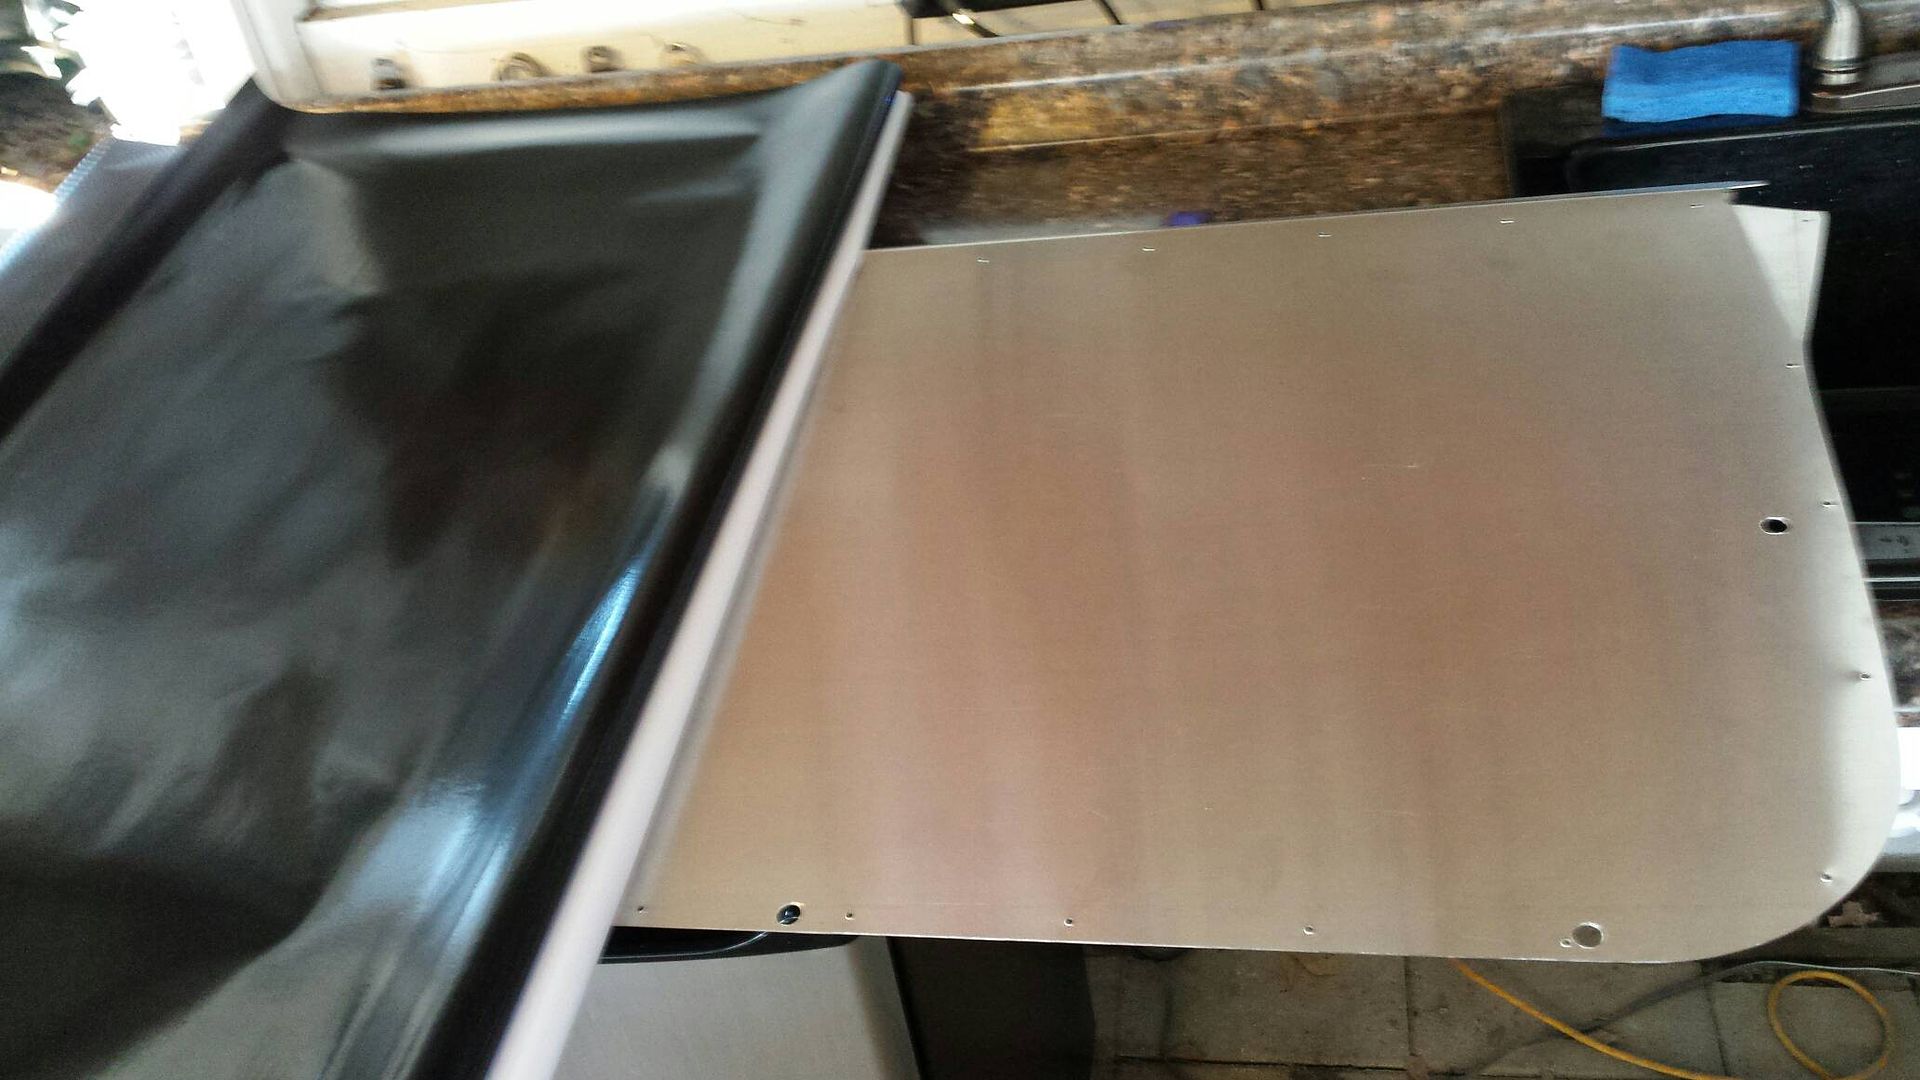
Lay out your wrap. Once it was on i hit it very quickly with a heat gun on the low setting.
Driver door mock up, no trim, and need to put the switches somewhere, may extend them to the center console.
Add a little black paint around the handle:
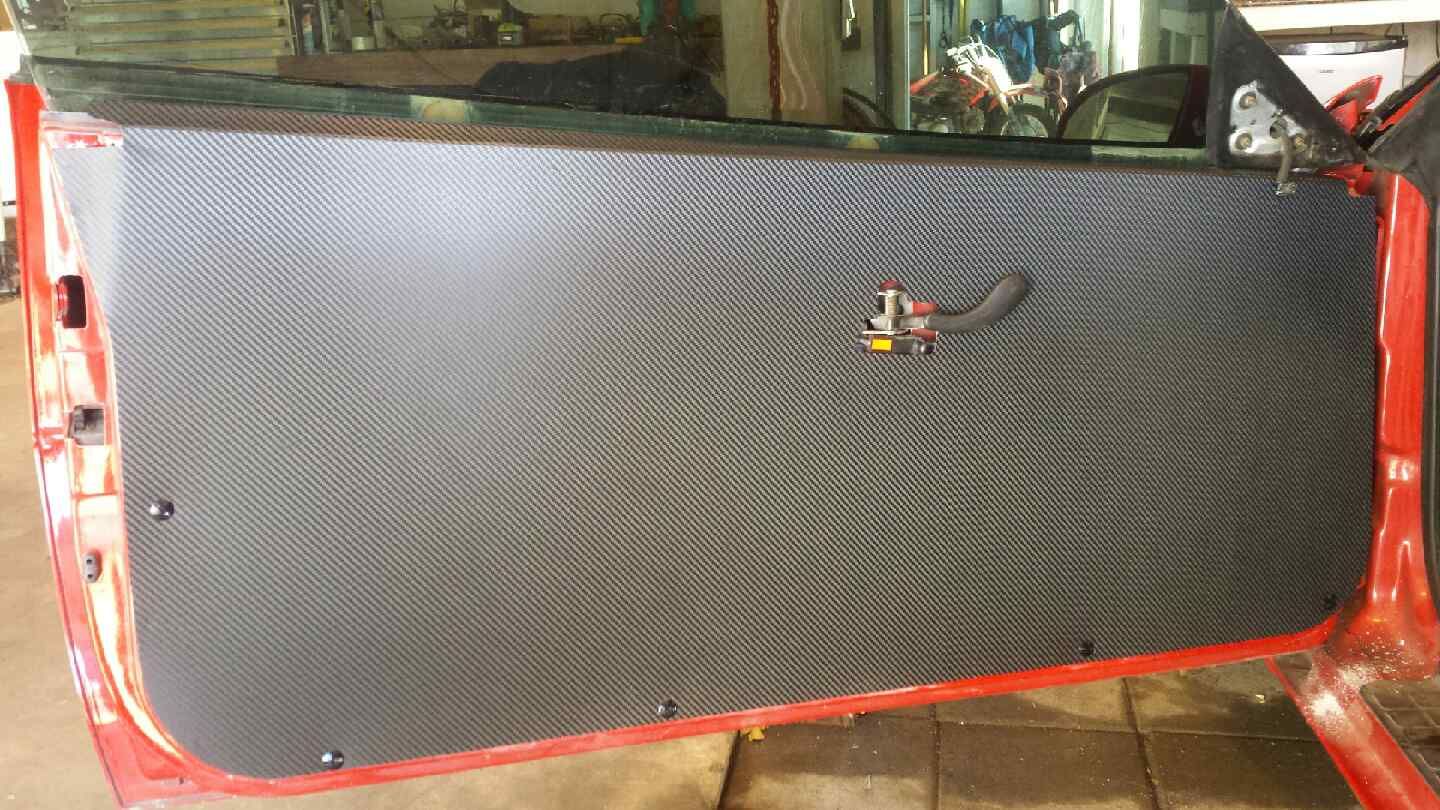
Passenger door with trim installed. The rubber at the upper front of the door requires minor trimming, the rubber at the rear of the door does not.
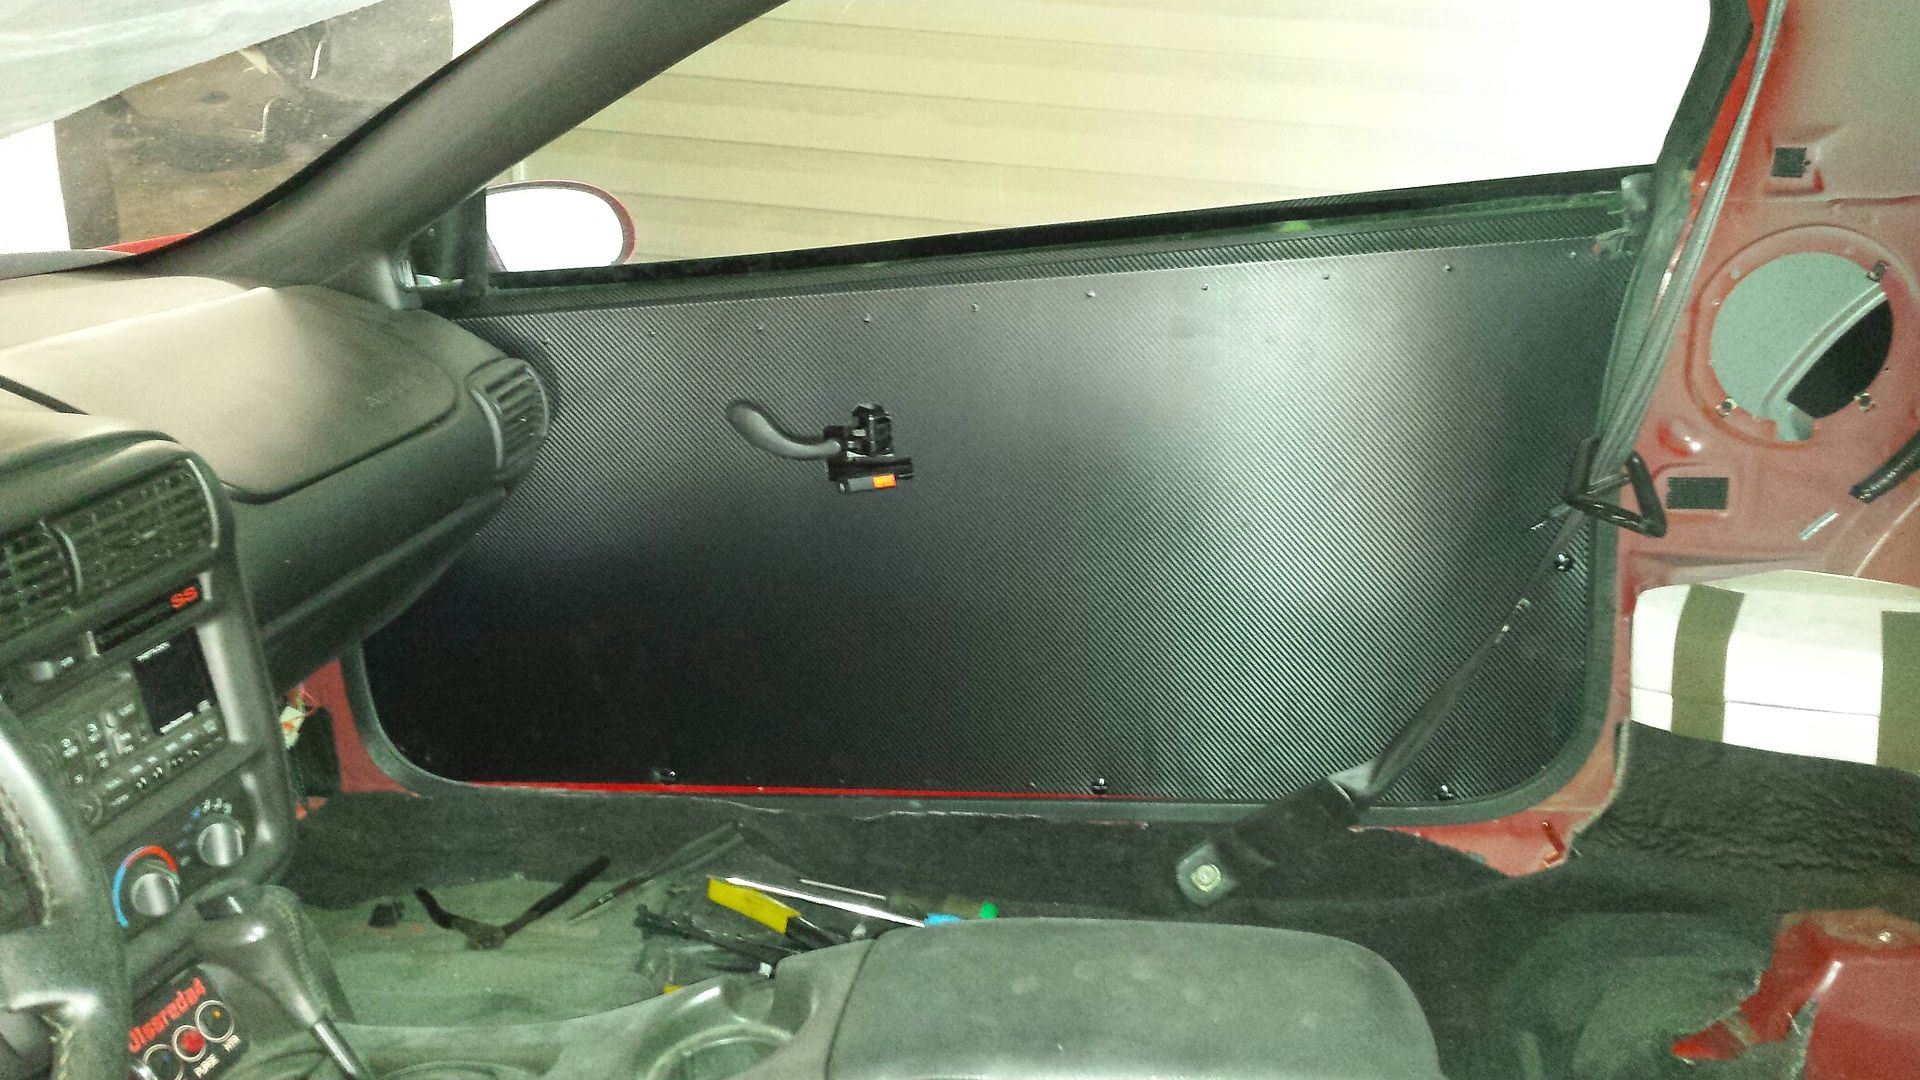
Pic looking from the inside...
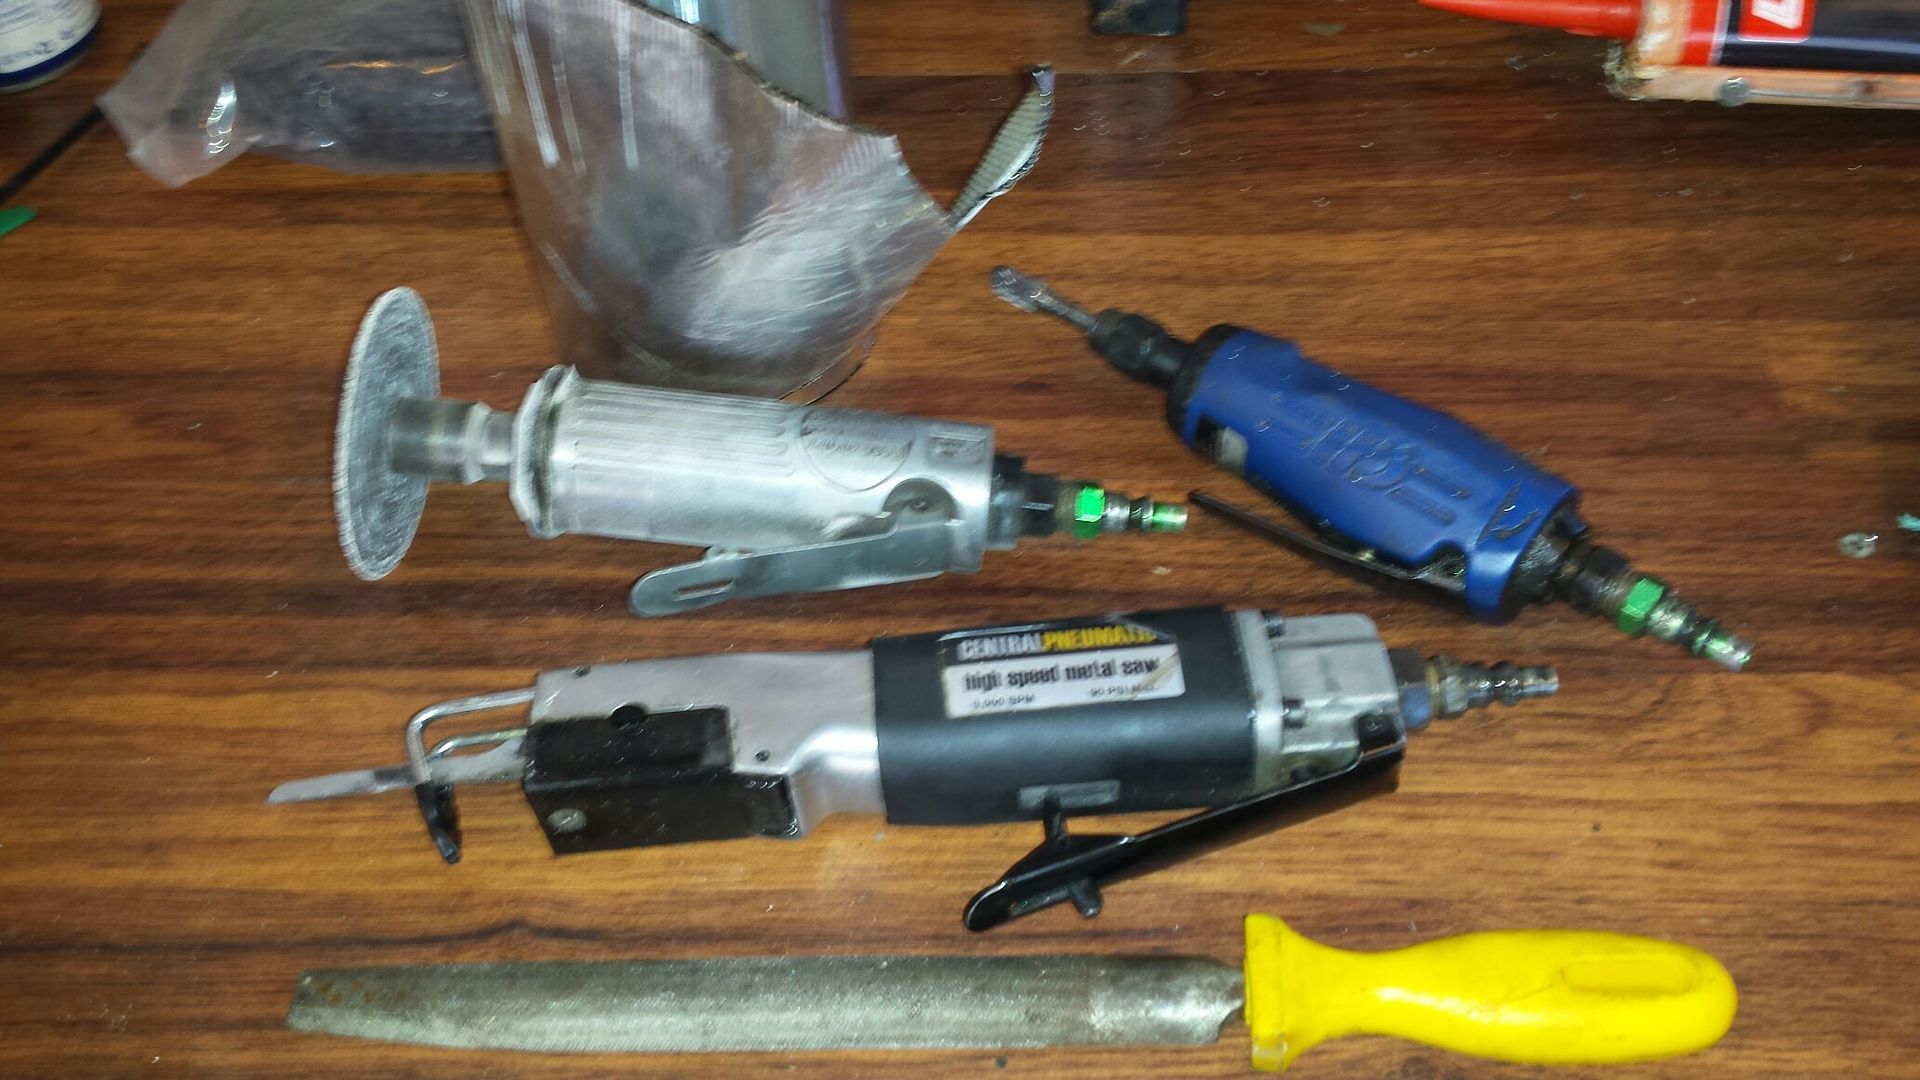
I used the cutoff wheel to cut off the mounts, the bodysaw to trim the handle holes, the carbide grinder to finish them out, the file to take the ridges off my cuts, and the silver tar tape (roof repair) on the rear of the panel to give it a little weight so it wont rattle against the door, this step optional.
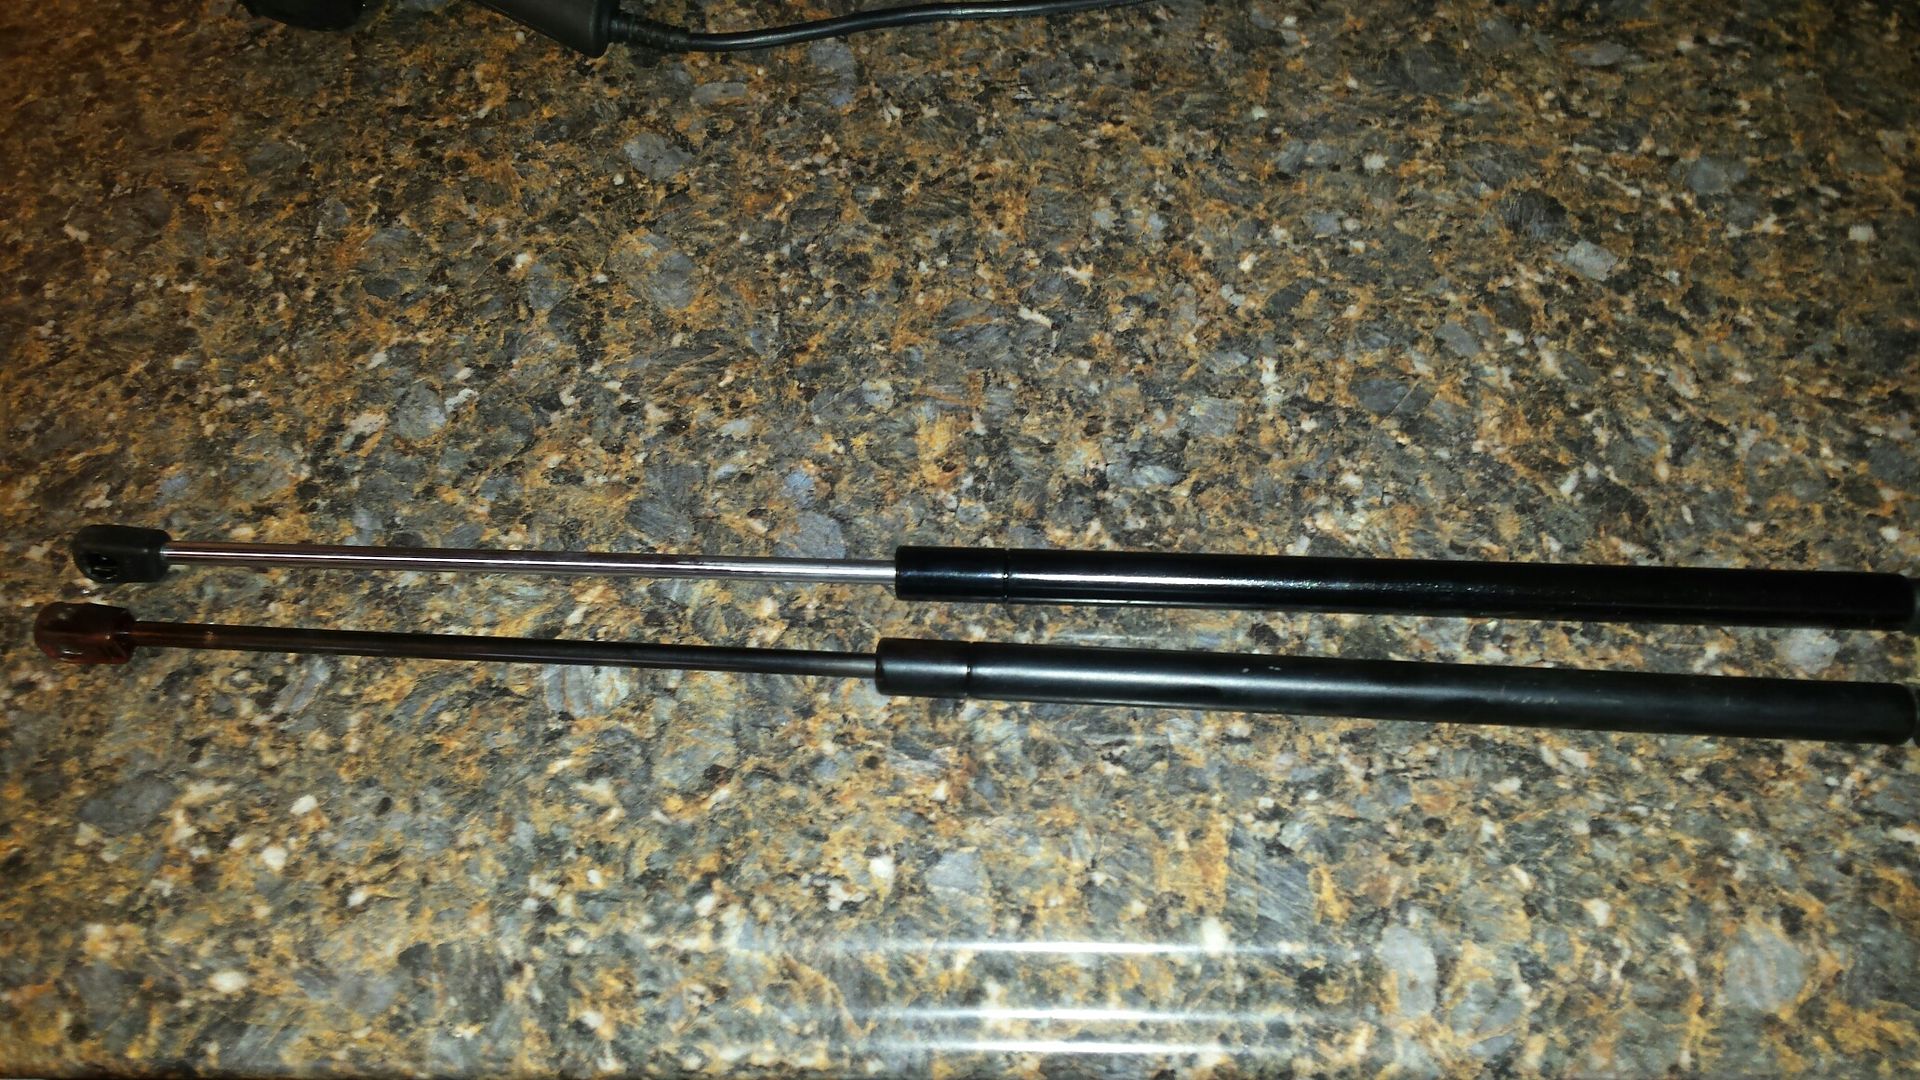
Random pic, Im trying to do racecar stuff and got the hood wanting to fall on my fingers. After 17 years the stockers gave up the ghost. New one on bottom.
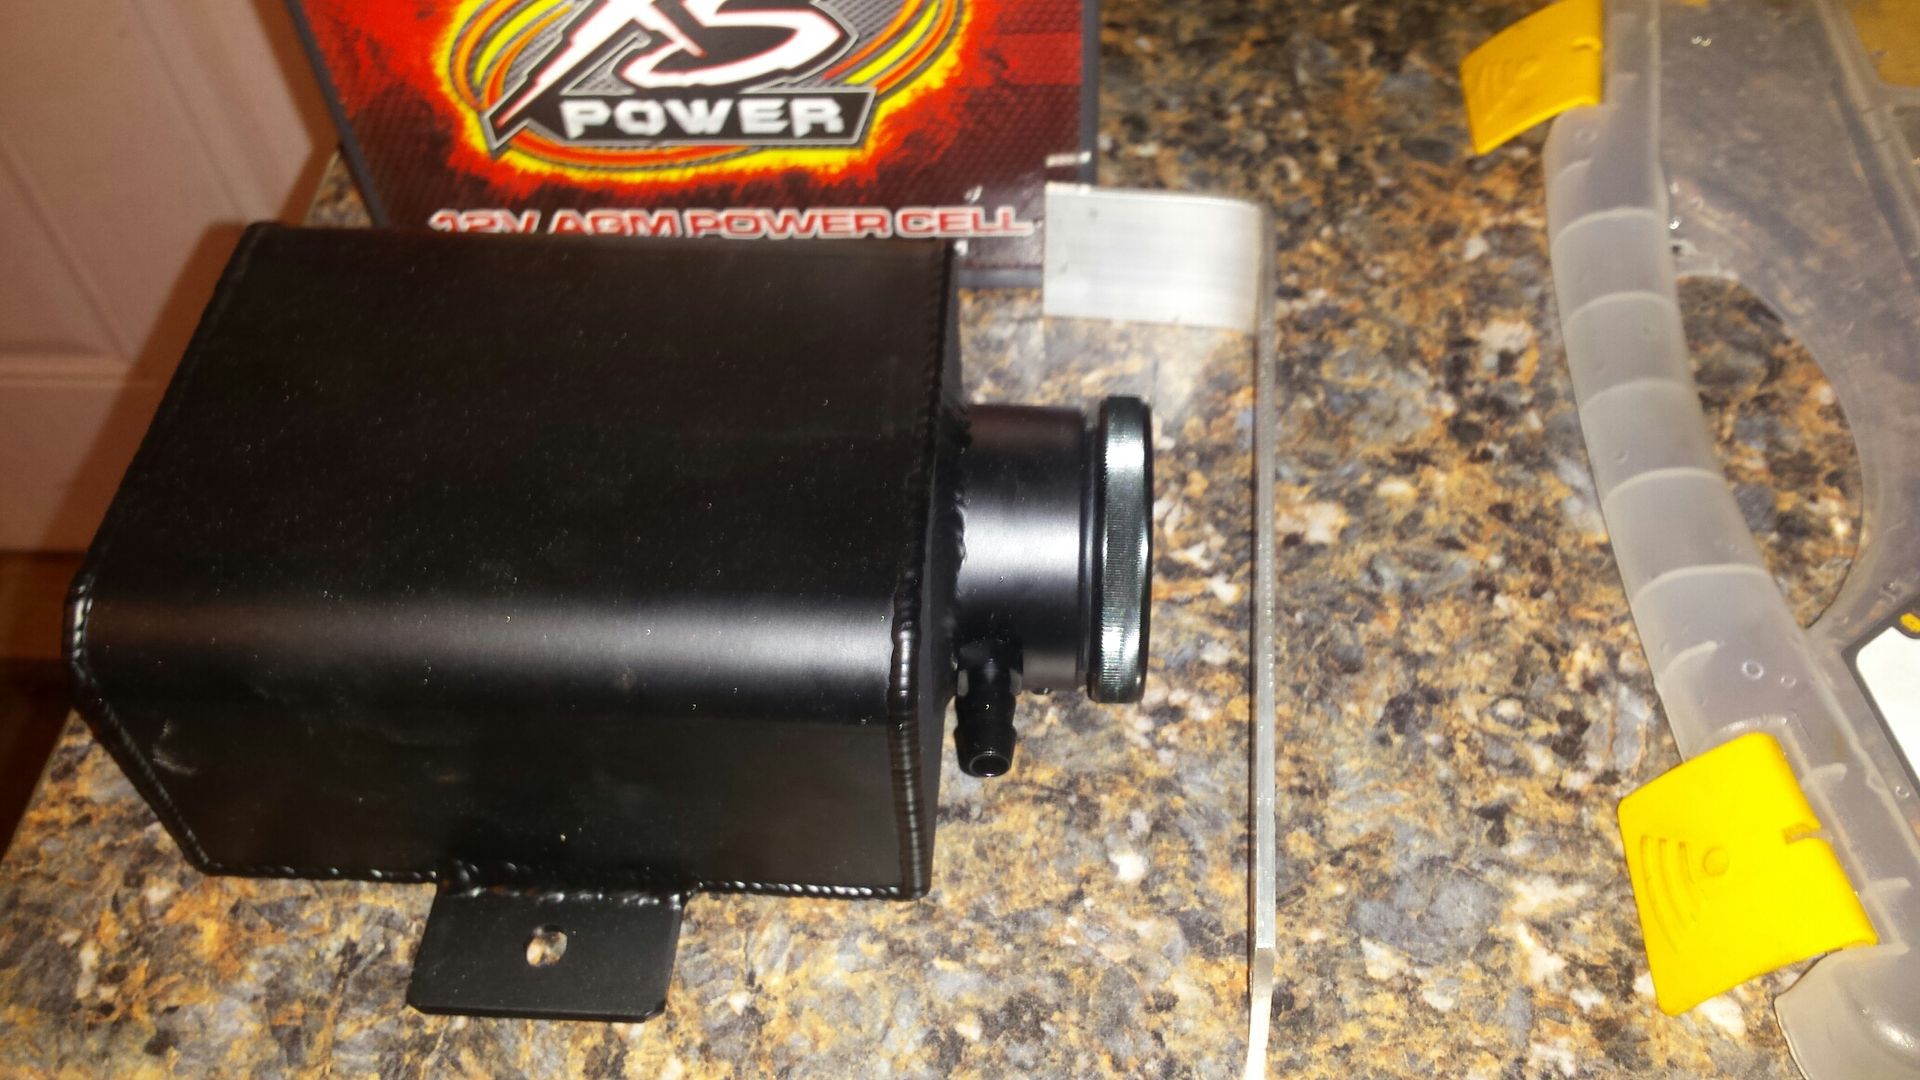
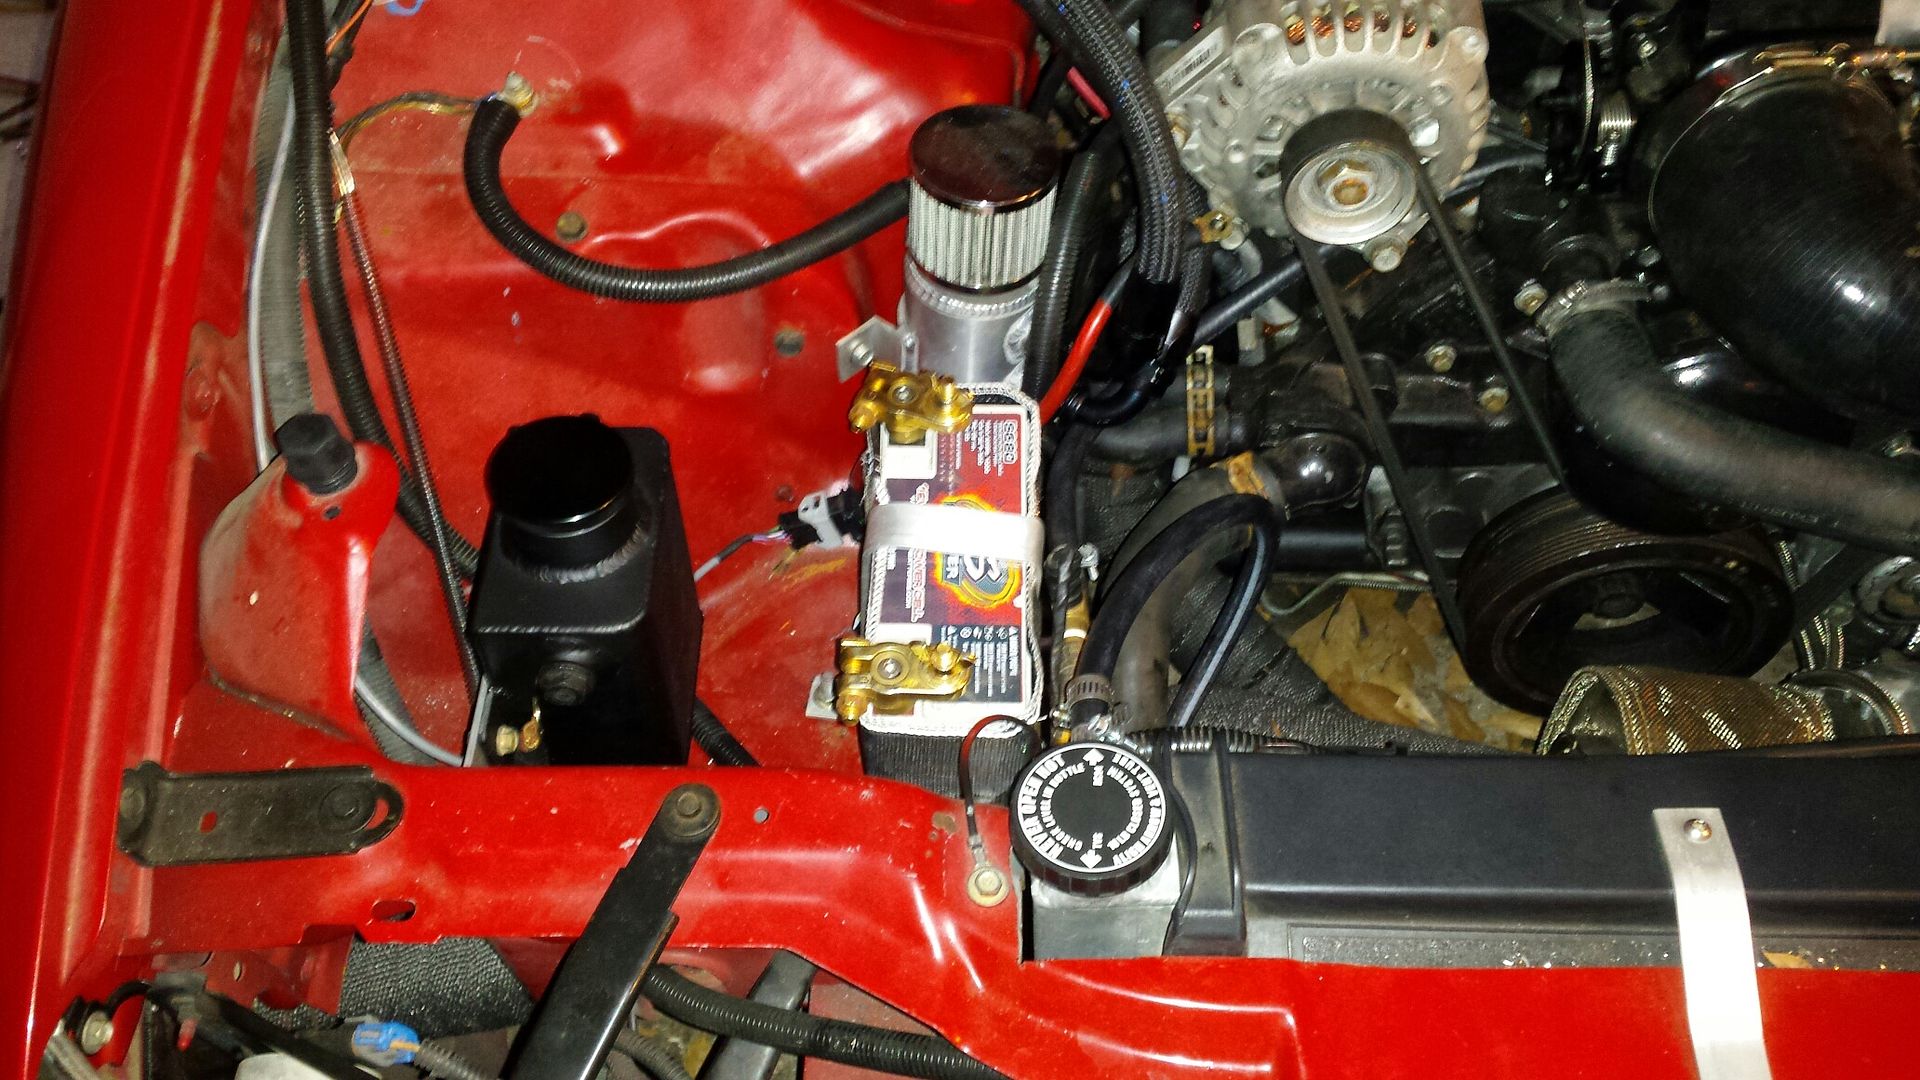
Though i dont have many miles on this combo I always try to think of things that may be a potential issue down the road. I havent liked the idea of the plastic Dorman overflow tank, so I bought an aluminum one.......and made a simple L bracket.
Quick test fit
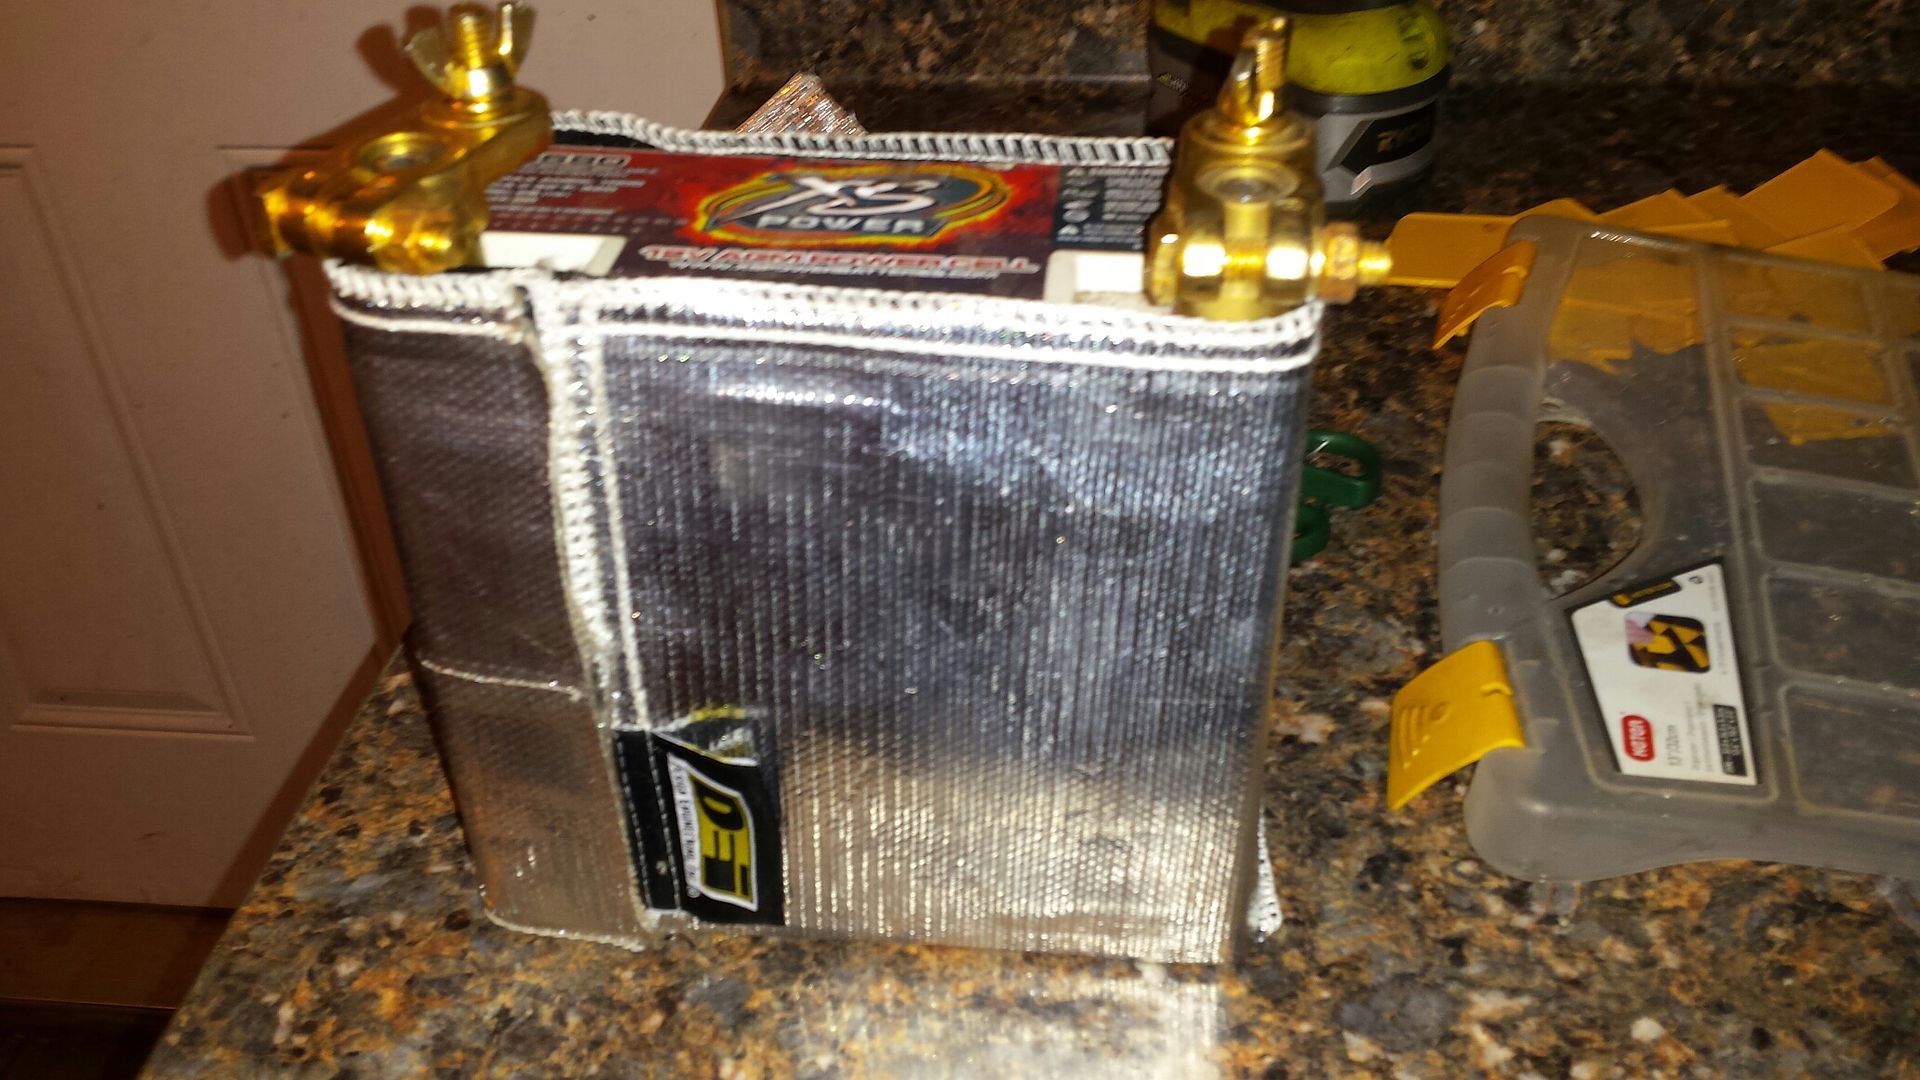
Have heard stories about how turbo heat can effect batteries so I wrapped this one with a DEI starter blanket.
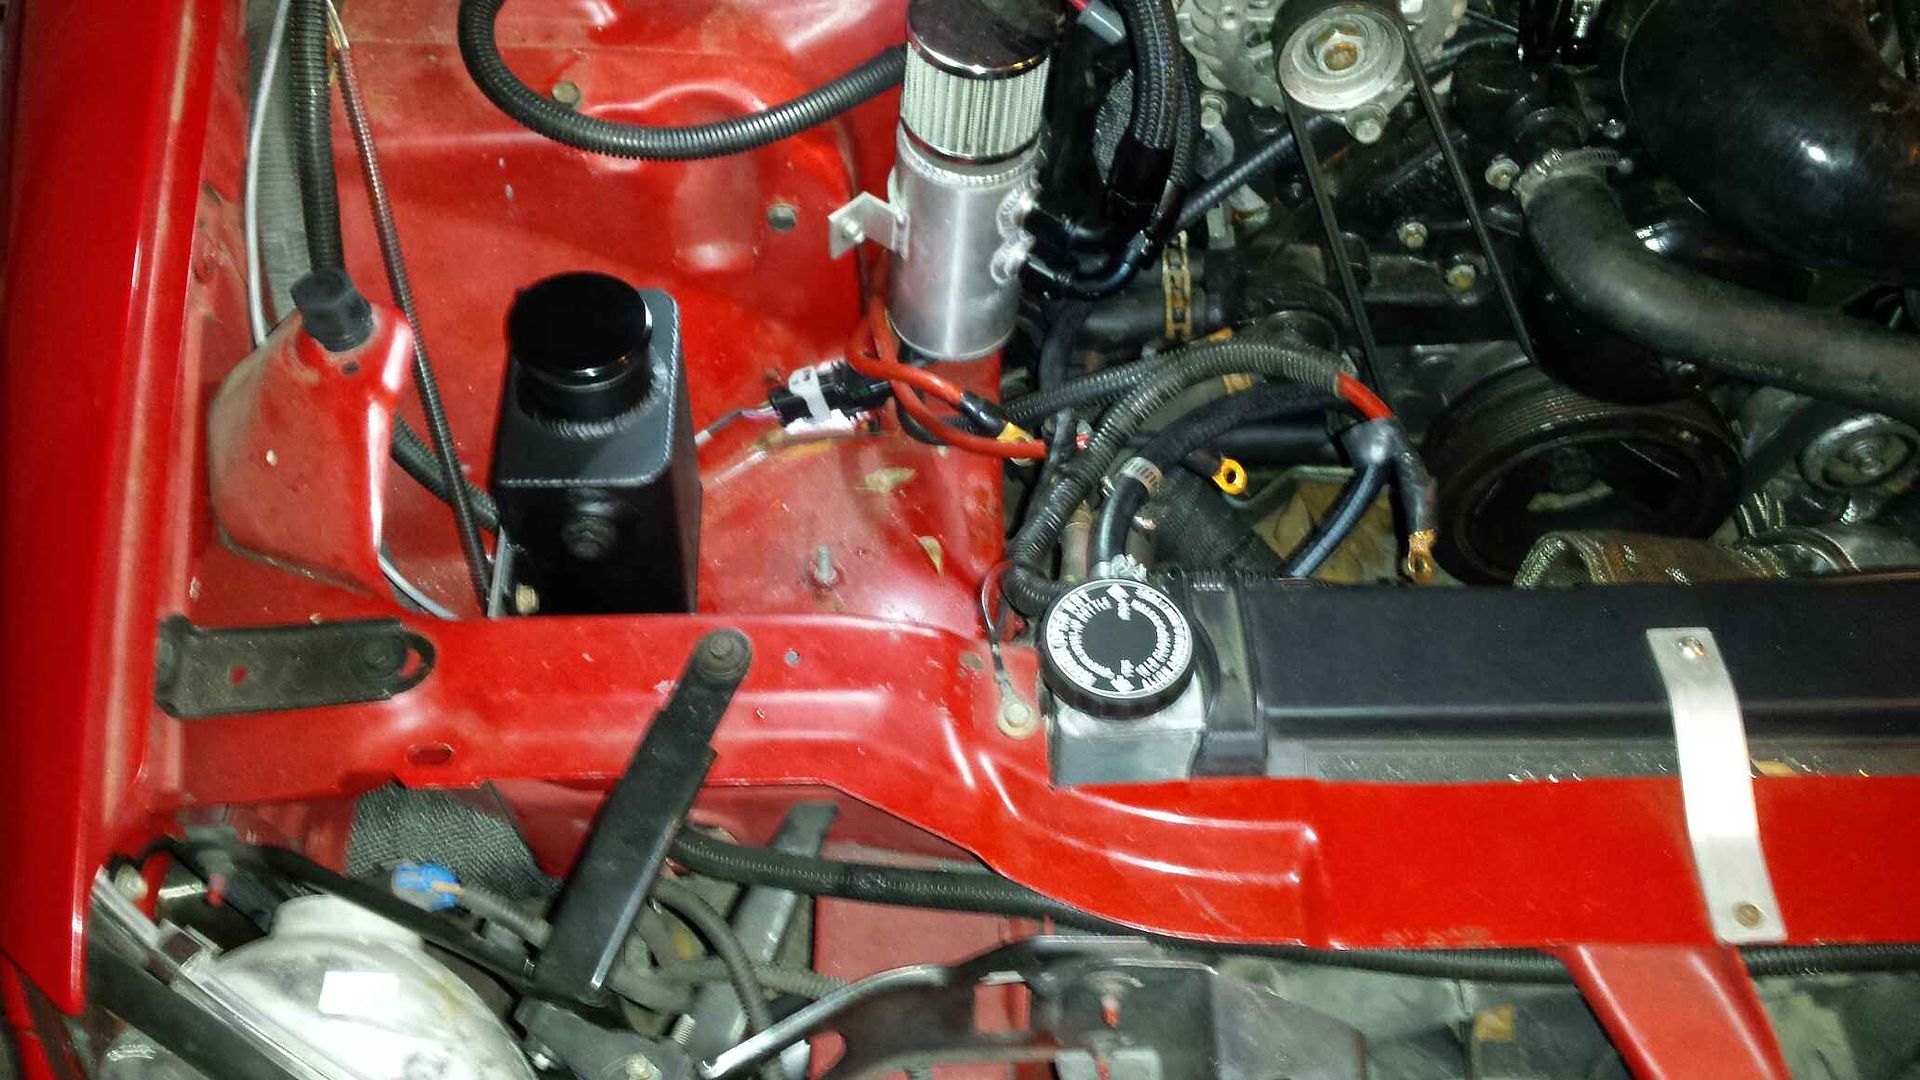
Back in place. Waiting on an adapter fitting that goes into the bottom of the overflow tank. It is -8AN ORB of all sizes.
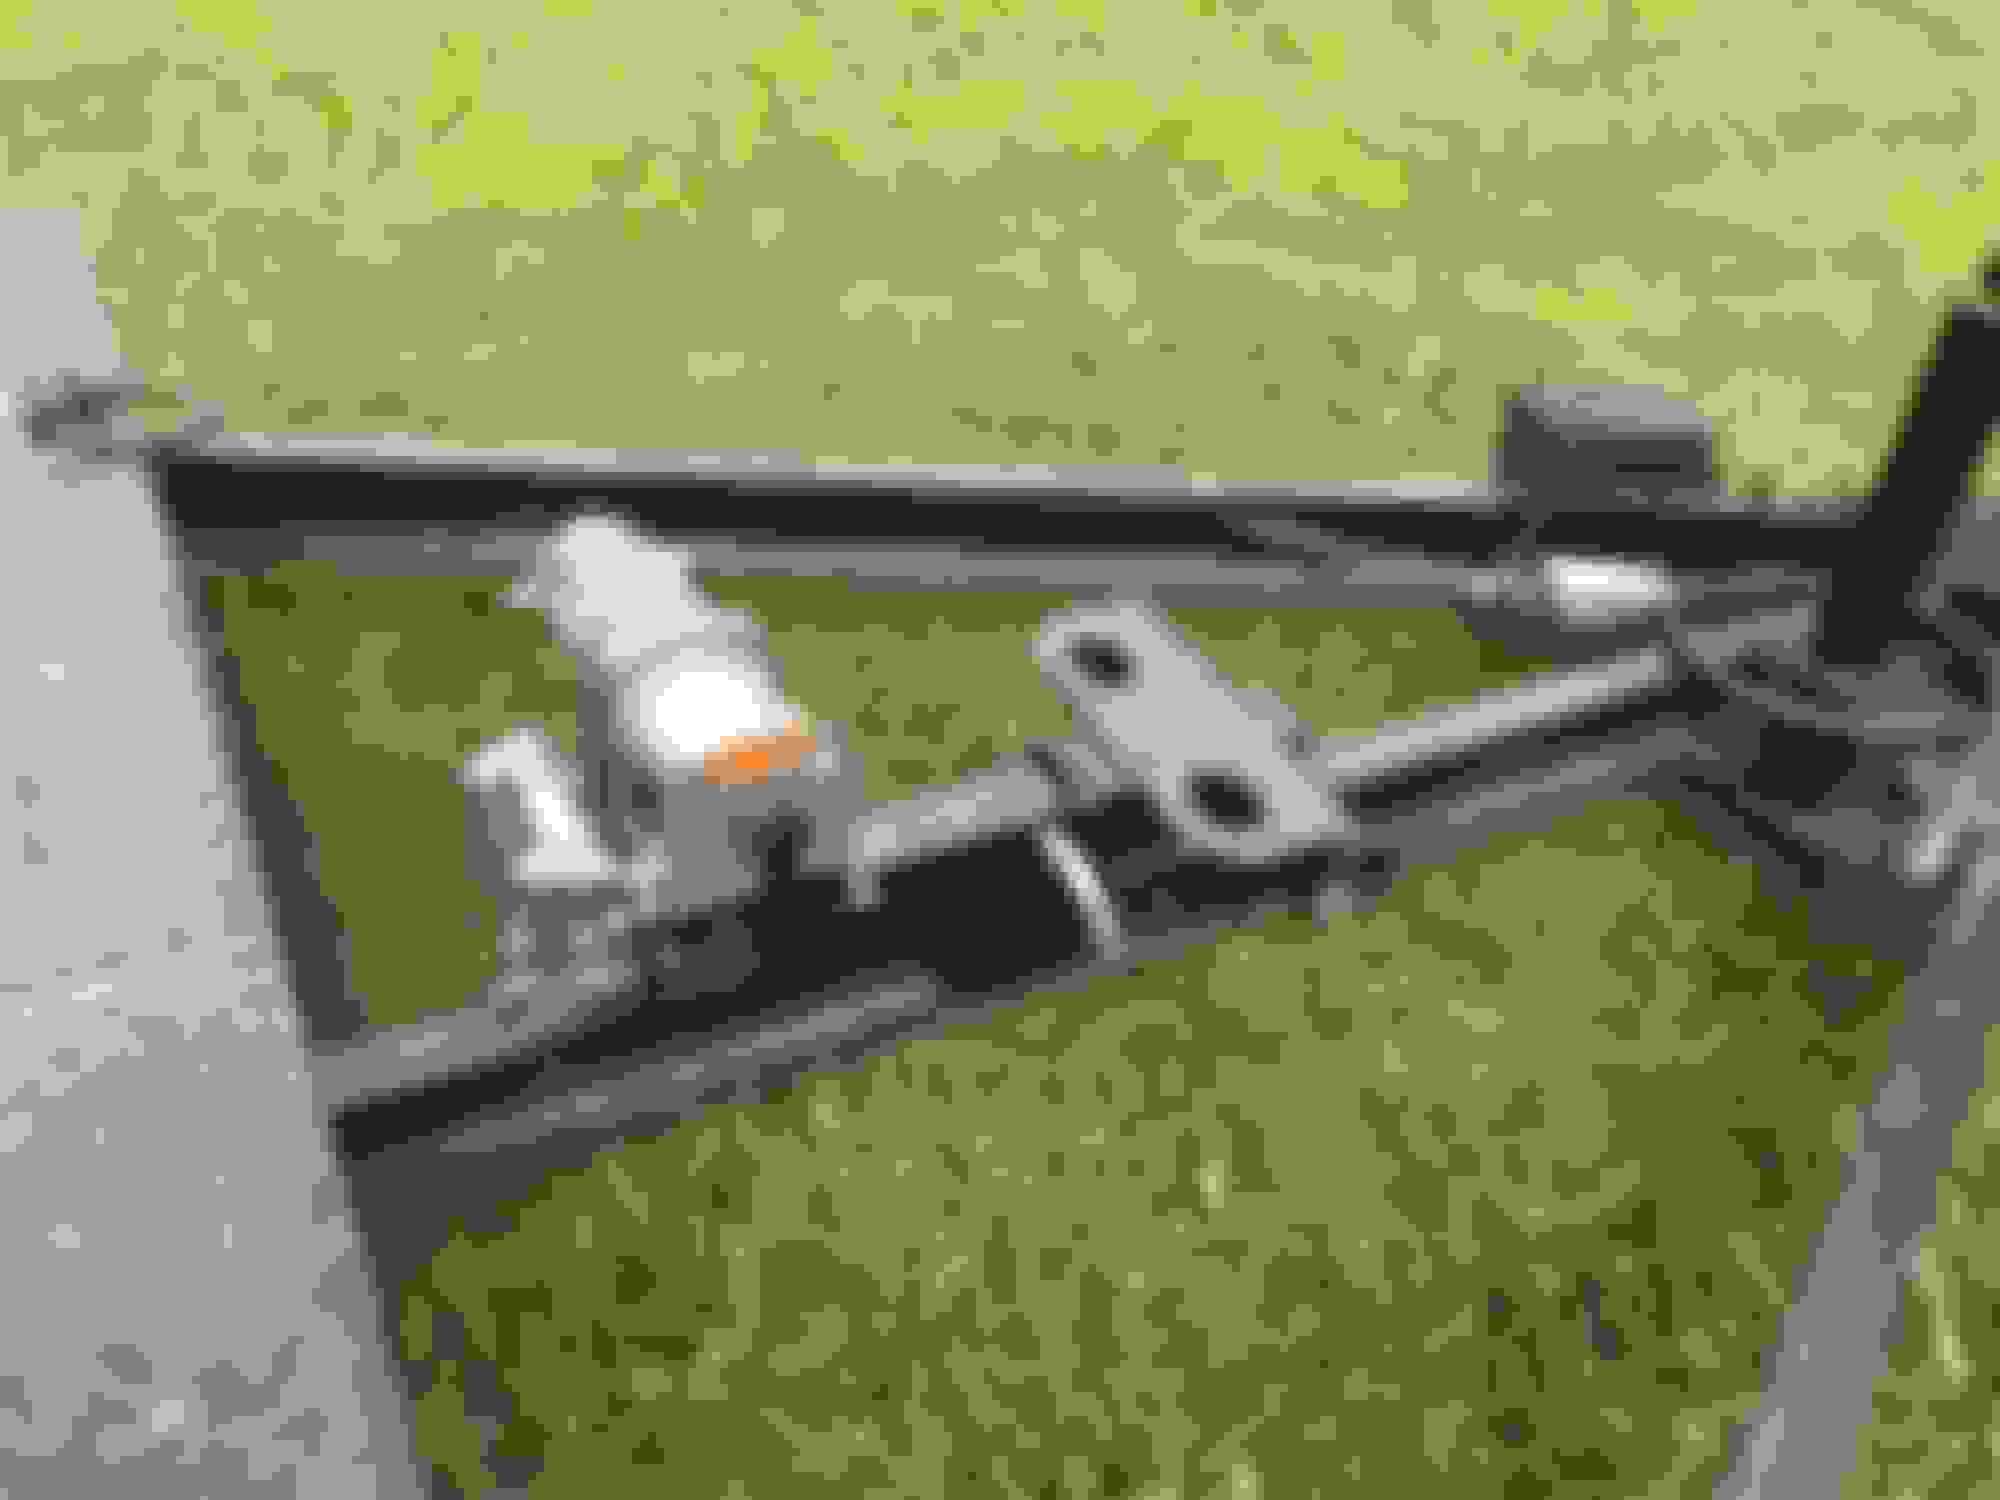
Have all the fittings to make the new power steering hoses. So, I will be doing that soon.
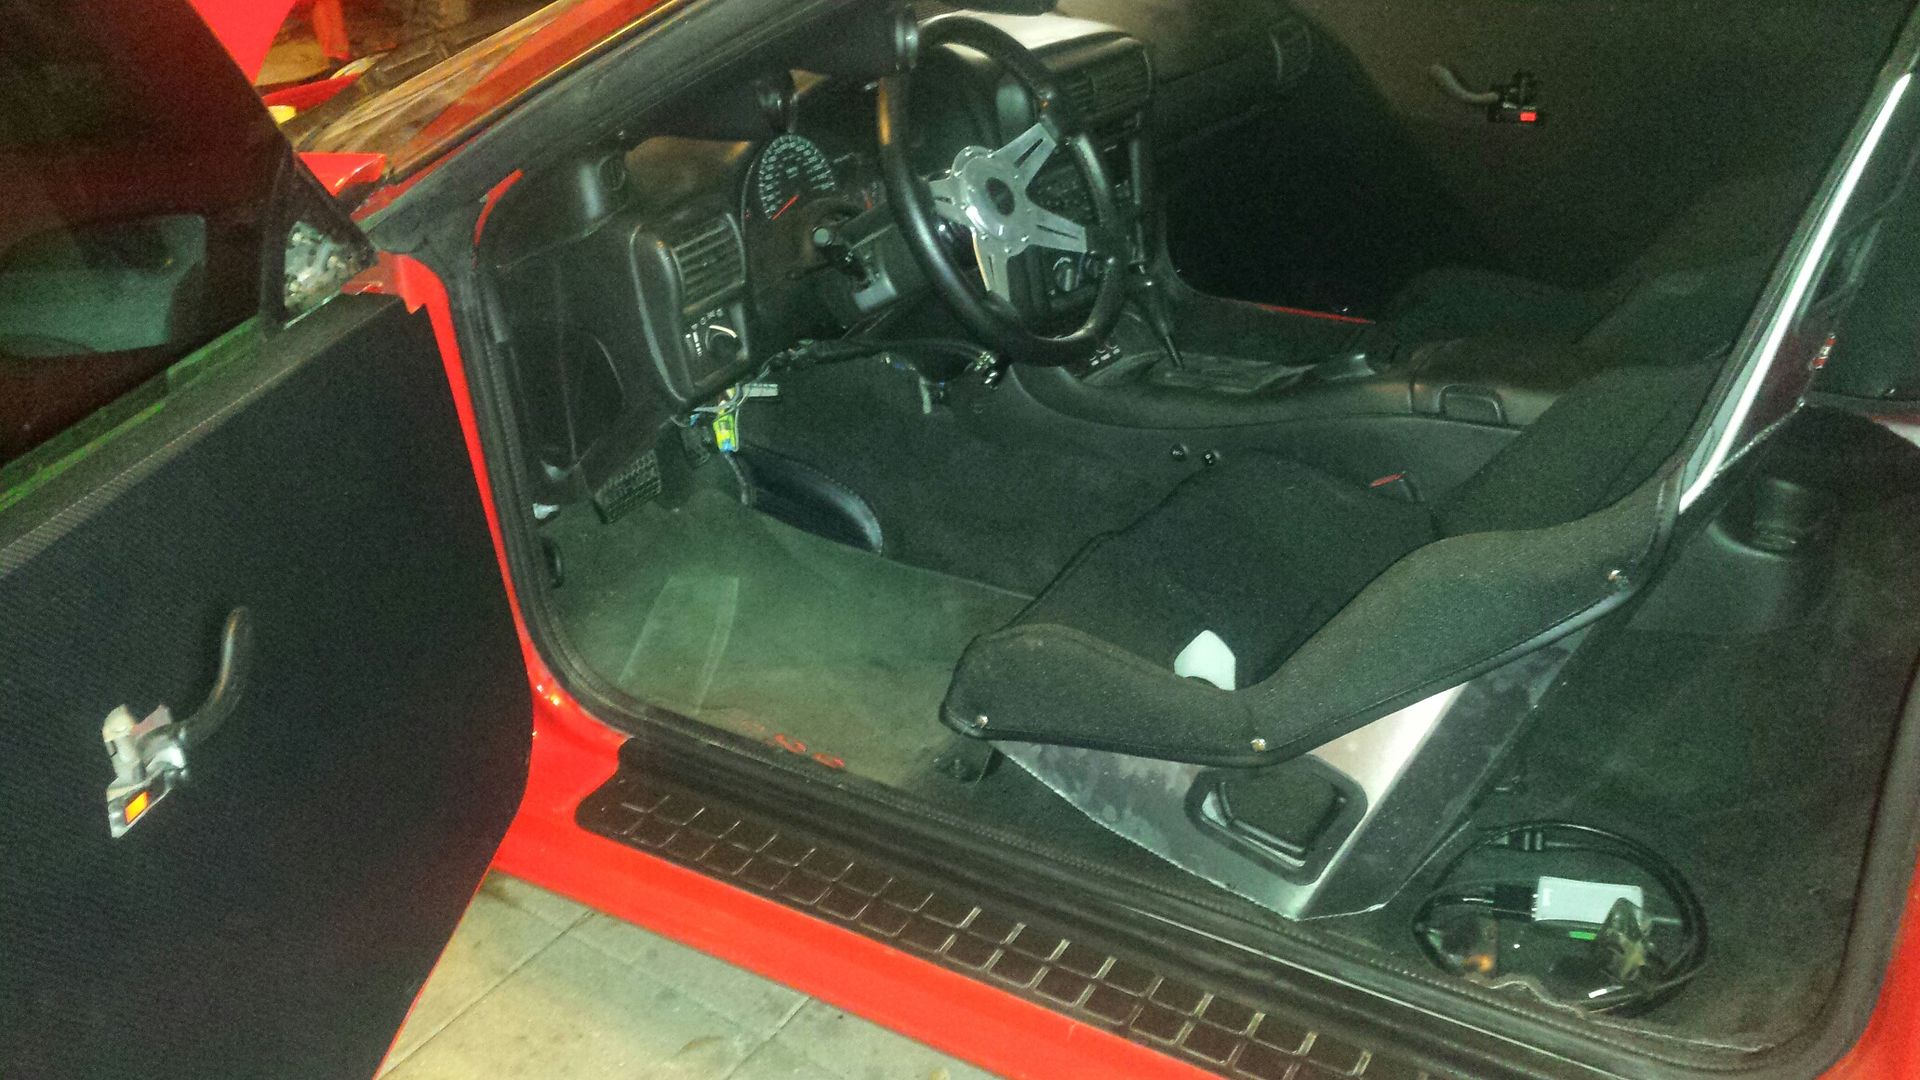
Finally got the passenger rear seat delete done. They sent me the wrong color carpet so I sent it back. Not sure what Im gonna do so Im just leaving it for now. May get a wild hair and order some one day soon.
I need to wire the door switches, then put the finishing trim on the doors and the interior, at least the front half. I think the tune is more important so I will focus on that as the weather cooperates and fool with the back half later. May leave it out until i cage it. Brake pedal has been spongy so I re-bled the rears and put the slicks back on, it wasn't gonna be tuned safely on the drag radials. May add a temporary back brace to the seats.
Looks good man. Those side brackets are 3-4lbs each iirc. That�s a lot of drilling so I used the cutoff wheel and got them the best I could. 30mins instead of 3hrs. Moving the passenger buckets up is a great place to put a muffler or mufflers on these cars. Those days are long gone for our cars but for anyone else reading
For the seats and belts there are 6 brackets total. 2 being very big. I was guessing all 6 would equal about 10 pounds. Does 10 pounds really matter? Probably not......but it all adds up. If you keep saying nothing matters the car won't be as light as possible. Oh well, guess I've got more drilling and cutting to do. Not today though.
Yep true. You know just as well as anyone else does about weight reduction.
I started drilling and I started thinking about the fact that I hadn�t got my engine back in the car yet. Prioritized things and bit and started using a cut off wheel. I figure it�s covered in carpet and it will all come out one day with mini tubs soo.
10lbs probably wouldn�t hurt on your car.. my pig on the other hand every pound matters.. I have the motor, trans and rear out and still think it is to heavy 🙃🤪
I would LOVE to see sub 3k with plenty of gas. That's what I'm hoping for anyway. Was fooling around with some tuning and doing some burnouts in the driveway and it's freakin loud inside with no rear carpet. Can hear the fuel pumps and cooler fans running. Got some stuff on the way to making hauling a little easier, will update with some pics when I start modding the trailer.
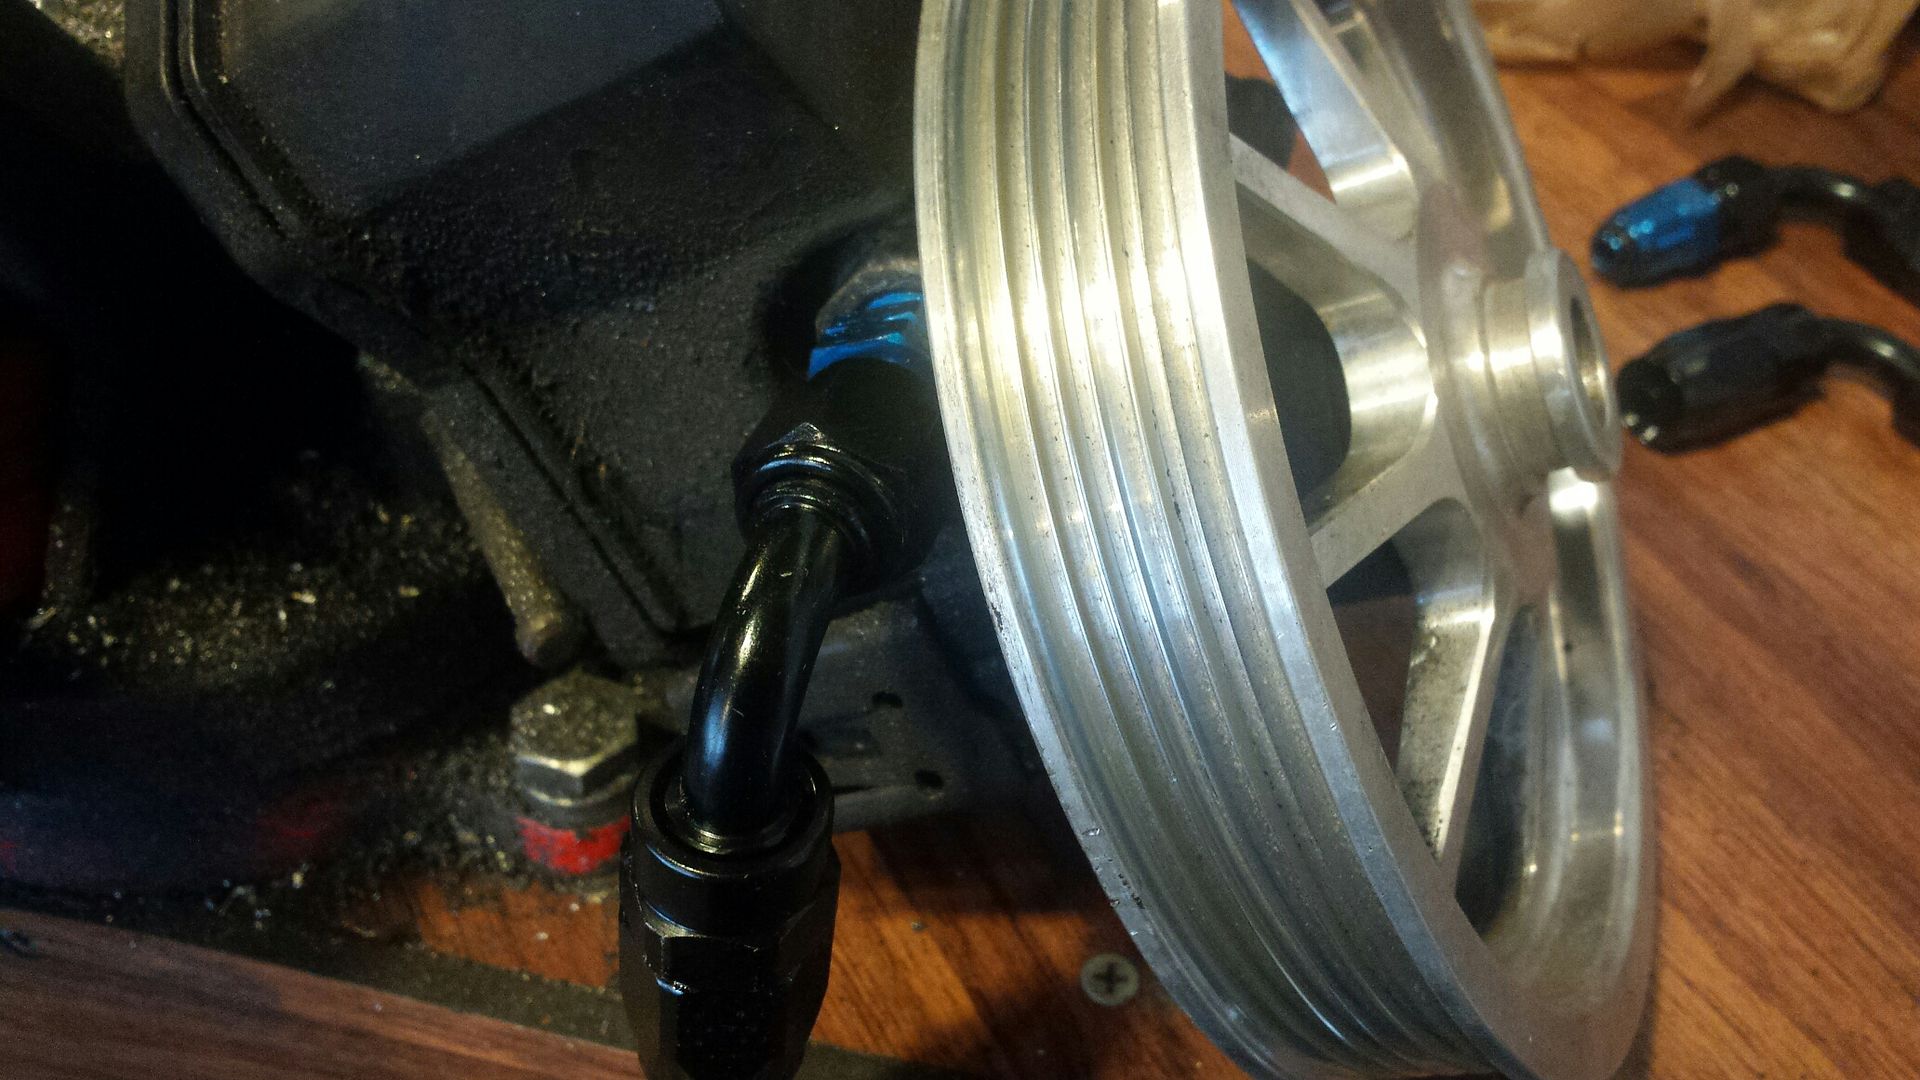
First step, remove belt, PS pump, and hoses. Install your two fittings in the rack. Lower fitting is the pressure line.
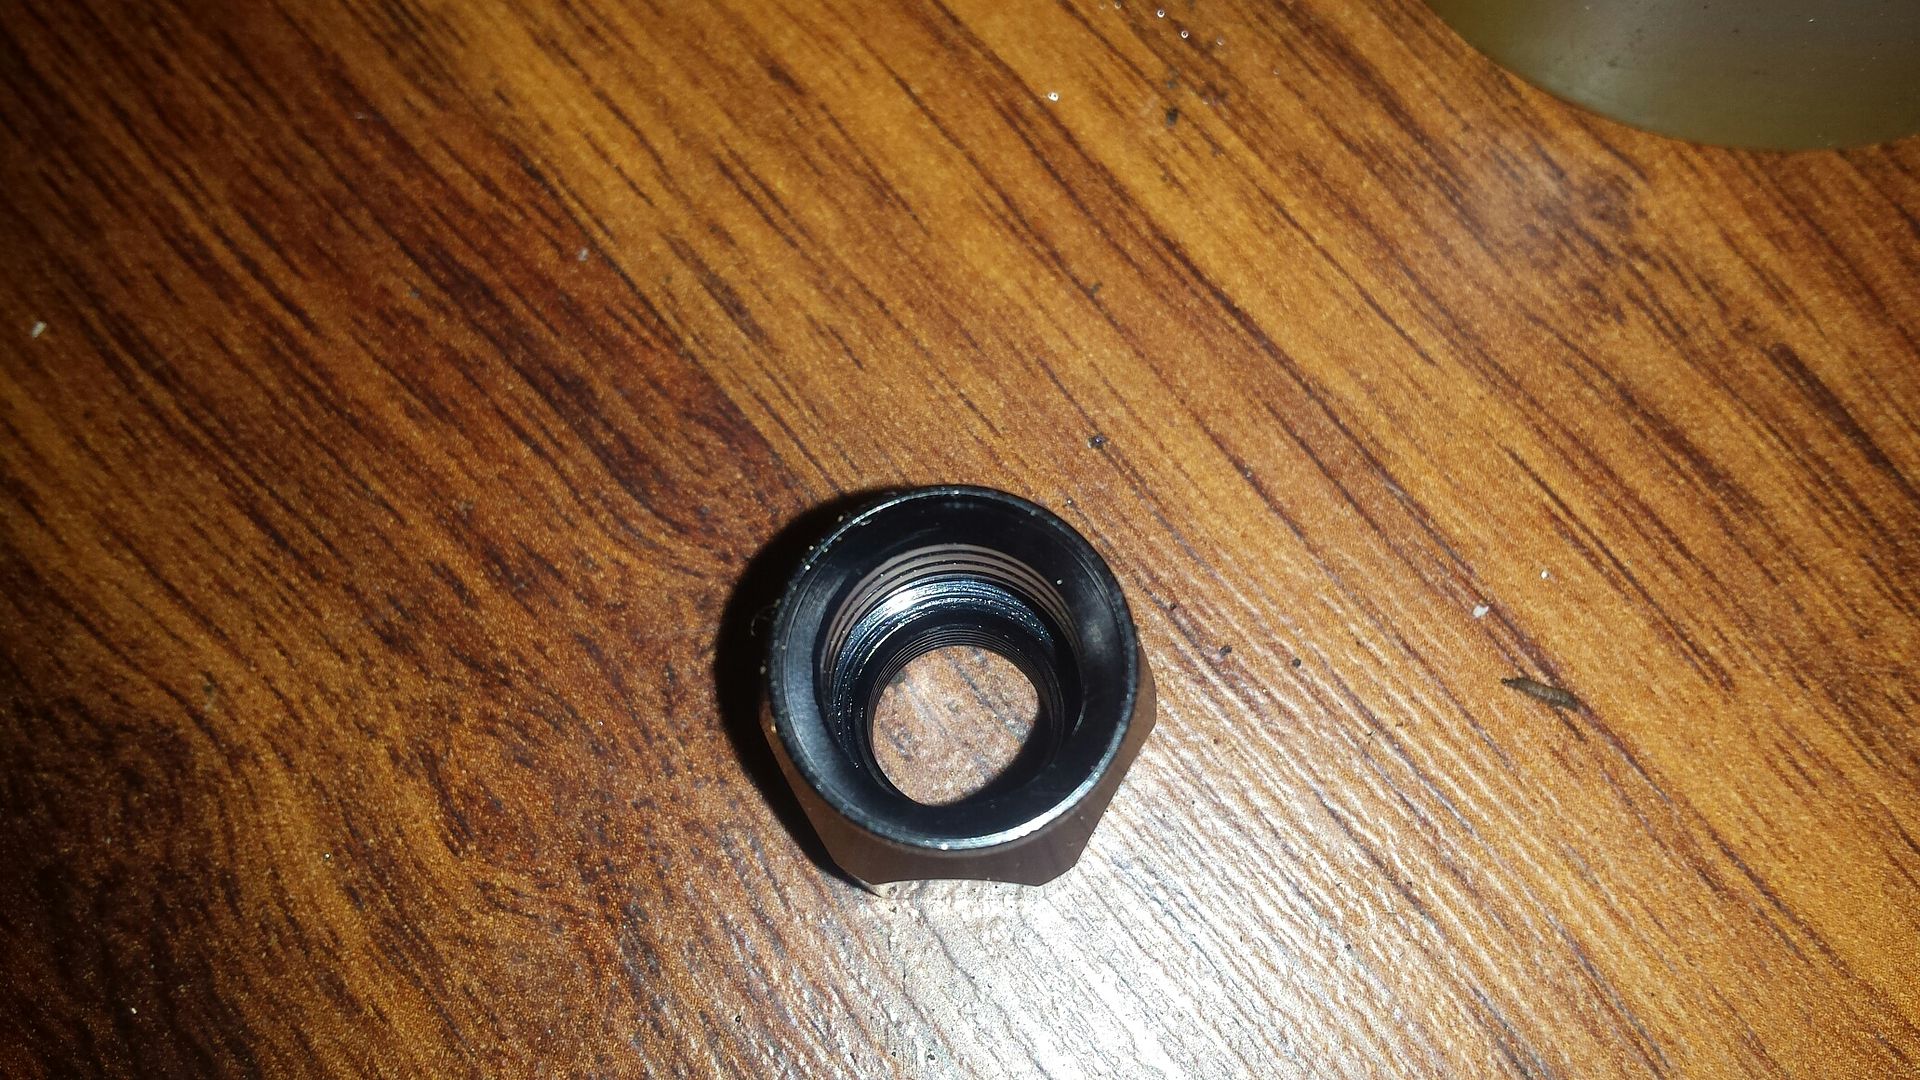
Fitting side of AN fitting
Hose side of AN fitting. The ridges hold the hose, and there is a stop collar.
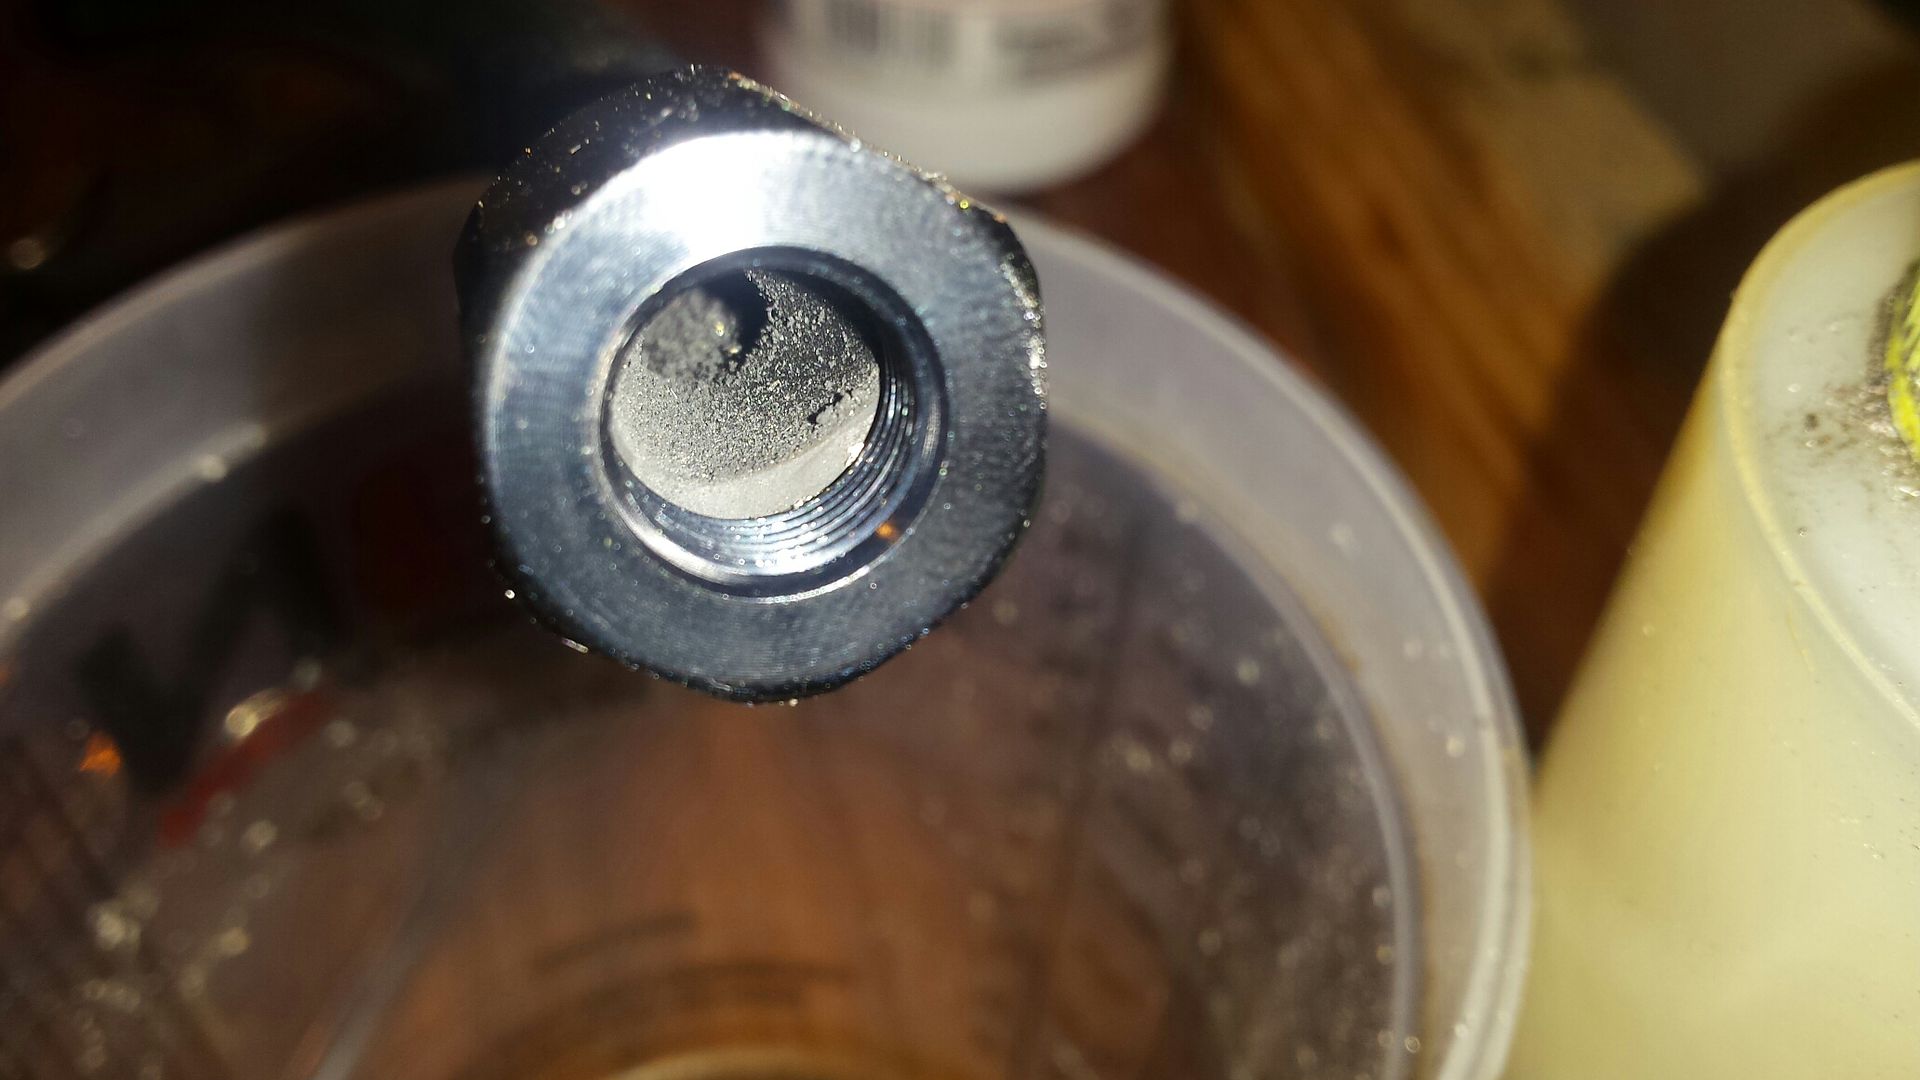
Insert the hose fully till it stops on the stop collar ridge. You'll notice the debris from the cutting. You'll need to flush the line before final install.
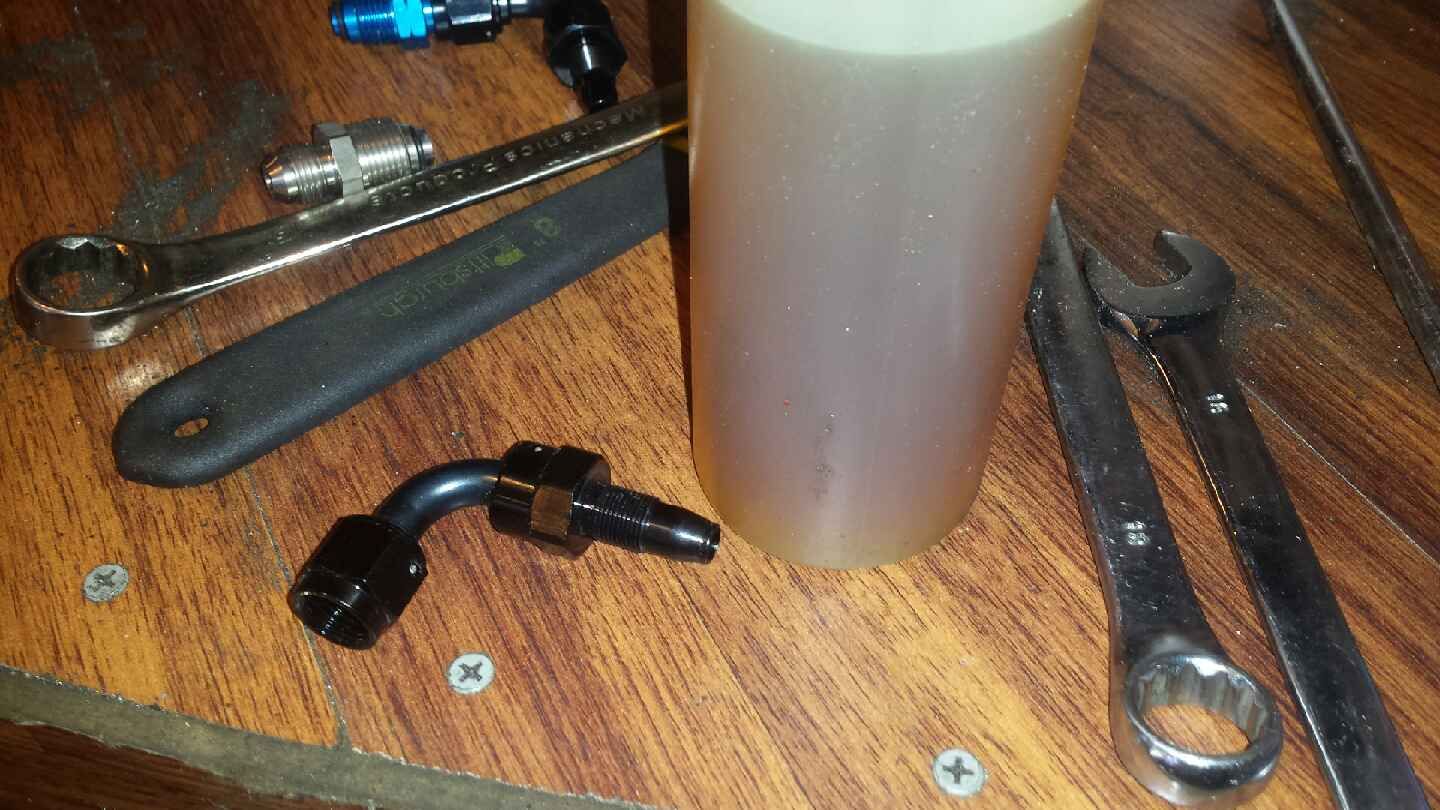
Oil the threads and the angled section. I use any type of oil in a $1 ketchup squirter from the dollar store.
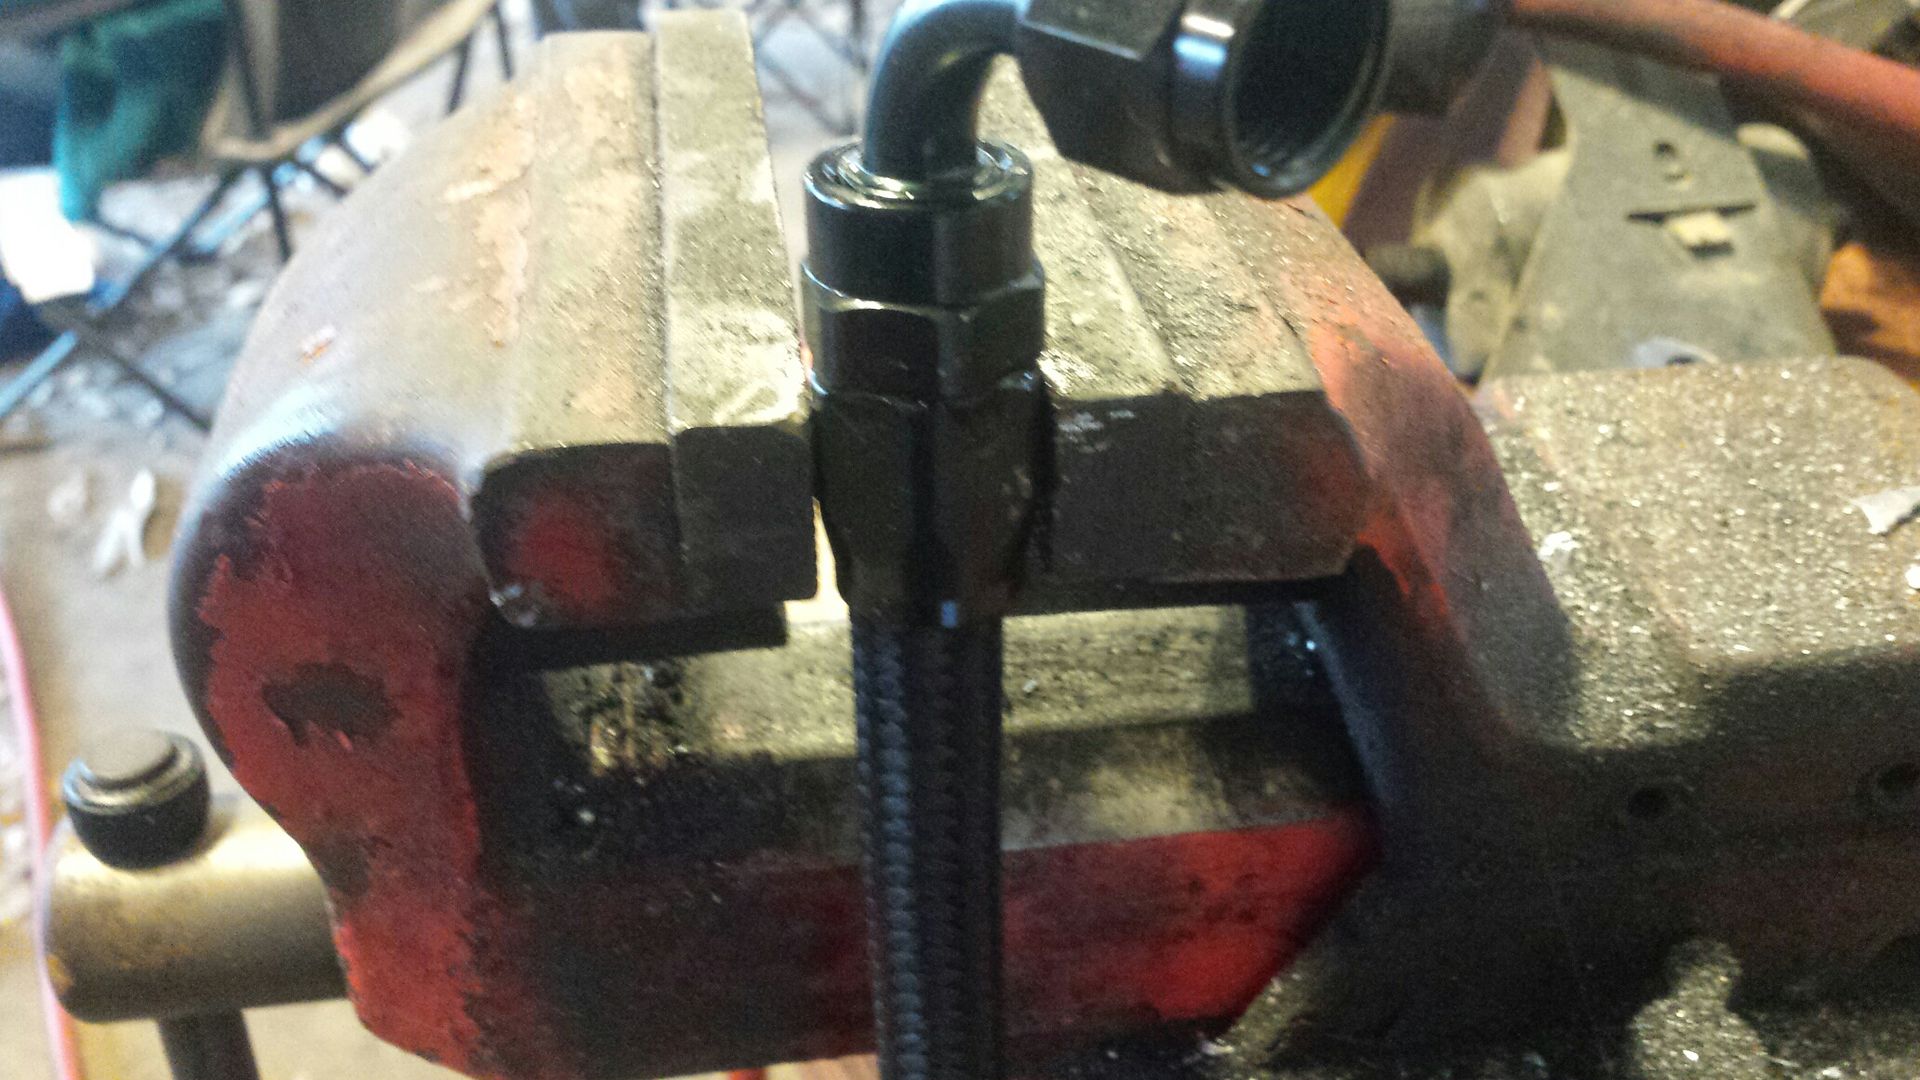
Clamp the lower and thread it in carefully.
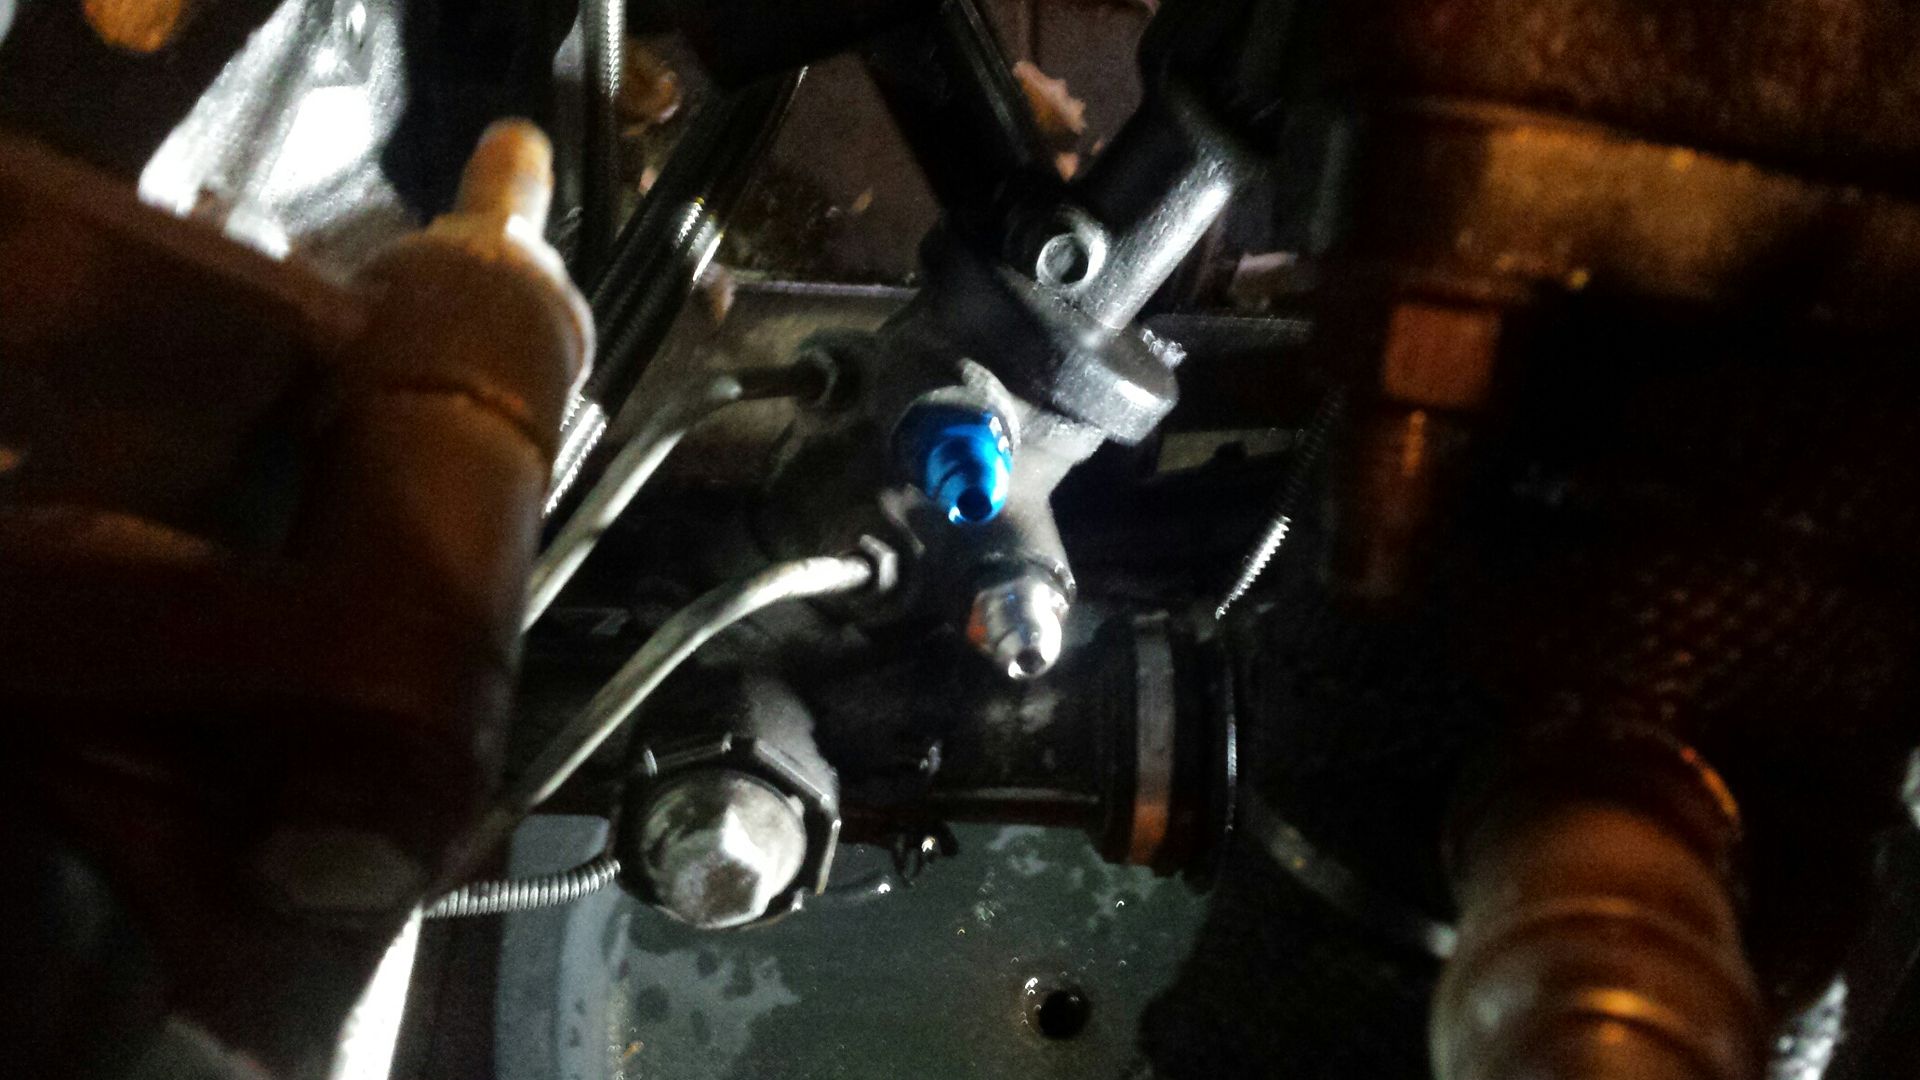
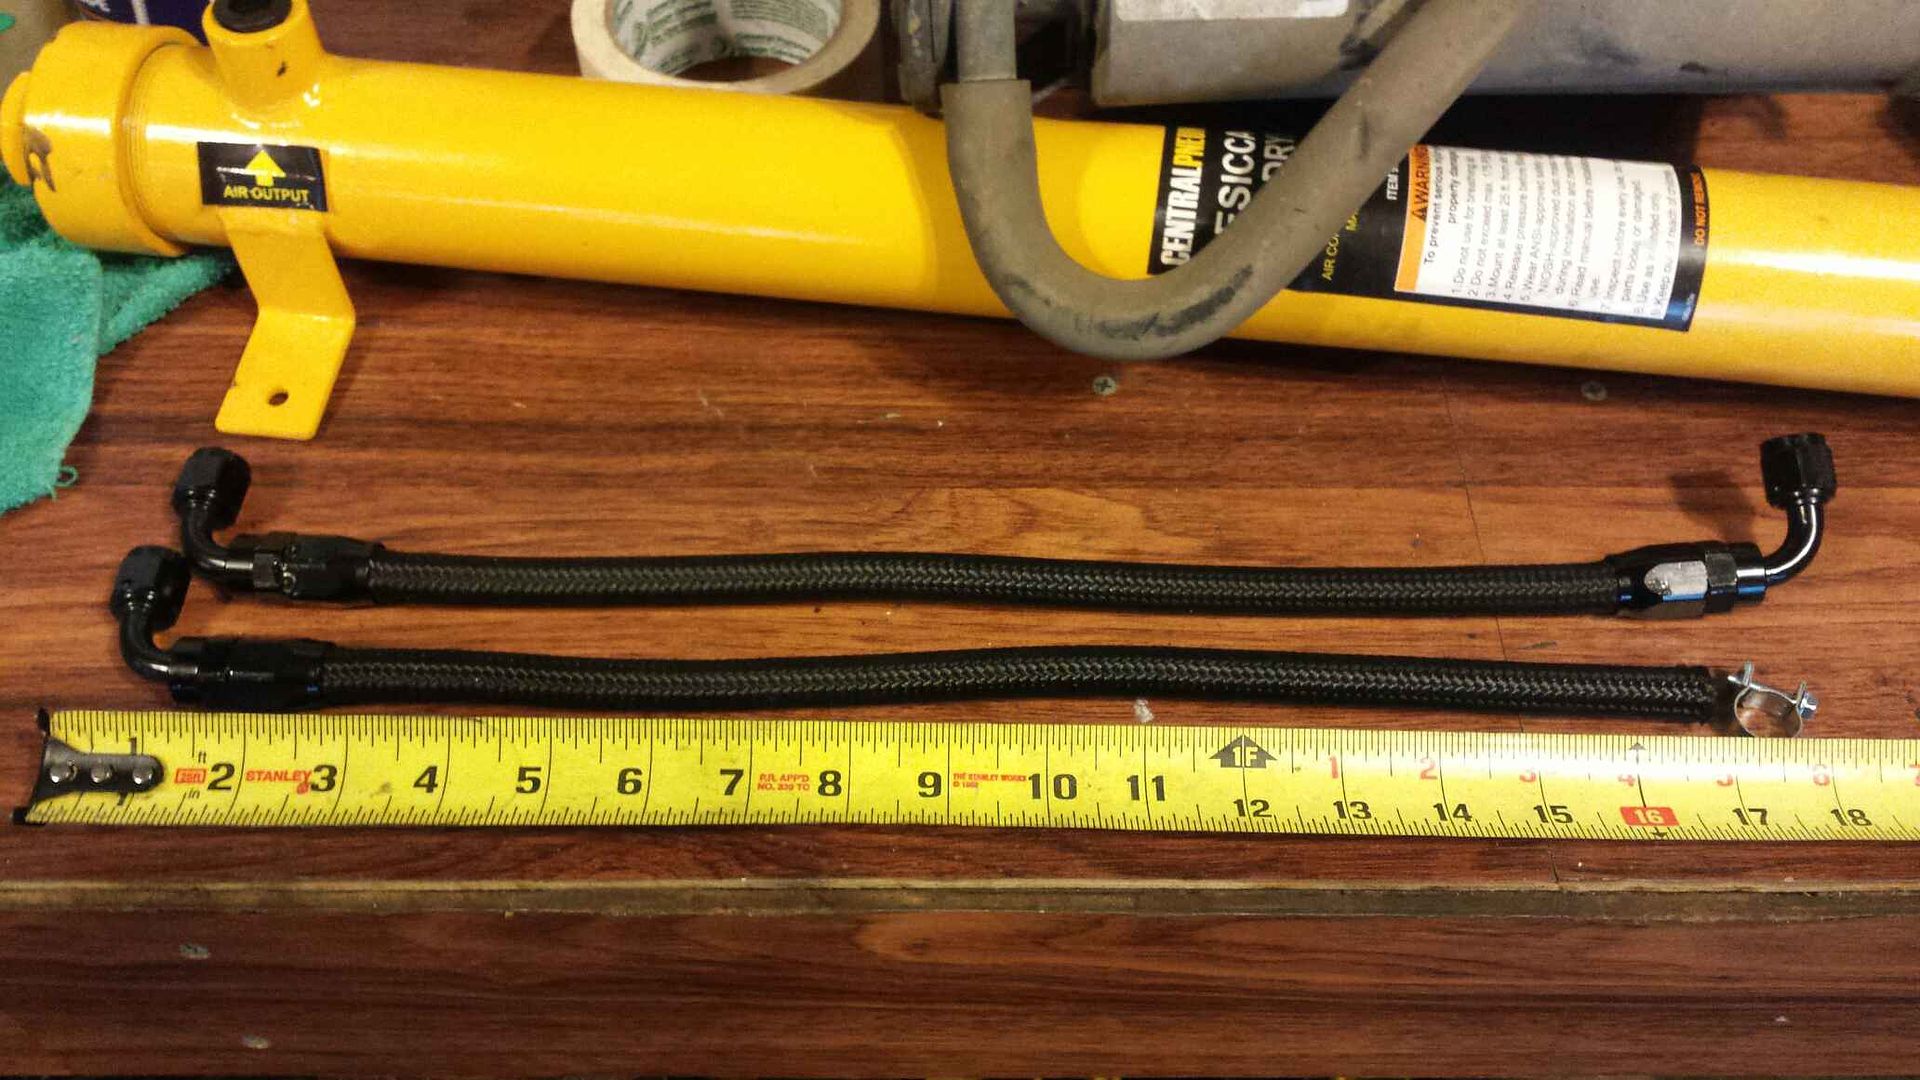
Mock everything up so you know length. This fitting needs to be vertical, not slanted in the pic.
Cut to length and assemble. Done. Notice I'm using a fuel injection type clamp. This will keep it from digging into the exterior during tightening.
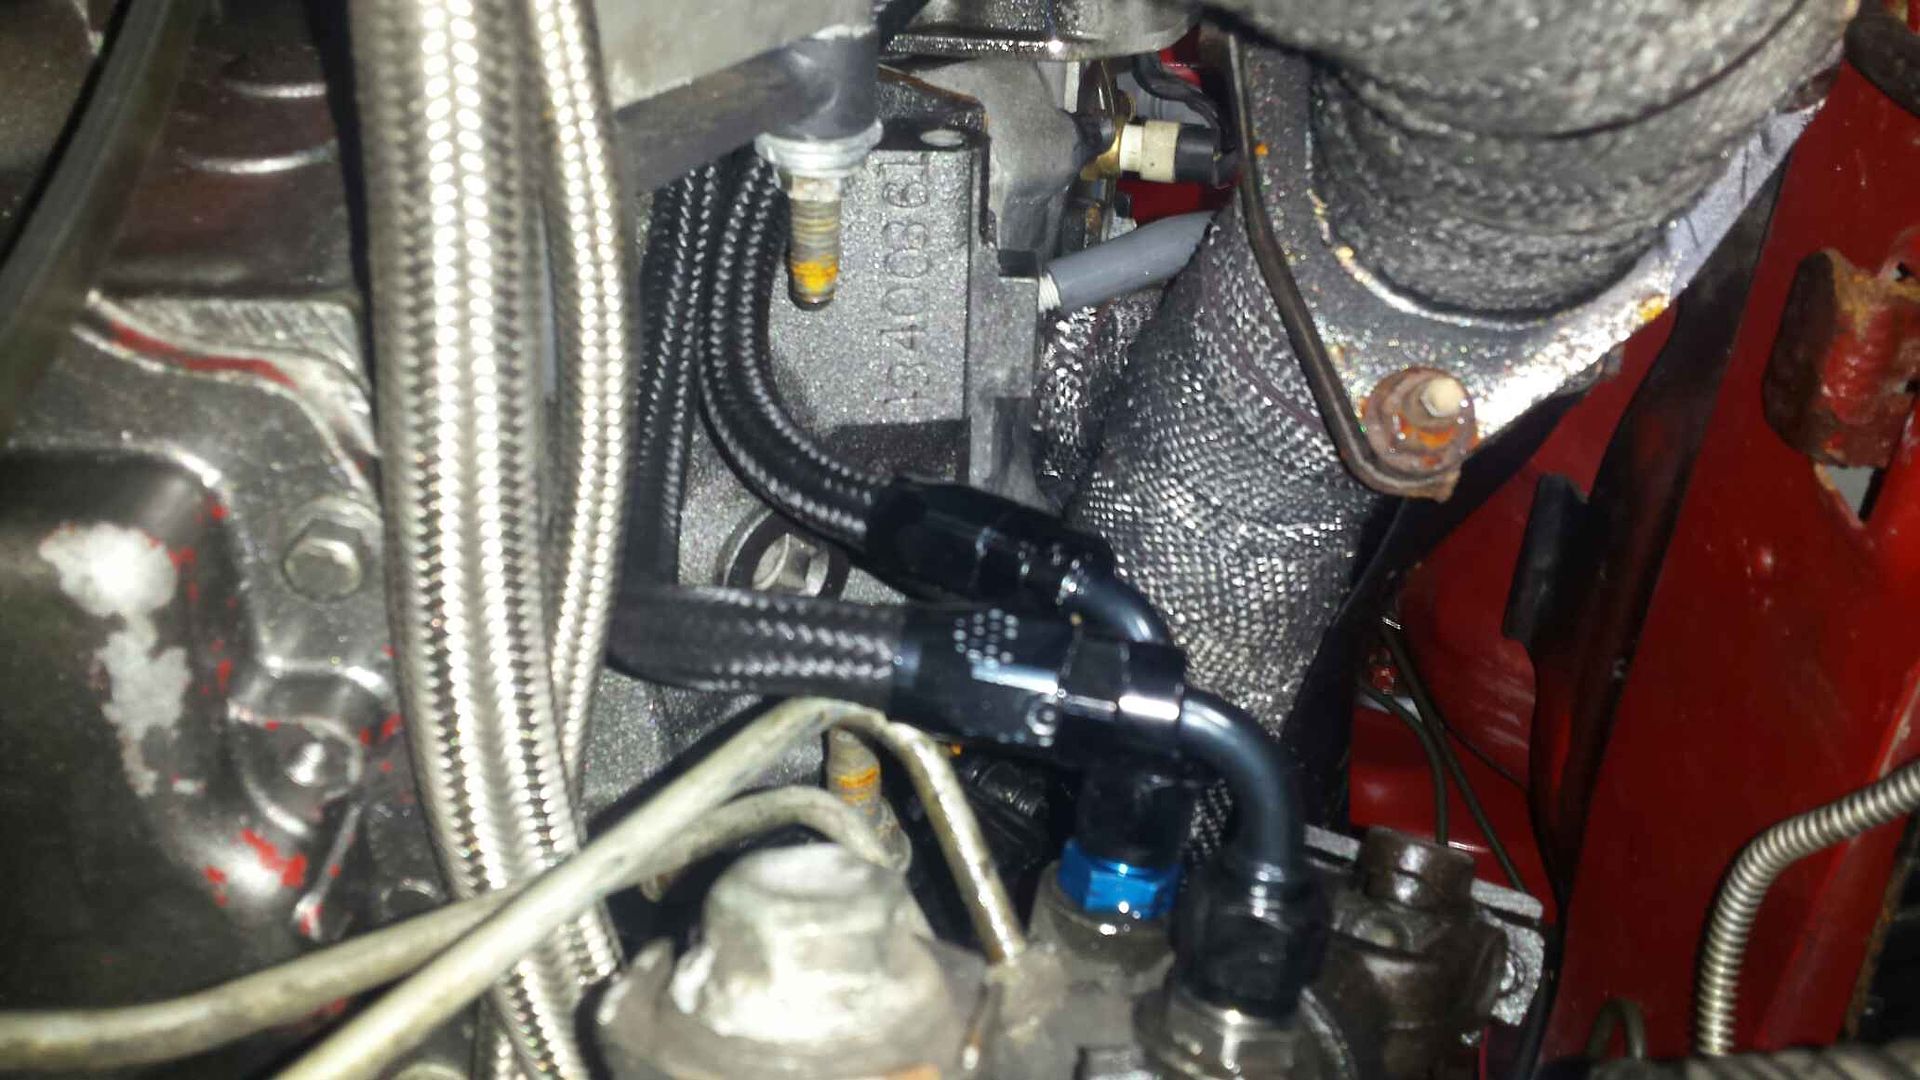
The final result hugs the motor instead of the hotside.
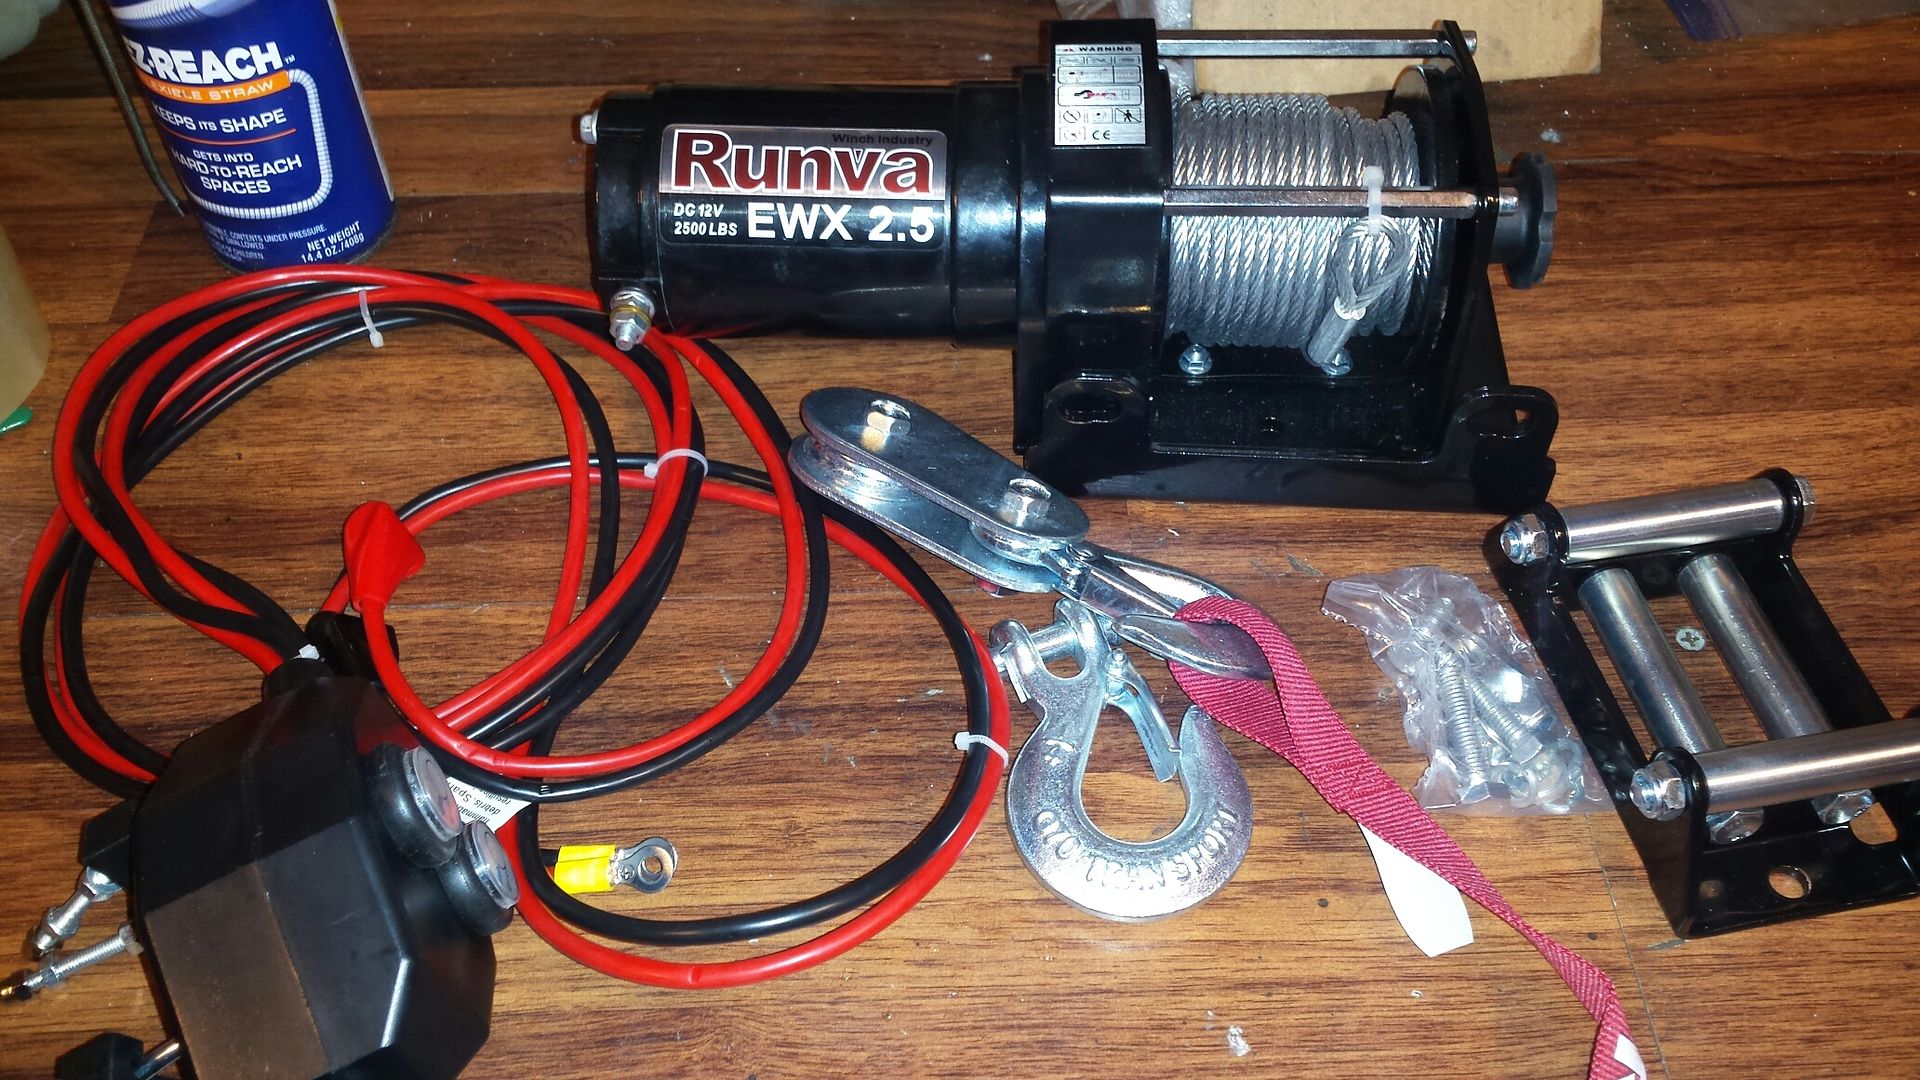
Car hauler is getting a winch soon!! Cause we KNOW something is gonna break.
Well I hope I dont have to use it. I plan on NOT maintaining a battery, and just having leads that are long enough the tow vehicle can provide power to the winch when needed. I also got a nice cover as i plan on leaving it mounted there permanently. Pretty sure Im gonna refinish the top diamond plate soon weather permitting.
Run my winch off a small atv battery, search ebay chrome brand they're real cheap. Also always have my eBay 20,000mah jump pack for extra juice when needed. Battery is in a metal ammo box now but not pictured. Better to have it and not need it than to need it and not have it.
Have any of you pulled an fbody up on a trailer. Grabbing the k member would drive the wire into the lower radiator and cold side piping as its coming up the ramps?
Haven't had to load mine yet. But had the same thoughts as you. I bought a 10' lift/tow strap with some cheap hooks and clevis's to hook to control arms. It will keep the cable off the nose and radiator but I haven't tried it yet.
I've loaded mine a bunch of times because it's not running yet. The car is really low and the cable doesn't hit anything on the car. I used to use a soft strap around the k member and hook the cable to that. Now my k member has a loop. I also jack the front of the trailer up a bit with the trailer jack but that's more so the bumper doesn't hit the ramps. Works great. Only thing is I use a hand crank right now lol. After seeing this I'm going to order a winch. The hand crank sucks and my car is only 2500lbs right now. I was curious how to power it but I think I'll just do what you're doing and make straps long enough to go to the battery on the tow vehicle. Great idea. Maybe I'll get fancy later. I'd like to leave it on the trailer too so I need to find a waterproof one or get a good cover.
Way back in this thread you'll see I damn near tore the bumper smooth off this car loading it and had to replace the entire bumper. That was partly my fault as I had a bracket on the trailer to move the ramps inward to load atvs. That's what caught the bumper and ripped it. That bracket has been removed now. However I'm still scuffing the lower lip driving it on. My plan on that is to back the tow vehicle on rhino ramps to tilt the trailer. I have the rhino ramps but haven't tested whether it's gonna be enough tilt or not. If it is, I will hard mount those to the trailer when I do the winch. I don't trust pulling onto the the trailer with the tongue jack extended, it is too flimsy for a 3k pound shifting load.
Ah ok. Probably just a little different angle to it. I do remember reading that now. That sucks man. I leave the trailer attached to my truck when I raise it with the jack. It works really good for my setup. But I've seen tons of guys use rhino ramp under the tow vehicle too. I actually forgot about that method. Plenty of clearance that way. If I load mine soon here I'll take some pics with the cable attached how I do it. I'm just trying to decide on how heavy duty of a winch now. They get pricey quick. I'd like it to have enough power to drag the car on the lift if wheels were locked up or tires flat etc.
That or longer ramps so its not as steep
(but I'm not as low I'd bet, and no IC pipes to drag)
I also use a marine battery box with an ATV battery (smaller) so all my wiring and relays fit inside.
Mine is an ATV 2500# winch, and will single line pull my car (3420#) up on the trailer rolling...I sit in it incase the line brakes or comes off but all good so far
 01-31-2018, 09:44 AM


 )
)


 but all good so far