
Heavy Bird On A Diet


 08-10-2014, 05:57 PM
#22
TECH Enthusiast
Thread Starter
iTrader: (5)
Join Date: Apr 2011
Location: The Great State of Texas
Posts: 561
Likes: 0
Received 0 Likes
on
0 Posts
Also Heyfred has a great threat too, check it out!
https://ls1tech.com/forums/drag-raci...per-build.html
Last edited by NVUSZ28; 08-10-2014 at 08:51 PM.


 08-12-2014, 07:51 PM
#30
TECH Enthusiast
Thread Starter
iTrader: (5)
Join Date: Apr 2011
Location: The Great State of Texas
Posts: 561
Likes: 0
Received 0 Likes
on
0 Posts
Never messed with removing wiring before. Sorry for the 'NOOB' question.
So if I look at this schematic correctly, because I have removed the AIR/EGR system, I will take out the 36 and 4 wires out of the PCM and all the components thereafter?
So if I look at this schematic correctly, because I have removed the AIR/EGR system, I will take out the 36 and 4 wires out of the PCM and all the components thereafter?
08-16-2014, 12:46 PM
#31
TECH Enthusiast
Thread Starter
iTrader: (5)
Join Date: Apr 2011
Location: The Great State of Texas
Posts: 561
Likes: 0
Received 0 Likes
on
0 Posts
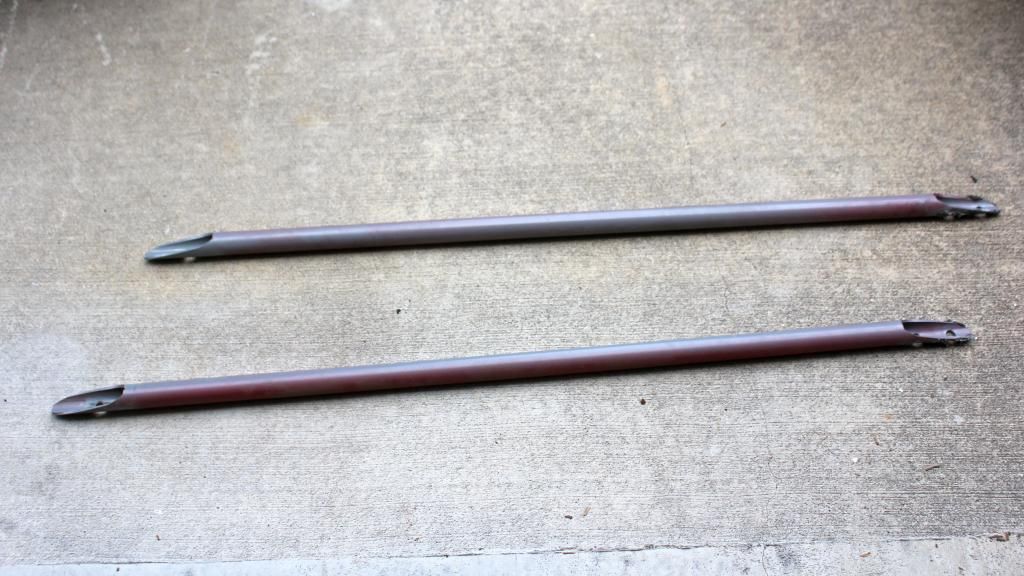
How to remove door bars.
Step one: Relax.
Step two: Deep Breath
Step three: Find Patience, the virtue, not the stripper.
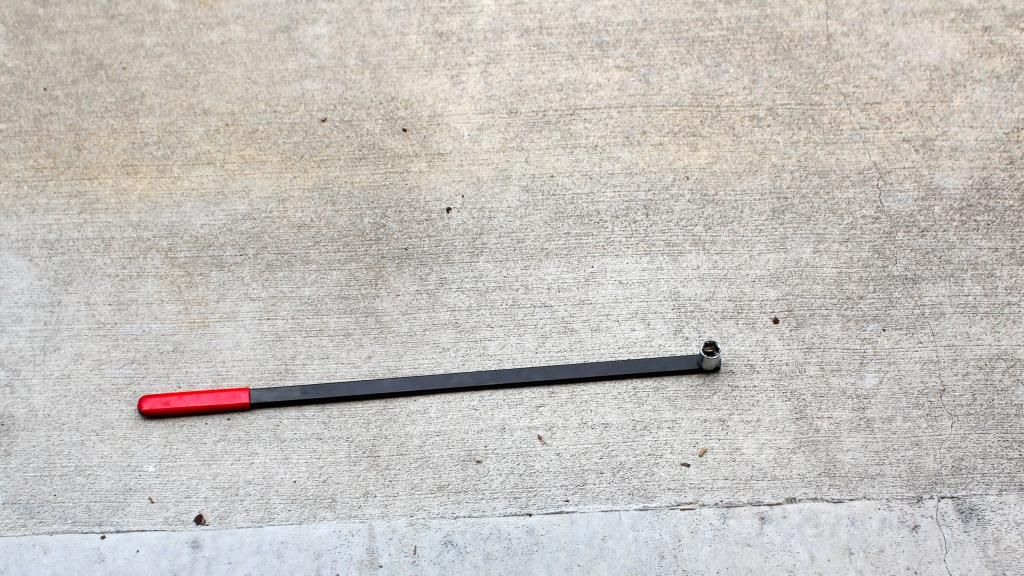
Step Four: Buy a serpentine belt tool kit. I picked one up at Harbor Freight Tools for $15.
http://www.harborfreight.com/serpent...kit-66344.html
Looks like this:
Remove door panel and speakers
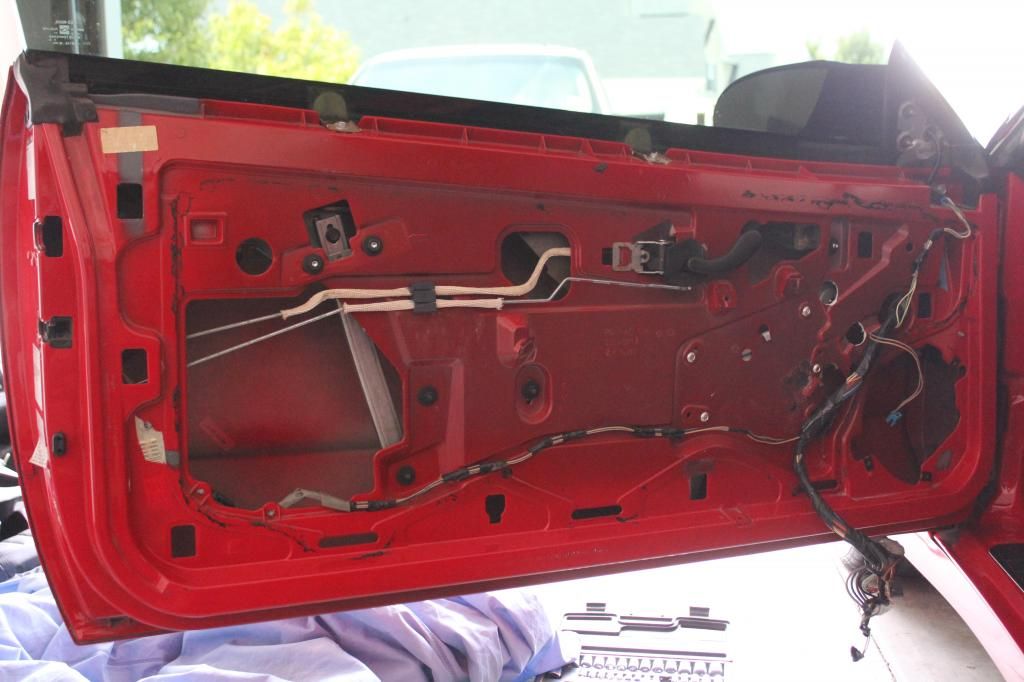
Wear long sleeve shirt because fiberglass doors will make you look like a emo teen who cuts themselves.
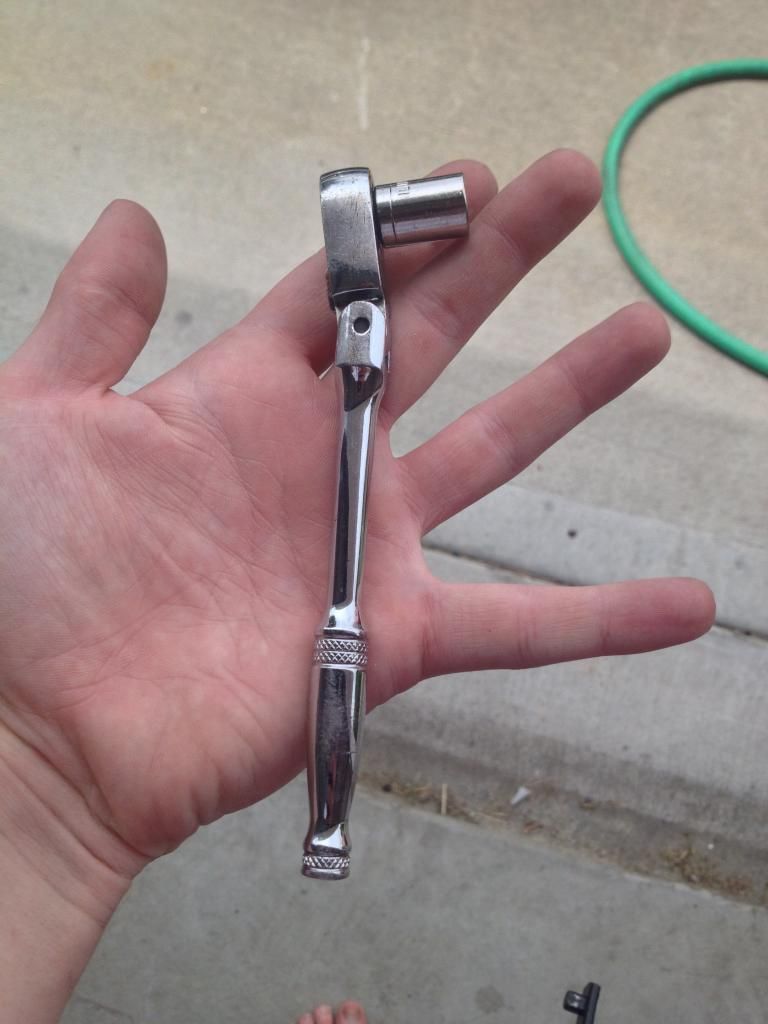
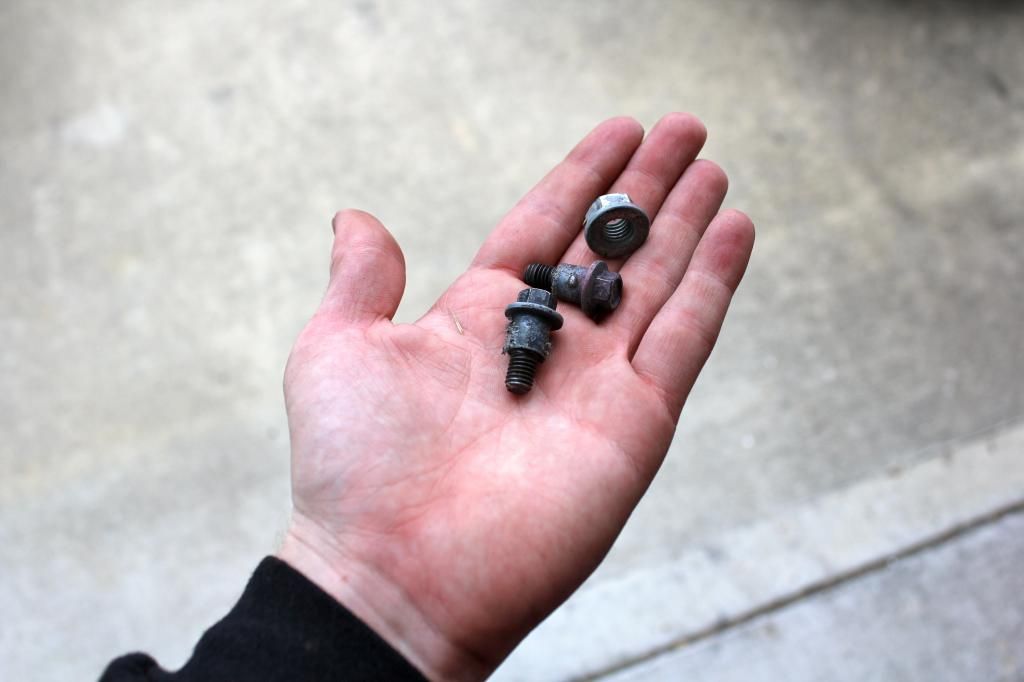
I removed the 15mm Bolt with the serpentine belt tool. The two 10mm I had a very short 10mm socket and small enough swivel wrench to get behind the door bar
I know that I can remove my front tires and front inner fender well and pull the door bar out through the wiring with the door closed, but I opted to cut a 2' hole in the bottom of the door. I plan on making more cuts to the door to lighten it up.
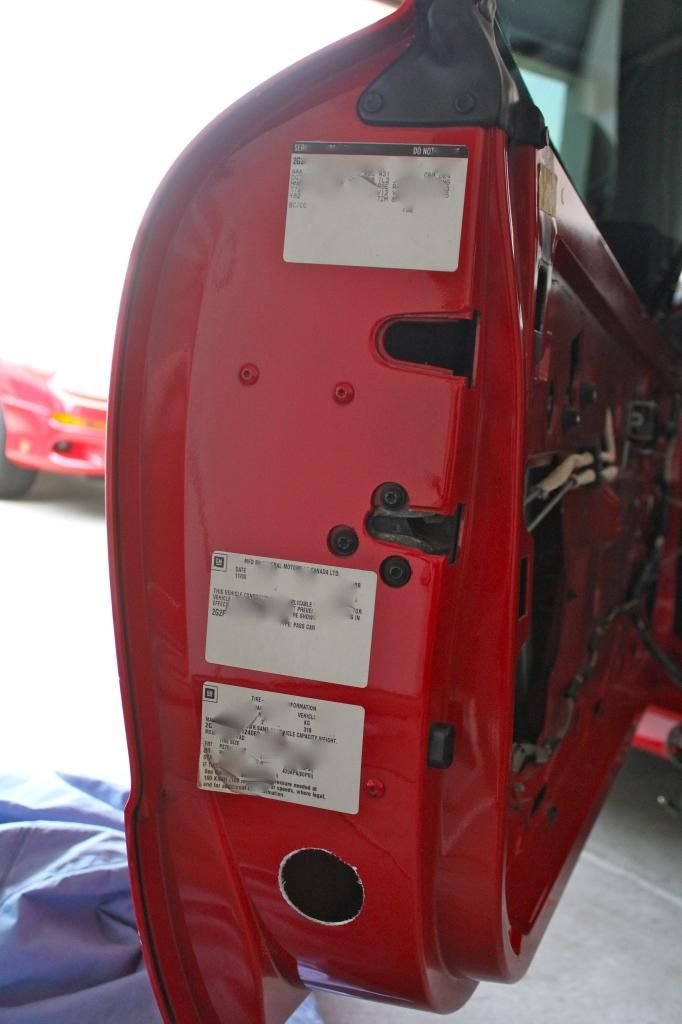
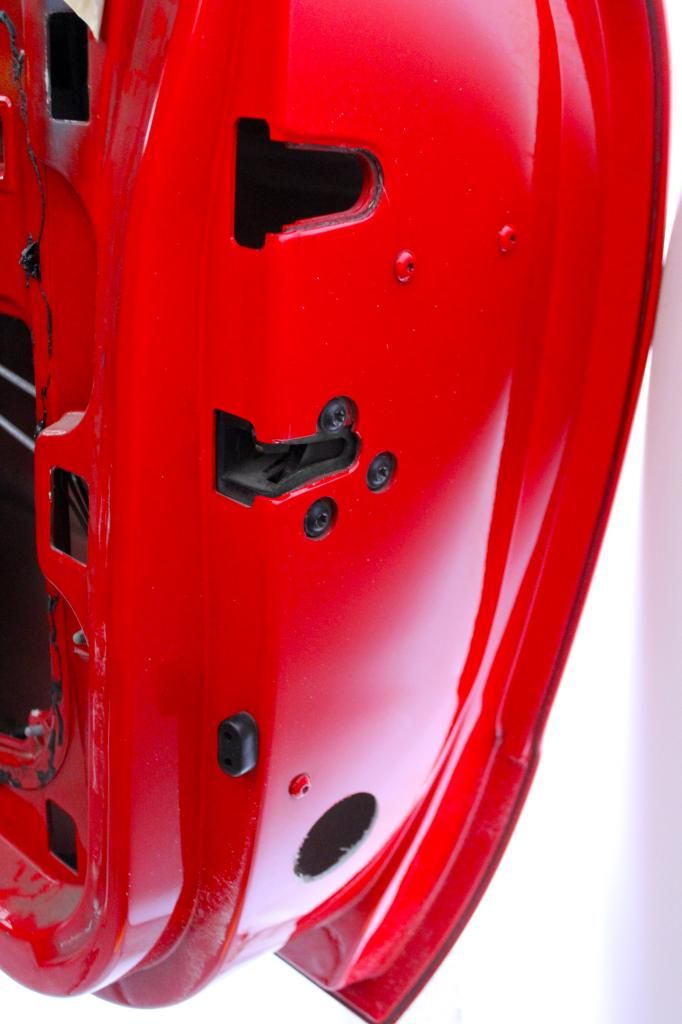
When taking out the bars I twisted them 360� to break the glue where the 10mm bolts were
Step one: Relax.
Step two: Deep Breath
Step three: Find Patience, the virtue, not the stripper.
Step Four: Buy a serpentine belt tool kit. I picked one up at Harbor Freight Tools for $15.
http://www.harborfreight.com/serpent...kit-66344.html
Looks like this:

Remove door panel and speakers

Wear long sleeve shirt because fiberglass doors will make you look like a emo teen who cuts themselves.
I removed the 15mm Bolt with the serpentine belt tool. The two 10mm I had a very short 10mm socket and small enough swivel wrench to get behind the door bar


I know that I can remove my front tires and front inner fender well and pull the door bar out through the wiring with the door closed, but I opted to cut a 2' hole in the bottom of the door. I plan on making more cuts to the door to lighten it up.


When taking out the bars I twisted them 360� to break the glue where the 10mm bolts were

Last edited by NVUSZ28; 08-16-2014 at 05:17 PM.
08-29-2014, 02:45 PM
#38
TECH Enthusiast
Thread Starter
iTrader: (5)
Join Date: Apr 2011
Location: The Great State of Texas
Posts: 561
Likes: 0
Received 0 Likes
on
0 Posts
I have most of the suspension mods done, but didn't have LCA Relocation Brackets. Shout out to Hawks Third Gen who makes the Sinister LCA Relocation Brackets. They are awesome, and you can choose between and 1", 2", or 3" drop for your LCAs.
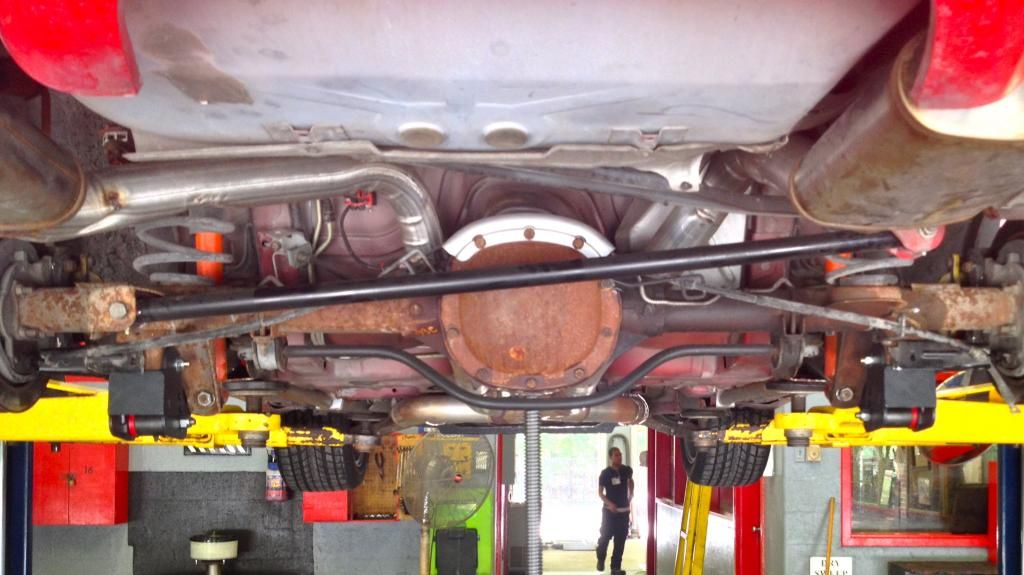
Please don't mind the 10 bolt I'm not that rich to get a 9" yet
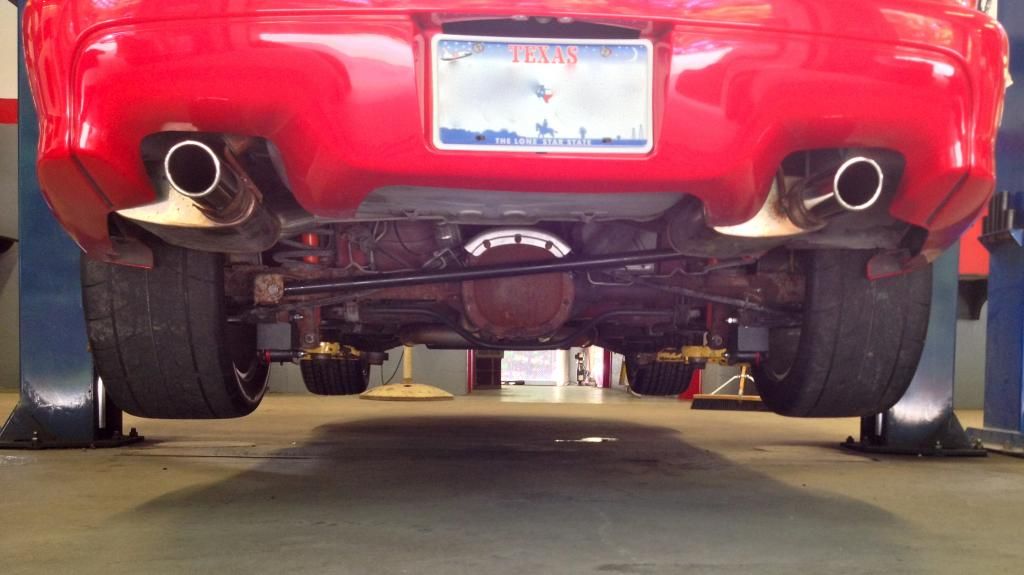
While she was up, a nice shot of my true dual, over the axle 3" set-up.
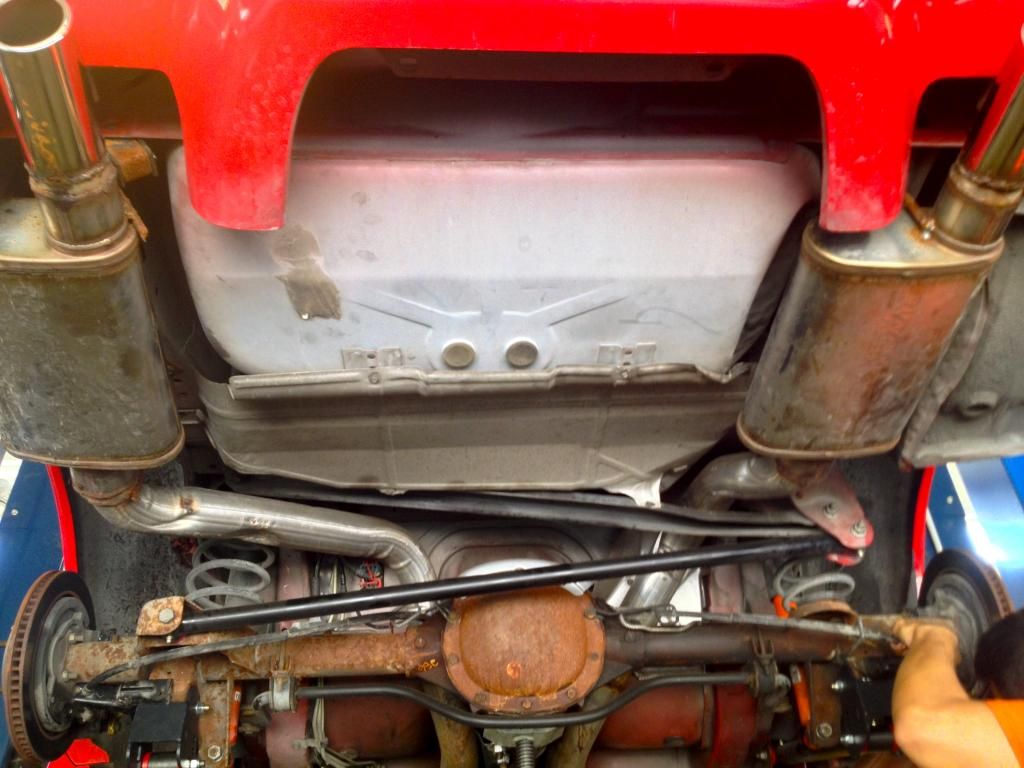

Please don't mind the 10 bolt
I'm not that rich to get a 9" yet 
While she was up, a nice shot of my true dual, over the axle 3" set-up.
 08-29-2014, 03:02 PM
#39
Great thread - but I must say this all kind of pains me because the car looks like its in such great shape! (You are taking $$$ and weight out of the car.)
That old 10 bolt is worth some coin. Depending on the miles, I'll bet you could get $600+ for it. I had to replace one on my '99 Formula WS6 (after an unfortunate high speed encounter with a curb) and the body shop had to look for 2 weeks for the right one.
That old 10 bolt is worth some coin. Depending on the miles, I'll bet you could get $600+ for it. I had to replace one on my '99 Formula WS6 (after an unfortunate high speed encounter with a curb) and the body shop had to look for 2 weeks for the right one.
08-29-2014, 03:04 PM
#40
Here's a good question. How much do you weigh? Sometimes the biggest way to improve a vehicles weight is for the driver to drop some pounds. I'm not all that concerned with street/drag racing and really don't care what my car weighs, but I dropped from 240 to 155, so that right there would have been a bigger weight savings than any mod you can do to the car. Just something to think about.