When you click on links to various merchants on this site and make a purchase, this can result in this site earning a commission. Affiliate programs and affiliations include, but are not limited to, the eBay Partner Network.
Sounds like you figured it out, but had you considered seats from the third row of an SUV? Rear suburban seats come to mind.
95-03 2dr Blazers had some narrow rear seats that fit between the wheel wells too.
Sounds like you figured it out, but had you considered seats from the third row of an SUV? Rear suburban seats come to mind.
95-03 2dr Blazers had some narrow rear seats that fit between the wheel wells too.
I actually have a set of third row seats from a Volvo XC90 for the van. They were plenty narrow but seriously lacking in any sort of support or comfort.
Got the new steering column mounted. This is out of a 2017 Camaro. Had to move the column over about 2� from stock because of my wider engine. Mounted the gauges and drivers information center buttons. Also moved the ignition key. I will now start on my wire frame of the dash pad and dash panels.
I still think the wire frame stuff is a really cool method for making your custom panels. Very interested to see how the dash comes out!
I'm having a hard time visualizing where/what the last pic in the engine cover post. First one is viewing the engine cover from behind the passenger front seat, second is the top of the cover outside the car, third is from the driver's seat, but what's the fourth one?
4th is the front corner of the engine surround by the passenger seat. Had to go around the corner of the radiator; radiator hose; and seat.
Wow. I just read through the thread and am totally hooked. The fleece over frame approach is very flexible and adaptable. I just did a sub enclosure in my new truck using the fleece over MDF to form to the floor and back wall. It worked awesome and for a wood guy, playing with fiberglass was a new adventure. Now, if I could only find time to learn to weld.
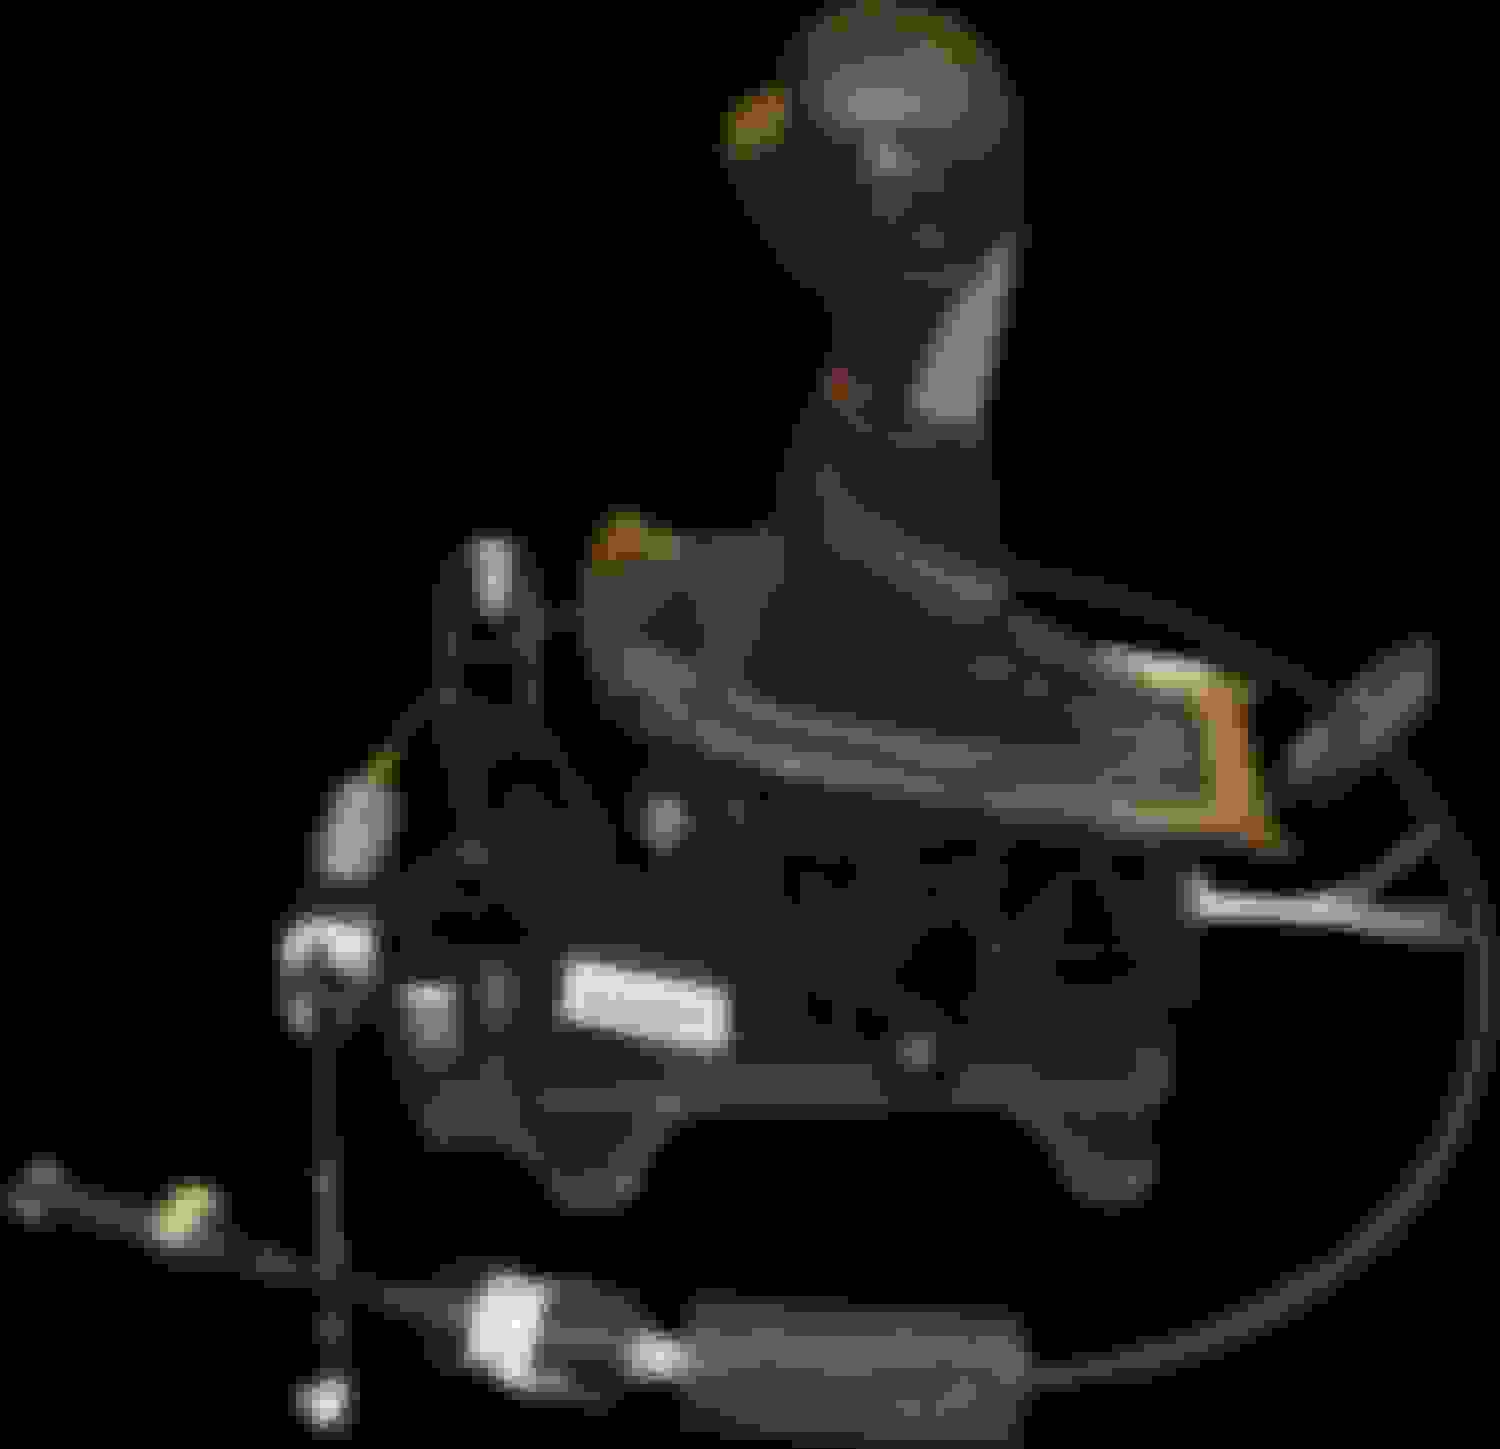
Shifter is out of a 2008ish Malibu with the 6 speed auto. It is similar to the one that everyone uses for the tap/up tap/down
I wanted steering wheel paddle shifters so I went with the Malibu shifter. I haven't hooked up the shift cable yet so I can't say if it needs any other mods. Hopefully the shifter detents match what I need.
One thing I might have done differently is that I would have made the radio opening out of plastic or wood. If you made it to the exact shape you wanted it would probably save you some work around it. You'd be able to make the opening more precise that way. Just a thought.
Are you using a cage to mount the radio, or are you back loading it and bolting it to the van?
I love where this is headed.
Jay
The radio opening is standard double-din size. It will fit just about any radio I buy in the future. The radio will be back mounted to a metal structure that isn�t in place yet. This piece will go over the radio for a nice clean look.
One question....Why would someone with the skills you have be going to college? Did someone get you to buy into the lie that everyone needs to go to college? Are you You learning to be something like a brain surgeon or scientist? You should have your own shop and be making cars for lots of the rich guys who have no skills. Sorry three questions.
One question....Why would someone with the skills you have be going to college? Did someone get you to buy into the lie that everyone needs to go to college? Are you You learning to be something like a brain surgeon or scientist? You should have your own shop and be making cars for lots of the rich guys who have no skills. Sorry three questions.
Well I�m 48 and I�ve been doing manual labor for 30 years. I realized a few years ago that my body isn�t going to make it for another 20 years so I decided to make a change. I also have two boys who are nearing college age and for their generation- it is almost a necessity to have a college degree. So I can�t preach to them about the need for an education if I haven�t done so myself.
I did manage a hot rod shop for a few years and it was instantly apparent that it�s a very hard business to make money in. The wealthy customers are few and far between, mostly average car guys with limited funds. You simply can�t bill for all of the hours it takes to do things right.So you have to do one of two things- cut hours off their bill so they can continue the build, or cut quality. Without quality you have no business so that leaves cutting hours.
Hopefully I will work with my hands until the day I die, but it will be for my hobby only. Most likely, the rest of my working days will be behind a desk- after I finish my degree.
The radio opening is standard double-din size. It will fit just about any radio I buy in the future. The radio will be back mounted to a metal structure that isn�t in place yet. This piece will go over the radio for a nice clean look.
Gotcha. I was thinking about how much of a pain it would be to get sharp edges around the opening. Glassing up to the edge of the wire frame would require a fair amount of body work to get sharp edges. Just a thought. Everything else is coming along great, so I'll defer to your experience. lol


 03-06-2018, 12:49 PM