When you click on links to various merchants on this site and make a purchase, this can result in this site earning a commission. Affiliate programs and affiliations include, but are not limited to, the eBay Partner Network.
So guys, as some of you might know, I’ve got a motor build going over in the Gen 3 section. I’ll spare you most of the details (you can read it for yourself here) but like many, I turned to Tony Mamo for the top end. As has happened with many who work with Tony, my original budget was annihilated in the pursuit of something really badass. In an attempt to mitigate the damage to my wallet (and reduce how much time my fiancé had me sleeping on the couch) I sent an email to Tony offering my services as a Car Audio technician (and a hefty discount on parts, too!).
Tony quickly jumped on the idea, and after talking about the car and what he was looking for, I had a solid plan in my head on what we could do.
A little bit about the car first. I’ll let Tony really dive into the details, but it is a badass car in every respect. 700hp/700tq at the wheels, the deepest black paint I’ve ever laid eyes on, gorgeous rims that Tony himself worked on… I was floored to say the least when I was finally introduced to it in person. I knew that there could be no compromises in part selection for the audio system, so I got in touch with one of my reps from JL Audio, and with a bit of help from one of their sound engineers, we put together a package that would blow the doors off just about every other car on the road.
Tony wanted to retain the factory radio, so we added a FiX 82 to the build to flatten the factory EQ and eliminate any time delay.
On top of badass components, I thought it best to add sound deadening on top of what Cadillac had installed from the factory. After some troubles with my Dynamic Control rep, I stumbled across another brand called Fat Mat. At a third the cost of Dynamat (and about 15% thicker!) we had a winner.
Before I jump into the pictures… Let me just say that working on this car was a dream. I’ve been installing for about 4 years now, and I have never encountered a vehicle that just loved to be worked on like this. Anyone who has worked on higher-end cars (BMW, Mercedes, Lexus, etc.) know that they are difficult and time consuming due to their over-engineered nature. Cadillac did this car right though. I think I broke some kind of record during disassembly (only took me 2 hours!) and it went back together just as easy.
Anyway, here we go!
Components as they arrived at my house. After a quick function check they were repackaged and shipped to Tony.
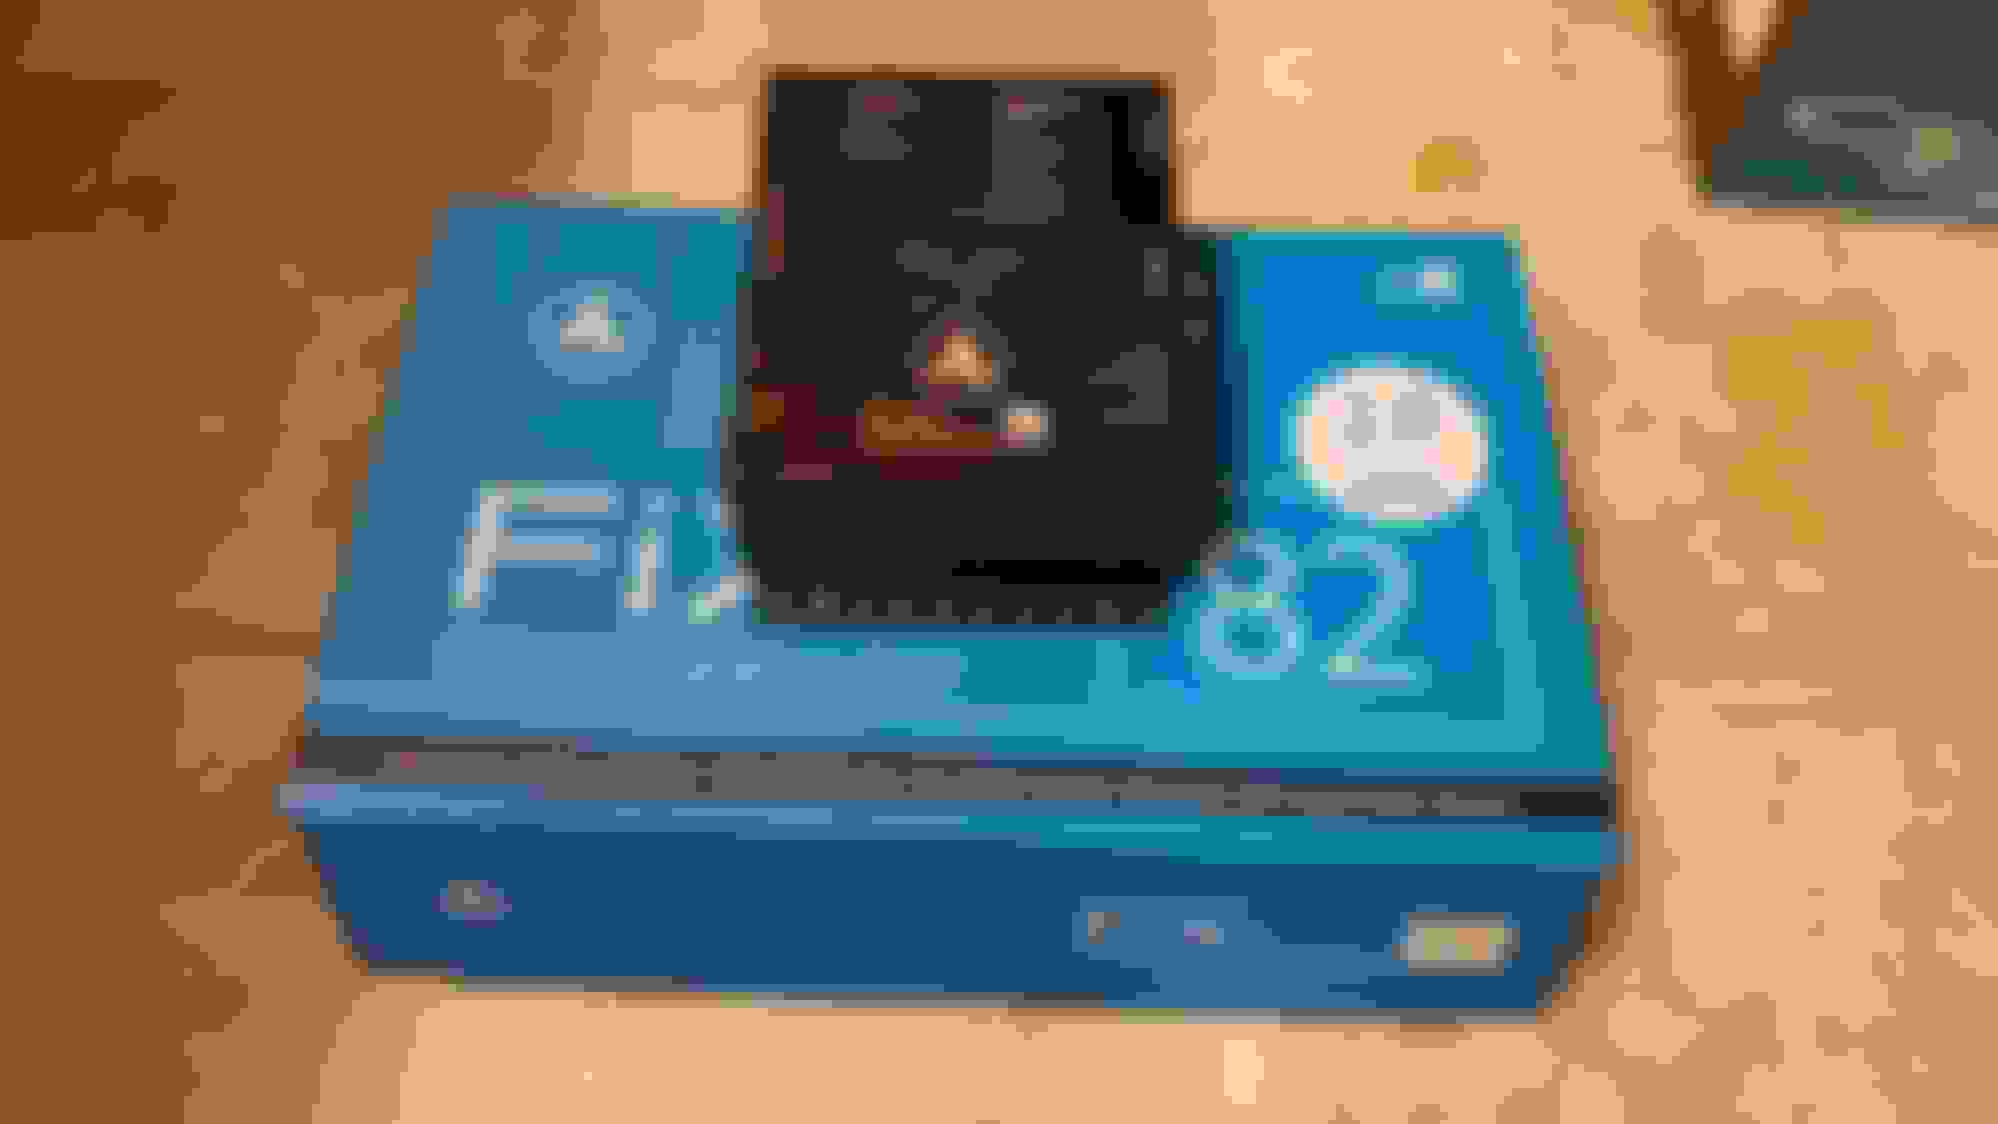
FiX 82 and the TwK D8. Awesome pieces in a compact box.
C5 5.25" Component Speakers. Very nice pieces, give a very warm sound with the silk-dome tweeters.
HD 900/5. The beat that powers the whole operations. 900 crisp, clean watts in a very compact package. One of my favorite amps to use.
CTS-V Stealthbox. Nice fiberglass piece with a 10" TW3 subwoofer. Won't blow your trunk lid off, but you'll definitely know it's there.
ZR 6.5" Speakers. These were deserving of a few pictures. Jaw droppingly gorgeous pieces. I'll admit, I had trouble standing up straight after handling these guys.
Saved this one for last. Most companies use a stamped steel basket (or plastic, in some cases), which do the job, but are nothing compared to these cast aluminum frames.
Here's the car as it sat before I tore into it. Some of you may notice the familiar tile pattern on the floor... Tony gave me use of pretty much his whole shop while I was there, which was a huge lifesaver when parts started coming out of the car. The place is incredibly neat and organized.. I'm envious of his space haha.
Shot of the trunk (while it was still stock!)
Spare tire well... All this unused space just sitting there...
You know you're working in an auto shop when you substitute coffee creamer with engine degreaser...
Time to tear the car apart!
I don't have too many pictures of the disassembly. In all honesty I'm not great at remembering to take mid-work pictures (I prefer to stay focused on the work) and this car came apart so quickly I didn't really have time for it.
Here we have the driver's side panels and carpet removed. I was planning on removing the seats from the car entirely, but after seeing how big and heavy they were, I opted to move them around the car a little and work around them.
Same deal on the passenger's side. The padding you see in these pictures was removed as well, giving me access to the metal floorboards underneath.
Shot of the modules mounted on the rear deck lid. This pic was mostly taken as a reminder of how they sat and which plug went where, but you can see the hole through the trunk after removing the factory subwoofer (A step JL even outlines in their instructions for the stealthbox, so there's nothing between you and the subwoofer.)
After a few more minutes, I had the trunk torn apart as well!
(The wire dangling in this shot is from a previous installation from before Tony owned the car. Apparently whatever shop did this didn't know how to use zip ties.)
Rear seats and carpeting completely removed! I would have loved to take the car out for a quick spin at this point, just to see what difference the factory padding made for sound deadening.
Started laying the FatMat down! (Yes, I know the pattern says "Rattletrap" lol. Tony and I kept calling it 'Rat Trap' the whole time)
If I could interrupt this for a quick review of this stuff... It is hands down, amazing. Like I said before it's a third of the price for dynamat and even thicker. Not only that but the aluminum backing is thinner than dynamat which A. makes it much easier to mold and conform to complex shapes, and B. means more of that thickness is attributed to the butyl-rubber, which is what you want the most of.
Trunk fully deadened! I put two layers on the bottom of the spare tire well. As it's one big flat piece with little in the way of bracing, it resonated like crazy before I put this stuff in.
Rear seat cushion area deadened as well. Some of this was overkill, but we had plenty of matting and there's no such thing really as "too much sound deadening" lol.
Drivers foot-well and under seat mostly deadened. Special attention was paid to the transmission tunnel, as the lack of factory sound deadening in these areas, coupled with the moving parts inside have a tendency to transmit quite a bit of noise into the cabin.
I somehow forgot to take pictures of the rest of the footwells after laying the mat down, but you get the general gist of things. Here's a shot of the rear deck lid fully dampened.
The deck is a very important piece for deadening. Not only are the covers and components underneath typically held in with nothing but loose clips, but the panel itself can flex and vibrate from the sub-bass, which has the side effect of "eating" some of the sound.
At this point I was losing my mind over how everything was lining up in this install. I didn't get pictures of the C5 speakers going in (they were that easy) or the fat mat on the doors but I did remember to get one of the factory sound deadening in the front door. This is what the factory installs in your doors to eliminate resonant frequencies. Same stuff as Dynamat or FatMat, only much thinner and only installed in one little strip.
There isn't much depth in the front doors of these cars for speakers. The window actually comes very close to the inner door skin, which left me virtually no space. I knew I was going to need spacer rings, so I had cut some before my trip to Cali. Surprisingly, Tony had a set of spacers already for another audio project! These fit the ZR's perfectly, and were even angled to better direct the sound to the center of the car.
(Such a sexy speaker... it's a shame it's hidden behind a door panel)
After the speakers were in, it was time for the fun part of the install. Wiring, and custom work!
I had pre-built the "racks" holding the crossovers and the amp, and was doing a rough mock-up of how I wanted them to sit while I wired everything in.
After measuring the location of the pieces, I wrapped the lower board in some carpet Tony had ordered online and set about wiring the rest of the system in!
Here's all the pieces wired in. The FiX 82 is on the right, and the TwK is on the left. Signal is sent from the FiX to the TwK via an optical cable, and then from the TwK to the amp via a pair of high-end RCAs. The fan on the back was a request from Tony. He wanted a way to be able to cool the components (It hit 110 while I was working there, can only imagine how hot the interior of the cars were after sitting out in the sun). Let me tell you, this fan worked out perfectly. Not very loud, moves a good amount of air.. We tested it after everything was installed, kept the amp about 10 degrees cooler than with it off!
After I got everything installed, we fired up the system and my laptop, and I set about tuning with the FiX and the TwK.
The FiX is a really cool piece guys. IN the screenshot below you can see what the factory EQ curve looks like. The light blue is the subwoofer signal, red is your mid-bass, and purple are the tweeters. A lot of dips and very odd crossover points showing up here. The orange line is the corrected curve that's getting sent to the TwK. If only torque curves were that flat, right?
After setting the gains on the amp and taking a listen, I swapped over to the TwK and using an RTA app on my phone, set about tweaking the signal to get the most out of the speakers. After about a half hour of playing some ear-bleeding pink noise (just ask Tony how awful it was lol) I got a fairly flat frequency response, which meant we could move on.
Now came the real custom work. We needed a way to vent the spare tire well for the fan, as well as display the amplifier and the crossobers. A quick late-night trip to Home Depot, and we found a 4'x4' section of masonite pegboard. Couldn't have worked out better! After tracing the outline of the factory cover with a sharpie, I rough-cut it with a jigsaw, and Tony jumped in with a sander to smooth the edges.
While Tony measured cuts for the windows and did some more sanding, I jumped on mounting the switch for the fan, as well as the bass-**** for subwoofer control.
The fan switch location is nice and discreet, but easy for the driver to access.
The bass **** came out really nice. It almost looks factory with the tilt switch next to it.
Here's the cover with the windows cut. We decided to add a sheet of 1/4" MDF underneath for rigidity and depth to the window.
After seeing how much stiffness the small sheet of MDF added to the pegboard, we decided we wanted to add some more bracing so Tony could load some gear into the trunk without it snapping in half. I have to admit though... I think we went a little overboard lol.
Seriously guys, when we were done and we test fit the cover with all the bracing... Tony and I both leaned on it pretty heavily and it barely even moved. When he took me back to the airport we loaded both of my bags (easily about 55-60 lbs) and it held up with no problems.
After that, the cover was wrapped in the same carpet as the board from before. I couldn't resist and put the cover in place just to see how well this carpet matched the factory...
Holy crap! It's damn near perfect! Tony ordered this stuff basically sight unseen, and I don't think we could have found a better match, even if we'd gone straight to GM for the stuff.
After I stopped fawning over the carpet, I cut the windows out to see what the view would really look like.
One thing I've been purposely leaving out is what was going to cover these windows. Before I left I hit up a friend who had access to a laser engraver. One trip to TAP plastics for some plexiglass, and he cut and laser engraved some really nice looking windows for me. Here you can see one of the pieces (still with the protective film on it) as we test-fit it onto the cover.
Now, it does no good to have a great looking cover like that, if you don't show it off properly. So I installed a few LED strips, and (still with the protective cover) shed a little light on it.
Daaaamn. That could not have turned out better. Even with the ugly film it looks badass.
Here you can see Tony adding tape around the LED strips. This was to direct the light only to the plexi covers, and using them to illuminate the components below.
After a few tweaks with the LEDs, we got the lightoutput where we wanted and installed the cover into the car.
I'll just leave that there. You can make a quick trip to the bathroom, if you want.
Another shot with the lights in the shop on. Made sure to get a view of the stealthbox in this one.
One last Audio **** shot
In the end.. this system matched the car perfectly. Great, almost competition level sound that's not overstated or obnoxious. You have the option of turning it up to ear damaging levels when you want, but I think it sounds best at about 70% volume.
Alpine Type R components, Rockford Fosgate Power series amps, XS Power batteries, Audison Bit Ten processor, SMD voltage meter, DC Audio LVL 2 subs, 1/O wire from Sky High Car Audio, and about 300 sq ft of Dynamat.
 09-08-2017, 03:47 AM