Suspension Install 2000 Trans Am, pic heavy
 05-30-2018, 09:32 AM
#1

I thought I would share my suspension upgrade here. I recently upgraded my entire suspension on my 2000 Trans Am. I completed it about 4 months ago but due to my job I have not been around much to drive it much. Anyway here it is.
Components - Front Suspension:
Spohn Upper and Lower A-arms with DelSphere Joints
Moog Upper Ball Joints
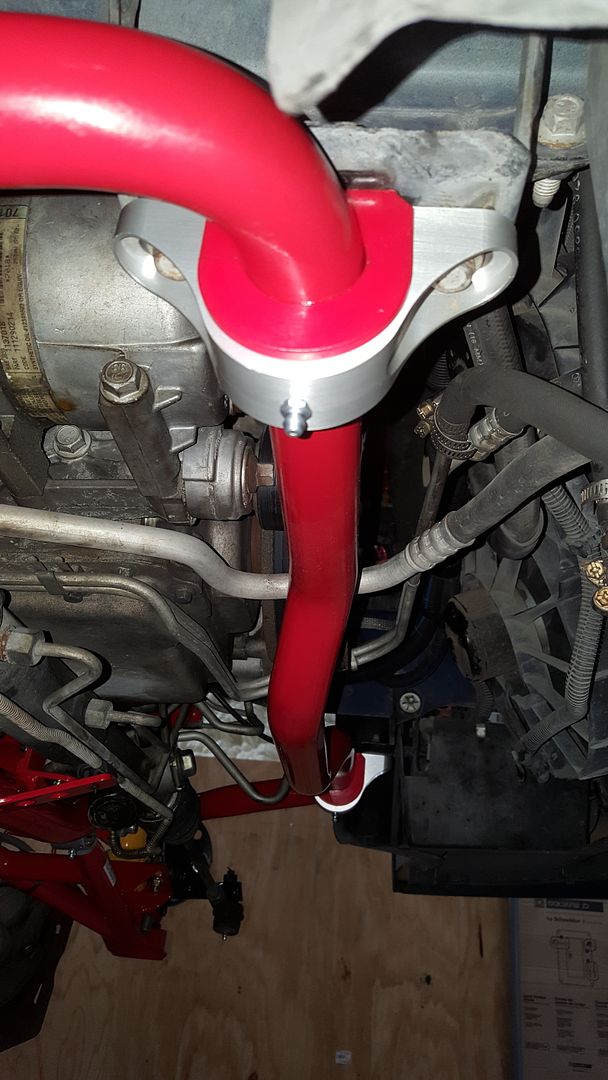
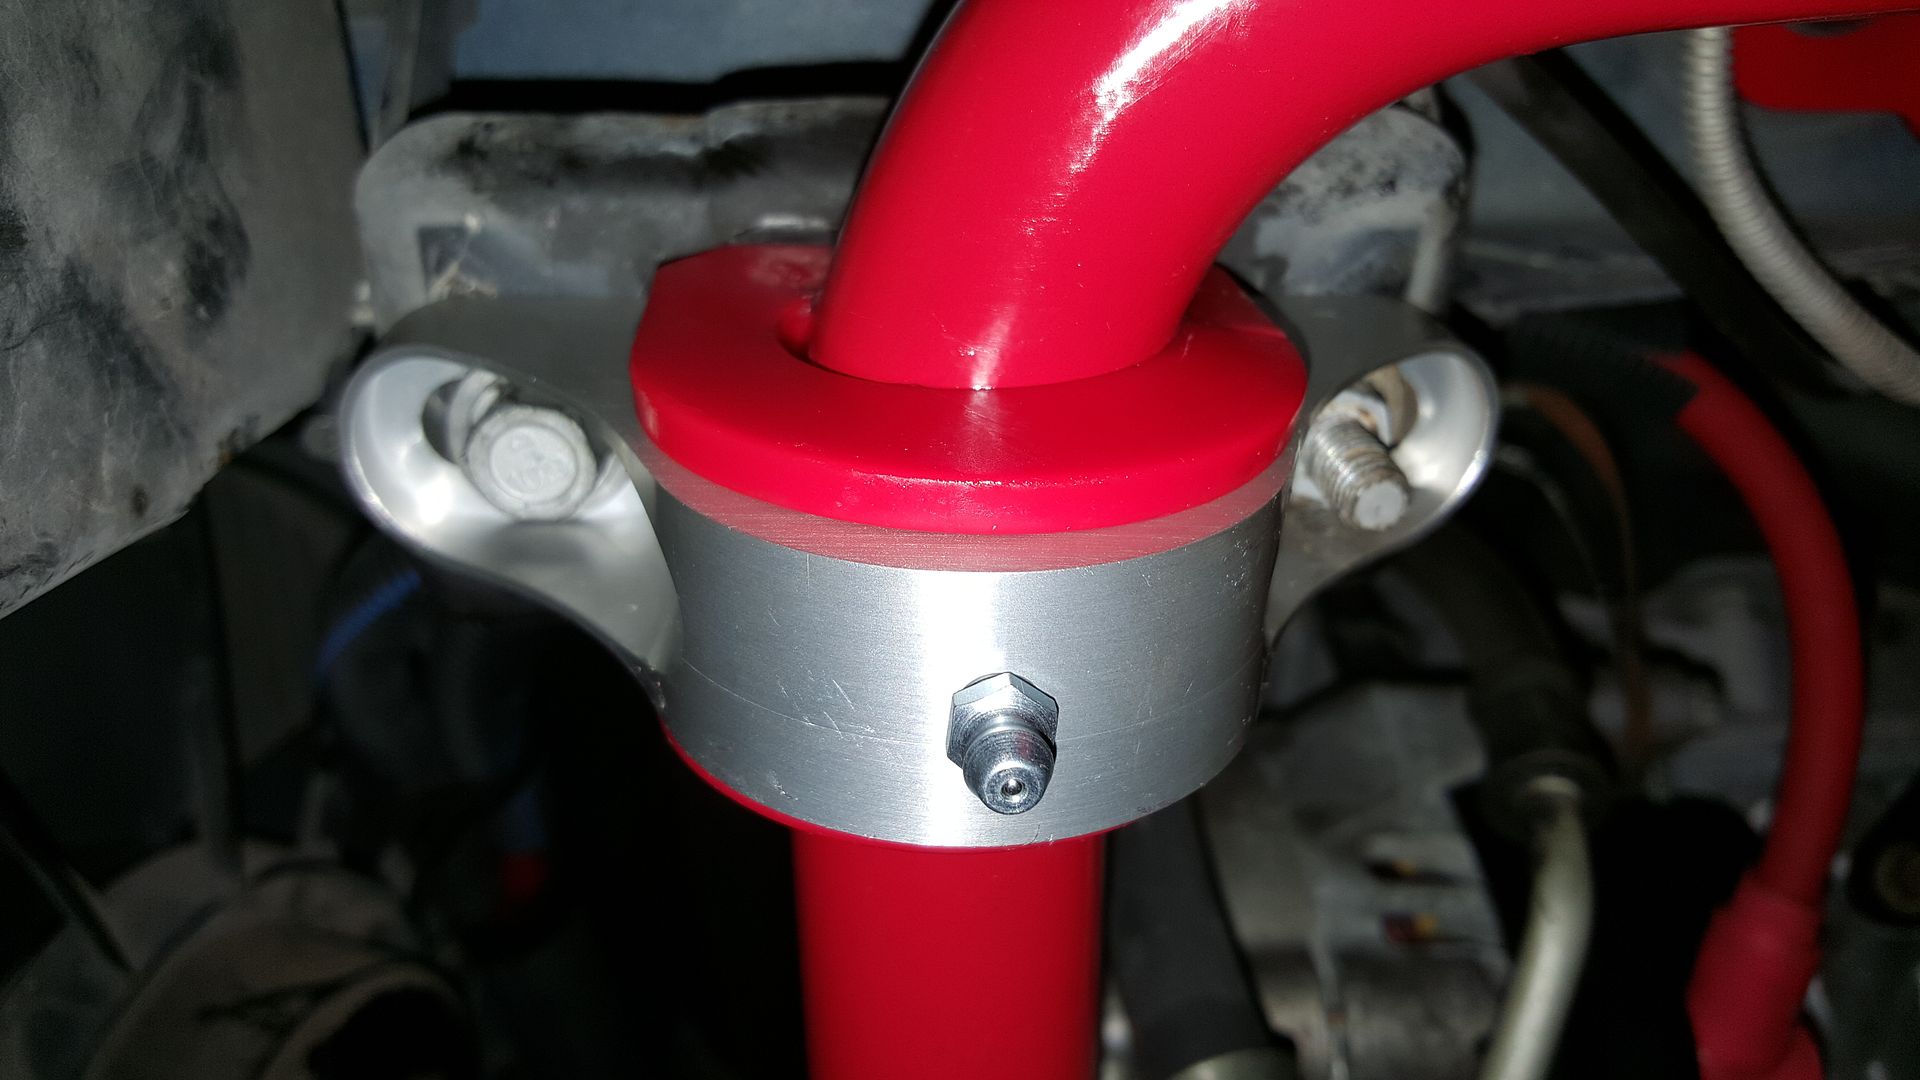
BMR Swaybar
UMI Swaybar mounts
Spohn Rod End Swaybar Links
Koni Shocks
BMR Springs
Spohn Tubular K-member
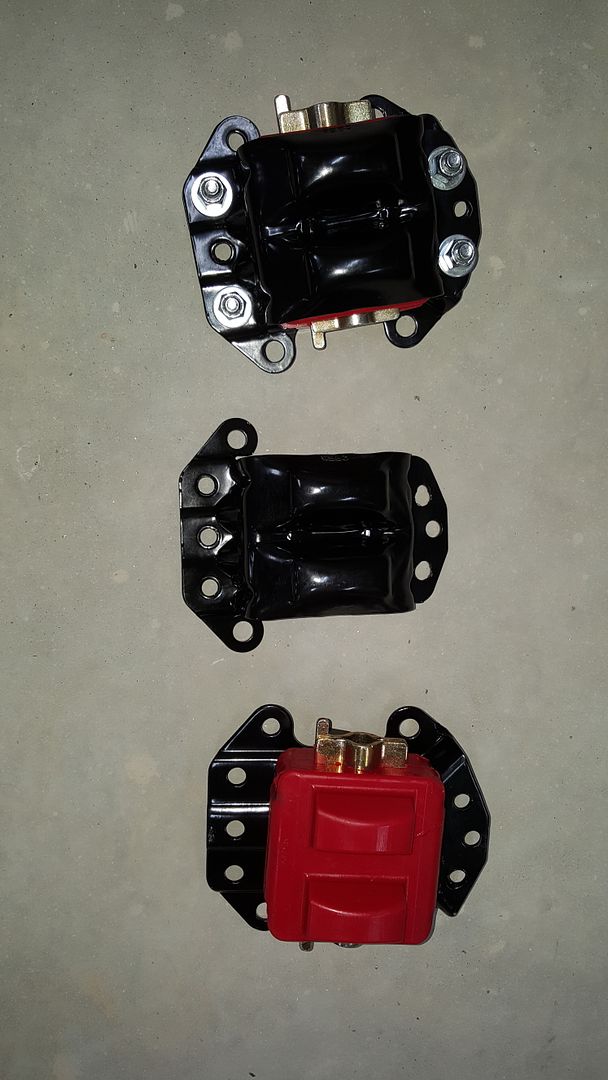
Prothane Motor Mount Bushings
Components - Rear Suspension:
BMR Stock Length Adjustable Torque Arm
BMR Torque Arm Relocation Mount
Prothane Transmission Mount
Midwest DSL
Spohn Rear Control Arms with DelSphere Joints
BMR Control Arm Lowering Brackets
Spohn Panhard Rod with DelSphere Joints
BMR Sway Bar
UMI Sway Bar Brackets
Koni Shocks
BMR Springs
Hawks Bump Stops
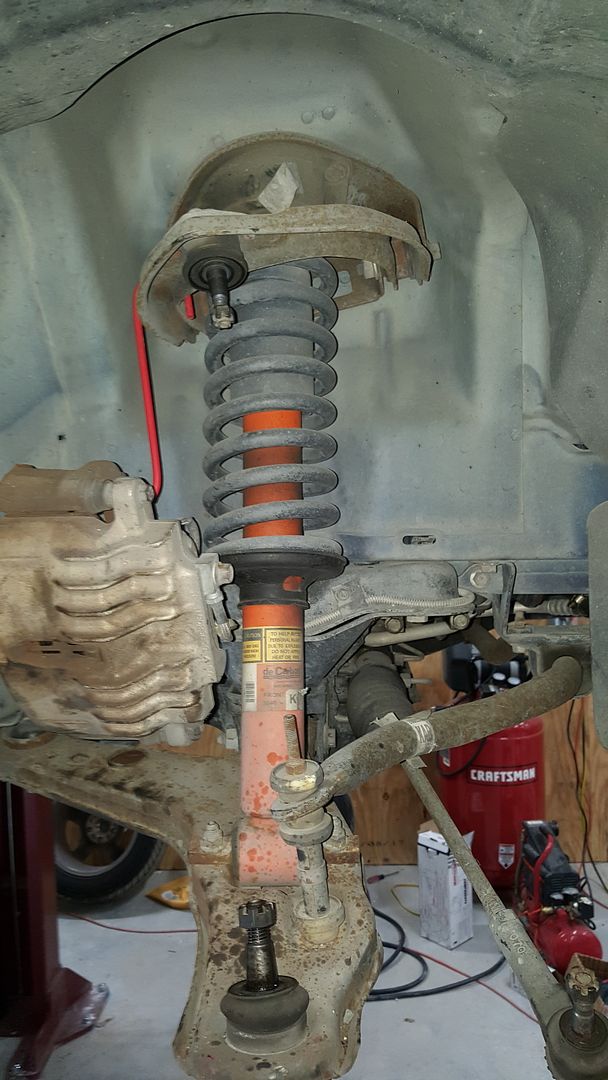
Front Suspension
Here's what I started with.
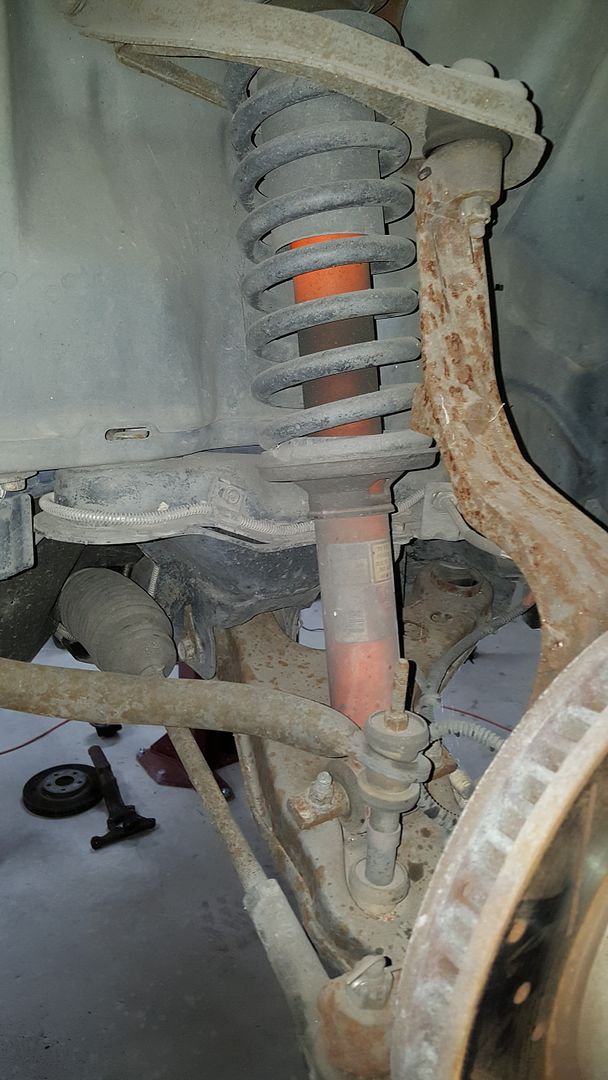
Spindle Removed
I broke one of the wheel sensor connectors on the hub so I had to replace it.

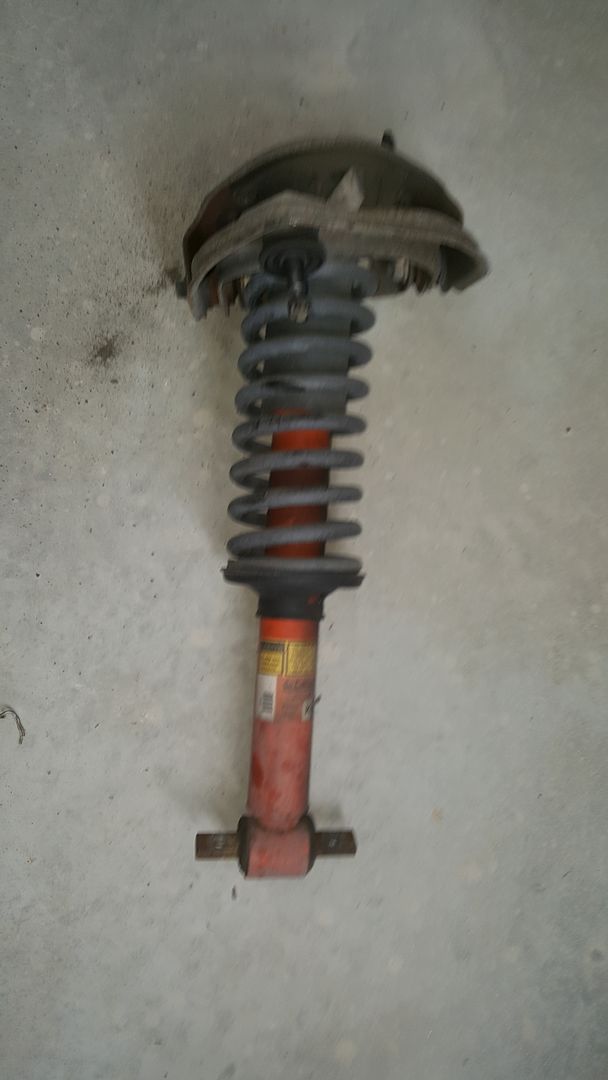
Front shock assembly removed as well as the front sway bar. The only thing being reused here will be the upper control arm mount.
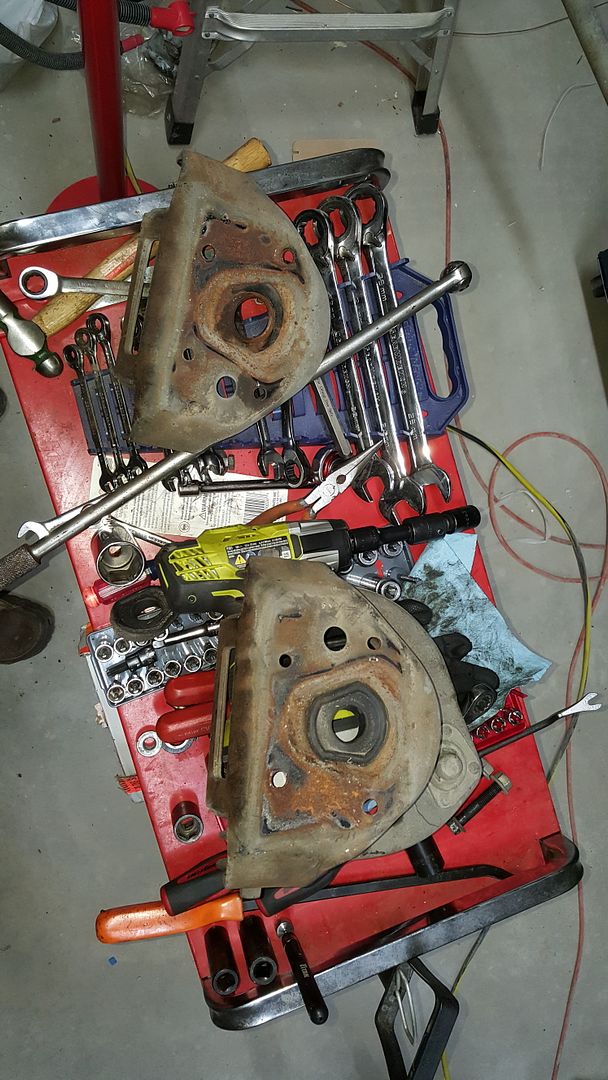
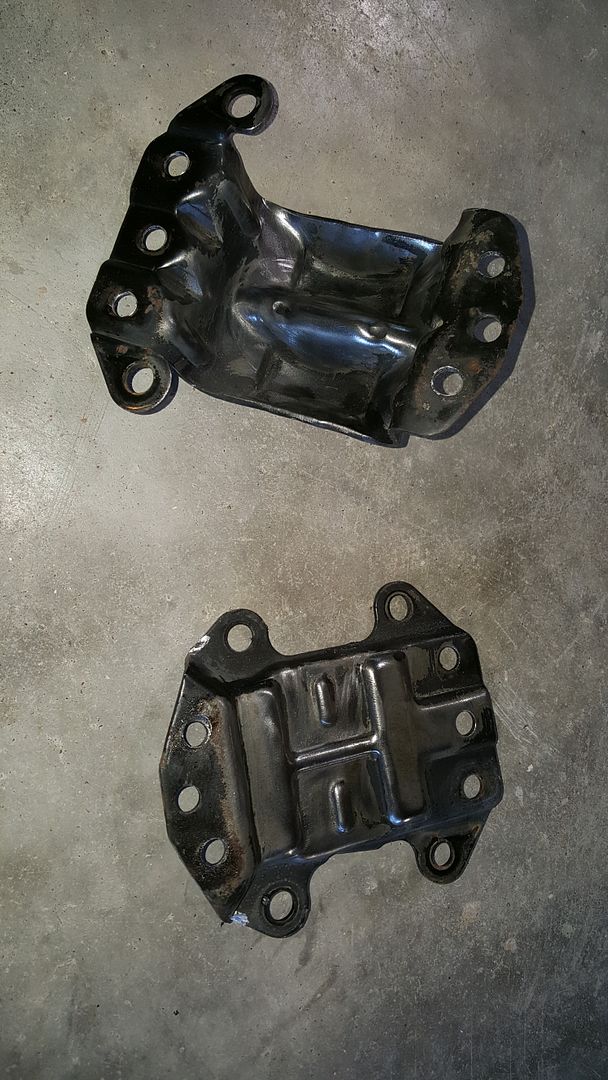
Here are the upper control arm mounts.
What's left after. Then I removed the rack and pulled the K-member.
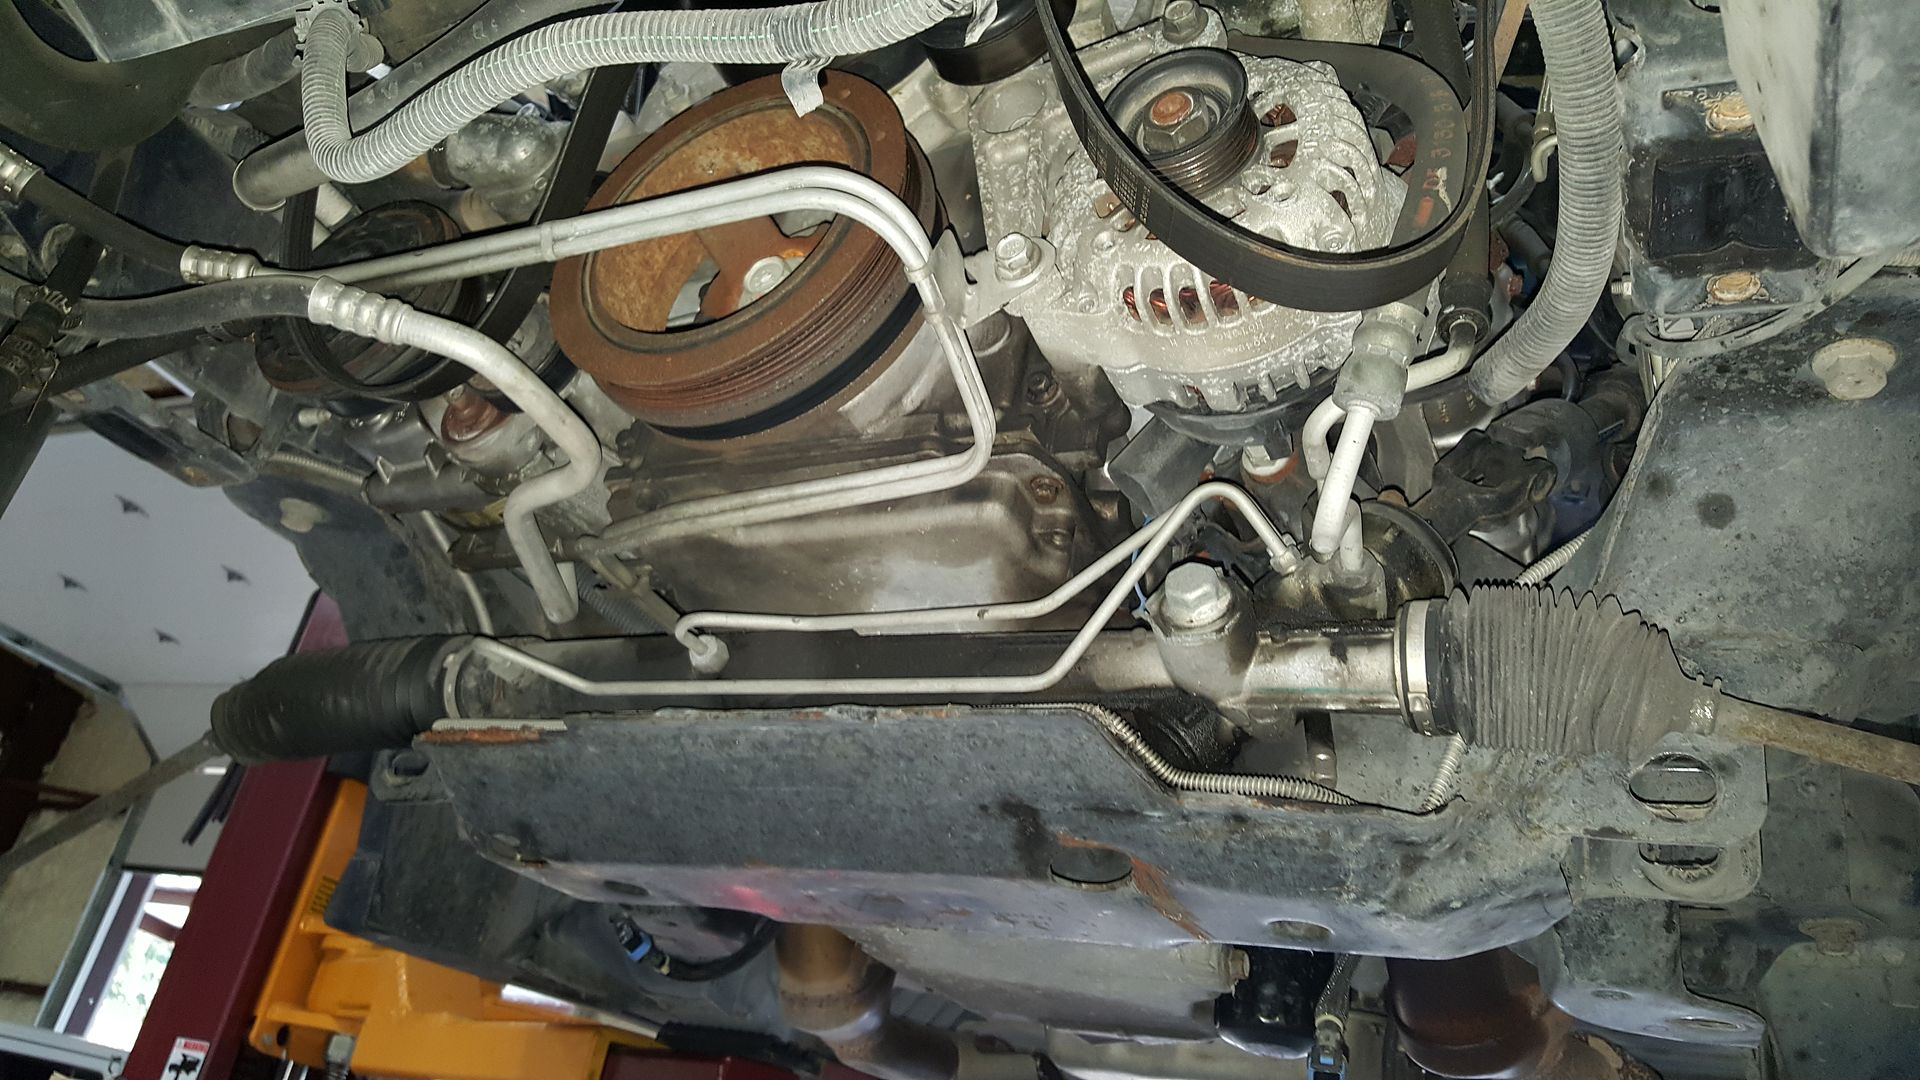
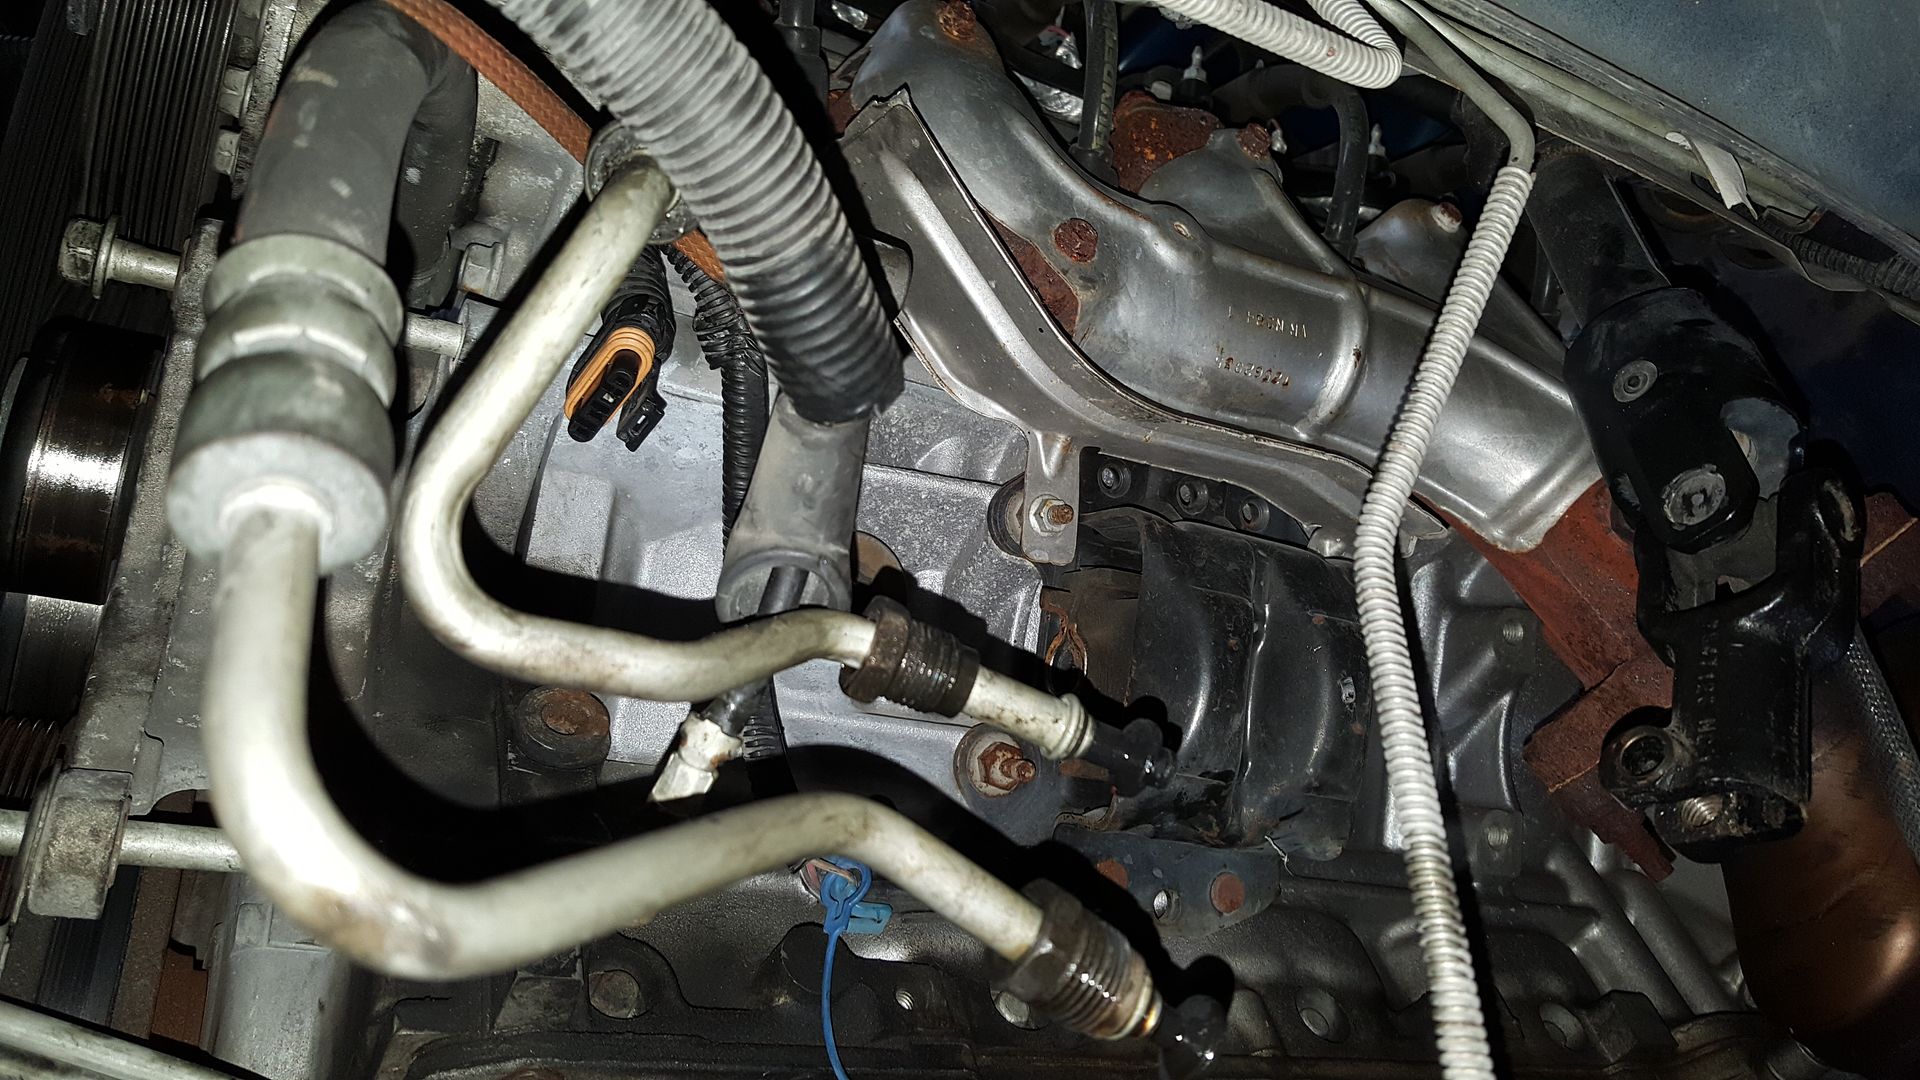
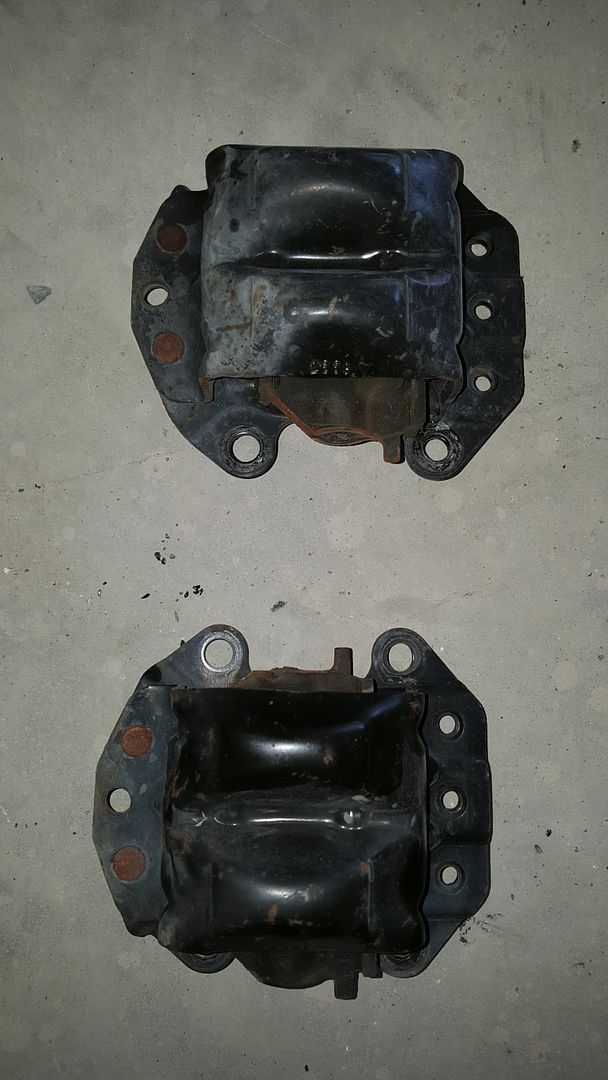
Motor mounts out and taken apart. I cleaned them up a little with a wire wheel.
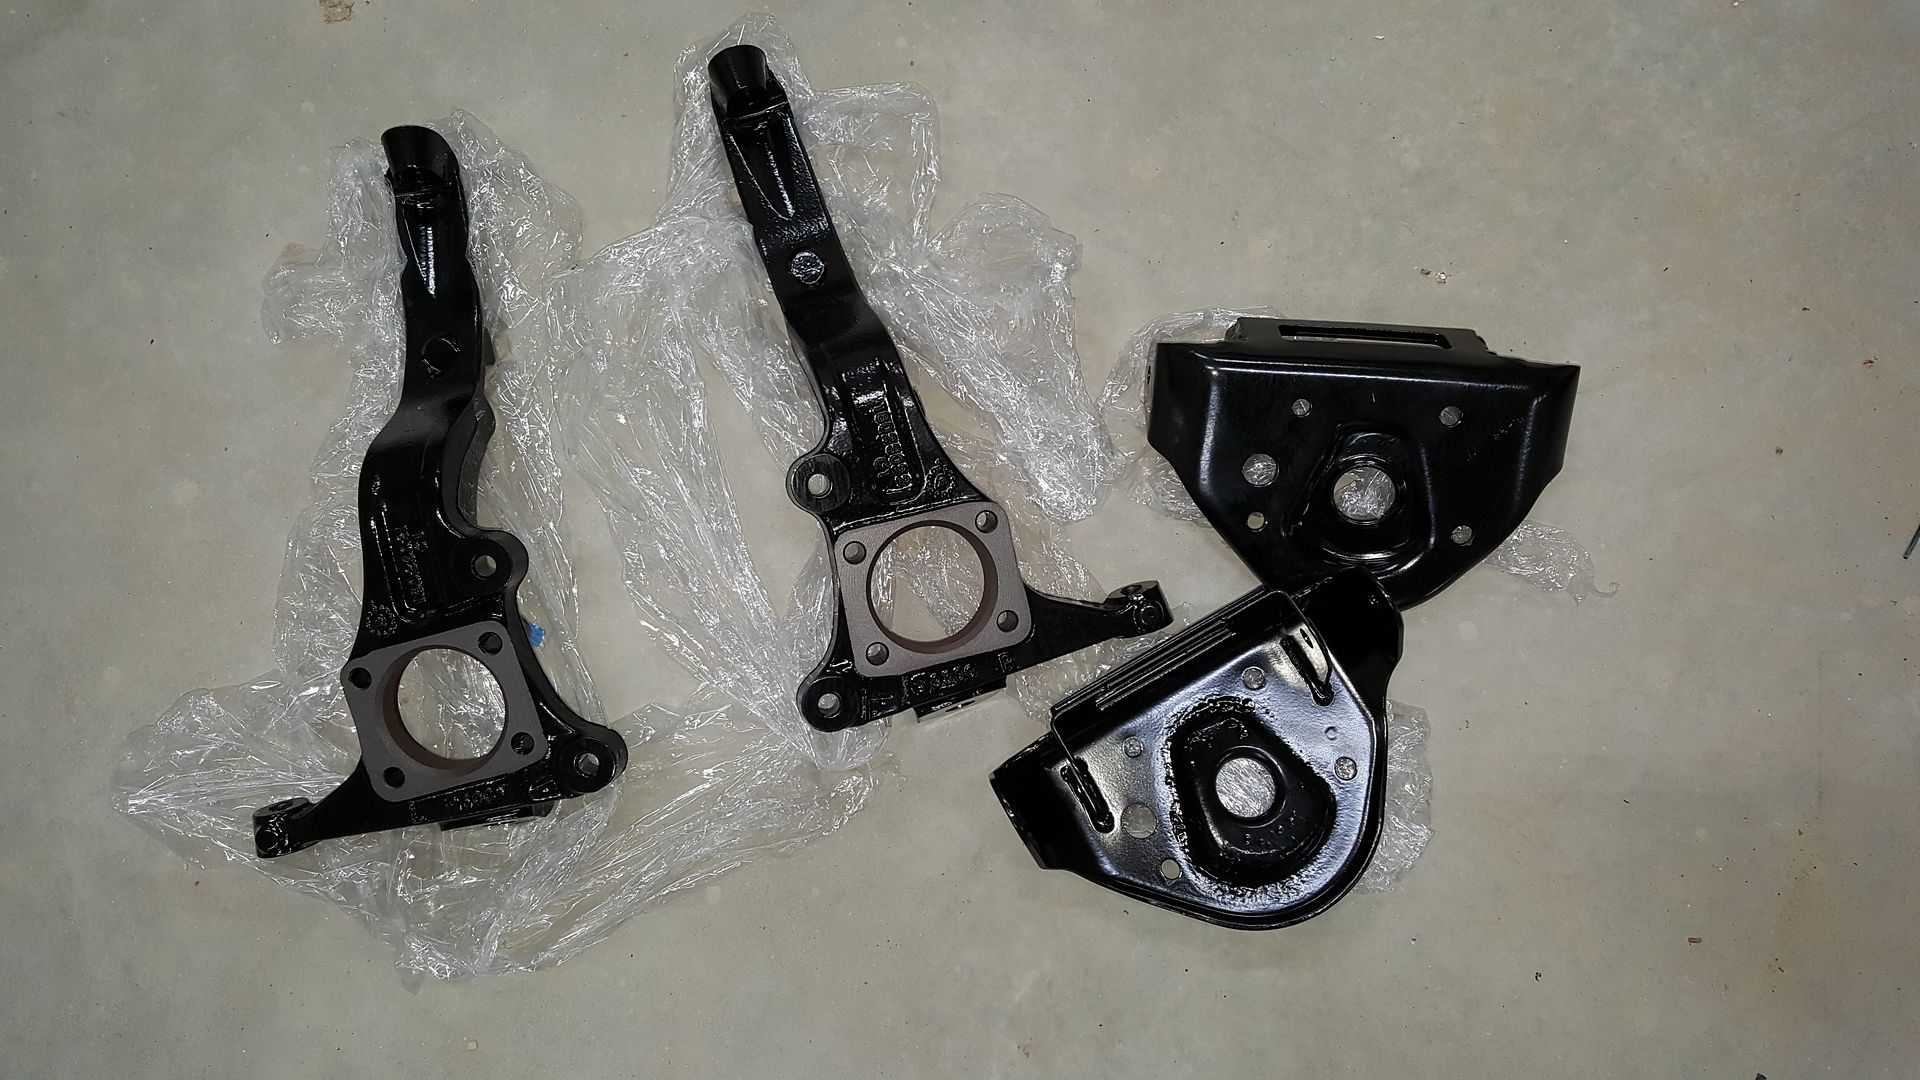
I sent the motor mount shells, upper control arm mounts and spindles to the local powdercoater.
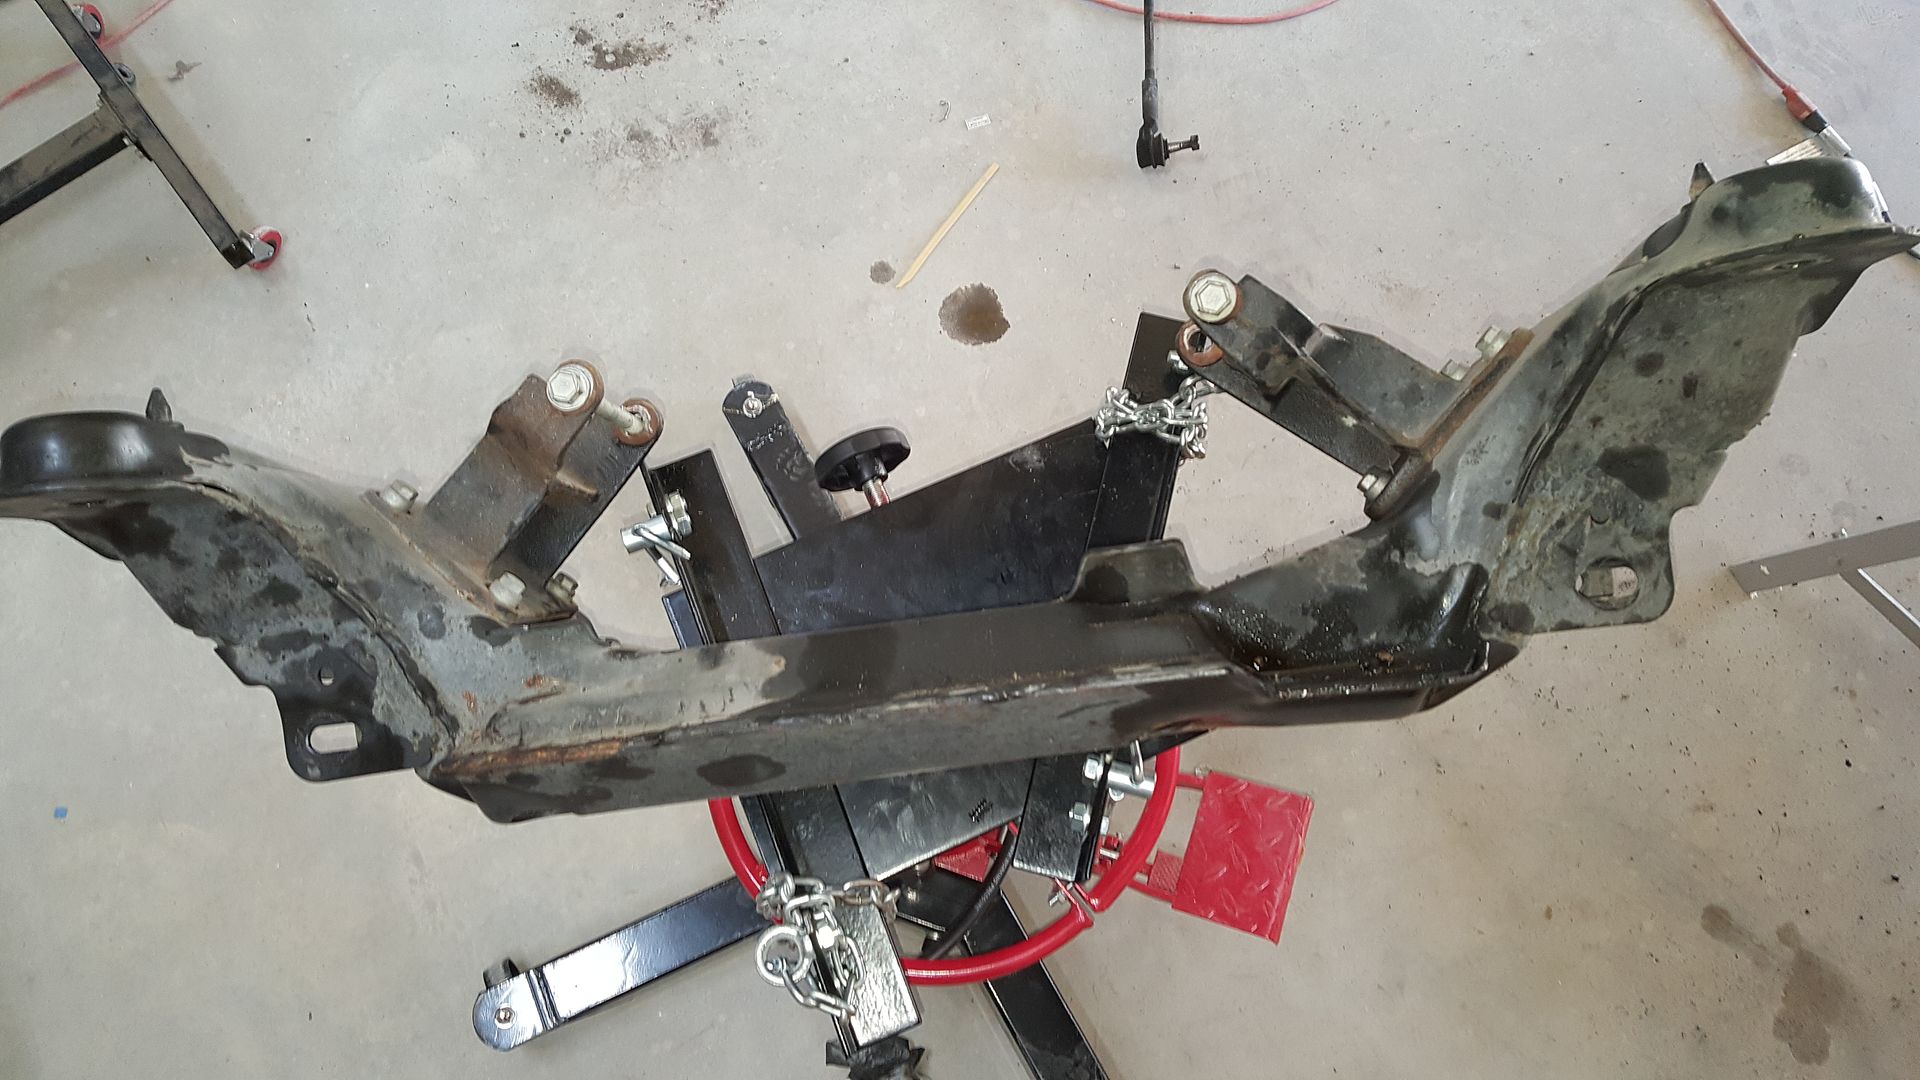
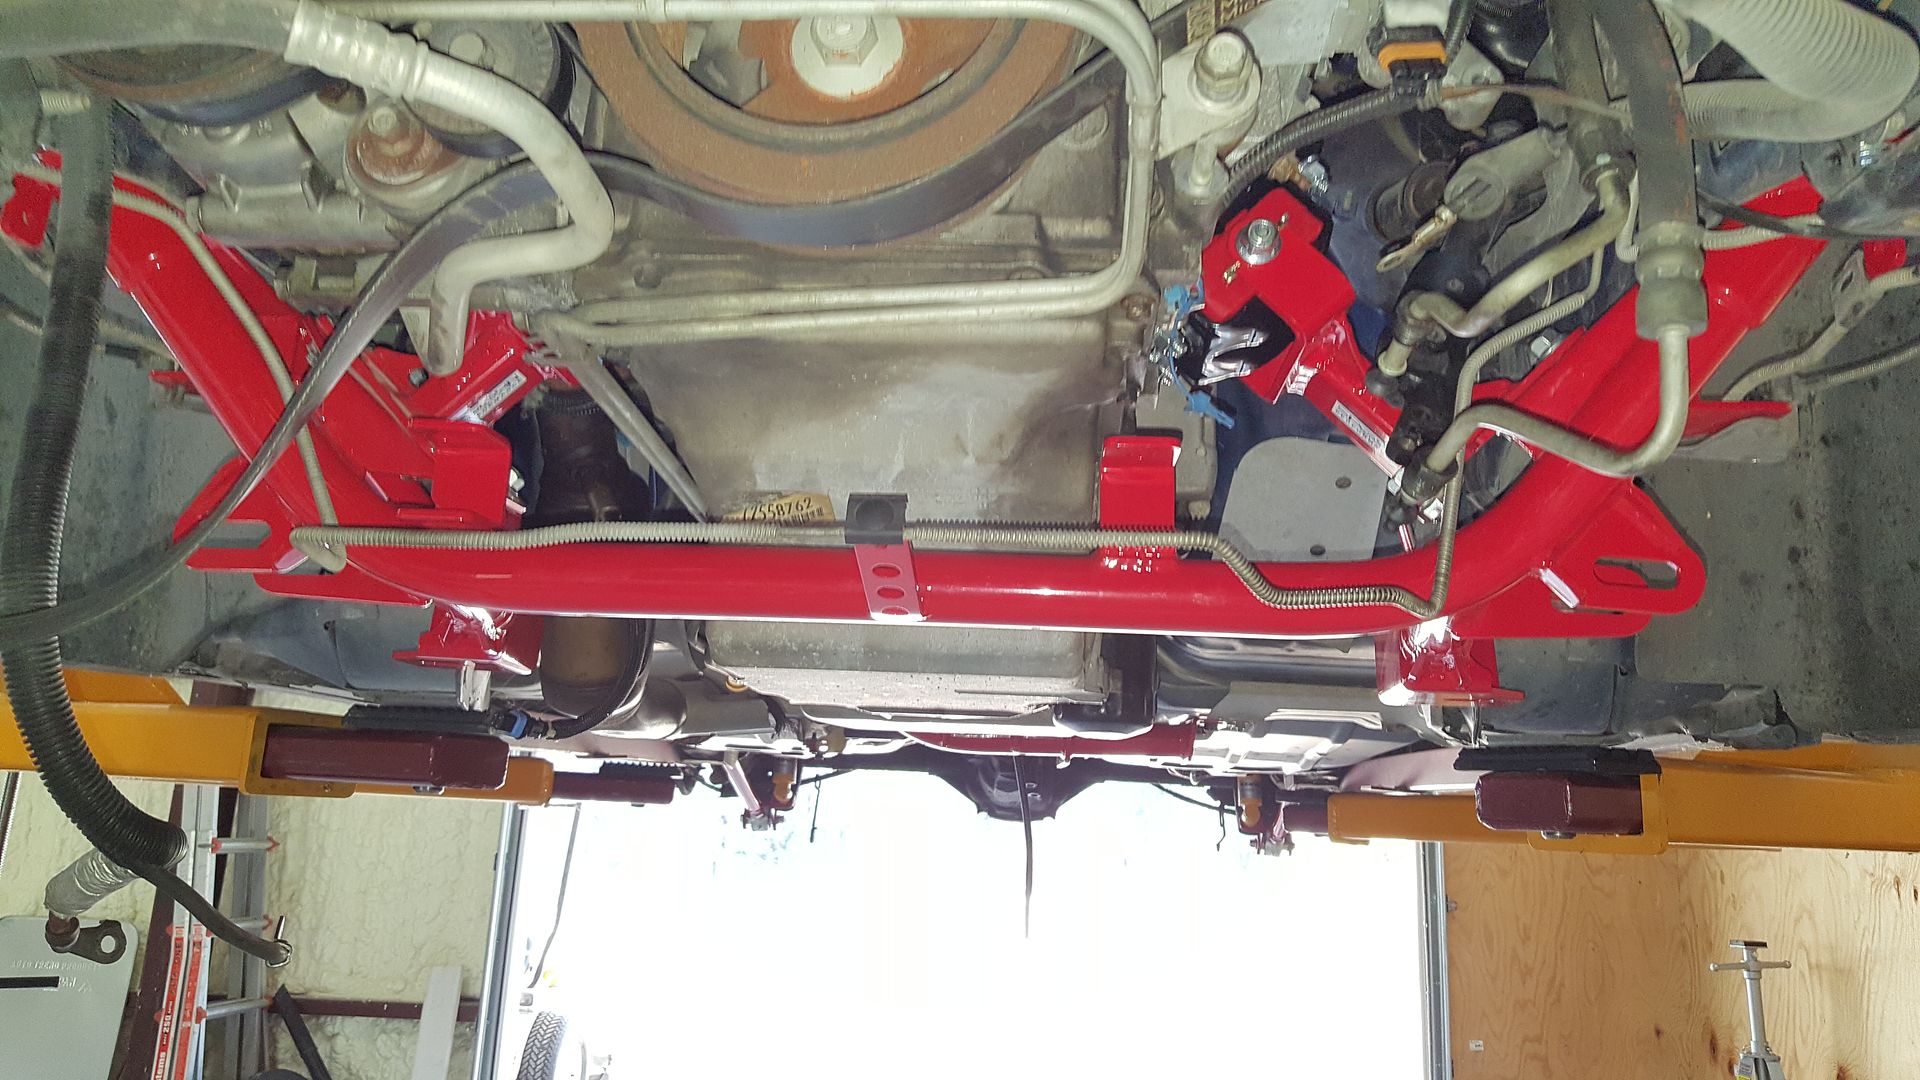
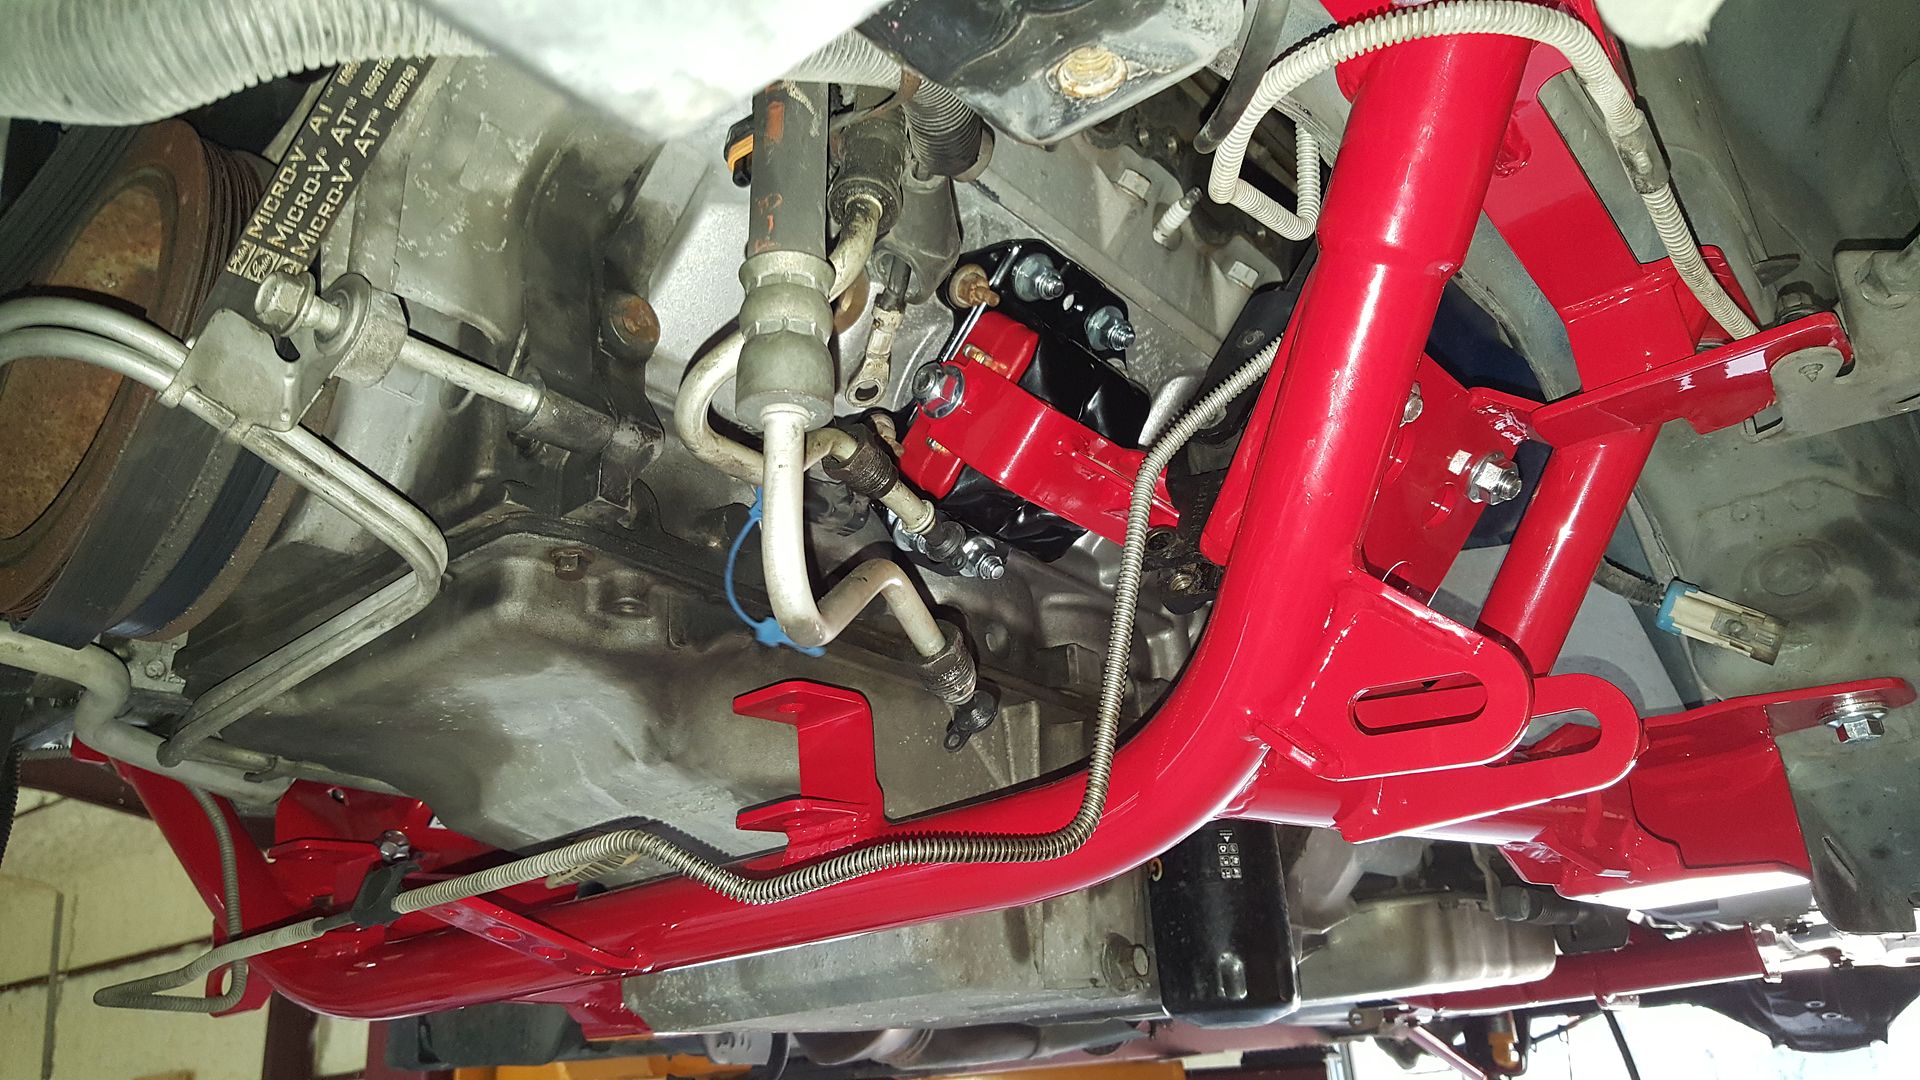
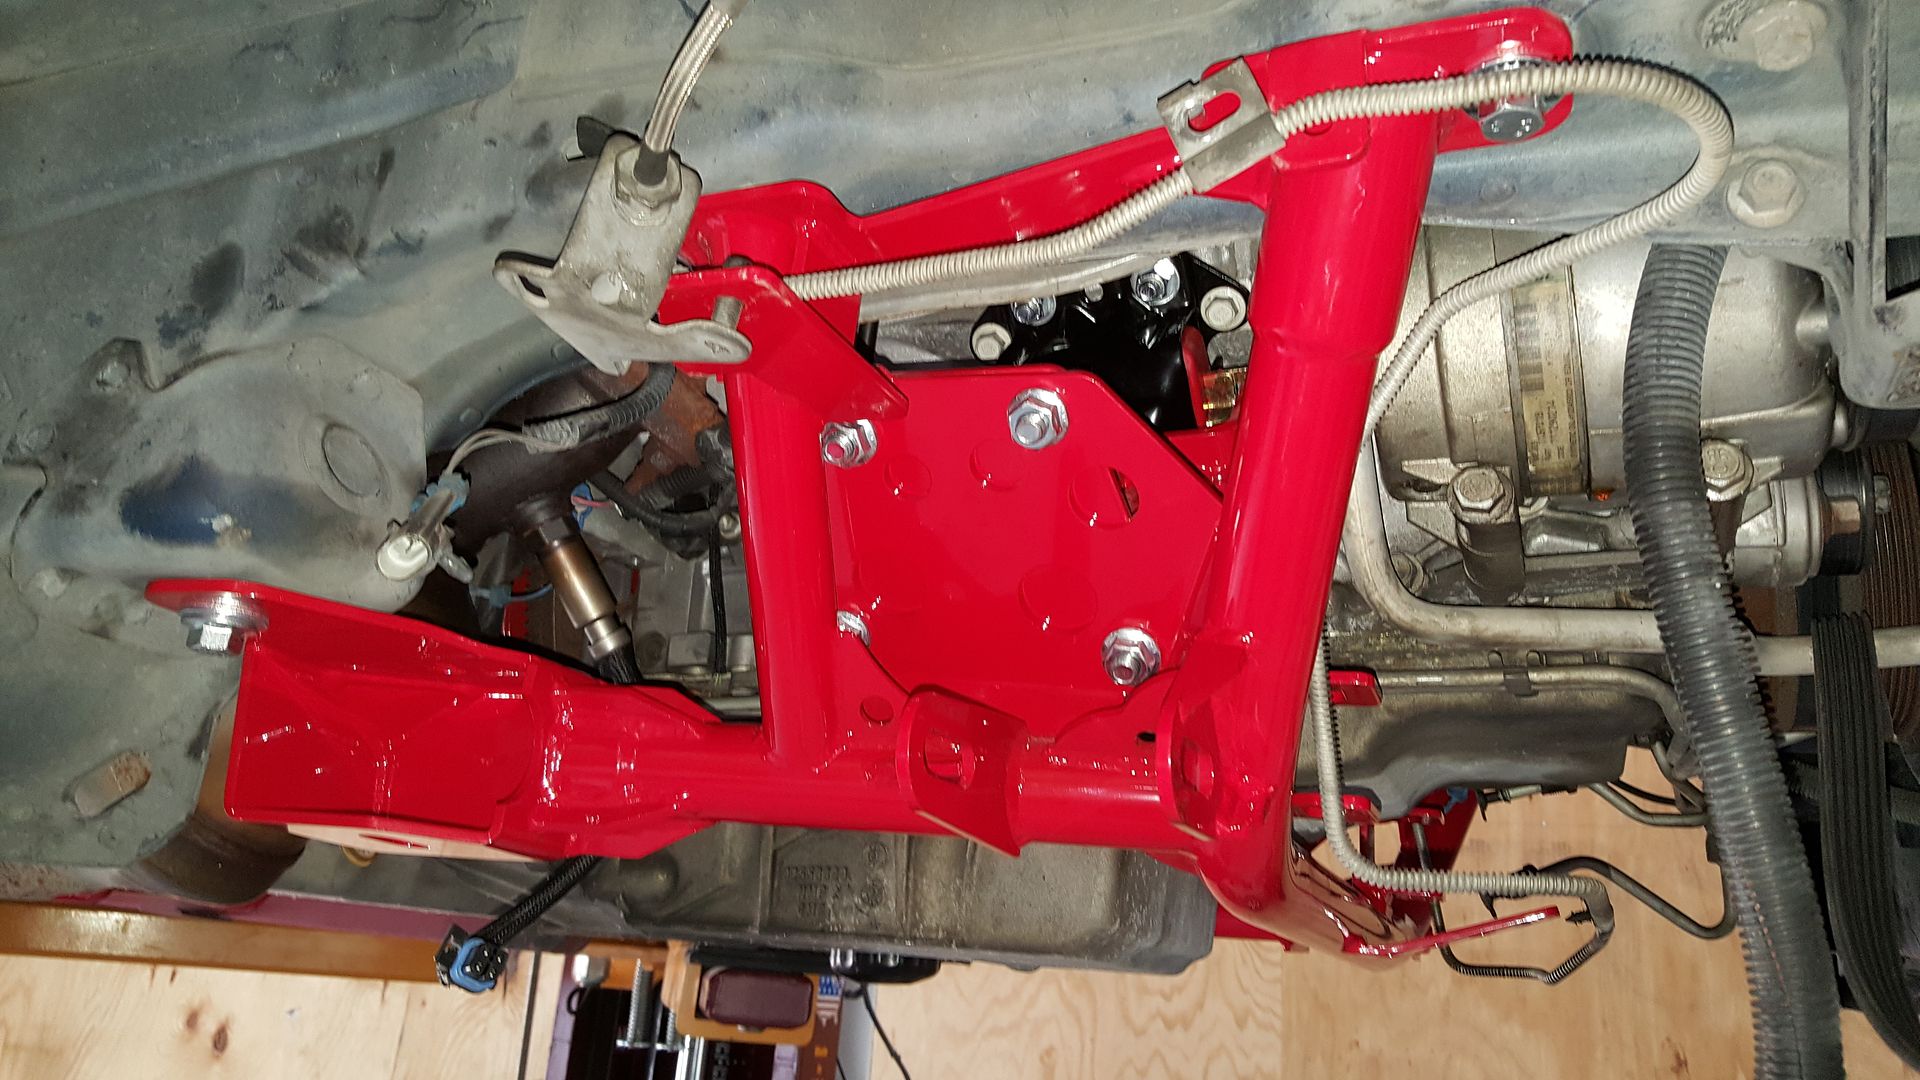
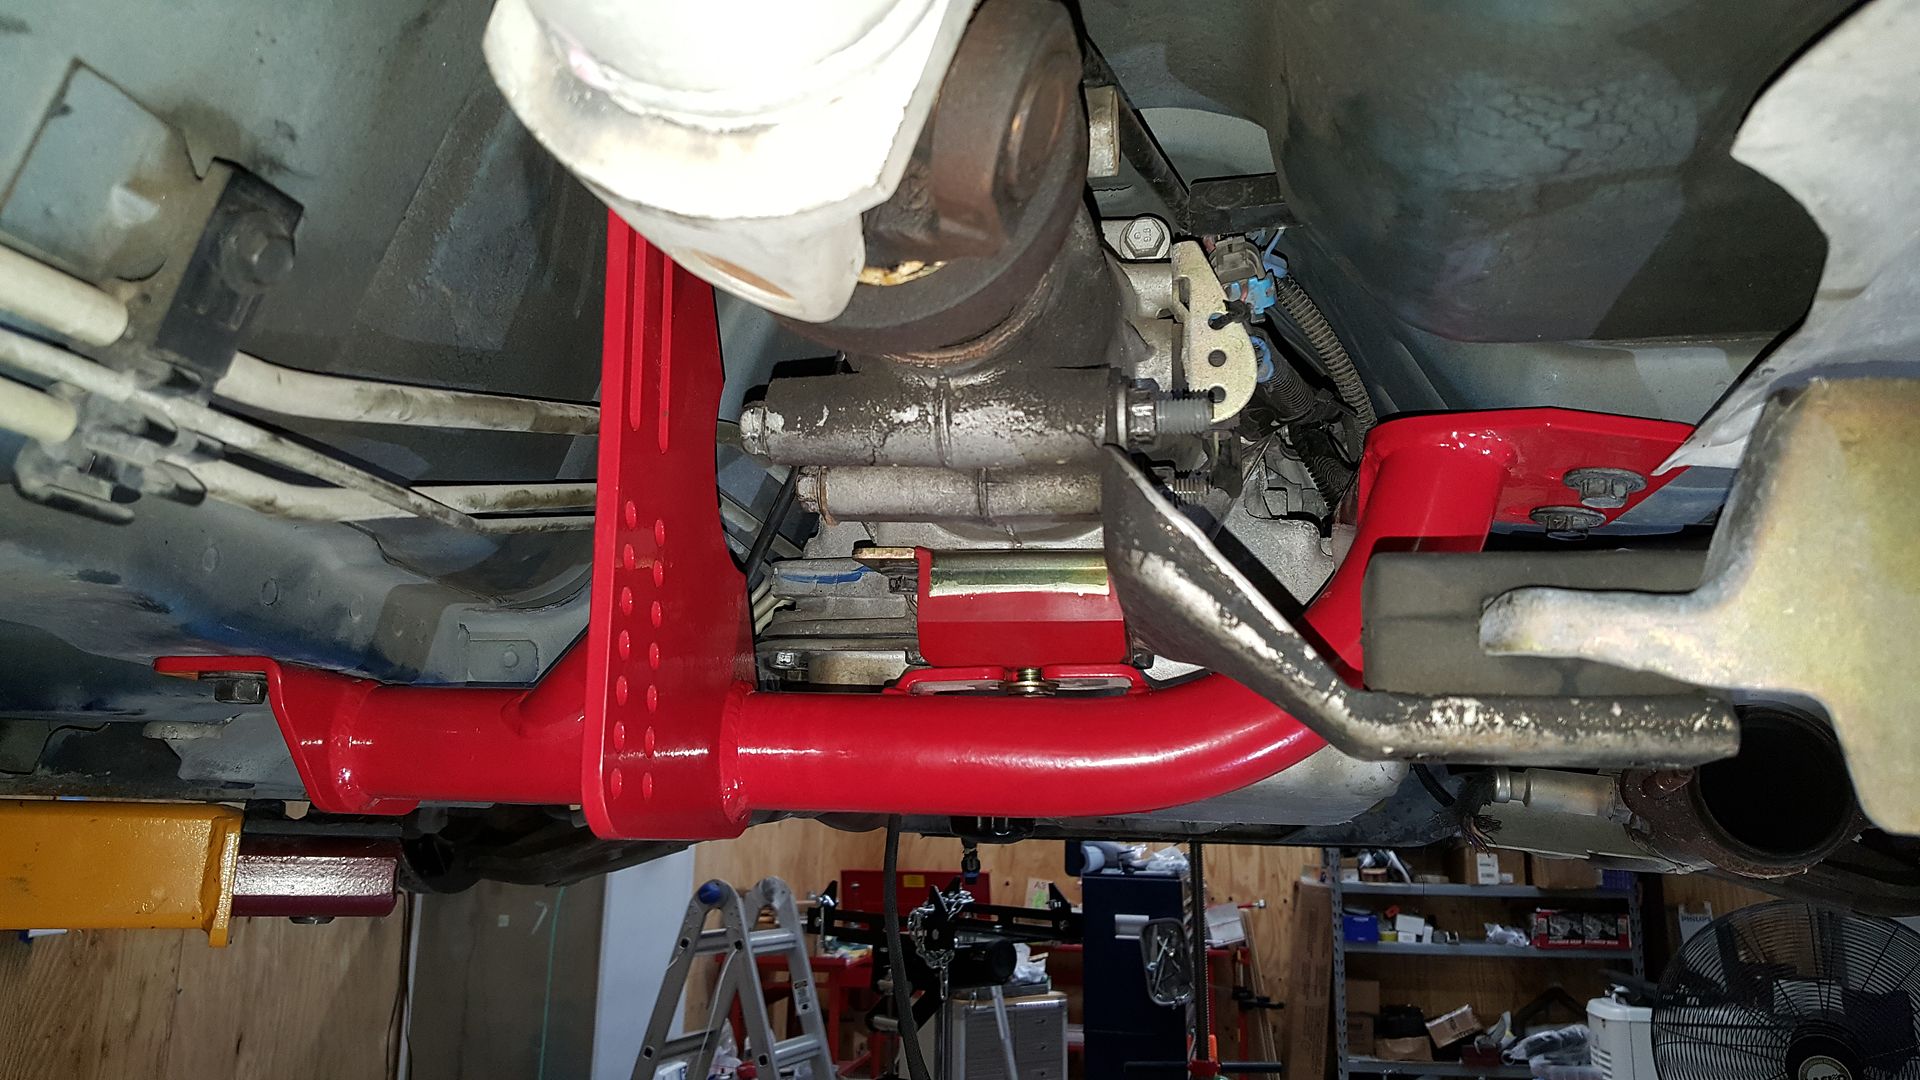
K-member installed
Continued below.
Components - Front Suspension:
Spohn Upper and Lower A-arms with DelSphere Joints
Moog Upper Ball Joints
BMR Swaybar
UMI Swaybar mounts
Spohn Rod End Swaybar Links
Koni Shocks
BMR Springs
Spohn Tubular K-member
Prothane Motor Mount Bushings
Components - Rear Suspension:
BMR Stock Length Adjustable Torque Arm
BMR Torque Arm Relocation Mount
Prothane Transmission Mount
Midwest DSL
Spohn Rear Control Arms with DelSphere Joints
BMR Control Arm Lowering Brackets
Spohn Panhard Rod with DelSphere Joints
BMR Sway Bar
UMI Sway Bar Brackets
Koni Shocks
BMR Springs
Hawks Bump Stops
Front Suspension
Here's what I started with.

Spindle Removed

I broke one of the wheel sensor connectors on the hub so I had to replace it.

Front shock assembly removed as well as the front sway bar. The only thing being reused here will be the upper control arm mount.

Here are the upper control arm mounts.

What's left after. Then I removed the rack and pulled the K-member.


Motor mounts out and taken apart. I cleaned them up a little with a wire wheel.


I sent the motor mount shells, upper control arm mounts and spindles to the local powdercoater.


K-member installed


Continued below.
 05-30-2018, 09:33 AM
#2
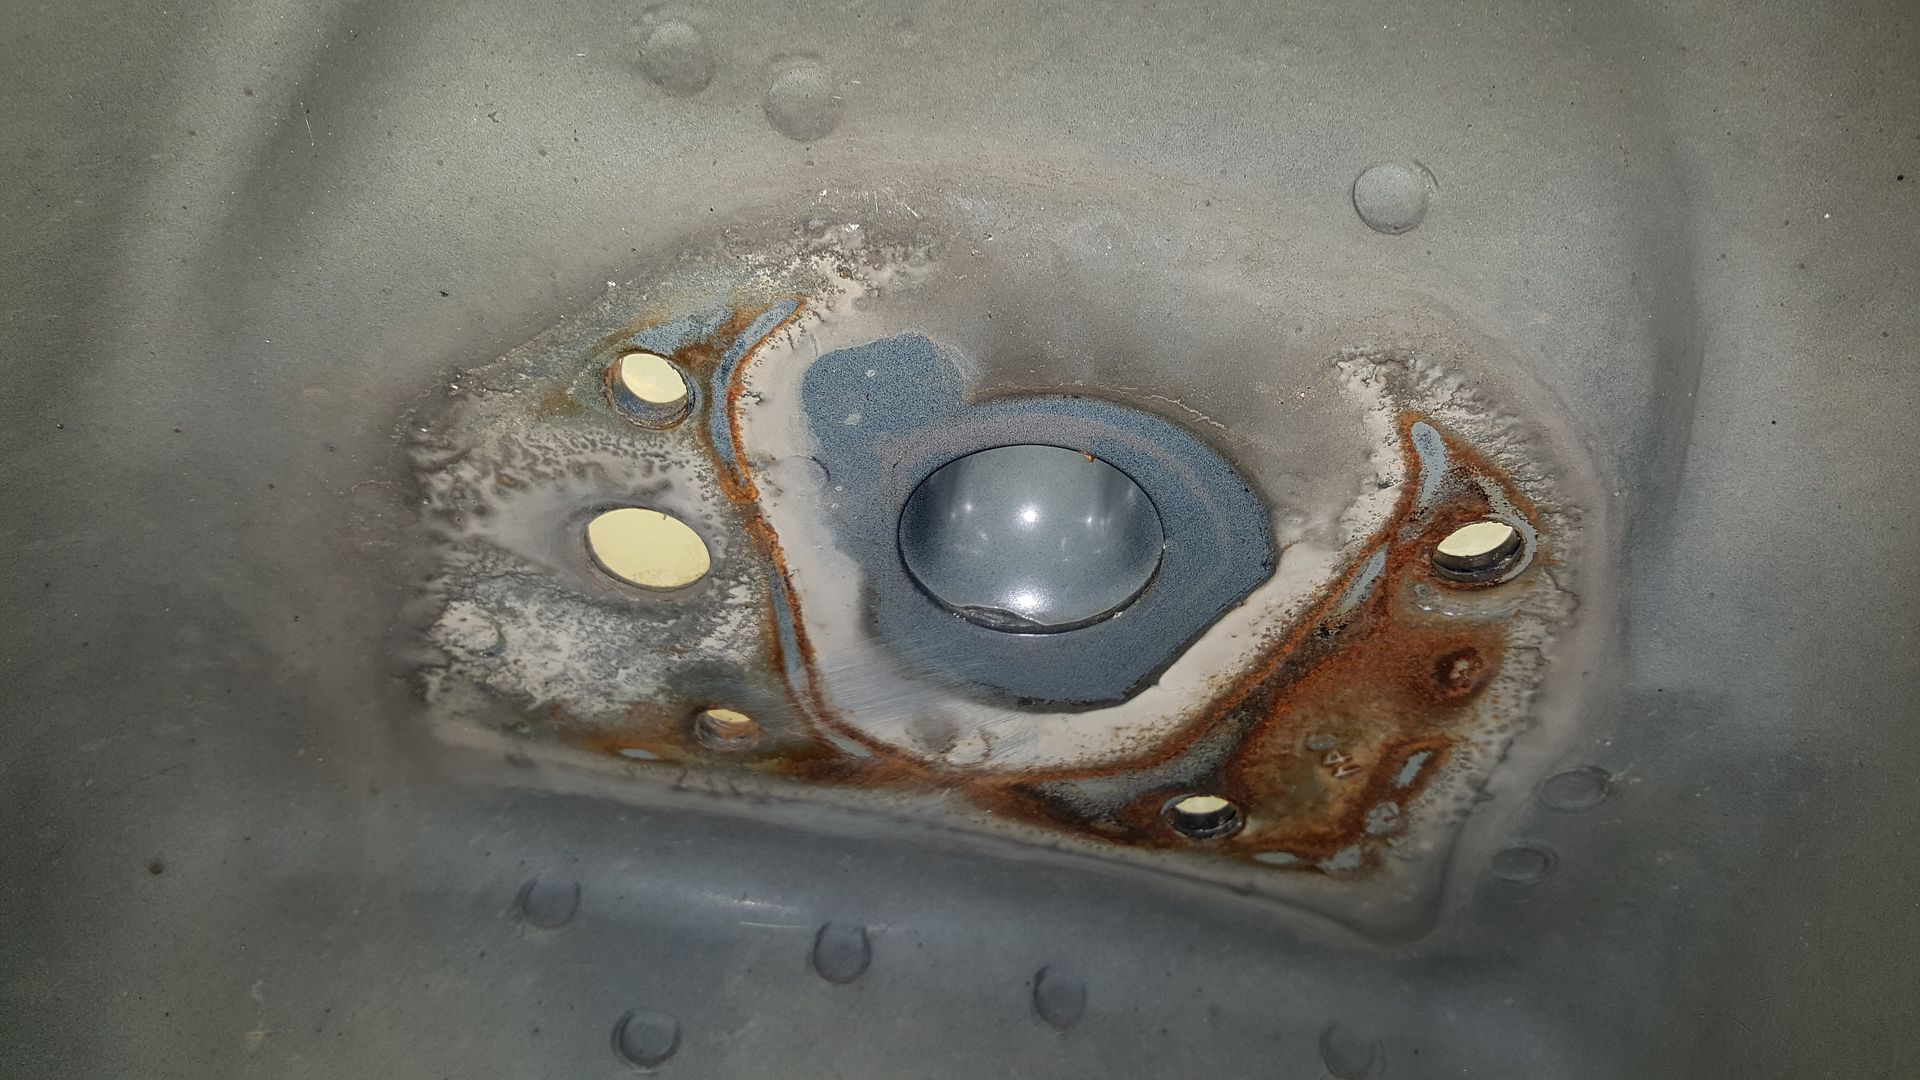
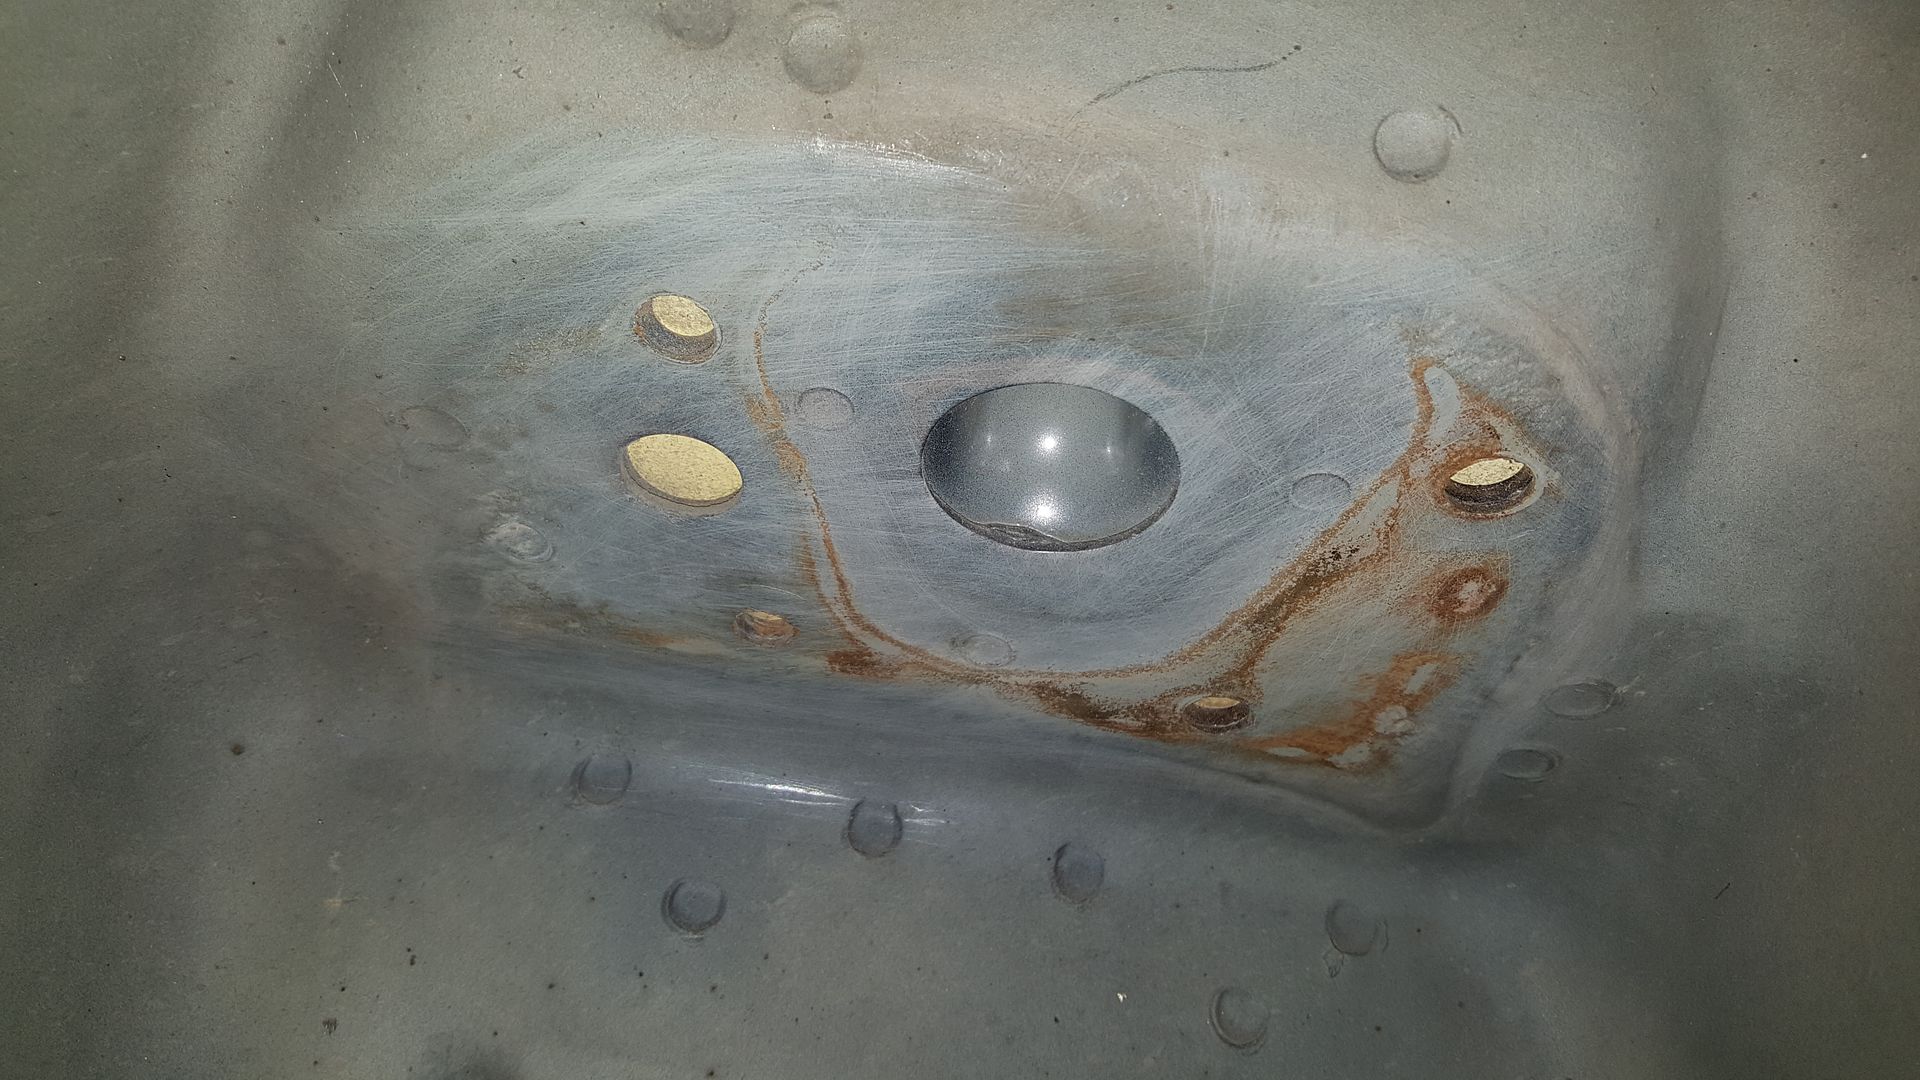
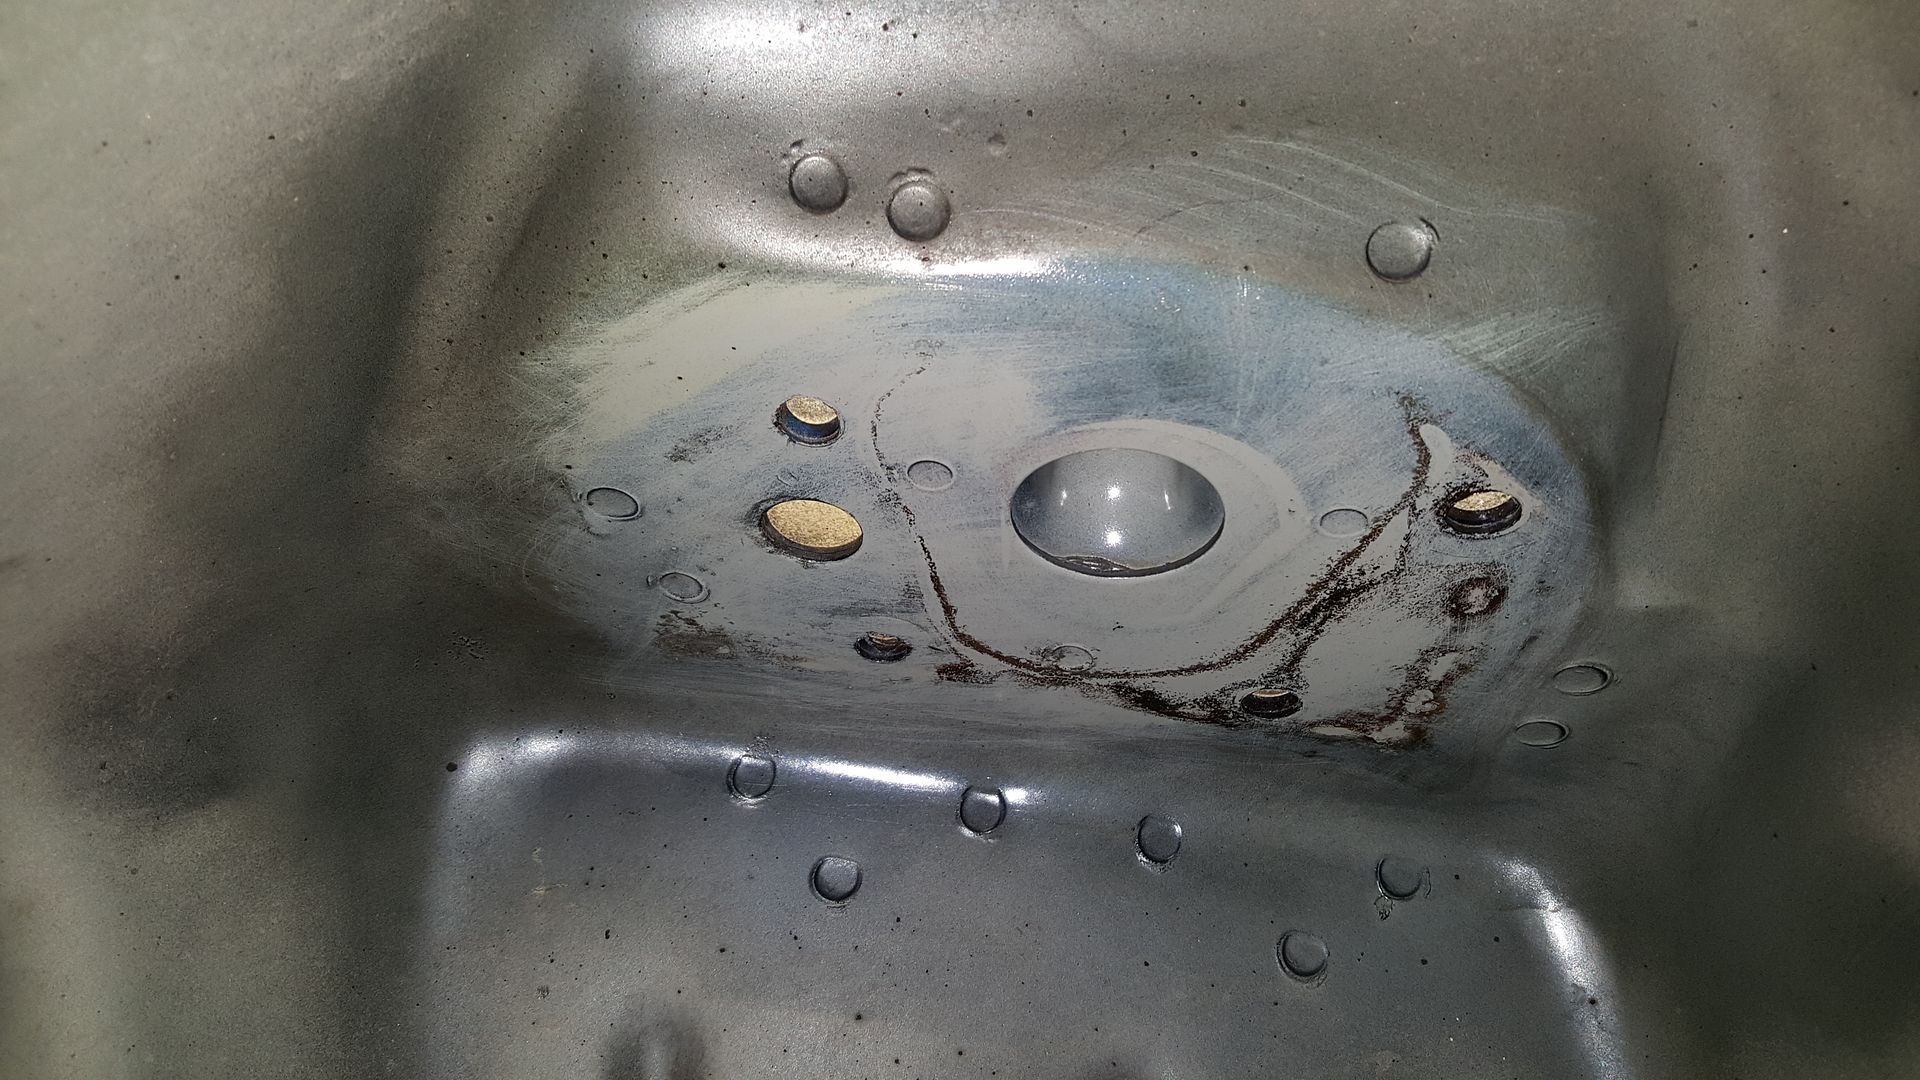
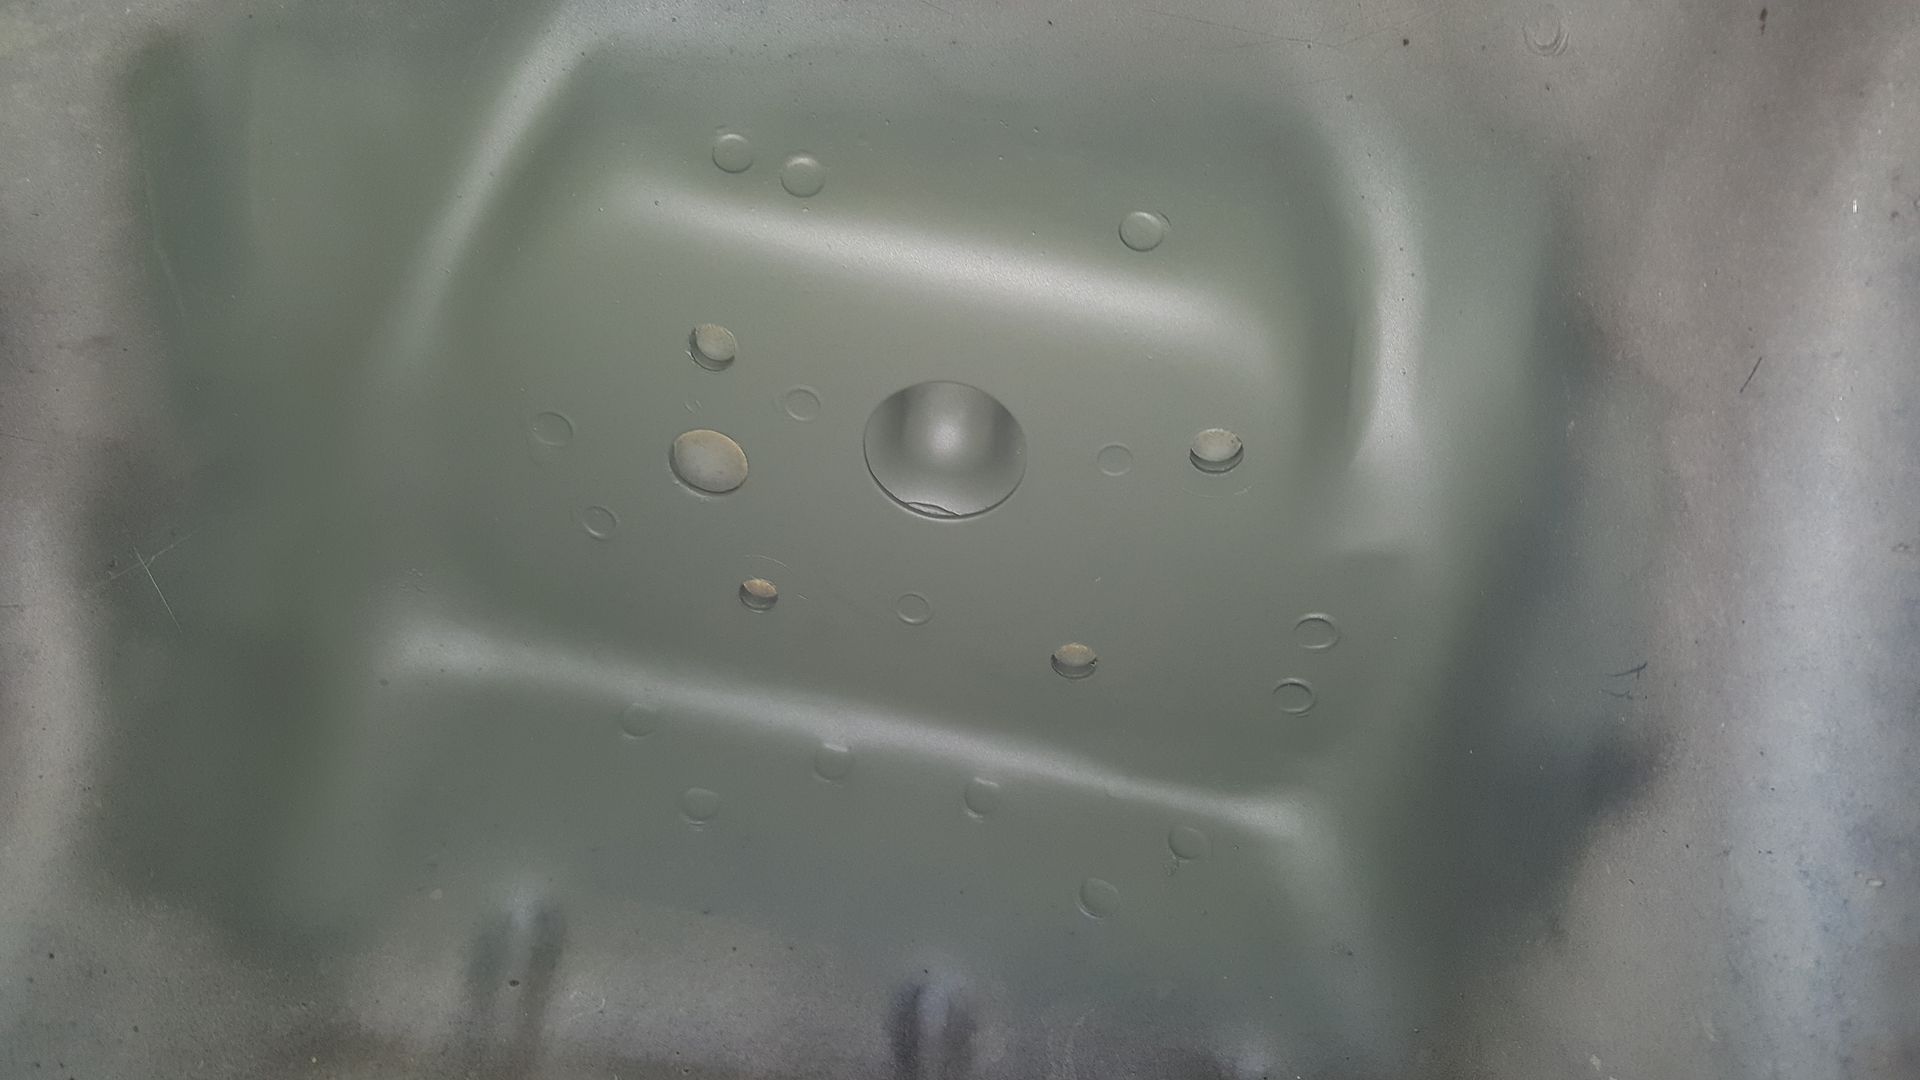
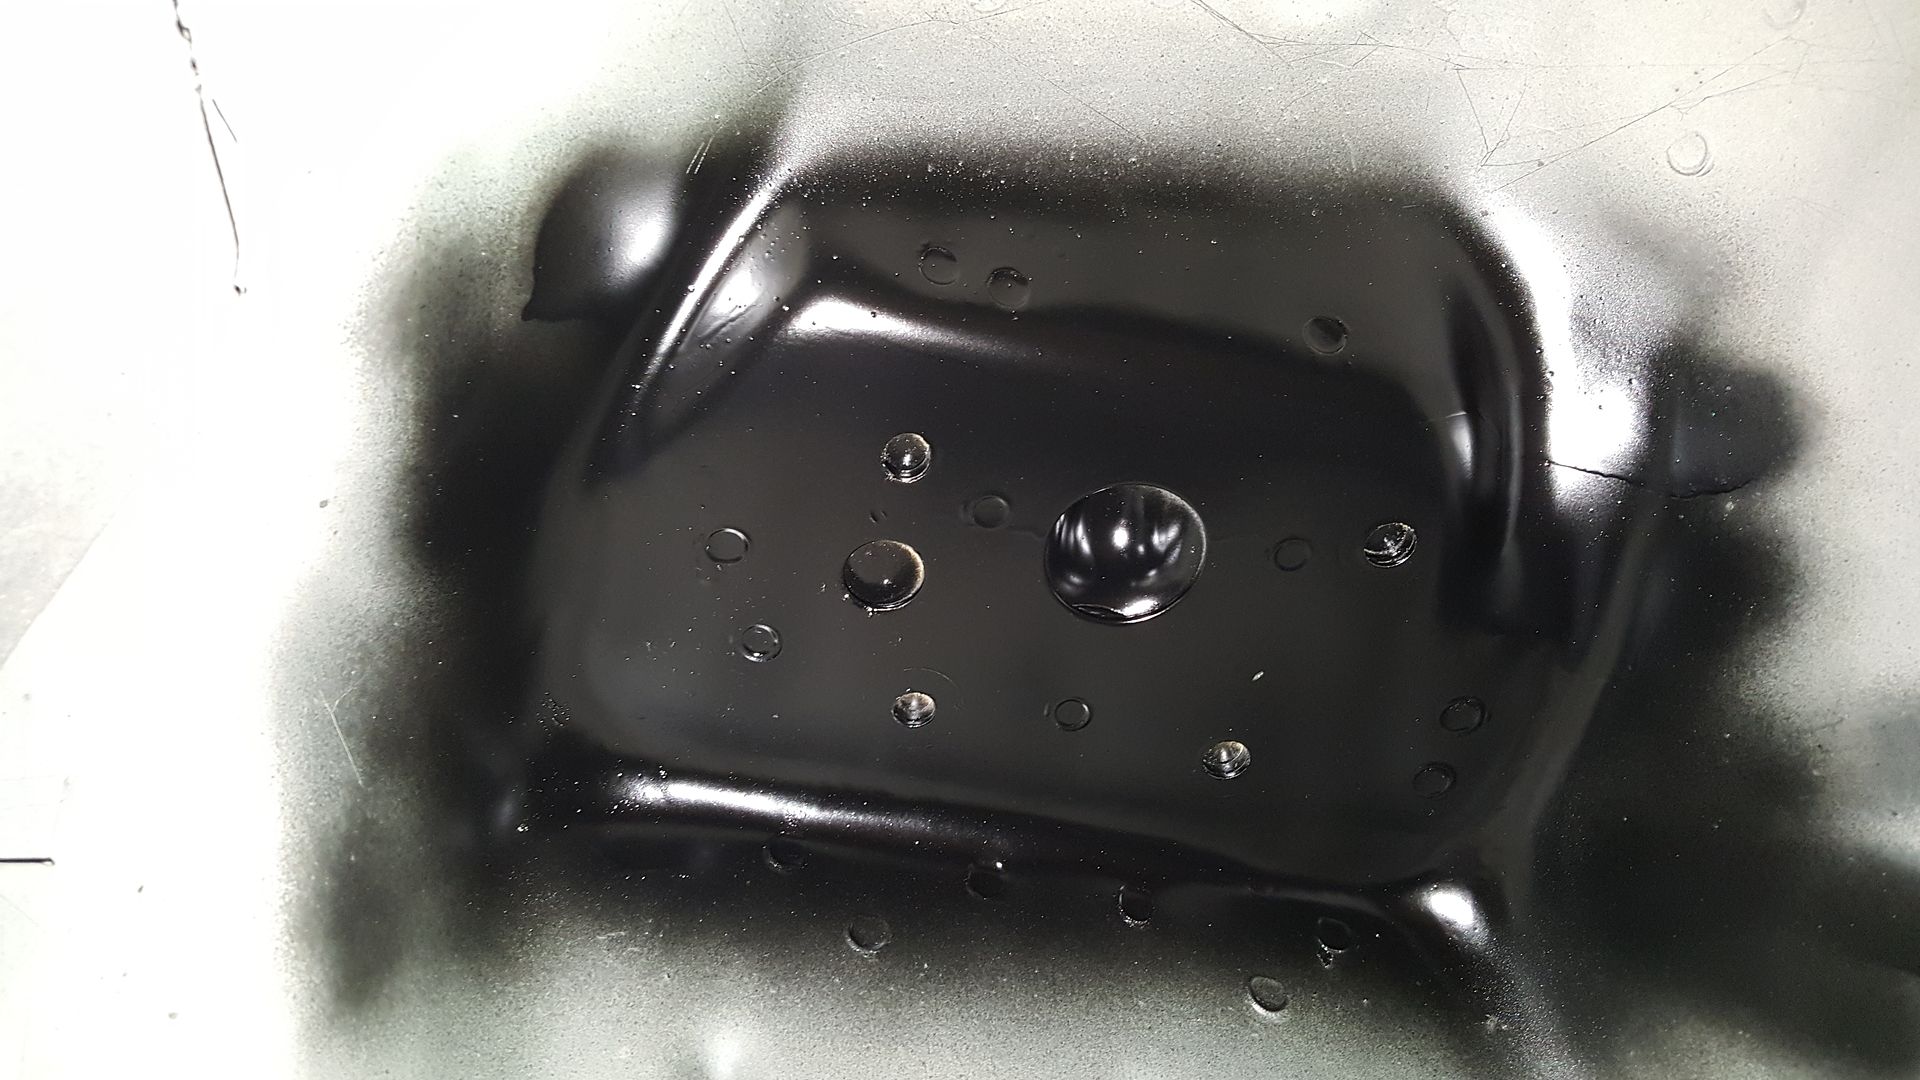
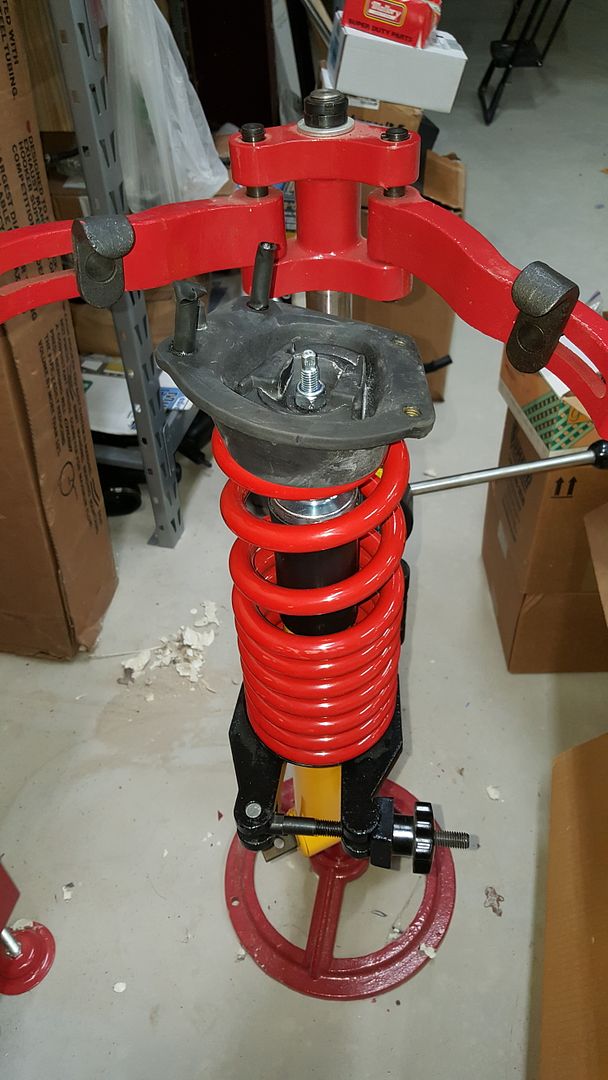
The shock towers had some rust so I cleaned them up with a brush to knock the loose rust off, gave them a shot of rust converter, primer and some black paint I had on hand.
Assembled the shocks, springs and new upper shock mounts and the upper control arms to the upper control arm mounts. Also installed upper ball joints.
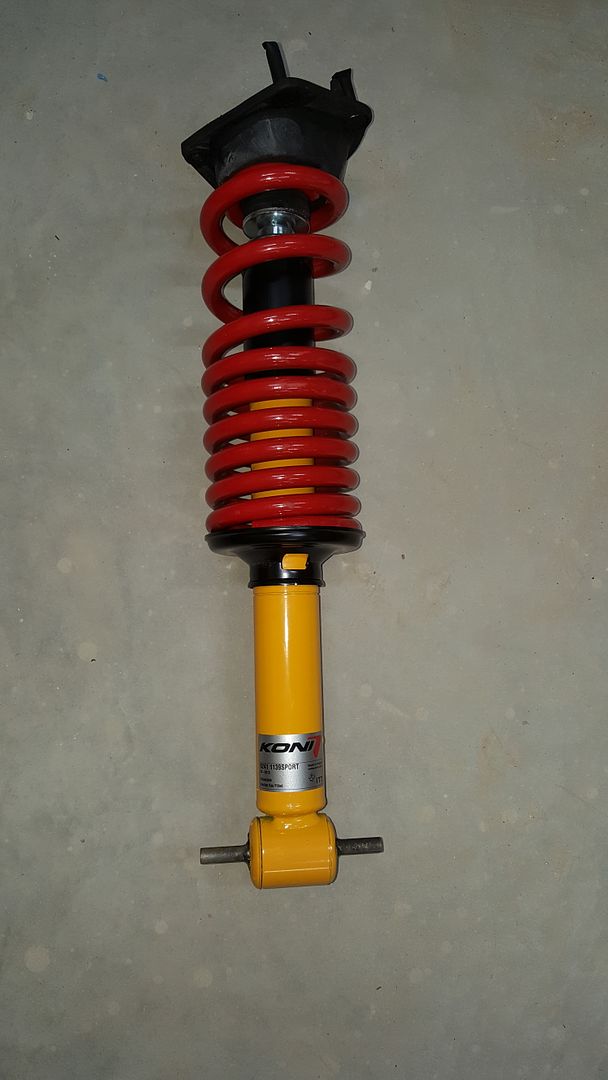
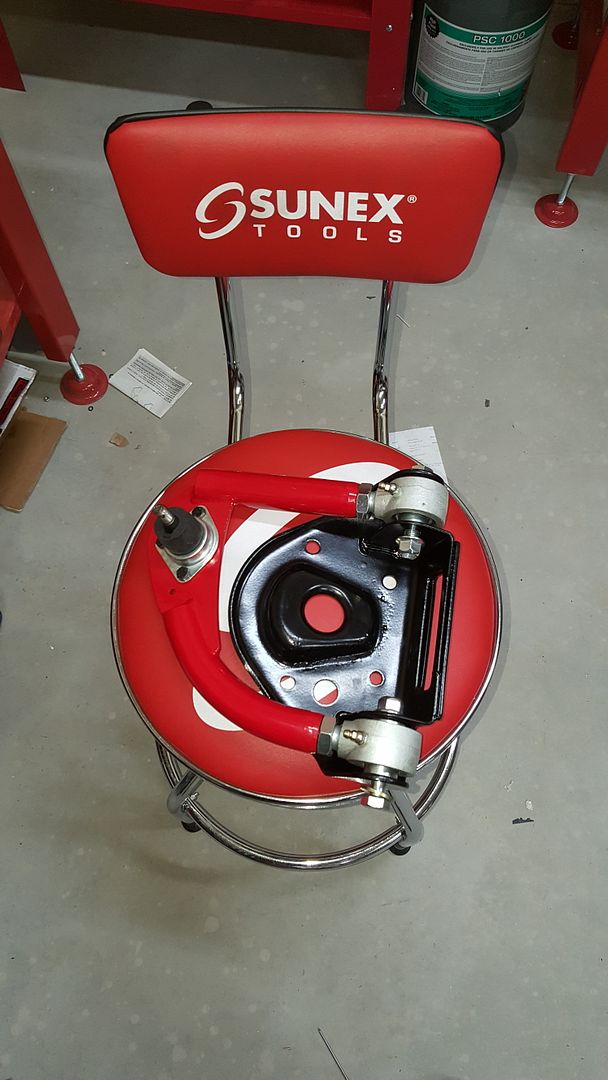
Somewhere around here pictures became an after thought so here is the assembled front suspension.
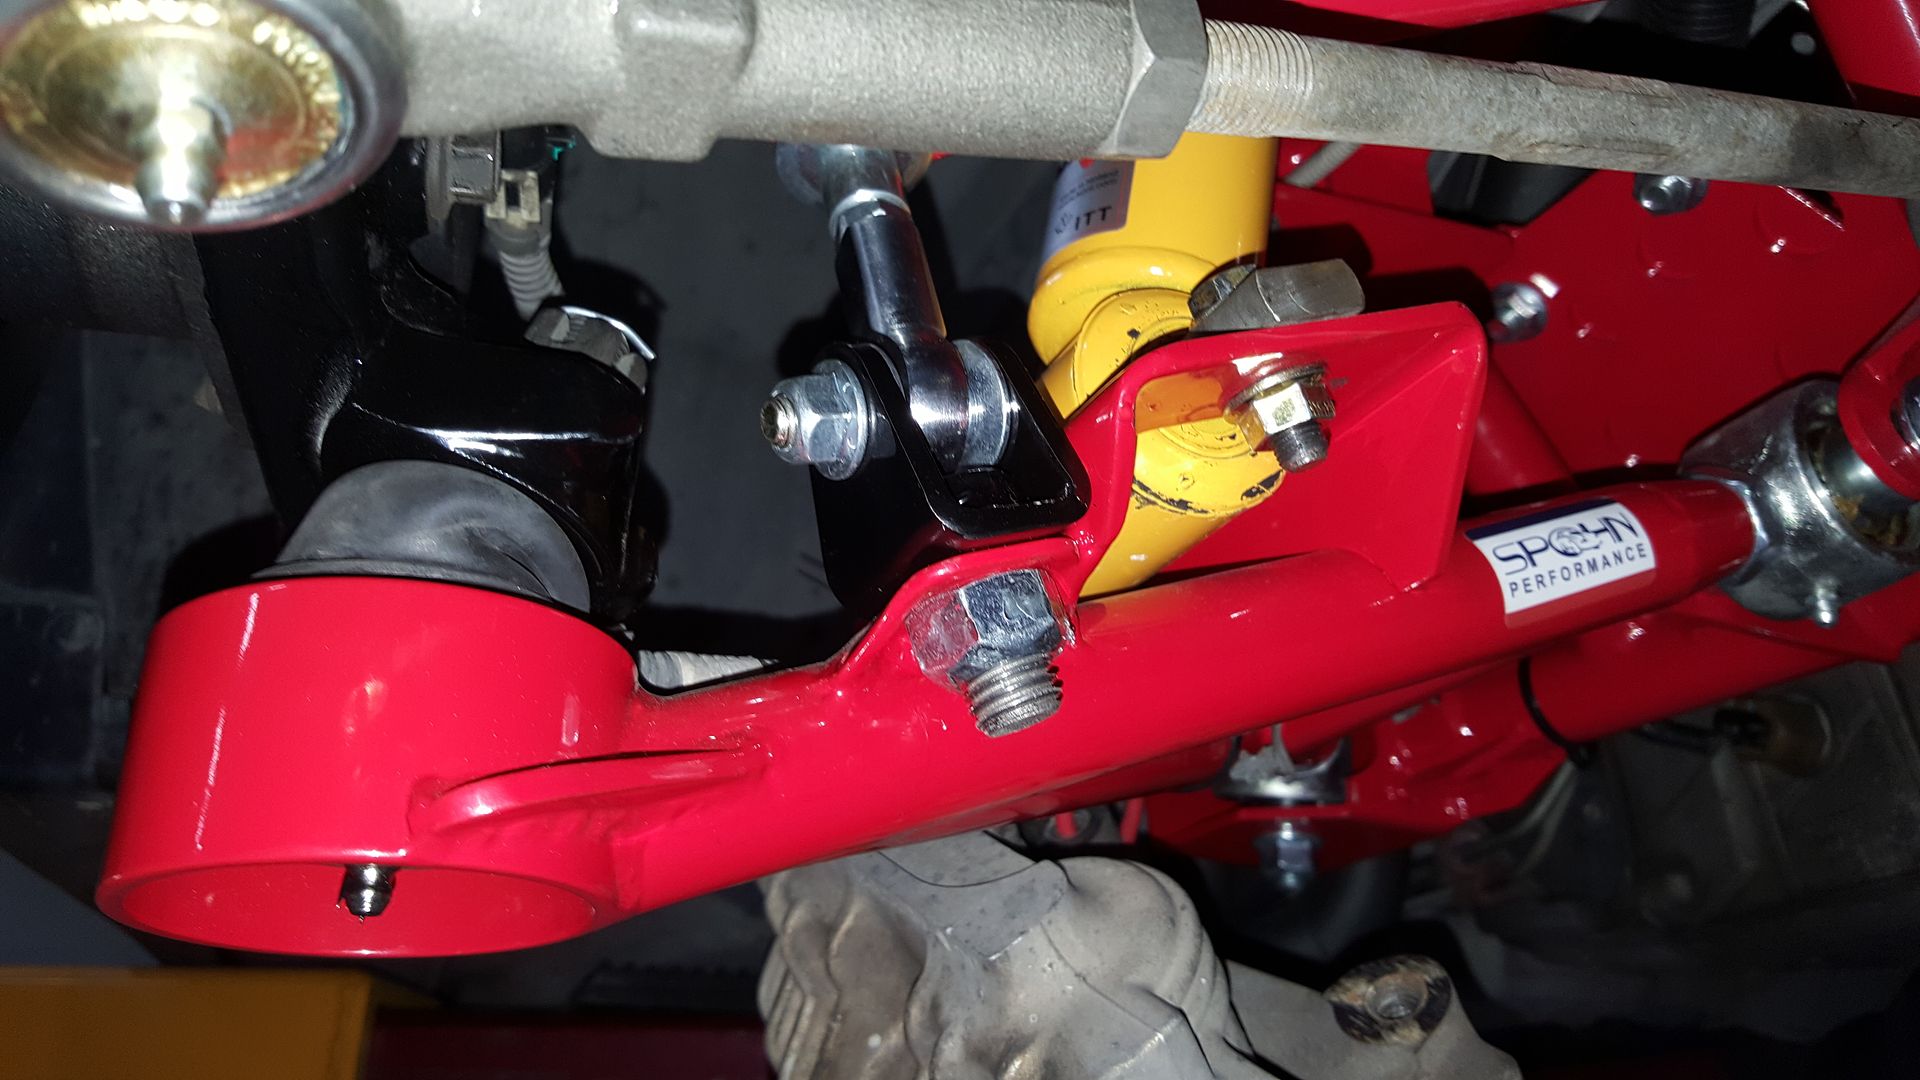
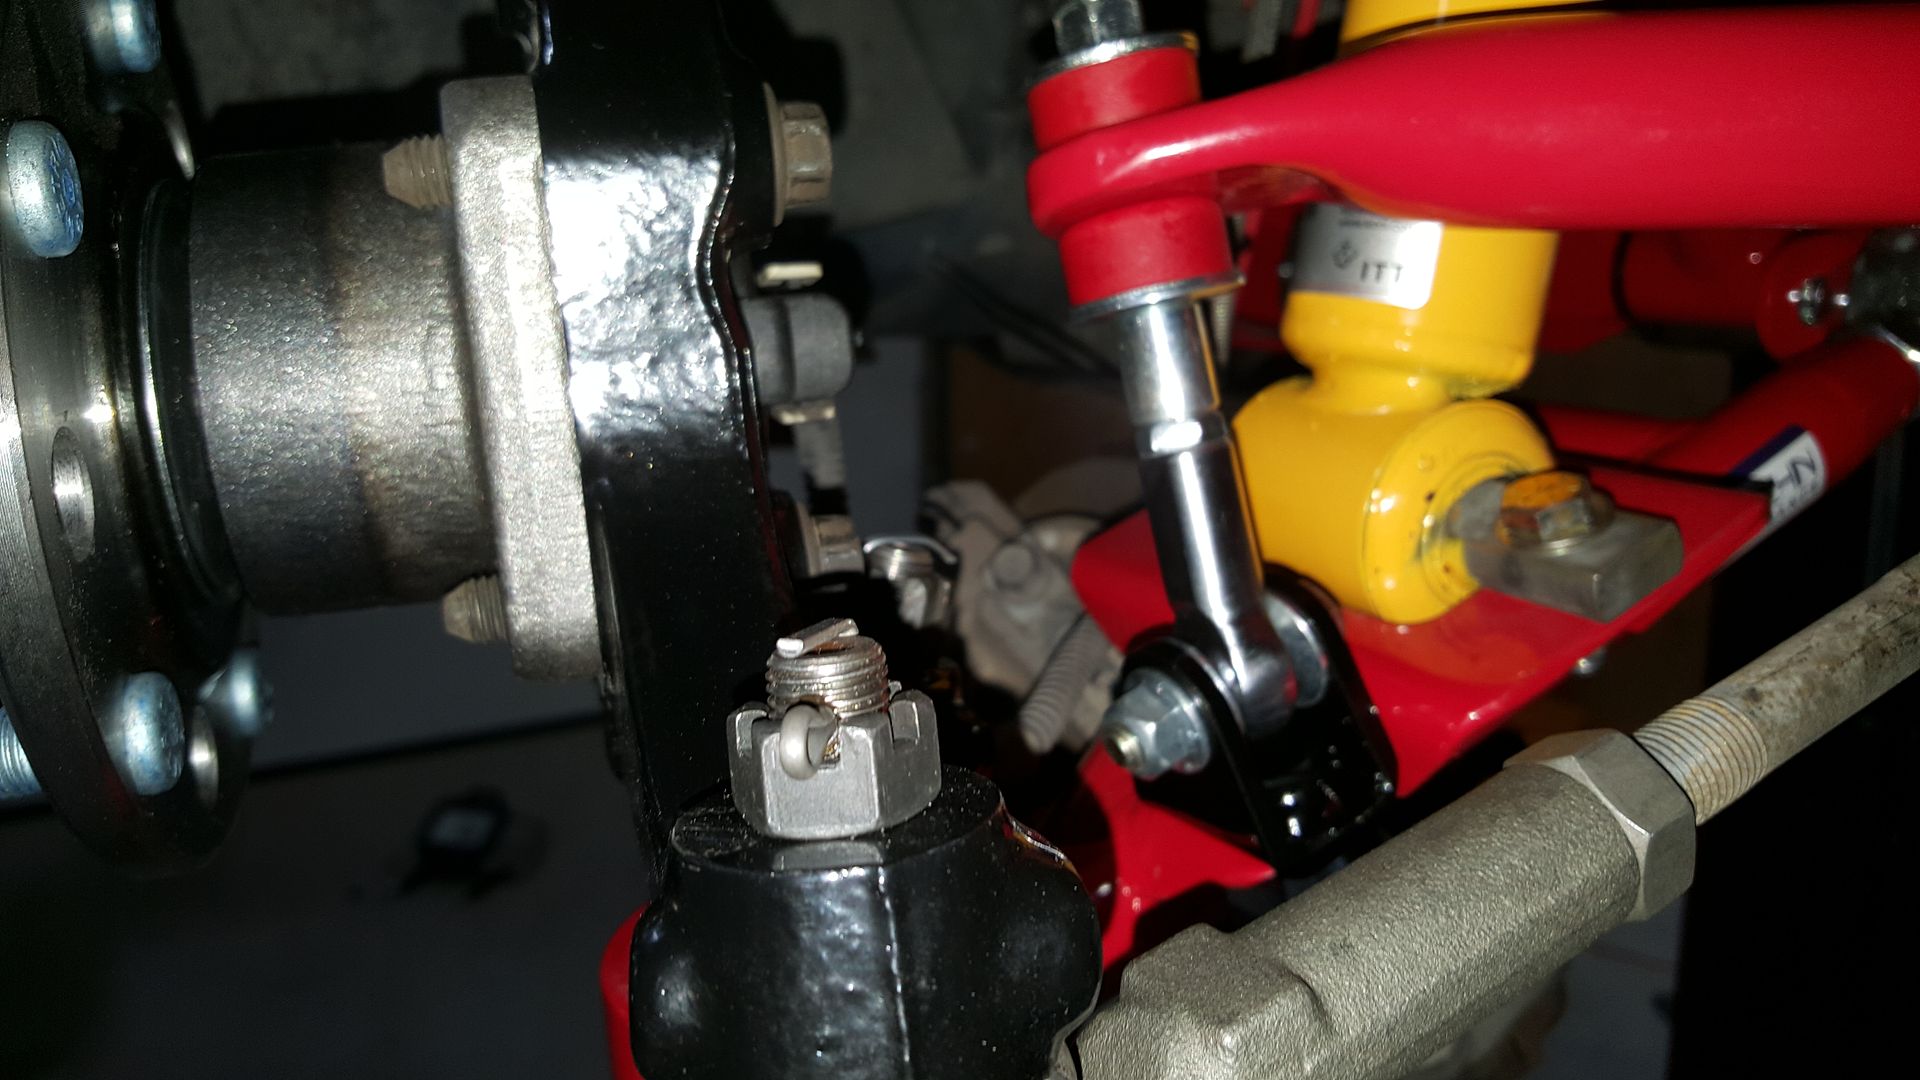
Continued below.


Assembled the shocks, springs and new upper shock mounts and the upper control arms to the upper control arm mounts. Also installed upper ball joints.


Somewhere around here pictures became an after thought so here is the assembled front suspension.


Continued below.
05-30-2018, 09:35 AM
#3
Rear Suspension
FYI, I performed a carrier and gear change while doing this install so if there are any pictures with the diff disassembled that's why.
Panhard bar and sway bar removed.

I had some old BMR control arms on it that a friend gave me. They are going to be replaced.

Shocks bolted in to the upper mounts.

Control arms, control arm brackets and springs installed.


Bump stops installed. I found out later that I bought the wrong ones.

Swaybar and end links installed.

Transmission relocation mount and trans mount installed.
Torque Arm installed.


I guess I didn't get a picture on the parhard bar installed. Doesn't matter, I've decided to ditch the PHB and install a Midwest watts link anyway. That will come soon.
I didn't get a good shot of the car before I started this project. Thats pretty common with me, I get focused on something and forget about documentation. Here is a shot of the car on my trailer that shows the typical 4x4 f-body and an after shot.


The stock wheels are on it for now but I have some CCW SP505a's that are going on it eventually.
FYI, I performed a carrier and gear change while doing this install so if there are any pictures with the diff disassembled that's why.
Panhard bar and sway bar removed.

I had some old BMR control arms on it that a friend gave me. They are going to be replaced.

Shocks bolted in to the upper mounts.

Control arms, control arm brackets and springs installed.


Bump stops installed. I found out later that I bought the wrong ones.

Swaybar and end links installed.

Transmission relocation mount and trans mount installed.

Torque Arm installed.


I guess I didn't get a picture on the parhard bar installed. Doesn't matter, I've decided to ditch the PHB and install a Midwest watts link anyway. That will come soon.
I didn't get a good shot of the car before I started this project. Thats pretty common with me, I get focused on something and forget about documentation. Here is a shot of the car on my trailer that shows the typical 4x4 f-body and an after shot.


The stock wheels are on it for now but I have some CCW SP505a's that are going on it eventually.
 05-30-2018, 10:37 AM
#5
I installed an Eaton HD carrier and 4:10 gear set.
Trending Topics
05-31-2018, 06:58 AM
#8
Nice job! It's really great to see another pair of DeCarbons leaving this earth.
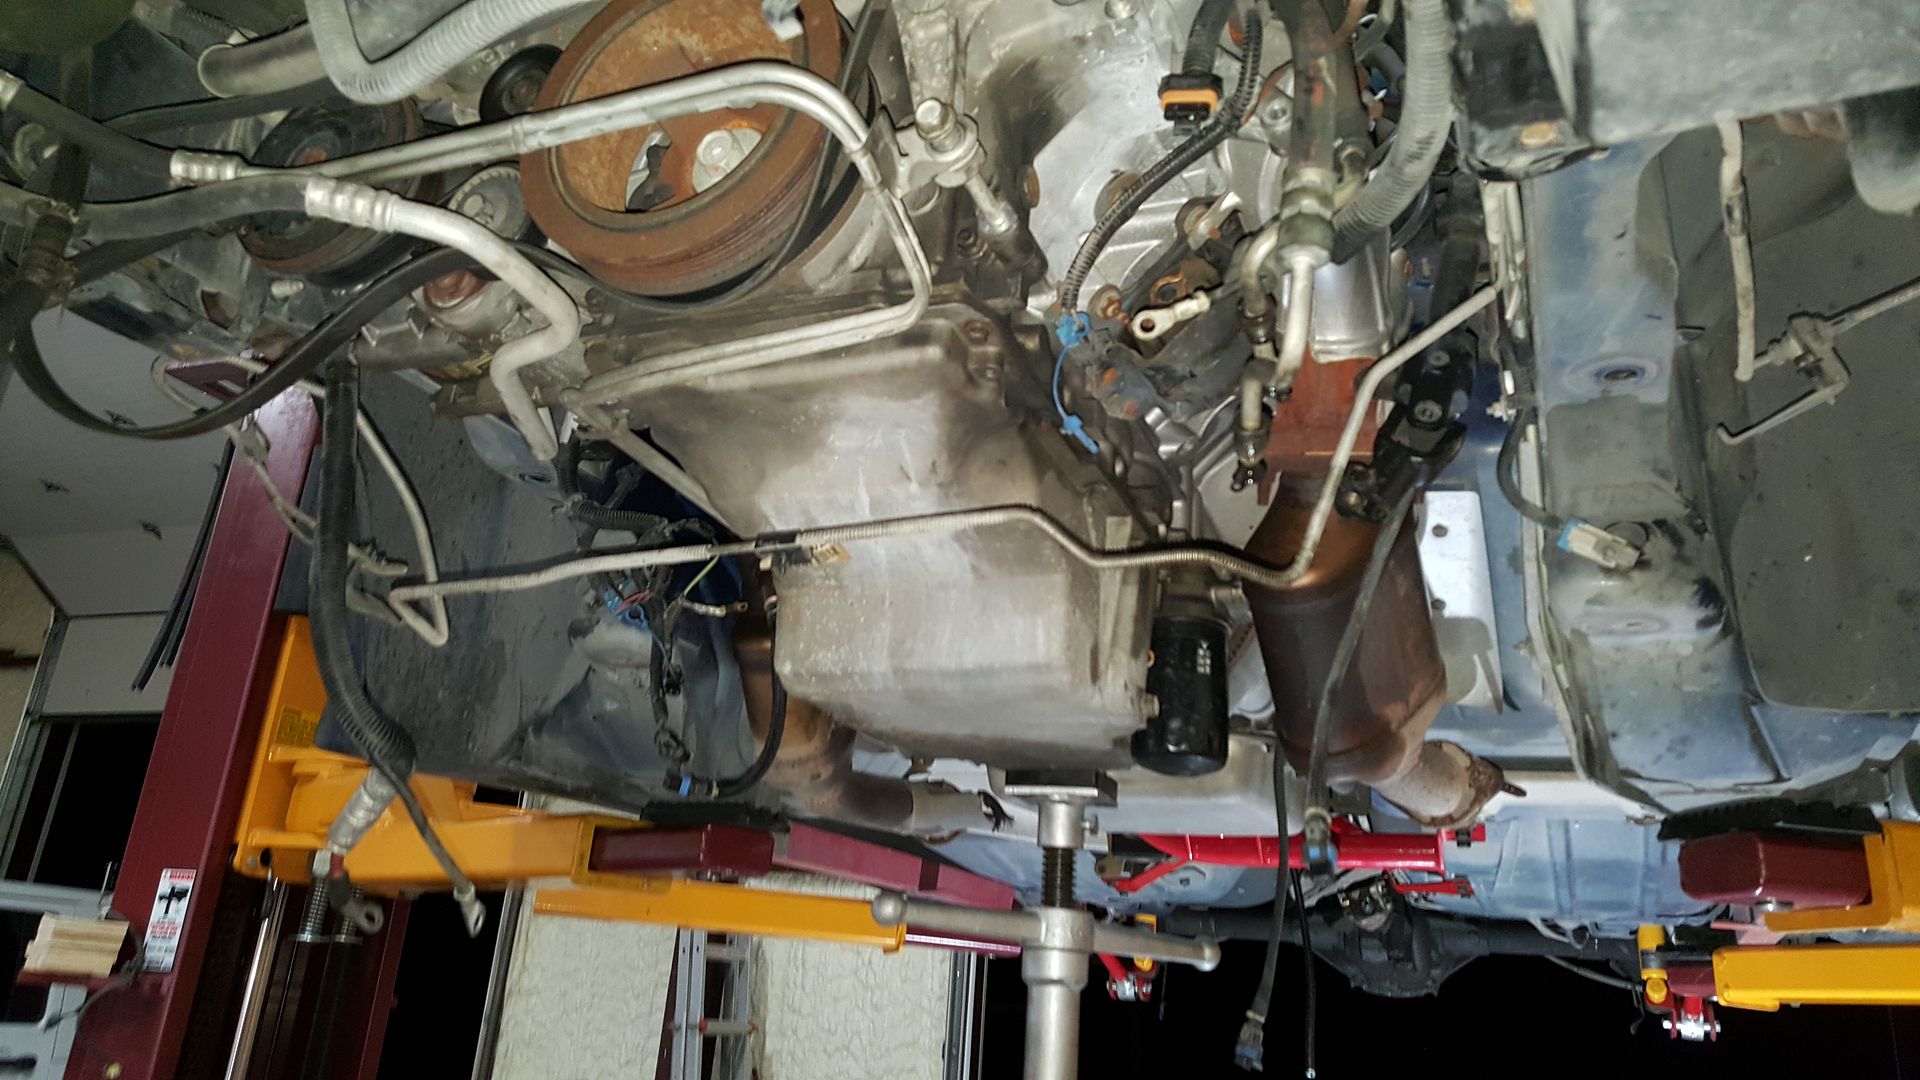
When you removed the K-Member, was that single jack stand sufficient to hold the engine in place and keep it from falling? Did you have anything else rigged up to keep it from moving around? (I have a bend K-Member that needs replacing sometime soon and a lift similar to yours.)
When you removed the K-Member, was that single jack stand sufficient to hold the engine in place and keep it from falling? Did you have anything else rigged up to keep it from moving around? (I have a bend K-Member that needs replacing sometime soon and a lift similar to yours.)
05-31-2018, 07:50 AM
#9
It's not for everyone though. As most know these types of joints and poly mounts do bring in NVH. That's not a concern for me. I plan to take steps to cut down on that eventually when I re-work the interior.
Nice job! It's really great to see another pair of DeCarbons leaving this earth. When you removed the K-Member, was that single jack stand sufficient to hold the engine in place and keep it from falling? Did you have anything else rigged up to keep it from moving around? (I have a bend K-Member that needs replacing sometime soon and a lift similar to yours.)

Last edited by SidewaysTA; 05-31-2018 at 07:56 AM.
05-31-2018, 10:41 AM
#10
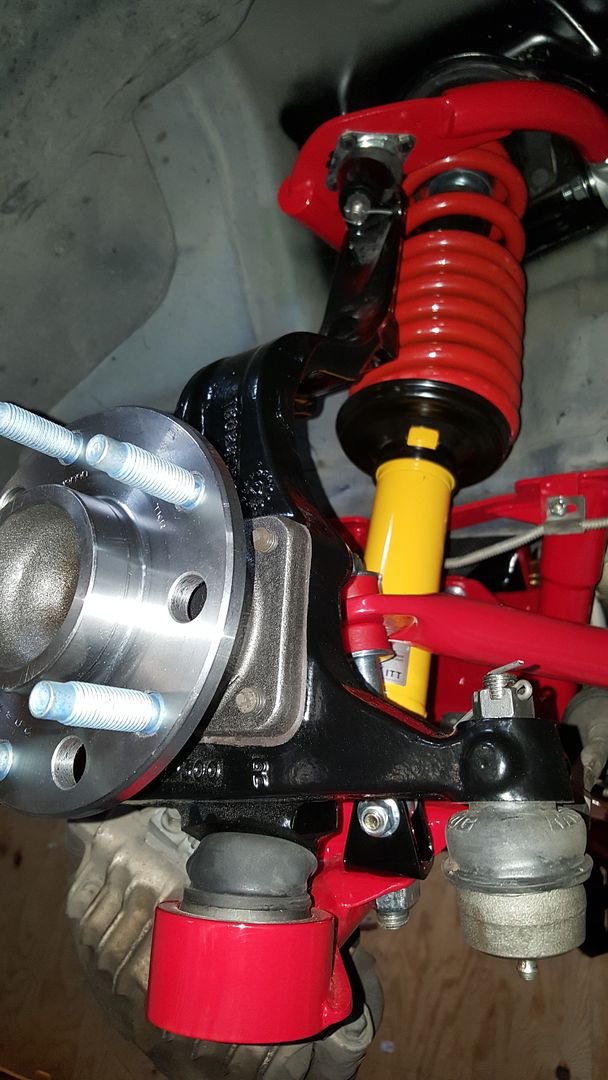
Looks good! One thing that is kind of hard to see and I want to clarify is that you also installed the inner isolators int he top of the shock mounts for the front. There should be a small triangular shaped piece that sits inside the upper mount cup. Its hard to tell from the pic if it is there or not but the amount of threads showing on the shock is what is making me ask this.
When you removed the K-Member, was that single jack stand sufficient to hold the engine in place and keep it from falling? Did you have anything else rigged up to keep it from moving around? (I have a bend K-Member that needs replacing sometime soon and a lift similar to yours.) I normally recommend to support the engine from the top side before disassembly to make your life easier. If you have a strut tower brace, you can use that, if not a piece of 2x4 or similar cut to length to sit across the top of the strut towers works well. You can use a heavy duty ratchet strap around the engine up to this support to keep the engine in place while working underneath without having and jacks or stands in your way of working
When you removed the K-Member, was that single jack stand sufficient to hold the engine in place and keep it from falling? Did you have anything else rigged up to keep it from moving around? (I have a bend K-Member that needs replacing sometime soon and a lift similar to yours.)
__________________
Glenn ***
Sales Tech
www.bmrsuspension.com
813.986.9302

Find a Quality alignment shop near you!
Glenn ***
Sales Tech
www.bmrsuspension.com
813.986.9302
Find a Quality alignment shop near you!
05-31-2018, 05:03 PM
#12
Looks good! One thing that is kind of hard to see and I want to clarify is that you also installed the inner isolators int he top of the shock mounts for the front. There should be a small triangular shaped piece that sits inside the upper mount cup. Its hard to tell from the pic if it is there or not but the amount of threads showing on the shock is what is making me ask this.
Mine are shot
06-01-2018, 07:02 AM
#13
I normally recommend to support the engine from the top side before disassembly to make your life easier. If you have a strut tower brace, you can use that, if not a piece of 2x4 or similar cut to length to sit across the top of the strut towers works well. You can use a heavy duty ratchet strap around the engine up to this support to keep the engine in place while working underneath without having and jacks or stands in your way of working
06-01-2018, 09:13 AM
#14
They are absolutely necessary. I have seen people install their shocks/springs without them and in very short time they will rip the center sleeve out of the middle of the upper mount. The inner isolator distributes the load of the shock across the inner structure of the upper mount instead of concentrating it to the stud. You can see it pictured below
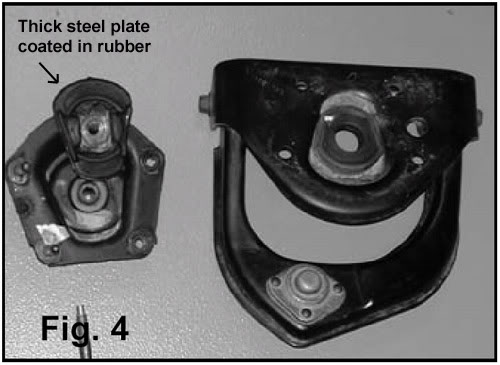
and should look like this installed
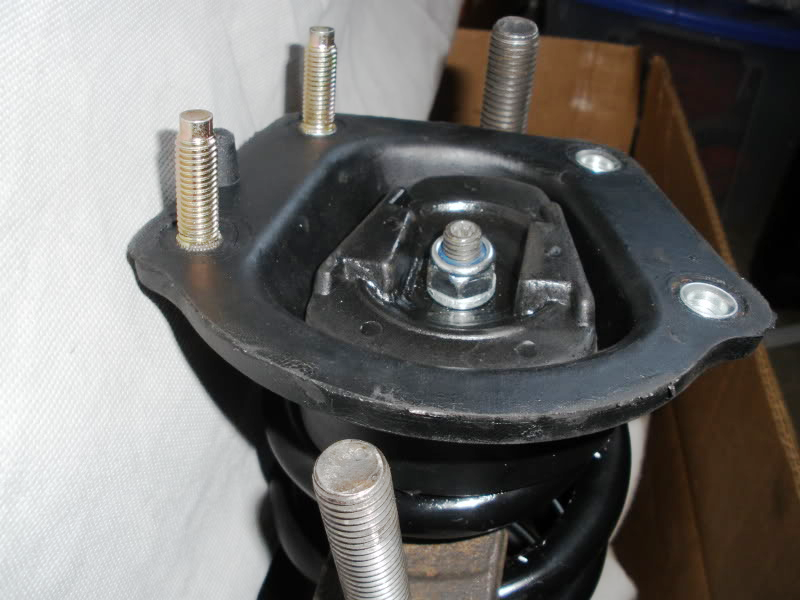
and should look like this installed
__________________
Glenn ***
Sales Tech
www.bmrsuspension.com
813.986.9302
Find a Quality alignment shop near you!
Glenn ***
Sales Tech
www.bmrsuspension.com
813.986.9302
Find a Quality alignment shop near you!
06-16-2018, 10:55 PM
#15

Looks nice, wondering why you went with the rear lower control arm relocation brackets? All the research I've done has shown that they are mainly for drag racing type application and not a handling oriented setup. Everything I've read says the higher control arm angle could induce more over steer?
06-17-2018, 08:09 AM
#16
Launching!

Join Date: Jul 2012
Posts: 282
Likes: 0
Received 0 Likes
on
0 Posts
The shock towers had some rust so I cleaned them up with a brush to knock the loose rust off, gave them a shot of rust converter, primer and some black paint I had on hand.
Assembled the shocks, springs and new upper shock mounts and the upper control arms to the upper control arm mounts. Also installed upper ball joints.
Somewhere around here pictures became an after thought so here is the assembled front suspension.
Continued below.
Assembled the shocks, springs and new upper shock mounts and the upper control arms to the upper control arm mounts. Also installed upper ball joints.
Somewhere around here pictures became an after thought so here is the assembled front suspension.
Continued below.