When you click on links to various merchants on this site and make a purchase, this can result in this site earning a commission. Affiliate programs and affiliations include, but are not limited to, the eBay Partner Network.
I have a H/C/I LS1 that I blew the 34 clutch pack in the 4L60e last weekend. I plan on using this thread to document the tear down and rebuild process as well as gather all the necessary information. I've spoken with a transmission shop that specializes in rebuilding 4l60's as well as a moderator on here mrvedit for advice on my build. The component list for my build is below:
Extreme duty Raybestos GPZ105 3-4 frictions:
Complete set of steels including thicker 3-4 Kolene steels and Turbulator reverse steels:
Complete set Borg Warner OEM reverse frictions:
Alto Red Eagle forward and overun frictions:
Complete gasket and seal kit with fiber pan gasket:
Sonnax replacement 3-4 load release springs:
Raybestos Pro Series 2-4 band:
Latest molded steel input drum pistons and spring:
Included 3rd accumulator check valves to improve hydraulic integrity:
High quailty OEM filter
Sonnax Smartshell
Sonnax HD 23 shift valve
Aluminum pistons for all accumulators
Sonnax high rpm pump spring
I have never torn down an automatic transmission before so I am looking for some helpful links specific to the 4l60e(I will update this post with links as they are collected).
I am also looking for a list of specialty tools that I'll need to gather for the build.
-Vinnie
Last edited by NJNETSFAN; Oct 8, 2015 at 07:52 PM.
If you haven't watched them yet, check out Jimmy's videos at transmissionbench. They're around 6-7 hours of every single step to disassemble and rebuild a transmission, including how to diagnose problems and assess wear levels to determine if a part needs to be replaced.
Last edited by coryforsenate; Sep 3, 2015 at 04:15 PM.
Pump alignment tool
Pump puller
Bushing press
Snap ring pliers
Lock ring pliers
Spring compressor
Feeler gauge that can do around 0.0010 to upwards of 0.0100
Teflon seal resizer
Depending on the year, a T-50 Torx Plus bit to remove the bell housing
Air pump to test seals/pistons
Many of these can be homemade or there are ways around using them. I included some things that a handyman might not consider a specialty tool, but that the average Joe may not have like feeler gauges or lock ring pliers. As to the lock ring pliers to removing the lock ring for things like the spring cages, don't be surprised if you have to grind it a bit to make it fit, especially on the low-reverse spring cage.
Pump alignment tool - No need; use two 12" long hose clamps
Pump puller - No need; use vice grips on the pump and a big screwdriver underneath it.
Bushing press - Yes, I use a HF press.
Snap ring pliers - Yes, the best are "Stanley Proto J250G Proto 9-Inch Lock Ring Horseshoe Washer Pliers" for $33 on Amazon
Lock ring pliers - Yes
Spring compressor - Yes, one each for input drum, reverse drum and low/reverse clutch
Feeler gauge that can do around 0.0010 to upwards of 0.0100 - Of course
Teflon seal resizer - Good idea, both installers and resizers. I use old stator shaft and reverse drum as my "resizers". You might ask a local trans shop to install them for you.
Depending on the year, a T-50 Torx Plus bit to remove the bell housing - Critical! If you strip one, it will take a long time to drill it out. Need an impact wrench and good technique too.
Air pump to test seals/pistons - Yes, an air compressor with a rubber tipped blow gun.
Many of these can be homemade or there are ways around using them. I included some things that a handyman might not consider a specialty tool, but that the average Joe may not have like feeler gauges or lock ring pliers. As to the lock ring pliers to removing the lock ring for things like the spring cages, don't be surprised if you have to grind it a bit to make it fit, especially on the low-reverse spring cage.
My post #2 in the following thread has links to possibly helpful info.
I would add the Sonnax HD 2-3 shift valve. With (and only with) that valve you should drag race in [D3]. The valve keeps the overrun clutches applied in 1st, 2nd and 3rd gears, which reduces load on your forward sprag.
Speaking of the forward sprag, you should definitely add the Borg Warner HD forward sprag and might as well replace the low/reverse roller clutch (another sprag).
Do you plan to replace bushings too? They are a pain. You will need a press, and a large assortment of sockets. A HF 3/4" sockets set and bearing installers will be very useful and relatively inexpensive.
Bushings are something in the future I'd just let a shop do. They ARE a pain and I installed one wrong and wound up going to the transmission shop to have it replaced. You could remove them yourself, take a pack of new bushings and the transmission parts that need bushings to a shop and have them install the bushings.
The 3rd accumulator check valve can be, depending on the casting of your case, difficult to install. Or it can be very easy. I ruined my new check valve and had the same shop replace it.
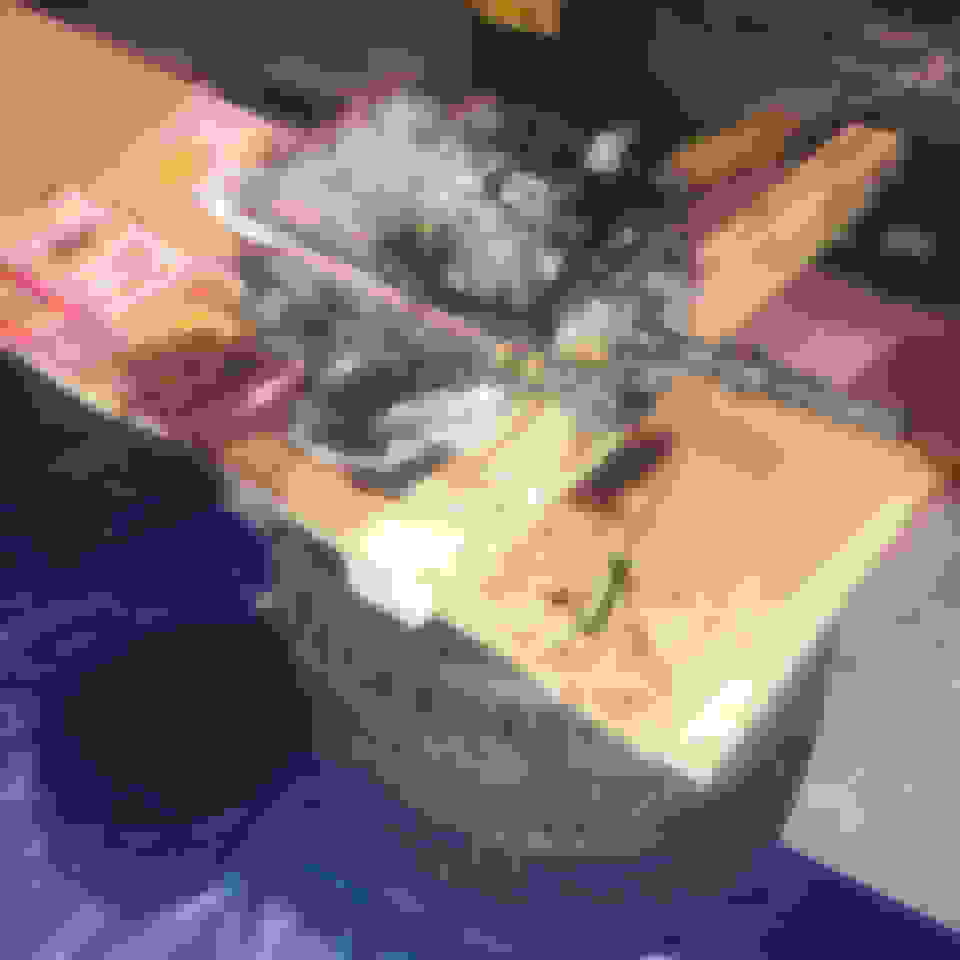
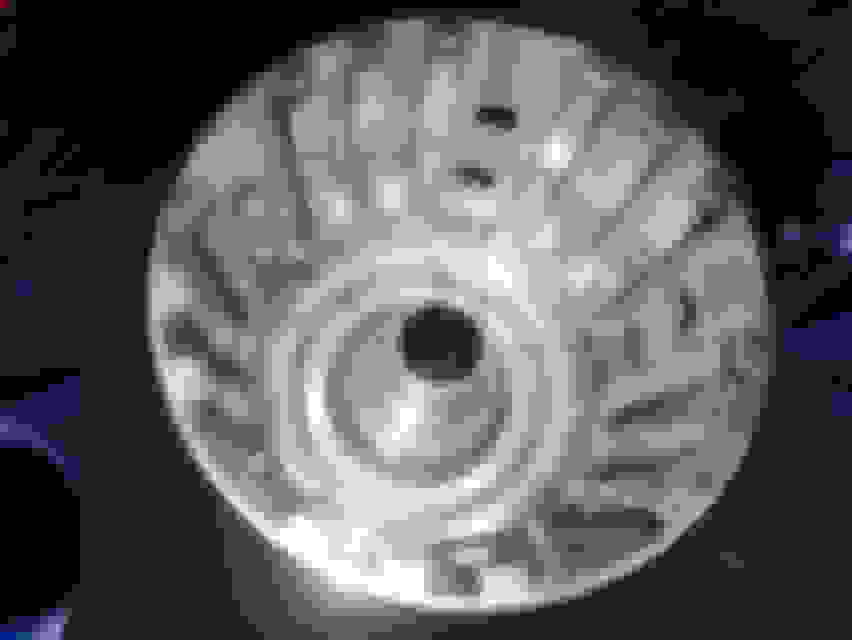
Setup the work area tonight and started taking the bellhousing off. I ended up stripping one of the bolts so I'll have to tackle that tomorrow. Here are pictures of the workspace and stripped bell housing bolt. It's the only one left.
The stories of breaking the bit off in the bellhousing bolts are why I'm glad my 4l60e was a '96. The case is a single piece so no broken bits nor did I need to buy a bit that's around $20 for the good ones.
I made some good progress tonight. It took a while to get the stripped torx out but then I took the tail shaft off and started getting into the valve body. Pic for the night:
I met up with @mrvedit to borrow some tools today and talk about the rest of the build, thanks again for the help! The case is stripped and I am ready to start assembling everything tomorrow. I will take my time over the next few days working little by little but hope to have the pump in by Wednesday night. Here are pictures of today:
Some heat marks on the end steel of the 34 clutch assembly:
While the rest of the trans parts you brought over looked pretty good, as predicted the 3/4 clutch is toast (now that you have the input drum disassembled.)
Good luck with everything.
Re-assembled the reverse drum today and started working on the input drum. All new pistons were installed and I got as far as I could for the day but it looks like I will need a thinner forward clutch end plate. Pics from today:
Cleaned input drum:
Current situation with the forward clutch end plate:
Drop the Forward Apply Plate down in the Drum, You should HEAR the apply plate hit the "Tabs" on the Forward Piston, If not...The Overrun piston is not seated all the way.
Forward wave plate
Forward steel
Forward friction
Forward steel
Forward friction
Forward steel
Forward friction
Forward steel
Forward friction
Forward steel
Forward friction
Forward Backing plate, They are selective....But nothing that would cause it to be above the snap ring groove.
When I run across a loose forward clutch. Using 1 or 2 if needed Early 700R4 forwards will tighten clearance by @ .008" per friction.
This is a stupid question....But, You do have the Overrun return spring assembly installed with the snap ring in place?
Overrun return spring is installed. I actually uninstalled it and re-installed all of the pistons after I first saw the forward clutch end plate being so far out. The only area that I can see there being an issue is between the overrun piston and the forward apply piston. I would say that the overrun piston is about 1/8" above the forward piston when fully seated, does this seem normal? Even with no clutches installed, I laid the forward sprag assembly in the input drum and put the end plate on and it looks like it's not seated enough for the snap ring to be installed, that is really confusing to me.
Originally Posted by clinebarger
Something is wrong! Clearance would not be that far off. If anything the Forwards end up a little loose!
Measure the Forward frictions, You should have .070", If they are .078" thick....You have early 700R4 Forward frictions.
Drop the Forward Apply Plate down in the Drum, You should HEAR the apply plate hit the "Tabs" on the Forward Piston, If not...The Overrun piston is not seated all the way.
Forward wave plate
Forward steel
Forward friction
Forward steel
Forward friction
Forward steel
Forward friction
Forward steel
Forward friction
Forward steel
Forward friction
Forward Backing plate, They are selective....But nothing that would cause it to be above the snap ring groove.
When I run across a loose forward clutch. Using 1 or 2 if needed Early 700R4 forwards will tighten clearance by @ .008" per friction.
This is a stupid question....But, You do have the Overrun return spring assembly installed with the snap ring in place?
Overrun return spring is installed. I actually uninstalled it and re-installed all of the pistons after I first saw the forward clutch end plate being so far out. The only area that I can see there being an issue is between the overrun piston and the forward apply piston. I would say that the overrun piston is about 1/8" above the forward piston when fully seated, does this seem normal? Even with no clutches installed, I laid the forward sprag assembly in the input drum and put the end plate on and it looks like it's not seated enough for the snap ring to be installed, that is really confusing to me.
I see it now! The Forward Sprag outer Race is installed up side down!